Welcome!
You'll find over 470 of my favorite recipes here, including ideas for Quick meals, Cooking for 2, Feasting on Leftovers, and cooking with 5 Ingredients or Less. I'm adding new posts regularly; you can subscribe by email or RSS feed if you'd like to receive the latest recipes. Bon appétit!
Classic Meat Loaf from Cooking Light
While I still love my old Classic Meat Loaf recipe, this lightened-up version from the October 2011 issue of Cooking Light caught my eye so I decided to give it a try.
This meat loaf uses ground sirloin; my older recipe uses a combination of ground beef and ground pork. Substituting 1 egg white for 2 whole eggs lightens it up a bit, as does using panko bread crumbs instead of quick-cooking oats.
So what did I think of this Classic Meat Loaf? I thought it was really just about as good as my original, so I know I’ll be making it again. It had a good beefy flavor, and made great leftovers. And this time of year I like to have a few lighter recipes up my sleeve to balance out the upcoming holiday meals! 😉
a

a
Classic Meat Loaf from Cooking Light
(Adapted from the recipe in the October 2011 issue)
.
a
Serves 4
a
1 teaspoon oil
½ cup chopped onion
6 tablespoons ketchup, divided
½ cup panko (Japanese bread crumbs)
¼ cup chopped fresh flat-leaf parsley (optional, I didn’t have any so I didn’t use it)
1 teaspoon Worcestershire sauce
¾ teaspoon dried oregano
¼ teaspoon salt
¼ teaspoon freshly ground black pepper
1 pound ground sirloin
1 large egg white
a
 a
a
1. Preheat the oven to 350˚.
2. Heat the oil in a small saucepan. Add the chopped onion and sauté for 5 or 6 minutes, until tender.

3. Mix the onion, 3 tablespoons of the ketchup, and the rest of the ingredients in a bowl. Mix until everything is just combined; do not over mix.
4. Spread a small amount of oil on a baking sheet. (Or use cooking spray.)
5. Shape the meat on the pan into a loaf that’s about 8 inches long and 4 inches wide.
6. Spread the remaining 3 tablespoons ketchup on top of the loaf.
a
My meat loaf on a foil lined baking sheet. My advice: DO NOT use foil when you make it. The meat loaf stuck to the foil even though I had spread a bit of oil on it. It was difficult to remove.

a
7. Bake for about 35 minutes, or until an instant read thermometer registers 160˚.
8. Let stand for 10 minutes. (It will slice more easily after this rest period.) Slice and serve.
a
 a
a
Nutritional information per serving, as provided by Cooking Light:
Calories: 264 Fat: 11.8 g (sat 4.6 g, mono 5 g, poly 0.4 g) Protein: 25.3 g Carb: 13.3 g
Fiber: 0.9 g Chol: 74 mg Iron: 3.1 g Sodium: 525 mg Calc: 33 mg
Share this:

Herb-Roasted Sausages and Butternut Squash
Herb-Roasted Sausages and Butternut Squash is a perfect fall dinner. It’s incredibly easy, so it’s perfect for weeknights. It all roasts together, so clean-up couldn’t be much easier. And it’s oh-so flavorful!
Carrie found the recipe on epicurious.com. It was originally published in the December 2003 issue of Bon Appétit. She made it, loved it, and told me I had to try it.
I chose to make it as written, but there are a lot of great suggestions for variations in the reviews of the recipe at epicurious. Some added a chopped apple (Carrie said she did this.) Shallots, onions, and red peppers are also mentioned as possible additions to the recipe. I think any of those suggestions would be great, but it is truly delicious just as it is, too.
I used Aidells Chicken & Apple Sausage, and it was a great choice. You could really use any sausage that you like, though. A good andouille sausage would give it a spicy, Cajun spin, for example.
If you add a lot of extra vegetables, you may need to use a roasting pan. I found that my 12-inch cast iron skillet worked perfectly.
For a fall meal that is simple and delicious, do try Herb-Roasted Sausages and Butternut Squash! I know I’ll be making it again, and it’s definitely one I will keep in mind for the busy holiday season.
a
It definitely tastes better than this photo looks!

a
Herb-Roasted Sausages and Butternut Squash
(Adapted from a recipe on epicurious.com, originally published in the December 2003 issue of Bon Appétit.)
.
a
3 – 4 Servings
.
(I failed to take step-by-step photos to show how I cut up the butternut squash. Check out a great tutorial at Simply Recipes to learn how to do it. I do it exactly as Elise demonstrates. http://tinyurl.com/22vkqhs)
a
6 cups ¾-inch cubes peeled butternut squash (about 1½ pounds)
1 pound fully cooked sausage (such as chicken and apple), cut into 1½-inch pieces
8 garlic cloves, peeled
3 tablespoons olive oil
1 tablespoon chopped fresh rosemary
1 tablespoon chopped fresh sage
1 tablespoon chopped fresh thyme
1½ tablespoons balsamic vinegar
.
Butternut squash (image from 123r.com)

1. Preheat the oven to 450˚.
2. Combine everything except the balsamic vinegar in a roasting pan or 12-inch cast iron skillet. Toss to distribute the oil. Sprinkle with salt and pepper.
a
Ready to roast

a
3. Roast for 30 minutes, until the squash is tender and the sausage is hot, stirring once after about 15 minutes.
4. When done, drizzle with the balsamic vinegar and serve.
Share this:

Jamie Oliver’s Macaroni and Cheese
There are many different variations of Macaroni and Cheese. I’ve always been drawn to versions that use sharp Cheddar cheese, but last night I made one that had no Cheddar.
The recipe is from Jamie Oliver’s Cook with Jamie: My Guide to Making You a Better Cook. Laura and Byron had made the recipe and highly recommended it. With four different kinds of cheese, it sounded like it had to be especially good.
This Macaroni and Cheese is pretty simple to make once you have found the right ingredients. I think most well-stocked supermarkets should carry the Parmigiano-Reggiano, fontina, mascarpone, and mozzarella cheeses.
Jamie makes the sauce in a skillet with the cooked pasta, and then he puts it in a casserole for the oven. I used my 12-inch cast iron skillet and just put it in the oven to bake and then broil for a couple of minutes. It worked quite well.
We really enjoyed Jamie Oliver’s Macaroni and Cheese. This is definitely a recipe that I would make again. Try it when you want a “mac and cheese” that’s easy and yet a bit more sophisticated than most.
a
Thanks to Laura for taking this great photo!a

a
Jamie Oliver’s Macaroni and Cheese
(Adapted from a recipe in Cook with Jamie: My Guide to Making You a Better Cook)
.
.
1 lb. macaroni (I actually used gemelli)
2 tablespoons butter
1 small bunch fresh marjoram or oregano, leaves picked (I used oregano.)
3 ½ oz grated Parmigiano-Reggiano, plus more to grate over the top
3 ½ oz fontina or taleggio cheese, roughly torn or chopped (I used fontina.)
3 ½ oz mascarpone cheese
¼ of a fresh nutmeg to grate over the top (Optional; I didn’t use it.)
1 small ball fresh mozzarella cheese (about 4 oz.)
Salt and pepper, to taste

1. Preheat the oven to 400˚.
2. Clean and chop the oregano.
3. Put the grated Parmigiano-Reggiano, fontina, and mascarpone in a bowl so they’re ready to use when you need them.

a
4. Cook the pasta in salted boiling water for 2 minutes less than the cooking time on the package. (My gemelli said to cook for 12 minutes; I cooked it for 10.)
5. While the pasta’s cooking, heat the butter in a large skillet. When it starts to foam, add the oregano and cook for a minute or so, until it starts to crisp. If the pasta is not quite done, remove the skillet from the heat.

a
6. When the pasta is done, drain it, reserving some of the cooking water.
7. Put the drained pasta, a couple of spoonfuls of the cooking water, and the Parmigiano-Reggiano, fontina, and mascarpone cheese in the skillet. Cook over medium heat, stirring, until the cheese has melted into a sauce. Add a bit more pasta water if it seems too dry.
8. Season to taste with salt and pepper and turn into a baking dish. (Or just leave it in the skillet if you’re using an oven- and broiler-proof skillet, like cast iron.)
9. Tear the mozzarella into small pieces and put them over the top, and sprinkle with some extra Parmigiano-Reggiano.
a
A *horrible* picture, but it shows you the mozzerella distributed on top.
 a
a
10. Bake for about 10 minutes.
11. Turn the broiler on, and move the oven rack closer to the broiler. Broil for a minute or two until it has started to brown and crisp on the top. Watch closely to keep from burning it.
a

Share this:

Pumpkin Bread
October is pumpkin season, and this Pumpkin Bread is the perfect way to celebrate! If you’ve never made a quick bread before, this is the recipe for you! If you don’t have a mixer or food processor, this is the recipe for you!
This Pumpkin Bread is so easy that even 6-year-olds can make it! In fact, 6-year-olds did make it when our daughters were in 1st grade. Every fall their wonderful 1st grade teacher did a unit on pumpkins. Pumpkins were weighed, measured, and carved. Seeds were counted. There was talk about how pumpkins grow. It was such a fun way to incorporate math and science into the curriculum.
The school had access to a kitchen, so, under the guidance of teacher’s aides, the children measured and stirred the ingredients to make Pumpkin Bread. I’m sure it was the most delicious Pumpkin Bread they ever tasted!
Of course, the proud 1st graders wanted to share the recipe with their families, so the teacher provided a copy to those who wanted it. I still have that recipe and decided to make it again.
How can something so easy taste so good? Give this Pumpkin Bread a try, especially if you have a 6-year-old to help you make it!
 a
a
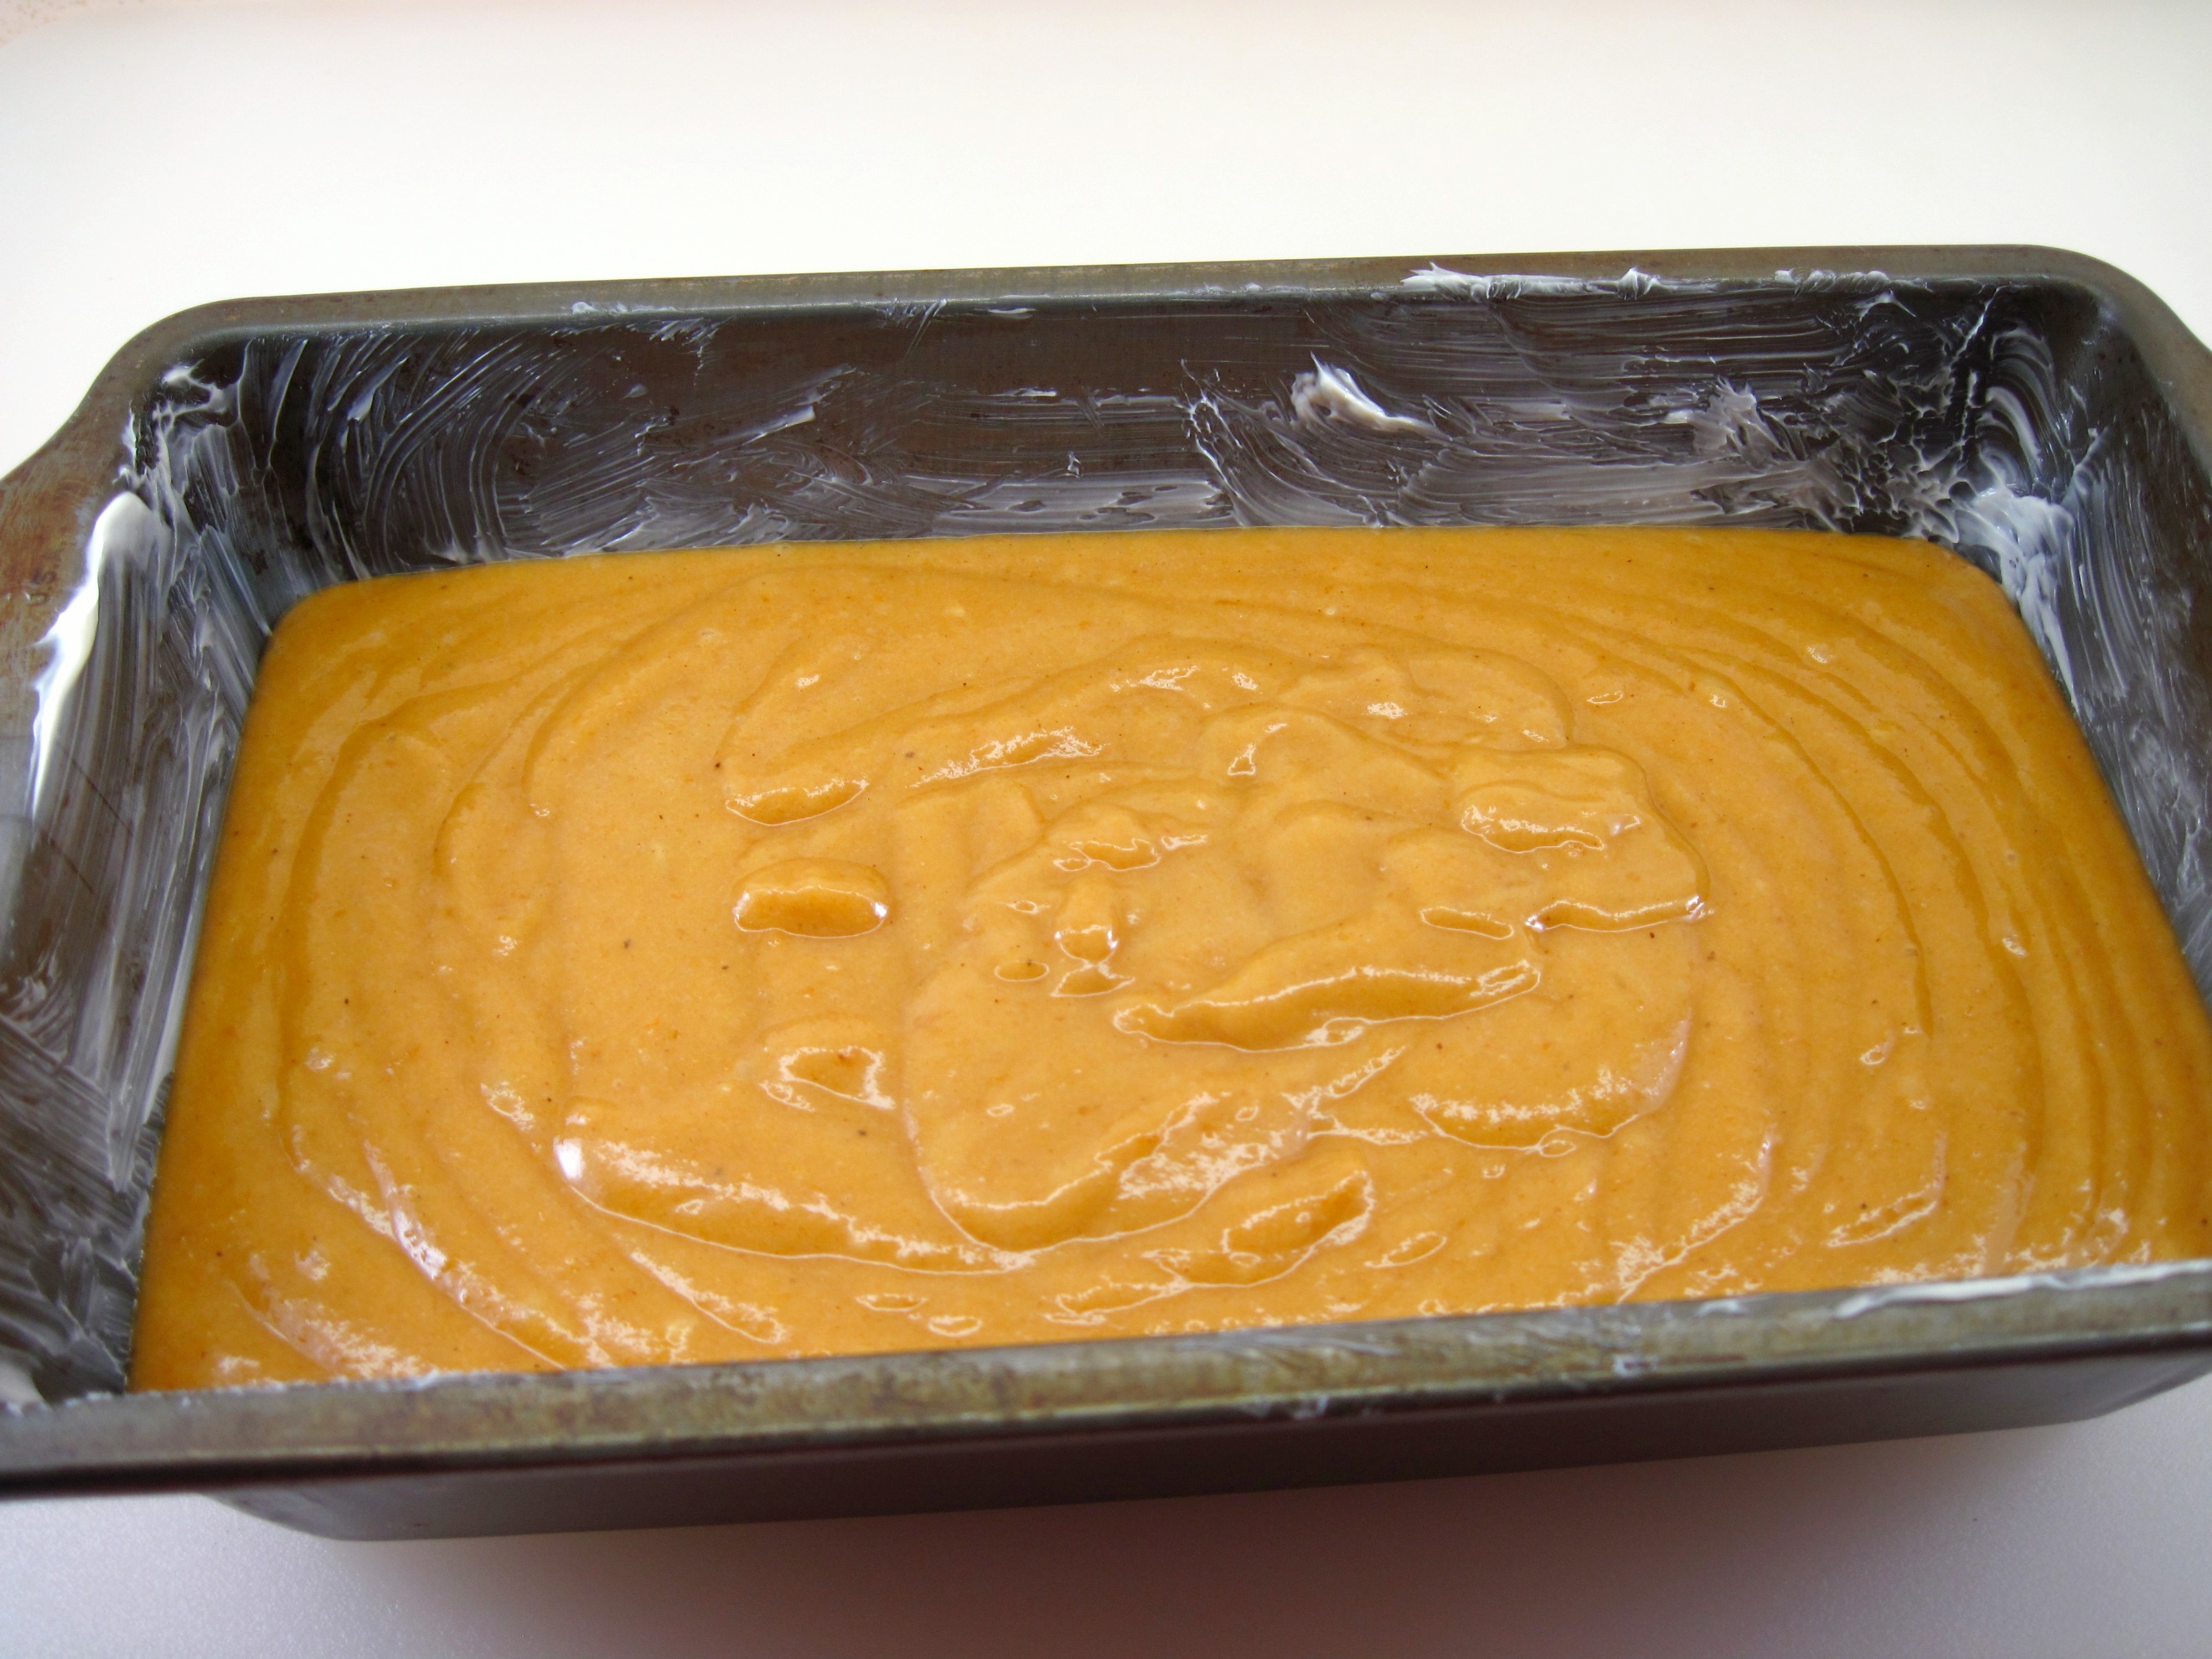
Pumpkin Bread
(From a classroom recipe; original source unknown)
Makes one 9×5-inch loaf (double to make 2 loaves)
1 2/3 cups (200 g of King Arthur’s All Purpose) flour
1 teaspoon baking soda
¾ teaspoon salt
½ teaspoon cinnamon
½ teaspoon nutmeg
½ cup oil
2 eggs
1/3 cup water
1 cup canned pumpkin
1½ cups sugar
(Optional: nuts, if desired. I didn’t use them.)
1. Preheat the oven to 350˚.
2. Grease a 9×5-inch bread pan.
3. Mix flour, soda, salt, cinnamon and nutmeg in a bowl.

4. Make a well in this mixture. Pour in the oil, eggs, water, pumpkin, and sugar. Mix well with a sturdy spoon. (Add nuts if using.)

Stir, stir, stir….

5. Pour into a greased baking pan.

6. Bake for 1 hour or until done. Cool for about 15 minutes, and then remove the bread from the pan.

Share this:

Roasted Beets
I don’t know why I don’t use beets more often, especially in the fall when they’re at their peak. Roasted Beets are so easy to make. Once they’re roasted, my favorite way to use them is to add them to a salad. However, they could also be heated with a bit of butter and served warm as a side dish.
When we went to Carpinito Brothers’ Pumpkin Patch in Kent to get some pumpkins, I also bought some fresh beets which were grown on their farm. I chose the beets with the greens still attached so I could use them, too. We had the greens with our dinner that night, and I refrigerated the beets to use later.
A few days later I made Roasted Beets. They are incredibly easy to make. These three beets weighed ½ pound each, so we had enough to serve with our salad for three nights. Delicious!
a
Salad with Roasted Beets, Blue Cheese, and a simple Vinaigrette
(Toasted chopped walnuts would be an excellent addition to this salad!)
a

Roasted Beets
Keep in mind that red beets will stain. I used an acrylic board (instead of my wooden one) when cutting them and wore gloves to avoid beet stains on my hands.
I have used this same method with yellow beets. They do not stain, so you don’t have to wear gloves with them.
a
Beets, scrubbed, in the baking pan with water…ready to be covered and roasted
a
Any quantity of Fresh beets, greens cut off, with 1 – 2 inches of the stems still attached
a
1. Preheat the oven to 350˚.
2. Scrub the beets well and put them in a baking pan.
3. Add water so it’s about ¼ inch deep.
4. Cover the pan with foil, sealing it around the edges.
5. Roast the beets for 45 minutes to 1 hour. (Timing depends on the size of the beets. My ½-pound beets took a full hour.) The beets are done when you can easily slip a sharp knife into the center.
6. When the beets are cool enough to handle, cut the top and the root end off. Hold them under cool running water and slip the skins off with your hands. (Wear gloves to avoid staining your hands.)
7. Use the beets right away, or refrigerate them to use later.
a

a
To cook beet greens:
Cut the greens off, leaving an inch or two still attached to the beet root. To cook the greens, cut any tough stems from the leaves. Wash the leaves and stems well, and slice the leaves into smaller pieces. Heat a bit of oil or butter in a large skillet. Add the stems and a bit of water or broth and cook them for a few minutes. Add the greens and cook, stirring, for a couple of more minutes. Beet greens cook much more quickly than some other types of greens. Season to taste with salt and pepper and serve.
Share this:

Cardamom-Scented Pear Crisp
Cardamom-Scented Pear Crisp is a fantastic fall dessert! Cardamom is a warm spice that is really wonderful with the pears. The topping has a modest amount of butter and sugar, making it a lighter crisp than others.
The recipe is adapted from a Mark Bittman recipe in The Food Matters Cookbook. He points out that imperfect, not-quite-ripe pears work beautifully in the recipe. I used Bosc pears which are a great variety for baking.
In The Food Matters Cookbook, Bittman presents desserts that feature fruits, whole grains, and a bit less sugar. He calls for whole wheat flour in the Cardamom-Scented Pear Crisp recipe. I used unbleached white flour. Since each serving only has about 1 tablespoon of flour, I think you can use whichever type of flour you prefer. It’s not going to make that much difference in the nutritional makeup of the recipe.
Following the recipe’s instructions, I baked the crisp at 400˚ and checked it at 30 minutes. (It said to bake for 30 – 40 minutes.) At 30 minutes the topping was almost starting to burn. I actually had to pick off a few pieces that were a bit too dark. Next time I think I will try lowering the heat to 375˚.
The Cardamom-Scented Pear Crisp served 8 people last night and got rave reviews. Topped with just a bit of vanilla ice cream, it was a great dessert!
Now I wish I had some leftover for breakfast! Get some pears. Make Cardamom-Scented Pear Crisp! It’s a great way to welcome fall!
a
Update 10/13/11: I made the Pear Crisp again yesterday. I baked it at 375˚ for 30 minutes, and it was perfect!
a
This photo made the Foodbuzz Top 9 on October 9! 🙂
 a
a
Cardamom-Scented Pear Crisp
(Adapted from Mark Bittman’s recipe in The Food Matters Cookbook.)
a
a
Serves 8
a
4 tablespoons (1/2 stick) unsalted butter, softened, plus a bit more for greasing the pan
2 tablespoons vegetable oil (I used light olive oil.)
¾ cup brown sugar (I used maple sugar.)
½ cup chopped walnuts or pecans (I used walnuts.)
1 tablespoon lemon juice
1 cup rolled oats
½ cup (60 g) flour (white or whole wheat, your choice)
Pinch of salt
3 pounds pears (I used 6 Bosc pears.)
1 teaspoon cardamom
a
a

a
1. Preheat the oven to 375˚.
2. Grease a 10-inch pie plate or an 8- or 9-inch square baking pan with a bit of softened butter.
3. With a fork, cream the ½ stick of butter, oil, and sugar in a bowl.
a

4. Add the nuts, lemon juice, oats, flour, and salt and mix until well-combined.

 a
a
5. Peel the pears. Cut them in half lengthwise. Use a spoon to remove the core. Cut the pears into ¼-inch slices and put them in the prepared pan.
 a
a
6. Sprinkle the cardamom over the pears and toss well.
7. Crumble the topping over the pears.
Ready for the oven
 a
a
8. Bake for about 30 minutes, until the pears are hot, and the topping is just starting to brown.
9. Serve warm, topped with a bit of vanilla ice cream, if desired.
a

Share this:

Potato Cumin Curry
My Potato Cumin Curry is an adaptation of a Mark Bittman recipe in Kitchen Express. The original recipe is a pretty basic vegetarian curry; I added a jalapeno pepper, ginger, garlic, cayenne pepper, asafetida, and mango powder to spice it up.
Asafetida and mango powder are Indian spices that I happened to have on hand. I ordered them from indianblend.com. Just omit them, if you don’t have them.
This Potato Cumin Curry turned out to be quite spicy, which I liked. The heat of the dish depends on the heat of your jalapeno pepper, curry powder, and cayenne pepper. This can vary quite a bit, so use the amounts given as a guideline, and adjust to suit your taste.
I used canned chickpeas, which certainly made it quick and easy. This recipe will be so much better, though, if you cook your own chickpeas. Home-cooked chickpeas are much more tender and flavorful than canned ones.
Potato Cumin Curry is a quick dish that I would definitely make again. Next time I might add a couple of chopped tomatoes, or a can of drained diced tomatoes, to add color and another flavor.
a

Potato Cumin Curry
(Adapted from a recipe in Mark Bittman’s Kitchen Express)
.
Update February 28, 2017: I have just learned that asafetida usually includes wheat so it is not gluten-free. Simply eliminate asafetida to make the recipe gluten-free.
a
a
Serves 4 as a main dish
a
1 jalapeno pepper, minced
2 tablespoons minced ginger
4 cloves garlic, minced
2 tablespoons curry powder
1 tablespoon ground cumin
¼ teaspoon cayenne pepper
½ teaspoon mango powder (optional)
1/8 teaspoon asafetida (optional; omit for gluten-free)
2 large russet potatoes (1½ pounds total)
2 tablespoons oil (I used coconut oil)
1 medium onion, chopped (about 1 cup)
1 can coconut milk
1 cup water
1 can chickpeas, drained and rinsed (or 1¾ – 2 cups cooked chickpeas)
a
Rice, for serving
Cilantro, for serving
a
Jalapeno, ginger, and garlic
 a
a
1. Mince the jalapeno pepper, ginger, and garlic, and set aside. (Scrape the ginger with a spoon to remove the peel.)
2. Combine the curry powder, cumin, cayenne pepper, mango powder, and asafetida in a small bowl.

3. Peel the potatoes, and cut them into ½-inch cubes. Put them in a bowl of cold water so they won’t turn brown before you use them.
 a
a
4. Heat the oil in a large skillet. Add the onions and cook, stirring occasionally, just until they soften, about 3 – 4 minutes.
5. Add the jalapeno, ginger, and garlic. Cook, stirring, for about 1 minute.

6. Add the spices (curry powder, cumin, cayenne, mango powder, and asafetida) to the pan. Cook, stirring, for 1 minute.
7. Drain the potatoes and add them to the pan. Stir to coat with the spices.

8. Add the coconut milk and about 1 cup of water. Bring to a boil. Reduce heat so it’s just simmering. Cover and cook until the potatoes are tender. This will take about 15 minutes.
9. Add the chickpeas and cook until the chickpeas are warm, just a few minutes.

10. Serve over rice, and top with chopped cilantro, if desired.
Share this:

Katharine Hepburn’s Brownies
You don’t really need my blog post for Katharine Hepburn’s Brownies. Just do a Google search and you’ll get pages and pages of links to the recipe. There are many other excellent brownie recipes, so I’m not going to call this “the best”. But it is a very good brownie recipe, especially if you are a fan of fudgy brownies.
Liz Smith interviewed Katharine Hepburn in 1975 for a Ladies’ Home Journal article, and the recipe for the brownies was released to the public in that article. It has been a much-loved recipe ever since, and today it is alive and well on the Internet.
I looked at several of the links for the recipe and noticed that it is always the same. It seems that no one wants to tinker with Katharine Hepburn’s Brownies.
I made it exactly as written, as well, although I did omit the optional walnuts.
Sometimes you feel like a nut….sometimes you don’t. 😉
a

.
Katharine Hepburn’s Brownies
(Originally published in an article in the August 1975 issue of Ladies’ Home Journal)
a
a
Makes 16
a
1 stick butter, plus more for buttering the pan
2 squares (2 ounces) unsweetened chocolate
1 cup (192 g) sugar
2 eggs
½ teaspoon vanilla
¼ cup (30 g) flour
¼ teaspoon salt
1 cup chopped walnuts (optional)
 a
a
1. Preheat the oven to 325˚.
2. Butter an 8-inch square baking pan.
3. Melt the chocolate and the butter in a heavy saucepan over low heat.
I used 2 ounces of 100% cacao baking chips.
4. Remove the pan from the heat and stir in the sugar.
 a
a
5. Add the eggs and vanilla and “beat it all like mad”*.
 a
a
6. Stir in the flour and salt (and walnuts if you’re using them) and mix well.
7. Pour the batter into the prepared pan and bake for 40 – 45 minutes, until a toothpick inserted in the center comes out clean.
8. “Take it out; let it cool; cut into squares and go crazy.”*
aaaaa* I’m assuming the quotes are from Katharine Hepburn from the original recipe. 🙂
a

Share this:

Potato Salad
I have made a lightened-up version of Potato Salad for over 20 years. Replacing some of the mayonnaise with yogurt reduces the fat and calories quite a bit. That means I can enjoy a larger portion of Potato Salad!
This potato salad is quite similar to the one my mom made. So to me, this is the “classic” Potato Salad. Mom most often used russet potatoes. And, yes, they will fall apart and not be in neat little cubes. That’s the way this one is supposed to be.
One little trick that I like to do is to pour dill pickle juice over the hot potatoes. The hot potatoes absorb a lot of flavor before anything else is added. If you don’t want to use pickles or pickle juice, you can achieve a similar result by pouring a bit of vinaigrette over the hot potatoes. Use one that’s made with white vinegar (instead of red wine or balsamic) so the potatoes won’t darken. I have sometimes used a commercial nonfat Italian dressing; it adds flavor without adding any more fat.
I like to add chopped hard boiled eggs to the Potato Salad. Thinking that one of our guests (that would be you, Byron) didn’t like egg yolks, I carefully removed the yolks and just added the egg whites. As it turns out, I was mistaken. He does like hard boiled egg yolks. Next time I’ll add the whole eggs!
There is one thing you should know about using a yogurt-based dressing. If you make the Potato Salad ahead of time, it will absorb a lot of the dressing and may be a bit dry. I mixed the Potato Salad ahead of time with about 2/3 of the dressing. I reserved the rest. Just before serving, I added a bit more mayonnaise and pickle juice to the reserved dressing and mixed it with the Potato Salad. I find that this method works great!
In case you haven’t figured it out by now, this recipe is very flexible. Like my Twice Baked Potatoes, I probably haven’t made Potato Salad exactly the same way twice. So use this as a guideline. Make adjustments to make it just the way you want it.
a
My version of Classic Potato Salad

a
Potato Salad
.
Serves 6 – 8
Salad
3 – 4 large russet potatoes ( 2 ¾ – 3 pounds total)
4 Tablespoons dill pickle juice
½ cup diced sweet onion
½ cup diced celery
½ cup diced dill pickles
2 hard boiled eggs, chopped
.
Dressing
1 cup plain yogurt (I used Fage Total 2%)
2 Tablespoons mayonnaise
2 Tablespoons dill pickle juice
2 Tablespoons Dijon mustard
To add later to the extra dressing when ready to serve:
2 Tablespoons mayonnaise
2 Tablespoons dill pickle juice
a
1. Scrub the potatoes. Put them in a pot and cover with water.

2. Bring to a boil. Turn the heat down and simmer until done. Depending on the size of the potatoes, it should take about 20 – 30 minutes, or until a knife slips easily into them.
3. Drain the potatoes. Remove the skin and put the potatoes in a large bowl. Using a dinner knife, cut the potatoes in the bowl into chunks.

4. Pour 4 tablespoons of pickle juice over the hot potatoes and toss gently. Set aside to cool.
5. When the potatoes are cool, add the chopped onion, celery, pickles and eggs.
onion and celery

a
dill pickles

onion, celery, pickles and eggs added

6. Whisk the dressing ingredients together. Pour about 2/3 of the dressing over the potato salad and gently mix. Refrigerate the rest of the dressing; cover and refrigerate the potato salad until ready to serve.
7. At serving time, whisk the 2 tablespoons of mayonnaise and 2 tablespoons of pickle juice into the remaining dressing.
8. Add as much of the extra dressing as you feel it needs to make the potato salad the way you want it. Taste, and add salt and pepper, if needed.
a
A little sprinkle of paprika would be nice, but I was out.

Share this:

Twice Baked Potatoes
This is how I recently made Twice Baked Potatoes. I measured everything and wrote down what I used so I could call it a “recipe”. However, I don’t use a recipe for Twice Baked Potatoes, and I’ve probably never made them exactly the same way twice. 😉
Twice Baked Potatoes are basically cheesy mashed potatoes baked in potato skins. I used a sharp cheddar to get more of a flavor bang from just 2 ounces, but you could really use any type of cheese that you like. I often use medium cheddar. As I’m writing this, I’m thinking blue cheese would probably be amazing!
This “recipe” for Twice Baked Potatoes will give you the basic info about how to make them. If you don’t have sour cream, just use more milk. You can add more cheese or butter for a more decadent version. I mix the cheese into the potatoes, but you could top the potatoes with some grated cheese, too.
Twice Baked Potatoes take a bit of time, but they are really easy to make and a perfect fall comfort food!

a
Twice Baked Potatoes
.
.
Serves 4 (Simply cut the recipe in half for 2 servings. You can also multiply it to serve a crowd.)
a
2 large russet potatoes (about ¾ pounds each)
A bit of olive oil
¼ cup sour cream (I used light sour cream)
2 tablespoons butter
½ cup sharp cheddar cheese, grated (2 ounces)
3 tablespoons milk
½ teaspoon salt
a
1. Preheat the oven to 425˚.
2. Scrub the potatoes, rub a bit of olive oil all over them, and prick the skin in several places over the top. (Pricking them prevents potato explosions in the oven. Speaking from experience, you don’t want to skip this step!)
3. Put the potatoes directly on the oven rack and bake for 1 hour.
4. Remove the potatoes from the oven and lower the heat in the oven to 350˚.
5. Let the potatoes cool for a few minutes so they’re not too hot to handle. Slice them in half lengthwise and scoop out the potato.
Scooped-out potatoes

a
6. Put the skins on a baking sheet. (I like to line it with foil for easy clean-up.)
7. Mix the sour cream, butter, cheese, milk, and salt into the potatoes.
8. Fill the potato skins with the potato mixture.
.
Ready for the oven

a
9. Bake for 30 minutes.


