Welcome!
You'll find over 470 of my favorite recipes here, including ideas for Quick meals, Cooking for 2, Feasting on Leftovers, and cooking with 5 Ingredients or Less. I'm adding new posts regularly; you can subscribe by email or RSS feed if you'd like to receive the latest recipes. Bon appétit!
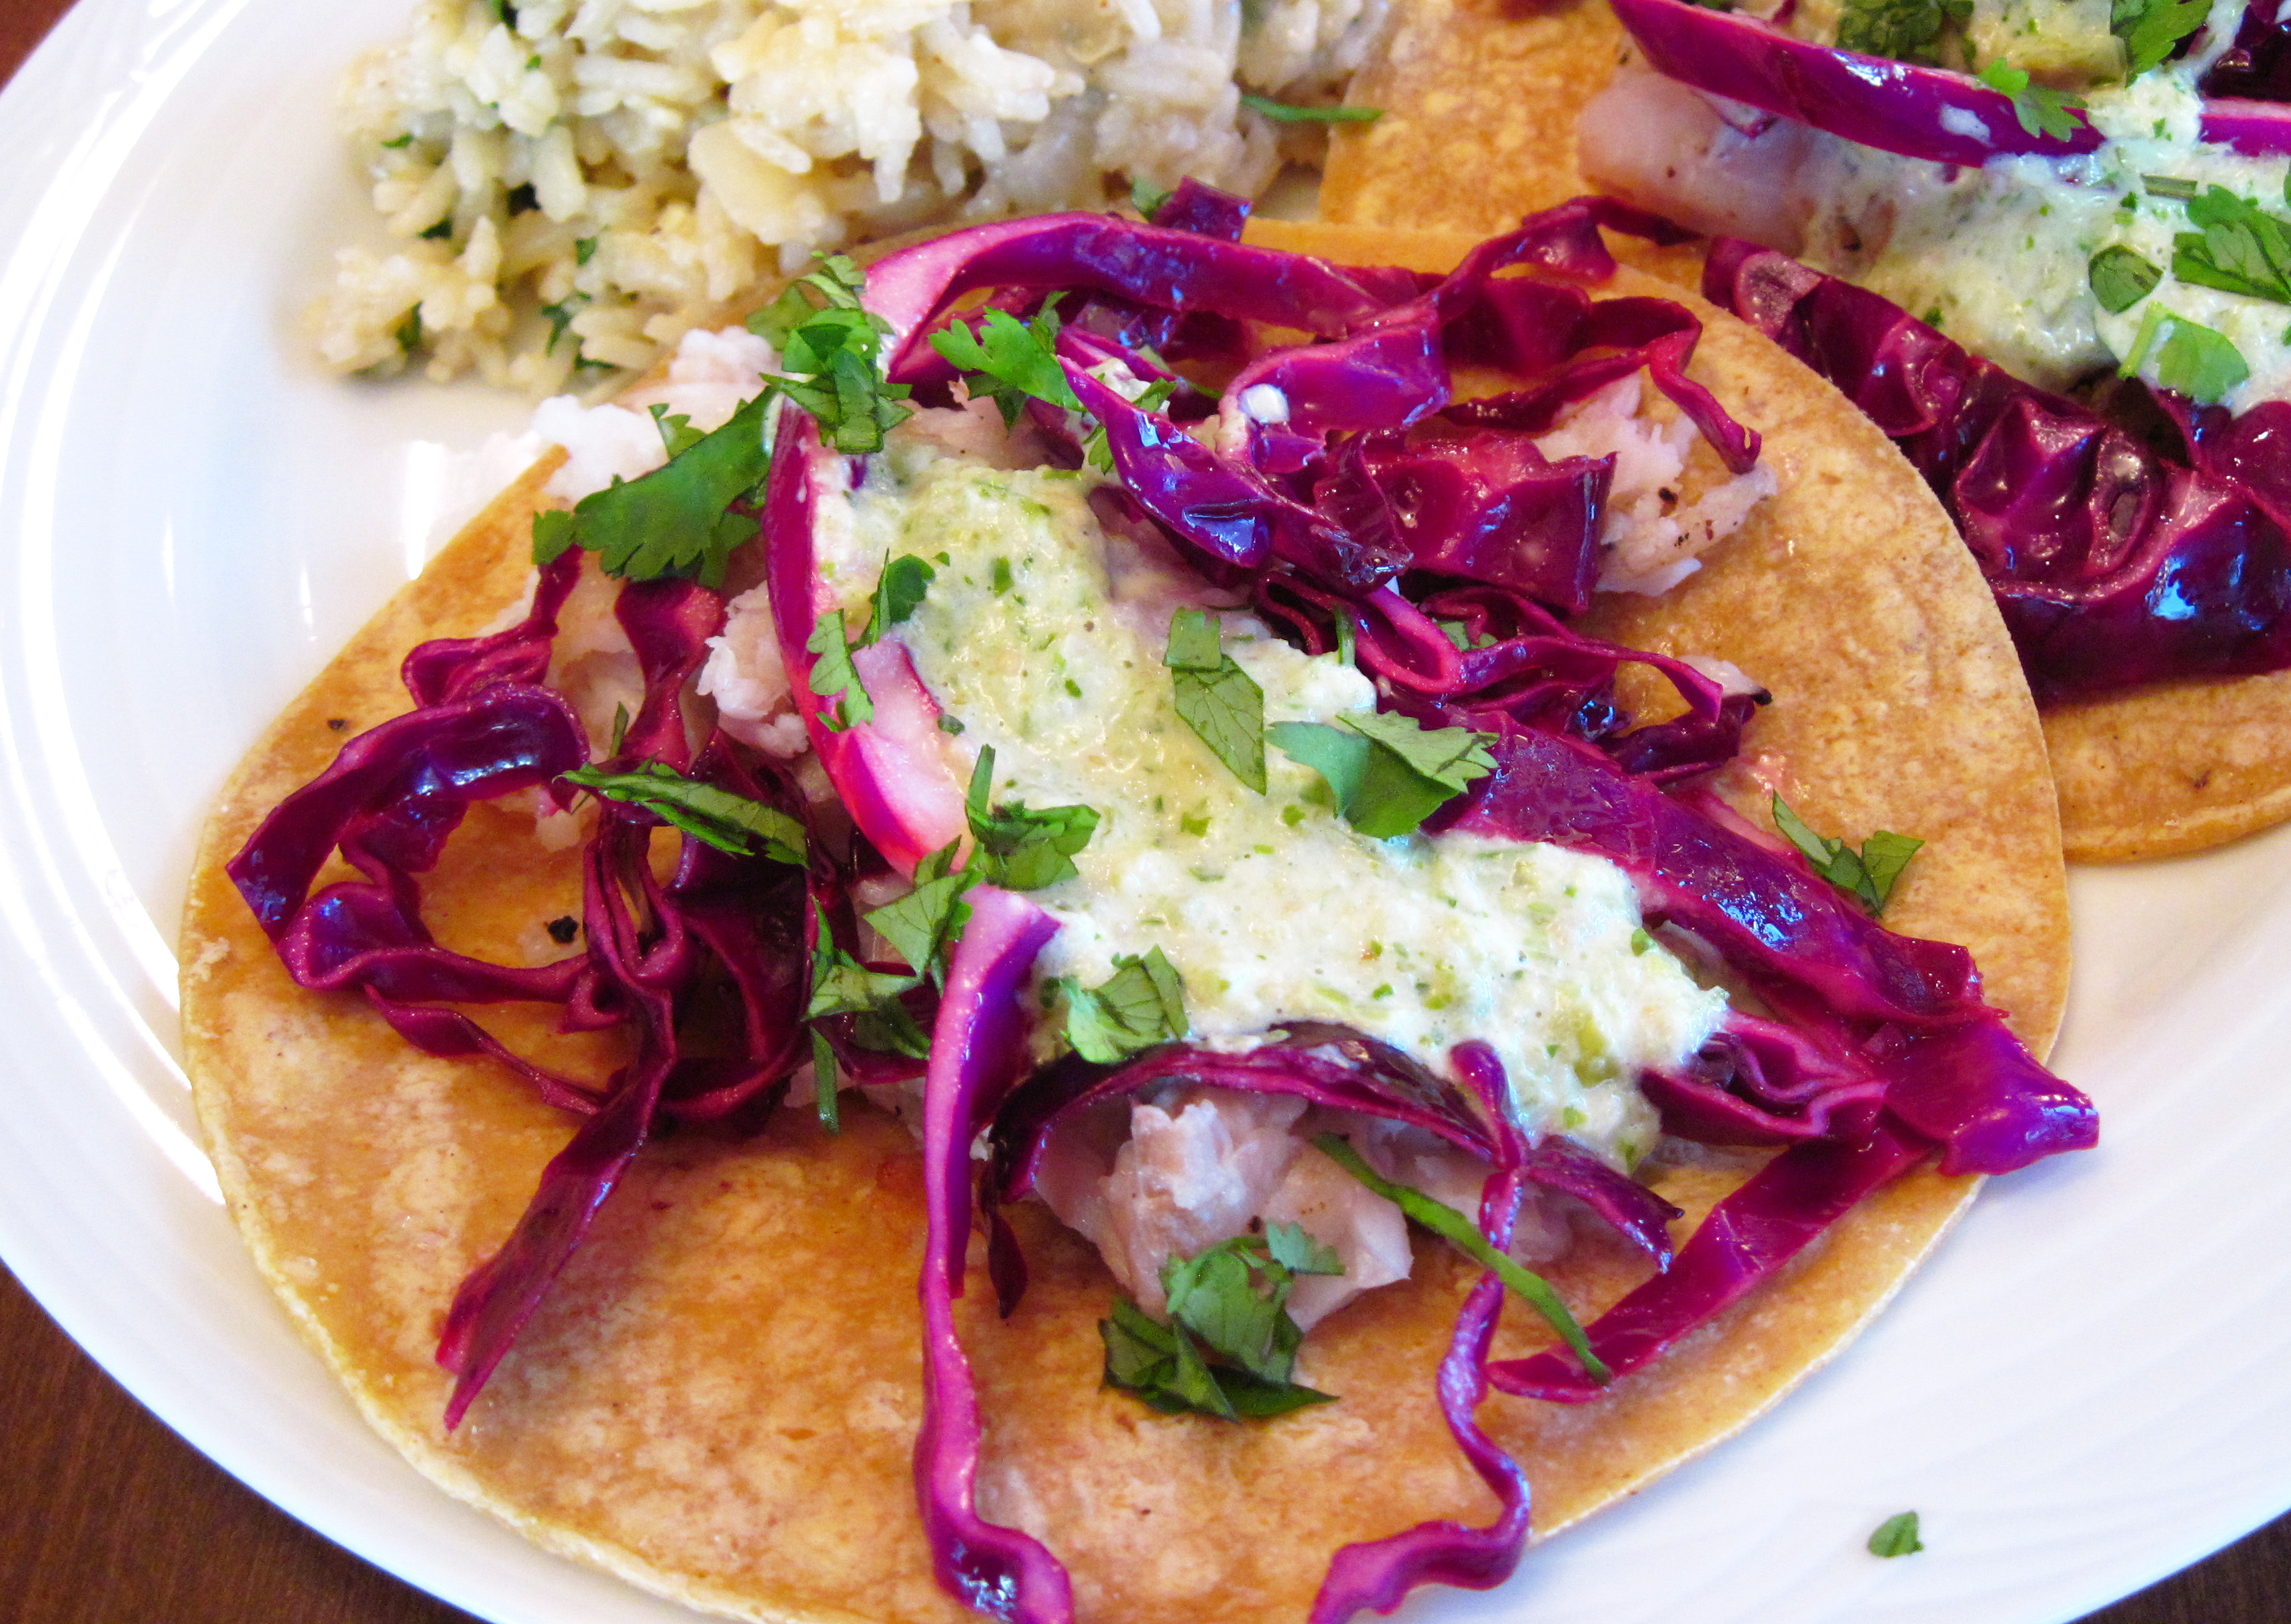
Fish Tacos with Tomatillo Sauce
By Kath Dedon
Carrie made a terrific Cooking Light recipe last night. Fish Tacos with Tomatillo Sauce is definitely a keeper and I look forward to making it again.
However…..we learned an important lesson. Cooking Light uses tilapia. I like to use wild fish instead of farmed fish, so I went to the market looking for an alternative. There were some nice looking “flounder” fillets that were marked “wild” and they were reasonably priced. It seemed like a good choice for tacos. Boy, was I wrong!
The fish turned to mush. It was truly like a fish paste. Turning to the Internet, I learned that “arrowtooth flounder” has an enzyme that turns the flesh to mush when it is heated. The label on my fish simply said “flounder”, not “arrowtooth flounder”, but I’m convinced that it definitely was the arrowtooth variety.
So why would a market sell it? Some Internet posts suggest that it turns out okay if it is soaked in lemon juice or vinegar for a brief time before it is cooked. One site said it is often used for sushi (no heat there). Next time I will simply choose a different variety of fish.
Do try Fish Tacos with Tomatillo Sauce. It’s a great recipe that is very quick to make. Just don’t use flounder. I’m sure tilapia would work fine. I’ll probably use cod or mahi mahi.
(Thanks, Carrie, for making dinner! Sorry I bought the wrong fish.)
a
a
Fish Tacos with Tomatillo Sauce
(Adapted from a Cooking Light recipe) a
Serves 4 a
Cooking Light uses only half of a jalapeno pepper. We liked the heat of a whole pepper. Just use half if you want a milder sauce.a
3 garlic cloves
2 medium tomatillos, husked and rinsed
1 medium jalapeno pepper
½ cup cilantro stems
3 tablespoons mayonnaise
½ teaspoon sugar
1/8 teaspoon salt
2 cups very thinly sliced red cabbage
1 tablespoon fresh lime juice
1 tablespoon olive oil
1½ pounds fish fillets (Try tilapia, cod, or mahi mahi)
Salt and pepper for seasoning the fish
Light olive oil to coat the pan
8 (6-inch) corn tortillas
¼ cup fresh cilantro leaves
a
1. Turn the broiler on high. Broil the garlic, tomatillos and jalapeno on a foil-lined tray for about 3 minutes on each side or until blackened.
2. Put the garlic, tomatillos, jalapeno, cilantro stems, mayonnaise, sugar, and 1/8 teaspoon of salt in a small food processor and process until it’s smooth.
3. Mix the cabbage, lime juice and 1 tablespoon olive oil together.
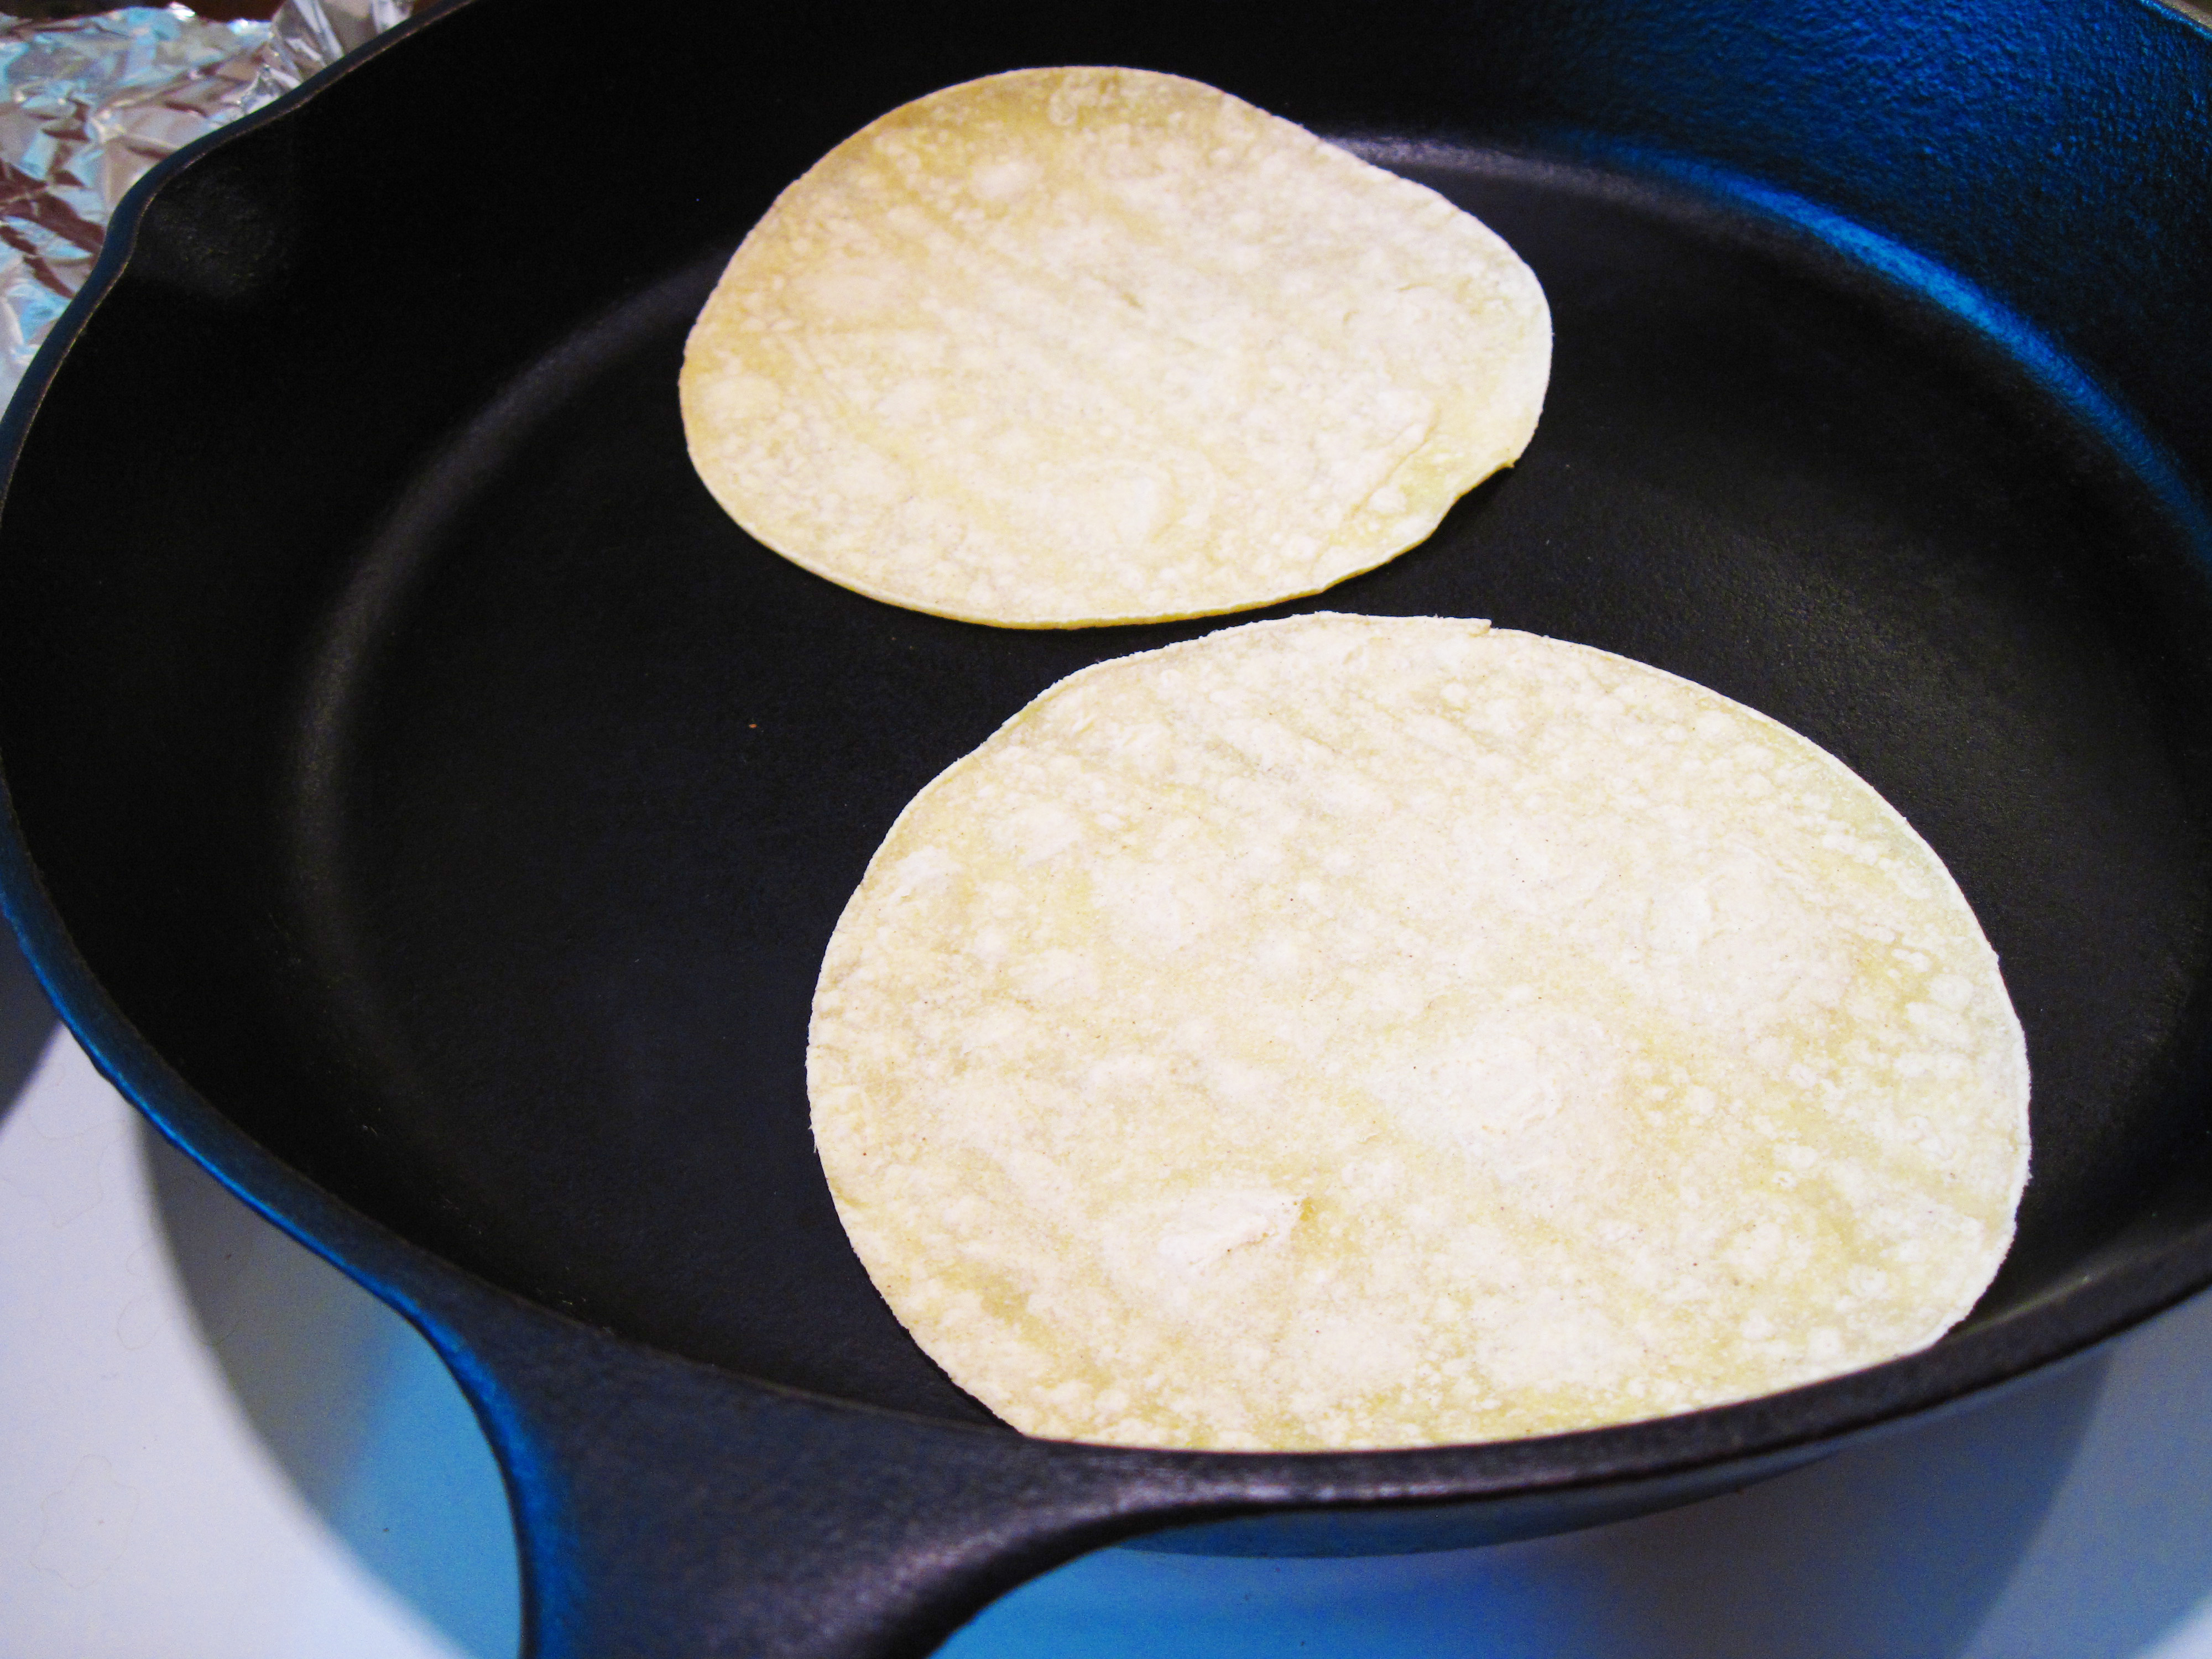
4. Preheat the oven to warm. Heat a cast iron skillet over medium heat until hot. Put the tortillas in the dry skillet, heating them for about 30 – 40 seconds on each side. When all of the tortillas are done, wrap them in foil and keep them in the warm oven.
a
5. In the same skillet, add a small amount of olive oil to coat the pan.
6. Sprinkle a bit of salt and pepper on the fish fillets and add them to the hot oil in the skillet. Cook until the fish flakes easily with a fork, about 2 – 3 minutes on each side. (Timing will depend on the thickness of the fillets.)
7. To serve, top each tortilla with a piece of fish. Then add about ¼ cup of the cabbage mixture, some of the tomatillo sauce and a sprinkling of cilantro leaves.
Share this:

Homemade Honey-Sweetened Ginger Ale
By Kath Dedon
Why would you make Homemade Honey-Sweetened Ginger Ale? Because you can, and it’s delicious! Also because you can choose the sweetener of your choice and avoid the nasty ingredients that are in most commercial soft drinks.
And…it is very easy to make!
I turned to the man who knows how to cook everything, Mark Bittman, for a recipe. Sure enough, in The Best Recipes in the World he has a recipe for ginger ale. He uses sugar which would give you more of a pure ginger flavor. I used a mild honey and found that the subtle honey flavor went well with the ginger.
Once you have the ginger syrup made, you can control the strength of your drink according to your taste.
Mr. Bittman points out that the syrup is “incredible with rum” and that it is a “quick way to add ginger flavor to stir-fries and other dishes”. I haven’t tried those ideas but they seem brilliant to me.
And did you know? Ginger has many health benefits, including relief from motion sickness and inflammation! So enjoy a healthy Homemade Honey-Sweetened Ginger Ale this summer!
a
a
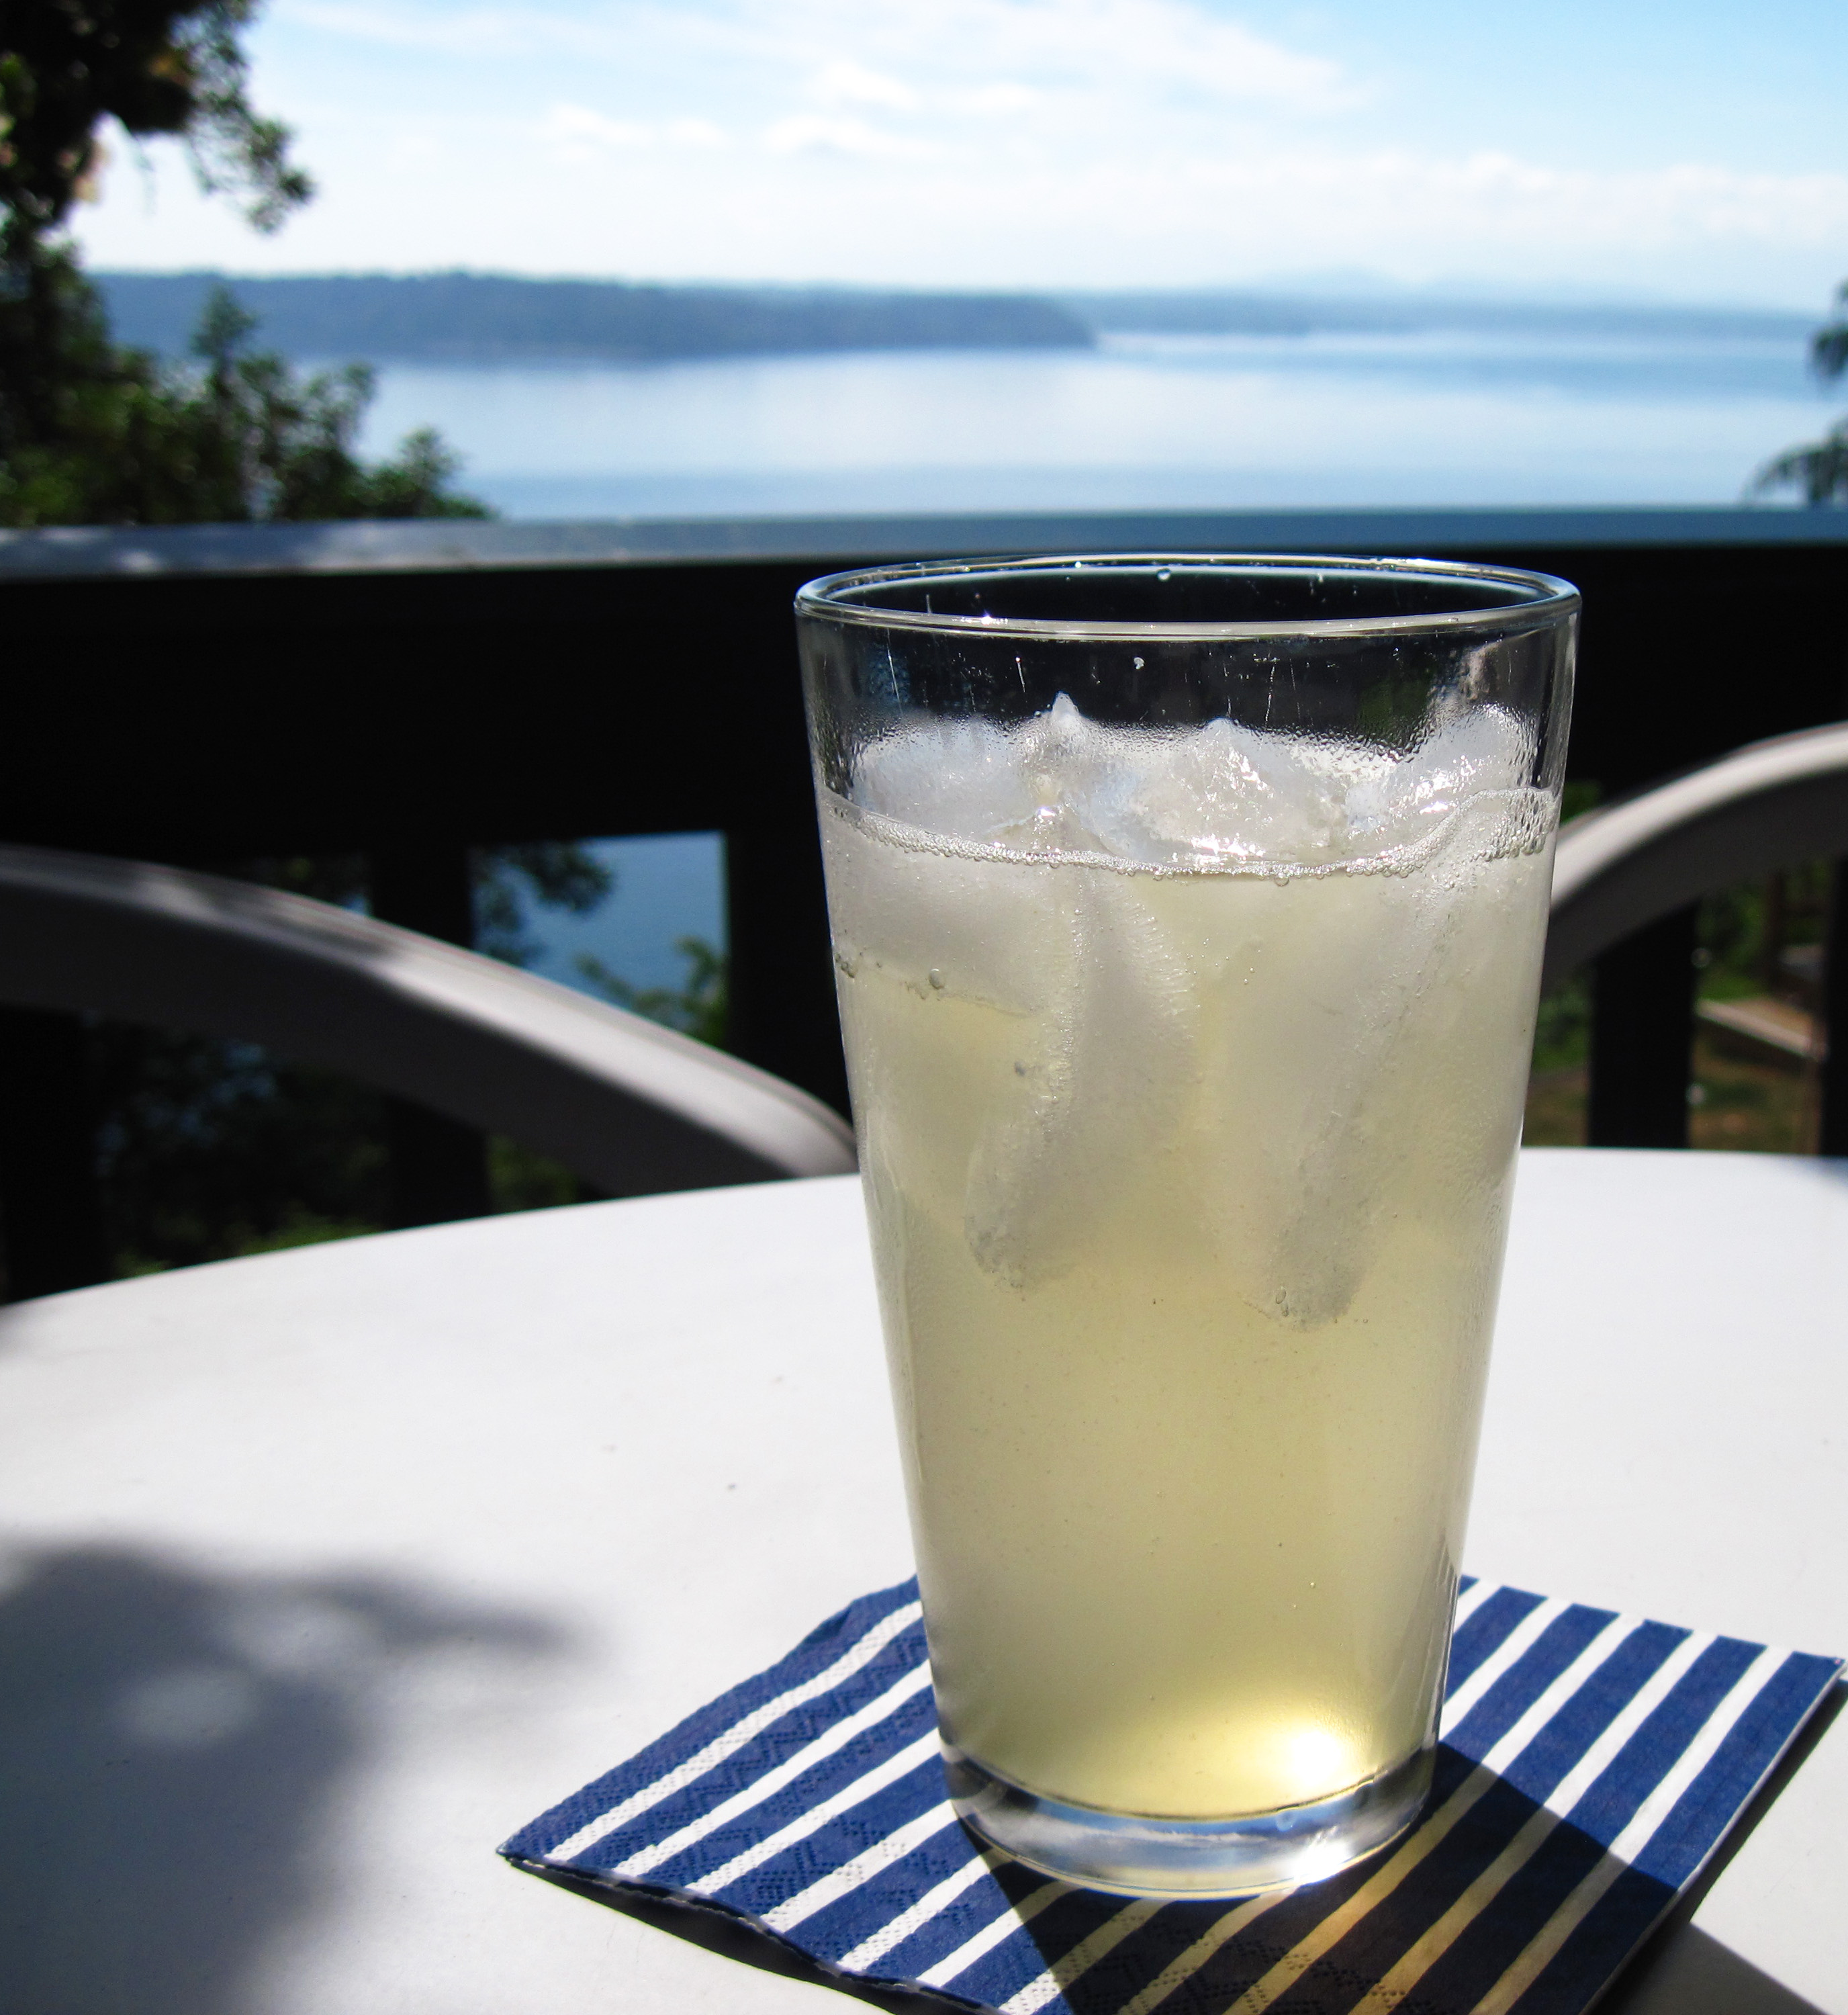
Homemade Honey-Sweetened Ginger Ale
(Adapted from a Mark Bittman recipe in The Best Recipes in the World)
a
If you use sugar, use 1 cup of sugar and 2 cups of water as in the original recipe.
a
Makes about 2 cups of syrup
a
a
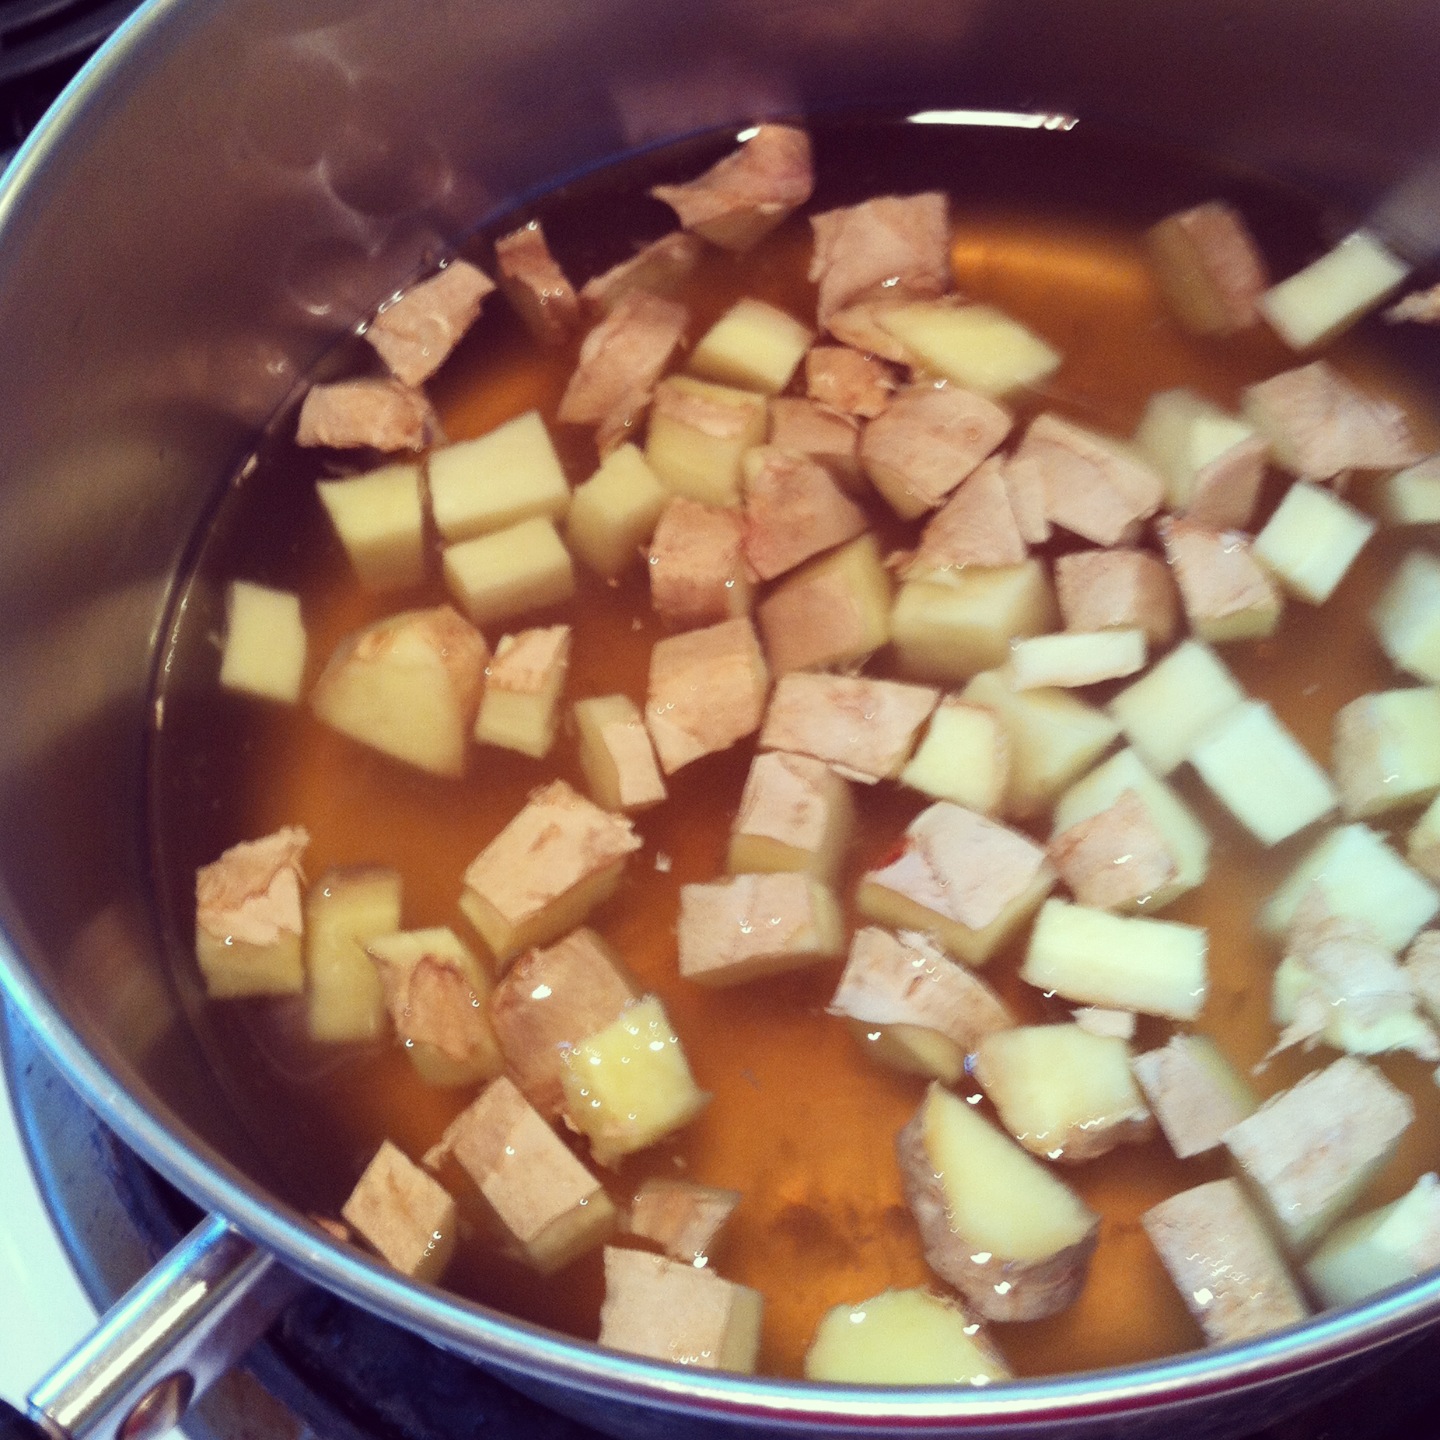
¾ cup fresh ginger, chopped (no need to peel it)
1 cup honey
Sparkling water (club soda or seltzer)
a
1. Measure the honey in a 2-cup Pyrex cup and add water to make 2 cups.

a
2. Put the honey-water and ginger in a pan. Bring to a boil. Lower the heat and simmer for 10 minutes. Let the syrup cool.
a
3. Strain the ginger syrup and store in the refrigerator for up to 2 weeks.
4. Add club soda or seltzer to the syrup to taste to make the ginger ale. Add ice and enjoy! (In my tall glasses, I liked the ratio of ¼ cup of syrup with 10 ounces of sparkling water.)
Share this:

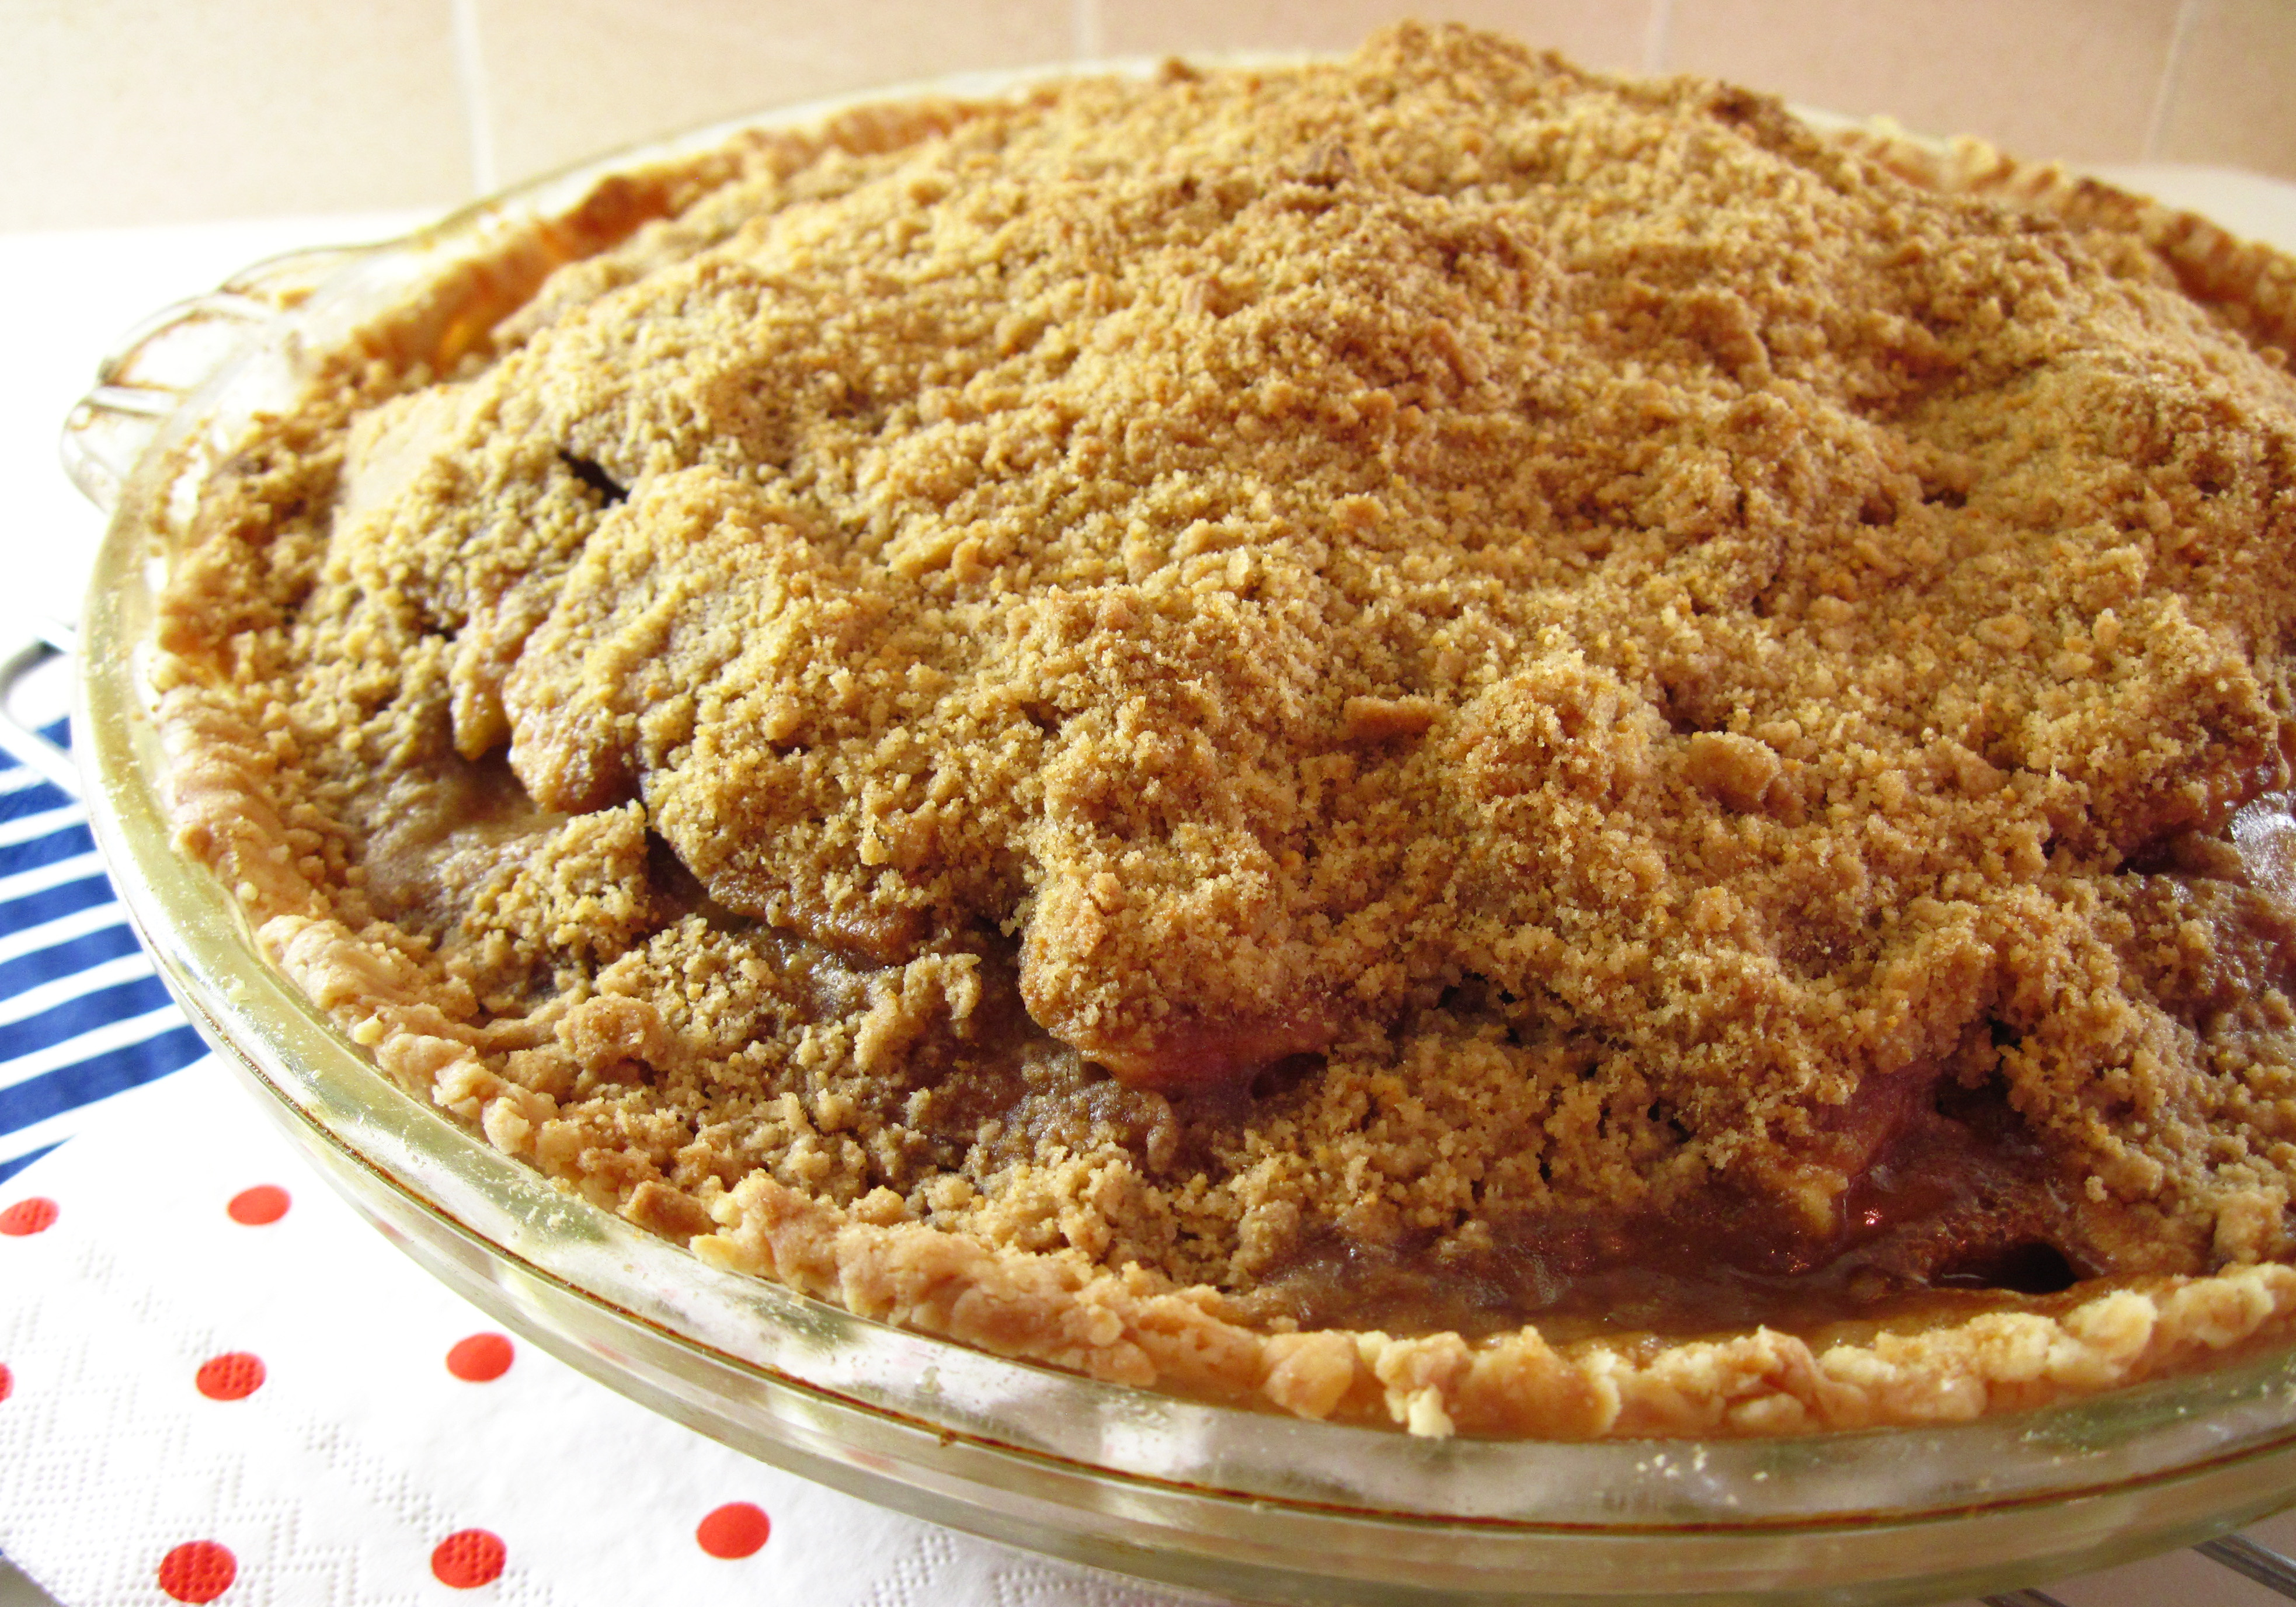
Cinnamon Crumble Apple Pie
By Kath Dedon
.
What could be more American than an apple pie for the 4th of July? Bon Appétit’s Cinnamon Crumble Apple Pie on epicurious.com caught my eye with its rave reviews, so I decided to give it a try.
Of course, I had to change it up a bit. Instead of the recipe’s butter/vegetable shortening crust, I used my tried-and-true Easy Pie Crust for a single crust pie. I used honey instead of sugar to sweeten the apple filling and substituted maple sugar for the sugar and brown sugar in the topping.
The Cinnamon Crumble Apple Pie was terrific and definitely a keeper! I liked the bold cinnamon flavor. If you’re a cinnamon lover, give this one a try.
a
a
Cinnamon Crumble Apple Pie
(Adapted from an October 2003 Bon Appétit recipe on epicurious.com)
a
a
I like to use honey and maple sweeteners, but you can definitely use sugar and brown sugar as in the original recipe if you prefer. I once read in Cook’s Illustrated that King Arthur Unbleached All-Purpose Flour is the best flour for making flaky, tender pie crusts. I switched and haven’t looked back. It does make a noticeable difference.
a
Crust
1½ cups (180g) King Arthur Unbleached All-Purpose Flour
½ teaspoon salt
1/3 cup extra light (mild tasting) olive oil
4 tablespoons cold milk
1 teaspoon white vinegar
Waxed paper for rolling the dough
a
1. Place a large baking sheet in the oven and preheat to 350˚.
2. Combine the flour and salt in a bowl.
3. Measure the olive oil in a 1-cup measuring cup. Put the 4 tablespoons of milk in the same cup with the oil. Put the vinegar in the cup.
4. Add the liquids to the flour all at once and stir with a fork just until it can be formed into a ball.
5. Form the dough into a ball. Put the dough on a 12-inch sheet of waxed paper. (If you put a little water under the bottom of the waxed paper, it won’t slide around when you roll out the dough.) Flatten it with your hand; put another sheet of waxed paper on top and roll the dough out to the edges of the paper.
6. Carefully remove the top sheet of waxed paper. Lift the bottom sheet and dough up and put it paper-side up over the pie plate. Carefully remove the waxed paper and fit the dough into the pie plate.
7. Finish the edge of the crust the way you like. I simply use a fork to press into the dough around the edge.
a
Filling
3¼ pounds (about 6 large) Granny Smith apples, peeled, cored, and sliced. (I use my food processor for even, thin slices.)
2 tablespoons unsalted butter
2/3 cup honey (or sugar)
¼ cup all purpose flour
2 teaspoons ground cinnamon
a
1. Put the apples in a large bowl.
2. Put the butter in a Pyrex glass measuring cup and melt it in a microwave oven. Stir the honey, flour and cinnamon into the butter and set aside.
a
Topping
1 cup all purpose flour
¾ cup maple sugar (or ½ cup sugar and ¼ cup golden brown sugar)
1 ½ teaspoons ground cinnamon
½ teaspoon salt
6 tablespoons chilled unsalted butter, cut into ½-inch cubes
a
1. Process the flour, maple sugar, cinnamon and salt in a food processor. Add the chilled butter and process, pulsing it off and on, until it looks kind of like sand. Small pieces of butter in the mixture are fine.
a
Assembling and baking the pie
1. Stir the honey mixture in the Pyrex cup with a fork to make sure it is well-combined. Pour it over the apples and gentle stir until the honey is evenly distributed. Put the apples in the prepared pie crust, mounding them so they are a bit higher in the center.
2. Cover the apples with the topping.
3. Put the pie on the baking sheet in the preheated oven and bake for about 50 minutes.
4. It’s best if it’s cooled until warm, about 1 hour, but it’s fine at room temperature, too.
a
a
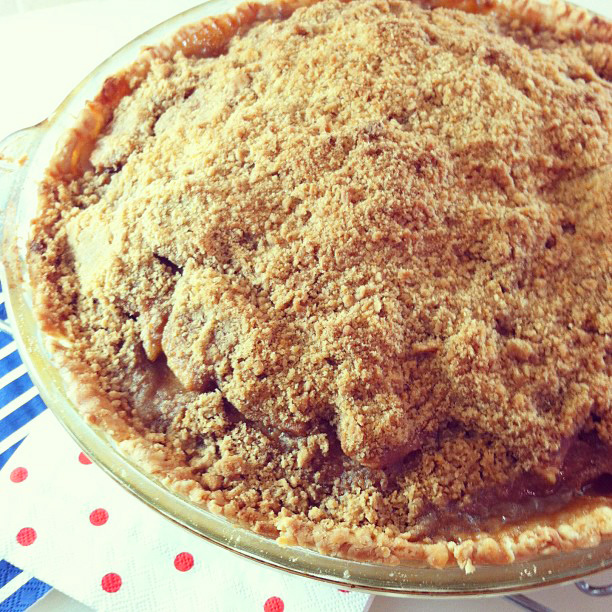
Pie for breakfast, anyone?

a
Share this:

Quinoa, Pepper, and Cannellini Bean Salad
By Kath Dedon
.
Too hot to cook? This Quinoa, Pepper and Cannellini Bean Salad is almost a no-cook recipe. You do have to cook the quinoa, but it has to cool down before it’s mixed with the other ingredients. You can cook the quinoa early in the day before your house heats up and assemble the salad later.
The recipe is adapted from one in Rena Patten’s Cooking with Quinoa and it is quite easy to make. It would be a great “meatless Monday” offering, but I served it last night with a grilled hanger steak. It was a fine meal for a hot summer night.
a

a
Quinoa, Pepper and Cannellini Bean Salad
(Adapted from Rena Patten’s Cooking with Quinoa)
a
a
Serves 4
a
¾ cup quinoa, rinsed and drained
1½ cups water
¼ teaspoon salt
¼ cup extra virgin olive oil
3 tablespoons lemon juice
1 tablespoon Dijon mustard
1 clove garlic
2 cans (15 oz each) cannellini beans, rinsed and drained
1 (12 oz) jar of fire roasted red peppers, cut into pieces
½ cup chopped Italian (flat leaf) parsley
3 tablespoons chopped chives
½ cup black olives, pitted and halved (I used kalamata.)
Salt and freshly ground black pepper, to taste
a
1. Bring the 1½ cups of water to a boil in a large saucepan. Add the 1/4 teaspoon of salt and the quinoa. Bring to a boil, reduce heat to medium low, cover and simmer for about 12 minutes, until the water is absorbed and you can see the little quinoa “tails”. Remove the pan from the heat. Fluff with a fork and let it cool off.
2. Whisk the olive oil, lemon juice and mustard together in a small bowl. Press the clove of garlic into the dressing. Whisk again. Season with a bit of salt and pepper.
3. Put the quinoa, beans, peppers, parsley, chives, and black olives in a large bowl. Pour the dressing over the salad and stir so it is well distributed. Taste and season with salt and pepper, if necessary.
Share this:

By Kath Dedon.
.
Although the Lentil and Chickpea Salad Carrie made could easily stand alone as a delicious vegetarian entrée, I decided to serve some of the leftover salad with Mustard Grilled Chicken Kebabs. It was a great combination!
The Lentil and Chickpea Salad with Feta and Tahini is from Deb Perelman’s Smitten Kitchen blog. We really loved it and wholeheartedly recommend it. The only thing I would do differently is to wait until the lentils have totally cooled down before adding the feta cheese. The French sheep’s milk feta Carrie used melted into the still-warm lentils. Next time I would assemble the whole salad without the cheese and then stir in the feta after it has cooled down. Head on over to Smitten Kitchen for the recipe: http://smittenkitchen.com/blog/2013/04/lentil-and-chickpea-salad-with-feta-and-tahini/
The Mustard Grilled Chicken Kebabs were super easy. I used a Kalyn’s Kitchen marinade but did not include the rosemary or celery seeds. The marinade was quick to mix; I put it and the cut-up chicken breasts in a Ziploc bag and marinated the chicken for about two hours. Longer would have been better, but it was sufficient to give them a bit of flavor.
a
Using 2 skewers for each kebab makes it easier to handle them on the grill.

a
Mustard Grilled Chicken Kebabs
(Marinade adapted from one on the Kalyn’s Kitchen blog)
a
a
Serves 4
a
1/4 cup Dijon mustard
2 Tablespoons lemon juice
1/3 cup olive oil
1½ teaspoons Spike Seasoning (optional, I used it)
A few grinds of black pepper
1 clove garlic (minced or just press it into the marinade)
1 pound boneless skinless chicken breasts
a
1. Whisk together all of the marinade ingredients.
2. Cut the chicken breasts into cubes about 1-inch square.
3. Put the chicken and marinade into a Ziploc bag. Seal and work the bag a bit to distribute the marinade. Refrigerate for at least 2 hours; 6 – 8 hours is even better.
4. If using wooden skewers, soak them in water for 30 minutes. (This keeps them from catching on fire when you’re grilling.)
5. Put the chicken on the skewers. Grill for about 4 minutes on one side. Turn and grill for an additional 3 – 4 minutes.
Share this:

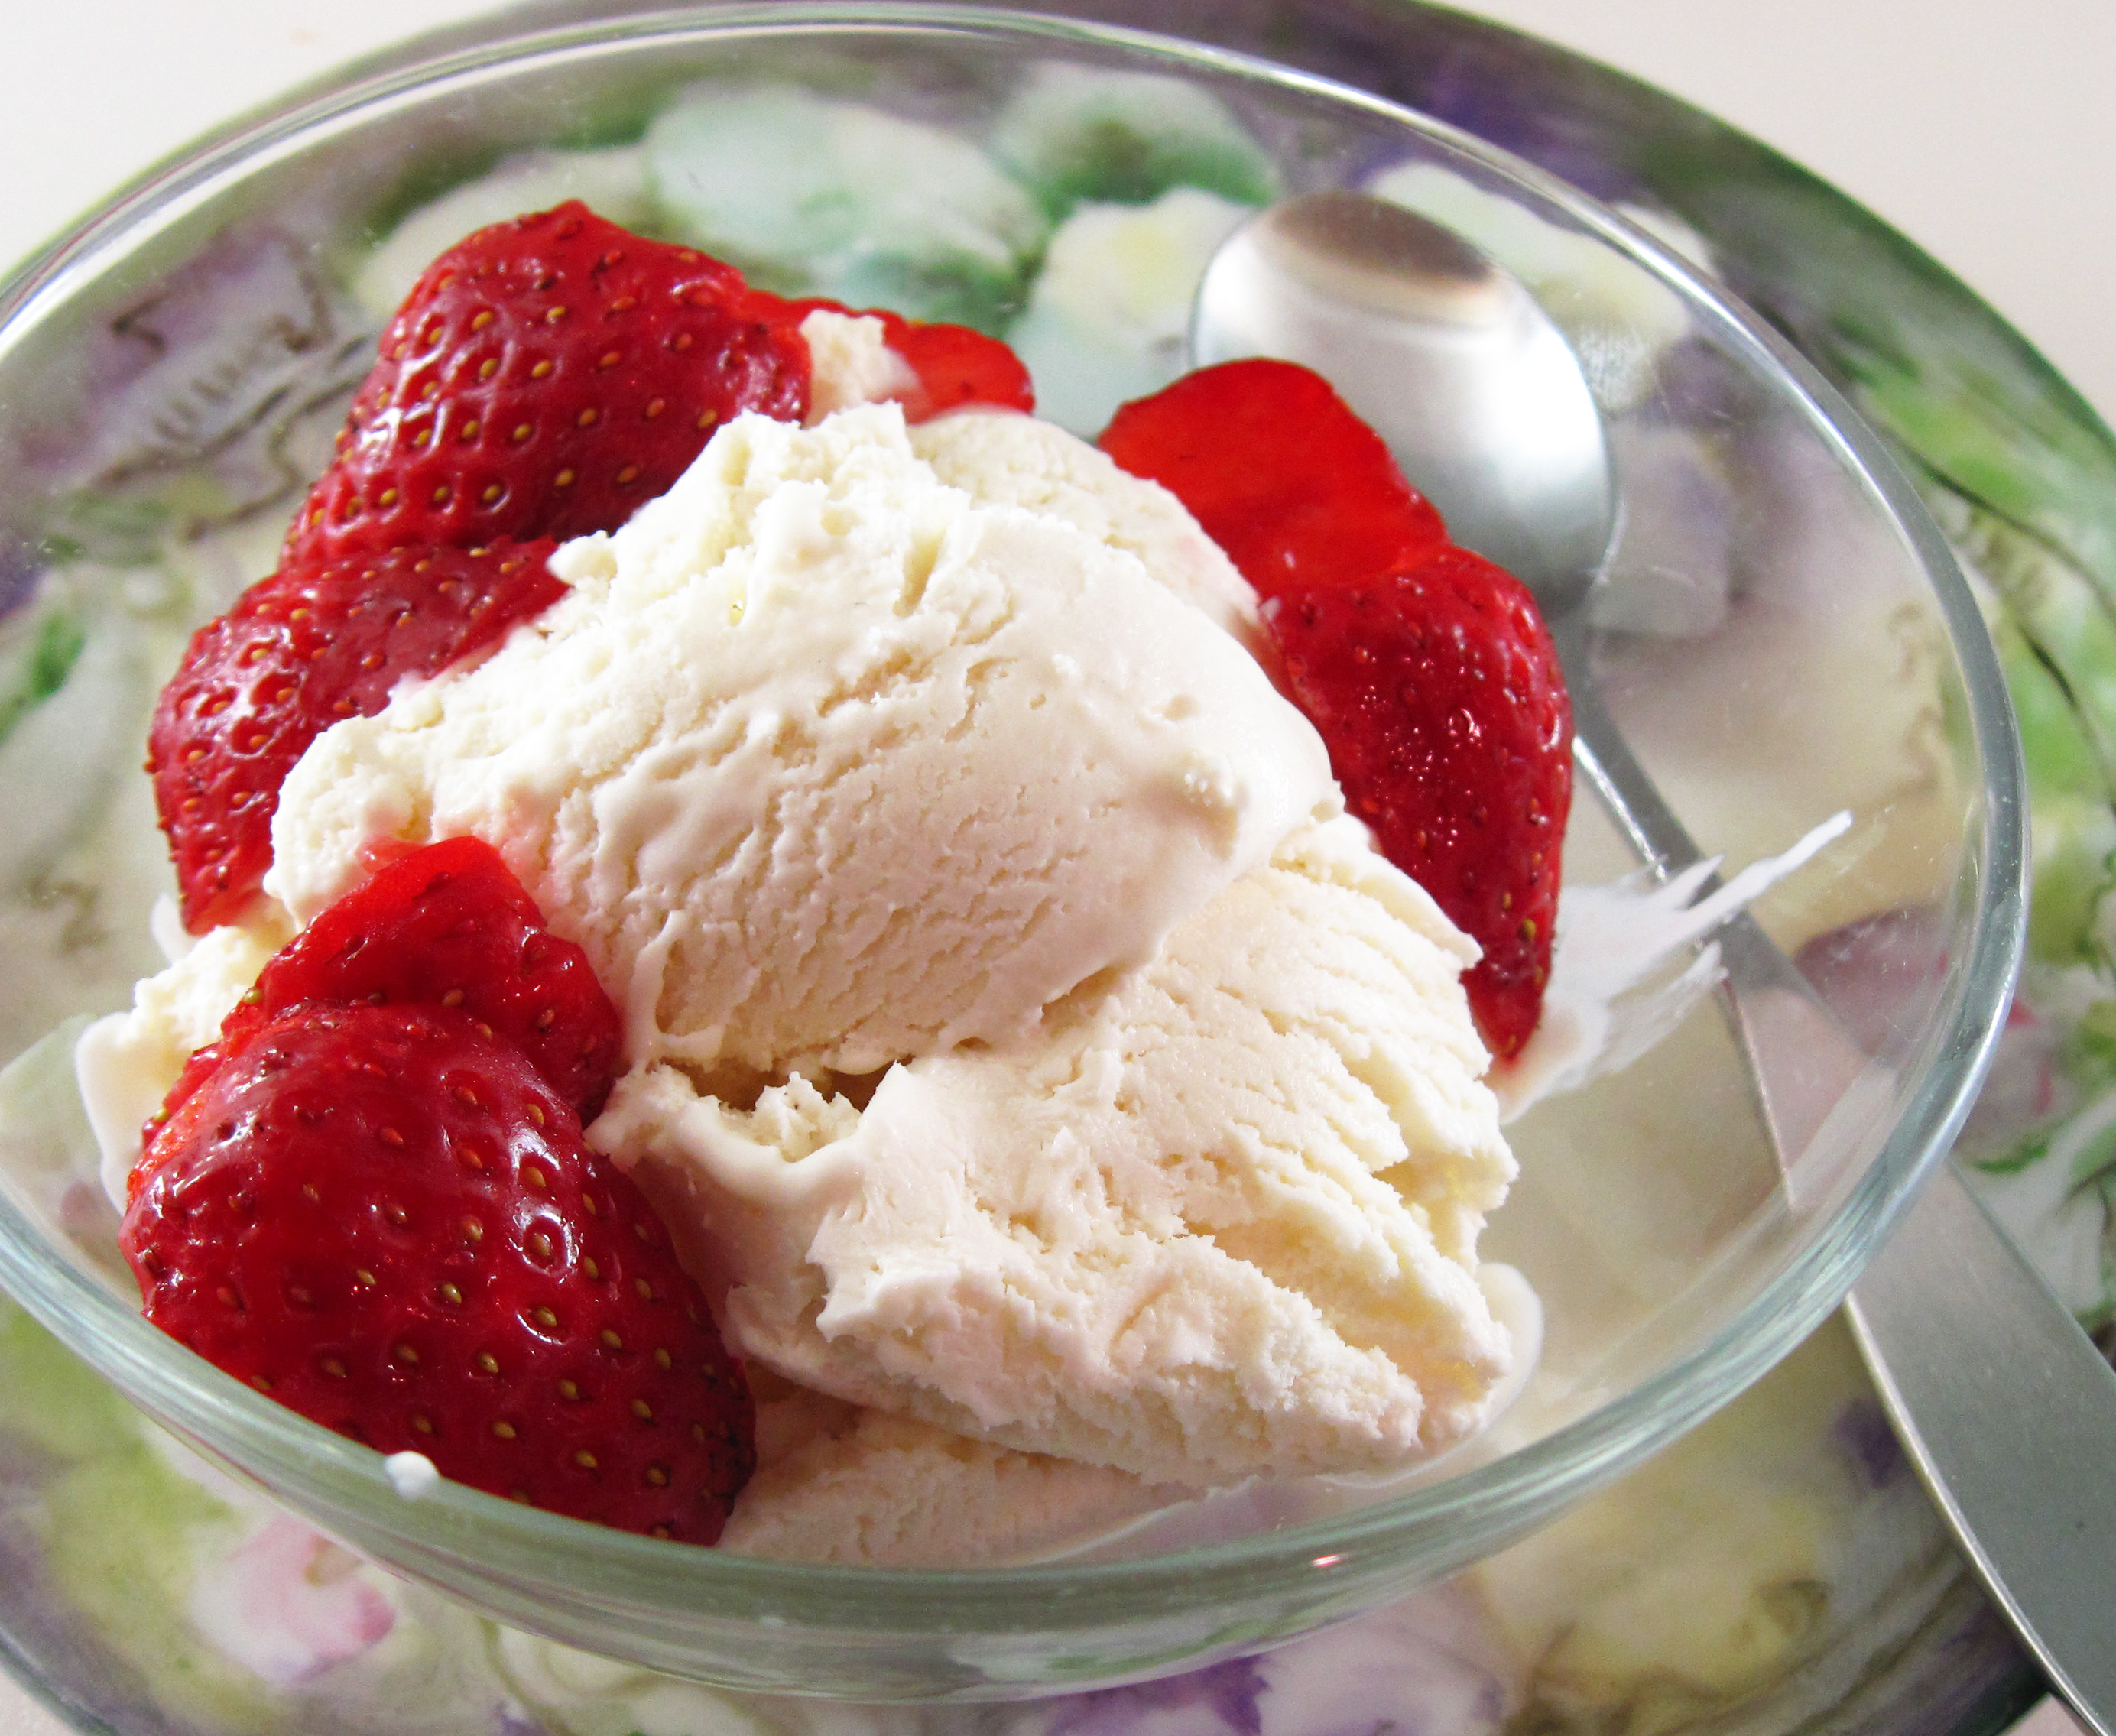
Fresh Mint Frozen Yogurt
By Kath Dedon
.
I made frozen yogurt for the first time and I was really pleased with this Fresh Mint Frozen Yogurt.
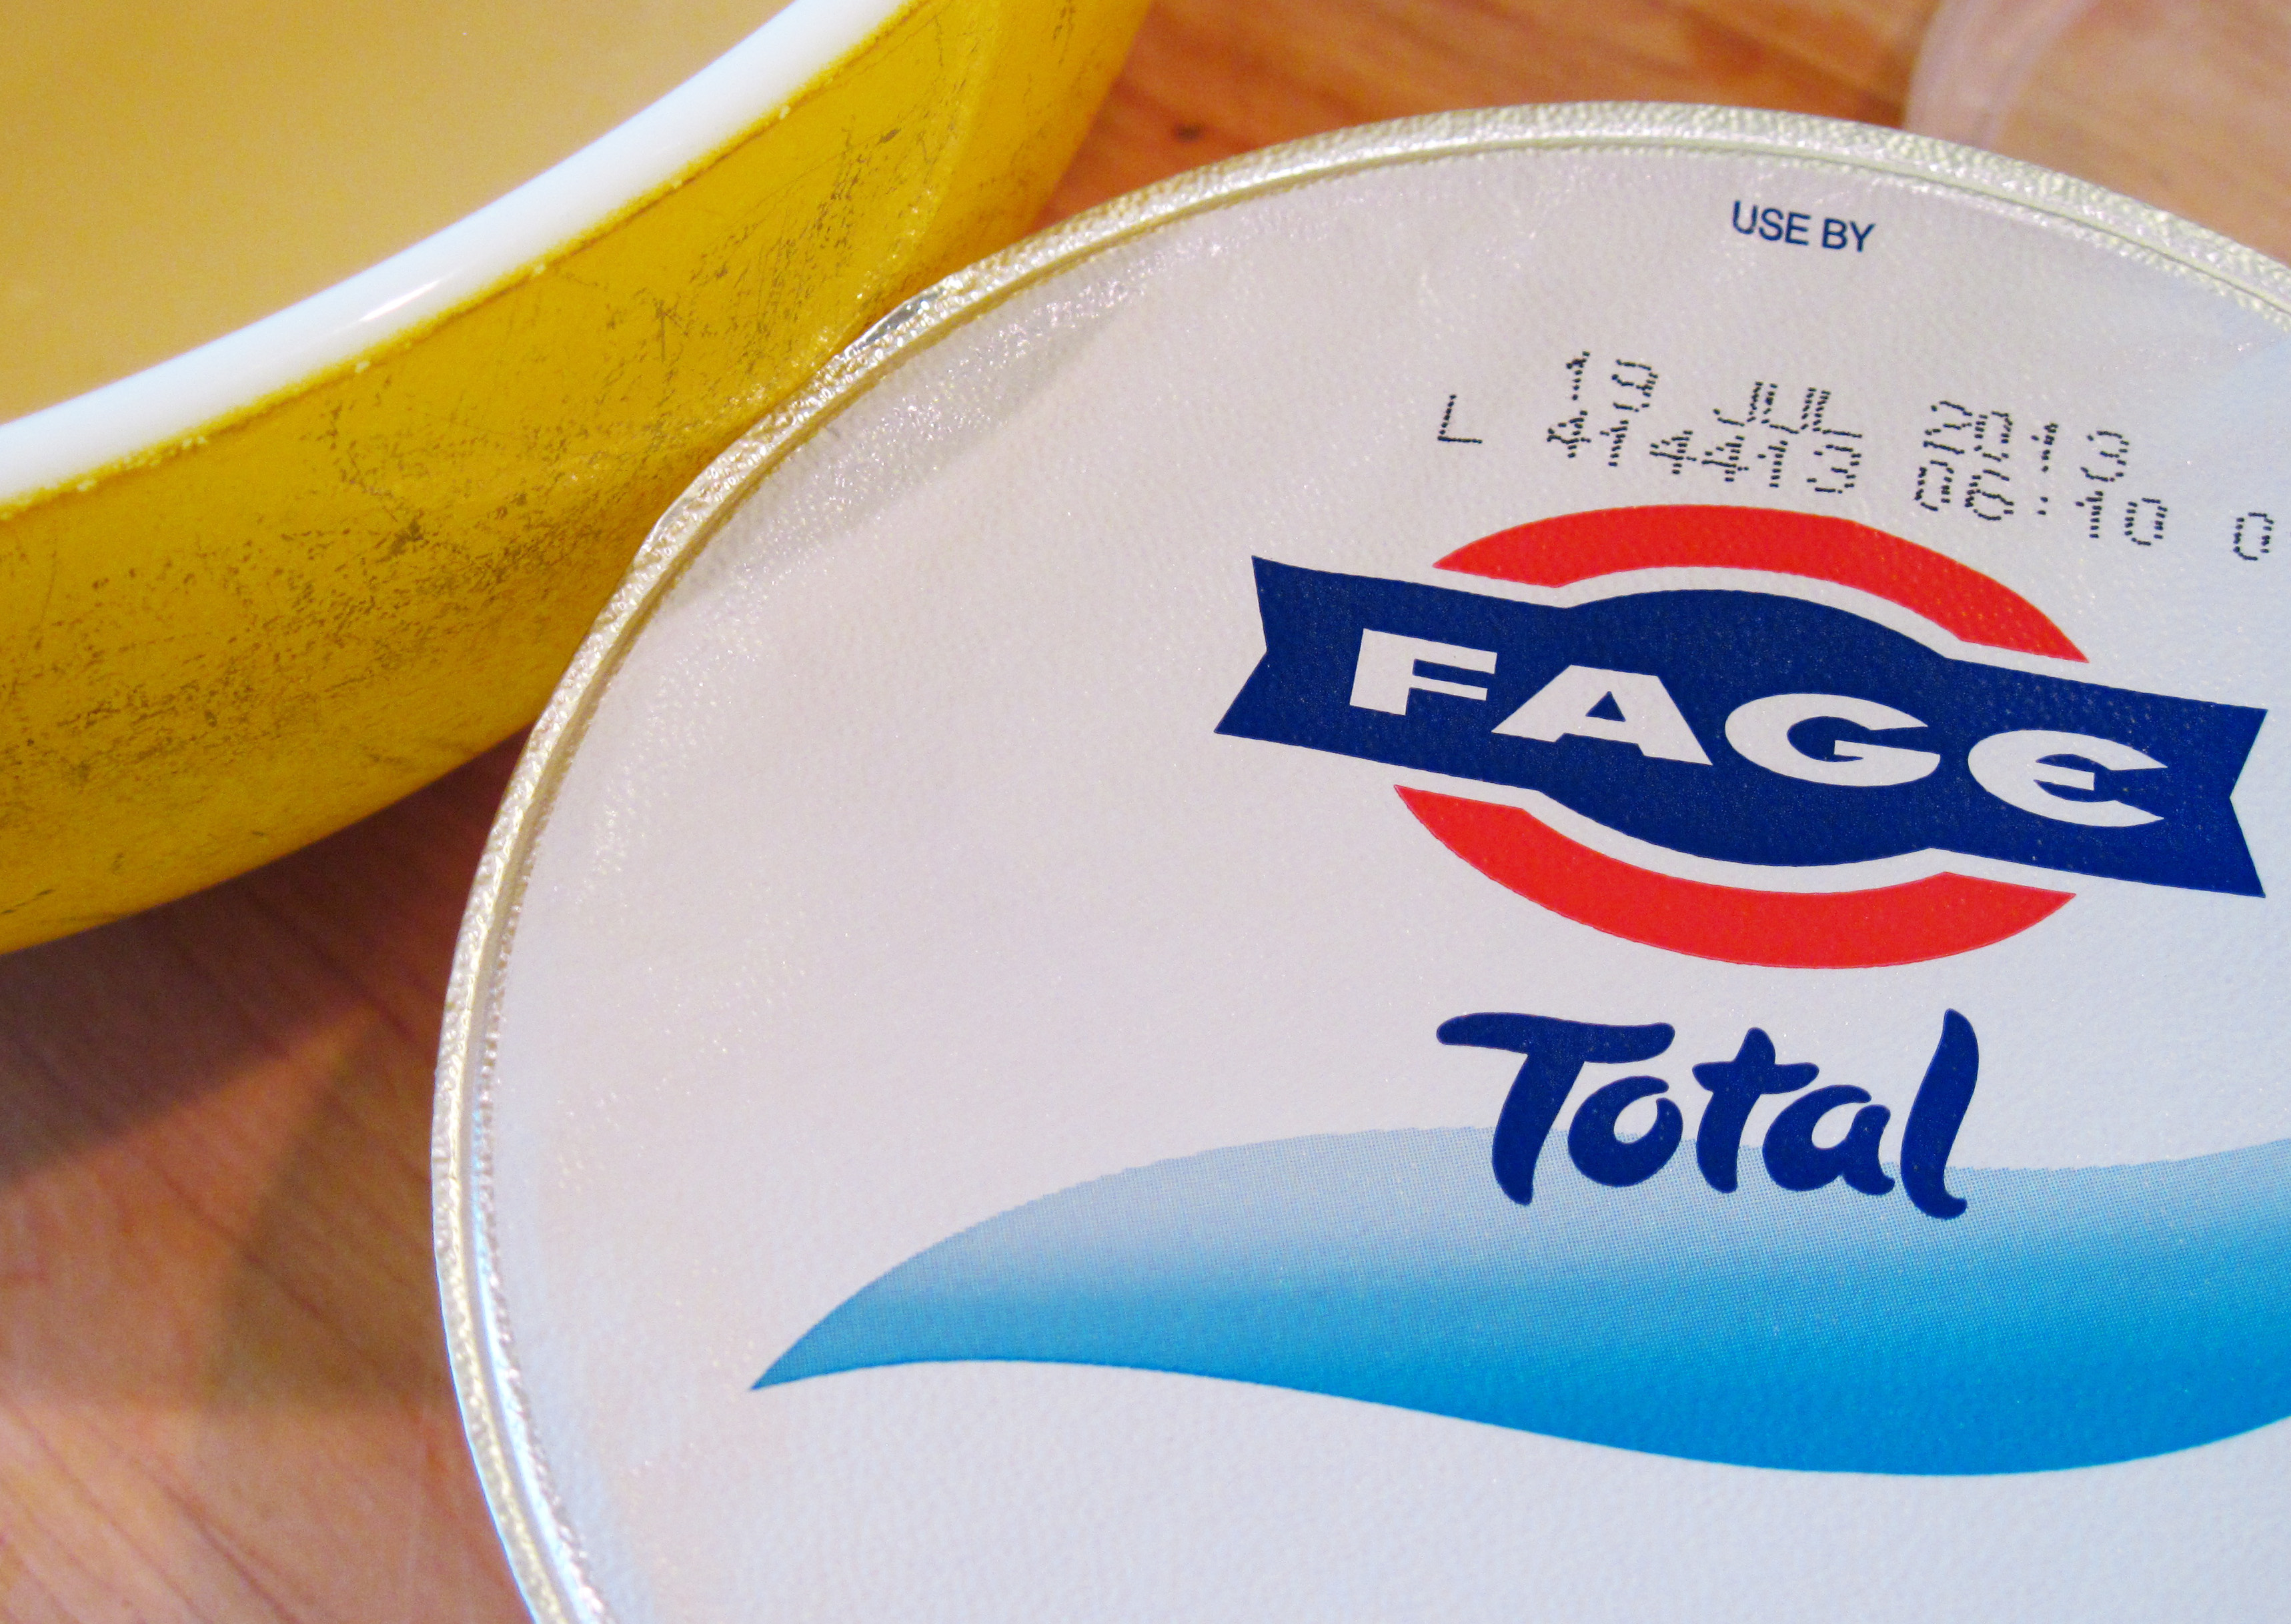
The recipe is from a terrific cookbook called The Sprouted Kitchen, by Sara Forte. (You can find more of Sara’s recipes on her blog at thesproutedkitchen.com. The beautiful photos in the book and on the blog are taken by her husband, Hugh.) I subbed honey for her brown rice syrup. Sara puts 2 ounces of chopped dark chocolate in hers for “Fresh Mint Chip Frozen Yogurt”, but I didn’t use the chocolate.
Mint and chocolate do taste great together, but I’ve never actually been a huge fan of hard frozen chocolate bits in ice cream. I prefer chocolate when it has more of a melt-in-your-mouth quality. So I’m not sure I would put chocolate in the frozen yogurt, but a fine chocolate sauce would be fantastic on it.
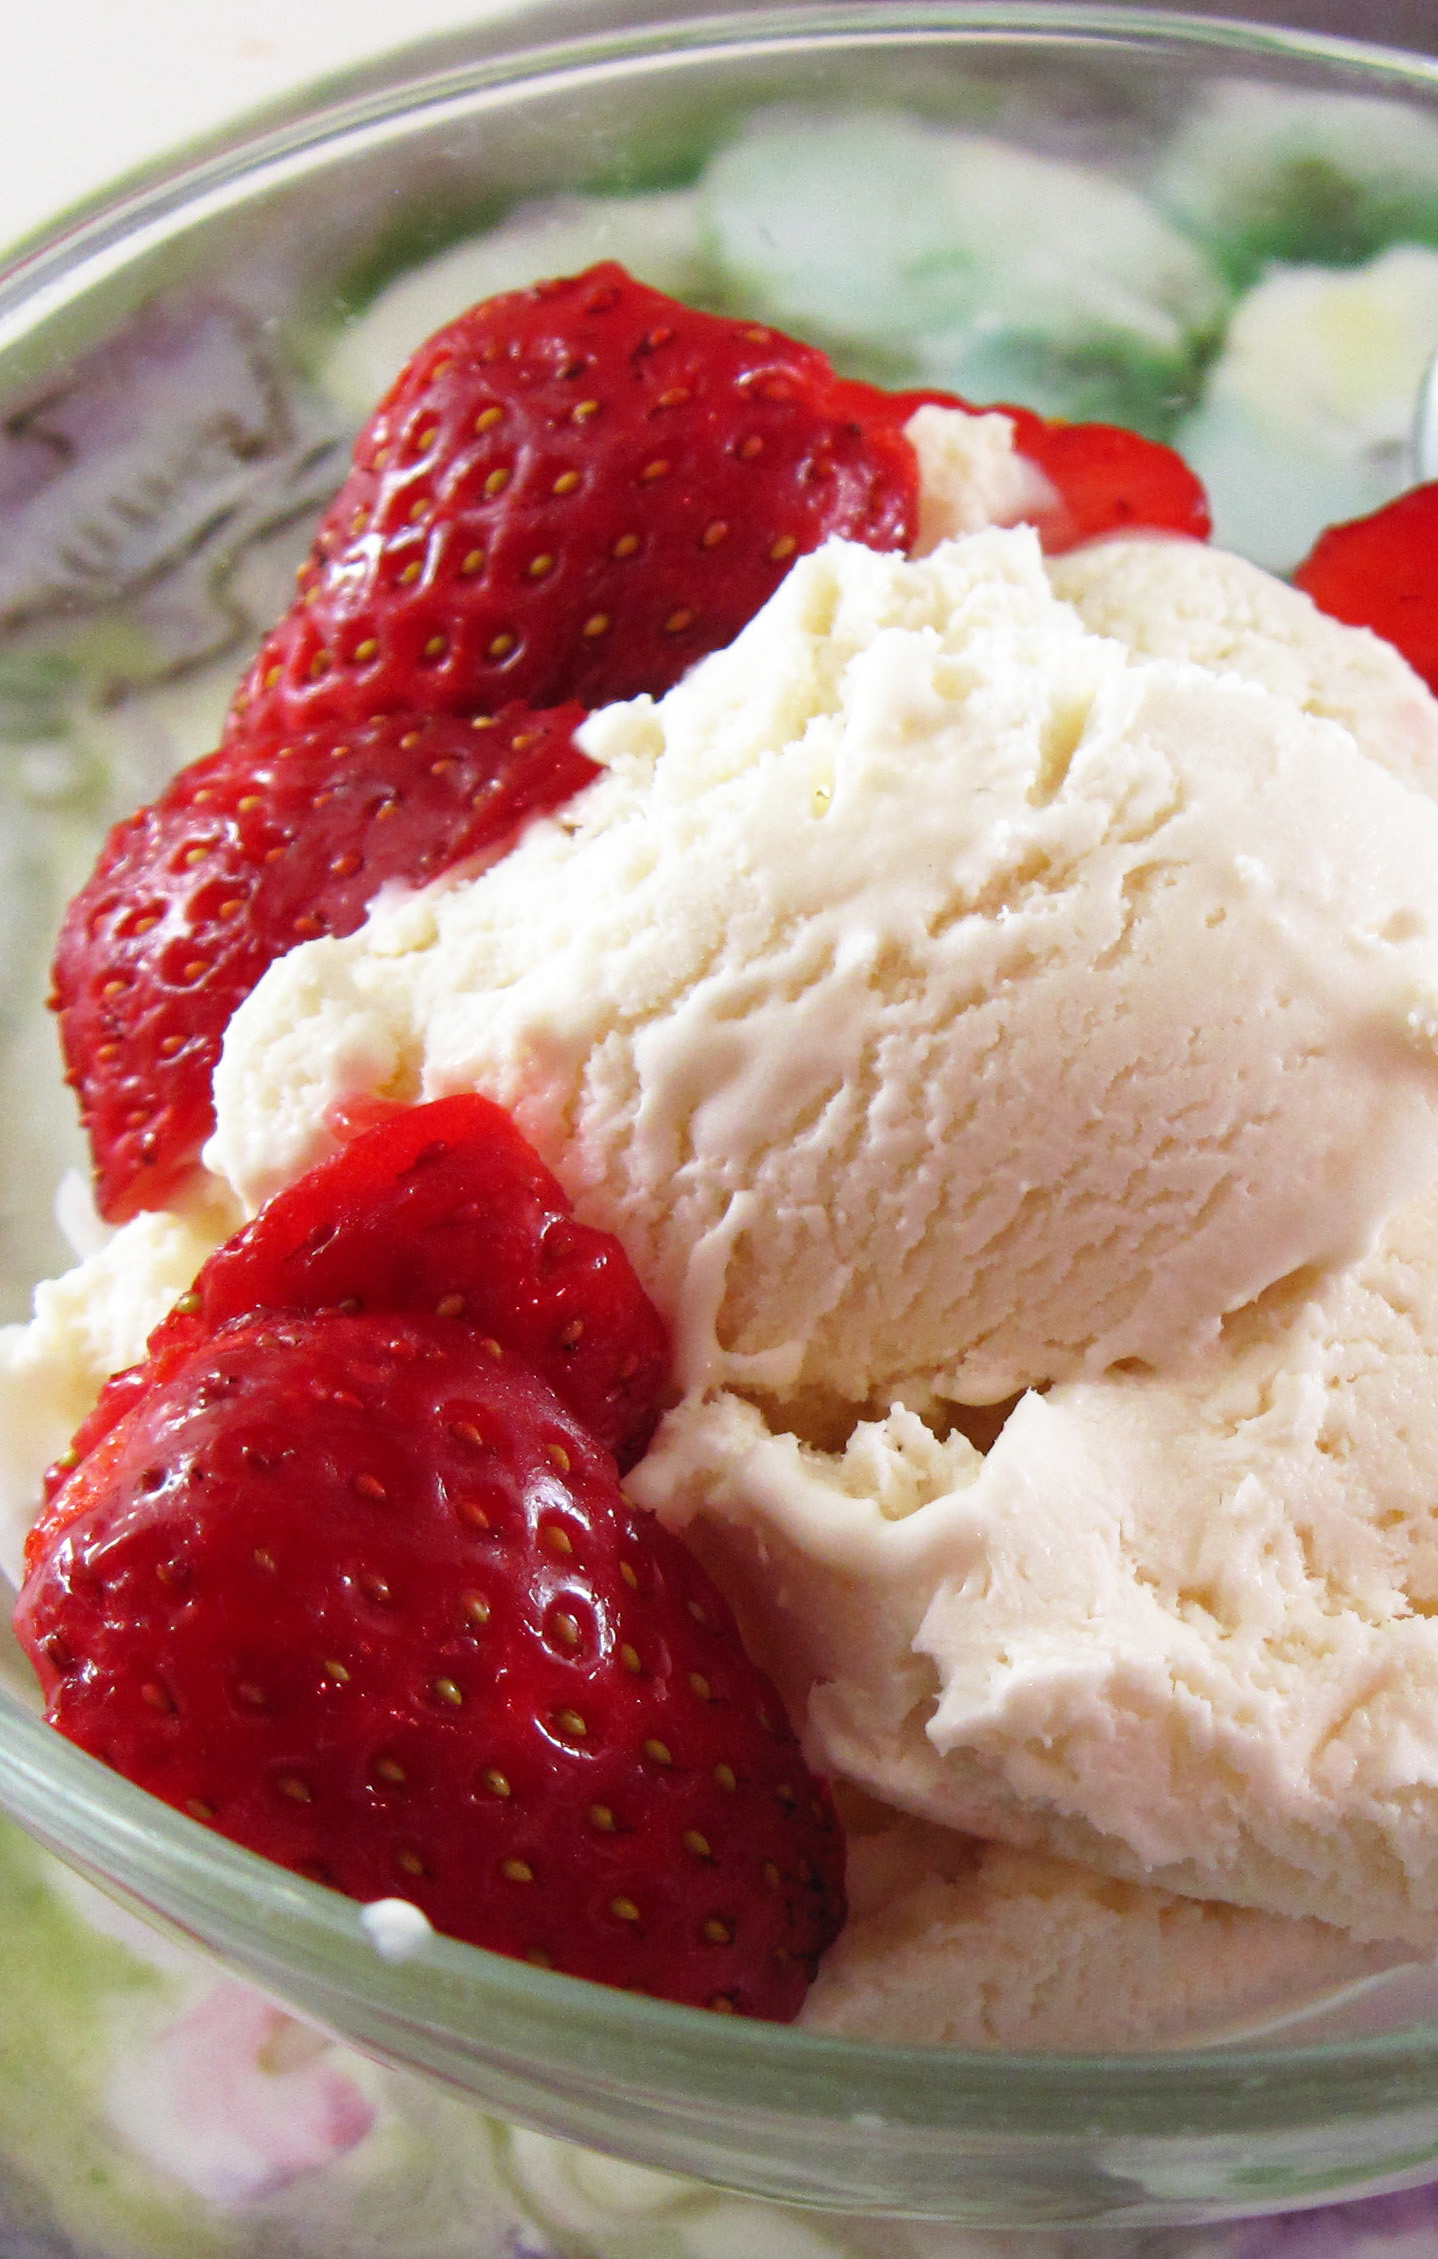
This time I served the Fresh Mint Frozen Yogurt with fresh local strawberries. The perfect berries paired beautifully with the frozen yogurt!
a
Fresh Mint Frozen Yogurt is not green – no food coloring!
a
Fresh Mint Frozen Yogurt
(Adapted from Sara Forte’s recipe in The Sprouted Kitchen)
a
a
Makes 8 servings
a
1 cup fresh mint leaves
1 cup heavy cream
1/2 cup plus 2 tablespoons mild-flavored honey
1/2 teaspoon peppermint extract
2 cups whole-milk Greek yogurt (I used Fage Total.)
a

a
1. Coarsely chop the mint leaves. Add them to the cream in a saucepan. Bring just to a simmer over medium heat, stirring occasionally and bruising the leaves against the side of the pan with a spoon to help them release their oils.

a
2. As soon as it begins to simmer, stir in the honey. Turn off the heat and let it sit for 30 minutes.
3. Strain the cream through a fine meshed sieve into a large bowl. (A larger bowl makes it easier to blend in the yogurt without spilling.)
4. Stir in the peppermint extract and the yogurt. Stir until it’s well-combined. Cover and refrigerate overnight. (Sara says 30 minutes to overnight, but I know colder is better with my ice cream maker, so I refrigerated it overnight.)
5. Make the frozen yogurt in your ice cream maker according to the manufacturer’s instructions. It’s best if you freeze the finished frozen yogurt for about an hour before serving. (If it freezes too hard, let it sit at room temperature for about 15 minutes before serving.)
a
a
a
a
Share this:

Cauliflower and Herbed Barley Salad
By Kath Dedona
Yesterday I wanted to try a new recipe for the large head of cauliflower I had in the refrigerator. I stumbled upon this Cauliflower and Herbed Barley Salad from Bon Appétit. It sounded fantastic and had rave reviews so I gave it a try.
The recipe is very easy to make, and it’s substantial enough to make a fine vegetarian main course. (You could make it vegan with vegan mayonnaise.) It can be served warm or at room temperature. It holds up well, so it would be perfect for a picnic or potluck. Leftovers make a great lunch the following day.
I chose to serve it as a side dish with quickly roasted Copper River Sockeye Salmon. The dinner was a hit at Chez Dedon!
I would definitely make Cauliflower and Herbed Barley Salad again. I might add a clove of garlic to the dressing next time. Garlic is always a good idea!
a
 a
a
Cauliflower and Herbed Barley Salad
(Adapted from a Bon Appétit recipe)
a
I couldn’t find gigante beans, so I used butter beans which were very good.
a
a
Serves 4 as a main dish, 6 as a side dish
a
½ cup pearled barley
Kosher salt
1 tablespoon finely grated lemon peel
3 tablespoons fresh lemon juice
1 tablespoon mayonnaise
1 tablespoon Dijon mustard
6 tablespoons olive oil, divided
Freshly ground black pepper
1 head cauliflower, cut into florets
1 (15-ounce) can gigante, corona, or butter beans, rinsed
½ cup flat-leaf (Italian) parsley leaves, divided
2 tablespoons fresh tarragon leaves, divided
a
1. Put the barley in a large pot and add enough water so it’s covered by about 2 inches. Stir in about a teaspoon of salt. Cover and bring to a boil. Reduce heat so it’s gently boiling for about 25 – 30 minutes, or until it’s tender. Drain, rinse under cold water. Set aside in the strainer.
2. Whisk together the lemon juice, mayonnaise, mustard, and 5 tablespoons of the olive oil. Season to taste with salt and pepper.
3. Heat 1 tablespoon of olive oil in a large skillet. Add the cauliflower and cook, stirring occasionally, for about 10 minutes. The cauliflower will start to have a few browned spots.

a
4. Add 2 tablespoons of water to the pan. Cover and cook for about 2 minutes more. Season to taste with salt and pepper.
5. Put the cauliflower in a large bowl. Stir in the beans, barley, ¼ cup parsley, and 2 tablespoons of the tarragon. Toss with the dressing. Garnish with the grated lemon peel and additional parsley and tarragon leaves.
a
Share this:

Chopped Greek Salad with Chicken
A lot of the recipes on this blog are here because I don’t want to lose them. I want to be able to make them again. Chopped Greed Salad with Chicken is one of those recipes. I’ve made it twice in the last month. It’s not knock-your-socks-off amazing, but it’s a tasty way to use leftover roast chicken. It’s especially good for a warm summer evening. If it’s too hot to cook, you can pick up the ingredients and a rotisserie chicken at the supermarket for an easy no-heat dinner.
The original recipe is from Eating Well magazine. Although tomatoes and cucumbers are classic ingredients in a Greek salad, the folks at Eating Well suggest substituting other vegetables you like. They mention broccoli and bell peppers. I think cauliflower and fresh corn kernels would be good, too.
Chopped Greek Salad with Chicken is a terrific light dinner on its own. Keeping with the Greek theme, warmed pita bread and hummus would go well with the salad.
a

a
Chopped Greed Salad with Chicken
(Adapted from an Eating Well recipe.)
a
a
Serves 4 (Halve the ingredients for 2 servings.)
a
Dressing:
1/3 cup red wine vinegar
2 tablespoons extra virgin olive oil
1 tablespoon chopped fresh dill or oregano, or 1 teaspoon dried (I used dried oregano)
1 teaspoon garlic powder
¼ teaspoon salt
¼ teaspoon freshly ground pepper
a
Salad ingredients:
6 cups romaine lettuce, torn into bite-sized pieces
2½ cups chopped cooked chicken (about 12 ounces)
2 medium tomatoes, seeded and chopped (or a cup or so of grape tomatoes, sliced in half)
1 medium cucumber, peeled, seeded, and chopped
½ cup finely chopped red onion
½ cup sliced kalamata olives
½ cup crumbled feta cheese
a

1. Whisk the vinegar, olive oil, dill or oregano, garlic powder, salt and pepper together in a large bowl.

2. Add all of the salad ingredients to the bowl. Toss well until the dressing is evenly distributed and serve.
a
Talk about easy!
Share this:

Massaged Kale Salad
By Kath Dedon
a
We had classic all-American cheeseburgers (with Special Sauce) and Oven Fries for our Memorial Day dinner. I wanted to round the meal out with a light, nutritious side dish. Massaged Kale Salad was perfect!
I’ve noticed massaged kale recipes all over the Internet. Massaging the kale tenderizes the leaves making them much more appealing as a salad. I liked the simplicity of Eating Well’s version so I decided to give it a try.
Eating Well suggests that you can use any type of kale for this salad. I used the curly-leaf variety. Whatever type you use, just be sure to tear the leaves from the tough stems. The stems are not used in this salad.
So how did the Massaged Kale Salad taste? I loved it!
The Caesar-like dressing is a great match with the kale. Eating Well says the anchovy paste is optional, but it adds just the right amount of umami. I highly recommend it.
One thing I really love about this salad is the fact that it can be made ahead of time. The kale will not wilt. In fact, I discovered that it is still fantastic the next day and any leftover salad can be a great addition to lunch.
Give Massaged Kale Salad a try. It’s easy, delicious, and nutritious! I know I’ll be making it again. I’m looking forward to trying it with other varieties of kale.
a
a

a
a
Massaged Kale Salad
(Adapted from a recipe in the September/October 2012 issue of Eating Well magazine)
a
a
Serves 3 – 4 (doubles easily)
a
1 bunch kale
¼ cup freshly grated Parmesan cheese
2 tablespoons + 2 teaspoons extra-virgin olive oil (use 1/3 cup, if doubling)
2 tablespoons lemon juice
2 cloves garlic, minced
1½ teaspoons reduced-sodium soy sauce
¼ teaspoon anchovy paste
¼ teaspoon freshly ground pepper
1/8 teaspoon salt
a
1. Tear the leaves of kale from the tough stems. (Discard the stems.)
2. Wash and dry the kale leaves and tear into bite-sized pieces.
3. In a large bowl, whisk together the olive oil, lemon juice, garlic, soy sauce, anchovy paste, pepper and salt.
4. Add the kale and the Parmesan cheese to the dressing. With clean hands, massage the kale into the dressing. Keep massaging, spreading the dressing throughout the salad, until the kale has reduced in volume by about half and the leaves are a bit darker and more tender.
5. Taste to see if the seasonings need adjusting and serve. (The salad keeps well and can be made ahead of time.)
Share this:

Blackened Fish Baja Tacos
By Kath Dedon
a
Cooking Light’s The New Way to Cook Light (which just last weekend won the 2013 James Beard Award in the “Focus on Health” category) has a terrific recipe for fish tacos. They used tilapia, but I chose to use fresh lingcod fillets instead. Blackened Fish Baja Tacos made a fantastic dinner which Bob and I both enjoyed.
The tacos would be equally good, I think, with true cod, mahi mahi, or any fish that you enjoy. Cooking Light suggests using shrimp as an alternative as well.
Although it took a little longer to make than I was expecting, the recipe is very easy and I will definitely be making Blackened Fish Baja Tacos again!
a

a
Blackened Fish Baja Tacos
(Adapted from Cooking Light’s The New Way to Cook Light)
a
a
Serves 4 (2 tacos each)
a
¼ cup reduced fat sour cream
2 tablespoons chopped cilantro
2 tablespoons fresh lime juice
1 jalapeno pepper, seeded and chopped
1 cup thinly sliced white onion
1½ teaspoons paprika
1½ teaspoons brown sugar (I used maple sugar.)
1 teaspoon dried oregano
¾ teaspoon garlic powder
½ teaspoon salt
½ teaspoon ground cumin
¼ teaspoon cayenne pepper
1 tablespoon oil
4 (6-ounce) lingcod fillets (or fish of your choice)
8 (6-inch) corn tortillas
½ ripe avocado, thinly sliced
4 lime wedges
a
1. Put the sour cream, cilantro, lime juice, and jalapeno pepper in a food processor and process until smooth. (My small processor worked fine.) Put in a bowl and stir in the sliced onions.

a
2. Stir the paprika, sugar, oregano, garlic powder, salt, cumin, and cayenne pepper together in a small bowl.

a
3. Coat the fish fillets on both sides with the spice mixture. Use all of it.

a
4. Preheat the oven to warm. Heat a cast iron skillet over medium heat until hot. Put the tortillas in the dry skillet, heating them for about 30 – 40 seconds on each side. When all of the tortillas are done, wrap them in foil and keep them in the warm oven.
a
5. Add the oil to the skillet and heat until it’s hot. Add the fish fillets and cook until the fish flakes easily with a fork, about 3 minutes on each side.

a
6. Divide the sour cream mixture, fish, and avocado slices evenly between the tortillas. Serve with lime wedges.
a

a


