Simple Whole Wheat Bread
By Kath Dedon
.
We have so many great artisan breads to choose from in Seattle, but sometimes I crave a good whole wheat bread for sandwiches. I have yet to find a commercial one that I love, so I decided to try making a couple of loaves.
Being a novice bread maker, I was drawn to a recipe at allrecipes.com that’s called Simple Whole Wheat Bread. Simple is what I needed. And I noticed that it has over 600 mostly 5 star reviews! Their recipe makes 3 loaves; I pared it down to make 2.
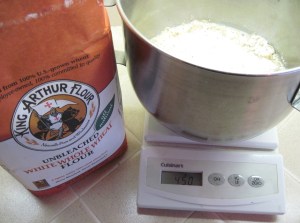
If I had followed their recipe exactly for my 2 loaves, I would have used 3 1/3 cups bread flour and 2 1/3 cups whole wheat flour. I decided to use King Arthur’s White Whole Wheat Flour instead. If you have a kitchen scale, use that to measure the flour.
I consulted The Laurel’s Kitchen Bread Book for tips on the rises and shaping the loaves, and I pulled out the little recipe book for my KitchenAid stand mixer to figure out the timing for the bread hook.
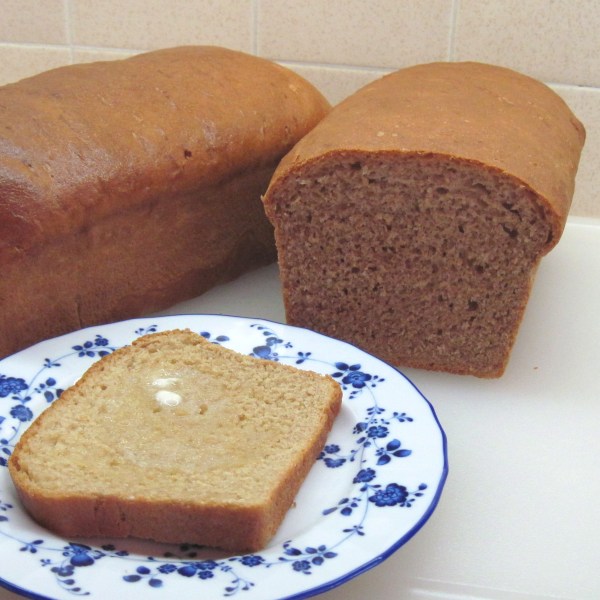
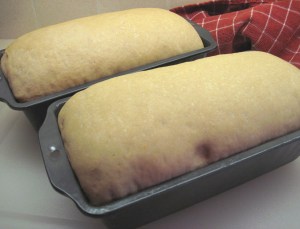
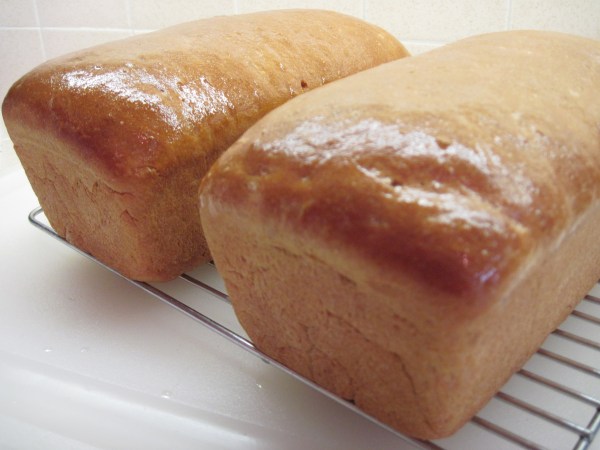
Putting it all together, I baked my two loaves of bread. And here they are!! This is the first time that I made a loaf of whole wheat bread that wasn’t a brick!
This recipe really is simple. It takes some time for the risings and the baking, but the results are very rewarding!
.
.
Simple Whole Wheat Bread
(Adapted from Nita Crabb’s recipe at allrecipes.com, with guidance from The Laurel’s Kitchen Bread Book)
.
.
Makes 2 loaves
.
2 cups warm water (110˚)
3 teaspoons active dry yeast or 1⅓ packages of yeast
¼ cup honey
3 ⅓ cups (455 g) King Arthur White Whole Wheat Flour
________________
2 tablespoons butter, melted
3 tablespoons honey
2 teaspoons salt
2 ⅓ cups (280 g) King Arthur White Whole Wheat Flour
1 tablespoon butter, melted
Plus butter to butter the bowl and 2 8×4-inch loaf pans.
1. In a large bowl, mix the dry yeast and the water together and then stir in the ¼ cup honey and the 455 g of flour. (I used my KitchenAid mixer bowl since I was planning on using the dough hook for kneading.)
2. Let the bowl sit for 30 minutes. The dough will rise up and be a bit bubbly.
3. Stir in the 2 tablespoons melted butter, the 3 tablespoons honey, the salt and the 280 g of flour.
Kneading the dough
(You can, of course, knead the dough by hand if you don’t have a KitchenAid mixer, or if you just prefer to knead it by hand.)
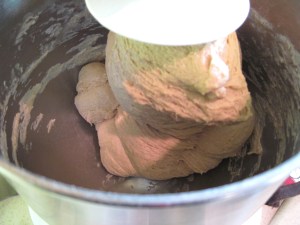
4. Using the dough hook, and with the speed set at 2, knead the dough until it clings to the hook, about 5 minutes.
5. Knead for another 7 minutes or so, until the dough appears smooth and is elastic.
6. Put the dough on a floured board and knead by hand for about 30 seconds to bring it all together.
7. Butter a large bowl; put the ball of dough in the ball and turn it around to cover with the butter.
The first rise
8. If your kitchen is a bit cool, you can create a warm environment for the first rise with this method. Turn the oven on Warm for 1 minute. Turn the oven off. Put a container with about 2 cups of hot water in the back of the oven. Cover the bowl of dough with a towel, and put it in the oven, leaving the door ajar.
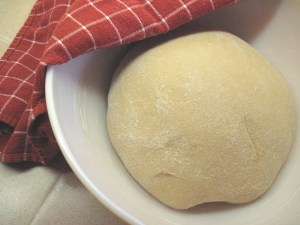
9. Let the dough rise until doubled. To check if it’s ready, wet your finger and stick it into the dough. If the indentation stays, it’s ready. (Mine was ready in about 45 minutes with the oven method.) Remove the loaves from the oven. (And remember to take the container of water out, too!)
10. Punch the dough down and divide in half.
Shaping the loaves
11. Butter two 8×4-inch loaf pans well.
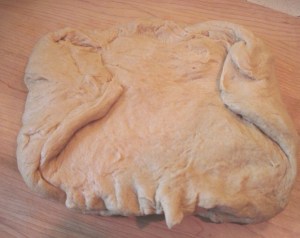
12. Flatten the loaf into a rectangular shape slightly longer than the bread pan.
13. Fold the ends into the center a bit.
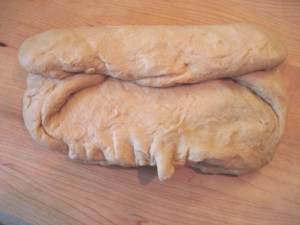
14. Fold the top half over into the center; then fold the bottom half over the center. Press down a bit to release any air.
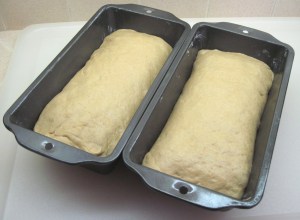
15. Turn the loaf over and place in the pan, seam side down. Press the dough down with your fingers so it fits in the pan.
16. Repeat with the second loaf.
The rise in the pan
17. Cover the loaves with a damp towel and set on the counter to rise. Check after about 45 minutes. The dough will rise about an inch over the top of the pans. Wet your finger and stick it in on the side of the loaf; if an indentation remains, it’s ready.
18. At some point, while the loaves are rising, preheat the oven to 350˚.
Baking and cooling the loaves
19. When the loaves are ready, put them in the oven and set the timer for 25 minutes. Check the loaves with a thermometer. They should be 190˚ when they’re done. (Mine were in for 30 minutes, and their temperature was 203˚.)
20. Remove the loaves from the pan immediately and put them on a wire rack to cool.
21. Brush the tops of the loaves lightly with 1 tablespoon melted butter. (This is supposed to keep the crust from getting too hard.)





Darn it Kath! Now I need to go buy a dough hook and some bread pans. I want to make my own bread too!
I thought all KitchenAid mixers came with dough hooks, like mine did. (Of course, that was 27 years ago.)
I think maybe the “deluxe” models come with bread hooks?
That could be it, Laura.
lovely loaves..I love the pics
sweetlife
Thank you, sweetlife!
Hi Kath, in germany is it called “Schwarzbrot”, means in detai:l it is a variety of the soooooo many “Schwarzbrot” 🙂 Love it!!!!
Cheers from Berlin
So I’ve made German “Schwarzbrot”! Thanks, sweetlivingberlin! 🙂
Hi Kath –
Thanks for the recipe. I’ve tried to make this twice now and I am having trouble with the “rise in the pan” part. For some reason, it is not rising quite enough. Any ideas? It still tastes good, but wish it would rise more.
Robin, I really am a novice bread maker. I haven’t made this recipe again since the first time. I think if you let it rise too much in the first rising, that it might not rise well in the second rising. Make sure your yeast is not too old (it should have a date on it). If your kitchen is too cool, you might want to try the oven method for the rise in the pans, too. That is about the extent of my expertise.