Welcome!
You'll find over 470 of my favorite recipes here, including ideas for Quick meals, Cooking for 2, Feasting on Leftovers, and cooking with 5 Ingredients or Less. I'm adding new posts regularly; you can subscribe by email or RSS feed if you'd like to receive the latest recipes. Bon appétit!
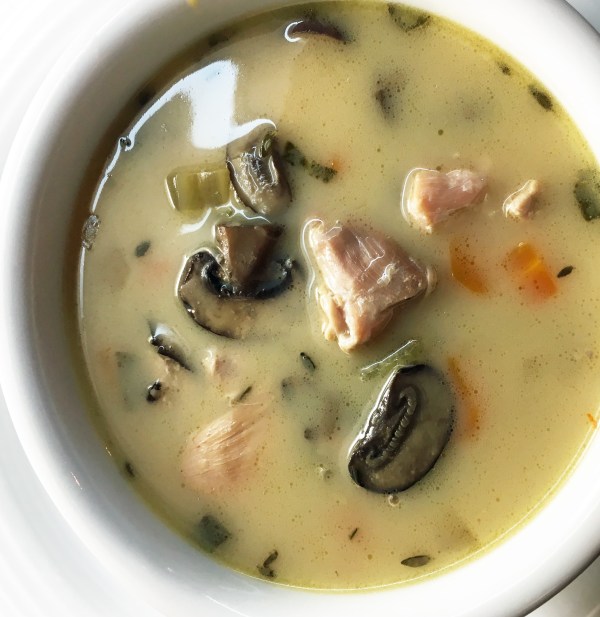
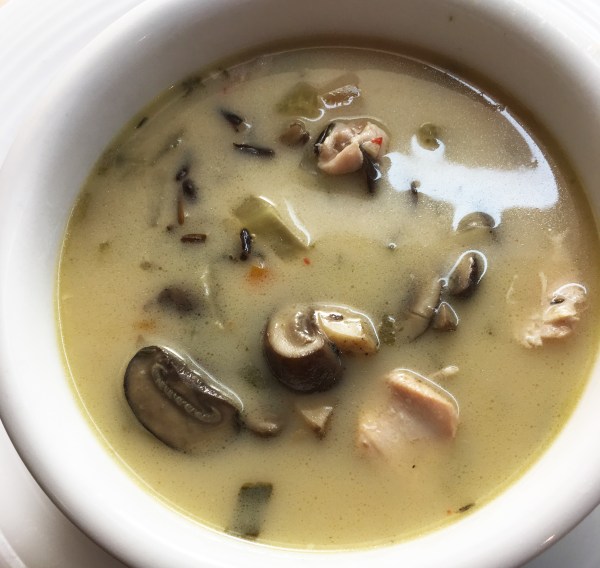
Instant Pot Chicken and Wild Rice Soup
By Kath Dedon
.
Instant Pot Chicken and Wild Rice Soup is not exactly “instant”, but it’s super easy and really good. The gluten-free, dairy-free recipe is from Ashley Singh Thomas’ blog, myheartbeets.com.
Ashley cooks a small potato with the soup and then blends it with ½ cup of coconut milk to make a creamy base to blend into the finished soup. I decided to skip the potato and stir a can of coconut milk into the soup. It turned out great! Do hop over to Ashley’s blog to see how she uses the potato if you’d like to try her version. (And to see her photos which are much superior to mine!)
Start to finish, it took about one hour and 45 or 50 minutes to make the soup. But only 30 minutes of that time was “hands on”. The time breaks down like this: 30 minutes prep time (chopping, slicing, mincing, measuring), 19 minutes to get up to pressure, 30 minutes cooking at pressure, and 30 minutes Natural Pressure Release (NPR). Once you seal the pot and start the pot, the Instant Pot does all the work.
We enjoyed the Instant Pot Chicken and Wild Rice Soup so much that I’m sure I’ll be making it again. It’s a perfect soup for warming up on a cold night. And all that “hands off” time gives you a chance to make a salad, or maybe even biscuits or cornbread to go with it. Or you could just enjoy a glass of wine and a good book while your Instant Pot cooks your soup.
.
.
Instant Pot Chicken and Wild Rice Soup
(Adapted from Ashley Singh Thomas’ recipe on myheartbeets.com)
Makes 6 servings
1½ pounds skinless, boneless chicken thighs, cut into bite-sized pieces
½ large onion, diced
1 cup chopped carrots (2-3 medium)
1 cup chopped celery (2 large stalks)
1 (8-ounce) package sliced mushrooms
2 tablespoons minced garlic (about 6 large cloves)
1 Serrano pepper, minced (I did not take the seeds out and it was not too hot.)
3 teaspoons fresh thyme plus extra sprigs for garnish (The garnish is optional.)
2 teaspoons minced fresh sage
2 teaspoons salt (I used sea salt)
½ teaspoon black pepper
¼ teaspoon crushed red pepper flakes
1 cup uncooked wild rice
4 cups chicken broth (I used Swanson chicken stock.)
Add later:
1 (13.66-ounce) can coconut milk (not lite)
.
- Rinse the wild rice in a fine-mesh strainer and drain.
- Put all of the ingredients except the coconut milk in the Instant Pot.
.ready to add the chicken broth and seal the pot

.
3. Seal the pot, setting the Pressure Release to Sealing.
4. Select Manual, High Pressure, for 30 minutes.
5. When the 30 minutes of cooking are done, do nothing and just let the pressure release naturally. It will take about 30 minutes for the pressure to release and the valve to drop back down.
6. Once the pressure has released, open the pot, and stir in the coconut milk. Garnish with thyme sprigs, if using, and serve.
,
.

.
Share this:

Better-Than-Mounds Chocolate Coconut Candies
By Kath Dedon
.
With only 5 ingredients you can make these delicious sugar-free Better-Than-Mounds Chocolate Coconut Candies!
The recipe is from Carolyn Ketchum’s excellent blog, All Day I Dream About Food. And let me tell you, she does dream up some wonderful recipes for people who are watching their carbs. (I like her blog so much that I bought her book, The Everyday Ketogenic Cookbook, which I love!)
To accommodate food preferences and sensitivities in our family, I am constantly on the lookout for tasty treats that are low carb, gluten-free, dairy-free, egg-free, and almond-free. These Better-Than-Mounds Chocolate Coconut Candies fit the bill perfectly!
I had never used coconut butter before. It remains solid at room temperature. The contents of the jar I purchased had separated. Because it was hard, it wasn’t possible to just stir it back together like you would with peanut butter. I microwaved it on Reheat (80%) for 30 seconds and then stirred it a bit. I repeated this process 2 or 3 times more until I could easily blend the coconut butter together. Problem solved!
Carolyn’s recipe makes 20 candies, but I found I could make 24. I served them at a gathering of friends and family a couple of nights ago and had just 2 left for photos. I’m sure I’ll be making Better-Than-Mounds Chocolate Coconut Candies again. They would make a great Easter treat!
.

Better-Than-Mounds Chocolate Coconut Candies
(Adapted from Carolyn Ketchum’s recipe on alldayidreamaboutfood.com)
.
.
Notes:
Carolyn recommends, and I used, parchment mini cupcake liners. They are truly non-stick.
If you can’t find Lily’s chocolate bars, go to Carolyn’s recipe to see how you can make the chocolate topping.
If you have Swerve granulated sugar, just give it a spin in a mini food processor or blender to make it “powdered”.
.
Makes about 24 candies
.
Just 5 ingredients needed

.
Coconut Candies
½ cup coconut butter
½ cup coconut oil
½ cup unsweetened shredded coconut
3 tbsp. Swerve Confectioners Sweetener
Chocolate Topping
1 (2.8 – 3 oz.) sugar-free dark chocolate, like Lily’s
- Line 2 mini muffin pans with paper liners. (Parchment liners are recommended.)
- Melt the coconut butter and coconut oil in a saucepan over low heat, stirring until blended together. Remove from heat and stir in the coconut and the sweetener.
- Spoon about a tablespoon of the coconut mixture into each muffin cup. Freeze for 30 minutes.
- For the chocolate topping, break the chocolate bar into a Pyrex measuring cup. Microwave on Reheat (80%) for 15 – 20 seconds. Stir and repeat until it is melted.
- Spoon a bit of chocolate topping over each candy. There’s no need to refrigerate the candies. They will keep at room temperature for up to a week.
.

.

.
Share this:

Low-Carb Pizza Casserole
By Kath Dedon
.
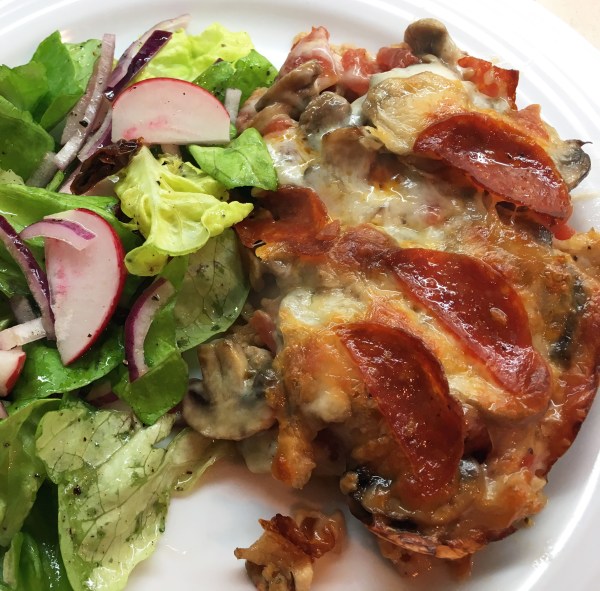
We have had this Low-Carb Pizza Casserole a couple of times now, and I just love it! Even Bob, who really can’t get very excited about pizza, likes it. So I decided it’s a recipe to share.
The recipe was developed by Kalyn Denny and you can find it on her blog, Kalyn’s Kitchen. Click here to see her recipe, including a video that shows you how easy it is to make. (By the way, Kalyn’s blog is a great resource if you are watching your carbs. She’s been sharing low-carb recipes for 13 years!)
It does take a little bit of time to separately cook the sausage and then the mushrooms, but this Low-Carb Pizza Casserole is super-easy and can be on the table in less than an hour.
One of the things I love most about this recipe is the fact that the leftovers reheat beautifully in a microwave oven. I love to pack leftovers in my lunch when I’m subbing! In fact, I find I crave this just for the leftovers!
If you like pizza but don’t want the carbs, do give this Low-Carb Pizza Casserole a try. It can easily be adapted to suit your taste. You could use black olives, green peppers, or onions. Just think about your favorite pizza toppers. I even thought of swapping the sausage and mushrooms for cubes of ham and pineapple for a Hawaiian pizza version! However, I know Bob would not eat it so that version will probably not be happening in my kitchen.
.
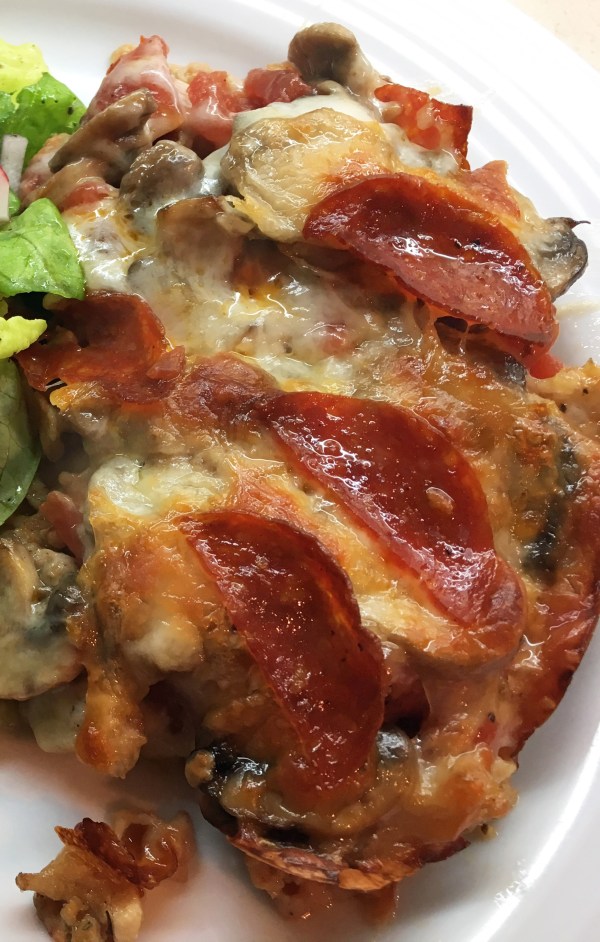
Low-Carb Pizza Casserole + The Dedon House Salad = Dinner!
.
Low-Carb Pizza Casserole
(Adapted from Kalyn Denny’s recipe for “Low-Carb Deconstructed Pizza Casserole” on her Kalyn’s Kitchen blog)
.
.
Serves 4 – 6 (Kalyn says it serves 6, but at our house it’s 4 generous servings.)
.
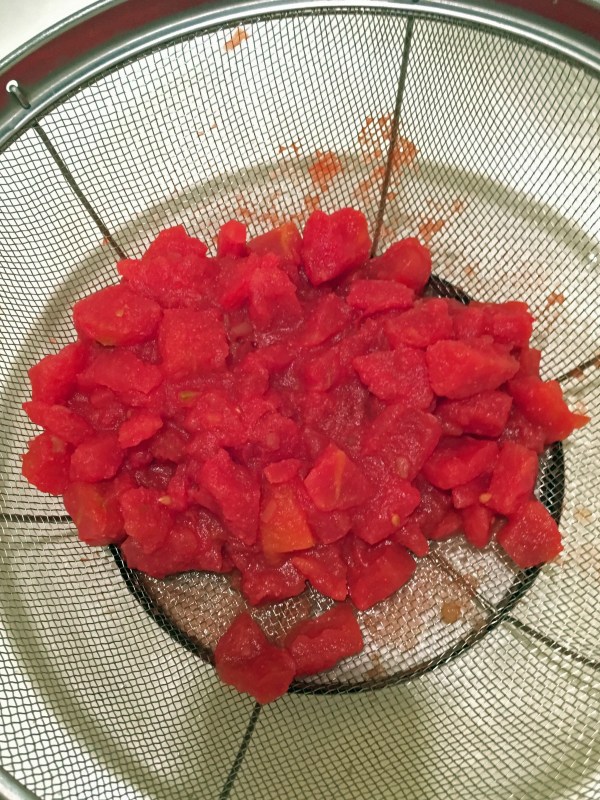
1 can (14.5 oz.) diced tomatoes (do not use petite dice)
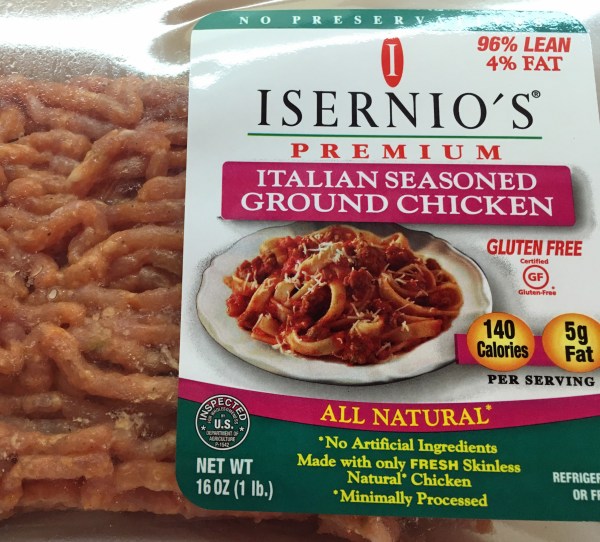
1 pound Italian sausage (Use bulk sausage or remove the casings from links.)
2 tsp. + 2 tsp. olive oil
¾ tsp. dried oregano
Freshly ground black pepper
12 oz. fresh mushrooms, washed and cut into thick slices
1½ cups (6 oz.) grated Mozzarella cheese
15 slices pepperoni, cut in half
.
I found all of the ingredients at my local Safeway.

.
- Preheat the oven to 400°. Lightly oil an 8-inch x 11-inch (2 quart) baking dish.
- Put the tomatoes in a strainer to drain.
.
3. Heat a large skillet over medium high heat. When it’s hot, add 2 teaspoons of the oil and swirl it around to cover the bottom.
4. Add the sausage and cook until it is done, breaking it up as it cooks.

.
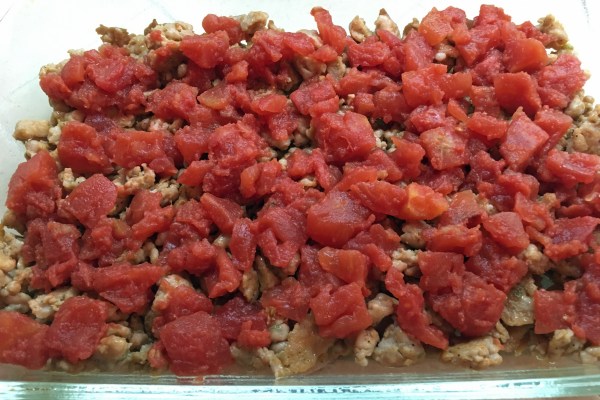
5. When the sausage is done, put it in the prepared baking dish.

.
6. Top the sausage with the drained tomatoes. Sprinkle the oregano and grind the pepper over the tomatoes. (If you use unsalted tomatoes, sprinkle with a bit of salt.)
.
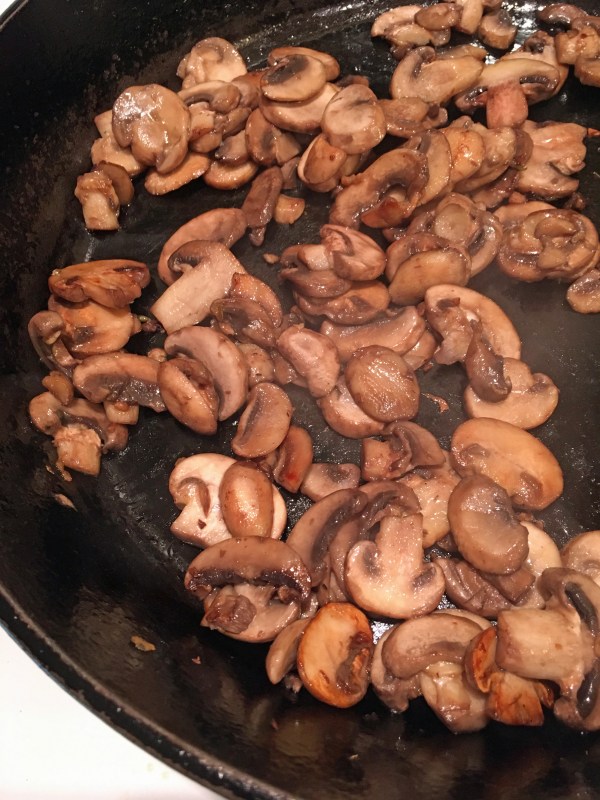
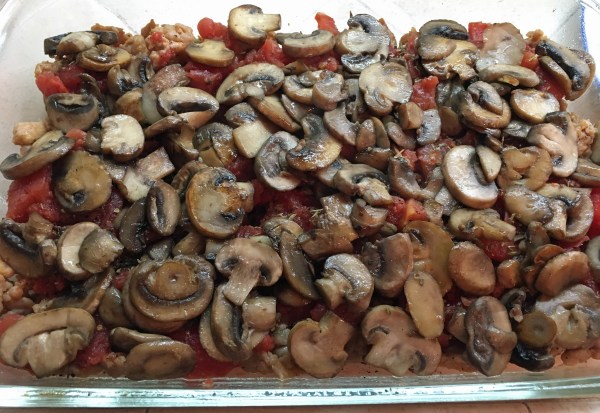
7. Heat the remaining 2 teaspoons of oil in the skillet. Add the mushrooms and cook, stirring occasionally, until done and starting to brown.
.
8. Spread the mushrooms out over the tomatoes.
.
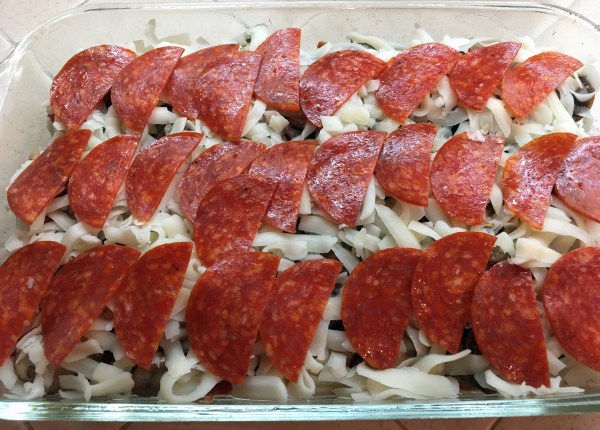
9. Cover the mushrooms with the cheese.

.
10. Spread the pepperoni out over the cheese.
.
11. Bake for 25 minutes. Serve immediately.
.
Share this:

Easy Remoulade Sauce
By Kath Dedon
.
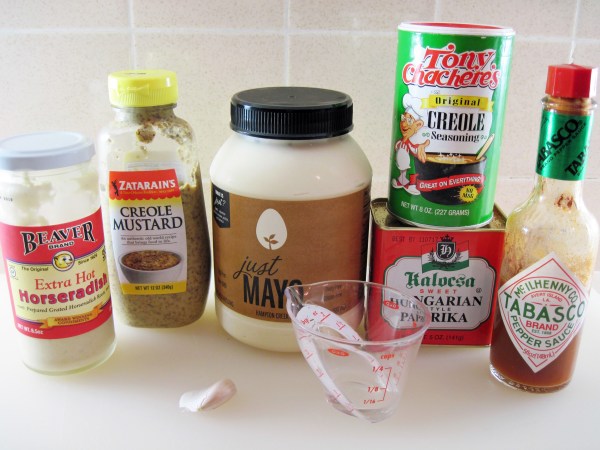
This Remoulade Sauce is much like what you would find in Louisiana. I found the recipe on Elise Bauer’s excellent blog, Simply Recipes. Reading some of the comments convinced me that this was the recipe to try. Zoe said, “I’m from New Orleans. The recipe is 100% authentic.” I think it’s worth hunting down a couple of ingredients to achieve that authenticity.
I couldn’t find Zatarain’s Creole Mustard at my regular grocery stores, although I’m certain there must be some places in Seattle that carry it. Rather than search, I ordered a 2-pack from Amazon. The list of ingredients (vinegar, water, brown mustard seed, salt, xanthan gum) gives no clue as to what makes this mustard unique. I do think, though, that it gives the Remoulade Sauce a flavor that you would not get from other mustards.
Tony Chachere’s Creole Seasoning seems to be pretty widely available. You’ll find it with the seasoned salts in the spice section. I always have it in the cupboard and use it often to add a bit of spice to my cooking.
The third ingredient that makes this Remoulade a Louisiana-style sauce is hot sauce. For me, that means Tabasco.
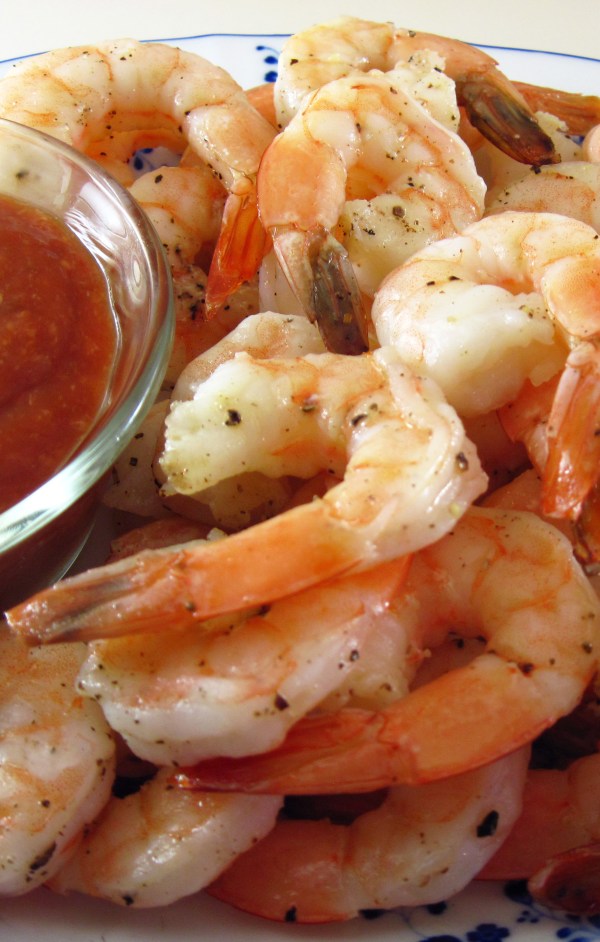
I made the Remoulade Sauce the day before Carrie’s birthday dinner. Refrigerating it overnight helps the flavors develop. It was fabulous served with Roasted Shrimp. The recipe made more than I needed for the 1½ pounds of shrimp, so I just served some of it and saved the rest for later. It will keep for at least a couple of weeks refrigerated. You can use it with any seafood. Try it with crab cakes. It would be good on sandwiches. Elise says it’s “awesome” with French fries!
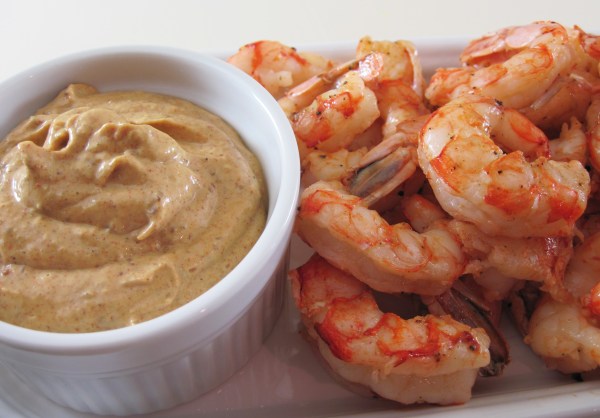
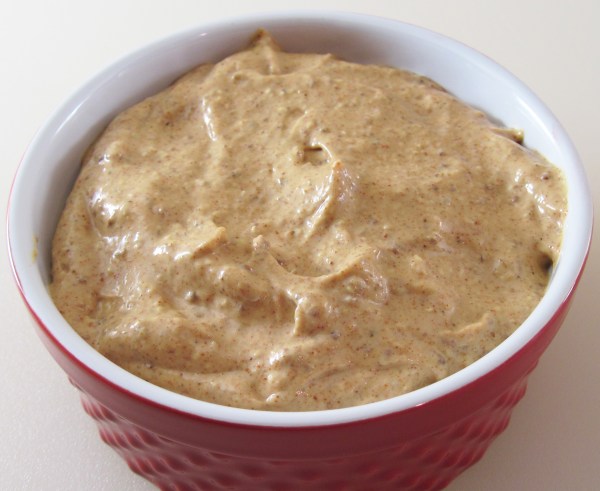
Once you have the ingredients, Remoulade Sauce is super-easy to make. It makes an impressive appetizer served with shrimp.
.
Easy Remoulade Sauce is terrific with Roasted Shrimp
.
Easy Remoulade Sauce
(Adapted from Elise Bauer’s recipe on Simply Recipes)
.
.
Makes about 1½ cups (could easily be cut in half)
.
1¼ cups mayonnaise
¼ cup Creole mustard (Zatarain’s is great!)
1 Tablespoon paprika
1 teaspoon Cajun or Creole seasoning (I like Tony Chachere’s)
2 teaspoons prepared horseradish
1 teaspoon pickle juice (dill or sweet; I used dill)
1 teaspoon Tabasco
1 large clove garlic, pressed
.
Ingredients for Remoulade Sauce, including the pickle juice in the measuring cup
.
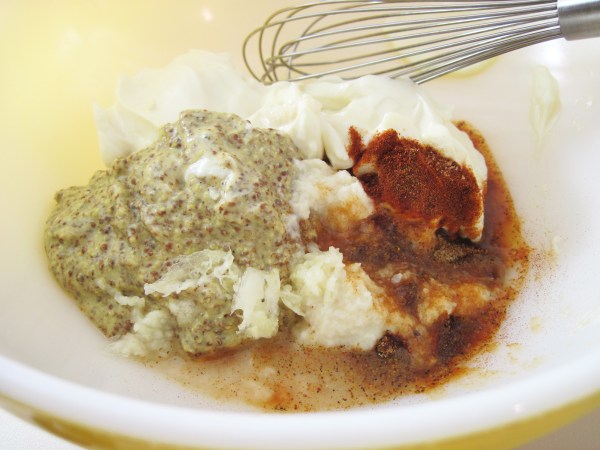
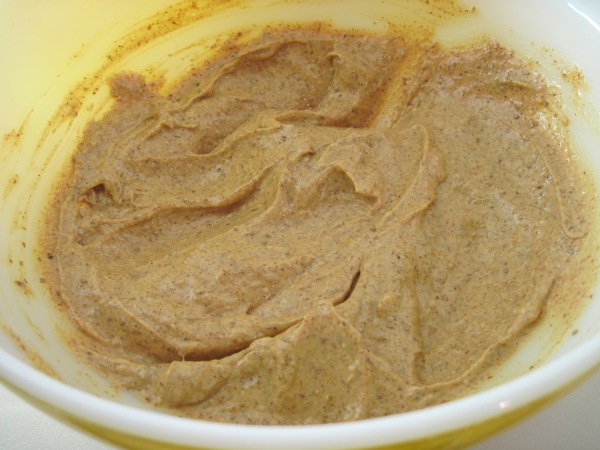
- Whisk all of the ingredients together. Cover and refrigerate until you’re ready to serve. It’s best made at least a few hours ahead.
.
.
.
.

.
Share this:

Pan-Roasted Blood Orange Chicken
By Kath Dedon
.
Laura recommended Jessi Heggan’s Pan-Roasted Blood Orange Chicken, saying that it’s SO easy and SO good. I checked it out and made it a few days later. It was just as Laura said; this roast chicken recipe delivers so much flavor for so little effort. Bob and I both really enjoyed it!
It’s high citrus season right now. I find that it’s pretty easy to find blood oranges, but if you can’t find them you can substitute navel oranges.
The seasoned olive oil is so flavorful that it’s not necessary to marinate the chicken. Just cover the chicken with the seasoned oil and roast. Quick and easy!
I did find I had to roast the chicken for a longer time than Jessi suggested. Perhaps my chicken thighs were larger. It’s always best to check the chicken with an instant read thermometer to determine when it’s done.
I will definitely be making Pan-Roasted Blood Orange Chicken again before the blood oranges are out of season! And I’m planning on spending some more time exploring Jessi’s Kitchen. It looks like she has some interesting recipes. Check it out!
.
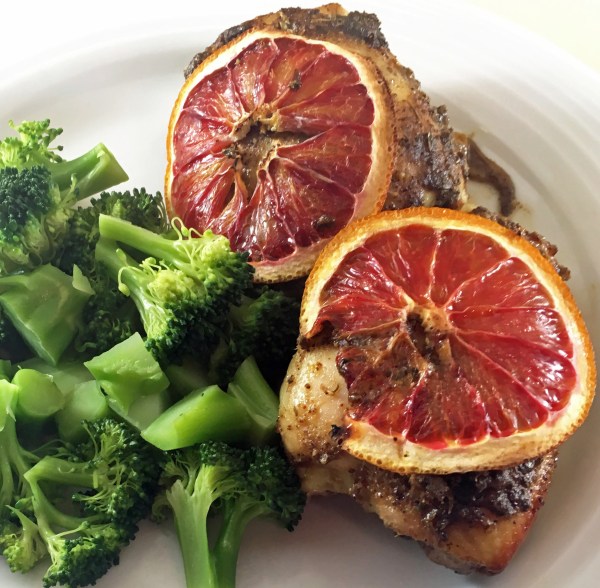
Pan-Roasted Blood Orange Chicken was terrific with Perfect Instant Pot Broccoli
.
Pan-Roasted Blood Orange Chicken
(Adapted, barely, from Jessi Heggan’s recipe on jessiskitchen.com)
.
.
Serves 4 – 6
.
2 blood oranges (if not available, can substitute navel oranges)
1 Tablespoon garlic powder
1 Tablespoon chili powder
1 Tablespoon dried oregano
1 Tablespoon cumin
2 teaspoons black pepper, freshly ground
2 teaspoons sea salt
1/3 cup olive oil
3.5 – 4 pounds chicken thighs (can use either bone-in skin-on or boneless skinless thighs)
.
- Preheat the oven to 425°.
- Zest one of the blood oranges.
.
Zest of one blood orange

3. Combine the orange zest, garlic powder, chili powder, dried oregano, cumin, pepper and salt in a small bowl.
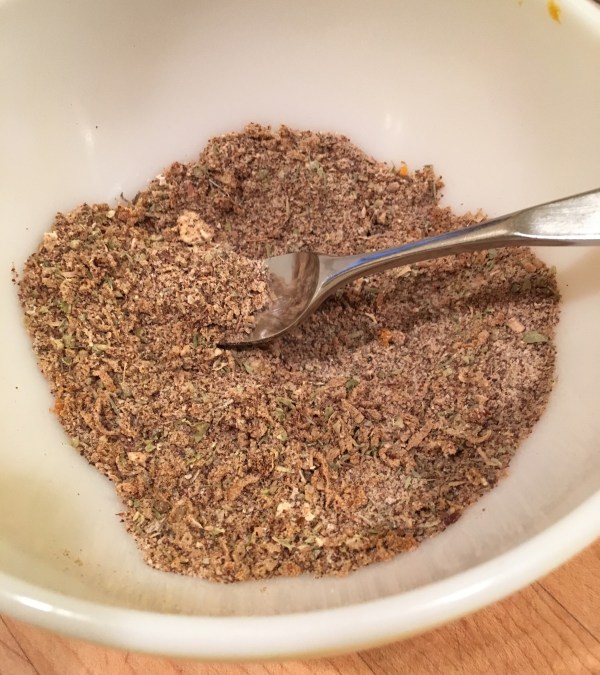
.
4. Stir the olive oil into the spice mixture.
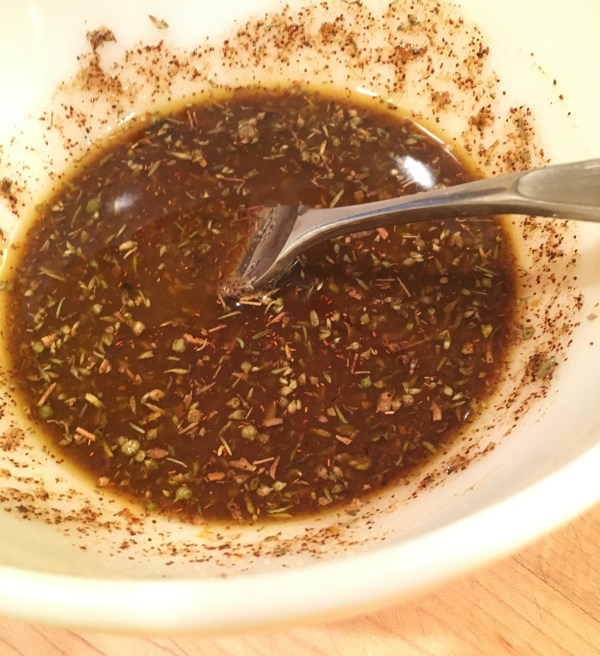
.
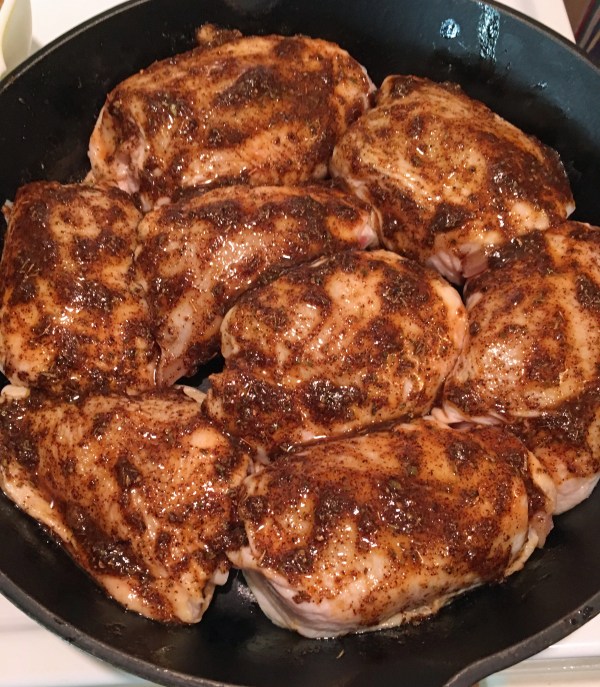
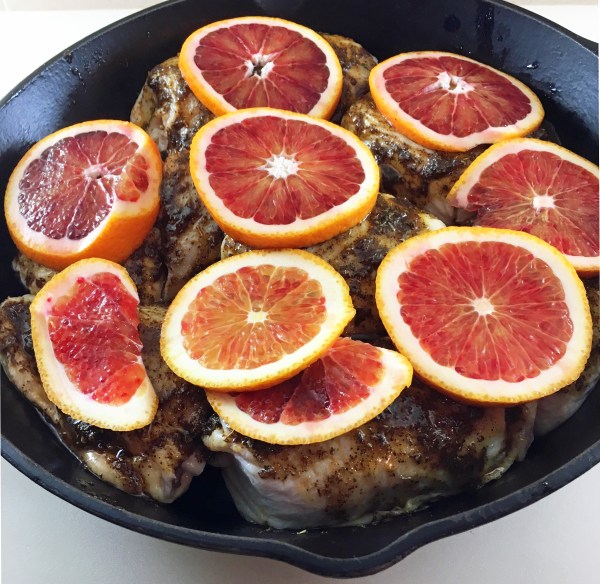
5. Put the chicken skin-side down in a cast iron skillet. Spread half of the seasoned oil over the chicken. Turn the chicken over so it is skin-side up and spread on the rest of the seasoned oil.
.
6. Slice the second blood orange and place the slices on top of the chicken.
.
7. Roast until the chicken temperature, measured with an instant read thermometer, is 165°. This took 45 minutes for my bone-in chicken.

.
8. Serve and enjoy!
.
Update January 22, 2018:
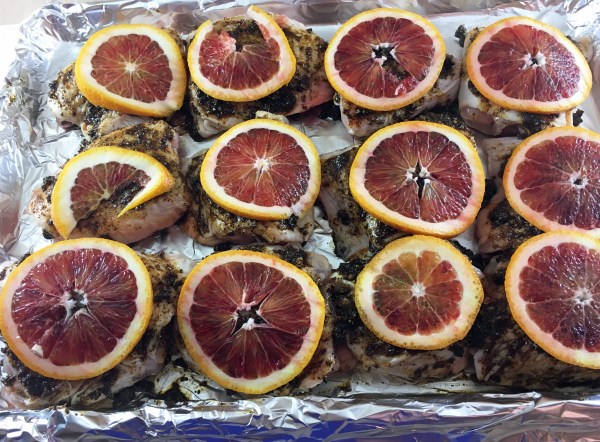
I made this again for Carrie’s birthday dinner and I multiplied all of the ingredients by 1.5. (I used 12 chicken thighs instead of 8.) I roasted them on a sheet pan and they turned out great! They took only 30 minutes to roast, not 45 like they did in the crowded cast iron pan. I may use the sheet pan from now on, no matter how many chicken thighs I’m roasting. You could use parchment paper or cover it with foil, as I did, for easy clean-up.
Ready to go into the oven for a 30-minute roast!
.
.

.
Share this:

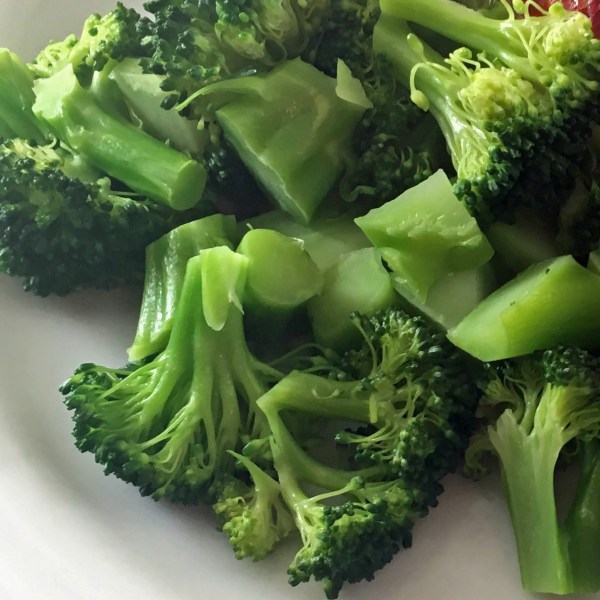
Perfect Instant Pot Broccoli
By Kath Dedon
.
We had delicious Pan-Roasted Blood Orange Chicken last night which I will be adding to the blog soon. Today I’m here to share how I successfully cooked broccoli in my Instant Pot.
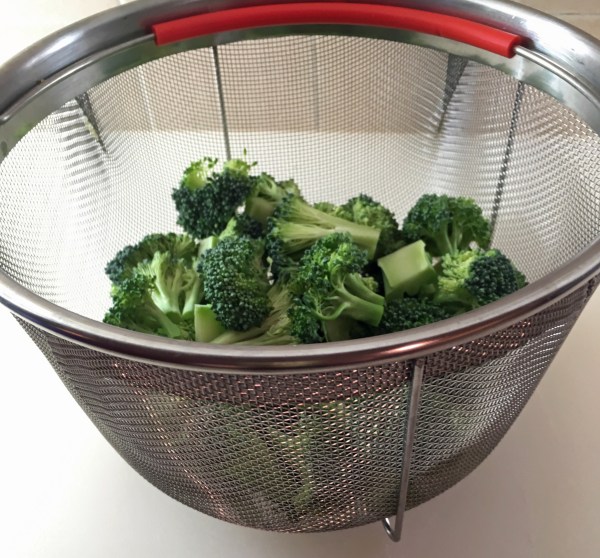
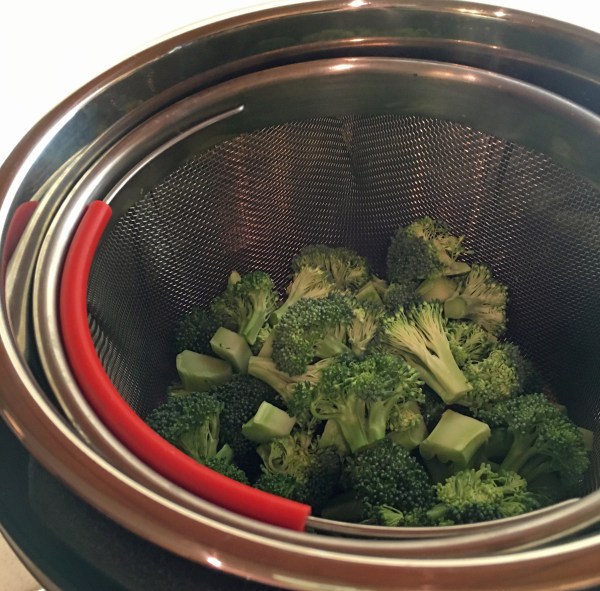
I bought a steamer basket that fits perfectly in my 6-quart Instant Pot. I simply washed the broccoli, peeled the stems and cut them into small pieces, and cut the florets into smaller pieces. I prepared the broccoli ahead of time and just left it in the basket until I was ready to cook it.
I have a couple of Instant Pot cookbooks that recommend 2 – 3 minutes for broccoli. However I had run across posts online that say 0 minutes is plenty if you don’t want mushy broccoli. I decided to go with that.
When the chicken was done I just let it rest in the pan while I cooked the broccoli.
I put 1 cup of water into the Instant Pot and then put the basket of broccoli in and sealed the lid. I pressed the Manual button and then used the “-“ button to set the time to 0 minutes.
It took about 10 minutes to get up to pressure and it was done! I used a quick release and it was ready to eat.
I am now eager to try cooking other vegetables in my Instant Pot. It will be a bit of a trial and error, I’m sure, as I try different things. The time needed will depend on the size and density of the vegetable pieces. For small broccoli florets, 0 minutes was perfect!
.

.
Perfect Instant Pot Broccoli
.
.
- Wash the broccoli, peel the stems and cut them into small pieces. Cut the florets into smaller pieces. (This can be done ahead.)
.
2. About 10 minutes before you want to serve, put 1 cup of water into the Instant Pot. Put a steamer basket in the pot and fill with the broccoli.
.
3. Seal the lid and set the Pressure Release to “Sealing”.
4. Press Manual and use the “-” button to set the time to 0 minutes.
5. When it’s done, use the quick release method to let the steam out. Serve!
.
.
Share this:

Happy New Year!
By Kath Dedon
.
As In the Kitchen with Kath enters its 9th year, I decided to take a look back at the most popular recipes of 2017.
As Laura wrote in our Christmas letter, “In the Kitchen with Kath basically became a love letter to the Instant Pot.” It took me a bit of time to get acquainted with the electric marvel, but 4 out of the last 5 recipes have involved my 6-quart Instant Pot. And 3 out of the 8 most popular (most viewed) recipes for the whole year are Instant Pot recipes. It has earned a permanent place in my kitchen and I expect I’ll be using it even more this year.
So here are the 8 most popular recipes on my blog in 2017. Just click on the name of each recipe to see its blog post.
#8 Kung Pao Chicken is great Chinese take-out at home. The chicken marinates for just 10 minutes and then you’re a quick stir-fry away from a tasty dish!

.
#7 Roasted Shrimp Cocktail I made this more than once last year. It’s a super easy appetizer. The cocktail sauce is old-school classic. We also enjoyed it with homemade remoulade sauce. (That’s on my to-do list to share sometime soon.)
.
#6 Instant Pot Chicken Soup We really love this low-carb chicken soup! If you have an Instant Pot, you know that “instant” does not mean it’s ready instantly. With a Natural Pressure Release, this takes a little over 2 hours, but the hands-on time is short. The Instant Pot makes such a flavorful broth; we don’t miss noodles or rice in this one.

.
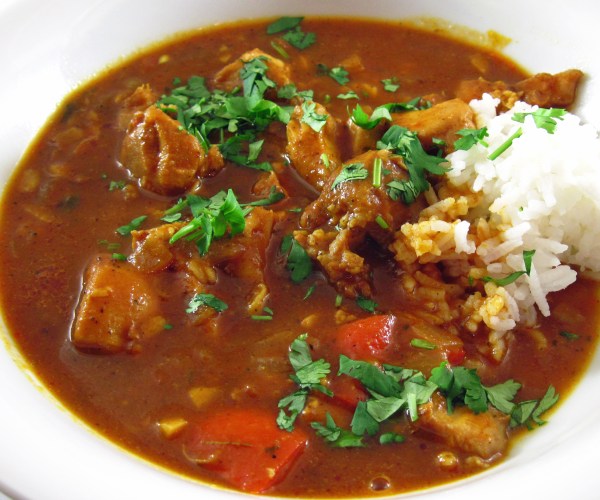
#5 Easy Butter Chicken Made 3 Ways (Instant Pot, Slow Cooker, or Stovetop) I made this in my Instant Pot and also in my Slow Cooker. It uses canned coconut cream instead of dairy cream making it perfect for those with dairy sensitivities.
.
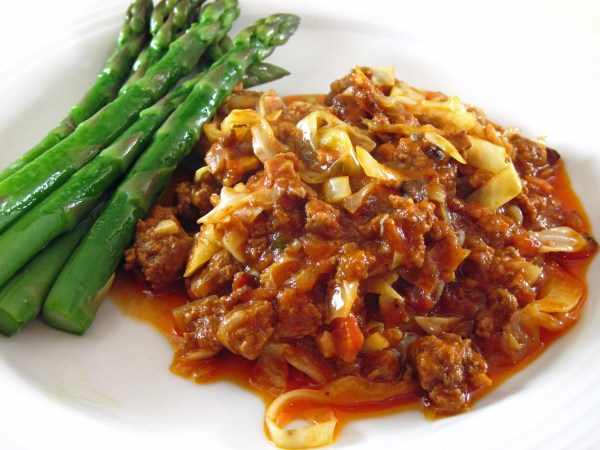
#4 Keto Ground Lamb Casserole When I first saw this recipe I thought, “That looks like it’s probably pretty good.” Then I made it. Wow! I loved it and have made it several times. I find I crave the leftovers to pack in a lunch when I’m subbing. It heats up well in a microwave.
.
#3 Chiang Mai Chicken takes more time than a lot of my recipes but it is very easy. It serves 8 and is perfect when you are looking for an impressive recipe for entertaining. It truly is one of the best chicken recipes I have ever made!

.
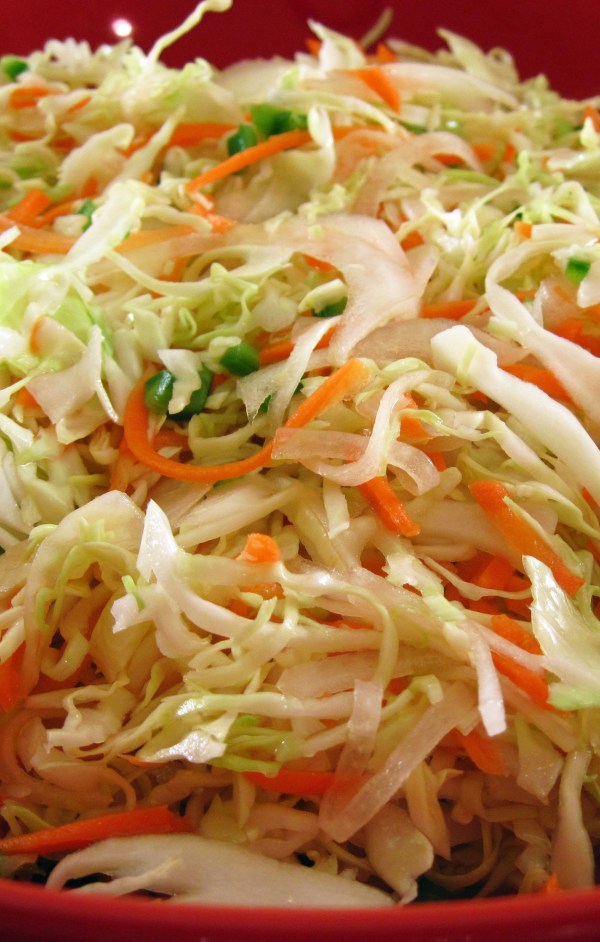
#2 Quick Curtido (Salvadoran Cabbage Slaw) is the perfect side dish with rich main dishes like Slow Cooker Mexican Pulled Pork or barbecued meat. If you have a food processor this can be made very quickly. It keeps well for several days.
.
#1 – The most popular recipe on the blog in 2017 was the Instant Pot Refried Beans. It is a good one! You can start with a pound of dried, unsoaked, pinto beans and end up with fantastic homemade refried beans in about 2 hours. I love it!

.
Happy New Year!!
Share this:

Instant Pot Smoked Sausage and Black-Eyed Peas
By Kath Dedon
.
Yes! You can make Smoked Sausage and Black-Eyed Peas in the Instant Pot! I used a couple of things that I learned from J. Kenji López Alt’s Instant Pot split pea soup recipe and successfully made the black-eyed peas.
I cut the broth by 25% because, as Kenji says, there is no evaporation when you pressure cook.
I sautéed the first eight ingredients in 3 tablespoons of butter. The butter adds great flavor, and the fat helps to inhibit foaming when you’re pressure cooking legumes or grains.
From start to finish, it took about 1½ hours to make the Instant Pot Smoked Sausage and Black-Eyed Peas. The original recipe takes about 2 hours, start to finish, so the Instant Pot saves a little time. Without having a side-by-side taste test, I do think the Instant Pot version is better. The black-eyed peas were perfectly cooked with a velvety texture.
If you have a 6- or 8-quart Instant Pot I highly recommend that you try this Instant Pot Smoked Sausage and Black-Eyed Peas recipe. And may you have only good luck in 2018!
.

.
Instant Pot Smoked Sausage and Black-Eyed Peas
(Adapted from Emeril Lagasse’s recipe)
.
.
Serves 4 – 5
.
Important notes:
- Do not double the recipe. Split peas (and other legumes and grains) can foam and clog the valves if the pot is too full.
- Do not reduce the butter. Adding fat to the pot can help to keep the foaming down. If you want to use oil instead of butter, use 3 tablespoons.
- If you’re using a stovetop pressure cooker, monitor it closely, never setting the heat higher than medium-high.
.
3 tablespoons butter
12 – 16 ounces smoked sausage, sliced
1 cup chopped yellow onion
½ teaspoon salt
¼ teaspoon cayenne pepper
4 whole cloves garlic, peeled
5 sprigs of fresh thyme
4 bay leaves
3 teaspoons finely chopped Italian parsley
6 cups chicken stock
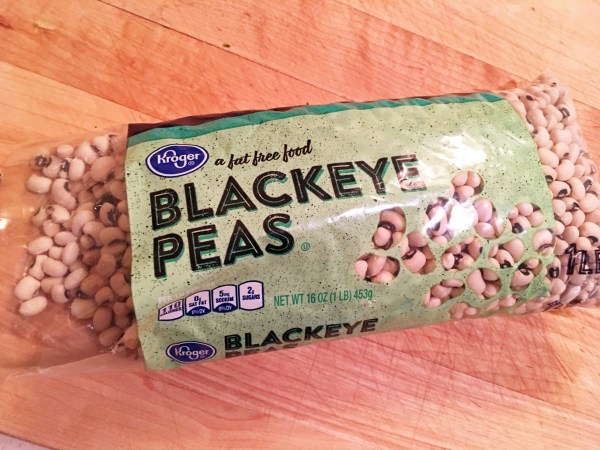
1 pound dried black-eyed peas, rinsed and drained
1 tablespoon minced garlic
Minced green onions, to garnish (optional)
.
.
Ingredients: Everything to saute is in the bowl, 4 cups of stock in the carton plus 2 more cups in the measuring cup. Minced garlic to add with the stock and black-eyed peas.

.
- Press the Sauté button and then use the Adjust button to set the heat to “Normal” (medium). Wait for the display to say “Hot”. This takes about 3 minutes.

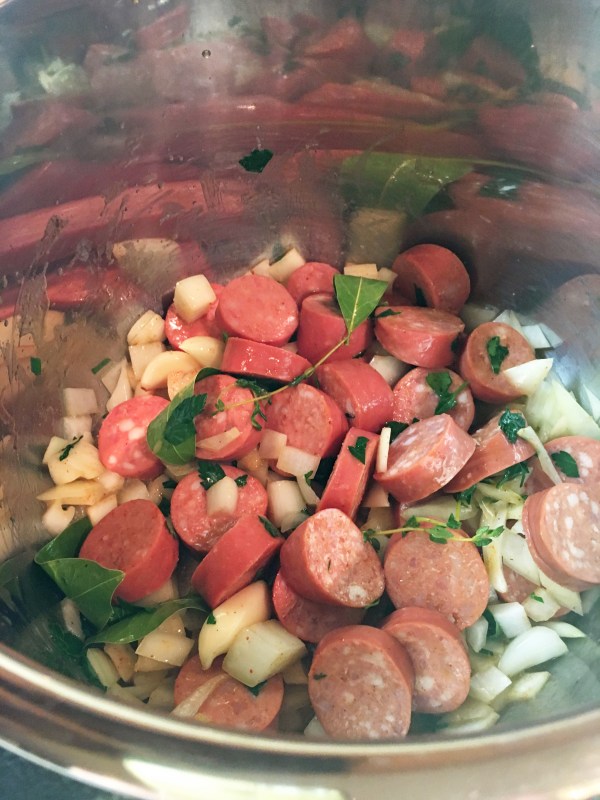
2. When the pot is hot, put the butter in. When it has melted, add the sausage, onion, salt, cayenne pepper, whole cloves of garlic, thyme, bay leaves, and Italian parsley. Cook, stirring occasionally, for about 5 minutes.

.
3. Press the Keep Warm/Cancel button to stop the sauté function. Add the chicken stock, black-eyed peas and minced garlic.

.
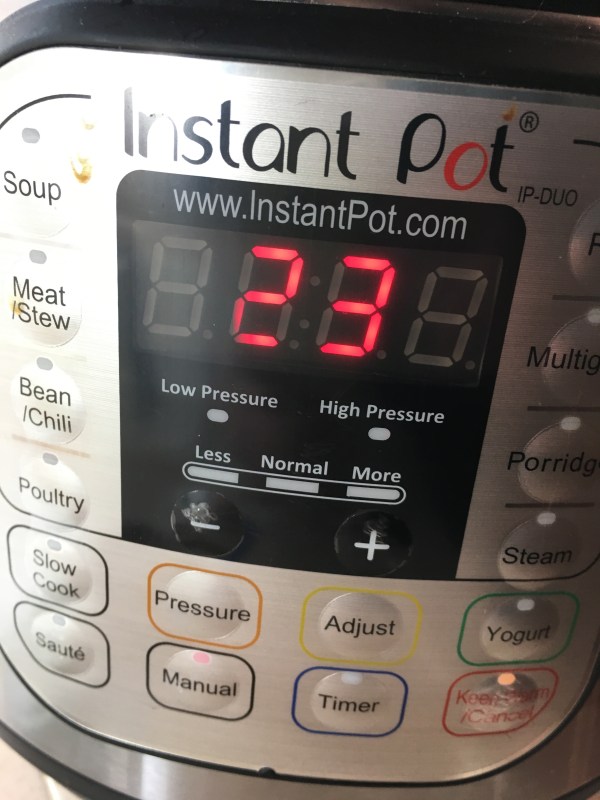
4. Put the lid on, setting the Pressure Releaseto Sealing. Press the Manual button and set the time to 23 minutes. (If using a stovetop pressure cooker, cook it under pressure for 20 minutes.) With the Instant Pot, it takes about 15 minutes to get to pressure and start the 23-minute countdown.
.
5. When the 23 minutes are done, press the Keep Warm/Cancel button to turn the pot off and let the pressure release naturally. It will take up to 30 minutes for the pressure to release.
6. When the float valve has dropped back down, the pressure has been released. Open the pot, give it a stir, and serve. Garnish with green onions, if desired.
.
Share this:

Instant Pot Split Pea and Ham Soup
By Kath Dedon
.
If you have an Instant Pot and leftover holiday ham, you really should try J. Kenji López-Alt’s recipe for Instant Pot Split Pea and Ham Soup. Bob proclaimed twice last night that it is the BEST Split Pea Soup he has ever had! Ever!! Even better than Julia Child’s, and it’s much easier and faster than her version.
I have always used an immersion blender to blend split pea soup a bit when it’s done, but that step is unnecessary when you use a pressure cooker. Kenji uses a quick release when the soup is done and says that when you open the pot the soup will be boiling furiously, essentially puréeing itself. My soup was beautifully puréed without using the quick release.
If I had the 8-quart Instant Pot I might have tried the quick release method because the pot would not be as full. With my 6-quart pot, however, I was nervous about sputtering soup if I used a quick release. I used a natural release. I’m not sure how long that took because I was busy socializing with Bob and our friends in the living room and not watching the pot. After the pressure was released, the Instant Pot went into “Keep Warm” mode.
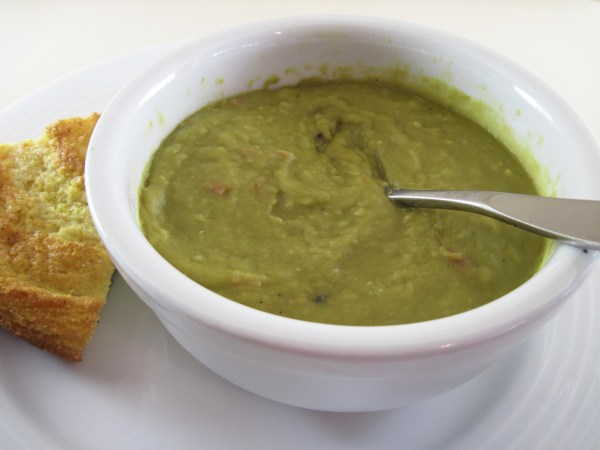
When we were ready to eat, I removed the lid, gave the soup a quick stir, and it was PERFECT! As Kenji points out, Instant Pot Split Pea and Ham Soup may not be the most beautiful dish, but it sure is tasty! If you have an Instant Pot but don’t have leftover ham, go out and get a good quality ham steak and make this soup!
.
Not very photogenic, but Instant Pot Split Pea and Ham Soup is a winner!
(Southern Corn Bread was great with the soup.)
Instant Pot Split Pea and Ham Soup
(Adapted from J. Kenji López-Alt’s 30-Minute Pressure Cooker Split Pea and Ham Soup recipe)
.
.
Serves 5 – 6
.
Important notes:
- I would not double the recipe in a 6-quart Instant Pot. Split peas (and other legumes and grains) can foam and clog the valves if the pot is too full. That said, a friend told me that she did double it in her 8-quart Instant Pot and it worked fine.
- Do not reduce the butter. Adding fat to the pot can help to keep the foaming down. If you want to use oil instead of butter, use 3 tablespoons.
- If you’re using a stovetop pressure cooker, pressure cook it for 20 minutes. Monitor it closely, never setting the heat higher than medium-high.
.
Kenji calls this a “30-minute” soup. He uses a stovetop pressure cooker which cooks a bit faster than an Instant Pot. He also uses the quick pressure release as soon as the time is up. Using an Instant Pot and a natural release, as I did, the recipe takes longer than 30 minutes. After you seal the pot it takes some time (15 minutes?) for it to get up to pressure before the 23-minute cooking time starts. The Natural Release Method adds another 30 minutes or so. Allow about an hour and 15 minutes, but most of that is unattended time.
.
3 tablespoons butter
1 medium onion (about 6 ounces), diced
1 large rib celery (about 4 ounces), diced
6 – 8 ounces ham, diced (I used 8 oz.)
2 medium cloves garlic, minced
1 pound dried green split peas, rinsed and drained
6 cups homemade or store-bought chicken stock (I pulled 2 cups of homemade stock from the freezer and used 4 cups of Swanson’s Chicken Stock.)
2 bay leaves
Scant ½ teaspoon Salt (Optional. Omit if your chicken stock and ham are particularly salty.)
.
- Press the Sauté button on the Instant Pot and use the Adjust button to set it at Normal (medium heat).
- Let the pot heat up. In a few minutes it will indicate “HOT” when it’s ready. Add the butter to the pot. When it has melted add the onion, celery, and ham. Cook, stirring often, for 3 or 4 minutes, or until the vegetables have softened a bit but have not yet browned.
- Add the garlic, and cook, stirring, for 30 seconds.
- Press the Keep Warm/Cancel button to stop the sauté function. Add the peas, broth, and the bay leaves. Stir in the salt, if you’re using it.
- Put the cover on the pot, setting the Pressure Release to Sealing. Press the Manual button and set the time to 23 minutes. (If using a stovetop pressure cooker, cook it under pressure for 20 minutes.)
- When the 23 minutes are up, the pot will “beep”. Just leave it alone and let the pressure release naturally. That will take about 30 minutes.
- When the float valve has dropped back down, open the pot, and give the soup a stir. Season to taste with salt and pepper and enjoy!
.
.

.
Share this:

Instant Pot Chicken Soup
By Kath Dedon
.
Instant Pot Chicken Soup is so easy. We love it and I’ve made it at least three times.
The recipe is from Coco Morante on Elise Bauer’sSimply Recipes blog. This is chicken soup with no noodles or rice, and we don’t miss them! Coco suggests you could cook some noodles separately to add to the soup, but I don’t think that’s necessary. Instant Pot Chicken Soup is a low carb soup and it’s delicious the way it is!
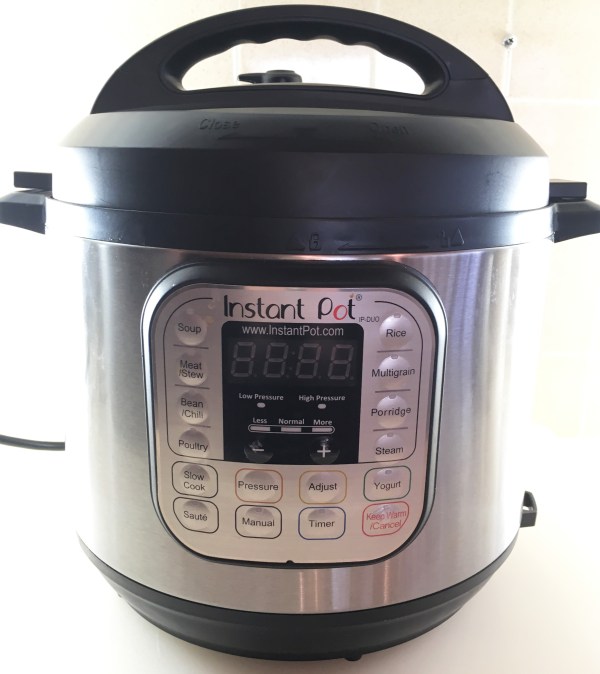
I have a 6-quart Instant Pot and this recipe fills it up quite a bit, but not to the Max line. The Max line is really the maximum for doing non-pressure cooking functions, like slow cooking. Guidelines for pressure cooking in any type of pressure cooker say the pot should only be half full for things that expand and might possibly foam, like dried beans or grains. It should only be 2/3 full for everything else, including pressure cooked soup. With the 6-quart Instant Pot, ½ full is just under the 3 Liter mark and 2/3 full is just under the 4 Liter mark.
The first two times I made it, I used a natural release. In other words, I just turned the pot off when it was done and waited until the float valve dropped before opening the pot. It took maybe 30 or 40 minutes to drop. That worked great and I didn’t have to worry about the broth “spitting” out of the valve.
When I made it last week, I decided to try Coco’s suggestion to let it release naturally for 15 minutes and then do a quick release. I learned that my pot was too full to do a quick release. When I released the pressure, there was quite a bit of soup that spit out of the pressure valve making a bit of a mess on the counter. The soup was still as delicious as ever, but if I do the full recipe in my 6-quart pot I’ll use a natural release.
This makes a lot of soup. Coco says it is 4 – 6 servings, but I found that it makes at least 6 servings. I may try cutting the recipe in half for just the two of us. We’ll have plenty of soup for dinner and leftovers and I won’t have the sputtering issue if I use the quick release after a 15-minute rest.
.
Instant Pot Chicken Soup
(Adapted from Coco Morante’s recipe on Simply Recipes)
.
.
Prep time: 20 minutes
Time for the Instant Pot to get up to pressure: 30 minutes
Cook time: 25 minutes
Natural release time: 30 – 40 minutes
Time for cutting up the cooked chicken: 15 minutes
Total time, start to finish: A little over 2 hours, mostly unattended
(If your pot isn’t over 2/3 full and you do a quick release after a 15-minute natural release, the total time will be about an hour and 45 minutes.
.
I used a 6-quart Instant Pot. This will work equally well in an 8-quart Instant Pot. Just follow the same timing and cooking procedure. With the same quantity of soup, the 8-quart pot will not be too full and you should be able to do a quick release after a 15-minute natural release.
.
Generously serves 6
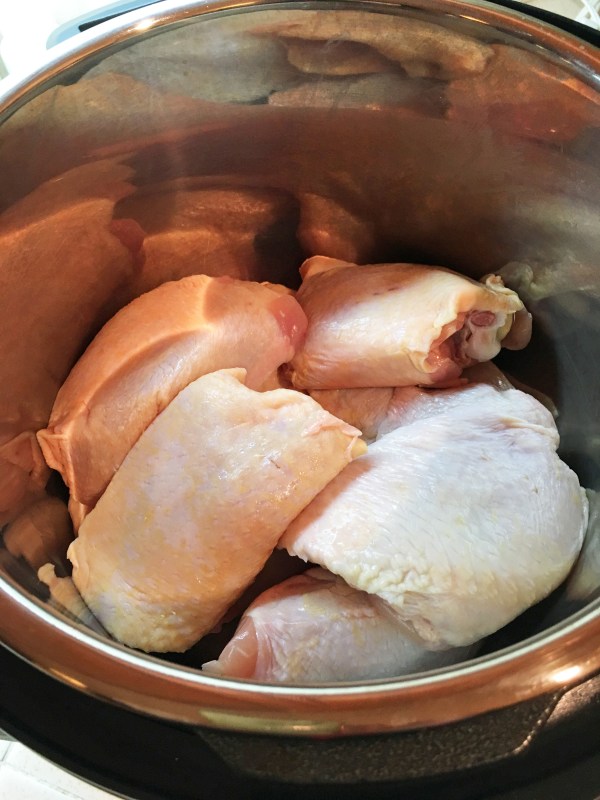
1 (3-4 pound) chicken, or an equivalent mix of bone in chicken pieces(I used 3.5 pounds of bone-in skin-on chicken thighs.)
4 ribs celery, sliced
4 medium carrots, peeled and sliced
½ large yellow onion, peeled and diced
3 cloves garlic, smashed and peeled
A few sprigs fresh flat leaf (Italian) parsley
3 sprigs fresh thyme
4 teaspoons salt
2 quarts water
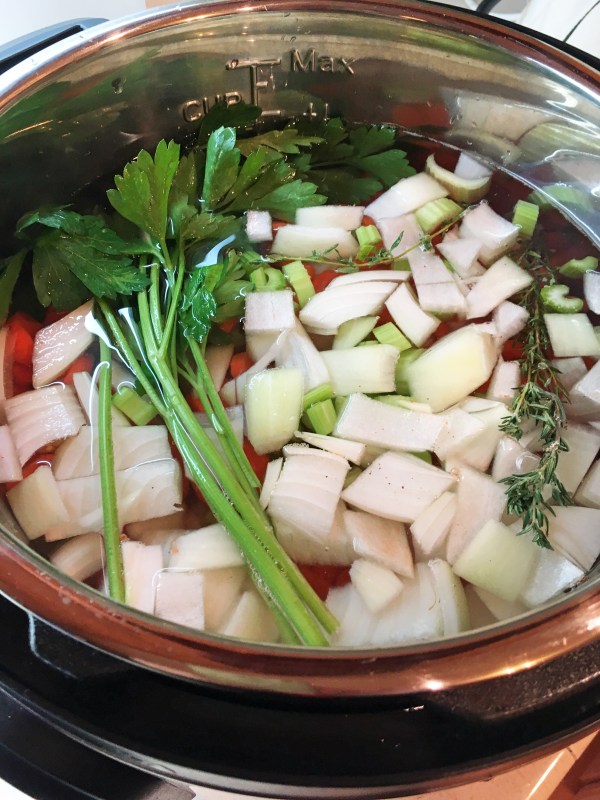
- Put the chicken in the pot skin side up.
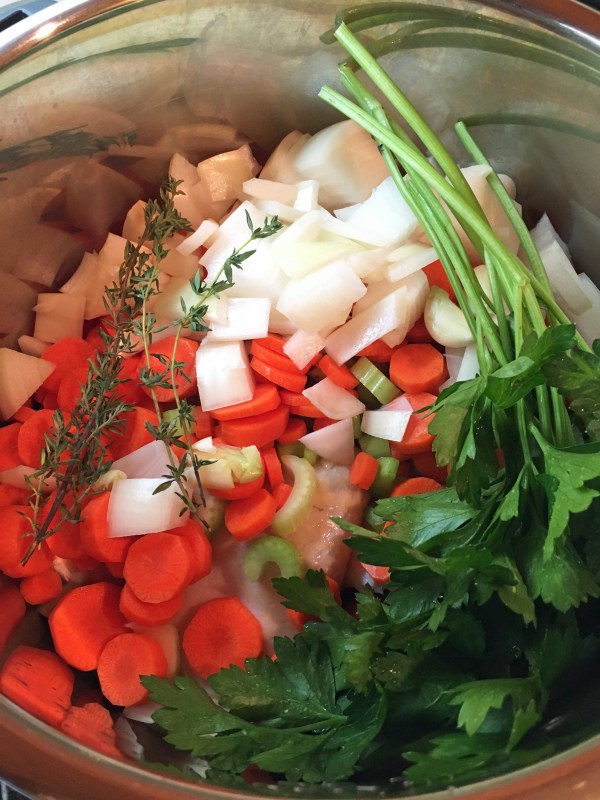
.22. Put all of the other ingredients in the pot.
.
My pot is pretty full. It’s just shy of the 4 Liters mark which is the maximum (2/3 full) for pressure cooking in the 6-quart pot. (The Max mark on the pot is for slow cooking, NOT for pressure cooking.) With the pot this full, I should have used the longer natural release to avoid having some soup sputter out of the release valve. You can read this to learn more about the maximum fill lines.
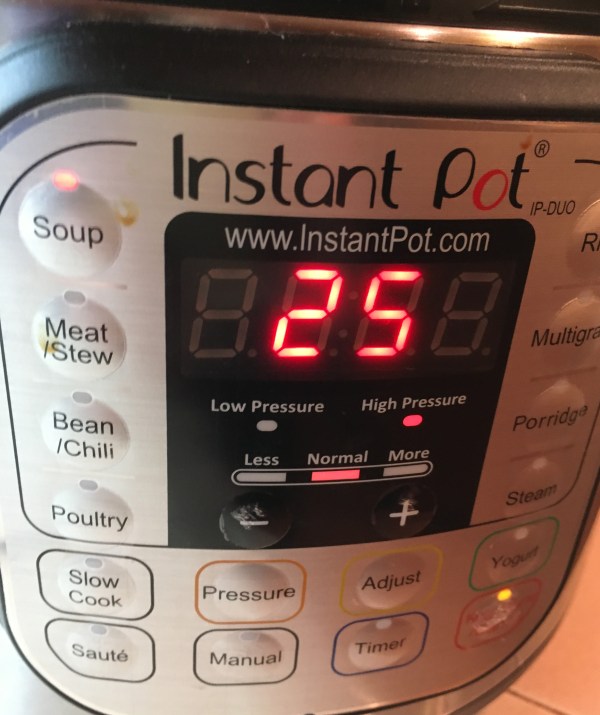
3. Put the lid on the pot, and turn the pressure regulator to Sealing. You can use the “Manual” program or the “Soup” program. Select 25 minutes of cooking time.
.
4. When the time is up, turn the pot off and let the pressure release naturally.
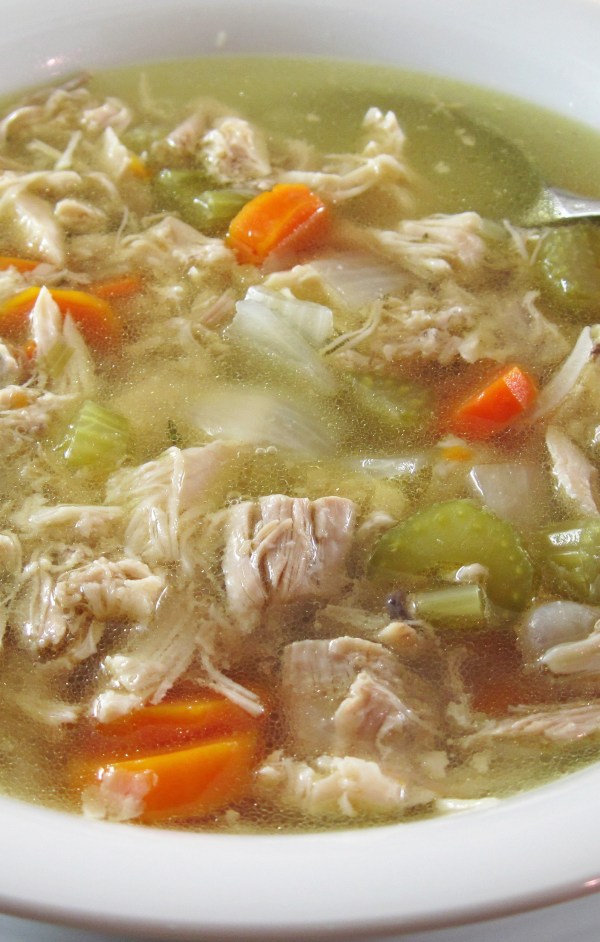
5. When the float valve has dropped down, open the pot. Remove the chicken pieces to a cutting board. When they are cool enough to handle, remove the skin and bones. Chop the meat into bite-size pieces and return it to the pot.
6. Serve.
**********************************************
If you don’t have a pressure cooker, you can make it on the stovetop.
Chicken Soup cooked in a pot on the stove
Prep time: 20 minutes
Bring to a boil: 15 minutes
Simmer: 1 hour
Time for cutting up the cooked chicken: 15 minutes
Total time from start to finish: A little under 2 hours
Put all of the ingredients in a large Dutch oven (or similar pot). Cover, bring to a boil. Reduce heat to a simmer. Simmer for 1 hour. Remove the chicken from the pot. When it’s cool enough to handle, remove the skin and bones and chop the meat into bite-size pieces. Return the chicken to the soup and serve.
.
.


