Welcome!
You'll find over 470 of my favorite recipes here, including ideas for Quick meals, Cooking for 2, Feasting on Leftovers, and cooking with 5 Ingredients or Less. I'm adding new posts regularly; you can subscribe by email or RSS feed if you'd like to receive the latest recipes. Bon appétit!
Warm up with Chicken and Rice Soup
This has to be the easiest chicken soup recipe ever created. I got the recipe from the 2002 edition of The Gourmet Cookbook. (You can also find it at epicurious.com.)

The original recipe makes a lot of soup–about 16 cups, enough to serve 8. I almost always make half of the recipe, and my half recipe is what I have posted.
Last night I made it with half of a whole chicken, but I usually use 1¾ to 2 pounds of chicken thighs (about 4 thighs). When it comes time to remove the chicken meat from the bones, it is much easier to do with thighs. I also prefer the dark meat.
White rice doesn’t work in this recipe because it would get too mushy. The brown rice works perfectly. If you don’t tell, no one will guess that it’s brown rice. Trust me.
The original recipe calls for chopped Italian (flat-leaf) parsley. I usually don’t have any on hand, so I’ve never used it. It would probably be good, if you want to add a couple of tablespoons.

Chicken and Rice Soup
Adapted from The Gourmet Cookbook (2002)
Serves 4 (Just double the amounts to serve 8 people.)
~~~
½ large onion, chopped
1½ stalks of celery, chopped
1½ carrots, chopped
1¾ – 2 pounds chicken thighs, with skin and bones (or ½ whole chicken)
½ cup brown rice
1 teaspoon salt
1½ quarts water (6 cups)
~~~
Combine everything in a large pot. Bring to a boil. Cover, reduce heat and simmer for 1 hour.
Remove the chicken from the pot. When cool enough to handle, discard the skin. Remove the meat from the bones and cut in small pieces. Add the chicken back to the soup.
Season to taste with salt and freshly ground black pepper.
Share this:

Pasta with Sausage for 2
Last night’s dinner was a typical quick and easy dinner in the Dedon house. Isernio’s Italian Chicken Sausage is easy to find, and doesn’t have any scary ingredients. You can choose regular or HOT.
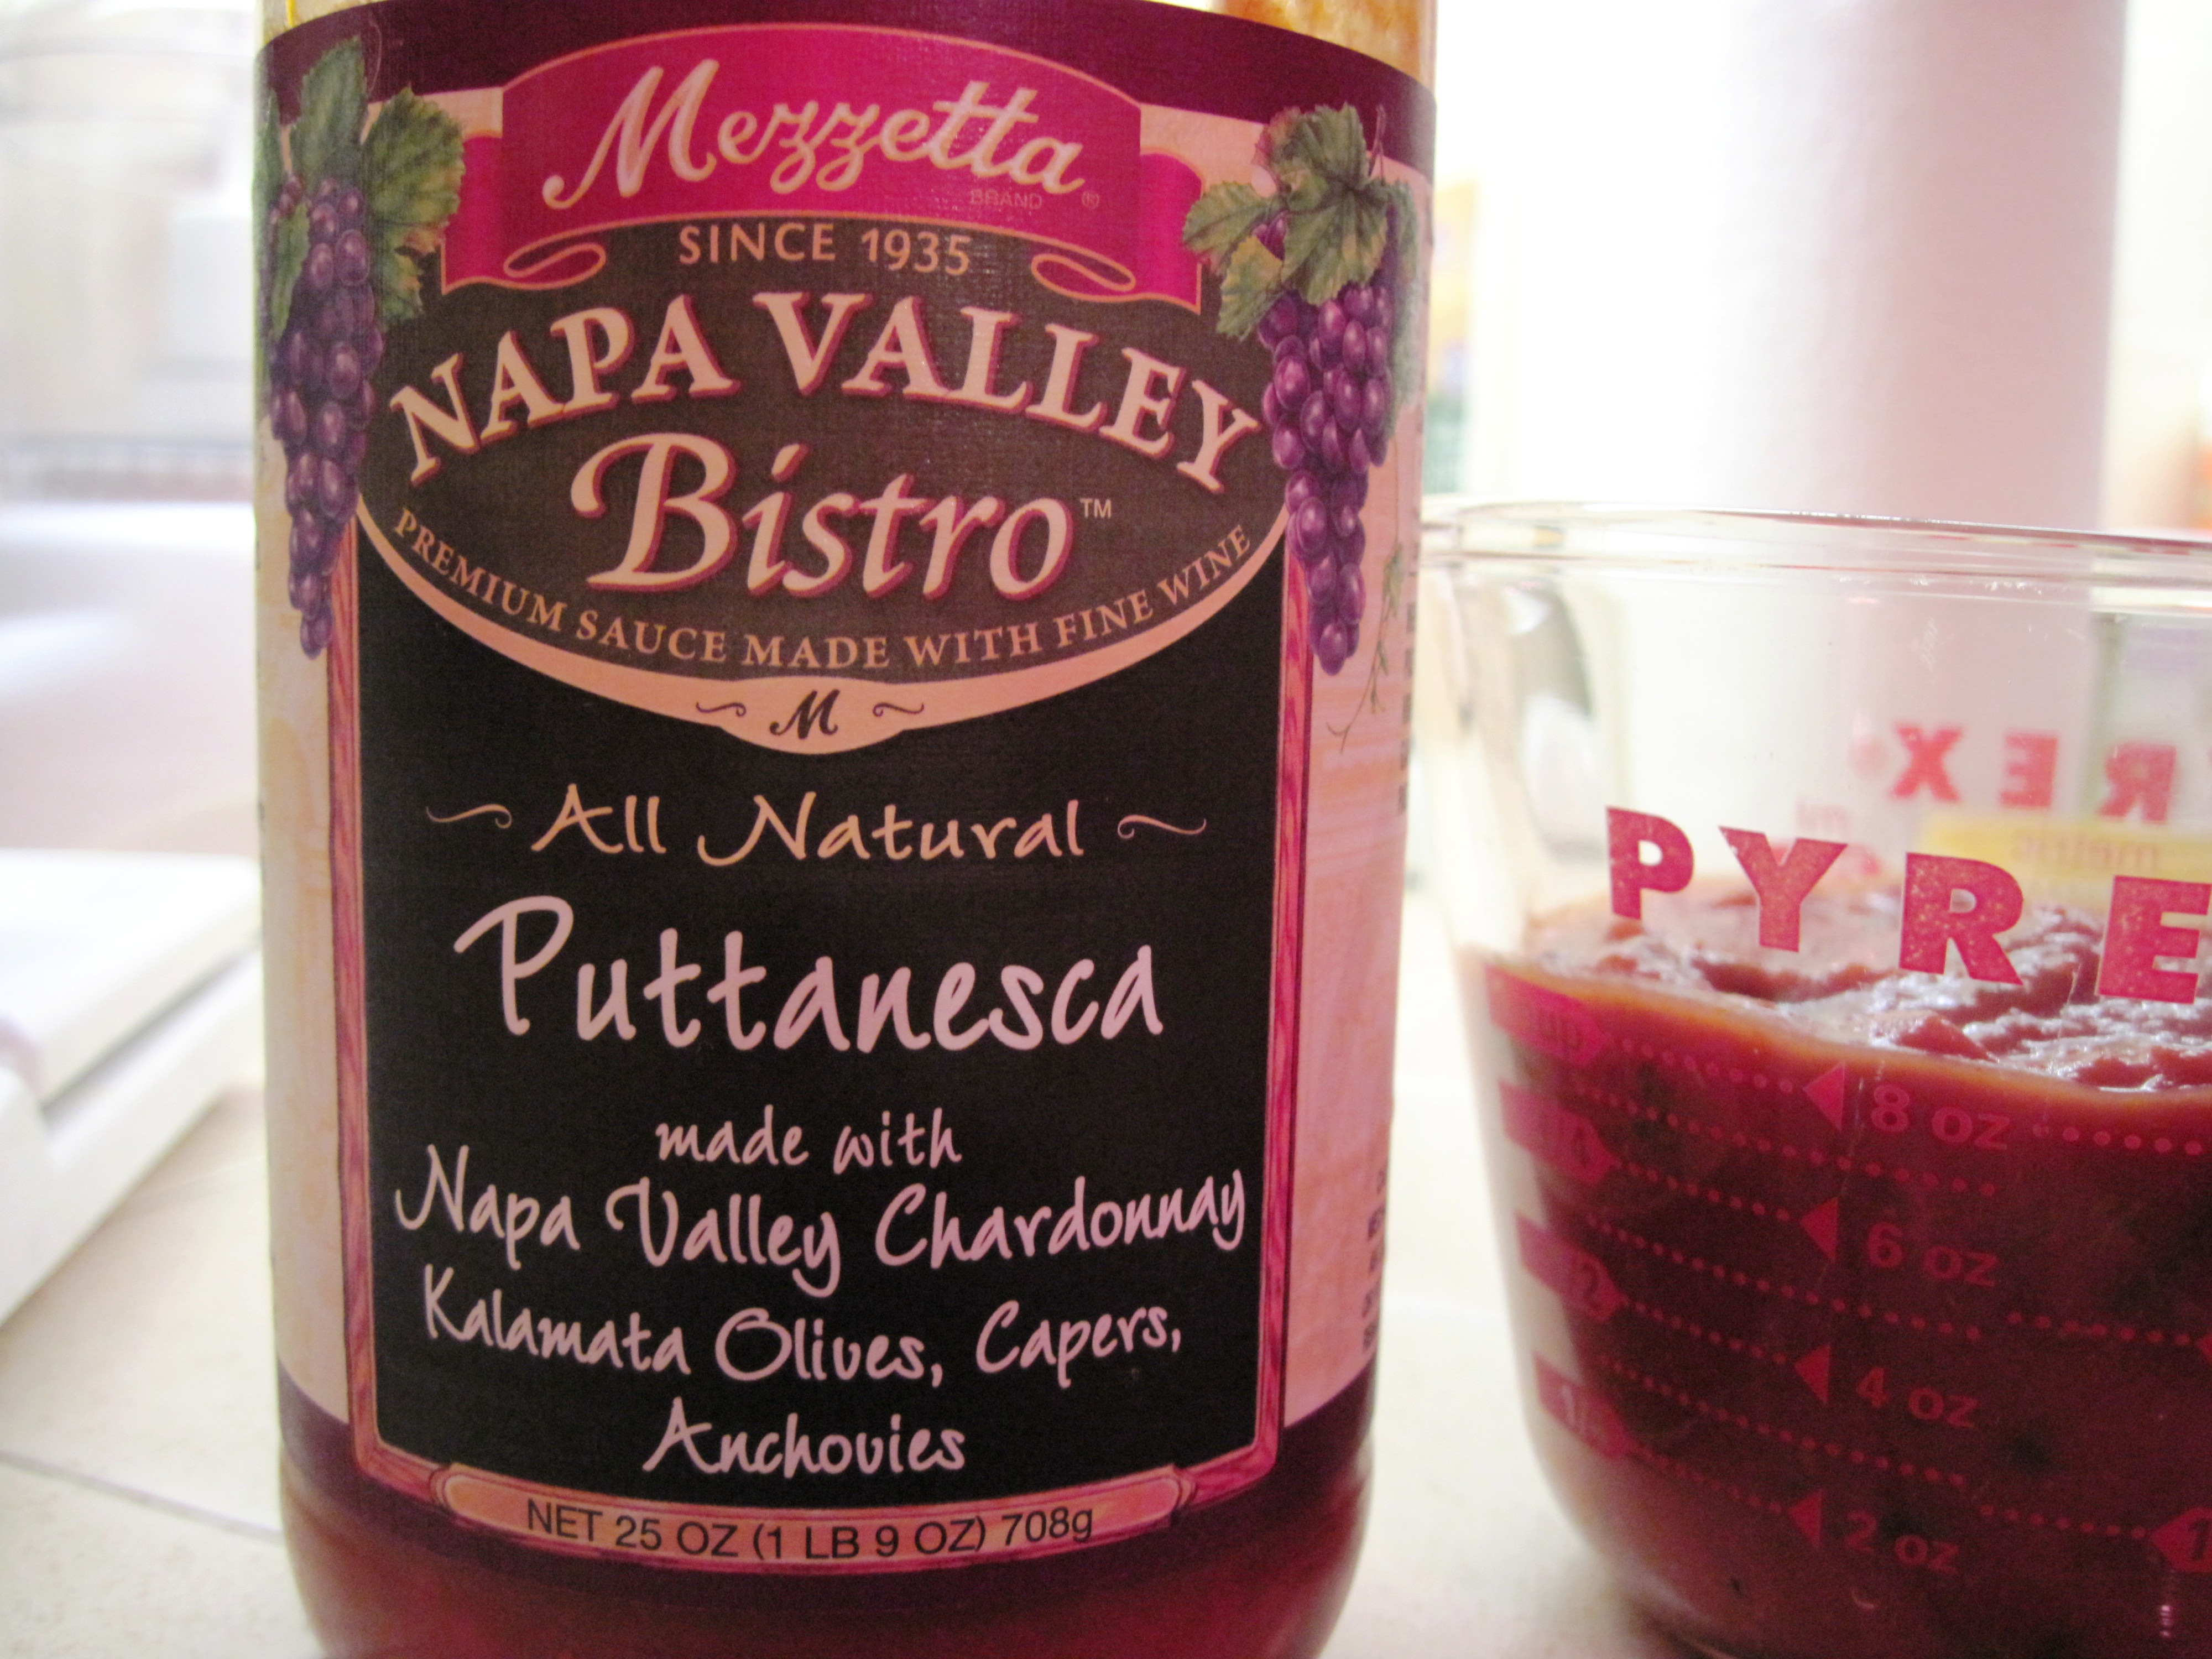
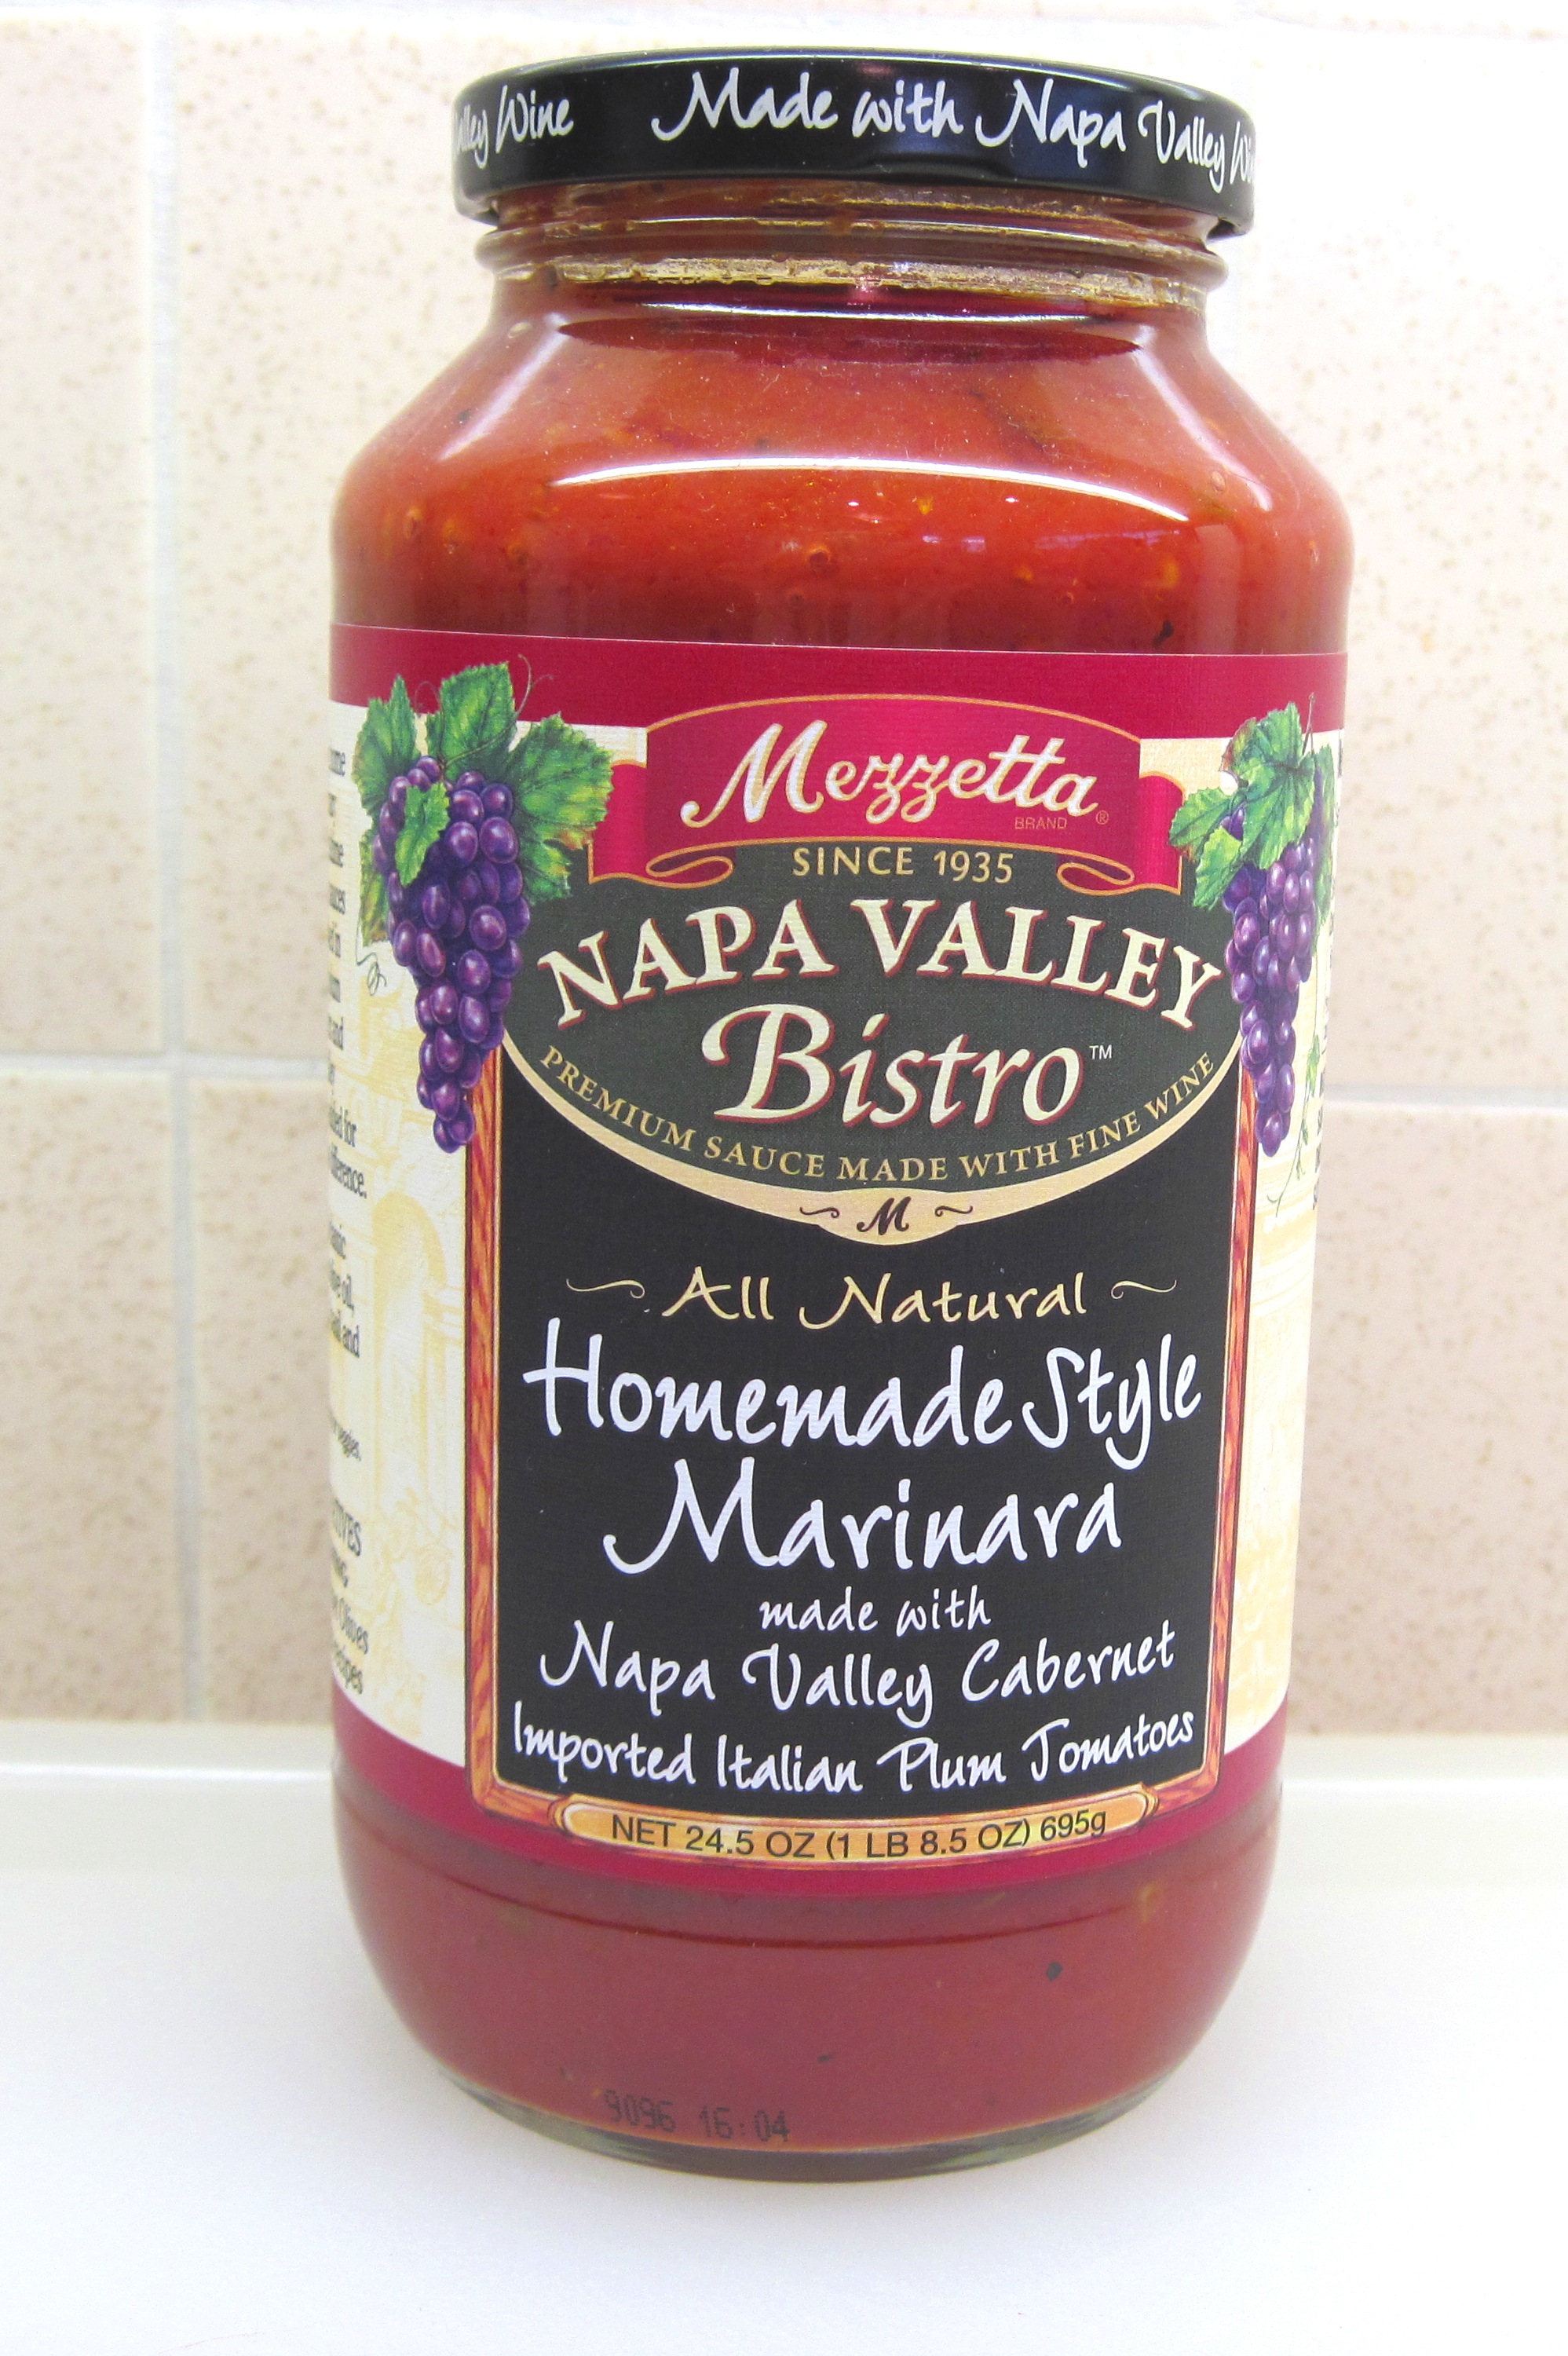
I’ve recently discovered Mezzetta’s Napa Valley Bistro pasta sauces. I feel like I’m always ready to make a quick meal when I have a jar in the cupboard. (Leftover sauce in the refrigerator is a treasure for making quick “pizza” English muffins for lunch.) So far, I like the Marinara variety the best.

I hesitate to call this a “recipe”, but here’s how I prepared last night’s dinner.
Pasta with Sausage for 2
~~~
6 – 7 oz. Isernio’s Italian sausage (2 links)
2 tsp. olive oil
1/4 cup chopped onions
1 cup Mezzetta Napa Valley Bistro sauce
5 oz. pasta (I used Barilla Plus spaghetti last night)
Parmesan cheese to grate on top.
~~~
Heat a large pot of water for the pasta.
Put the sausages in a medium skillet and add water just to cover the bottom of the pan. Cover the pan and cook over medium heat for about 10 minutes. Remove the cover and prick the sausages all over with a fork. Continue to cook, without the lid, until the sausages are done and lightly browned, about 10 more minutes.
Remove the sausages from the pan. I used a wadded up paper towel to wipe out some of the fat.
Add the olive oil and onions to the pan and cook over medium-low heat until the onions are soft.
When the pasta water is boiling, add a heaping tablespoon of salt and the pasta. Cook according to package directions. (10 minutes for Barilla Plus spaghetti.)
While the pasta is cooking, add the sauce to the onions and stir to combine. Slice the sausages into thin slices and add to the sauce.
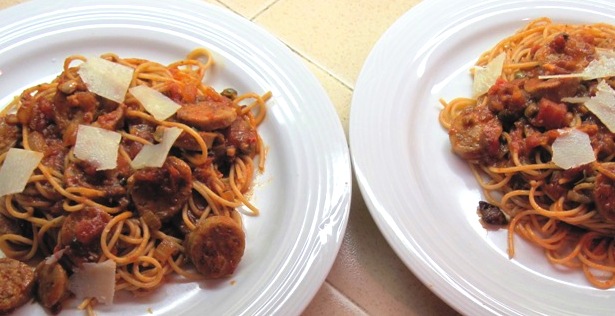
When the pasta is done, drain it and combine it with the sauce. Mix well. Top with shaved Parmesan cheese and serve.
Voilá! Pasta with Sausage for 2!

Share this:

Portuguese Orange Olive Oil Cake
When I saw David Leite’s post and video about his Portuguese Orange Olive Oil Cake I knew I had to make it for Christmas dinner. (I know. Christmas was over 2 weeks ago. I couldn’t wait until Christmas 2010 to post this.) David insists that you must wait at least 24 hours before tasting the cake. That meant I could make it on Christmas Eve and have the dessert all ready for Christmas day.
This cake is so delicious, and it really is easy to make. And it’s remarkable how well it keeps. I had one small piece left a week after Christmas and it was still wonderful!
I will definitely be making it again. It may become a Christmas tradition. 🙂

Portuguese Orange Olive Oil Cake
(Adapted from David Leite’s recipe, available on his blog and in his beautiful new book, The New Portuguese Table.)
David cautions to use a light-colored Bundt pan because “a dark one will turn out a cake that sticks and is unpleasantly brown.” My Bundt pan is medium-colored and has a non-stick coating. It worked for me.
As David says, don’t even think about tasting the cake for at least a day or two after you have made it!
~~~
Nonstick baking spray with flour
5 large navel oranges
3 1/2 cups (420 grams) all-purpose flour
1 1/2 teaspoons baking powder
1 3/4 teaspoons kosher salt
5 large eggs
3 cups granulated sugar
1 1/2 cups mild extra-virgin olive oil
Confectioners’ sugar, for sprinkling
~~~
1. Put an oven rack in the middle of the oven. Preheat the oven to 350˚. Spray a 12-cup Bundt or tube pan with baking spray.
2. Finely grate the zest of 3 of the oranges. (A Microplane zester works well for this.) Squeeze 4 of the oranges. If you don’t have 1 1/2 cups of juice (I didn’t), squeeze the 5th orange.
3. Whisk together the flour, baking powder, and salt in a large bowl.
4. In the bowl of a stand mixer, beat the eggs on medium-high speed until mixed well, about 1 minute. Slowly pour the granulated sugar in and beat until it is thick and pale yellow, about 3 minutes. On low speed, add about 1/3 of the flour mixture, then about half of the oil. Continue alternating, ending with the flour and beat until just a small amount of flour remains. Pour in the orange juice and zest and beat just for a few seconds to blend it all together.
5. Pour the batter into the prepared cake pan and bake until a tester comes out clean, about 1 1/4 hours. Check the cake as it’s baking. If the top seems to be getting too brown, cover it loosely with foil.
6. When the cake is done, put the cake pan on a wire rack to cool for 15 minutes.

Then turn the cake out on a wire rack to cool completely. Put the cake in a covered cake stand and wait at least 1 day before eating. Just before serving, sprinkle confectioners’ sugar over the top.

~~~
April 4, 2010
Portuguese Orange Olive Oil Cake revisited for Easter!

Share this:

Filo’s Pasta and Cauliflower
Carrie’s study abroad program in Florence, Italy, had the students stay with local people. She and her roommate were lucky enough to stay with Filo who is reputed to be the best cook of all of the house “moms”.

Filo speaks no English, which was fortunate because Carrie became quite fluent in Italian. Carrie asked Filo for some of her favorite recipes. Filo wrote them out…in Italian. I had Carrie translate them shortly after she got home.
Last night I realized it was time to fix dinner and started to wonder what we had on hand to eat. Remembering that we had some cauliflower that really needed to be eaten, I decided to make Filo’s Pasta and Cauliflower.
I’m not really sure if my version was exactly like Filo’s. Her cauliflower may have stayed in pieces that you could identify. My cauliflower cooked down into a delicious sauce. I thought it tasted great. It would be a good way to sneak cauliflower into the menu.
Filo’s Pasta and Cauliflower
Serves 2 or 3 (Doubles easily)
~~~
13 oz cauliflower
2 Tbsp. olive oil
2 slices bacon, diced
1 clove garlic, peeled and cut in half
7 oz. pasta
1 Tbsp. tomato paste
1 sprig of parsley, minced (optional)
salt and pepper, to taste
~~~
Heat the oil in a large skillet. Add the bacon and the garlic.

Remove the garlic when it is “blonde”. Wash and cut the cauliflower into pieces and then add it and the tomato paste to the skillet.

Cover the pan and leave it to simmer over medium heat, stirring from time to time, until the cauliflower is tender.
While the cauliflower is simmering, cook the pasta. When it’s done, reserve a bit of the pasta water and then drain. Add the pasta to the cauliflower. Add some of the pasta water if it seems too dry. The sauce should not be too soupy. Season to taste with salt and pepper and finish it off with the parsley.

I didn’t have any parsley; although my pasta was quite tasty, I think it would have been improved with the parsley. Next time…
Share this:

The Dedon House Salad
Salad is part of our dinner every night, but I keep it pretty simple on most nights. You might call it the “Dedon House Salad”. Start with fresh greens–lettuce, spinach and/or arugula are favorites. Then I add onions, radishes, tomatoes, avocado, cucumber, red peppers….whatever we have.
For the House Salad dressing, I use a method I learned from an Adelle Davis book years ago. It’s very simple, tastes fresh, and is truly as fast as opening a bottle of commercial dressing that contains who-knows-what.
I toss everything with a bit of olive oil. It doesn’t take much olive oil; if you toss it well, the lettuce leaves will be coated. Then I add salt and pepper and a bit of vinegar or lemon juice and toss again. Coating the lettuce leaves with olive oil before adding the vinegar helps to keep them from getting wilted too quickly.
Last night’s salad was simply lettuce, radishes and bits of avocado tossed with olive oil and white balsamic vinegar.

If I feel like getting “fancy”, I might add a bit of dijon mustard and minced shallots or garlic to the vinegar before adding it to the salad. Most nights, though, I keep it simple.
Update April 29, 2010:
Kalyn posted a beautiful salad on her blog, Kalyn’s Kitchen, and it included peperoncini peppers. Bob loves peperoncinis, but I had never thought of adding them to a salad. So here is another version of “The Dedon House Salad”. It’s the same simple dressing with red leaf lettuce, peperoncini peppers, red peppers, and red onions. Quite tasty!
Here’s how it looked before I tossed it with the oil and vinegar:

Share this:

Chocolate Birthday Cake
I made my “go-to” chocolate cake for Carrie’s birthday dinner. I use the recipe on the back of the Hershey’s cocoa box. Joan said she remembers Mom making this cake, so I guess you could call it the Wright family recipe.
It’s not a fussy cake–it’s very easy to make. It calls for boiling water. I don’t know why it has to be boiling water, but that’s what I use. The cake is always extremely moist.
It would make excellent cupcakes, too! (Fill paper cupcake cups 2/3 full of batter. Bake for 20 – 25 minutes. Makes about 30 cupcakes.)
I enjoyed the last small piece for breakfast this morning!

Hershey’s “Perfectly Chocolate” Chocolate Cake
(Cake and frosting recipes adapted from the ones on the Hershey’s cocoa box)
~~~
2 cups sugar
1 3/4 c. flour (210 grams) (I use King Arthur All Purpose)
3/4 c. cocoa (not Dutch processed)
1 1/2 tsp. baking powder
1 1/2 tsp. baking soda
1 tsp. salt
2 eggs
1 c. milk
1/2 c. oil (I use light olive oil)
2 tsp. vanilla
1 c. boiling water
~~~
Heat the oven to 350˚. Grease and flour 2 9-inch round baking pans. (Or spray them with Pam Baking Spray, which is what I did.)

Combine the dry ingredients in a mixing bowl. (I weighed the flour, instead of measuring it. 1 ¾ cups of flour weighs 210 grams.) Sifting the cocoa through a mesh strainer into the bowl helps to eliminate lumps.

Add the eggs, milk, oil and vanilla and beat at medium speed for 2 minutes.

Add the boiling water. The batter will be very thin. Pour the batter into the prepared cake pans and put them in the oven. The recipe says to bake for 30 – 35 minutes, or until a cake tester inserted in the center of the cake comes out clean. I don’t know if it’s my pans or my oven, but it always takes 40 minutes for me. When the cake is done, cool in the pans for 10 minutes. Then remove the cakes from the pans and finish cooling on wire racks.
When completely cool, frost with chocolate frosting.
~~~
Hershey’s “Perfectly Chocolate” Chocolate Frosting
.
1 stick (1/2 c.) butter
2/3 c. cocoa
3 c. powdered sugar
1/3 c. milk
1 tsp. vanilla
~~~
Melt the butter in a large saucepan. Pour the butter into the mixing bowl. Sift the cocoa through a mesh strainer into the bowl. Mix well. Alternately add powdered sugar and milk, mixing well after each addition. Add more milk if needed. Mix in the vanilla.
~~~
Update
Rose Levy Beranbaum is an expert on cakes. She is the author of The Cake Bible and her new and highly acclaimed Rose’s Heavenly Cakes. Chefs Tom Douglas and Thierry Rautureau had an interesting interview with her on last Saturday’s “In the Kitchen with Tom Douglas and Thierry Rautureau”. (The show is now called Seattle Kitchen.) She said that you really must use bleached white flour for cakes! I had never heard that before. She said unbleached is perfect for breads, but bleached gives a more tender crumb for cakes. Perhaps I’ll have to try using bleached flour (which I haven’t purchased since who knows when) for my next cake.
~~~
Update
Newsflash on bleached vs. unbleached flour!
The March/April 2010 issue of Cook’s Illustrated reports that King Arthur Flour has introduced an unbleached cake flour that performs just as well as bleached flour. And it doesn’t have the slightly chemical taste of the bleached flours. Sounds like a winner!
Share this:

Gemelli with Sausage, Grapes and Red Wine

On January 2nd we had an early birthday dinner for Carrie. She left on the 3rd to go to Peru with her roommate, Sarah. They plan to be back at Pomona College by the start of classes on the 19th.
Carrie requested Andrew Carmellini’s Strozzapreti with Sausage, Grapes and Red Wine from his Urban Italian cookbook. I used gemelli, because I couldn’t find strozzapreti.
Joan volunteered to remove the casings from the sausage and chop it up. (Thank you, Joan!)

The pasta was delicious and a great send-off/birthday dinner for Carrie!
a
Gemelli with Sausage, Grapes and Red Wine
(Adapted from Andrew Carmellini’s recipe)
a
a
Serves 6 – 8
a
1 cup seedless red grapes, halved lengthwise
1 cup dry red wine
1/4 cup honey (or sugar)
2 tablespoons red wine vinegar
1 pound dried gemelli pasta (or other small, thin pasta)
3 tablespoons olive oil
1 1/2 pounds Italian sausage (about 3/4 pound spicy and 3/4 pound regular), casings removed and meat roughly chopped
1 cup chopped onion
10 fresh sage leaves, roughly chopped
2 tablespoons butter
1/2 cup grated pecorino cheese, plus extra for sprinkling
1/2 teaspoon coarsely ground black pepper
~~~

In a medium bowl, combine the grapes, wine, honey and vinegar. Cover and refrigerate for 8 hours or overnight.
Put the grape mixture in a pan over medium high heat. Bring to a boil and cook until the liquid has reduced by half. I find this takes about 30 minutes. (Andrew had said it would take 10 minutes. Perhaps it takes longer with honey?)
Heat the pasta water.
In a large skillet, heat the olive oil. Add the sausage meat and cook until it starts to brown, stirring often. Then add the onions and continue to cook until the sausage is thoroughly cooked. Add the sage and stir.
When the pasta water is boiling, add 2 tablespoons of salt and the pasta. Cook the pasta according to package directions.
Add the grape mixture to the sausage and stir.
When the pasta is done reserve some of the water (1/2 – 3/4 of a cup) and then drain the pasta. Add the pasta to the sausage if your pan is big enough. Alternatively, put the pasta back in the pasta cooking pot and add the sausage mixture to the pasta. Cook the pasta mixture over medium heat for about a minute more to allow the pasta to absorb some of the flavors.
Stir in the butter, cheese, and black pepper. Add a bit of the reserved pasta water, if it seems a bit dry. Serve immediately and offer extra cheese to top the pasta.
Share this:

Black Bean Confetti Salad
Laura introduced me to Deb Perelman’s Smitten Kitchen blog, which I have been exploring. The recipes all sound great, the photography is gorgeous, and the writing is witty. Her black bean salad recipe looks so festive with all of the colorful peppers; I decided to make it for the Johnsons’ New Year’s party.
After mixing the salad, I decided it needed a few dashes of Tabasco. I didn’t have any cilantro, but that would definitely be a great addition.
Happy New Year!
Black Bean Confetti Salad
Adapted from smittenkitchen.com
 .
.
2 15-ounce cans black beans, rinsed and drained
4 bell peppers — green, red, orange and yellow — diced
1 cup diced sweet onions
Juice of 1 lime
3 tablespoons olive oil
1 teaspoon ground cumin
3/4 teaspoon salt
1/2 teaspoon honey
1/8 teaspoon cayenne
A few dashes of Tabasco, to taste
~~~
Whisk the dressing ingredients together and toss with the beans, peppers and onions. Adjust seasonings to taste.

Share this:

Lemon Curd Birthday Tart
10 days ago I celebrated my birthday. (December 22, if you want to mark your calendars!) A big one—my 60th. I don’t feel as old as that sounds which is a good thing, I guess.
Anyway, we had a lovely dinner. Bob and Carrie made most of it. I used some of the beautiful Meyer lemons that Mike and Liz sent us to make a lemon tart.
I found the recipe on epicurious.com. It suggested using a 9-inch tart pan with a removable side. Since I didn’t have one, I just used a 9-inch pie plate which worked fine.
The recipe also called for “fruity olive oil (preferable French)”. I used Extra Light Olive Oil from Costco.
Lemon Curd Tart with Olive Oil
Adapted from a Gourmet recipe found on Epicurious
.
Tart shell:
2 tablespoons almonds with skins, toasted and cooled
¾ cup flour
¼ cup confectioners sugar
Pinch of salt
¼ cup cold unsalted butter, cut into ½-inch cubes
1 large egg yolk
3 ½ tablespoons olive oil
~~~
Preheat the oven to 425˚ with the rack in the middle
Pulse the almonds to a fine powder in a food processor. Pulse in the flour, sugar and salt, and then pulse in the butter until it is a coarse meal with small (pea-size) butter lumps.
Add the yolk and olive oil and pulse just until a dough is formed.
Spread the dough evenly over the bottom and up the sides of the pie plate (or tart pan, if you have one). Chill until firm, about 30 minutes.

Line the shell with foil and fill with pie weights or dried beans. (I have a bag of old beans that are my designated “pie weights”.) Bake shell for about 13 minutes. Carefully remove the foil and weights. Shield the edge of the crust with foil, if it has already started to brown. Bake the crust for about 2 more minutes. (Next time I would make sure the entire crust is covered with the foil lining so the edges don’t get too brown. After 13 minutes, I would remove the foil and beans and then bake for just a couple of minutes more so the crust is lightly browned.) Transfer to a rack to cool completely, about 30 minutes.
Lemon Curd:
.
3 large lemons
¾ cup granulated sugar
2 teaspoons cornstarch
2 large eggs plus 2 egg yolks
¼ cup cold unsalted butter, cut into ½-inch cubes
2 tablespoons olive oil
~~~
Grate 1 tablespoon of lemon zest and squeeze ¾ cup of lemon juice.
Whisk together the zest, juice, sugar and cornstarch in a medium saucepan. Whisk in the 2 eggs and egg yolks. Bring to a boil over medium heat, whisking constantly. Continue whisking for 2 minutes after it comes to a boil.
Remove from heat and whisk in the butter and oil.
Pour the lemon curd into the pie shell and chill until set, at least 2 hours.

Happy Birthday to me!
Share this:

Hello world!
Well, here I am on the brink of a new year (2010) with a new blog. Happy New Year and Bon Appetit!


