Welcome!
You'll find over 470 of my favorite recipes here, including ideas for Quick meals, Cooking for 2, Feasting on Leftovers, and cooking with 5 Ingredients or Less. I'm adding new posts regularly; you can subscribe by email or RSS feed if you'd like to receive the latest recipes. Bon appétit!
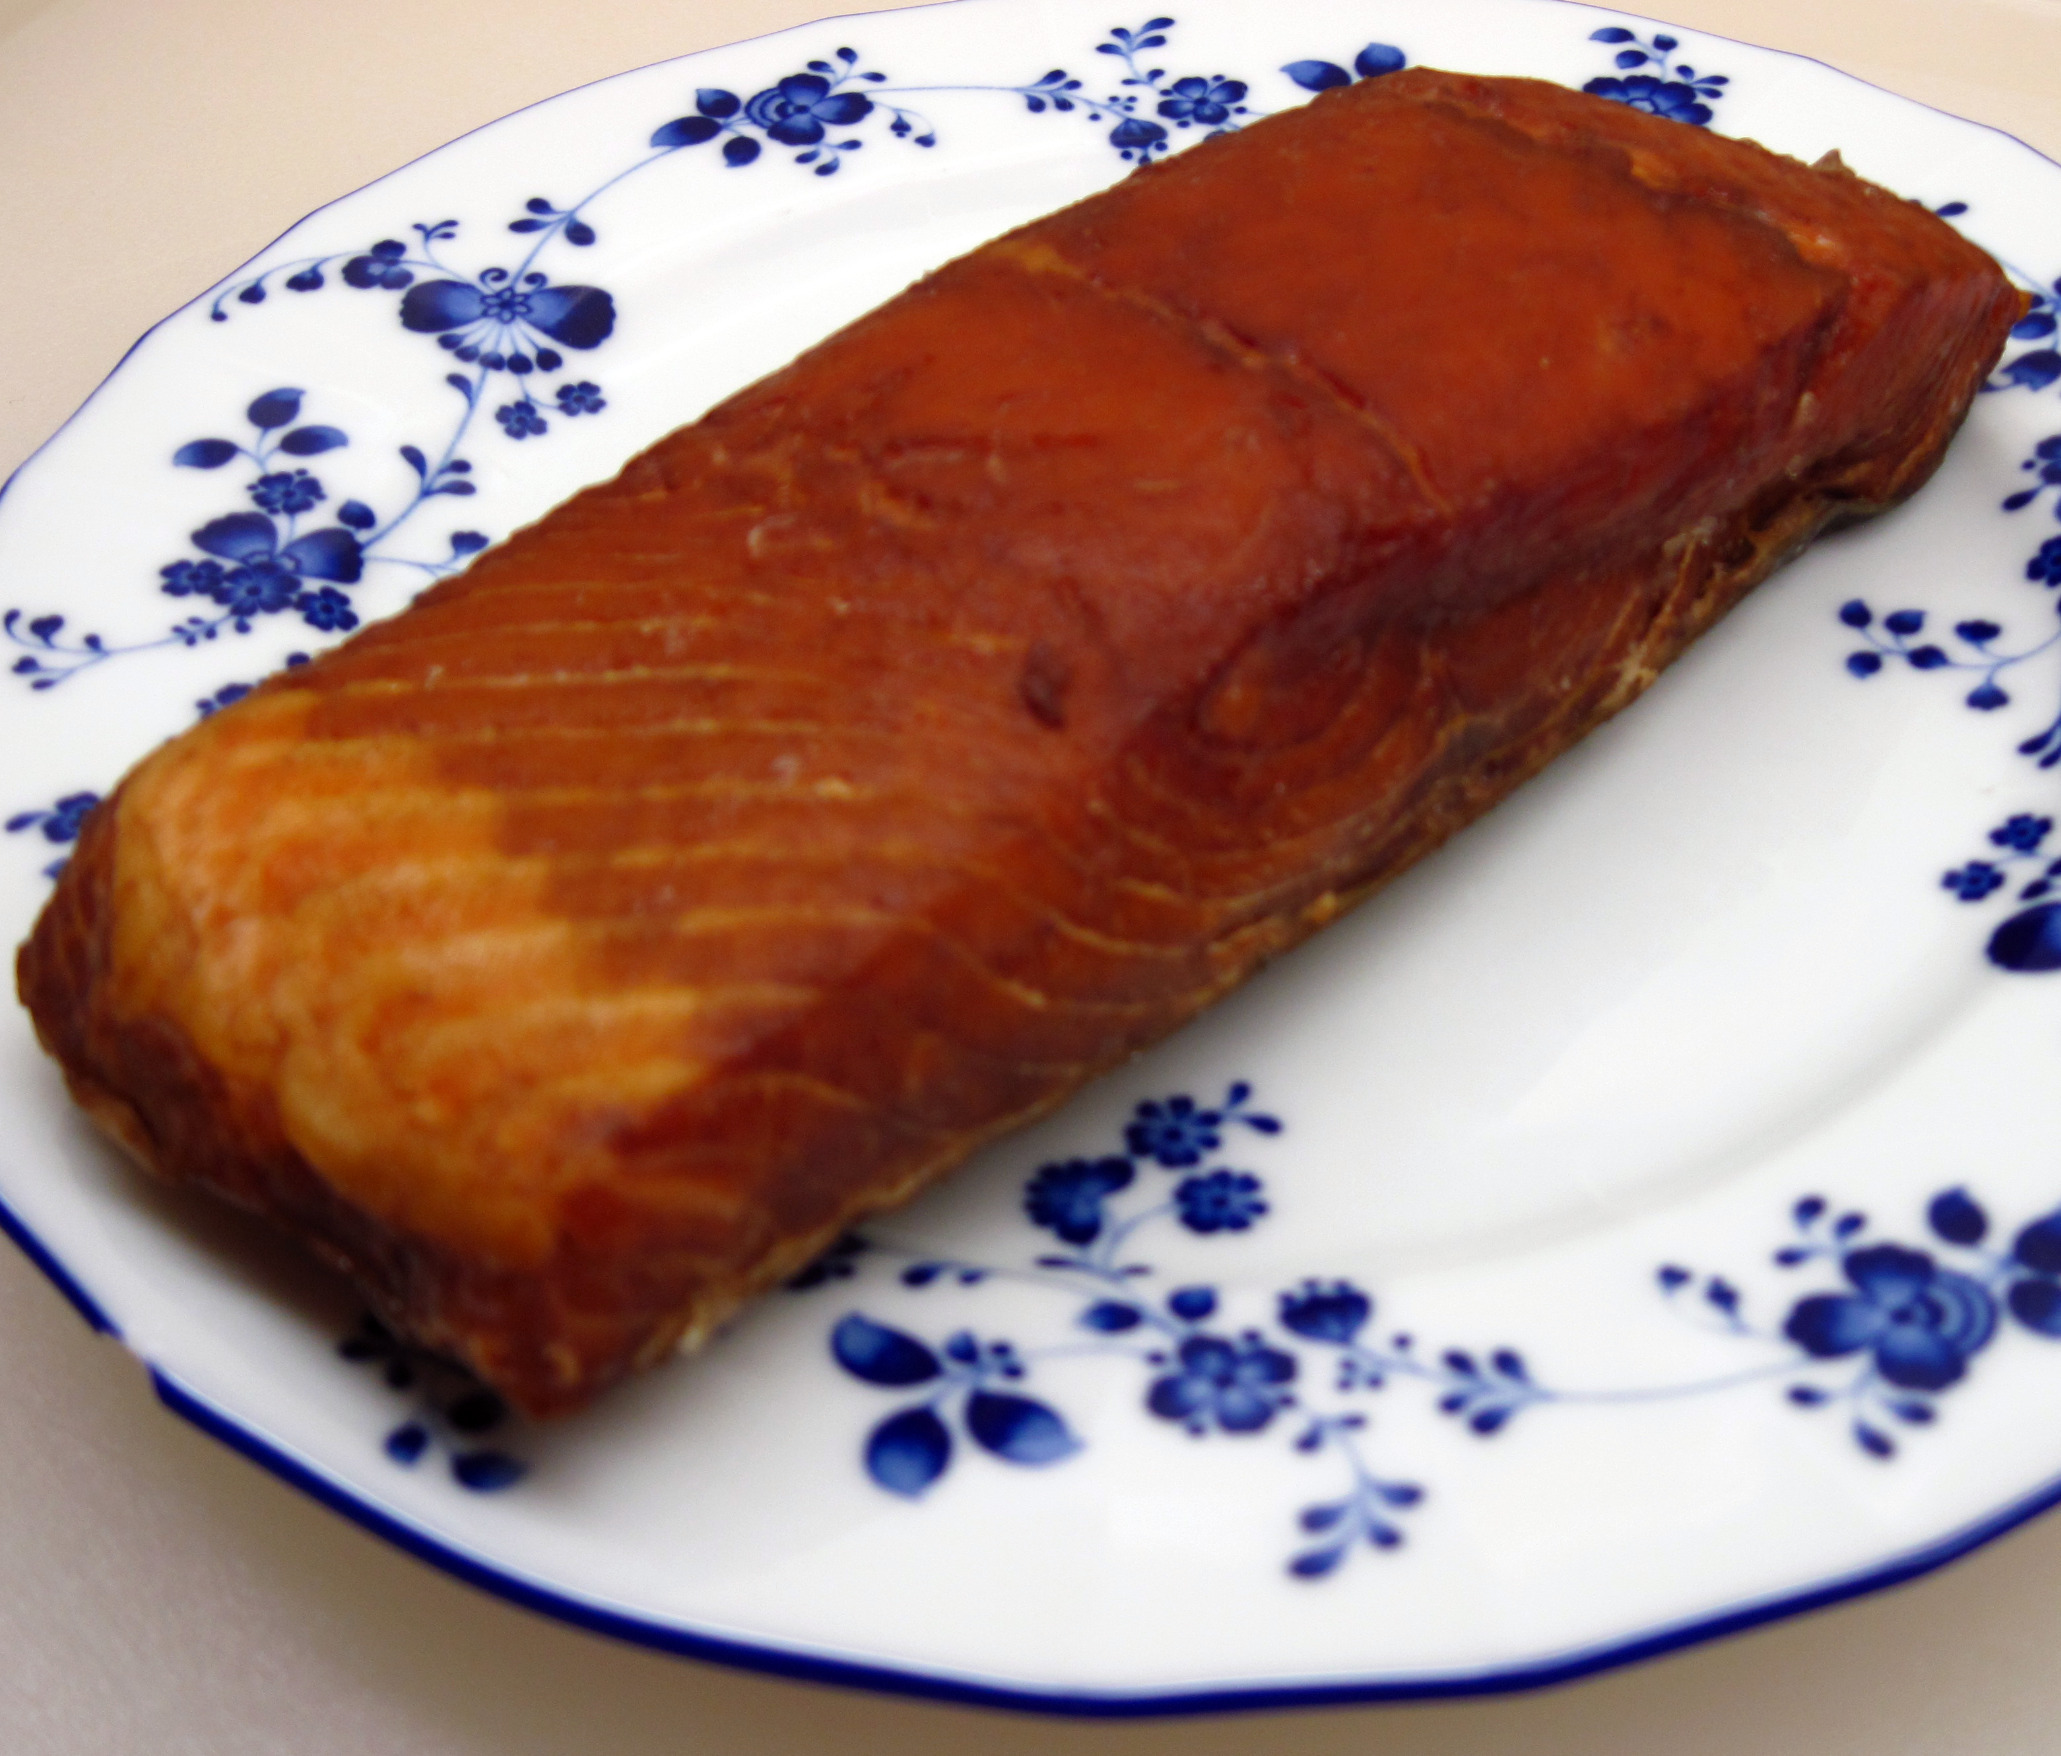
Kath’s Smoked Salmon Chowder

With a small piece of smoked salmon, you can create a delicious chowder! Add a crusty loaf of bread and a salad and you have a simple Northwest meal that’s fit for company.
My original recipe serves 8. I wanted to make half of the recipe, which was very easy to do. For the 14.5-oz can of diced tomatoes, I used half of the can and froze the other half to use another time. (If you have flavorful fresh tomatoes, by all means, use them instead of the canned tomatoes.)
Just double the recipe below if you want to serve more people.

~
Smoked Salmon Chowder
~
Serves 4 (doubles easily)
Marjoram from our garden:

2 strips bacon
1 teaspoon fresh marjoram, minced (or ½ teaspoon dried)
1 large clove garlic, minced
½ large carrot, chopped
½ large stalk celery, chopped
½ cup chopped onion
½ of a (14.5-oz) can diced tomatoes (or 1 cup diced fresh tomatoes)
1 can chicken broth (or even better, 1 ¾ cups homemade chicken broth)
2 cups red potatoes, scrubbed and diced with skin on
1½ cups whole milk
4 – 6 ounces smoked salmon, cut into small pieces and the bones and skin removed
Salt, pepper, and Tabasco sauce to taste
Potatoes, diced and ready to go:
~
1. Cook the bacon in a large pot over medium-low heat until done. Remove the bacon from the pot.
2. Add the marjoram, garlic, chopped carrots, celery, and onions; cook, stirring often, for about 10 or 15 minutes until they are tender. Do not brown.
3. Add the chicken broth and the potatoes. Bring to a boil; cover and reduce heat so soup is simmering. Cook until the potatoes are tender, about 10 or 15 minutes.
4. Add the tomatoes. (If using fresh tomatoes, cook for a couple of minutes before proceeding; otherwise just stir the canned tomatoes in and then add the milk.)

5. Add the milk and bring to a simmer while stirring.
6. Add the smoked salmon and continue to simmer for 5 minutes.
7. Season to taste with salt, pepper, and Tabasco sauce.
~

Share this:

Awesome Farro and Chickpea Salad
Farro and Chickpea Salad makes a colorful, flavorful and awesome side dish or vegetarian main dish salad. Make this when you want to “wow” everyone at your next barbecue or potluck get-together!
I was inspired by the fabulous Organic Grain Salad served at Portage Bay Café, a great place for breakfast or lunch in Seattle. (It’s not open for dinner.) I ordered it because it sounded healthy (and good), but I was blown away by its deliciousness! I had to try to create my own version of it at home.
It takes some time to prepare each of the individual parts of the salad, so it is not a quick recipe. But it is easy, and it is so worth the effort.
I cooked dried chickpeas (garbanzo beans), but a canned beans could be substituted.
Wheat berries can be substituted for the farro, which can be difficult to find and is sometimes expensive. I have successfully made the salad with wheat berries; I found they are a bit chewier than the farro, but still very good.
If you’re not serving a crowd, make it anyway. You will love having the leftover salad in your refrigerator!

~
Farro and Chickpea Salad
(Inspired by the Organic Grain Salad at Portage Bay Café)
Makes about 10 cups, generously serving 10 – 12 as a side dish, or 6 as a main dish
Plan on about 3 hours, start to finish (It’s worth it!)
~
1 cup farro (or wheat berries)
2 cups cooked chickpeas (garbanzo beans), or 1 can, rinsed and drained
8 ounces small potatoes, scrubbed but unpeeled
4 carrots (about 12 ounces), peeled and cut into 1½ inch chunks
About 1 cup sweet onion, cut in 1-inch square pieces
6 ounces grape tomatoes, sliced in half
1 cup pitted Kalamata olives, sliced
½ cup red onion, cut in small pieces
15 sage leaves, washed and thoroughly dried
Olive oil for the carrots and for frying sage leaves
Lemon/Rosemary Vinaigrette (recipe follows)
~
1. If you’re cooking the chickpeas, start them first. Put 1 cup chickpeas in a large pot. Cover with water so there is at least 2 inches of water over the chickpeas. Bring to a boil and boil for 5 minutes. Remove from heat and let them sit, covered, for 1 hour.
2. Drain the beans and cover with plenty of water again. Bring to a boil and boil for 10 minutes. Lower the heat and simmer for 40 minutes. Add 1½ teaspoons salt and simmer until tender, 10–15 minutes more. Drain.
(Or omit steps 1 & 2 and rinse a drain a can of chickpeas.)
3. Start the farro (or wheat berries) after you get the chickpeas going for their second boil. Put the farro in a large pot with lots of water. Add ¼ teaspoon of salt and bring to a boil. Reduce heat and simmer, uncovered, until tender but chewy, about 60 minutes. Drain when done.
4. Steam the potatoes until just tender. Let them cool; cut into small pieces.
5. Heat the oven to 425˚. Put the carrots on a small rimmed baking pan and toss with about a tablespoon of oil. Roast for 15 minutes. Stir in the sweet onion pieces and roast for about another 10 minutes.
6. Cut the cooked carrots into small pieces.
Chickpeas and potatoes in a bowl:
 ~
~
Farro and roasted carrots and onions added to the bowl:
 ~
~
7. Heat about ¼ inch of olive oil in a small saucepan. Make sure the sage is thoroughly dry so it doesn’t splatter. Add the sage leaves (in 2 batches if it’s too crowded) and cook for about 30 seconds. Remove the leaves and drain on a paper towel. After they have cooled off, they’ll be a bit crunchy.
 ~
~
8. Add the tomatoes, olives, and the red onion to the other ingredients in the bowl.

~
9. Crumble the sage over the salad. Gently toss the salad with about ¾ of the Lemon/Rosemary Vinaigrette. Season to taste with salt.
10. Just before serving, taste, and toss with a bit of the extra vinaigrette if it needs more.
~
Lemon/Rosemary Vinaigrette
(Adapted from Mark Bittman’s vinaigrette recipe in How to Cook Everything)
~
1 teaspoon grated lemon zest
½ teaspoon salt
½ teaspoon minced rosemary
¼ cup freshly squeezed lemon juice (I needed 2 lemons)
½ cup extra-virgin olive oil
~
1. Mix the zest, salt, rosemary and juice. While whisking constantly, slowly add the oil in a stream until emulsion forms.
2. Taste to adjust salt.

Share this:

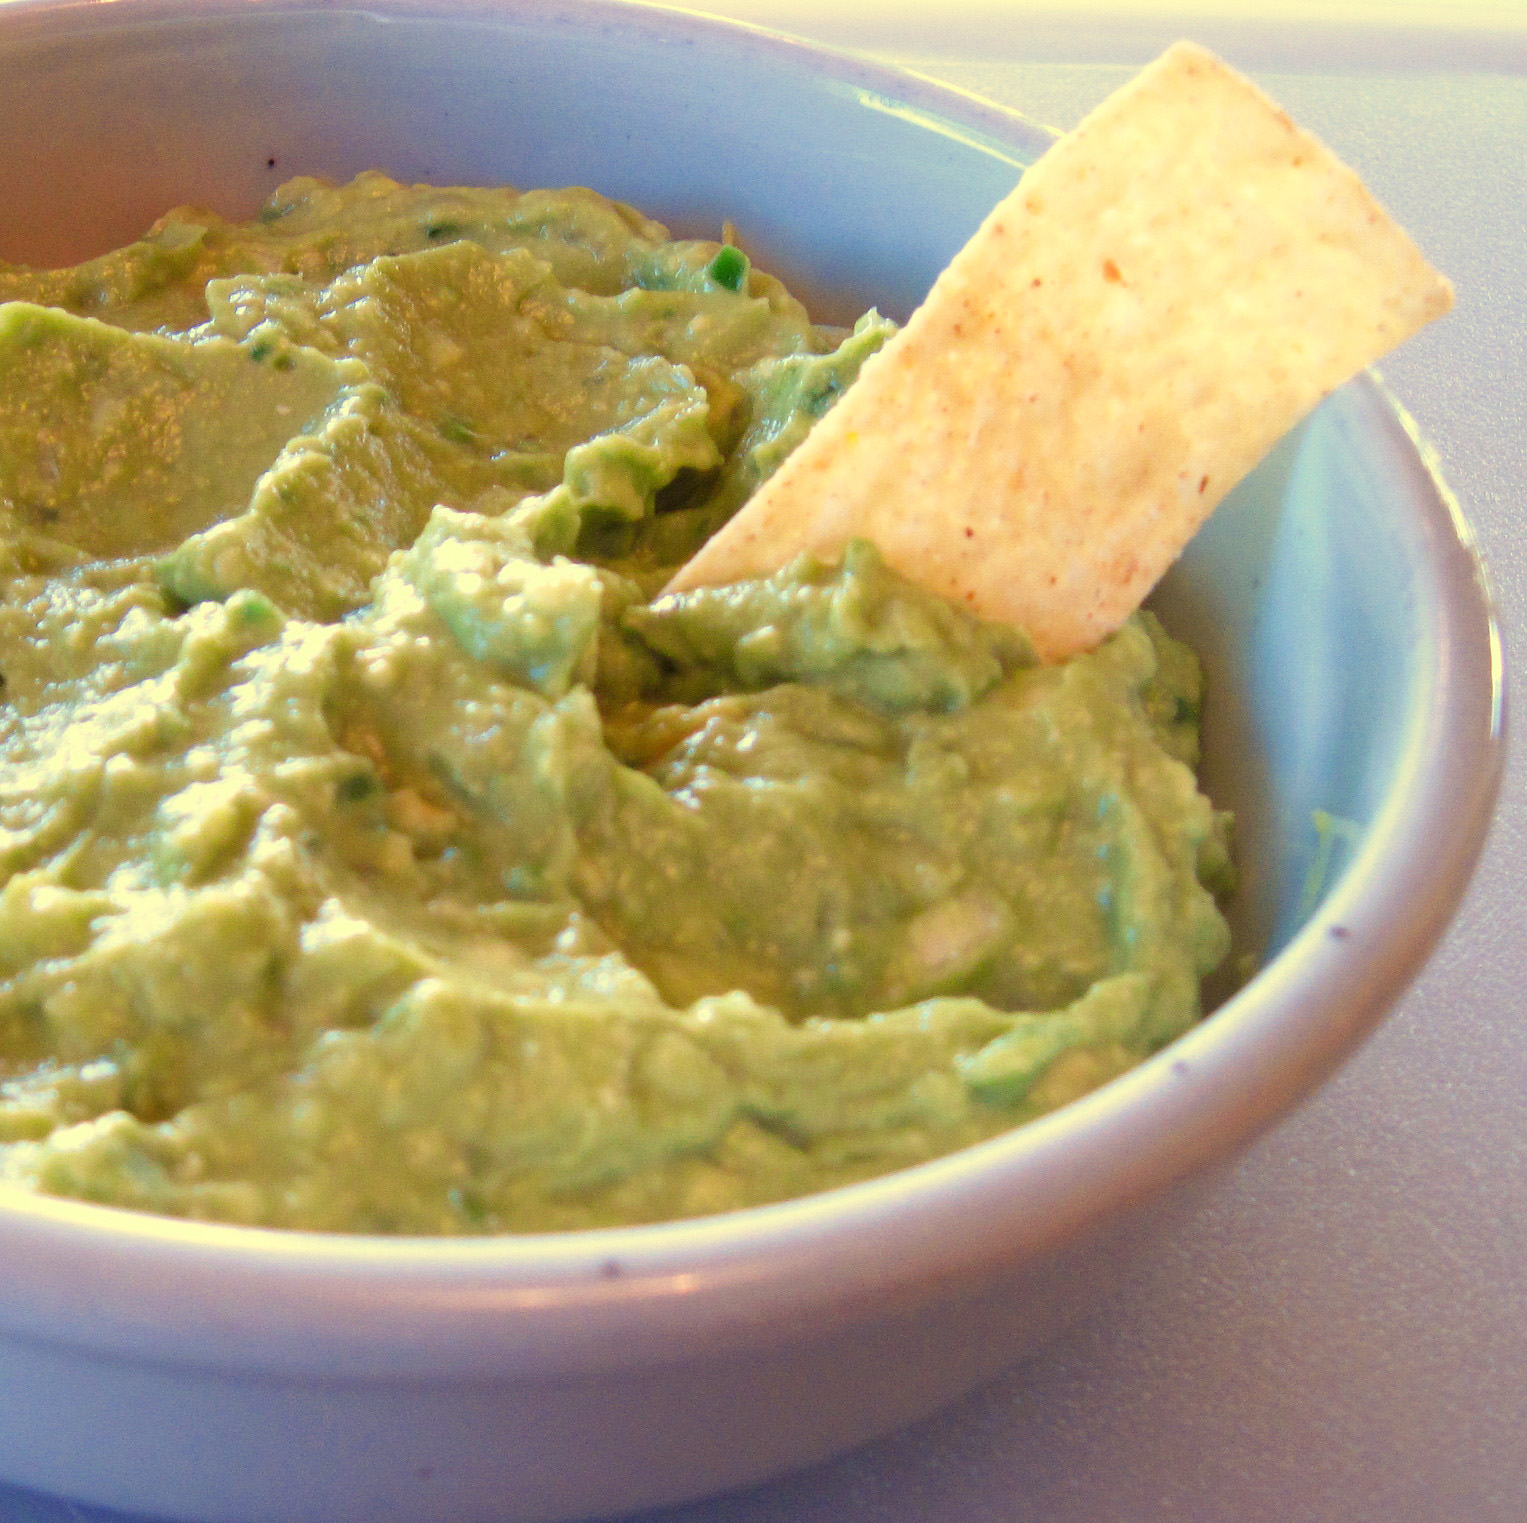
Guacamole
Take two large ripe avocados and turn them into amazing guacamole!
This recipe is adapted from the 2004 edition of The Gourmet Cookbook, and I think it is perfect. It has a bit of a kick from the chilis, but the heat isn’t overwhelming.
The original recipe calls for 4 avocados. I had 2 avocados, so I cut the recipe in half. It served 6, but barely.
The guacamole can be made up to an hour in advance. If you do make it ahead, press a sheet of plastic wrap onto the surface of the guacamole and refrigerate it.
~
Guacamole
(Adapted from a recipe in the 2004 edition of The Gourmet Cookbook)
.
~
Makes about 1 ¾ cups, serving 4 – 6 (double for a crowd)
~
2 ripe avocados (about 1 pound total), halved, pitted and peeled
¼ cup finely chopped white onion
1½ – 2 serrano chilis, minced, including the seeds (I used 1½)*
1¼ tablespoons fresh lime juice, or to taste
¾ teaspoon kosher salt, or to taste
Tortilla chips for serving
~
Put the avocados, onion, chiles, lime juice and salt in a bowl. Mash with a fork until it is smooth but still slightly chunky. Serve with tortilla chips.

~
* About hot peppers:
When using hot peppers, like serrano or jalapeno chiles, your fingers will be in contact with the oils that cause the heat, so be sure you don’t touch your face or eyes. If you’re really sensitive, you may want to wear gloves. I don’t use gloves; I just wash my hands well after handling the peppers.
Most of the heat is in the seeds and the veins, and many recipes call for removing them. If you wish to remove them, simply cut the top of the pepper off and slice the pepper in half, lengthwise. Then use a teaspoon to scrape out the seeds and the veins.
This guacamole recipe suggests leaving the seeds and veins in, which I did, but you can certainly remove them if you want.
To mince the peppers, cut the top off of each pepper and then cut the peppers in half lengthwise. Cut each half in thin strips lengthwise. Then hold several strips together and cut into small pieces. After they’re all cut, you can gather them on the cutting board and chop them a bit more for even smaller pieces.
Share this:

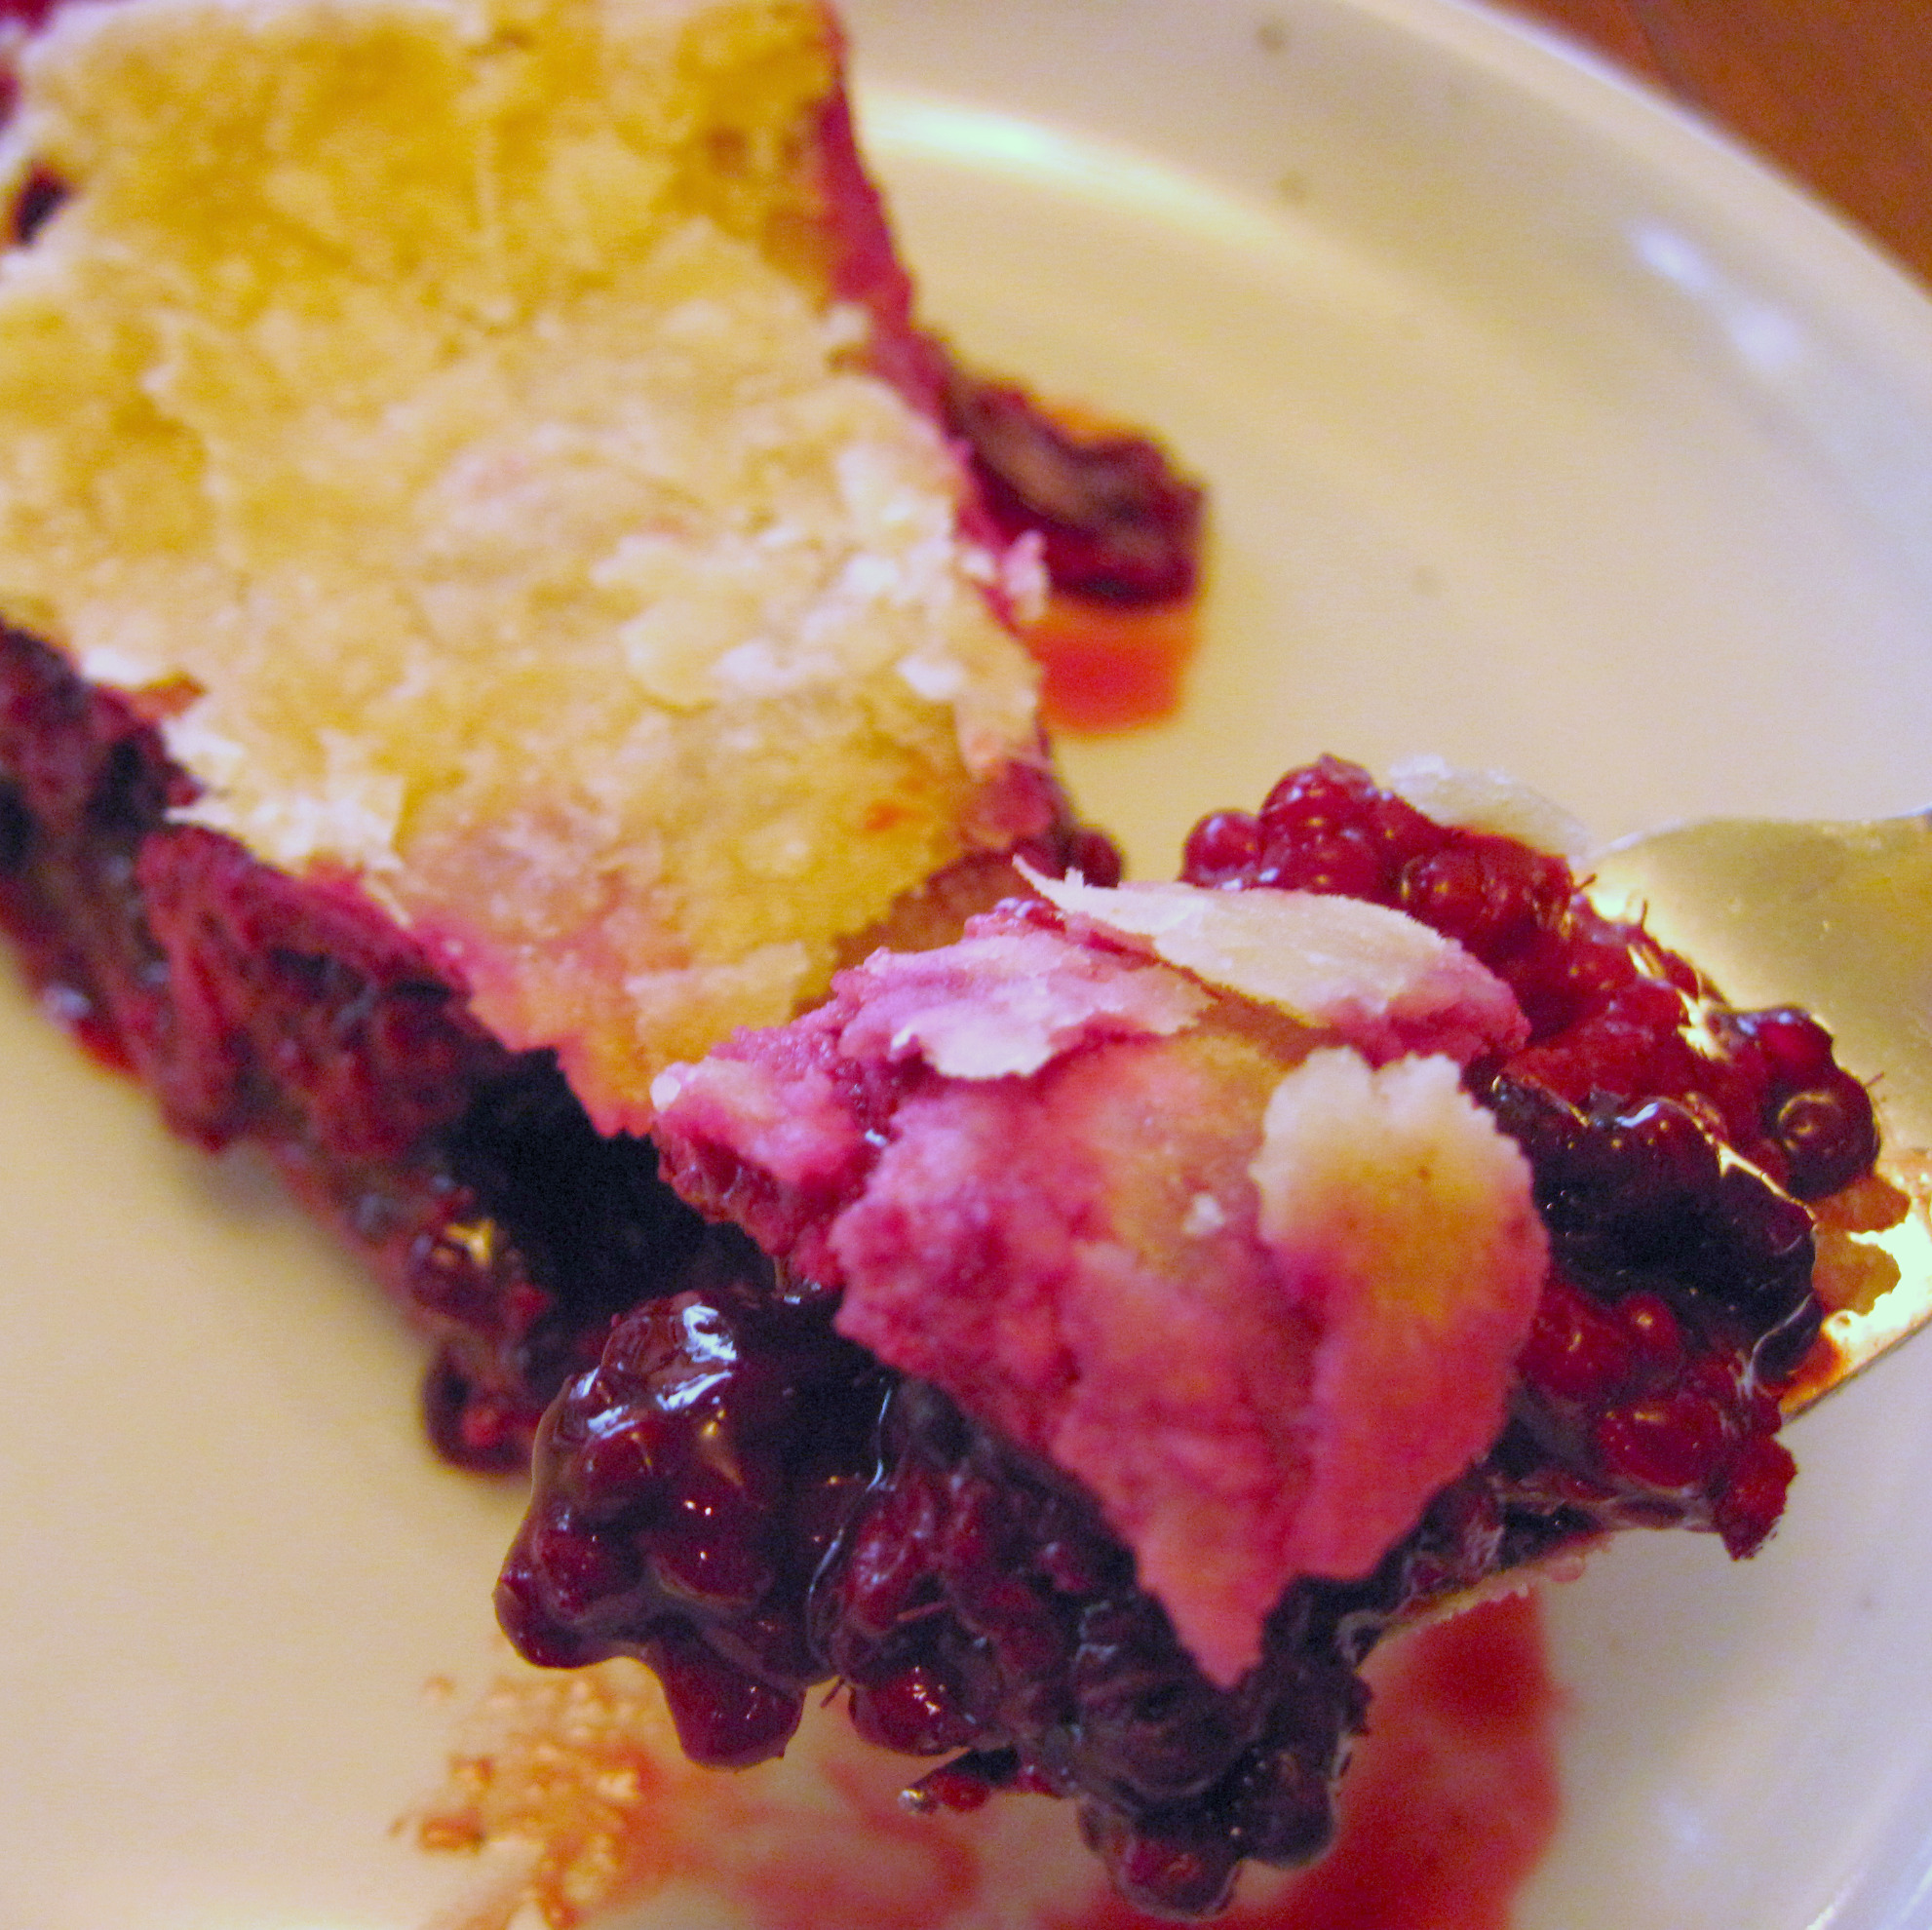
Marionberry or Blackberry Pie
I learned from Wikipedia that Marionberries are a type of blackberry that was developed in Oregon. I was lucky enough to be given some beautiful marionberries from a Seattle garden, so I made a pie!

~
Berry pies can be very “soupy” if you don’t use something to thicken the filling. Many recipes call for tapioca because it gives better results than wheat flour, but I don’t like the little tapioca “pearls” in my pie. I have used wheat flour in the past, but I recently realized that I could use tapioca flour.
Tapioca flour (also known as tapioca starch) can be found at most grocery stores in Seattle; it can be substituted for cornstarch. Use twice as much tapioca as cornstarch. (For example, if a recipe calls for 1 tablespoon of cornstarch, use 2 tablespoons of tapioca flour.)
My marionberry pie had a lot of juice that came up while it was baking. After it was totally cooled off, it made perfect slices that were juicy, but not at all “soupy”.

~
Marionberry (or Blackberry) Pie
~
1 recipe of Easy Pie Crust
6 cups marionberries, or blackberries
½ cup honey
¼ cup tapioca flour
Dash of salt
~
1. Put a large baking sheet in the oven (to catch drips) and preheat to 375˚.
2. Make the two crust Easy Pie Crust and put the bottom crust in a pie plate.
2. Combine the honey and the tapioca flour in a measuring cup.
3. Sprinkle the berries with just a dash of salt, and then gently stir the honey mixture into the berries.
4. Spoon the berries into the prepared pie crust.

~
5. Put the top crust on the pie. Finish the edges (I simply use a fork to press the edge) and cut slits in the top to vent steam.

~
6. Bake for 50 minutes.
7. Cool completely before slicing.
 ~
~

Share this:

Easy Pie Crust
I will never promise to make a beautiful pie. Sometimes my pie crusts turn out a little goofy-looking, but that never affects the taste. I’ve never had any complaints!
I once read in Cook’s Illustrated that King Arthur Unbleached All-Purpose Flour is the best flour for making flaky, tender pie crusts. I switched and haven’t looked back. It does make a real difference.
I have been making an oil pastry crust that I got from the 1981 edition of Better Homes and Gardens New Cook Book for many, many years. I used to use canola oil, but lately I have switched to extra light olive oil. (The extra light means it has a very mild flavor, not that it is light in calories or fat.) With this recipe it is essential to use waxed paper for rolling the dough; it will be very difficult to roll out the dough without it. As a bonus, the waxed paper makes it quite easy to get the dough from the table or cutting board to the pie plate.
Here is my go-to pie crust recipe. I use the double crust version for apple, blueberry, mincemeat, marionberry, and blackberry pies. The single crust recipe is for pecan and pumpkin pies.
A tip about measuring flour:
I highly recommend that you use a kitchen scale to weigh your flour. If you don’t have one, use this method to measure. First stir the flour a bit to aerate it. Then, using a large spoon, spoon the flour into the cup without packing it down. Keep adding heaping spoonfuls until the cup is overflowing, and then use a knife to scrape off the extra. You can see this method demonstrated in this video.
~
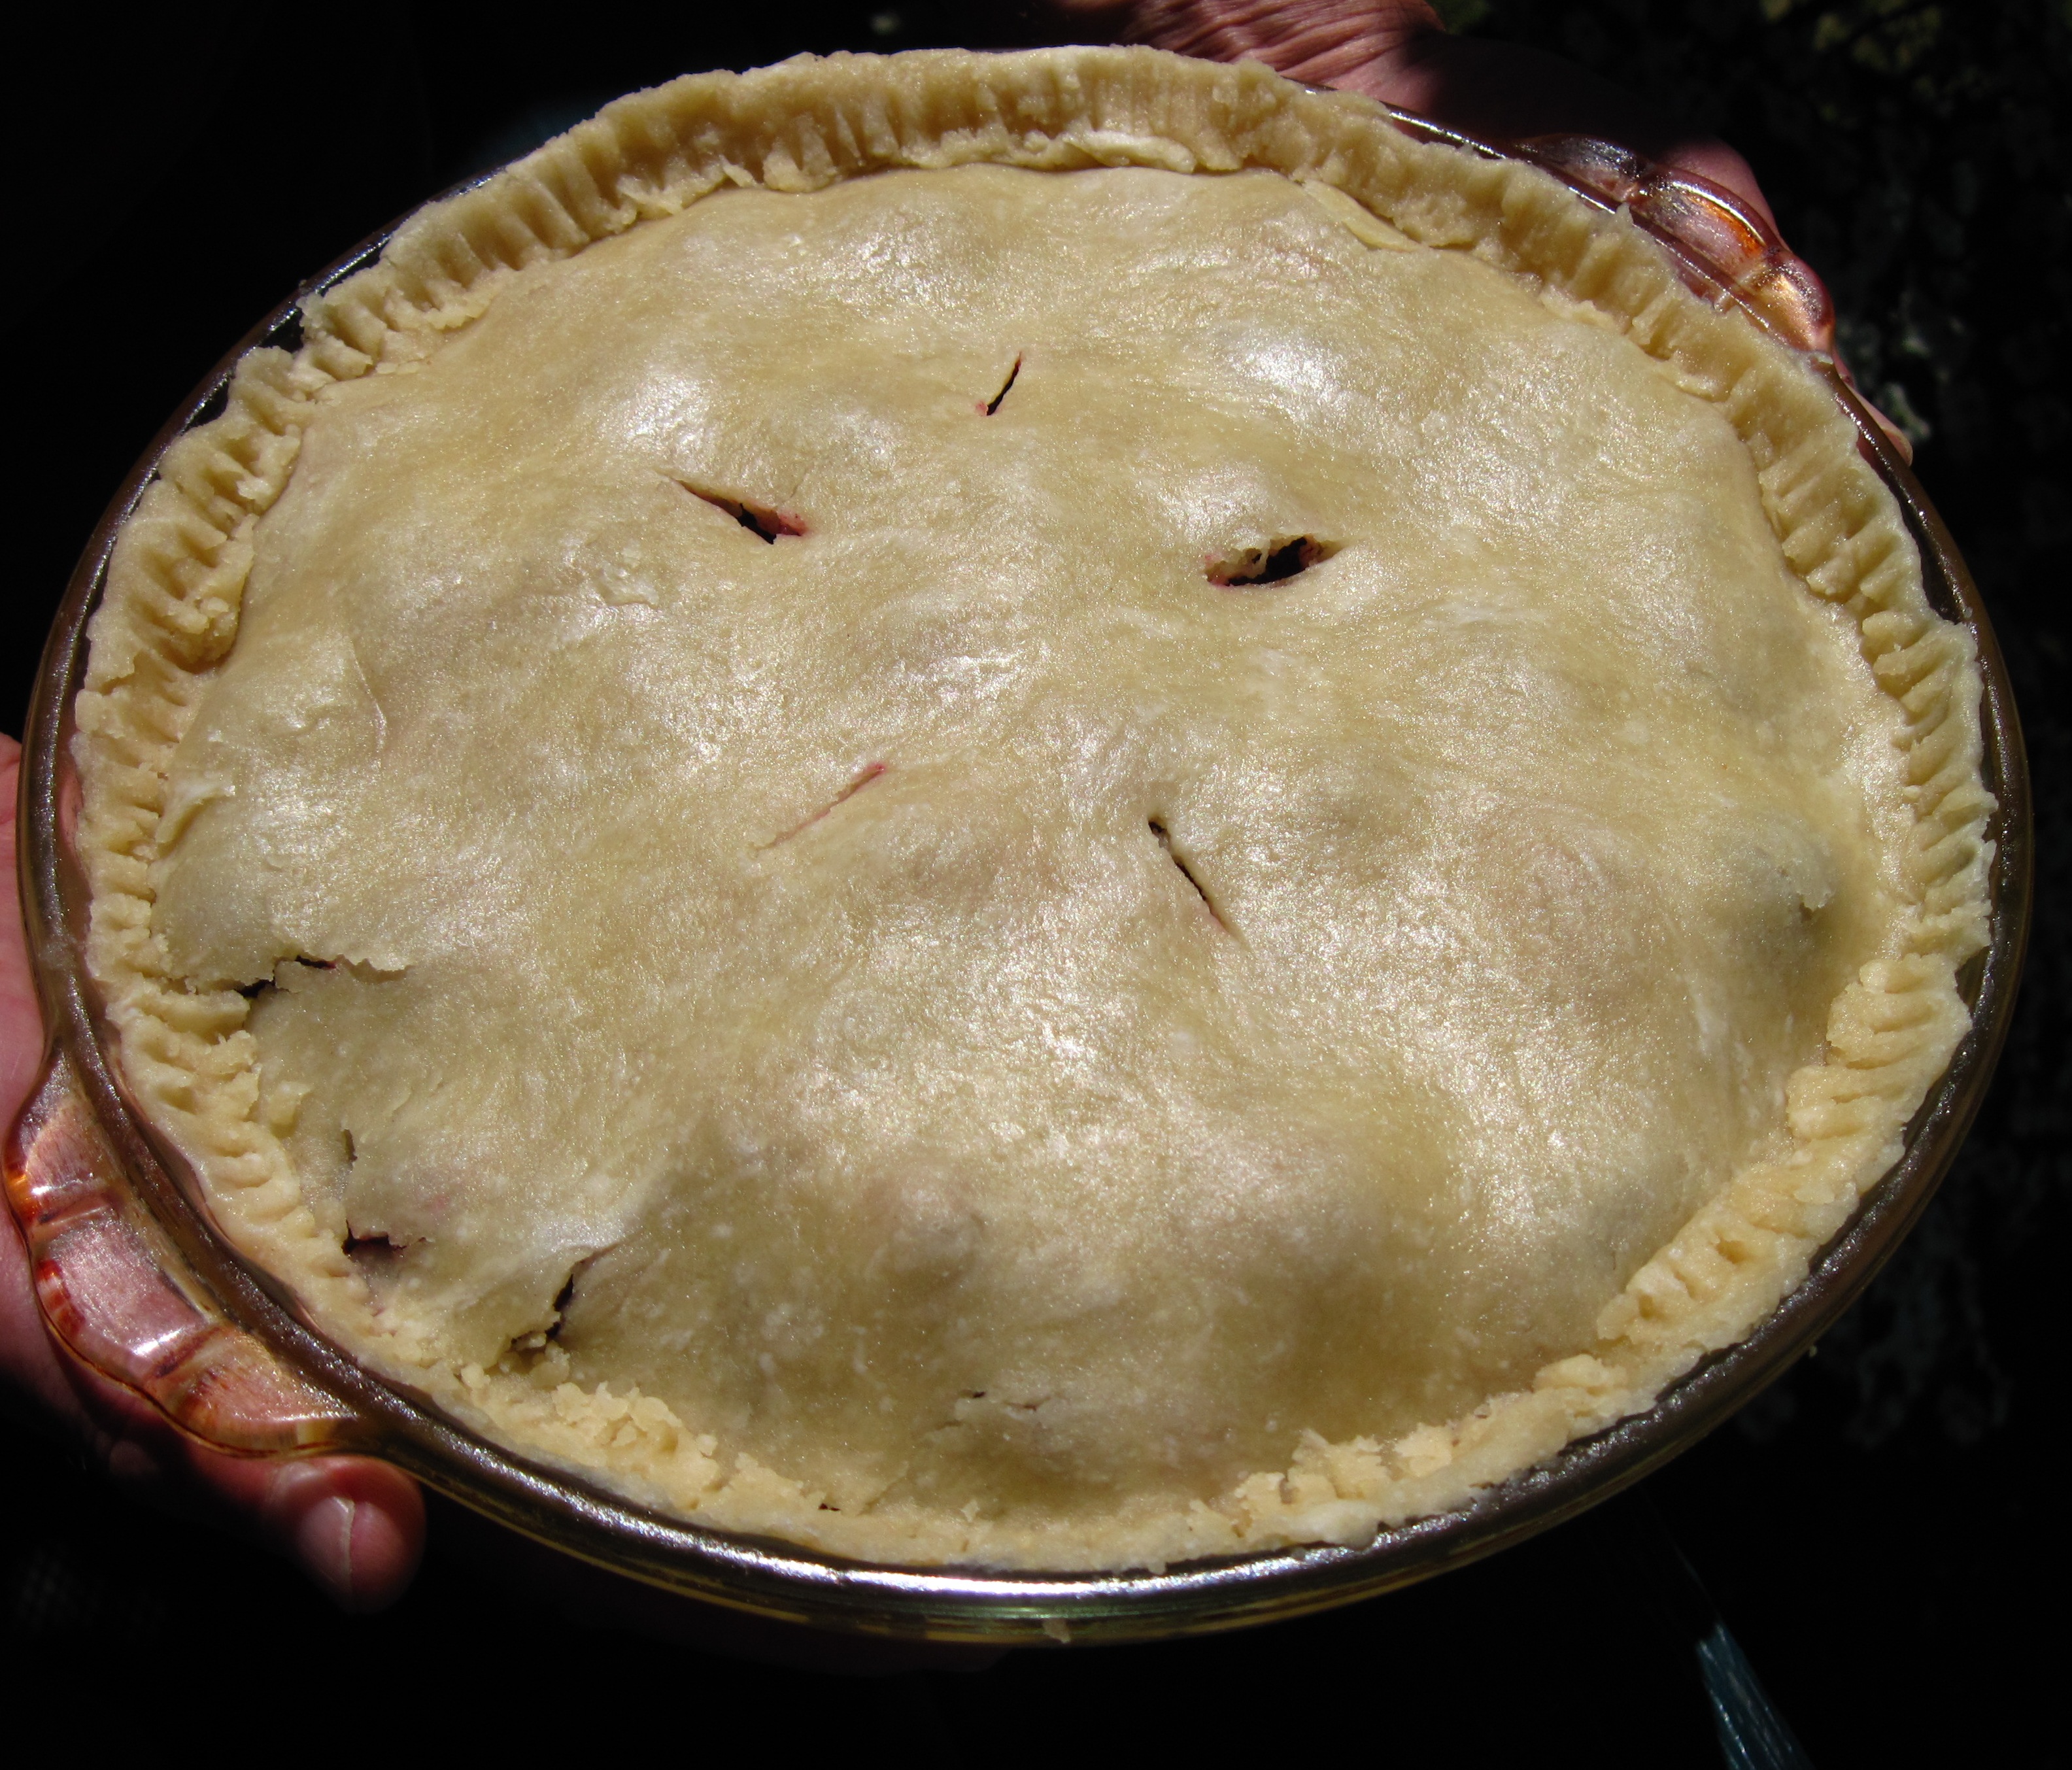
Here is my marionberry pie (held by helper Bob) ready for the oven:

~
Olive Oil Pie Pastry
(Adapted from Better Homes and Gardens New Cook Book)
~
For a Two Crust Pie:
2¼ cups (270 g) King Arthur Unbleached All-Purpose Flour
1 teaspoon salt
½ cup extra light (mild tasting) olive oil
6 tablespoons cold milk
2 teaspoons white vinegar
Waxed paper for rolling the dough
~
1. Place a large baking sheet in the oven and preheat to the temperature required for the pie that you’re baking. (The baking sheet is to collect any drips that may occur from your pie. You want it hot before you put the pie in the oven.)
2. Combine the flour and salt in a bowl.
3. Measure the olive oil in a 1-cup measuring cup. Put the 6 tablespoons of milk in the same cup with the oil. Add the vinegar to the cup.
4. Add the liquids to the flour all at once and stir with a fork just until it can be formed into a ball.
5. Form the dough into a ball. Cut slightly more than half of the dough and put it on a 12-inch sheet of waxed paper. (If you put a little water under the bottom of the waxed paper, it won’t slide around when you roll out the dough.) Flatten it with your hand; put another sheet of waxed paper on top and roll the dough out to the edges of the paper.

6. Carefully remove the top sheet of waxed paper. Lift the bottom sheet and dough up and put it paper-side up over the pie plate. Carefully remove the waxed paper and fit the dough into the pie plate.
7. Fill the pie with your filling.
8. Roll out the rest of the dough between waxed paper for the top crust and place it over the pie.
9. Finish the edge of the crust the way you like. I simply use a fork to press into the dough around the edge.
10. Be sure to cut vents in the top crust before baking so that steam can escape.
~
Shown below: 180 grams of flour for a single crust pie

For a Single Crust Pie:
Use these amounts and follow the same procedure as above, rolling out all of the dough for the crust. Finish the edge of the crust before filling.
~
1½ cups (180 g) King Arthur Unbleached All-Purpose Flour
½ teaspoon salt
1/3 cup extra light (mild tasting) olive oil
4 tablespoons cold milk
1 teaspoon white vinegar
Waxed paper for rolling the dough
~
Pictured below is dough for a single crust pie ready to be filled:

Share this:

Dilled Shrimp Salad
Beat the heat with this Dilled Shrimp Salad! Summer weather is finally here in Seattle and we enjoyed this salad on our deck last night.
This has been one of my favorite recipes from Sunset’s Cooking for Two…or Just for You for years. It use the small shrimp that are already cooked; fresh Oregon shrimp meat is available right now in the Seattle markets and it makes a great salad.
Use whatever salad greens you like; last night I used half Romaine and half tender leaf lettuce from our garden.

~
Dilled Shrimp Salad
(Adapted from the recipe in Sunset’s Cooking for Two…or Just for You)
~
a
Serves 2 (doubles easily)
~
Dressing:
3 tablespoons olive oil
2 teaspoons white balsamic vinegar (or white wine vinegar)
1 teaspoon lemon juice
¼ teaspoon each dill weed and Dijon mustard
1/8 teaspoon salt
1 clove garlic, pressed
Dash pepper
~
½ pound small cooked shrimp
~
3 cups torn lettuce leaves
¼ cup (about 2 ounces) cubed Swiss cheese
½ peeled, seeded cucumber, cut in half and sliced
Avocado slices, for garnish

~
I use a teaspoon to quickly and easily scrape out the seeds in the cucumber.

~
1. Whisk the dressing ingredients together.
2. Put the shrimp in a bowl and toss with all of the dressing. Cover and refrigerate for an hour or so.

3. Put the lettuce, cheese, and cucumber in a salad bowl; add the shrimp and toss well.
4. Serve, garnished with avocado slices.

Dutch Baby Pancake
Here’s an easy breakfast for a weekend or holiday morning—a Dutch Baby Pancake! According to Sunset’s Ideas & Recipes for Breakfast and Brunch, this recipe is inspired by the miniature version of German pancakes that Victor Manca made in his restaurant. (Manca’s was a popular restaurant in Seattle in the first half of the 20th Century.) His children called them “Dutch babies”, and the name has stuck for oven pancakes of all sizes.
The recipe can serve 3 – 6 people, depending on the size that you make. The 3-egg recipe will serve 3 (or 2 hungry people); the 6-egg one, made in a very large skillet or paella pan, will serve 6.
Sunset suggests that you can use a large baking dish or even a foil roasting pan. If you’re unsure of your pan’s size, you can pour in quarts of water to see how much it holds.
My 10-inch cast iron skillet is perfect for the 3-egg recipe. If I’m serving 4, I’ll use the 4-egg recipe in my 12-inch skillet. My Calphalon EveryDay Pan works well for the larger Dutch Babies.
~
This morning’s 3-egg Dutch Baby made in my 10-inch cast iron skillet:

~
Dutch Baby Pancake
(Adapted from the recipe in Sunset Ideas & Recipes for Breakfast and Brunch)
~
(print the recipe)
~
Serves 3 – 6
Pan Size Butter Eggs Milk & Flour
2-3 qt. ¼ cup 3 ¾ cup each
3-4 qt. 1/3 cup 4 1 cup each
4-4½ qt ½ cup 5 1¼ cups each
4½-5 qt ½ cup 6 1½ cups each
~
1. Preheat the oven to 425˚.
2. Put the butter in the pan or baking dish and put it in the oven to melt.
3. Put the eggs in a blender and blend well.*
4. Put the milk and flour in the blender and blend well. (You might want to stop and stir it once so there aren’t any lumps of flour.)
5. Tilt the pan so the melted butter is evenly distributed; pour the batter in the pan and put it in the oven.
6. Bake until the pancake is puffy and well browned, about 20 – 25 minutes. The timing will depend on the size of your pan.
7. Serve immediately with your favorite topping.
~
Classic topping: sprinkle with powdered sugar and then squeeze lemon juice from a lemon wedge over it.
Fruit topping: serve with fresh fruit or cooked fruit. Sunset suggests sautéing apples, pears, banana slices or papaya in melted butter.
Maple syrup and honey make great toppings, too.
* If you don’t have a blender, just beat the eggs really well in a bowl, and then beat in the milk and flour. I haven’t done it that way, but I don’t see why it wouldn’t work.

Share this:

Linguine con le Zucchine
I have recently discovered Memorie di Angelina, a blog inspired by the home cooking of Frank Fariello’s Italian grandmother, Angelina. I love reading his posts; he gives real insight into Italian home cooking. Frank recently posted a recipe for Spaghetti con le Zucchine. It sounded so good in its simplicity, I made a mental note: must try.
Then Carrie mentioned to me that she had recently made pasta with zucchini, trying to recreate a dish that her Italian “house mom”, Filo, had made. Again, I thought I should try it.
Zucchini popped up again on Tuesday in Smitten Kitchen. Deb made a Zucchini and Ricotta Galette. It is a thing of beauty and sounds delicious. Another must try!
By now I had zucchini on the brain. (Even wishing we had planted some!)
Last night I made Frank’s recipe with linguine instead of spaghetti. He eloquently writes his recipes without measurements which is appropriate because I’m sure Italian grandmothers do not measure. I included the measurements that I used last night for those who might appreciate them, but consider them simply guidelines.
This is a great recipe when you want something quick, easy, and satisfying; I’m sure I’ll be making it again.
(I think I’ll have to make Deb’s Zucchini and Ricotta Galette next week when Carrie’s home to help eat it! 8) )
~

~
Linguine con le Zucchine
(Inspired by Frank Fariello’s recipe in Memorie di Angelina)
~
Serves 2
~
4 tablespoons olive oil
2 cloves peeled garlic
10 ounces thinly sliced zucchini
6 ounces linguine
2 tablespoons minced parsley, divided
Salt and pepper, to taste

1. Put a large pot of water on to boil for the pasta.
2. Heat the olive oil in a large frying pan.
3. Crush the garlic into the olive oil, and stir for a minute or two.
4. Add the zucchini, and stir so it’s evenly coated with the olive oil, and spread it out evenly in the pan. Let it cook for 8 – 10 minutes, stirring occasionally, until it’s done and starting to brown.
5. Season to taste with salt and pepper and add 1 tablespoon of the minced parsley.
6. When the water is boiling, add 2 tablespoons of salt and the linguine. Cook it for 1 minute less than it says on the package directions. It will finish cooking with the zucchini. (My linguine said to cook for 9 minutes, so I cooked it for 8.)
7. When the pasta is done, reserve a bit of the water to use if your pasta seems to dry. (I found I didn’t need it.) Drain the pasta and add it to the zucchini. Stir it well and cook for about a minute more.
8. Serve, garnished with the other tablespoon of parsley.
Share this:

Grilled Chicken Thighs
By Kath Dedon
.
These Grilled Chicken Thighs are quick to fix, and so flavorful! We enjoyed them last night with rice and salad, but I’m thinking they would also make great Teriyaki Chicken Burgers served on small buns with your favorite burger condiments. Fourth of July possibility, perhaps? (How about grilling pineapple to go with them?)
I found the recipe at epicurious.com where it is, for the most part, highly rated. Some reviewers thought the thighs were too salty, but many of them chose to marinate the thighs for hours. The recipe calls for a 15-minute marinating time. That is plenty of time for the admittedly soy sauce-heavy marinade to do its magic.
You could do this with chicken breasts, but the thighs are so much more flavorful. They are not that fatty with the skin removed.
I know I’ll be making this again soon!
.

~
Grilled Chicken Thighs
(Adapted from a recipe from epicurious.com, attributed to a recipe by Jennifer Rubell in the June 2007 issue of Bon Appétit)
.
.
Serves 3 – 4 (double to serve 6 – 8 people)
.

~
¼ cup + 2 tablespoons soy sauce (use wheat-free tamari for a gluten-free version)
2 ½ tablespoons honey (or dark brown sugar)
1 tablespoon chopped peeled fresh ginger
2 large garlic cloves, chopped
1 teaspoon toasted sesame oil
5 or 6 skinless boneless chicken thighs (about 1½ pounds)
2 green onions, sliced, for serving (optional)
~
1. Mix the soy sauce, honey, ginger, garlic and sesame oil together in a large bowl. (This can be done up to 2 hours ahead of time, but that is not necessary. If made ahead, let it sit at room temperature.)

~
2. If using a charcoal grill, get the coals going; don’t marinate the chicken until the fire is almost ready.
3. Marinate the chicken for 15 minutes, turning it in the bowl once or twice so it’s all equally marinated.
 ~
~
4. If using a gas grill, turn it on high to heat up about 5 minutes after you start marinating the chicken. (My grill takes about 10 minutes to heat up; adjust the timing to suit yours, if it’s different.)
5. When the chicken has marinated for 15 minutes, turn the gas grill burners to medium. Grill the thighs for 5 minutes; then turn and grill for 5 more minutes.
.

Share this:

Tonkatsu (Breaded Pork Cutlets)
By Kath Dedon
.
I don’t think I’ve ever had Tonkatsu in a Japanese restaurant; I almost always go for the sushi, something I wouldn’t make at home. Tonkatsu is easy to make at home.
Mark Bittman has a recipe that I like in The Best Recipes in the World. It’s pan fried, not deep fried, although he says you can deep fry them if you want.
He also gives his version of tonkatsu sauce; he claims it is much superior to the commercially prepared sauces which tend to include ingredients like high fructose corn syrup, and hydrolyzed vegetable protein.
There are recipes online for homemade tonkatsu sauce. Most of them seem to be variations of a ketchup/Worcestershire sauce blend. They might be more authentic, but I like the flavor of Mark’s sauce.
.

~
Tonkatsu
(Adapted from a recipe in Mark Bittman’s The Best Recipes in the World)
.
.
Serves 2 (doubles easily)
~
1½ teaspoons Dijon mustard
1½ teaspoons soy sauce
1½ teaspoons honey
1 teaspoon rice or other mild vinegar
2 boneless pork steaks, about 6 ounces each (I actually bought one 3/4 pound steak and cut it in half to make two.)
Salt and pepper to taste
¼ cup oil
Flour for dredging
1 egg lightly beaten
1 cup panko (Japanese bread crumbs)
1½ cups shredded cabbage
~
Ingredients, counter clockwise from lower left: flour, egg, panko, pork steaks, tonkatsu sauce

~
1. Combine the mustard, soy sauce, honey and vinegar for the tonkatsu sauce and set aside.
2. If the pork steaks are a bit thick, pound them between sheets of wax paper so they are about ½ – ¾ inch thick.
3. Sprinkle the steaks with salt and pepper.
4. Heat the oil in a pan over medium to medium-high heat. A pinch of flour will sizzle in the pan when it’s hot enough.
5. Dredge the pork in the flour, then the egg, and then the panko. You want a thick layer of the panko.
6. Put the steaks in the pan and cook for 3 – 4 minutes, until nicely browned. Turn over and cook for another 3 – 4 minutes. (If you double the recipe to cook 4 cutlets, you may have to do them in batches. Keep the first batch in a warm oven while you do the second batch.)
.

~
7. Divide the cabbage between two plates and drizzle with some of the tonkatsu sauce.
8. Cut each pork steak crosswise into strips, place them on the cabbage and drizzle with sauce.
.


