Welcome!
You'll find over 470 of my favorite recipes here, including ideas for Quick meals, Cooking for 2, Feasting on Leftovers, and cooking with 5 Ingredients or Less. I'm adding new posts regularly; you can subscribe by email or RSS feed if you'd like to receive the latest recipes. Bon appétit!
Quick and Easy Thai Panang Curry
By Kath Dedon
I’m so excited to be able to share this Quick and Easy Thai Panang Curry! It tastes very much like the Panang Curry we enjoyed so much at Thai Thai Restaurant.
a
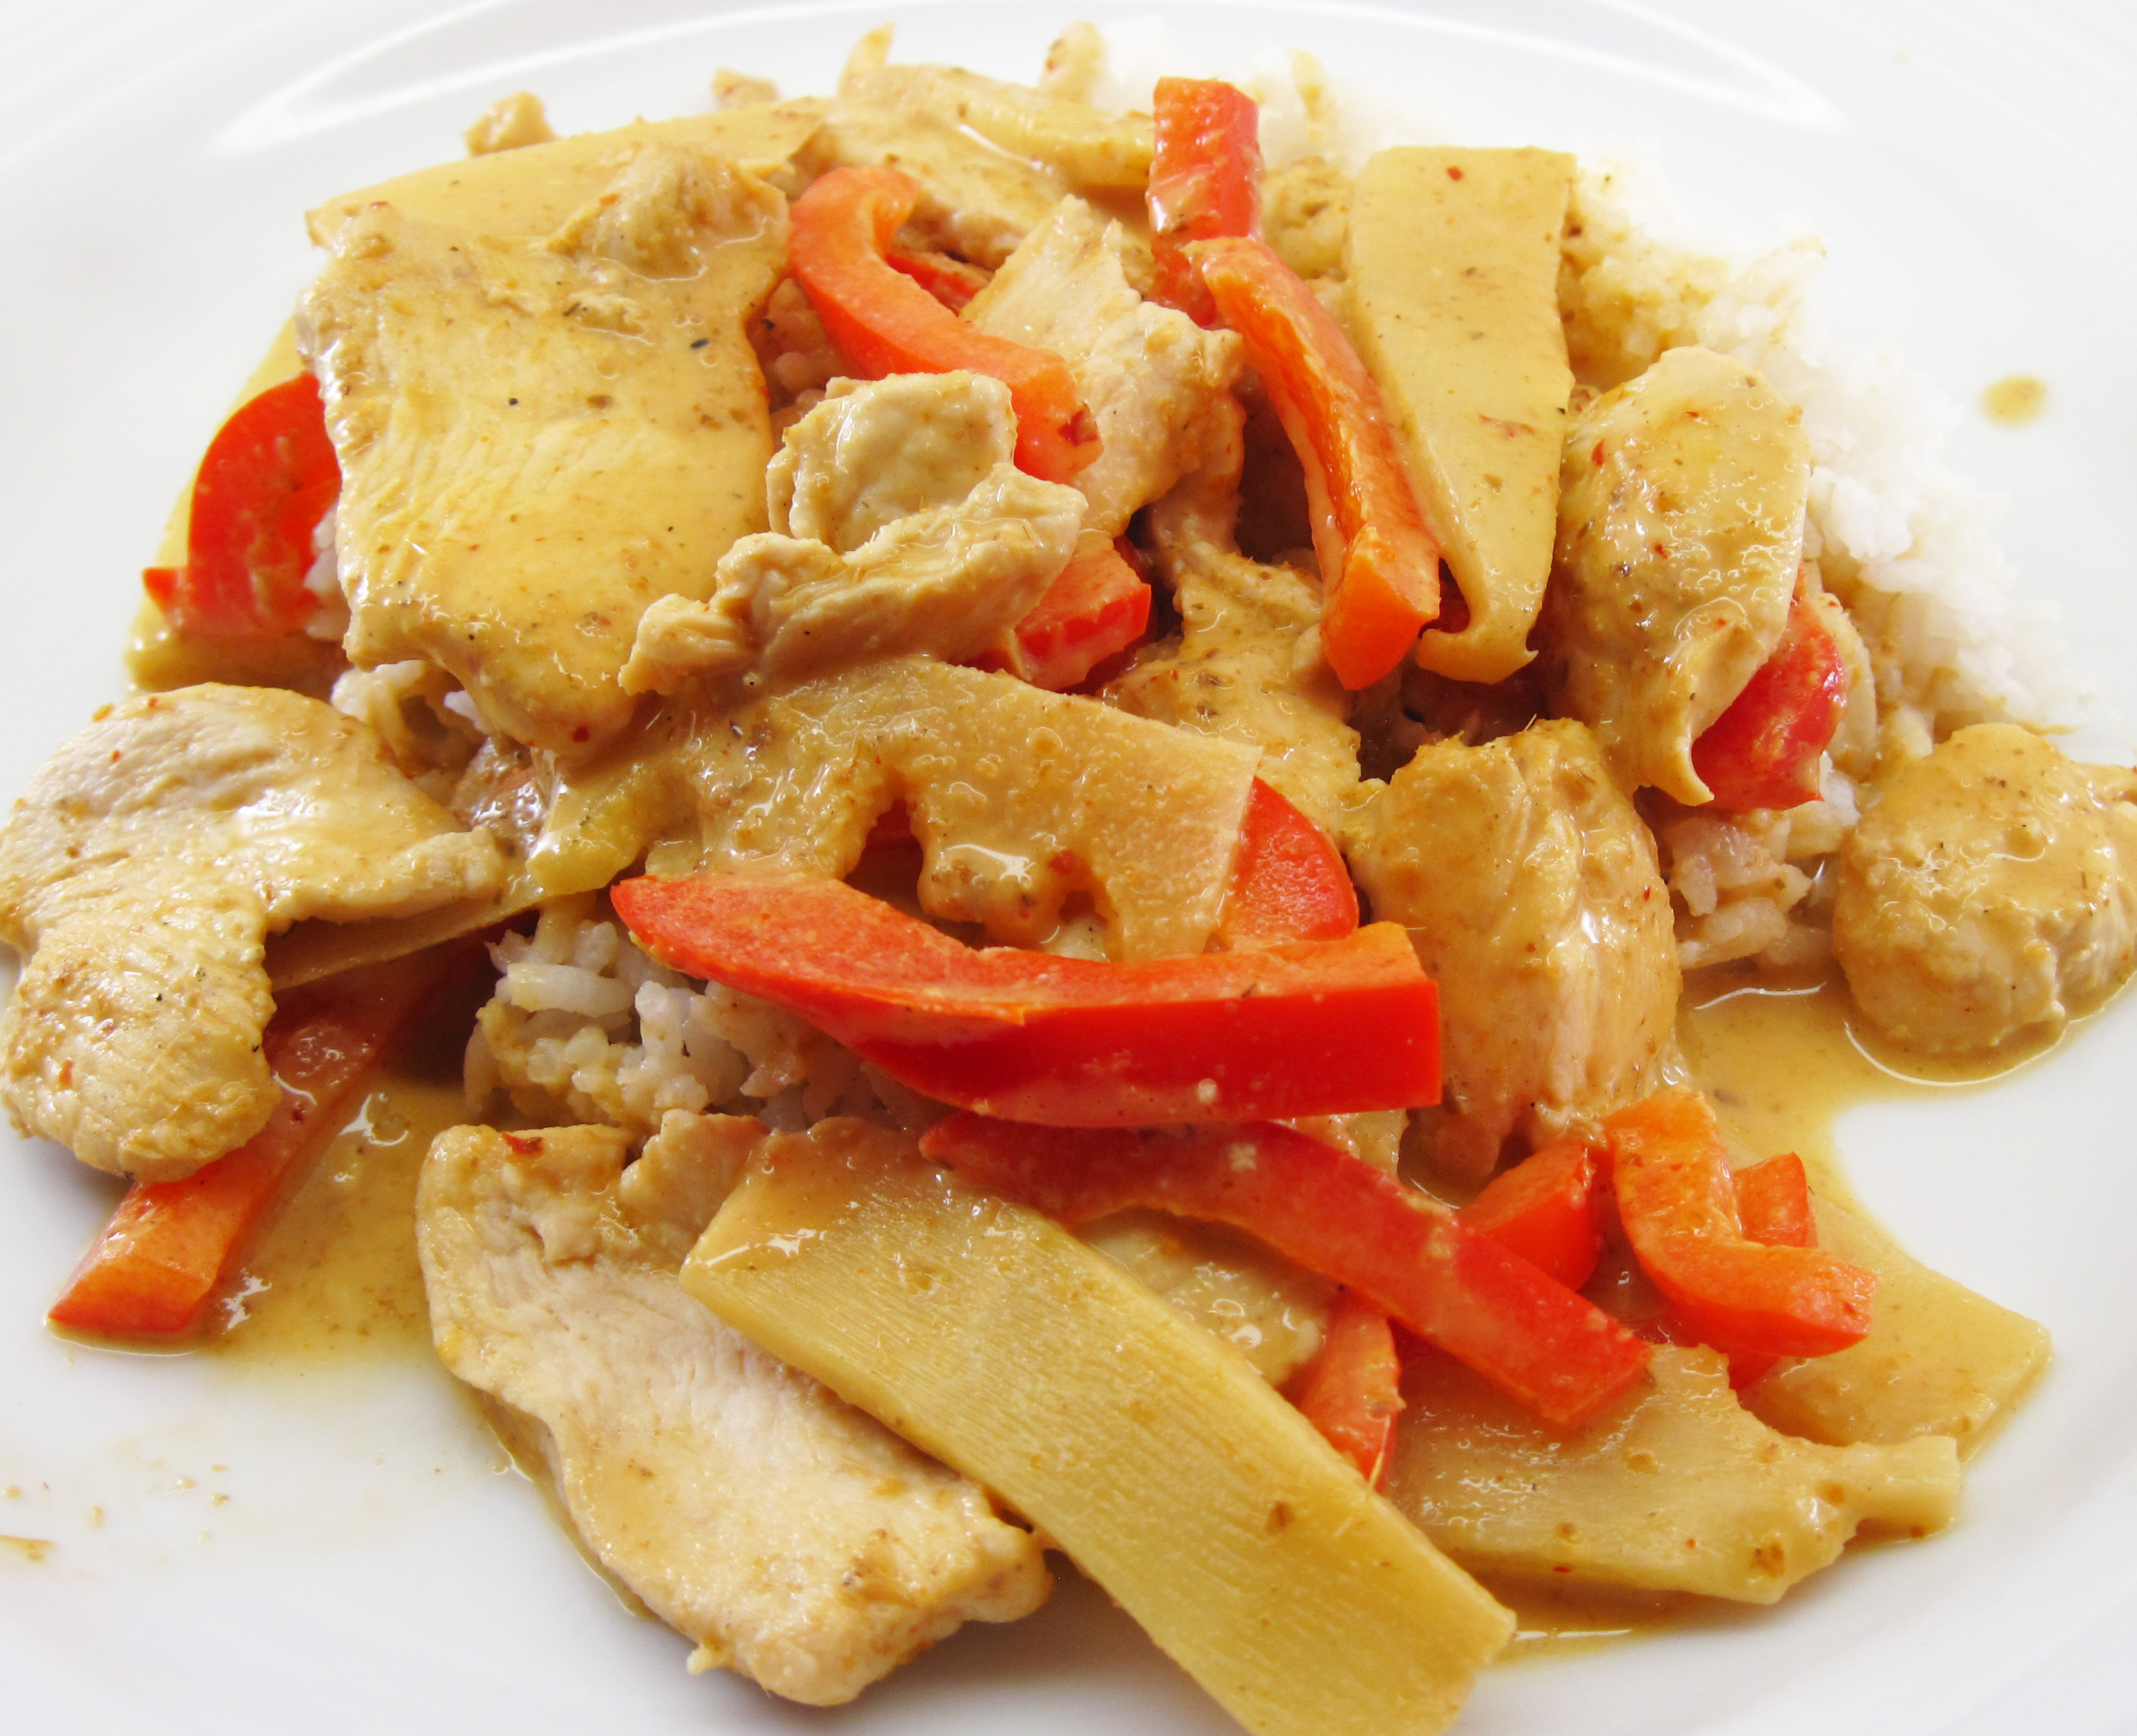
Thai Panang Curry with Chicken (Panang Gai)
a
For many years we loved eating at Thai Thai. The owner, Sam, took the orders and served the delicious food. His wife was the cook. She was often helped by her sister, and, boy, could they cook! Their food tasted the way I imagined the best Thai home cooking would taste. It was Thai comfort food.
Bob and I often had lunch there, and it was our go-to place for takeout when I didn’t feel like cooking dinner. (We most often ordered Pud Thai and Panang Curry. And Tom Yum Gai or Tom Kah Gai, their excellent chicken soups.) Sam became a friend and we enjoyed conversations with him when we lunched there. He even brought us a bottle of Thai wine from one of his visits back to Thailand! (It was very good, too.)
Sadly, Sam succumbed to cancer two years ago and Thai Thai, after being a local favorite for almost 30 years, was closed. There was talk that his wife and sister-in-law were going to partner with a friend to reopen the restaurant, but that has not happened.
There are many fine Thai restaurants in our fair city, and many of them are quite good. We have not found another restaurant, though, that delivers the wonderful home-cooked taste that we enjoyed at Thai Thai. (Nobody even comes close to Thai Thai’s Pud Thai; I’ve learned not to order it at other restaurants.)
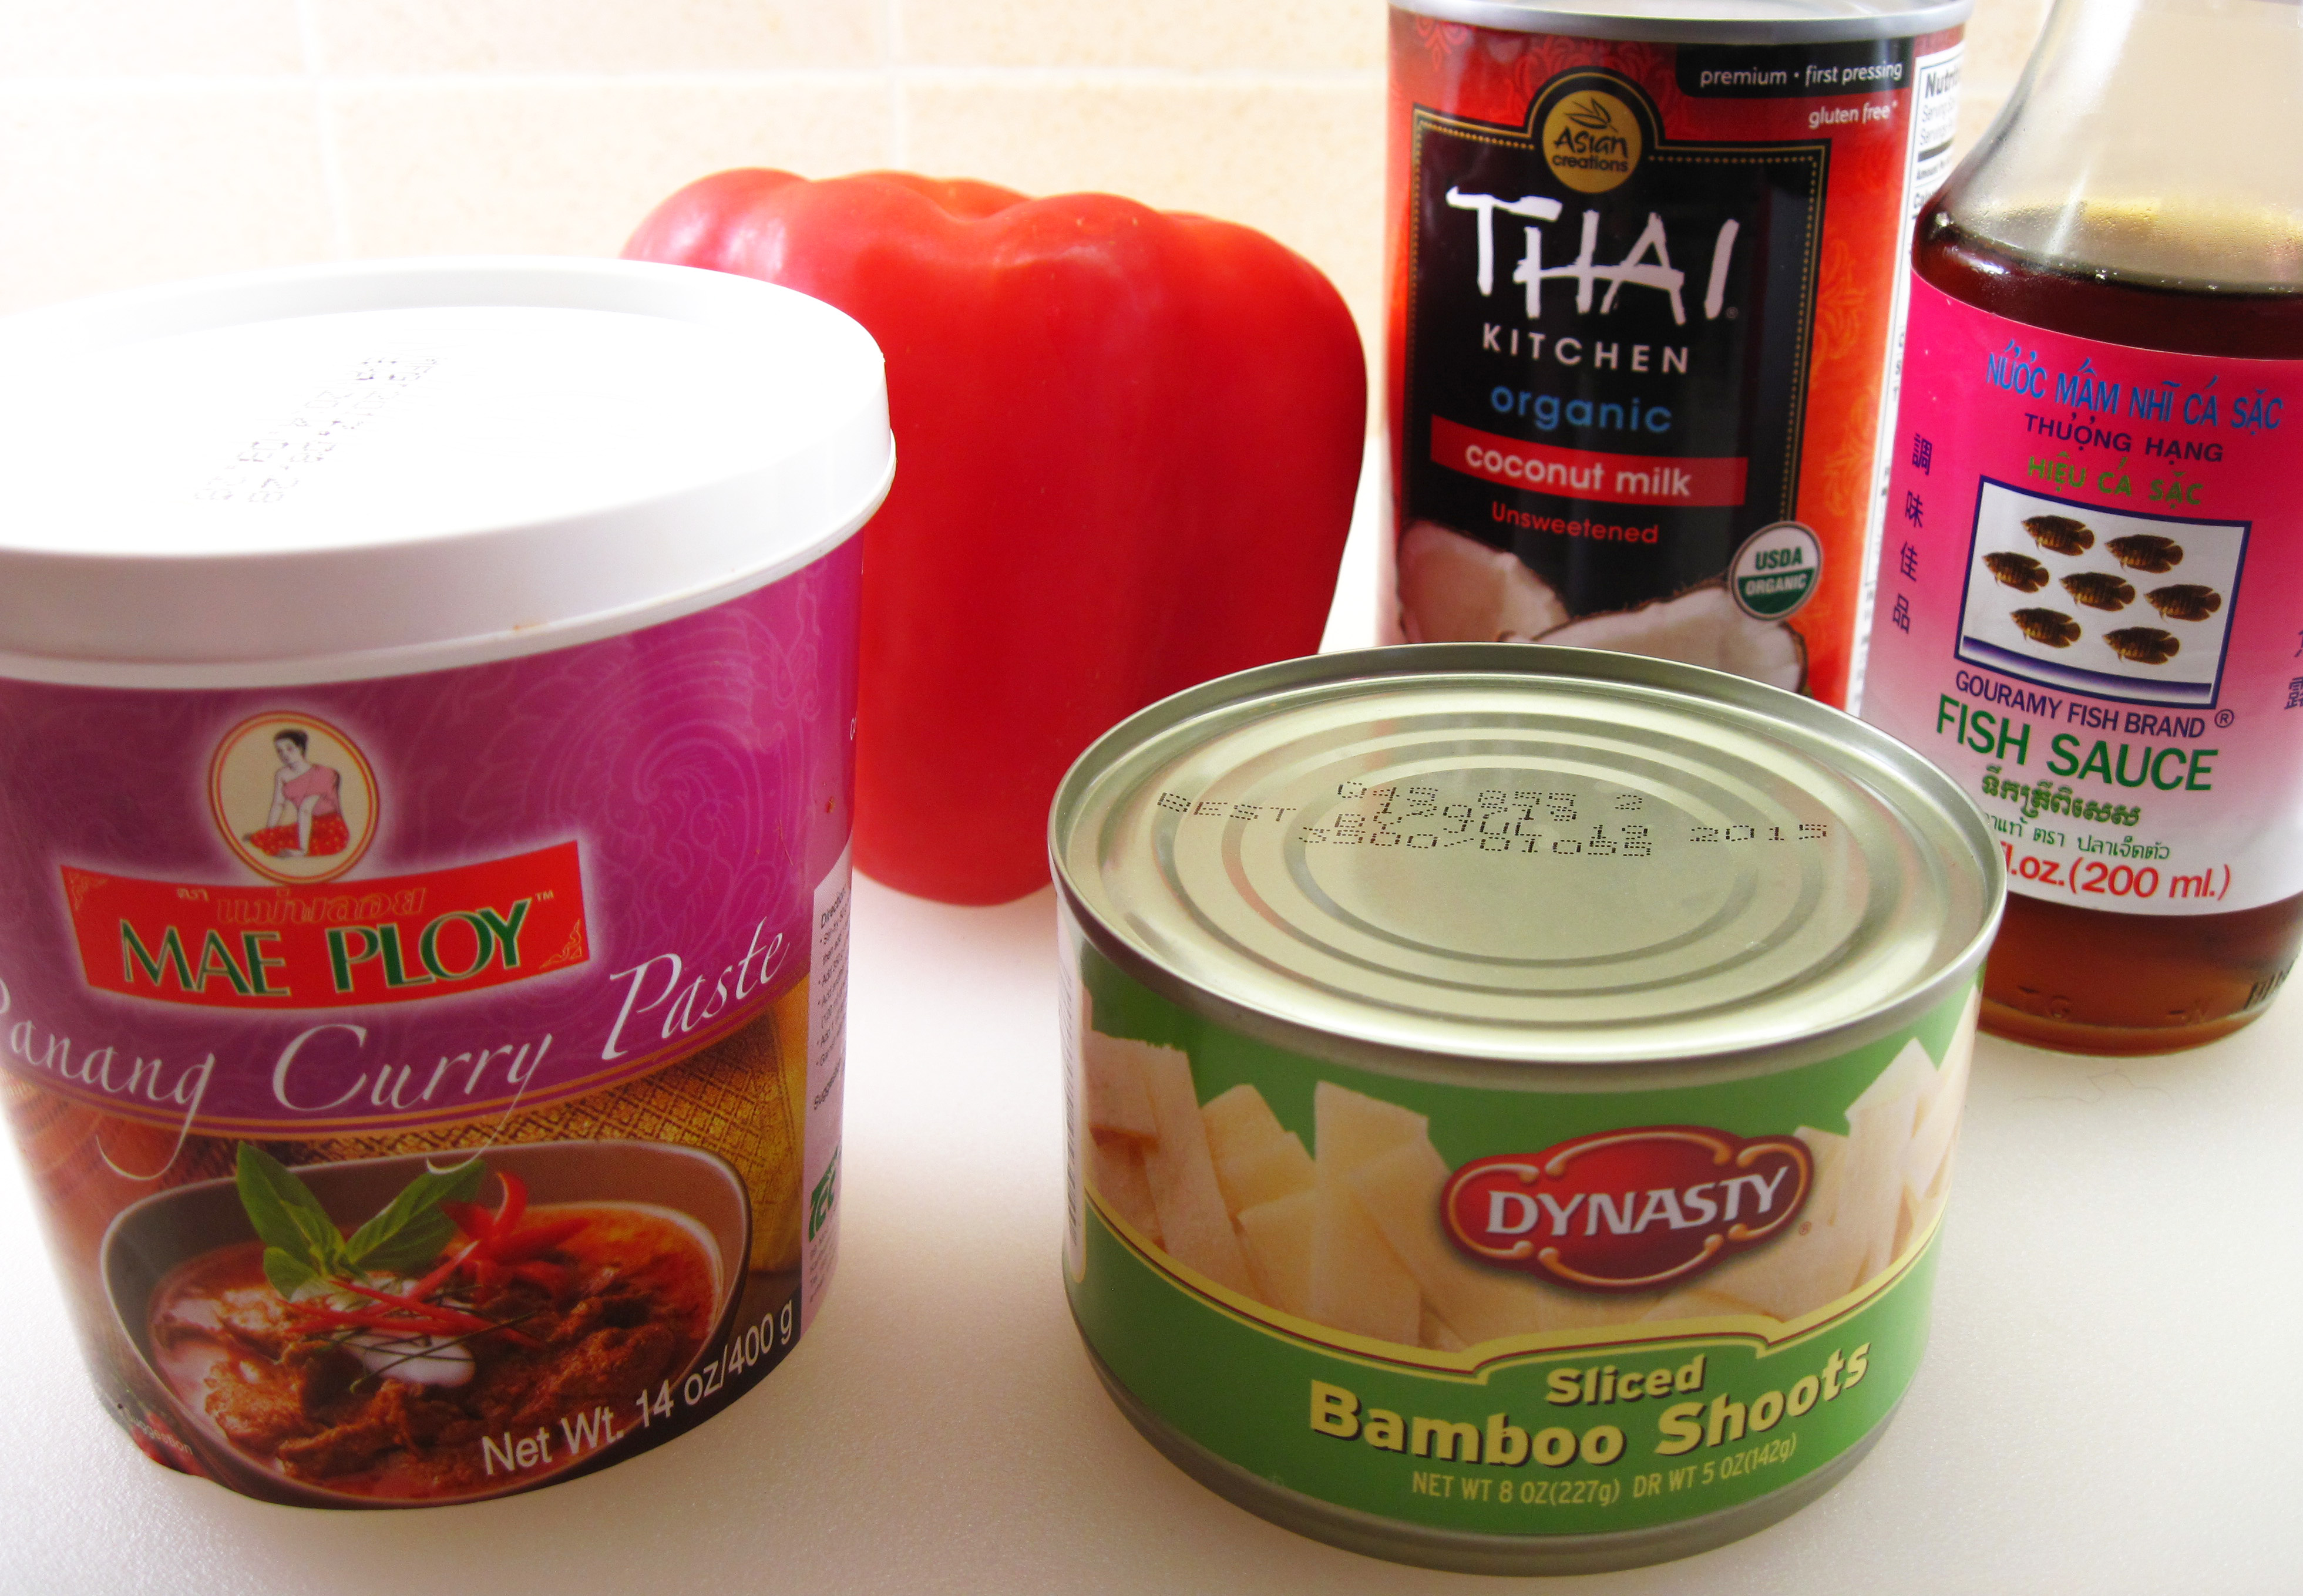
So you can see why I am so glad that I discovered Mae Ploy curry pastes! My local Safeway carries Mae Ploy Red, Green, and Yellow curry pastes, but I really wanted Panang which I found at our local Asian market. The curry I made tasted so much like Sam’s wife’s Panang curry, I had to wonder. Could it be that she used Mae Ploy’s curry paste? I don’t know, but it is from Thailand (authentic), and it’s available in large restaurant-sized tubs, so maybe she did use it.
Quick and Easy Thai Panang Curry will now be in my regular rotation. I hope you can get the curry paste so you can try it and enjoy this Thai dish in your home.
Maybe now I should try to figure out how to make a Thai Thai-style Pud Thai.
a
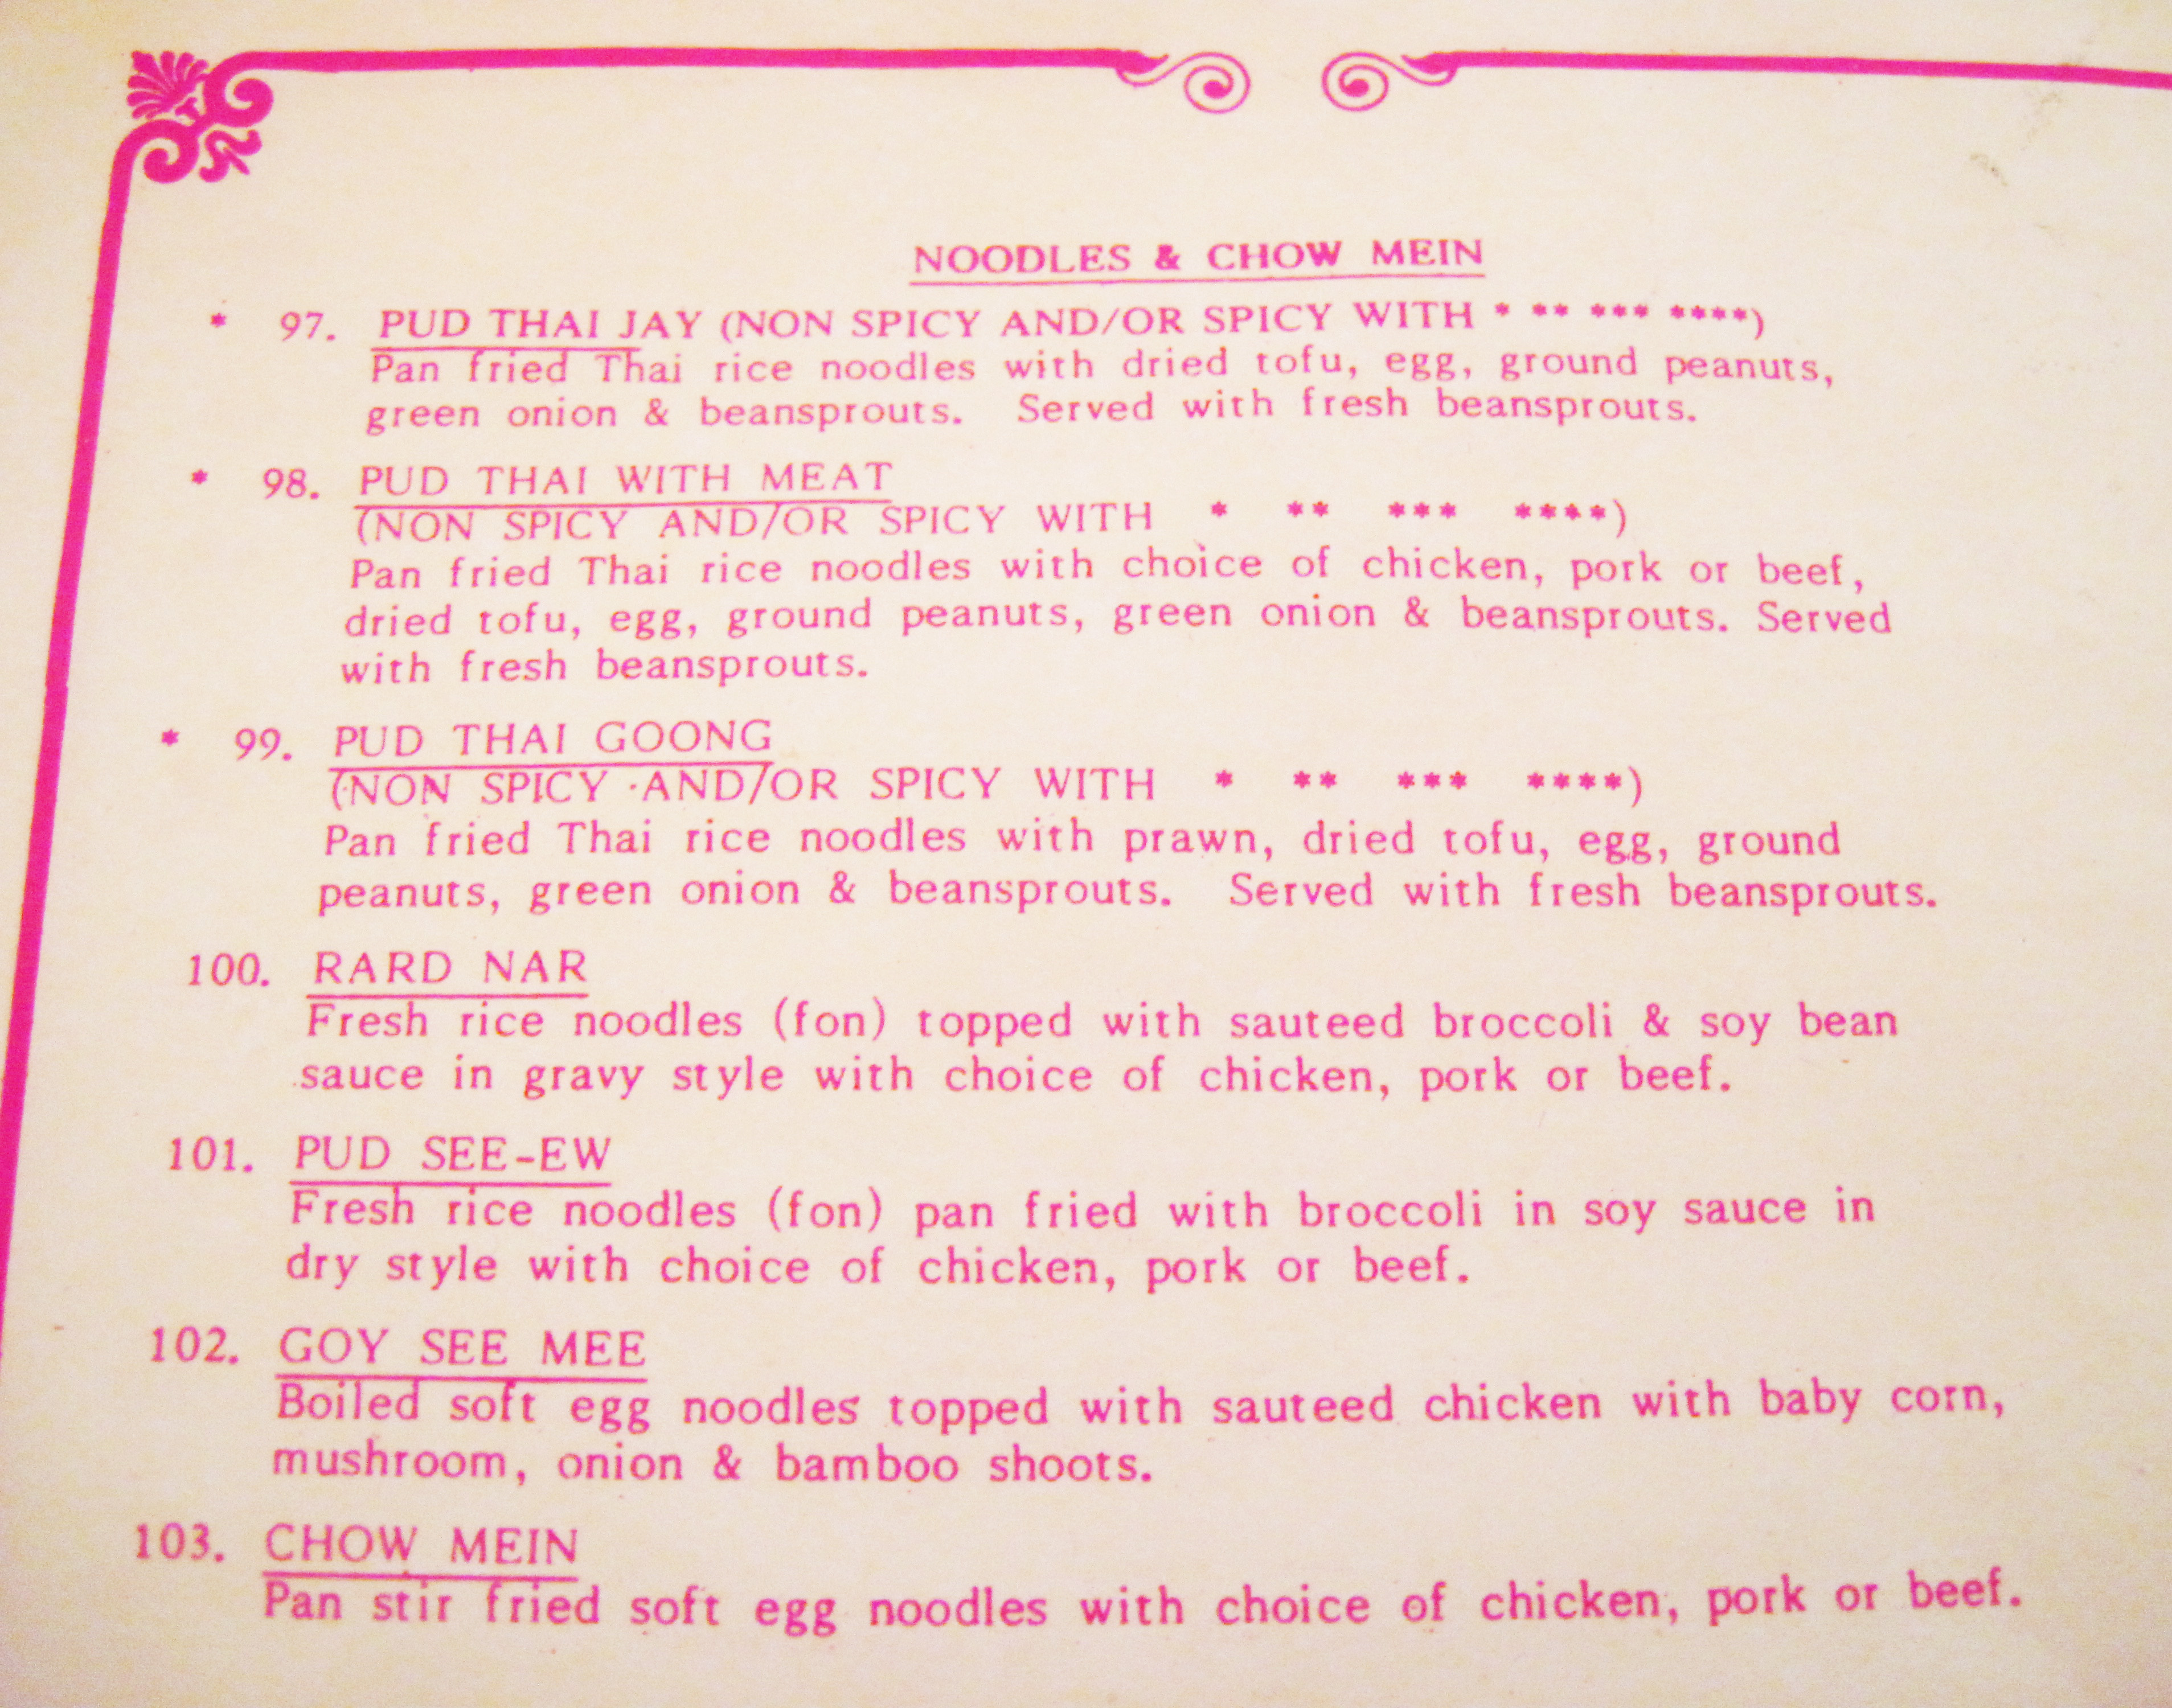
I still have our Thai Thai Restaurant takeout menu. Yes, they had over 100 wonderful Thai dishes on the menu.
a
Thai Panang Curry with Chicken (Panang Gai)
(Inspired by the wonderful Panang Curry that was served at Thai Thai Restaurant)
a
I made the curry with chicken, but you could use beef (Panang Neau), Pork (Panang Moo), Shrimp (Panang Goong), or mixed seafood (Panang Talay). Feel free to substitute any vegetables that appeal to you for the bamboo and red pepper.
I used 3 tablespoons of the curry paste and we all agreed that it was 2 ½ stars on the 4* hotness scale. Use more or less to suit your taste.
a
a
Serves 4
a
s
1 can (8-oz, 5-oz drained) bamboo shoots
1 large red pepper
1 tablespoon coconut oil (other cooking oils are fine)
1¼ pounds boneless skinless chicken breasts, cut into bite-sized slices
3 cloves garlic, minced
1 (13.66-oz) can of coconut milk (not lite)
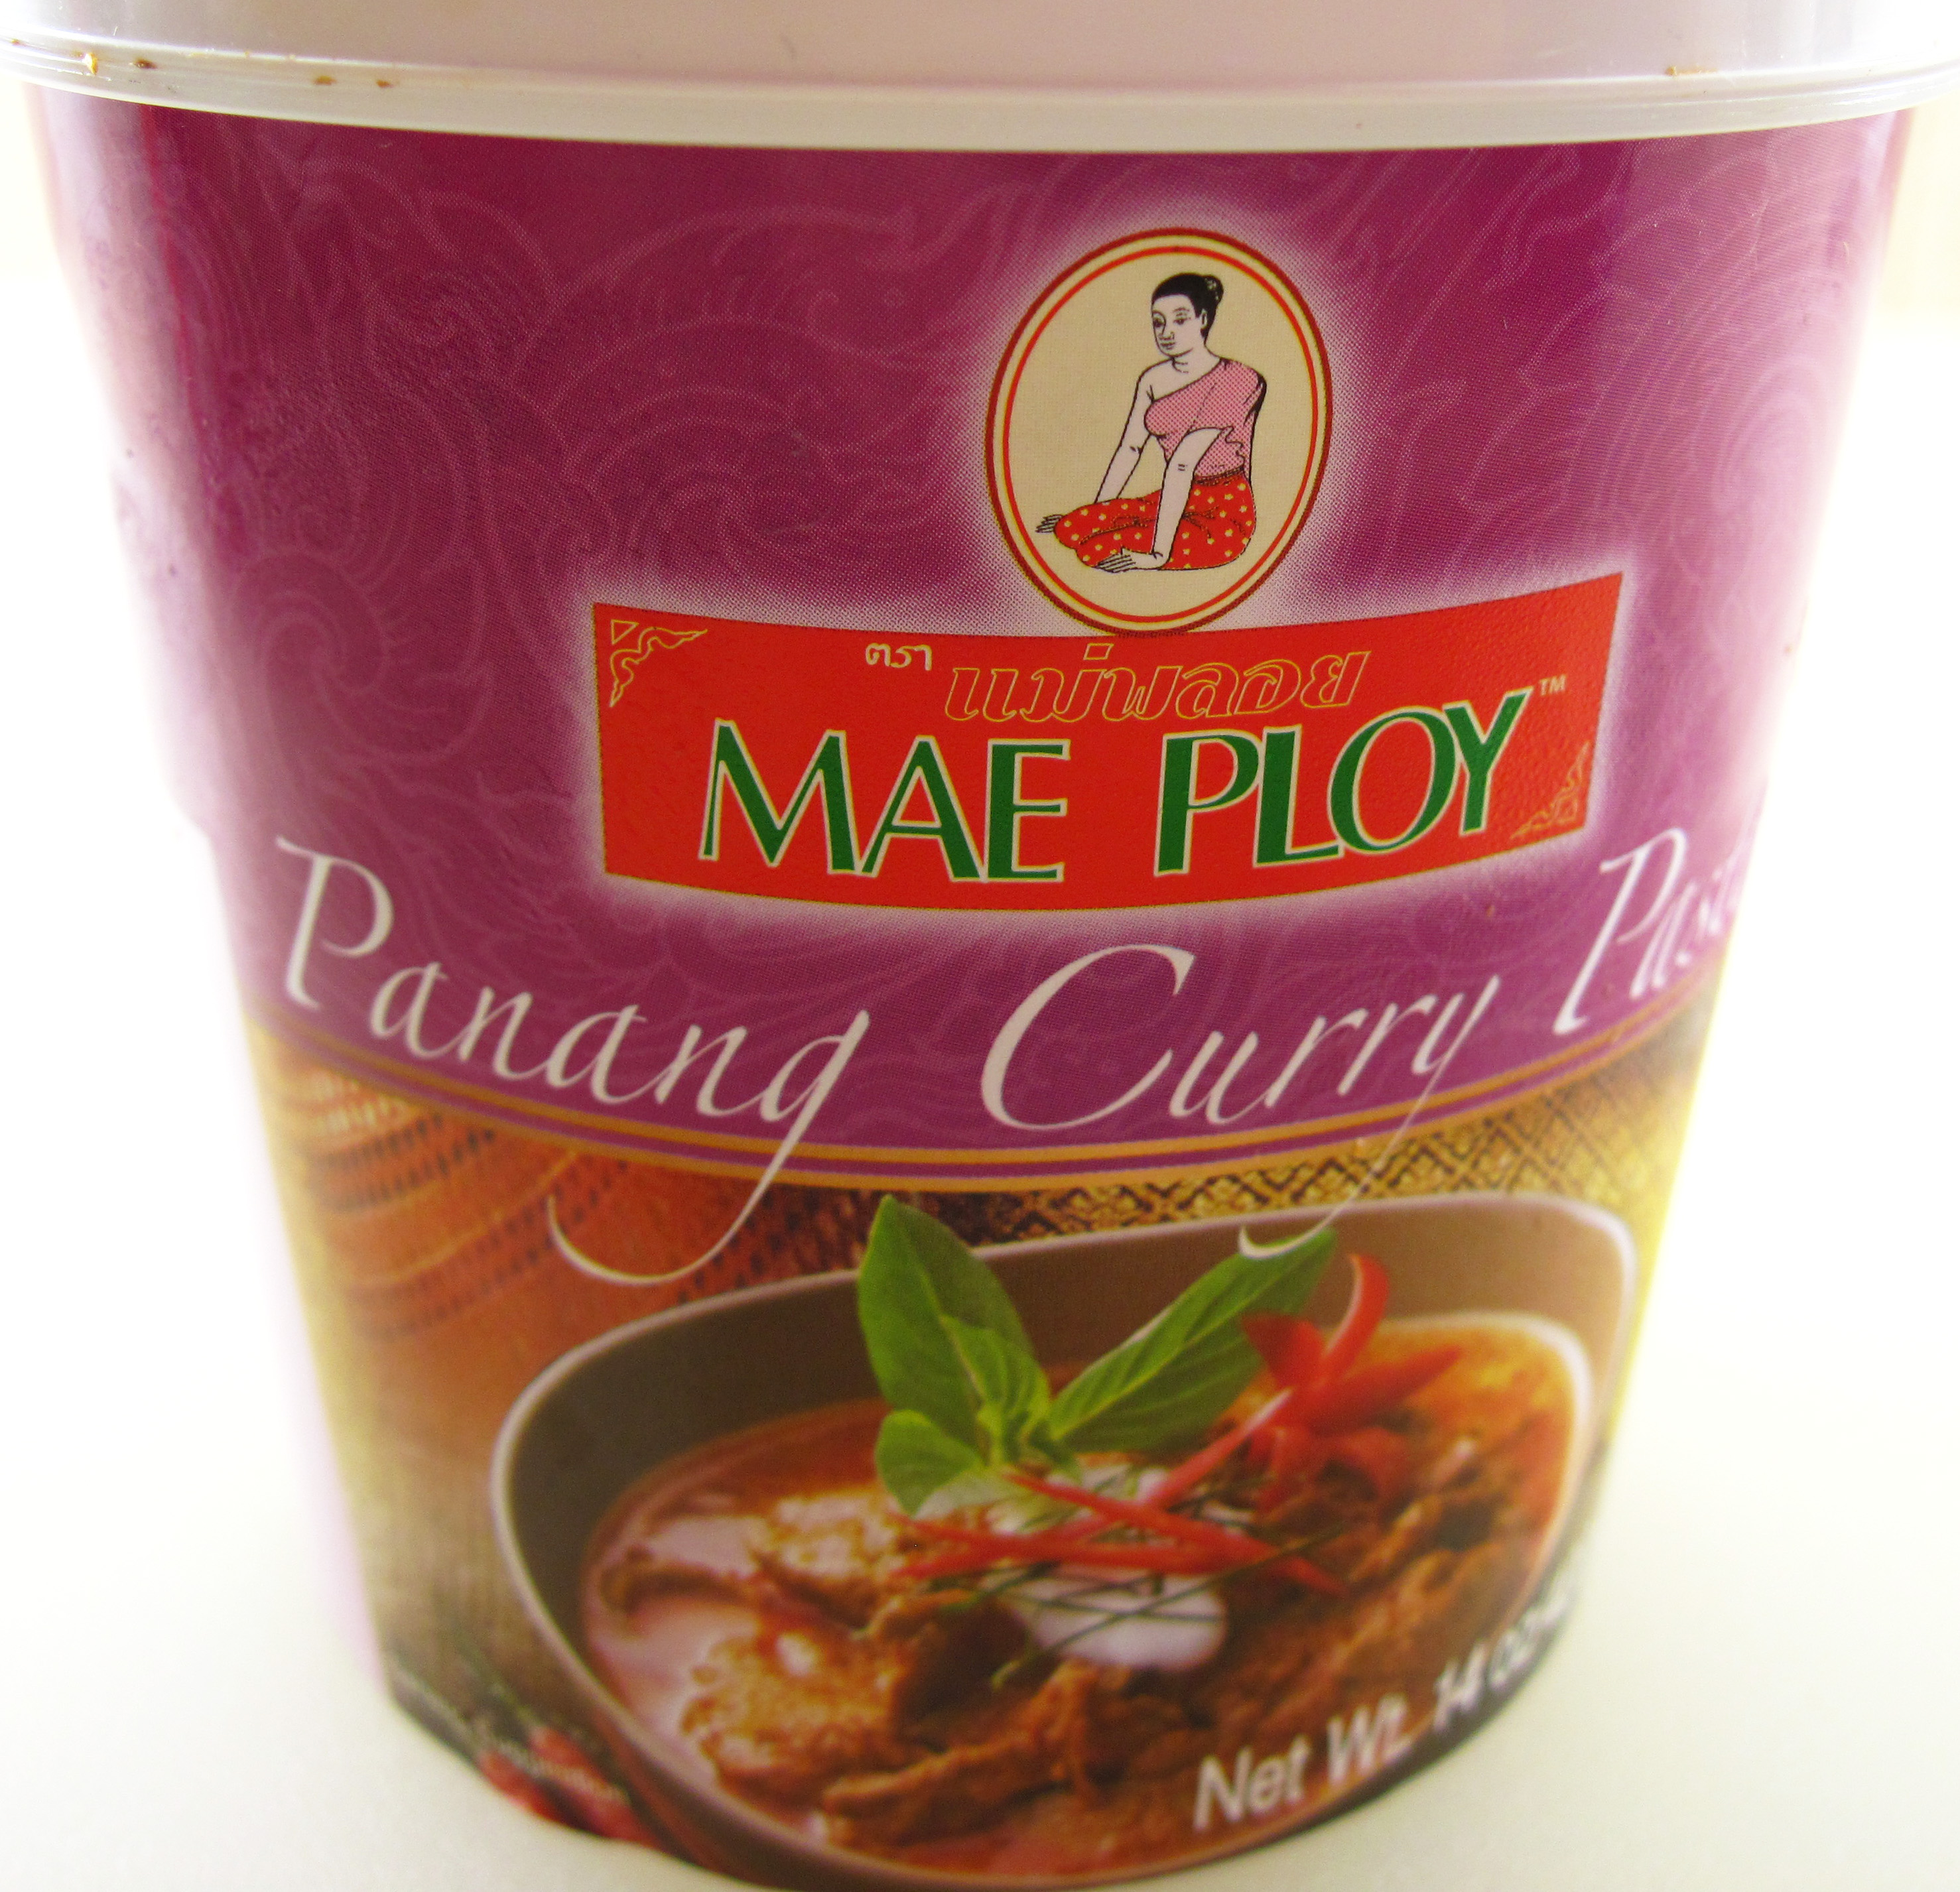
3 tablespoons Mae Ploy Panang Curry Paste
1 tablespoon sugar
1 tablespoon fish sauce
Steamed rice for serving
a
1. Put the bamboo shoots in a strainer to drain.
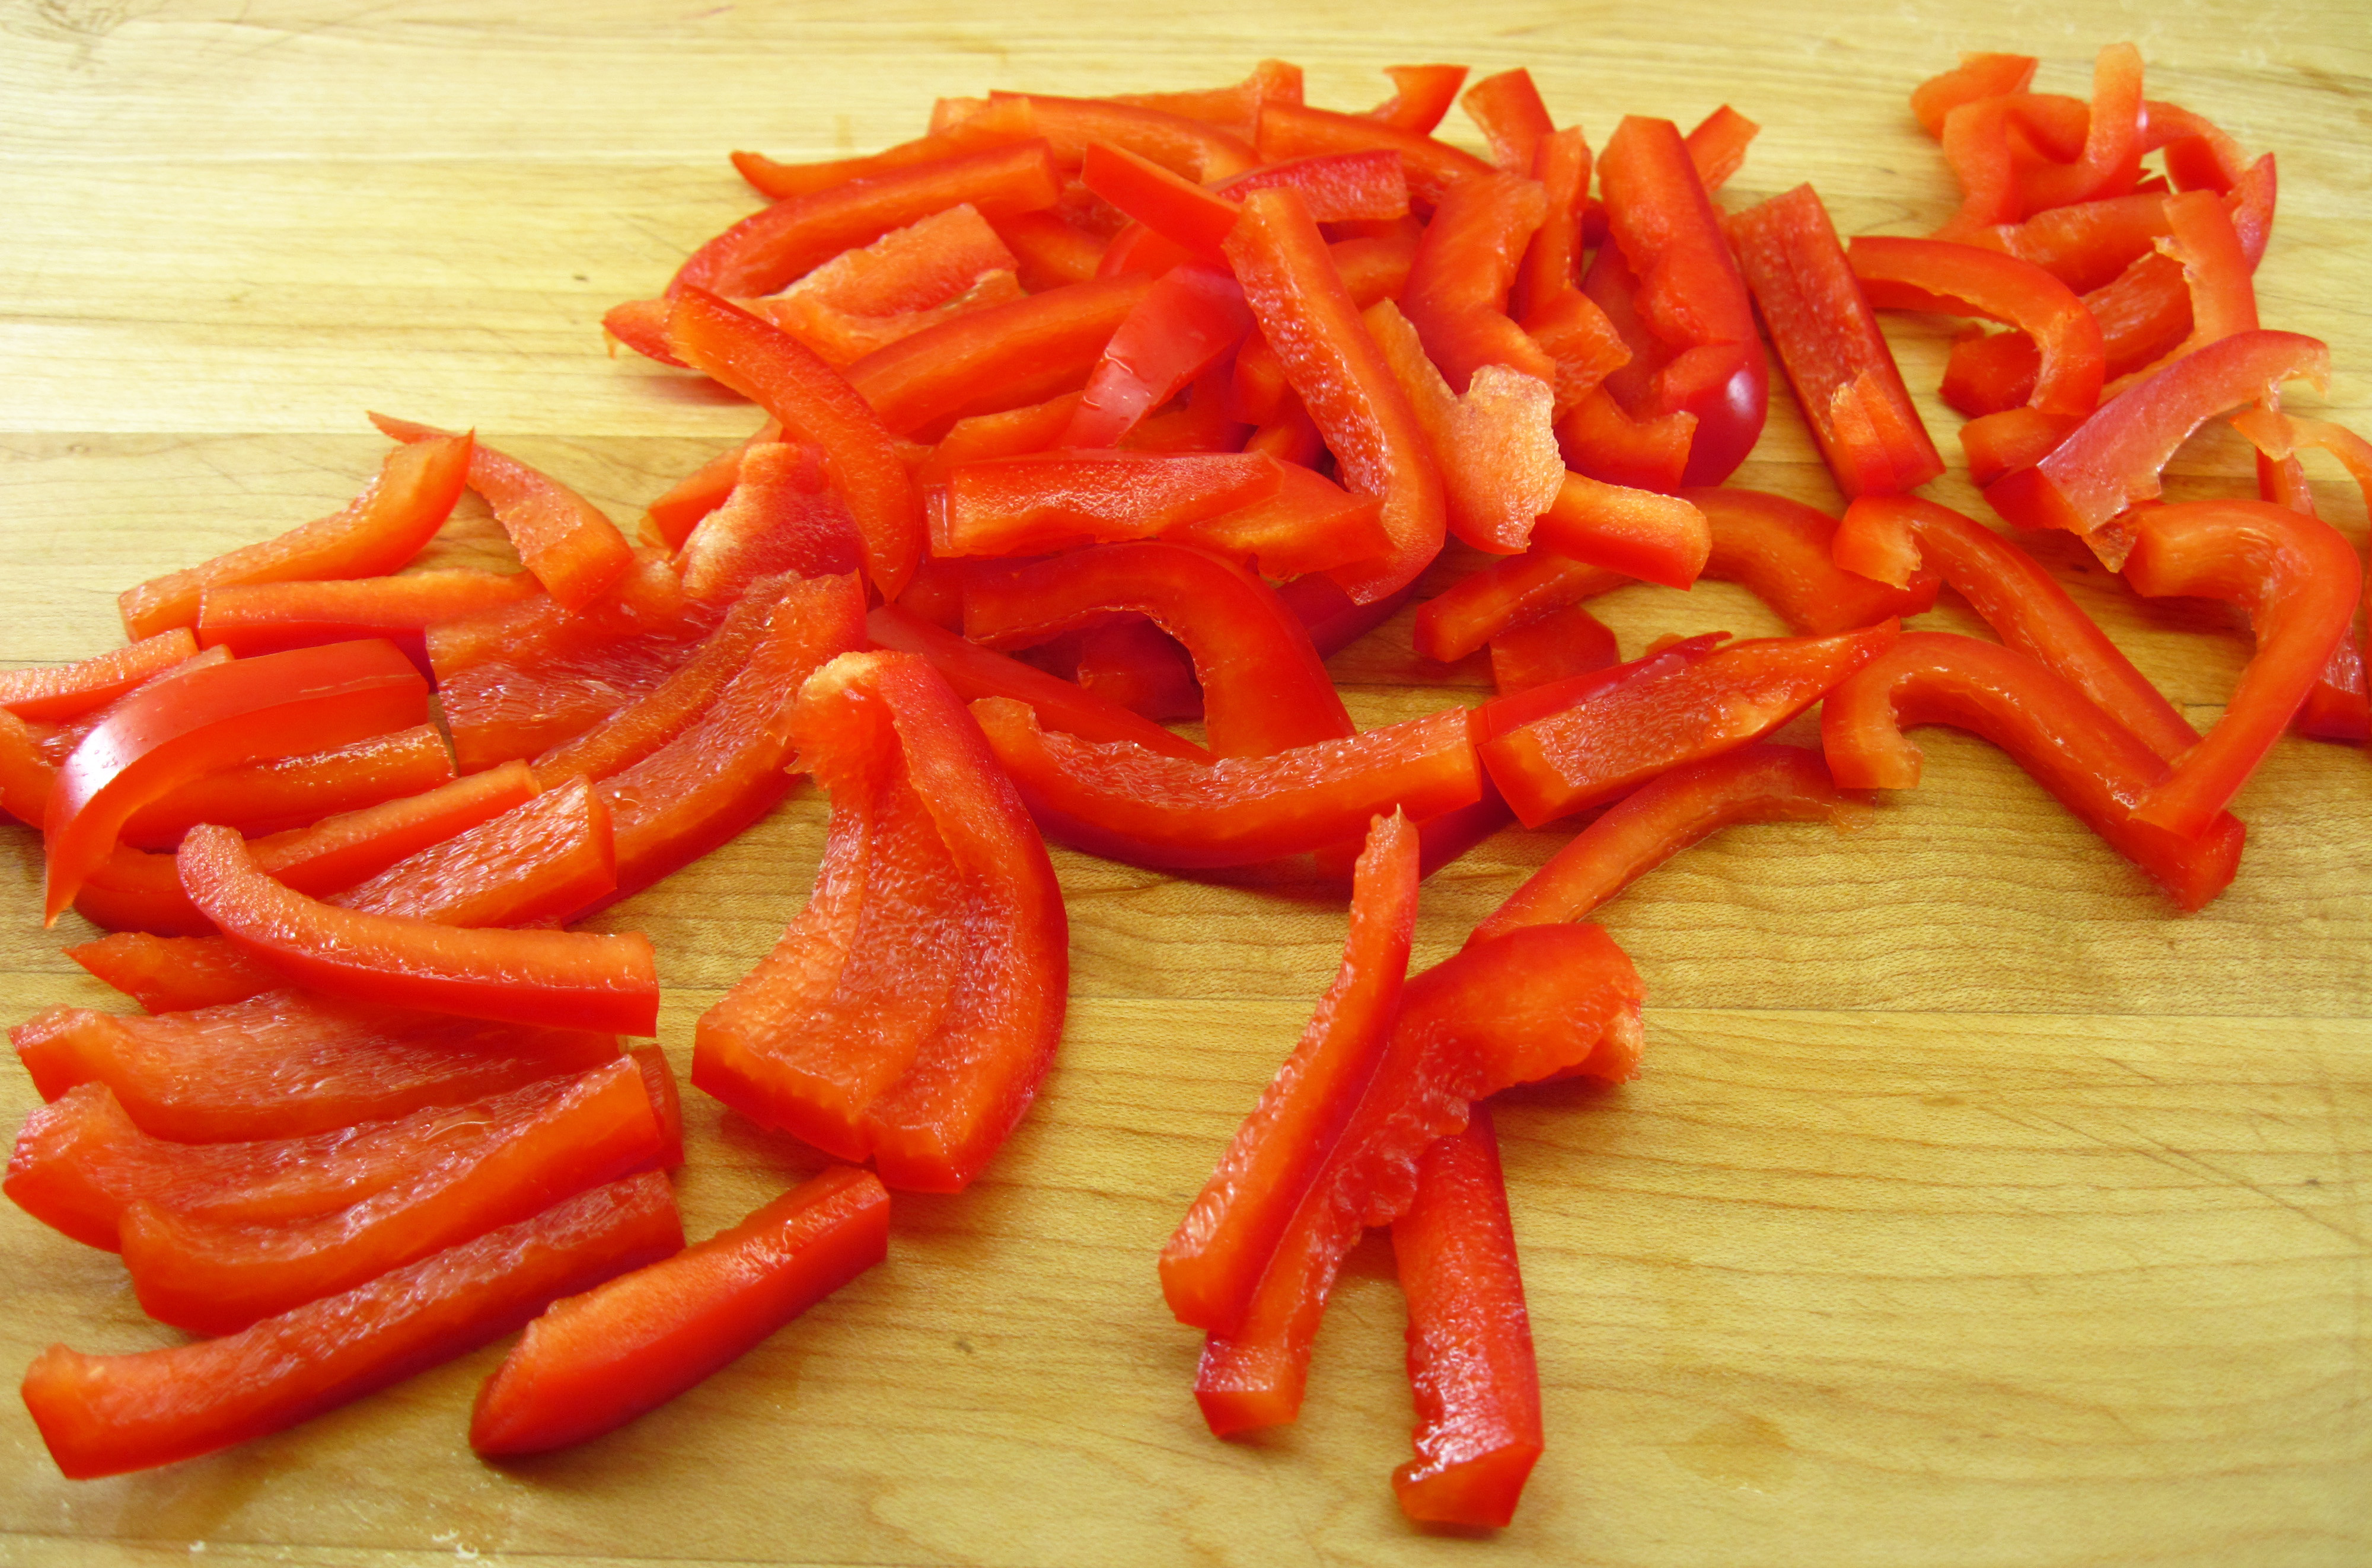
2. Cut the pepper into thin strips.
a
3. Heat the oil in a large skillet over medium heat. When it’s hot, add the pepper strips and cook, stirring often, until the pepper is just barely cooked. Remove the pepper strips from the pan.
4. Add the chicken and garlic to the pan and cook, stirring often, until it is no longer pink. Remove the chicken from the pan.
Not done yet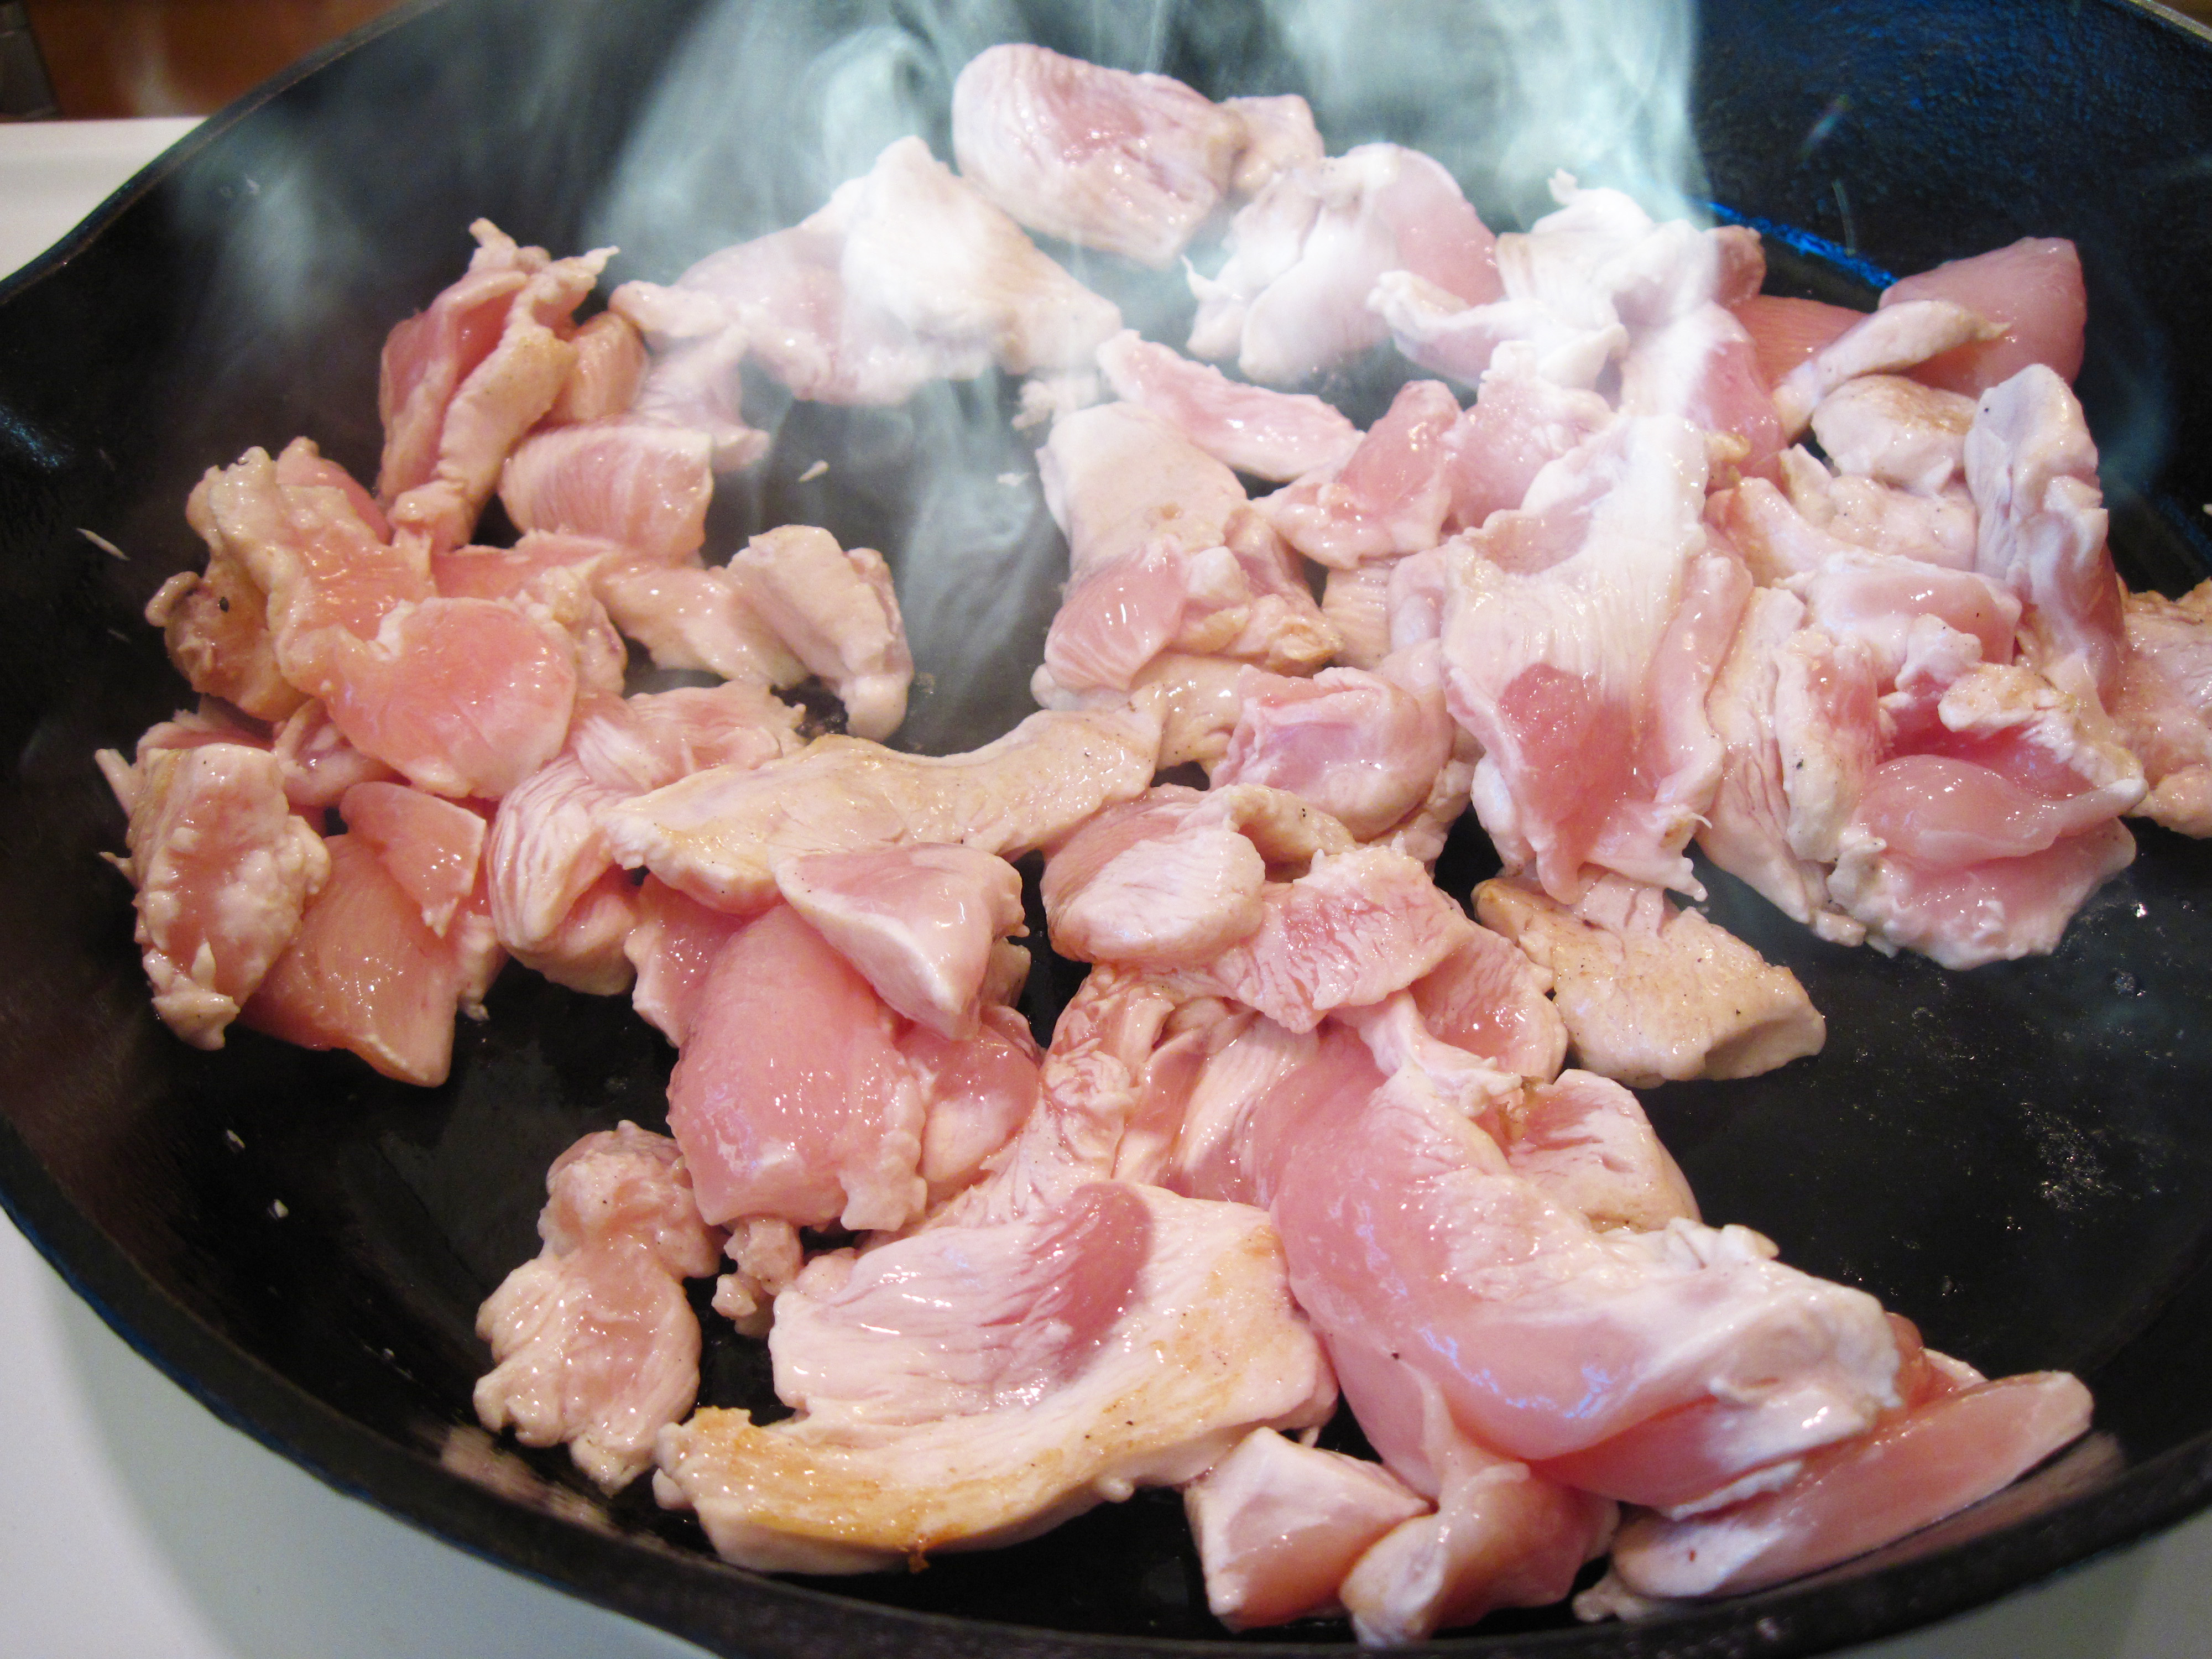
a
5. Put the coconut milk, curry paste, and sugar in the pan. Whisk it until the curry paste is blended well into the coconut milk. Heat it until it’s boiling.

a
6. Stir in the chicken, bamboo shoots, and red pepper. Reduce the heat so the curry is just simmering, and cook for 5 – 10 minutes.
7. Stir in the fish sauce and serve over steamed rice.
a
Mae Ploy Thai Panang Curry Paste
a
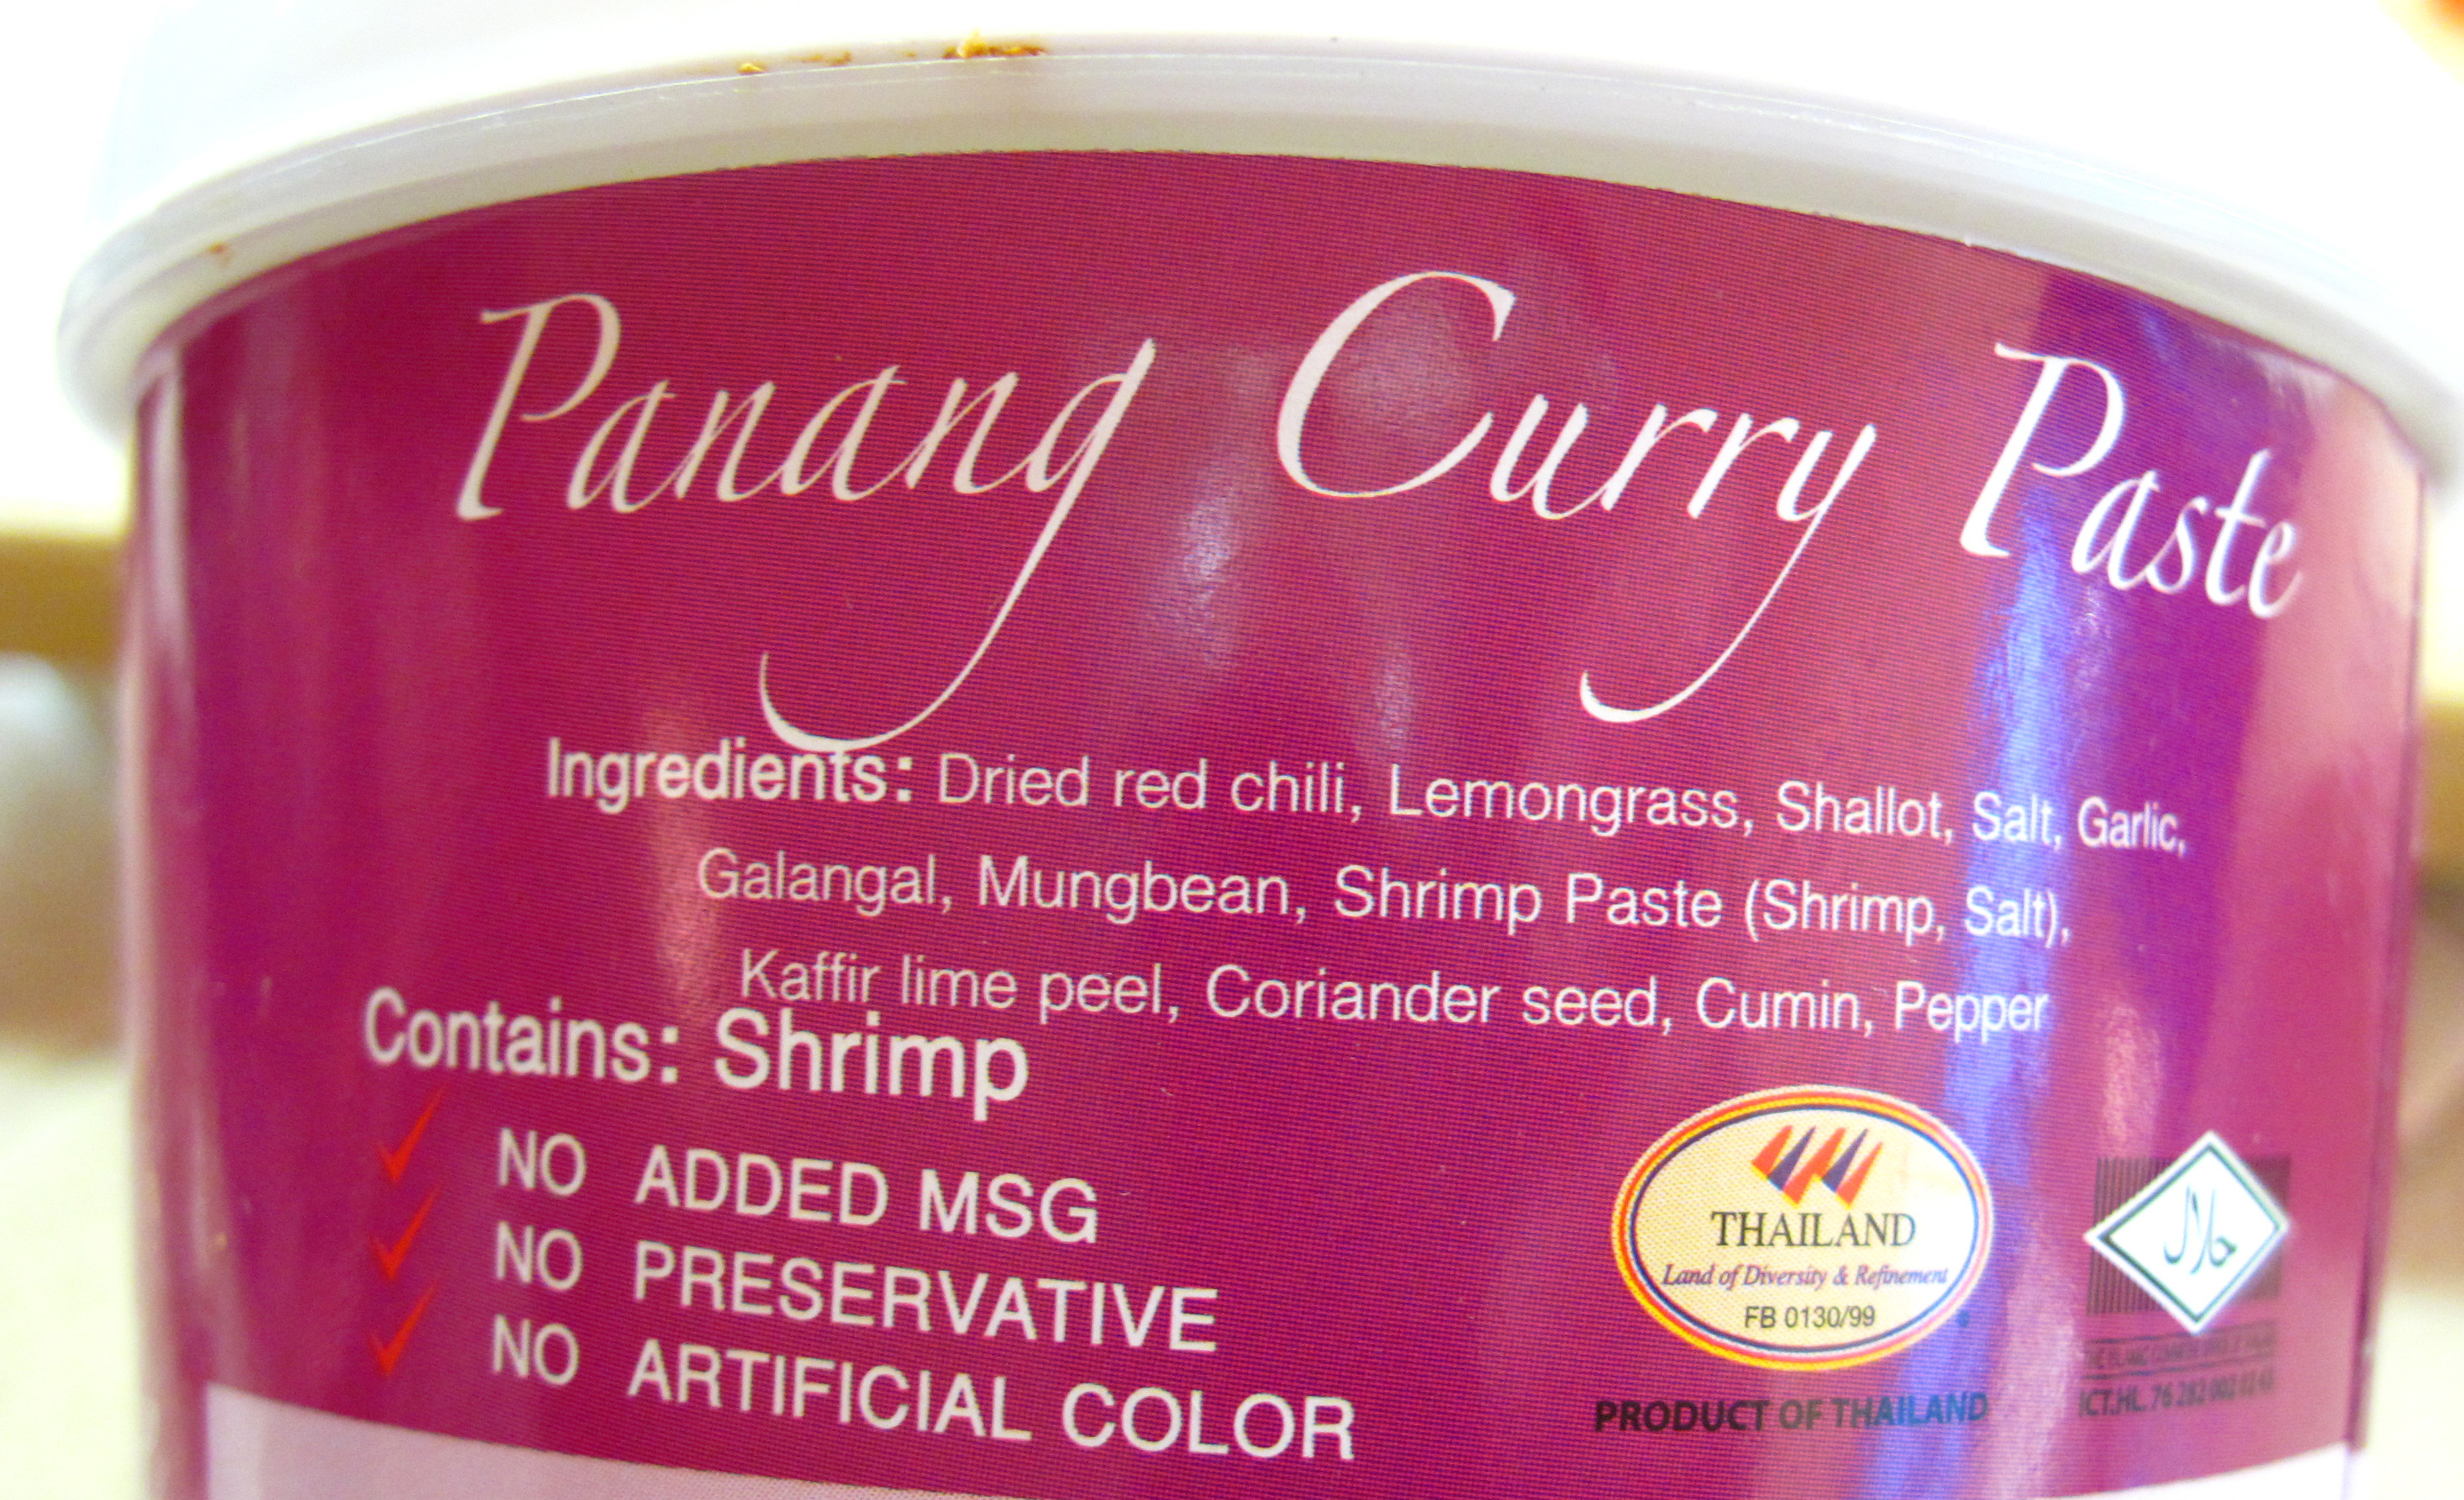
What’s not to love about these real food ingredients?
Authentic? It’s from Thailand.
Note that it is NOT vegetarian; it contains shrimp paste.
Share this:

Grilled Eggplant Parmesan
By Kath Dedon
Last night I dusted off my cast iron grill pan to make Grilled Eggplant Parmesan. The recipe, created by Grace Parisi, is from the April 2013 issue of Food and Wine magazine. It is lighter than many other eggplant parmesan recipes since the eggplant is grilled instead of fried and it uses grilled fresh tomatoes instead of a heavy tomato sauce.
I wanted to keep it light and not use too much olive oil. I decided to grill the tomatoes first and I just brushed the grill pan with a bit of olive oil instead of brushing the tomatoes with oil. That worked just fine. I did, however, brush the eggplant slices with olive oil. I probably used a total of about ¼ cup of olive oil.
The recipe calls for oil-packed Calabrian chiles, which my local QFC does not carry. Instead of using the Italian peppers, I substituted a local oil-packed pepper, Mama Lil’s Kick Butt Peppers, which added just a bit of heat.
Food and Wine tags the recipe as “Fast” and claims that it can be made in 45 minutes. Maybe I’m slow in the kitchen, but it took me well over an hour to make the recipe. It was very easy to make, though, and it was sort of meditative to grill the 4 batches of eggplant slices and 2 batches of tomato slices.
Despite the fact that it is not a quick recipe, I recommend that you try Grilled Eggplant Parmesan because it is fantastic! It’s a very satisfying vegetarian main dish and I can’t wait to have some of the leftovers for lunch.
a

a
Grilled Eggplant Parmesan
(Adapted from Grace Parisi’s recipe in the April 2013 issue of Food and Wine magazine)
a
a
Serves 4
4 large plum tomatoes, sliced crosswise in ¼-inch slices
1 large eggplant (1½ pounds), peeled and sliced crosswise into ¼-inch slices
Extra-virgin olive oil (I used about ¼ cup)
Salt
1/3 cup chopped green olives
2 tablespoons chopped Mama Lil’s Kick Butt Peppers, or other hot chiles
¼ cup finely shredded basil, plus whole leaves for garnish
5 ounces Fontina cheese, thinly sliced
1. Preheat the oven to 450˚ and heat the grill pan over medium heat.
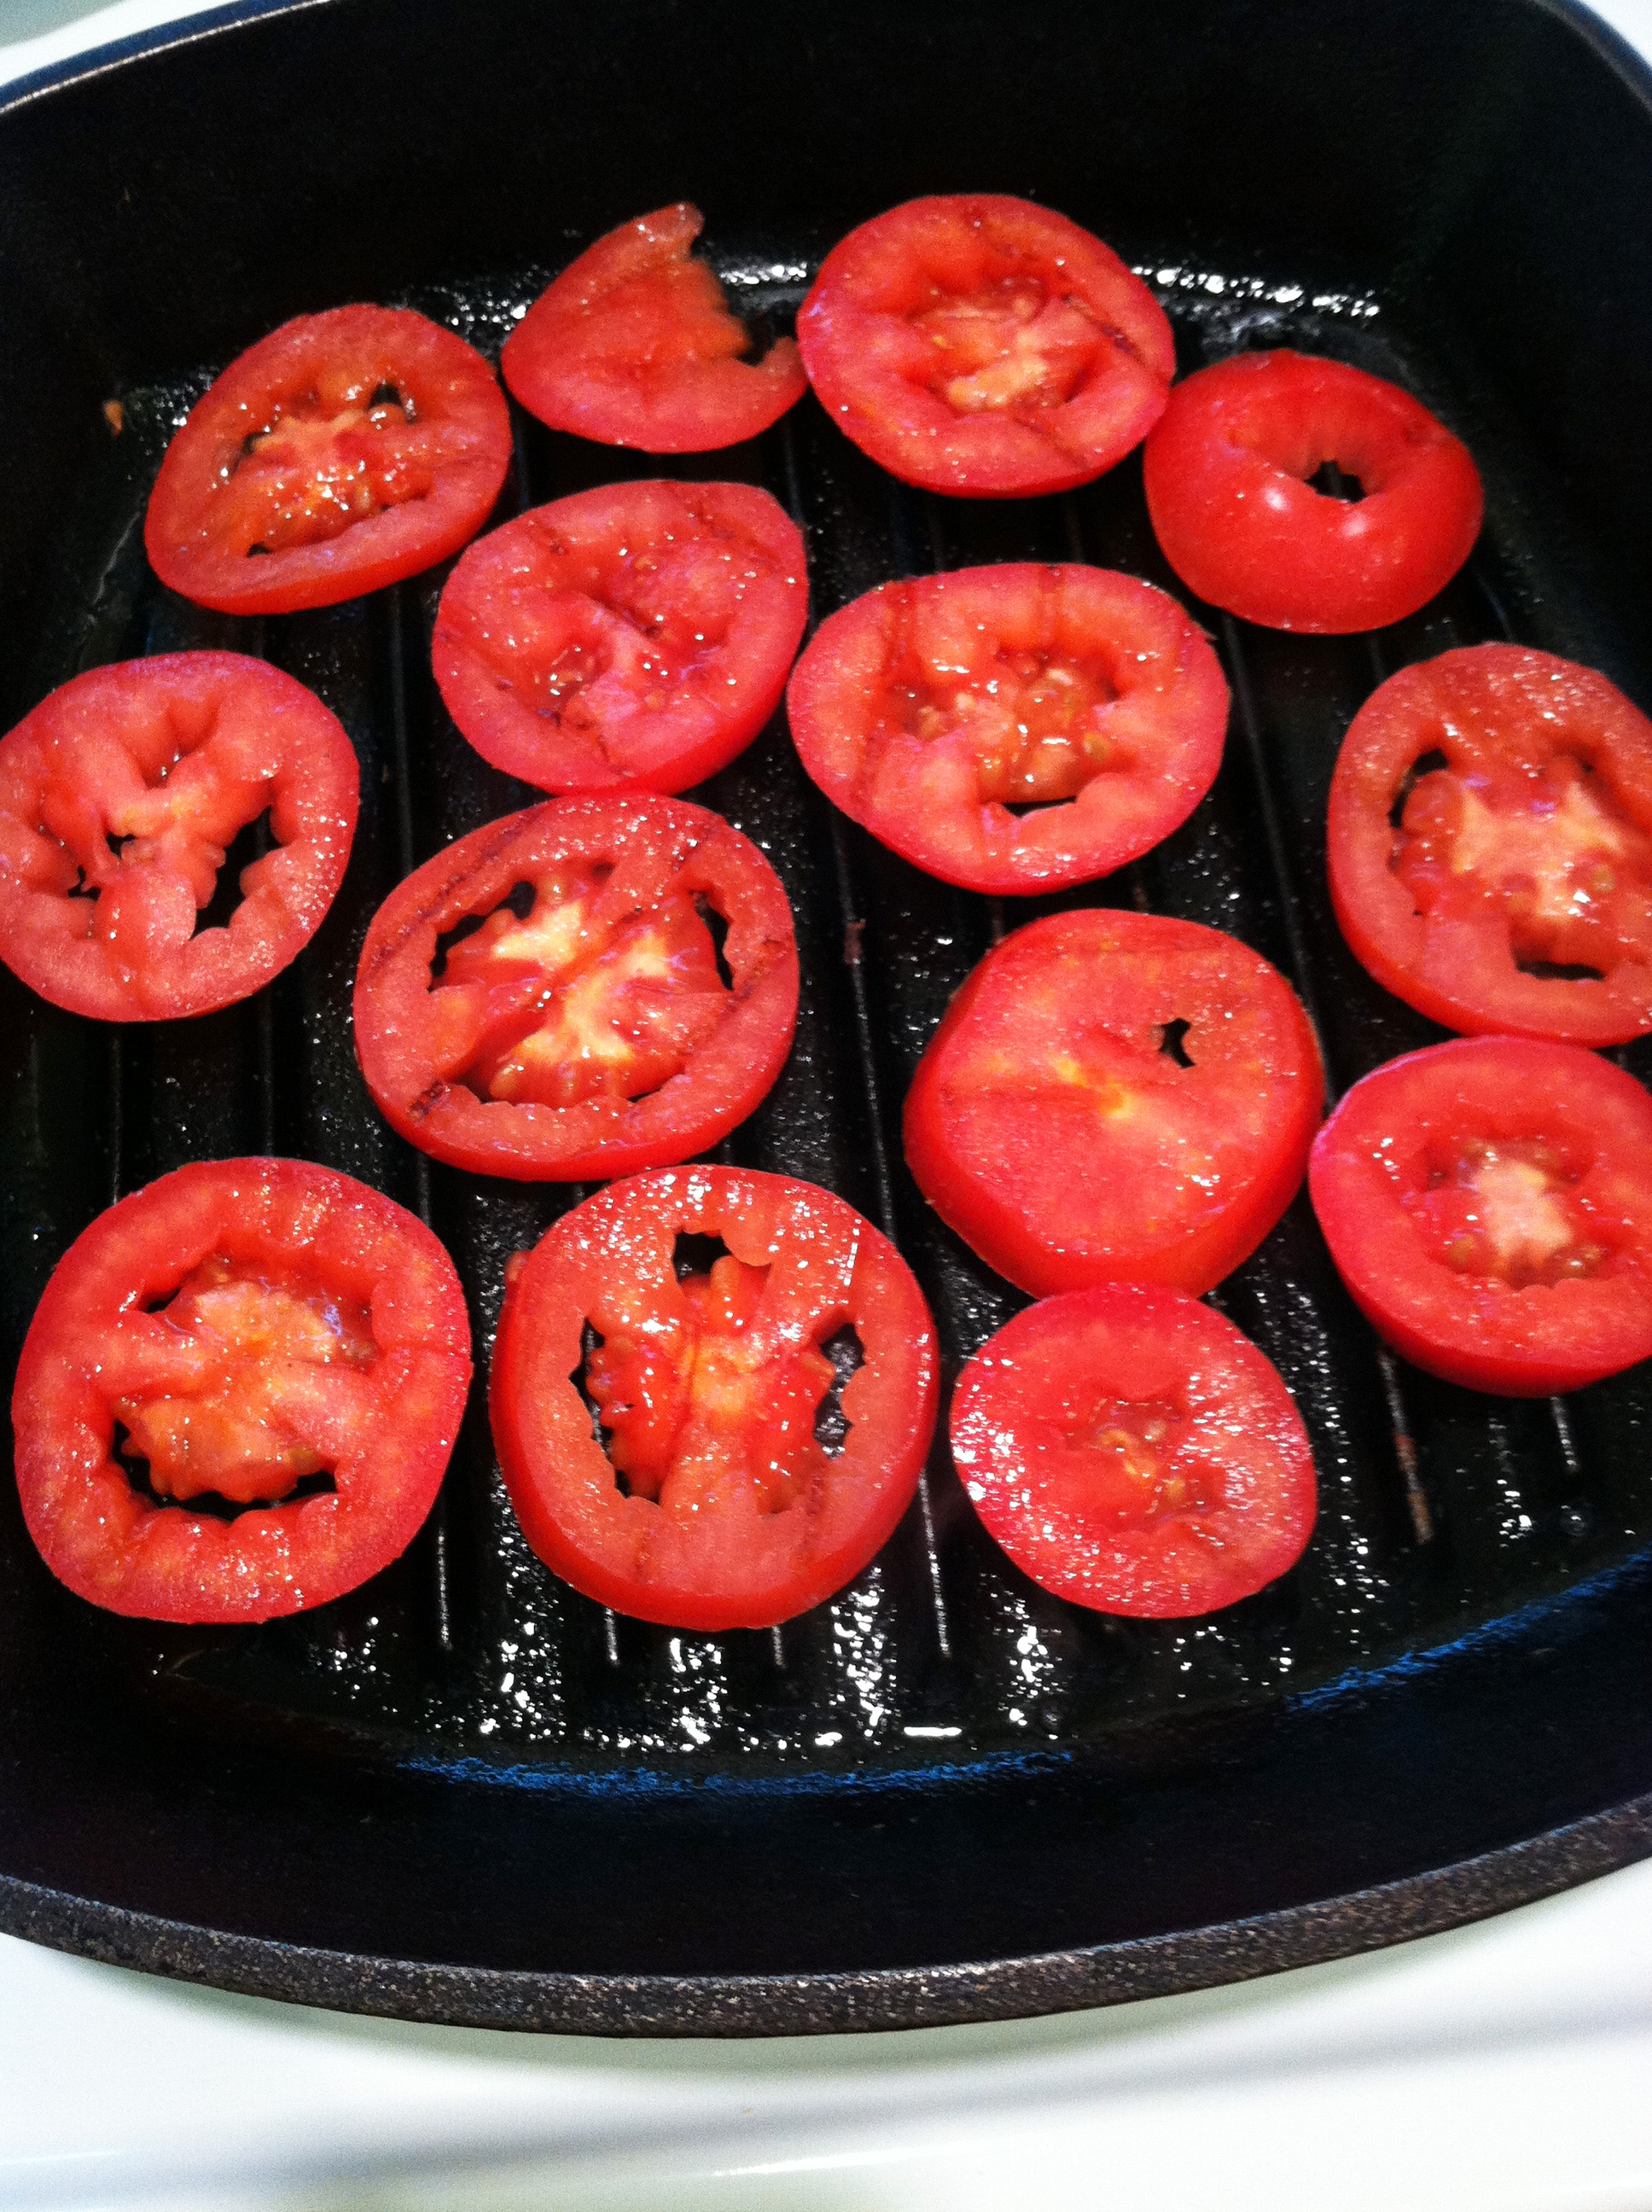
2. When the grill pan is hot, brush it with a bit of olive oil. Sprinkle the tomato slices with a bit of salt, and put them salt-side-down in the grill pan. (They will not all fit; you will be grilling them in batches.) Grill for about 1 minute, until lightly charred. Sprinkle with a bit of salt (this is the side that was unsalted when put in the pan) and turn the slices over. Grill for an additional minute and then remove to a plate. Continue cooking the tomato slices until they are all done. (I was able to cook them in two batches.) Set the tomatoes aside.
a
3. Brush the eggplant slices on one side with olive oil and sprinkle with salt. Put some eggplant slices oil-side down in the grill pan and grill for about 2 minutes, until softened and lightly charred. While they slices are grilling, brush the top side with a bit of olive oil and sprinkle with salt. Turn the slices over and grill the second side for about 2 minutes. When done, remove to a plate and continue to cook the eggplant slices in batches. (It took 4 batches for me to cook all of the eggplant slices.)

a
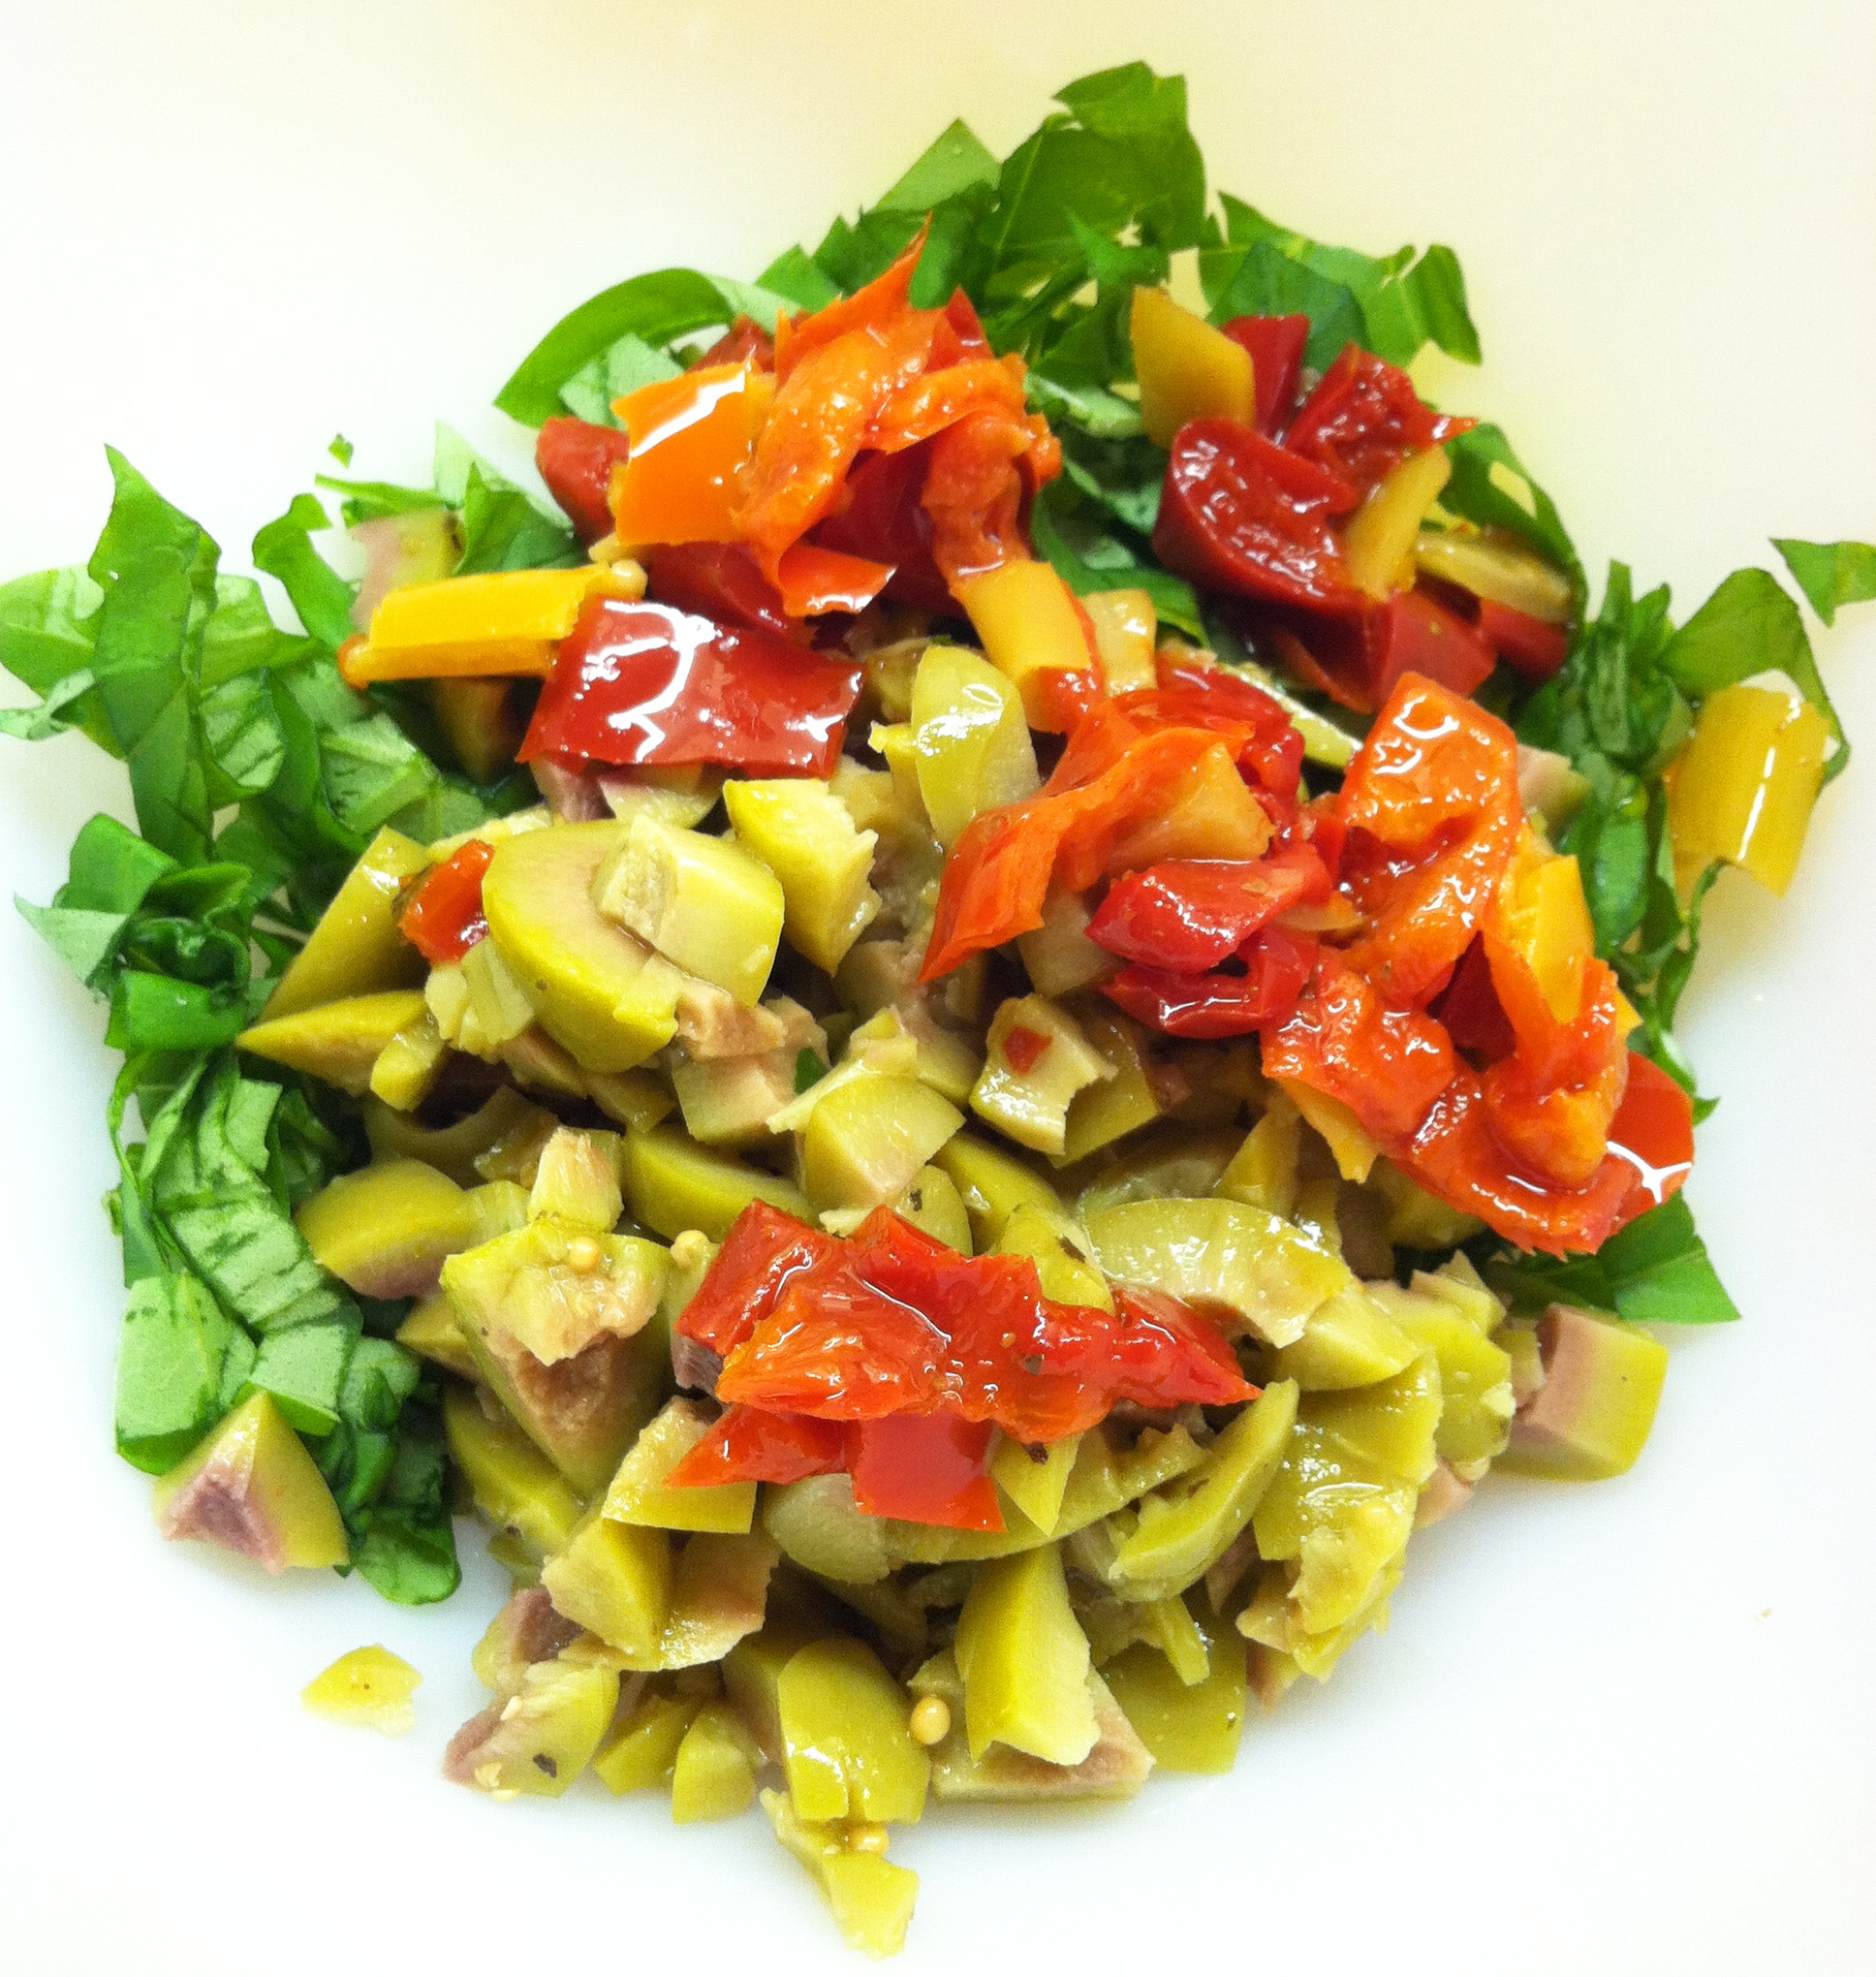
4. Stir the green olives, peppers, and shredded basil together in a bowl.
a
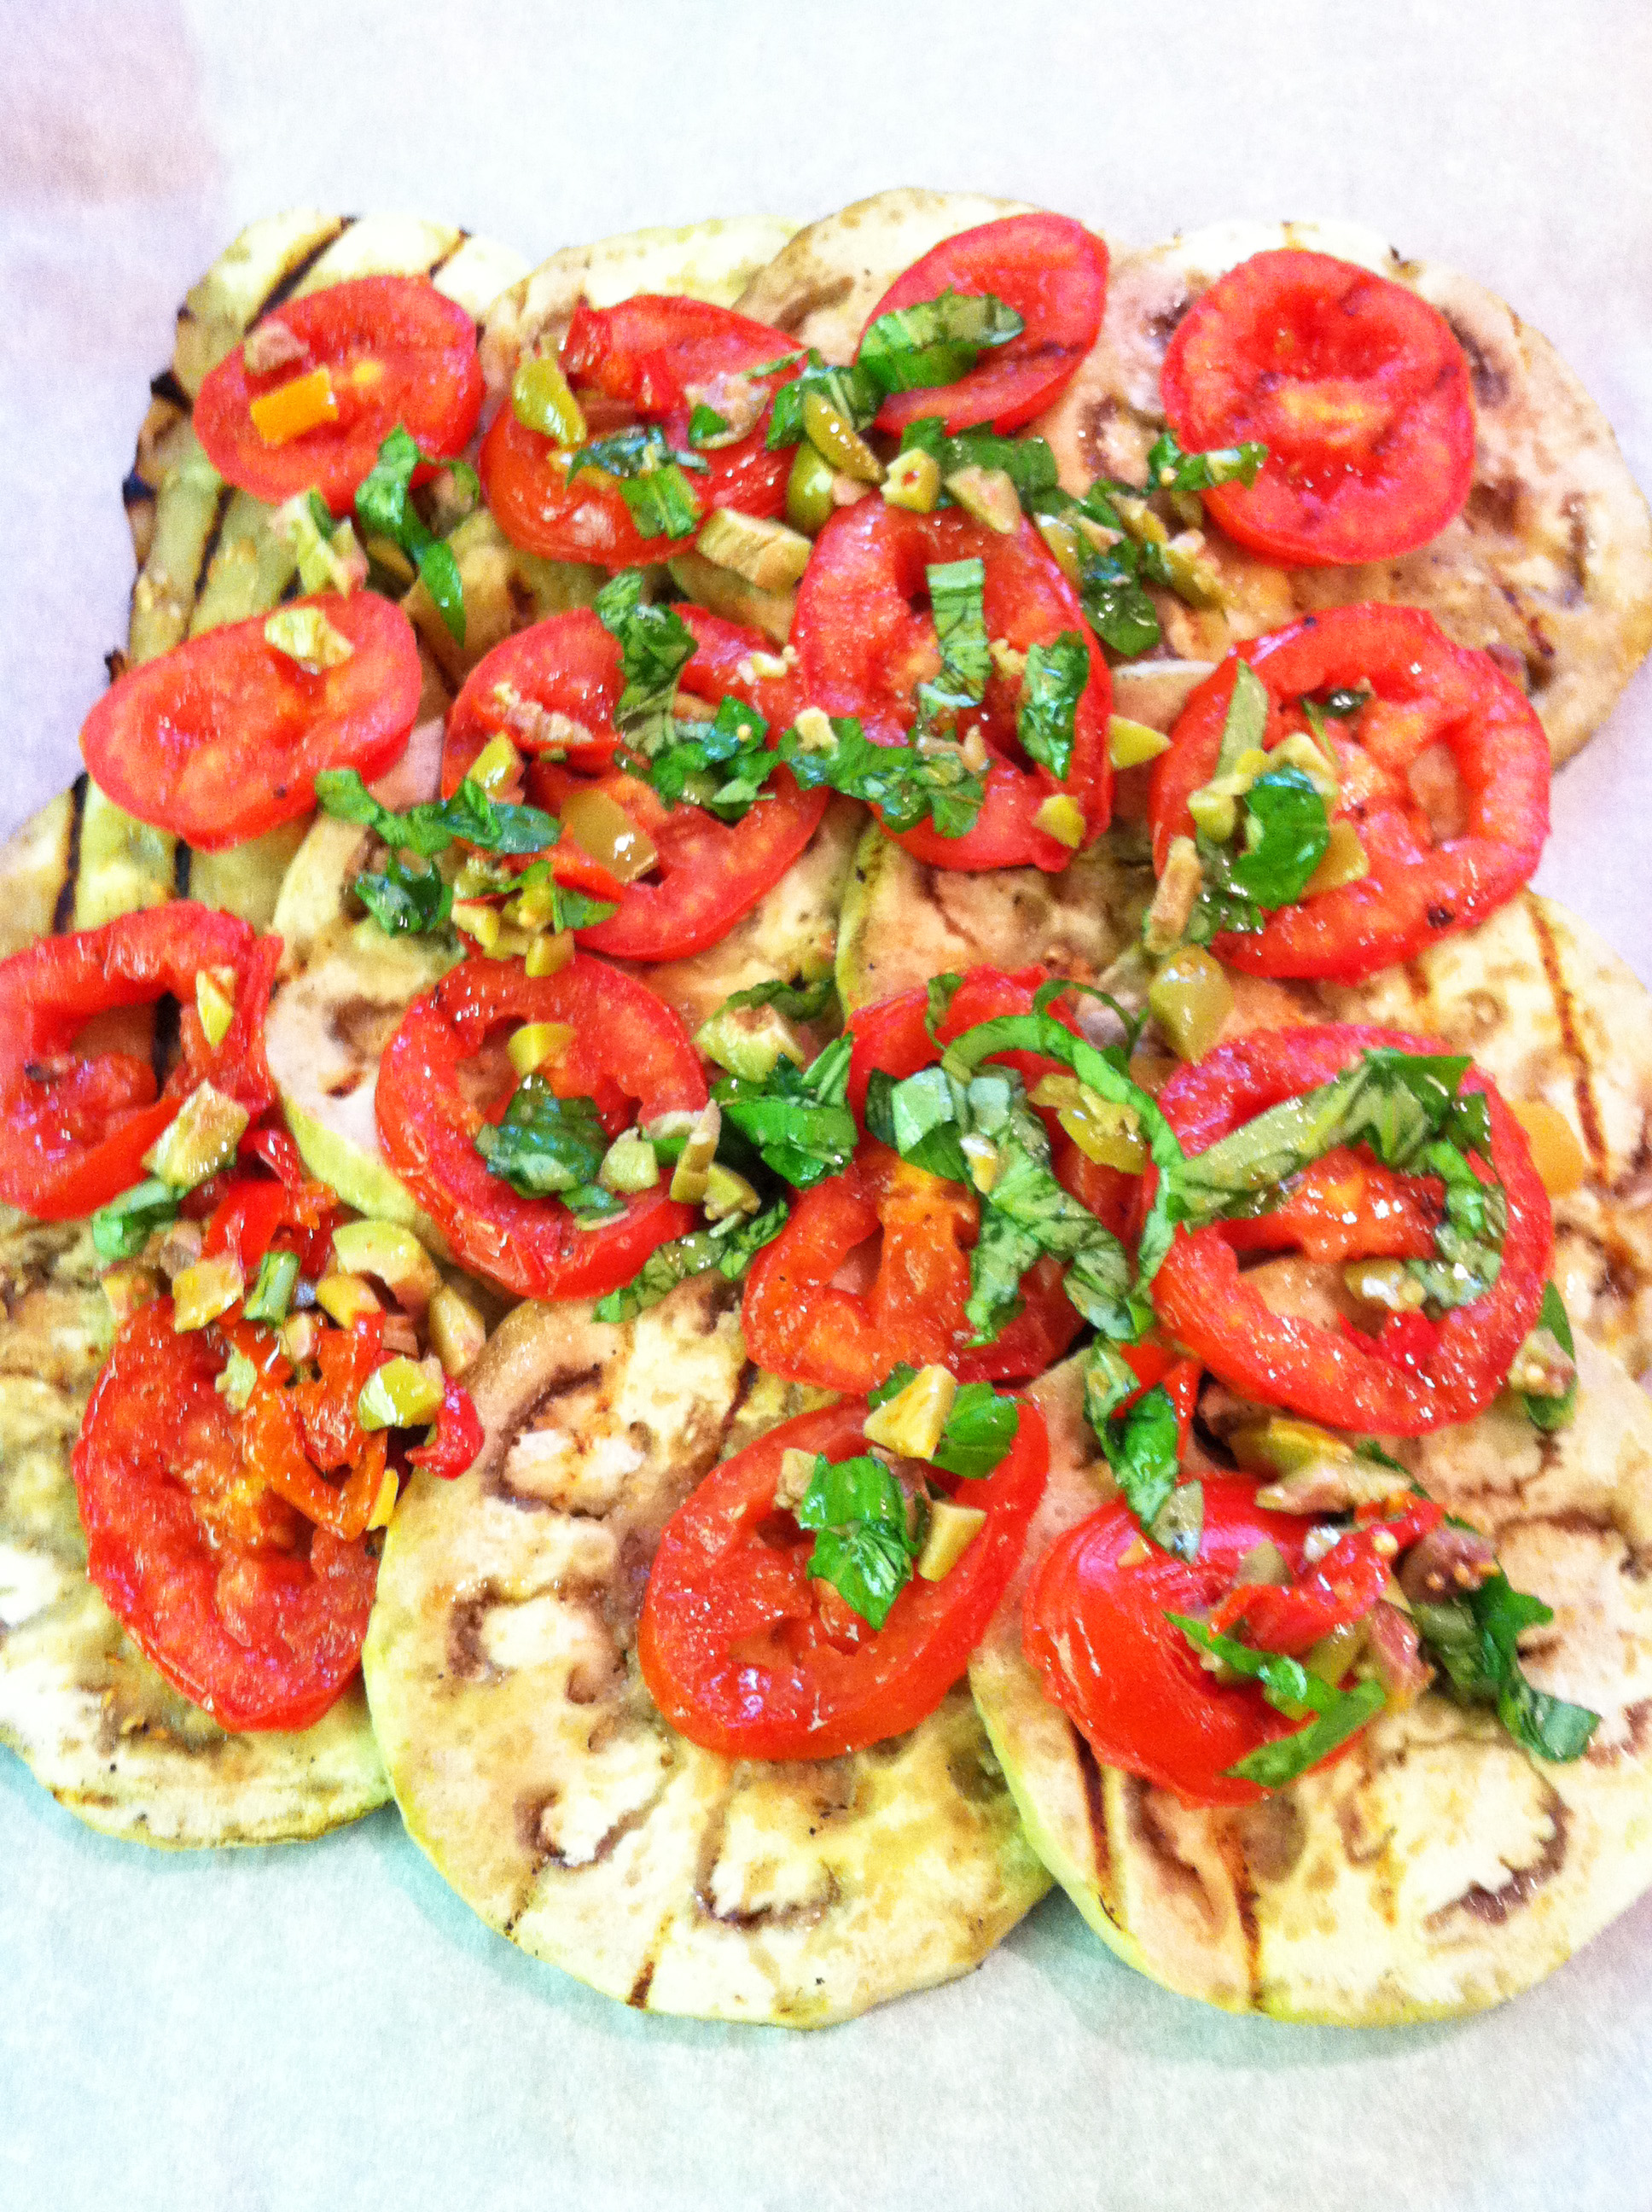
5. Line a large rimmed baking sheet with parchment paper. Arrange half of the eggplant into about a 9-inch square, overlapping the slices a bit. Layer half of the tomato slices on top and then add half of the olive mixture.
a
6. Place half of the Fontina cheese slices on top.

a
7. Repeat the layers: the rest of the eggplant, the tomatoes, the olive mixture and the cheese.
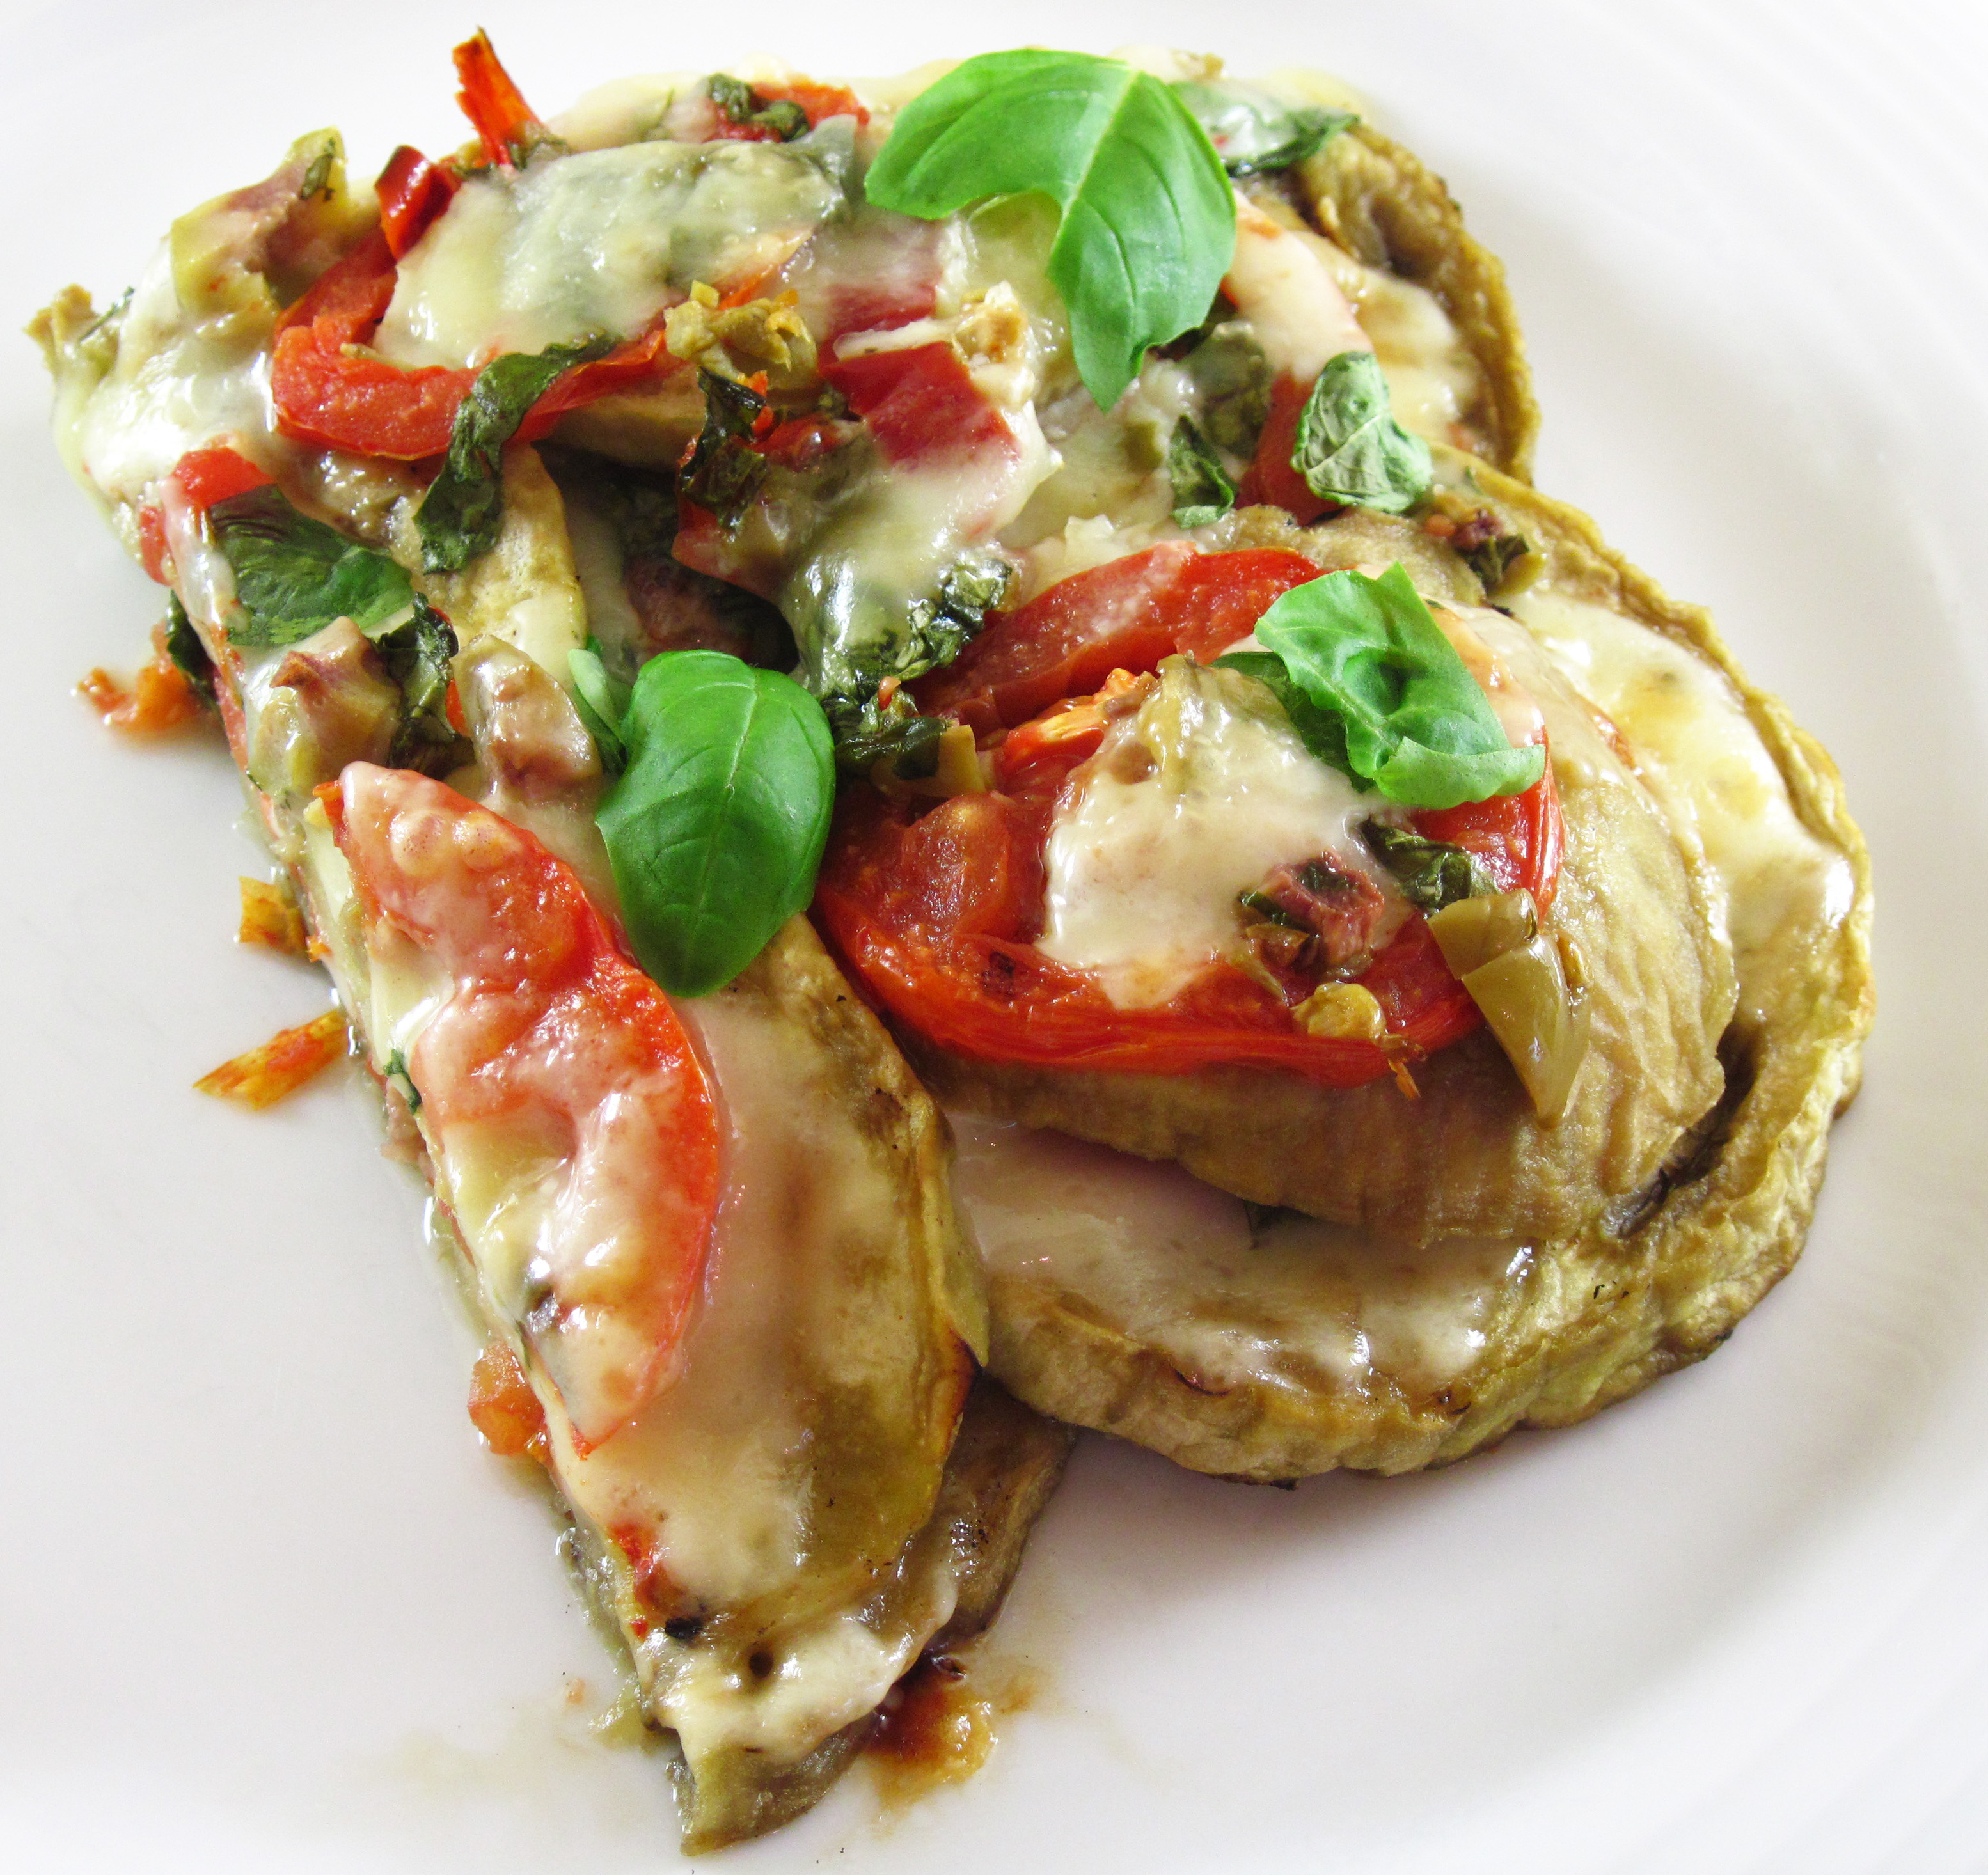
8. Bake for 15 minutes, until the cheese is bubbly. Let it rest for 10 minutes, top with a few basil leaves and serve.
a
An unfortunately poor iPhone photo of the finished Grilled Eggplant Parmesan

a
Share this:

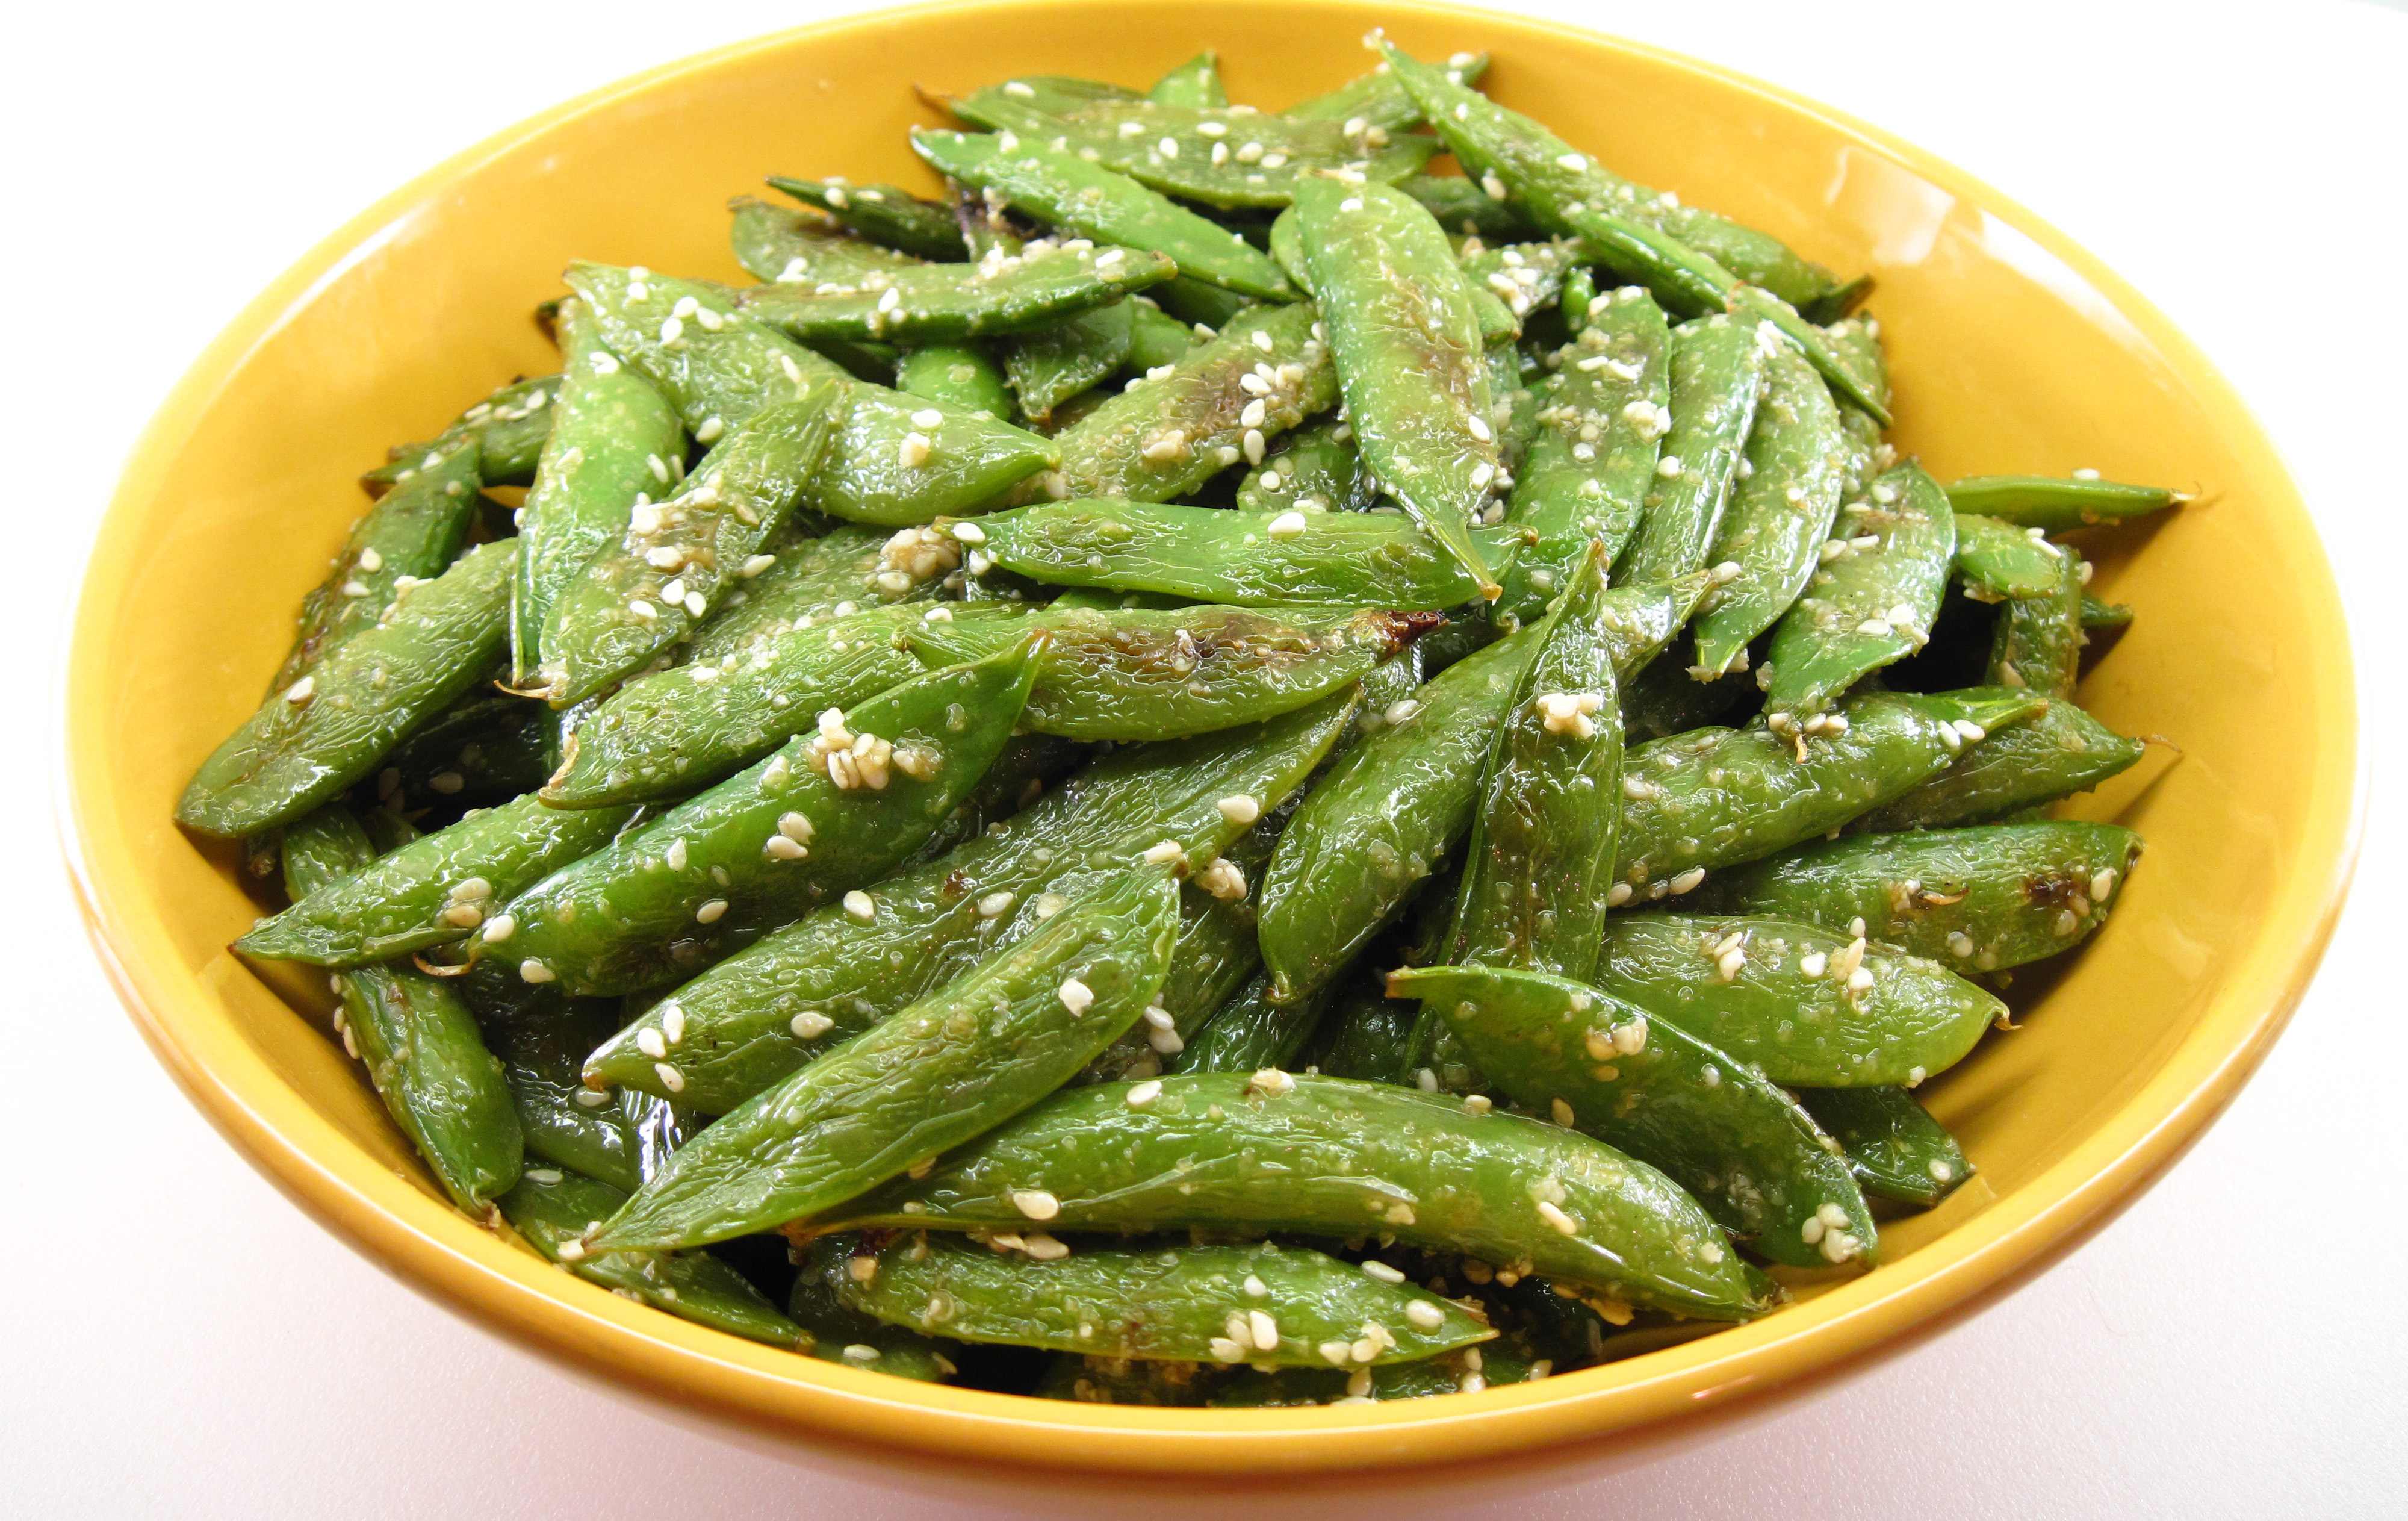
Quick-Roasted Sugar Snap Peas with Toasted Sesame Salt
Quick-Roasted Sugar Snap Peas with Toasted Sesame Salt is easy to make and can be served at room temperature, making it a great recipe for entertaining. It’s another winner from Molly Stevens’ wonderful book, All About Roasting.
The roasted sugar snap peas are tossed with the toasted sesame salt, which is actually a Japanese seasoning called gomasio. You can buy gomasio in Asian markets or well-stocked grocery stores, but it’s easy enough to make your own.
I doubled the recipe to serve eight, but I roasted the sugar snap peas in two batches so they weren’t too crowded.
I really liked the Quick-Roasted Sugar Snap Peas with Toasted Sesame Salt and I’m happy to add it to my arsenal of make-ahead vegetable side dishes.
a

a
Quick-Roasted Sugar Snap Peas with Toasted Sesame Salt
(Adapted from Molly Stevens’ recipe in All About Roasting)
a
a
Serves 4a
Doubles easily, but use 2 large baking sheets so the sugar snap peas aren’t too crowded.
I used Mann’s Stringless Sugar Snap Peas. If yours have strings, you’ll need to remove them first.
a
1 pound stringless sugar snap peas
2 tablespoons extra-virgin olive oil
2 tablespoons white or black sesame seeds (preferably not hulled)
¼ teaspoon kosher salt
a
1. Preheat the oven to 475˚.
2. Spread the sugar snap peas out on a large rimmed baking sheet, lined with parchment paper if you wish.
3. Drizzle the olive oil over the peas and toss them so they are well-coated. Spread the peas out so they are in a single layer.
4. Roast the peas for about 12 minutes, stirring them once or twice, until they are done with a few browned spots.

a
5. While the peas are roasting, make the toasted sesame salt. Toast the sesame seeds in a dry skillet, stirring constantly, for a minute or two. They are done when they have become fragrant and are just starting to deepen a bit in color. Immediately put them on a plate to cool.
6. Grind the sesame seeds with the salt in a mortar or a spice grinder. You can partially grind them so there are still some whole sesame seeds.
7. When the peas are roasted, toss them with the toasted sesame salt. Serve hot, warm, or at room temperature.
a
a
Share this:

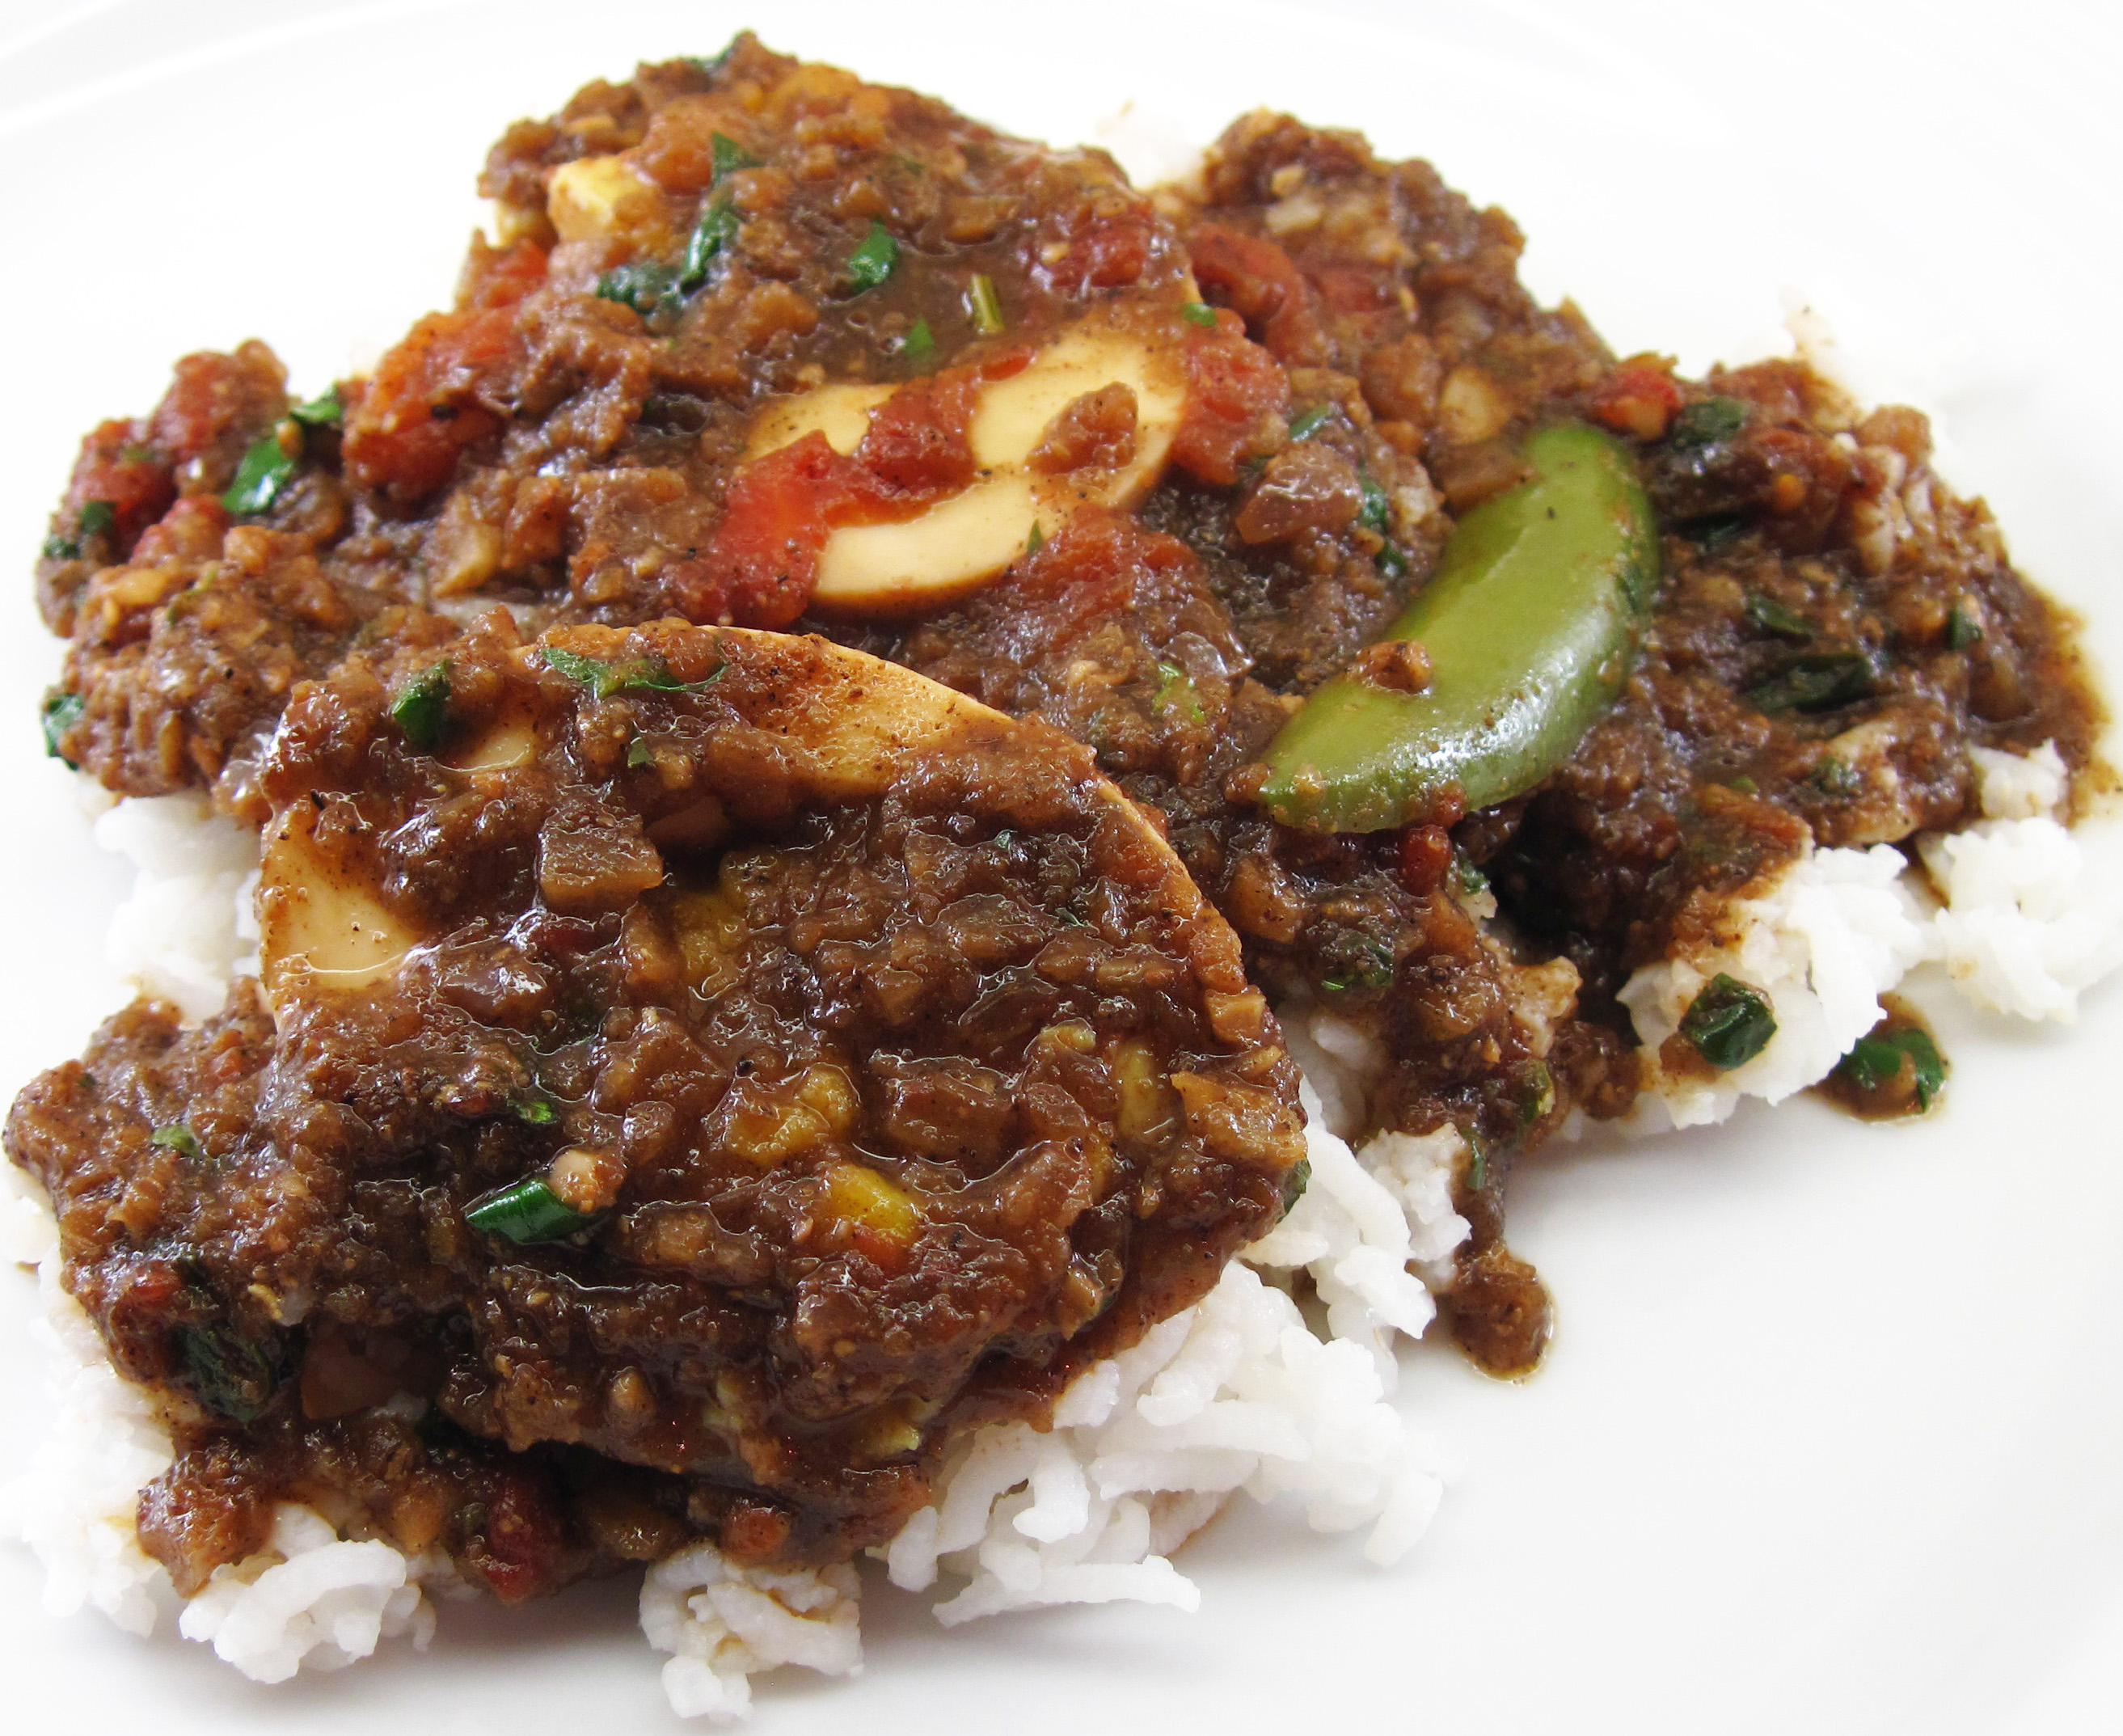
Easter Egg Curry (Pyaaz Waale Unday)
By Kath Dedon
Raghavan Iyer actually has three different recipes for hard-boiled egg curries in his excellent book, 660 Curries. The one I chose to make is called Easter Eggs with an Onion-Garlic Sauce. He came up with this one because he had a surplus of Easter eggs. Love it!
Iyer uses his own garam masala blend, and the recipe for it is in the book. It probably would have taken my Easter Egg Curry to a whole new level, but I had some commercial garam masala that I used. It was still great.
He recommends using 2 fresh green Thai, cayenne, or serrano chiles. My grocery store only had the serrano chiles, so that’s what I used. Simmered in the sauce, they infused a lot of flavor and heat. I chose to not actually eat the peppers and it was perfect for me. Bob ate them and proclaimed them to be quite hot! The choice is yours.
Since tomatoes are so pitiful this time of year, I used 2 canned plum tomatoes. (I’ll probably roast the leftovers today.)
I highly recommend this Easter Egg Curry if you still have hard-cooked eggs lurking in your refrigerator. After all, you can only eat so much egg salad.
a
See that half serrano chile? I didn’t eat it. The curry was spicy enough for me. 😉
a
Easter Egg Curry
(Adapted from a recipe in Raghavan Iyer’s 660 Curries)
a
a
Serves 3 – 4
a
2 tablespoons oil (I used light olive oil)
1 cup finely chopped red onion
6 medium-size cloves garlic, finely chopped
2 teaspoons garam masala
1 cup water
2 tablespoons finely chopped fresh cilantro leaves and tender stems
1 teaspoon coarse kosher salt or sea salt
2 fresh green Thai, cayenne, or serrano chiles, stems removed, cut in half lengthwise (do not remove the seeds)
1 medium-size tomato cored and finely chopped (or 2 canned plum tomatoes finely chopped)
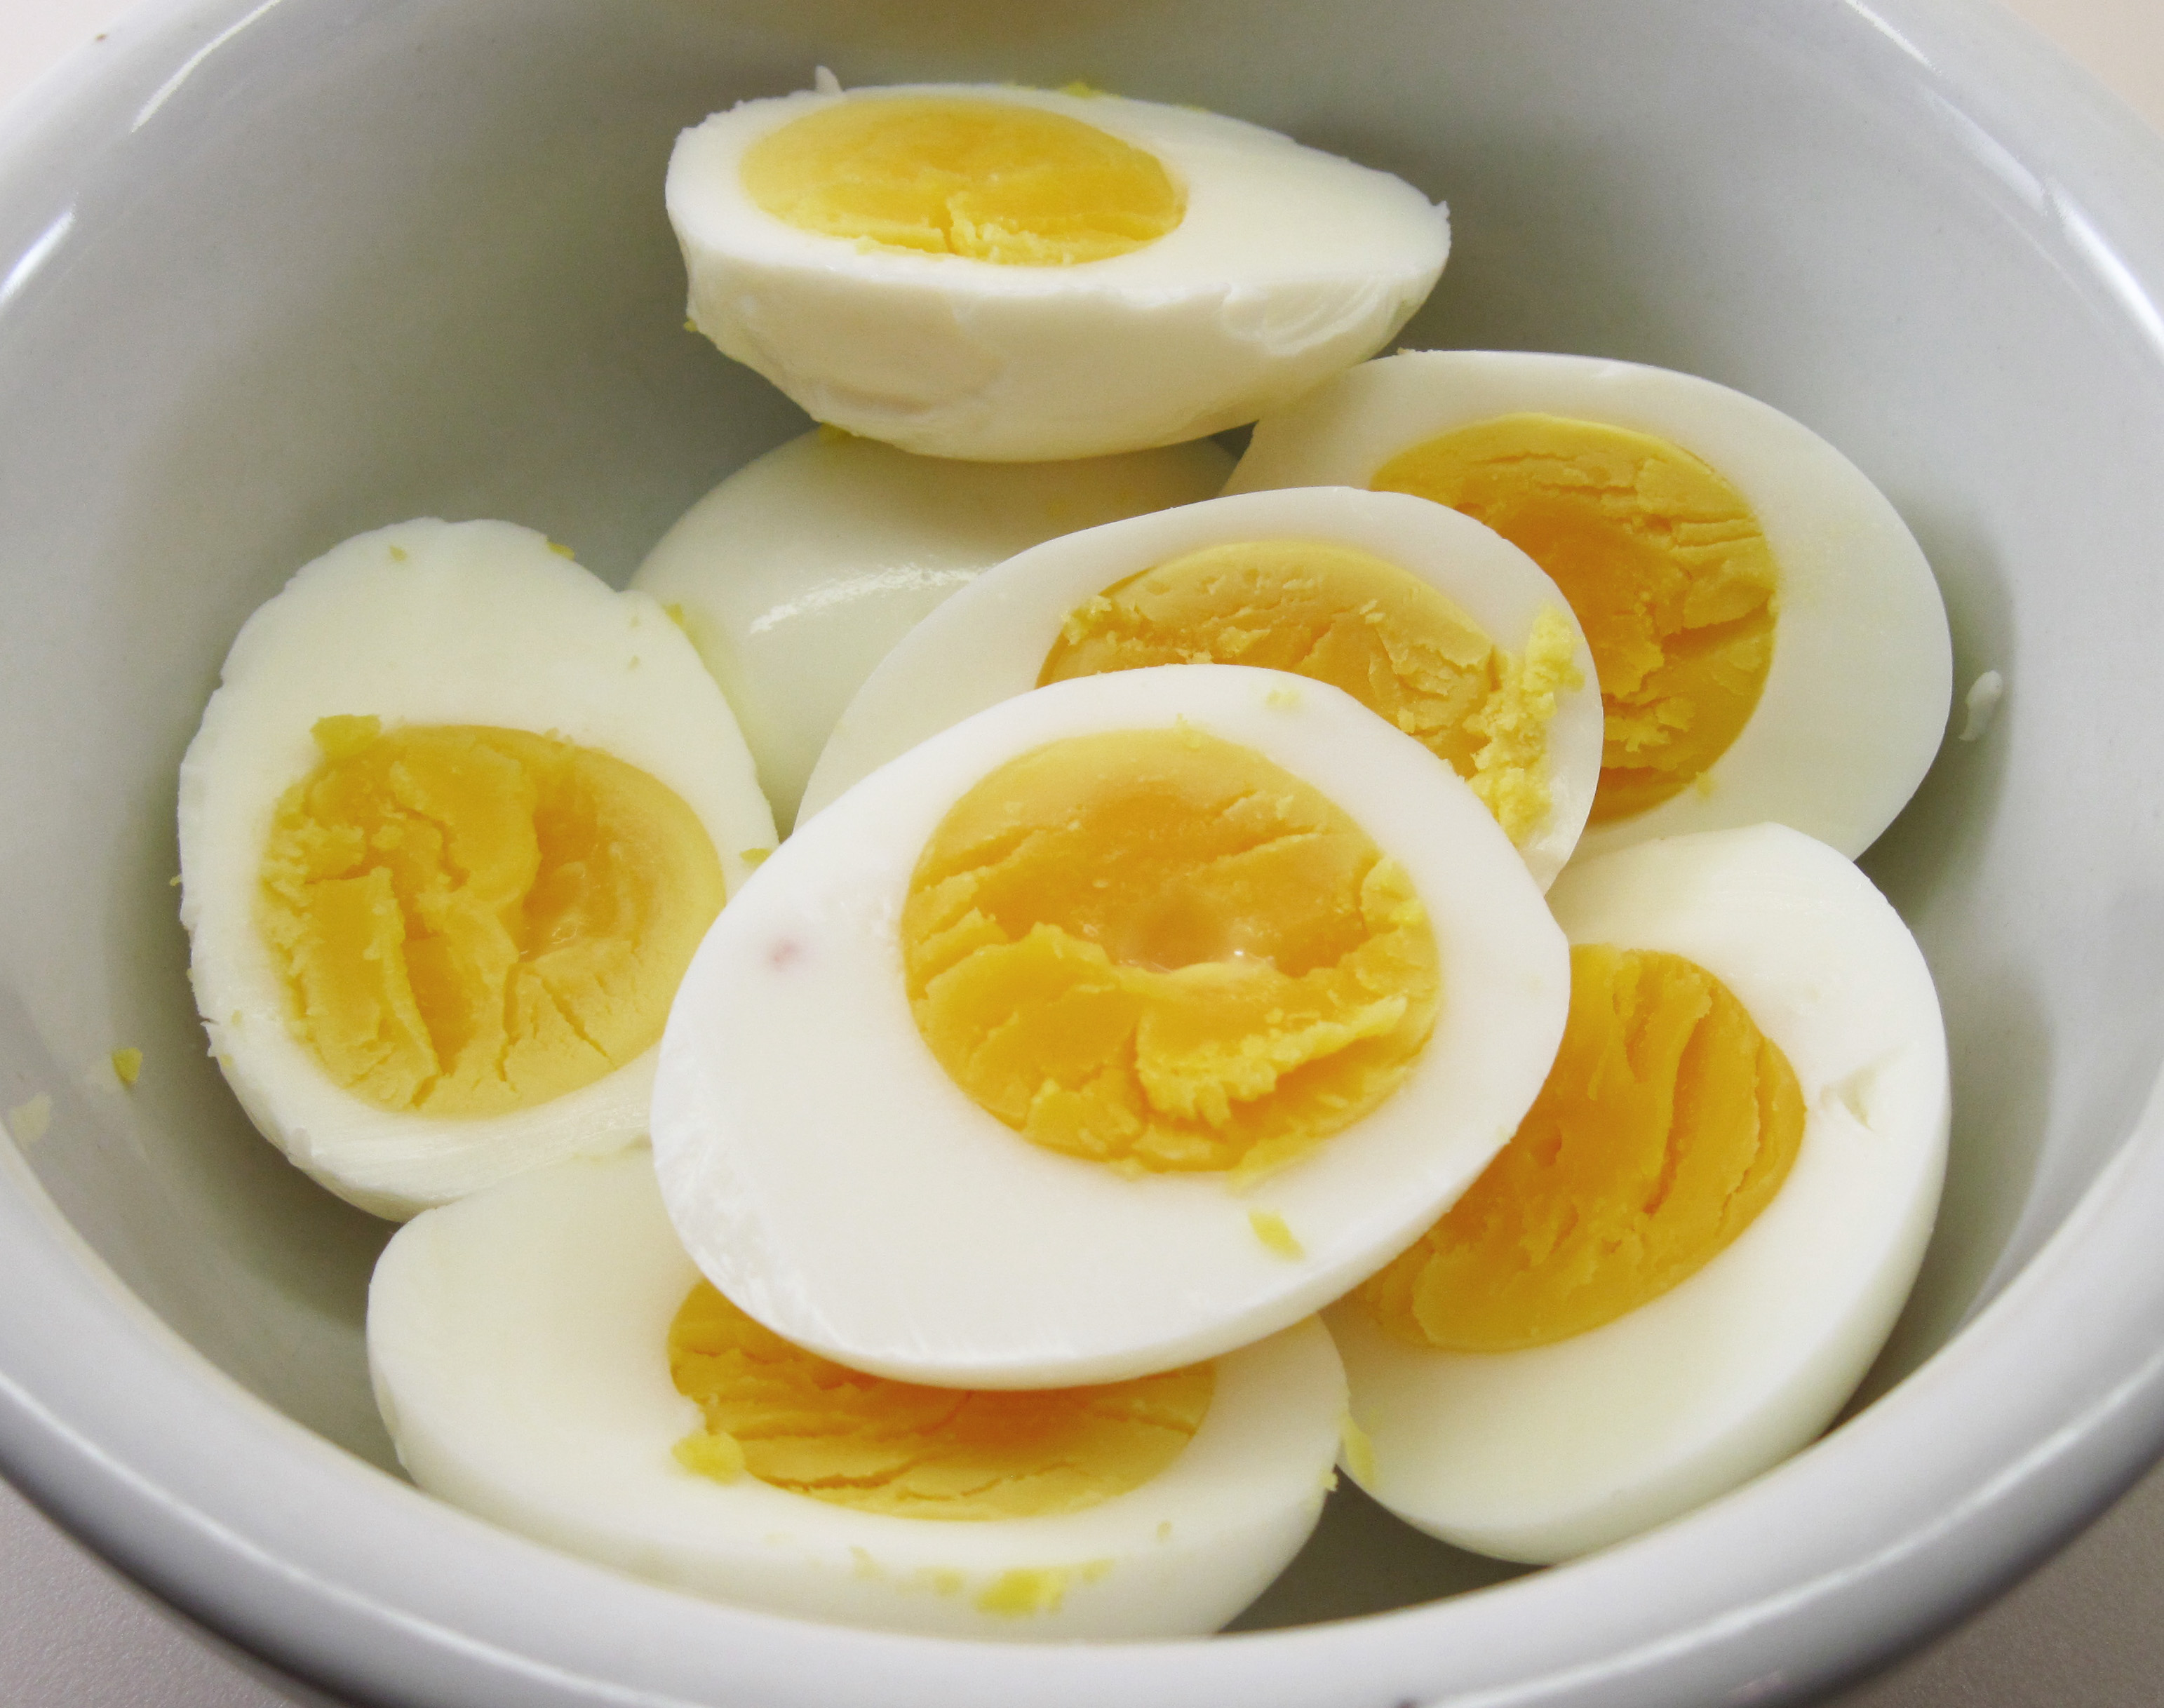
4 hard-cooked eggs, peeled and cut in half lengthwise
a
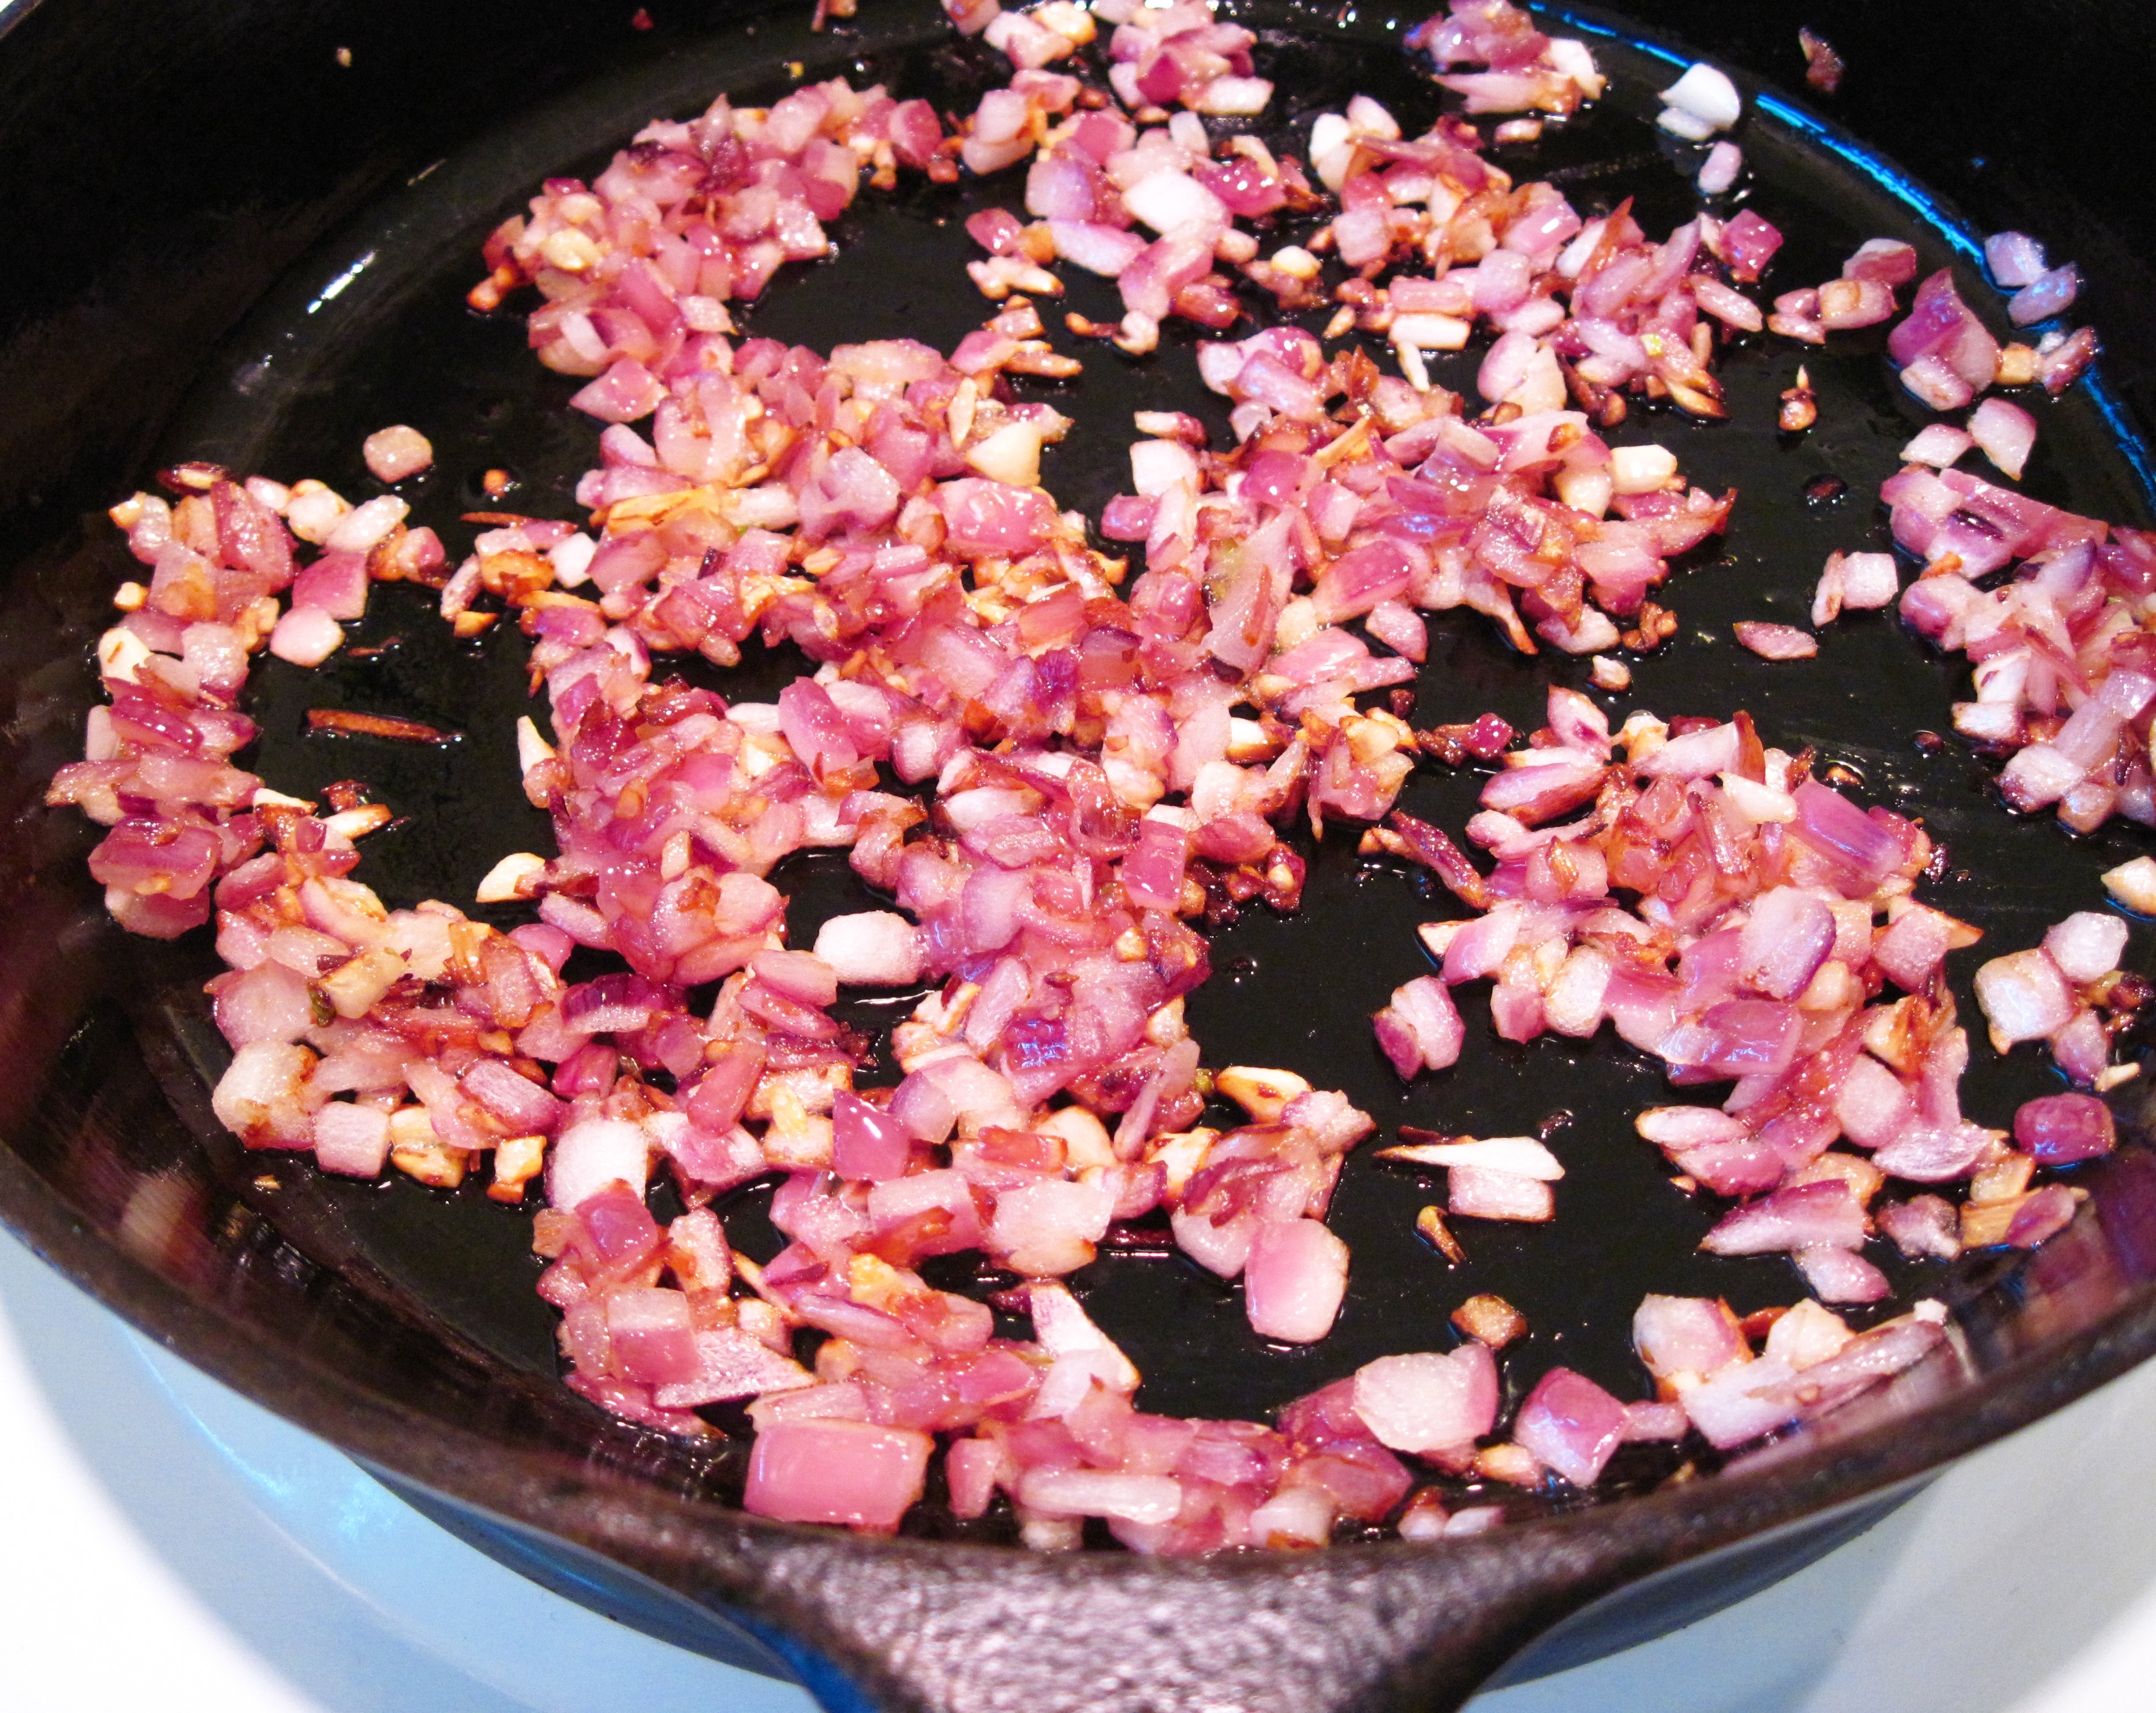
1. Heat the oil in a medium skillet over medium-high heat. Add the onion and garlic and cook, stirring occasionally, for 8 – 10 minutes. The onion should just be starting to brown.
Onion and garlic
a
a
2. Add the garam masala. Cook for about 1 minute.
3. Put all of the onion/garlic mixture and the 1 cup of water into a blender and blend until smooth.
4. Put the sauce back into the skillet and add the cilantro, salt, chiles, and tomatoes. Add the eggs and spoon some of the sauce over them.
a
Tomatoes (2 canned plum tomatoes diced), chiles, and cilantro ready to be added to the pan.

a
5. Simmer the eggs for 5 – 8 minutes, spooning the sauce over them occasionally. The sauce will thicken up a bit.
6. Serve the eggs with the sauce over them. (I served them over steamed rice.)
a

a
Share this:

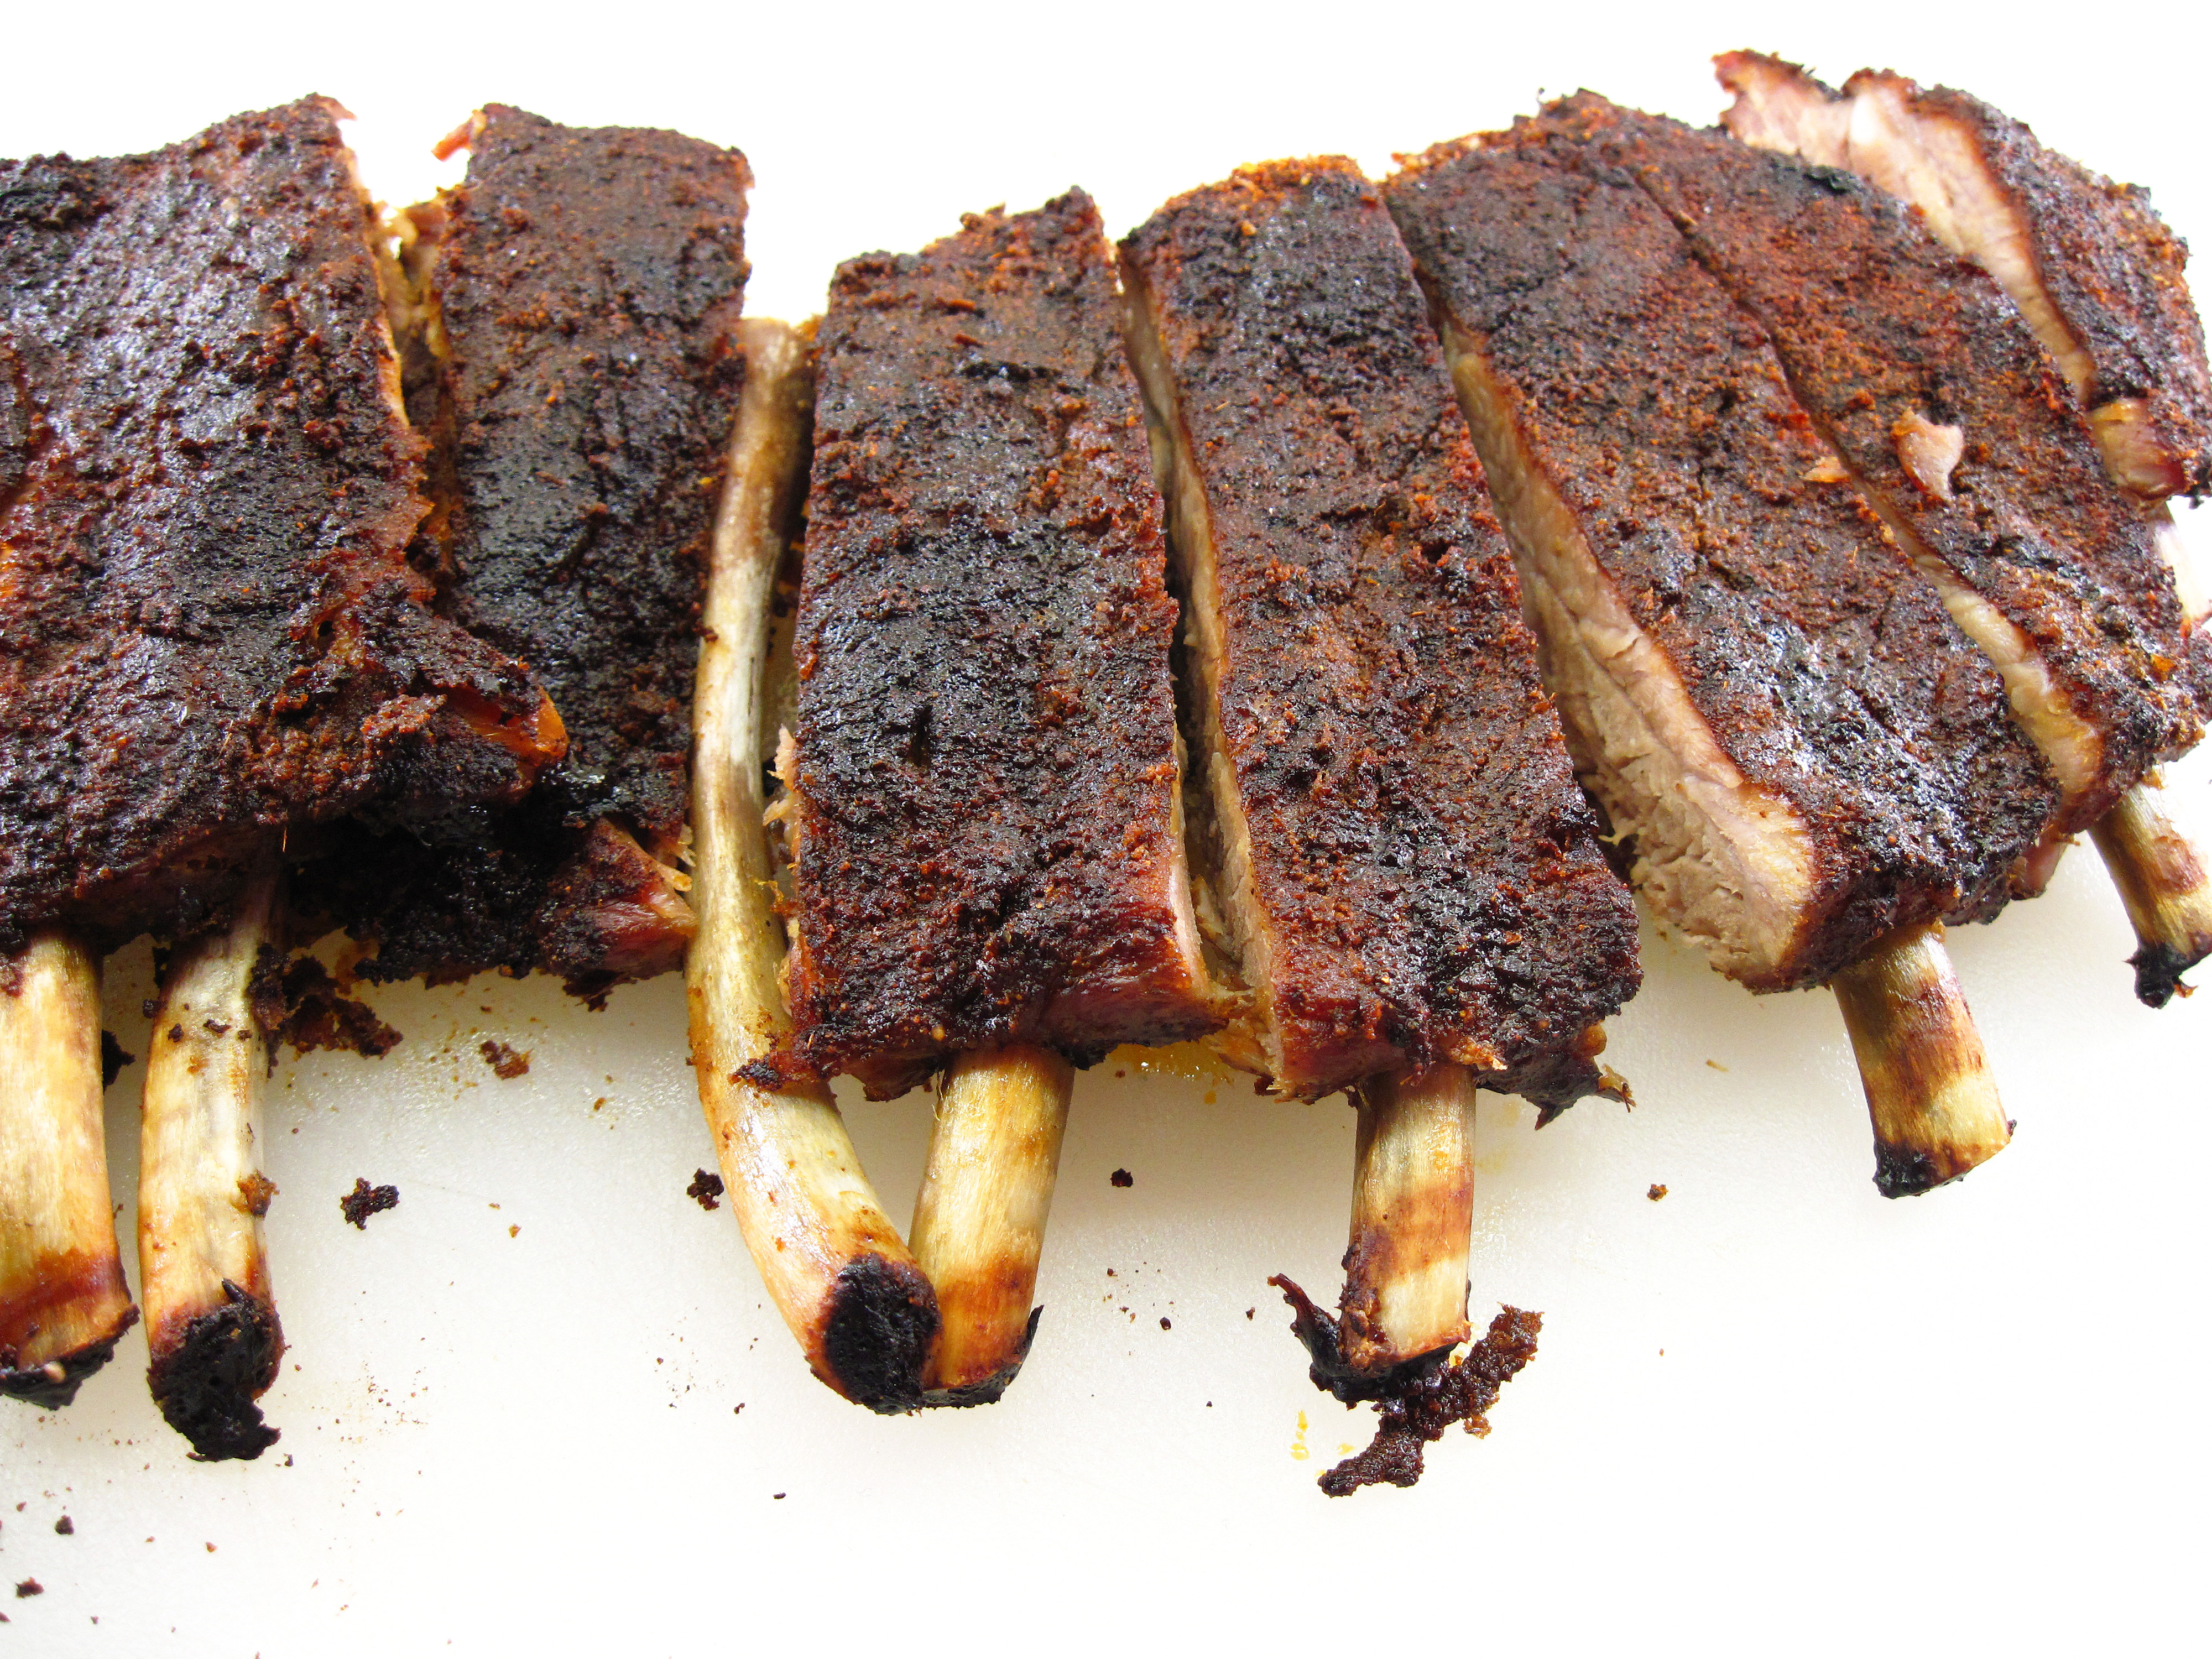
Slow Roasted St. Louis Style Ribs
By Kath Dedon
a
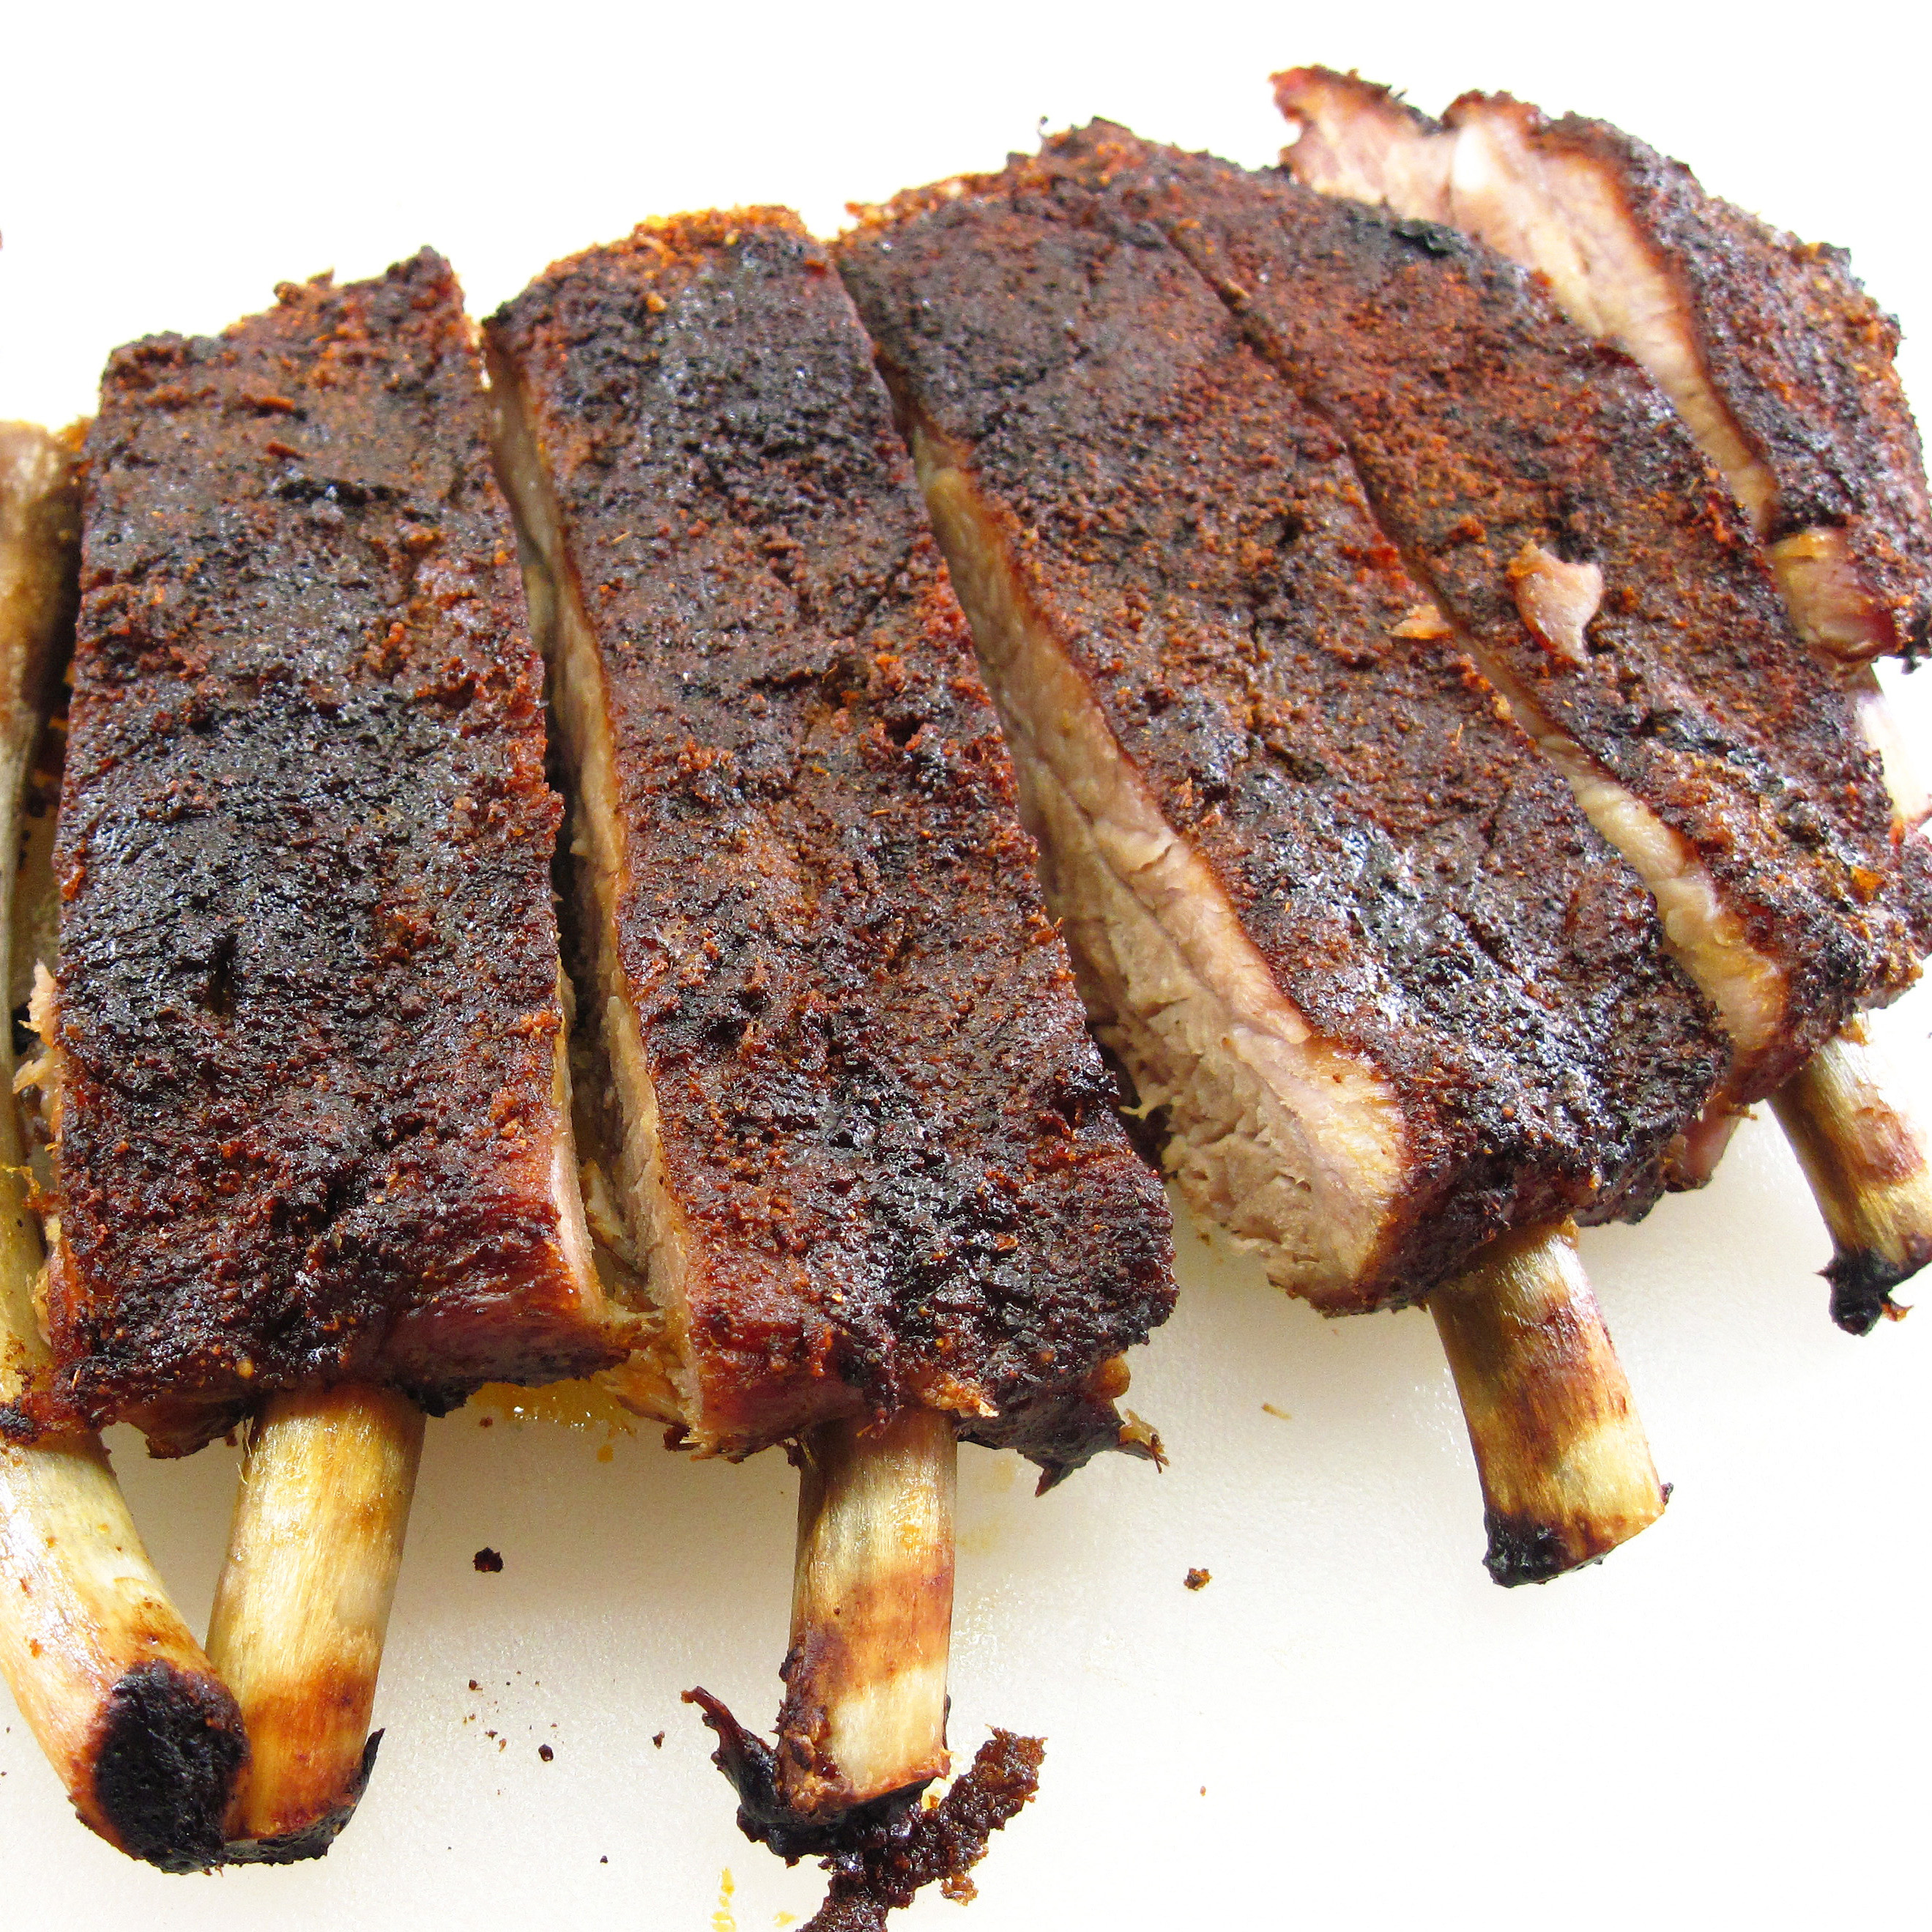
Slow Roasted St. Louis Style Ribs couldn’t be easier! Just use your favorite barbecue rub and roast them on a rimmed baking sheet for 4 hours or so. After helping Byron dig trenches all day, Bob was very happy to dig into these ribs!
The “St. Louis Style” designation refers to the cut of the meat, not the style of preparation. St. Louis Style ribs are spareribs that have been trimmed. They are a bit higher in fat than baby back ribs and are perfect for “slow and low” cooking in a barbecue or in the oven. As they’re cooking, the meat pulls back from one end making convenient “bone handles” for picking up the ribs.
We enjoyed the ribs with just the flavorful Southern Barbecue Rub. If you prefer saucy ribs, just brush the ribs with your favorite barbecue sauce when the ribs are done and roast them for about 20 more minutes.
If you have a free afternoon to turn the rack of ribs a couple of times, give Slow Roasted St. Louis Style Ribs a try!
a
a
Slow Roasted St. Louis Style Ribs
(Adapted from a recipe in Mark Bittman’s How to Cook Everything the Basics)
a
a
Serves 3 – 4
a
One 3 – 4 pound rack of St. Louis Style Ribs
Your favorite barbecue rub (I used Southern Barbecue Rub*)
a
1. Preheat the oven to 250˚.
2. Remove the membrane from the back of the ribs. This is easily done by loosening an end with a knife and then grabbing the piece with a clean paper towel and pulling it off.
Bad photo, but you get the idea.

a
3. Place the ribs on a large rimmed baking sheet. Rub a generous amount of the barbecue rub on both sides of the rack.
4. With the ribs bone-side down, put the baking sheet in the preheated oven and roast for 2 hours.
5. Turn the ribs over and roast for another hour.
6. Turn the ribs over so they are again bone-side down and roast for one more hour, or until the ribs are fork-tender and practically falling off the bone. (Total roasting time will be 4 – 4½ hours.)
7. Cut the ribs into serving pieces and enjoy!
a
*Southern Barbecue Rub
(Adapted from a recipe in Joy of Cooking)
a
¼ cup sweet paprika (You could use smoked paprika instead.)
2 tablespoons chili powder
1 tablespoon cayenne pepper
1 tablespoon ground cumin
2 tablespoons salt
2 tablespoons ground pepper
2 tablespoons brown sugar (optional)
a
Combine all ingredients in a small bowl. The rub can be used with pork or beef.
a
a
Share this:

Lamb Neck Stew
By Kath Dedon
a
This Lamb Neck Stew turned out even better than I expected! It was Comfort Food Supreme for a chilly February night. It made two generous servings, but I saved a tiny bit that I savored for breakfast the next morning.
I know one of the reasons it was so good is because I used top-quality lamb, a gift from our good friends in California. Mike and Liz raise sheep on their Southern Cross Ranch. Their lamb is, without a doubt, the best I have ever tasted! The last time we visited, they generously sent us home with a few pieces to put in our freezer!
One of the pieces was lamb neck. I had never seen lamb neck in the store* and I didn’t really know how to prepare it. Searching the Internet, I learned that lamb neck is well suited for slow braising, making it perfect for stew.
I found a recipe from a woman in Australia for Lamb Neck Stew. Mike is Australian, so this seemed like a fitting recipe for his lamb!
a
* (3/6/13) I looked at my local Safeway today and, lo and behold, they had lamb neck! I will be making Lamb Neck Stew again, and probably soon! 🙂
a
I didn’t plan to blog this one, so I just snapped some quick iPhone photos which don’t do it justice. It was so tasty, though; I just had to share!

a
Lamb Neck Stew
(Adapted from a recipe from “Shiho” on allrecipes.com.au)
a
If you can’t find lamb neck, you could try substituting lamb shanks or a shoulder cut.
a
a
Generously serves 2
a
1 tablespoon olive oil
1 pound lamb neck
3 tablespoons flour (or potato starch flour for gluten free)
½ medium yellow onion (about 4 ounces), quartered
1 large carrot (about 5 ounces), sliced
10 ounces fingerling potatoes, with skin, cut in smaller pieces
Salt and pepper, to taste
2⅓ cups chicken broth
2 teaspoons Worcestershire sauce
6 sprigs thyme
a
1. Heat the oil in a large pot over medium heat.
2. Dust the lamb neck with the flour and cook it in the hot oil until it is lightly browned. Remove the meat from the pot.
3. Add the onion to the pot and cook, stirring, for 3 – 4 minutes until it is starting to soften.
4. Add the carrot and potatoes. Season with a bit of salt and pepper. Stir and cook for an additional minute or two.
5. Stir the Worcestershire sauce into the chicken broth and pour into the pot. Add the thyme and stir.
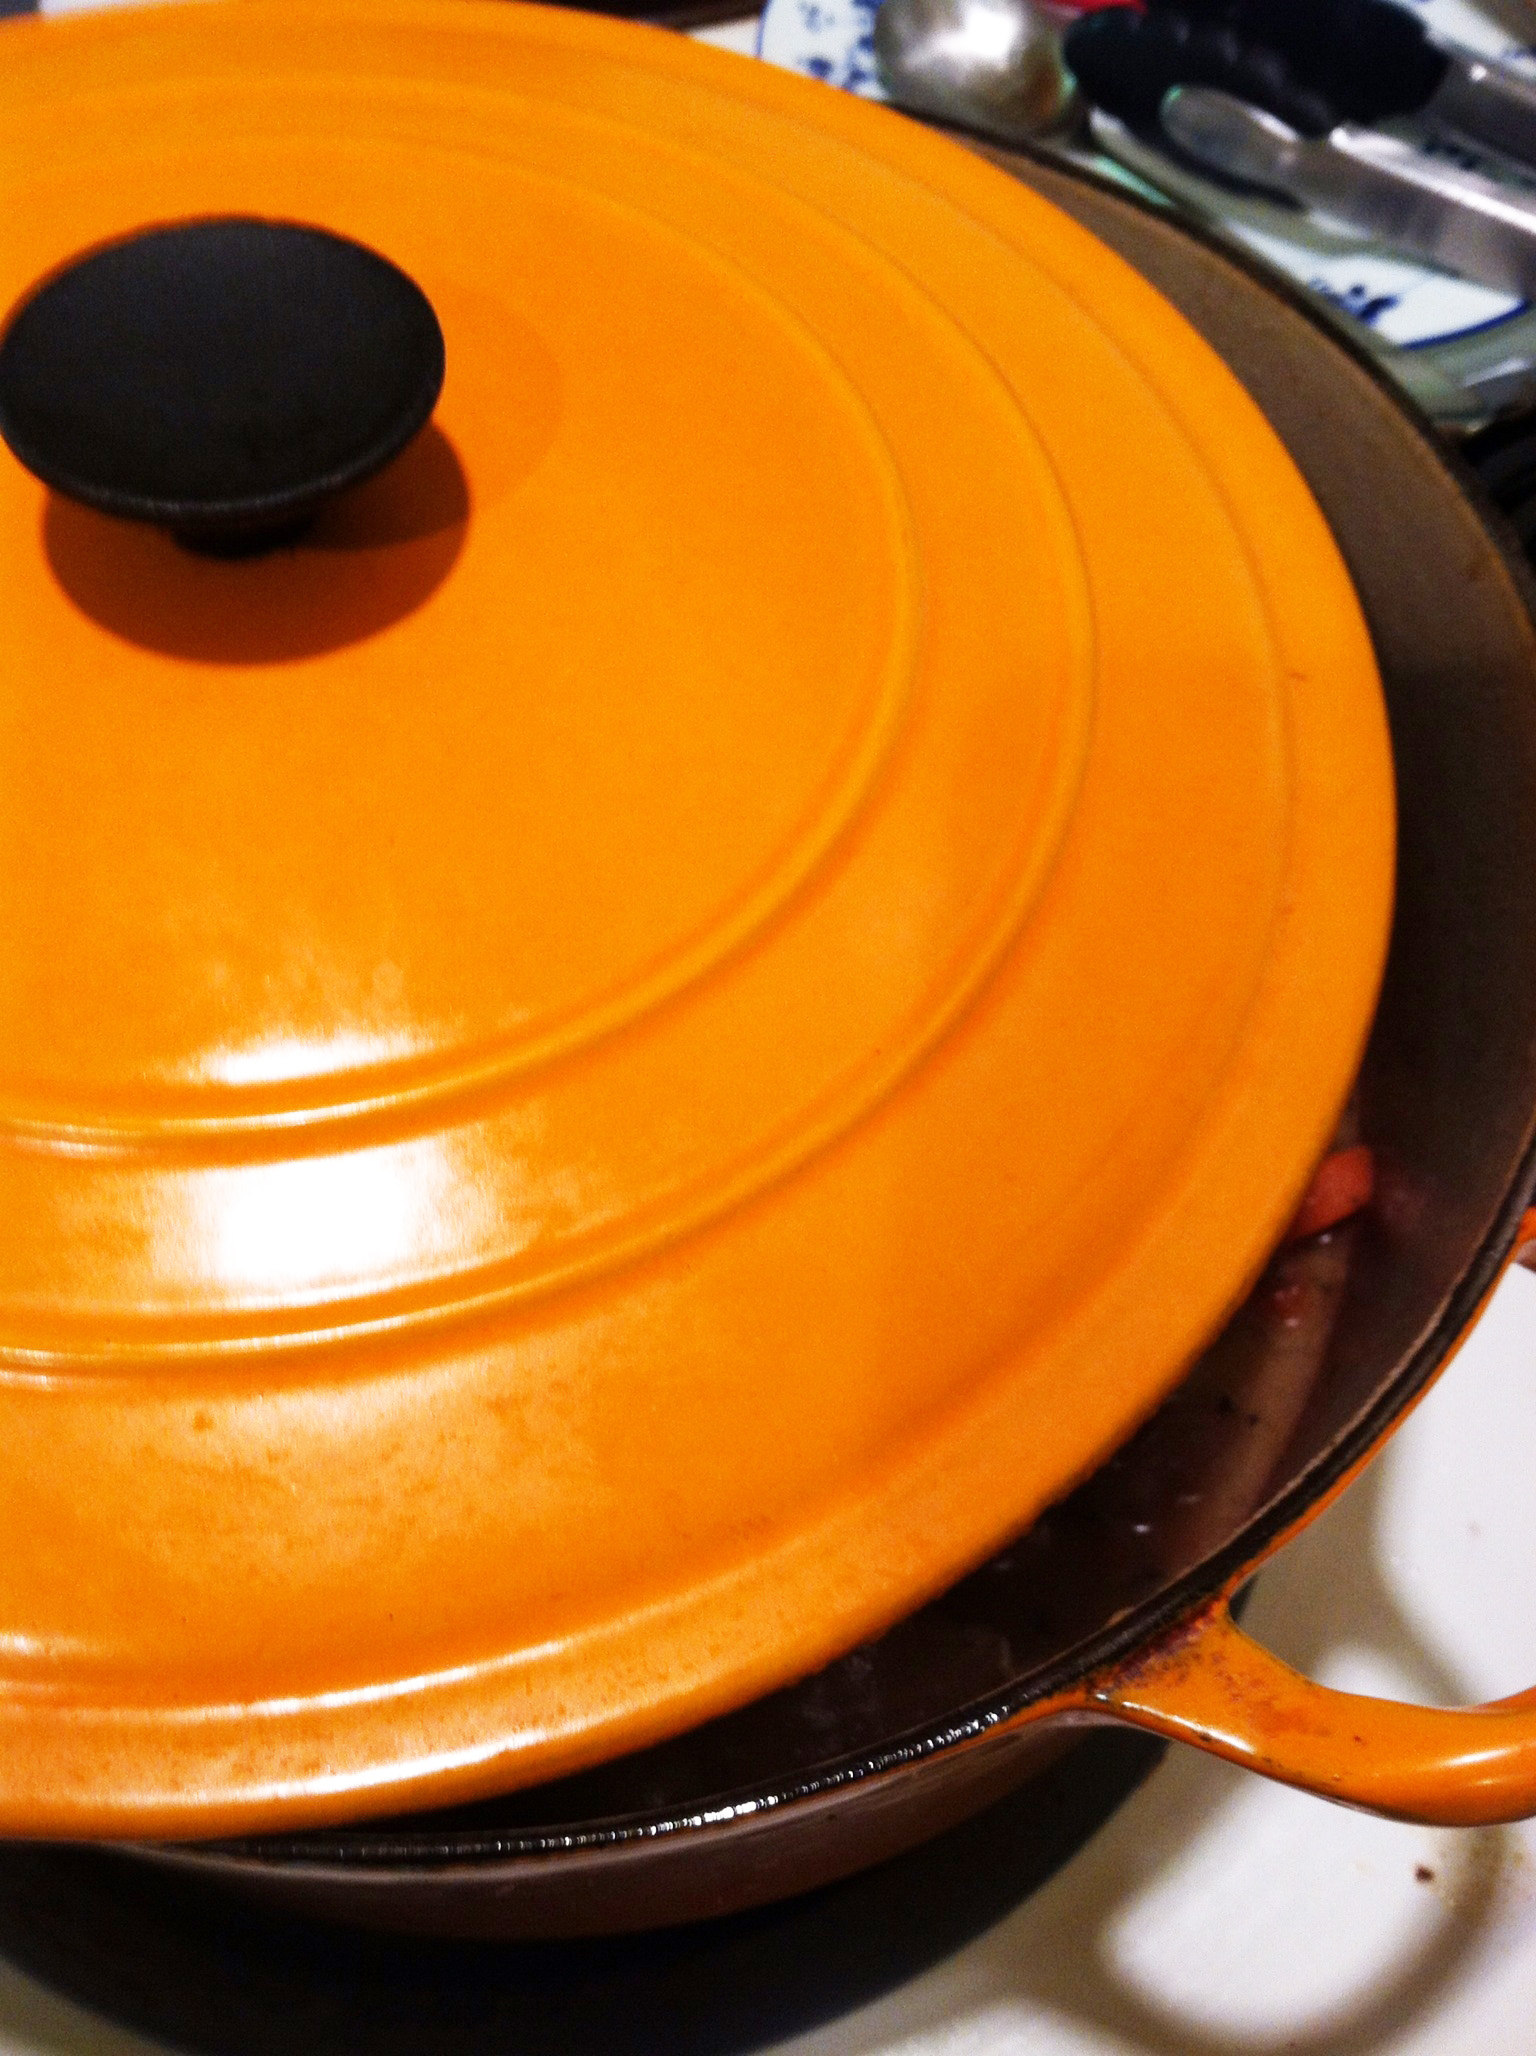
6. Put the lamb back into the pot, cover, and simmer over very low heat for about 2½ hours or until the meat is very tender. (I had to set my stove to the lowest heat possible to keep the stew at a simmer – with just a few gentle bubbles appearing at a slow rate.) I set the cover ajar for the last hour to help the stew thicken.
Simmering

a
Lid set slightly ajar during the last hour or so
a
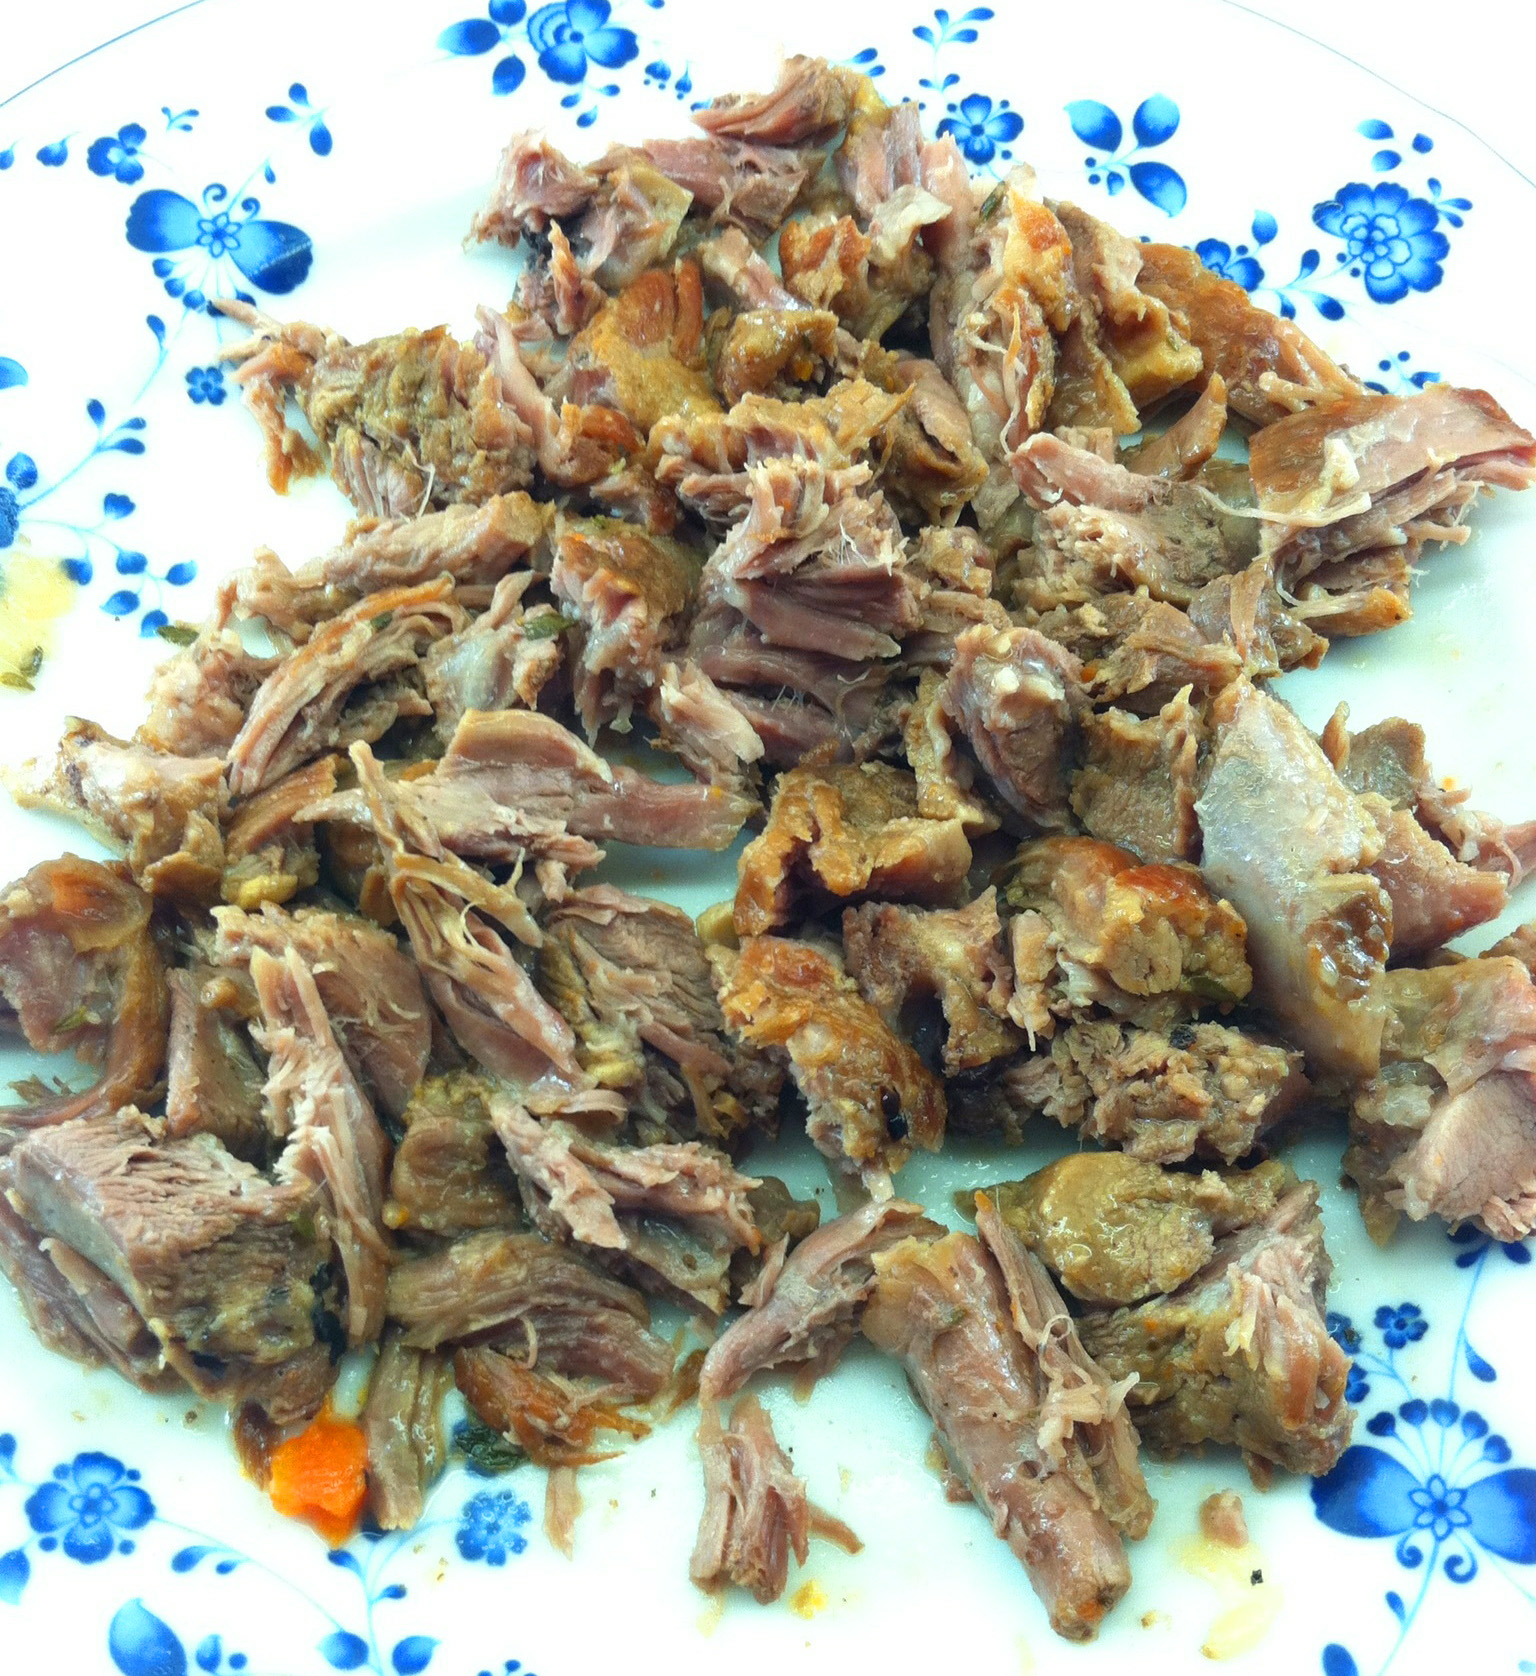
7. When the lamb is tender, take the meat out of the pot and remove the lamb from the bones. Cut, or shred the meat into bite-sized pieces and return to the pot.
a
8. Taste and season with salt and pepper if necessary. Remove the thyme sprigs and serve.

a
Share this:

Easy Roast Salmon Fillets
By Kath Dedon
Christina Orchard has a fabulous recipe in Christina’s Cookbook: Recipes and Stories from a Northwest Island Kitchen that I rarely make. Copper River King Salmon, Seaweed Rice, Shoyu Butter is a bit rich for everyday dining, but it’s a wonderful recipe when I want to impress.
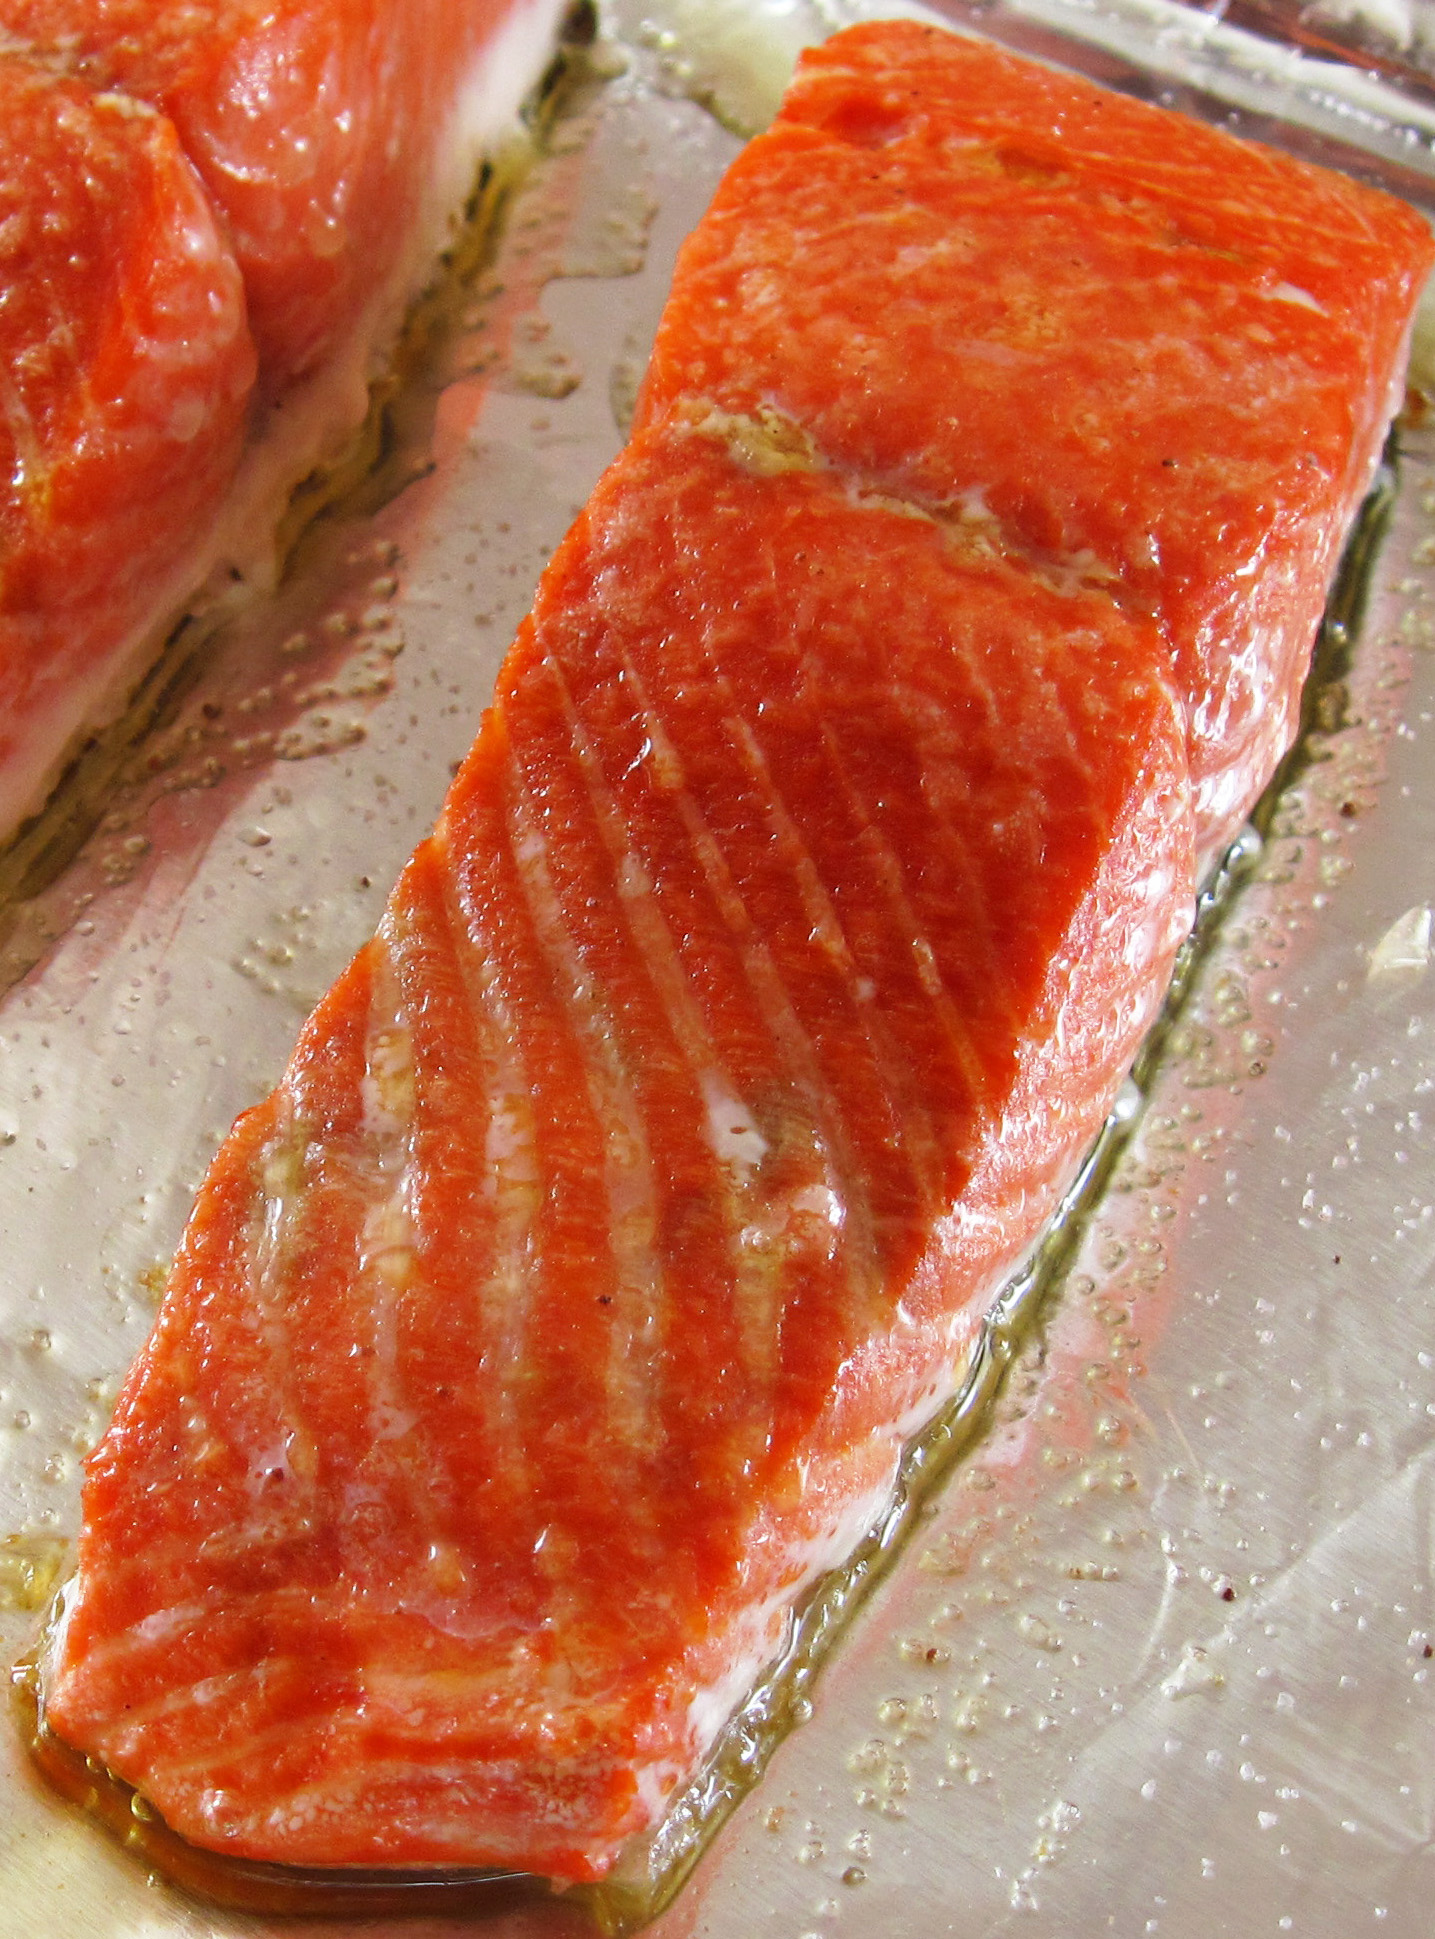
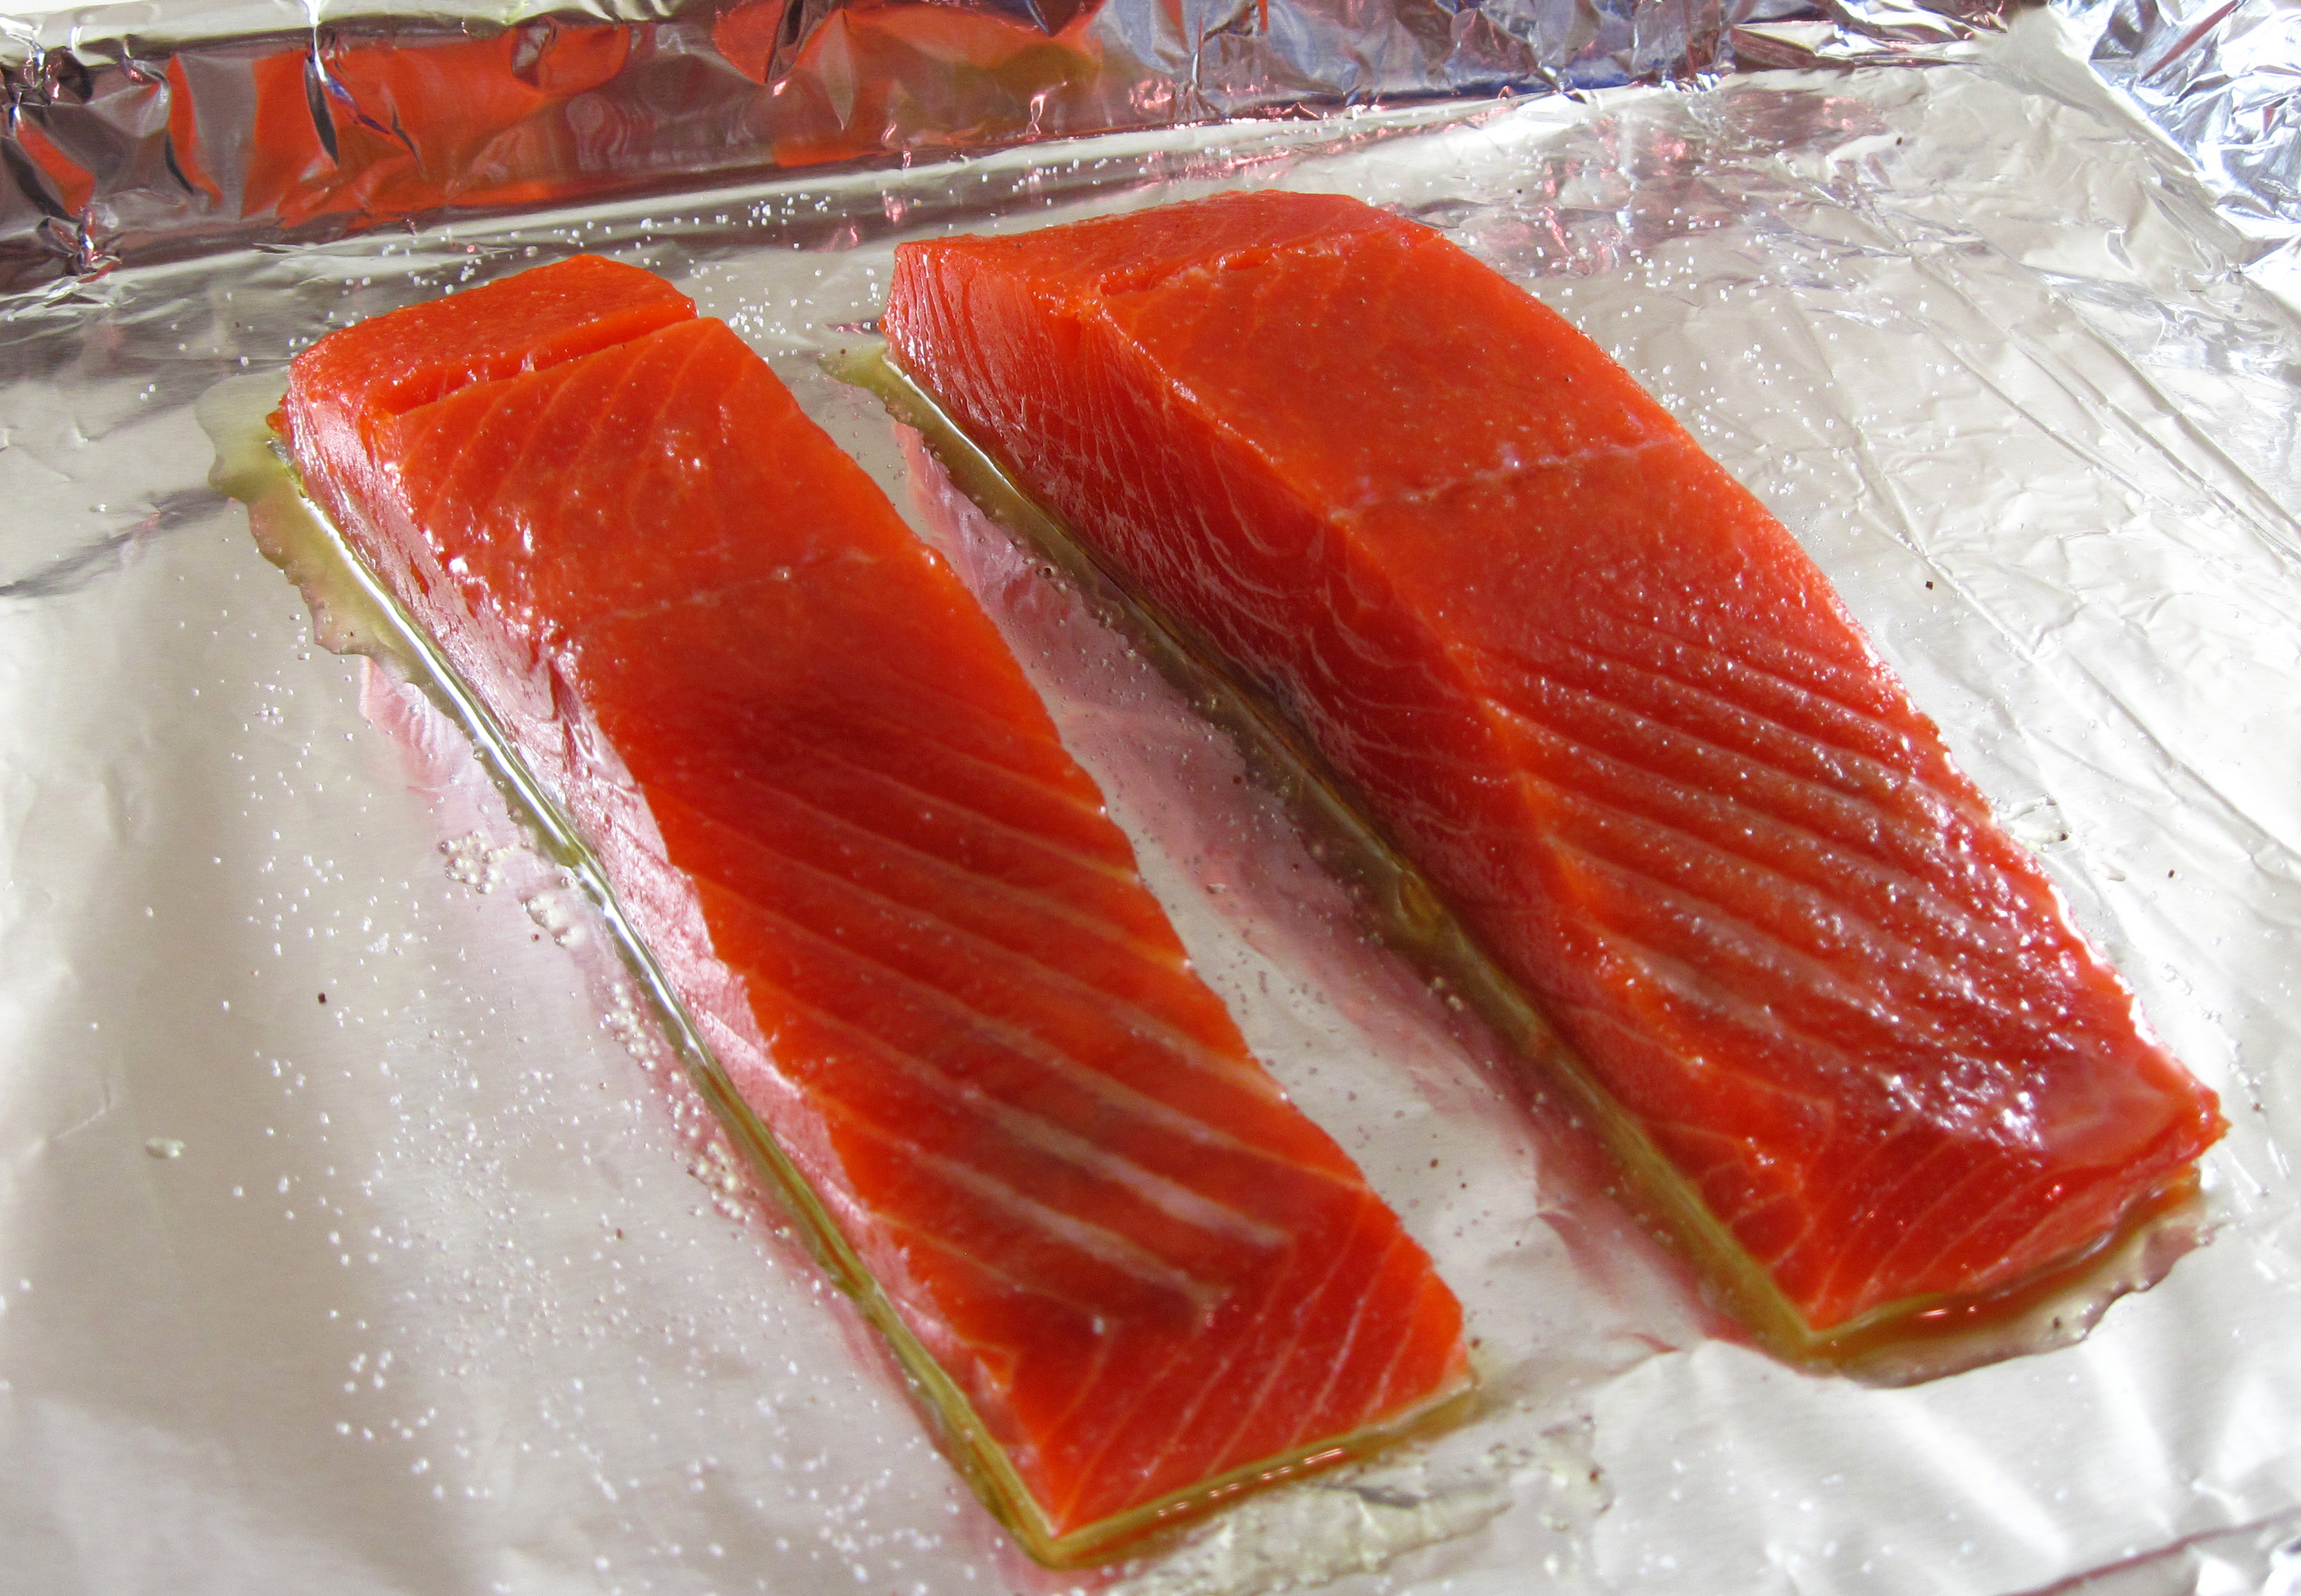
What I do use often, though, is Christina’s extremely simple method for cooking salmon fillets. Brushed with olive oil, sprinkled with salt and roasted in the oven, the salmon comes out perfect every time.
With the Copper River Salmon still three months away, I used previously frozen, wild sockeye salmon and it was a fine mid-winter weeknight dinner.
If you’re nervous about cooking salmon, try this easy method. It’s hard to go wrong with it.
a
a
Easy Roast Salmon Fillets
(Adapted from a Christina Orchard recipe in Christina’s Cookbook)
a
a
Serves 2
a
10 – 12 ounce salmon fillet, cut into 2 pieces
2 teaspoons olive oil
Salt
a
1. Preheat the oven to 400˚.
2. Line a rimmed baking sheet with foil and place the salmon, skin-side down, on the foil. If desired, use tweezers to remove the pin bones.
3. Brush the salmon with a bit of olive oil and sprinkle with a bit of salt.
4. Roast for 8 – 10 minutes, until firm to the touch.

Share this:

Boiled Lobster Tails
By Kath Dedon
a
I had never cooked lobster tails before last night. Maybe it’s because they are not a local seafood. We live in “crab land”. Dungeness crabs are bountiful in the Pacific Northwest, so they are the shellfish we most often enjoy. But this week I noticed that one of our upscale markets was featuring lobster tails for Valentine’s Day so I decided to make Boiled Lobster Tails as part of my “Surf and Turf” dinner for Bob.
Surfing the Internet, I found all kinds of ways to prepare them, including grilling, roasting, steaming, baking, and boiling. I found an excellent video about how to butterfly them. I found a site that gave several methods of cooking and it also recommended putting a skewer through the tails to keep them straight, regardless of your cooking method. In the end, I chose this simple method from Better Homes and Gardens for boiling the lobster tails. I figured it would give me the pure lobster flavor I wanted with no danger of drying out the meat.
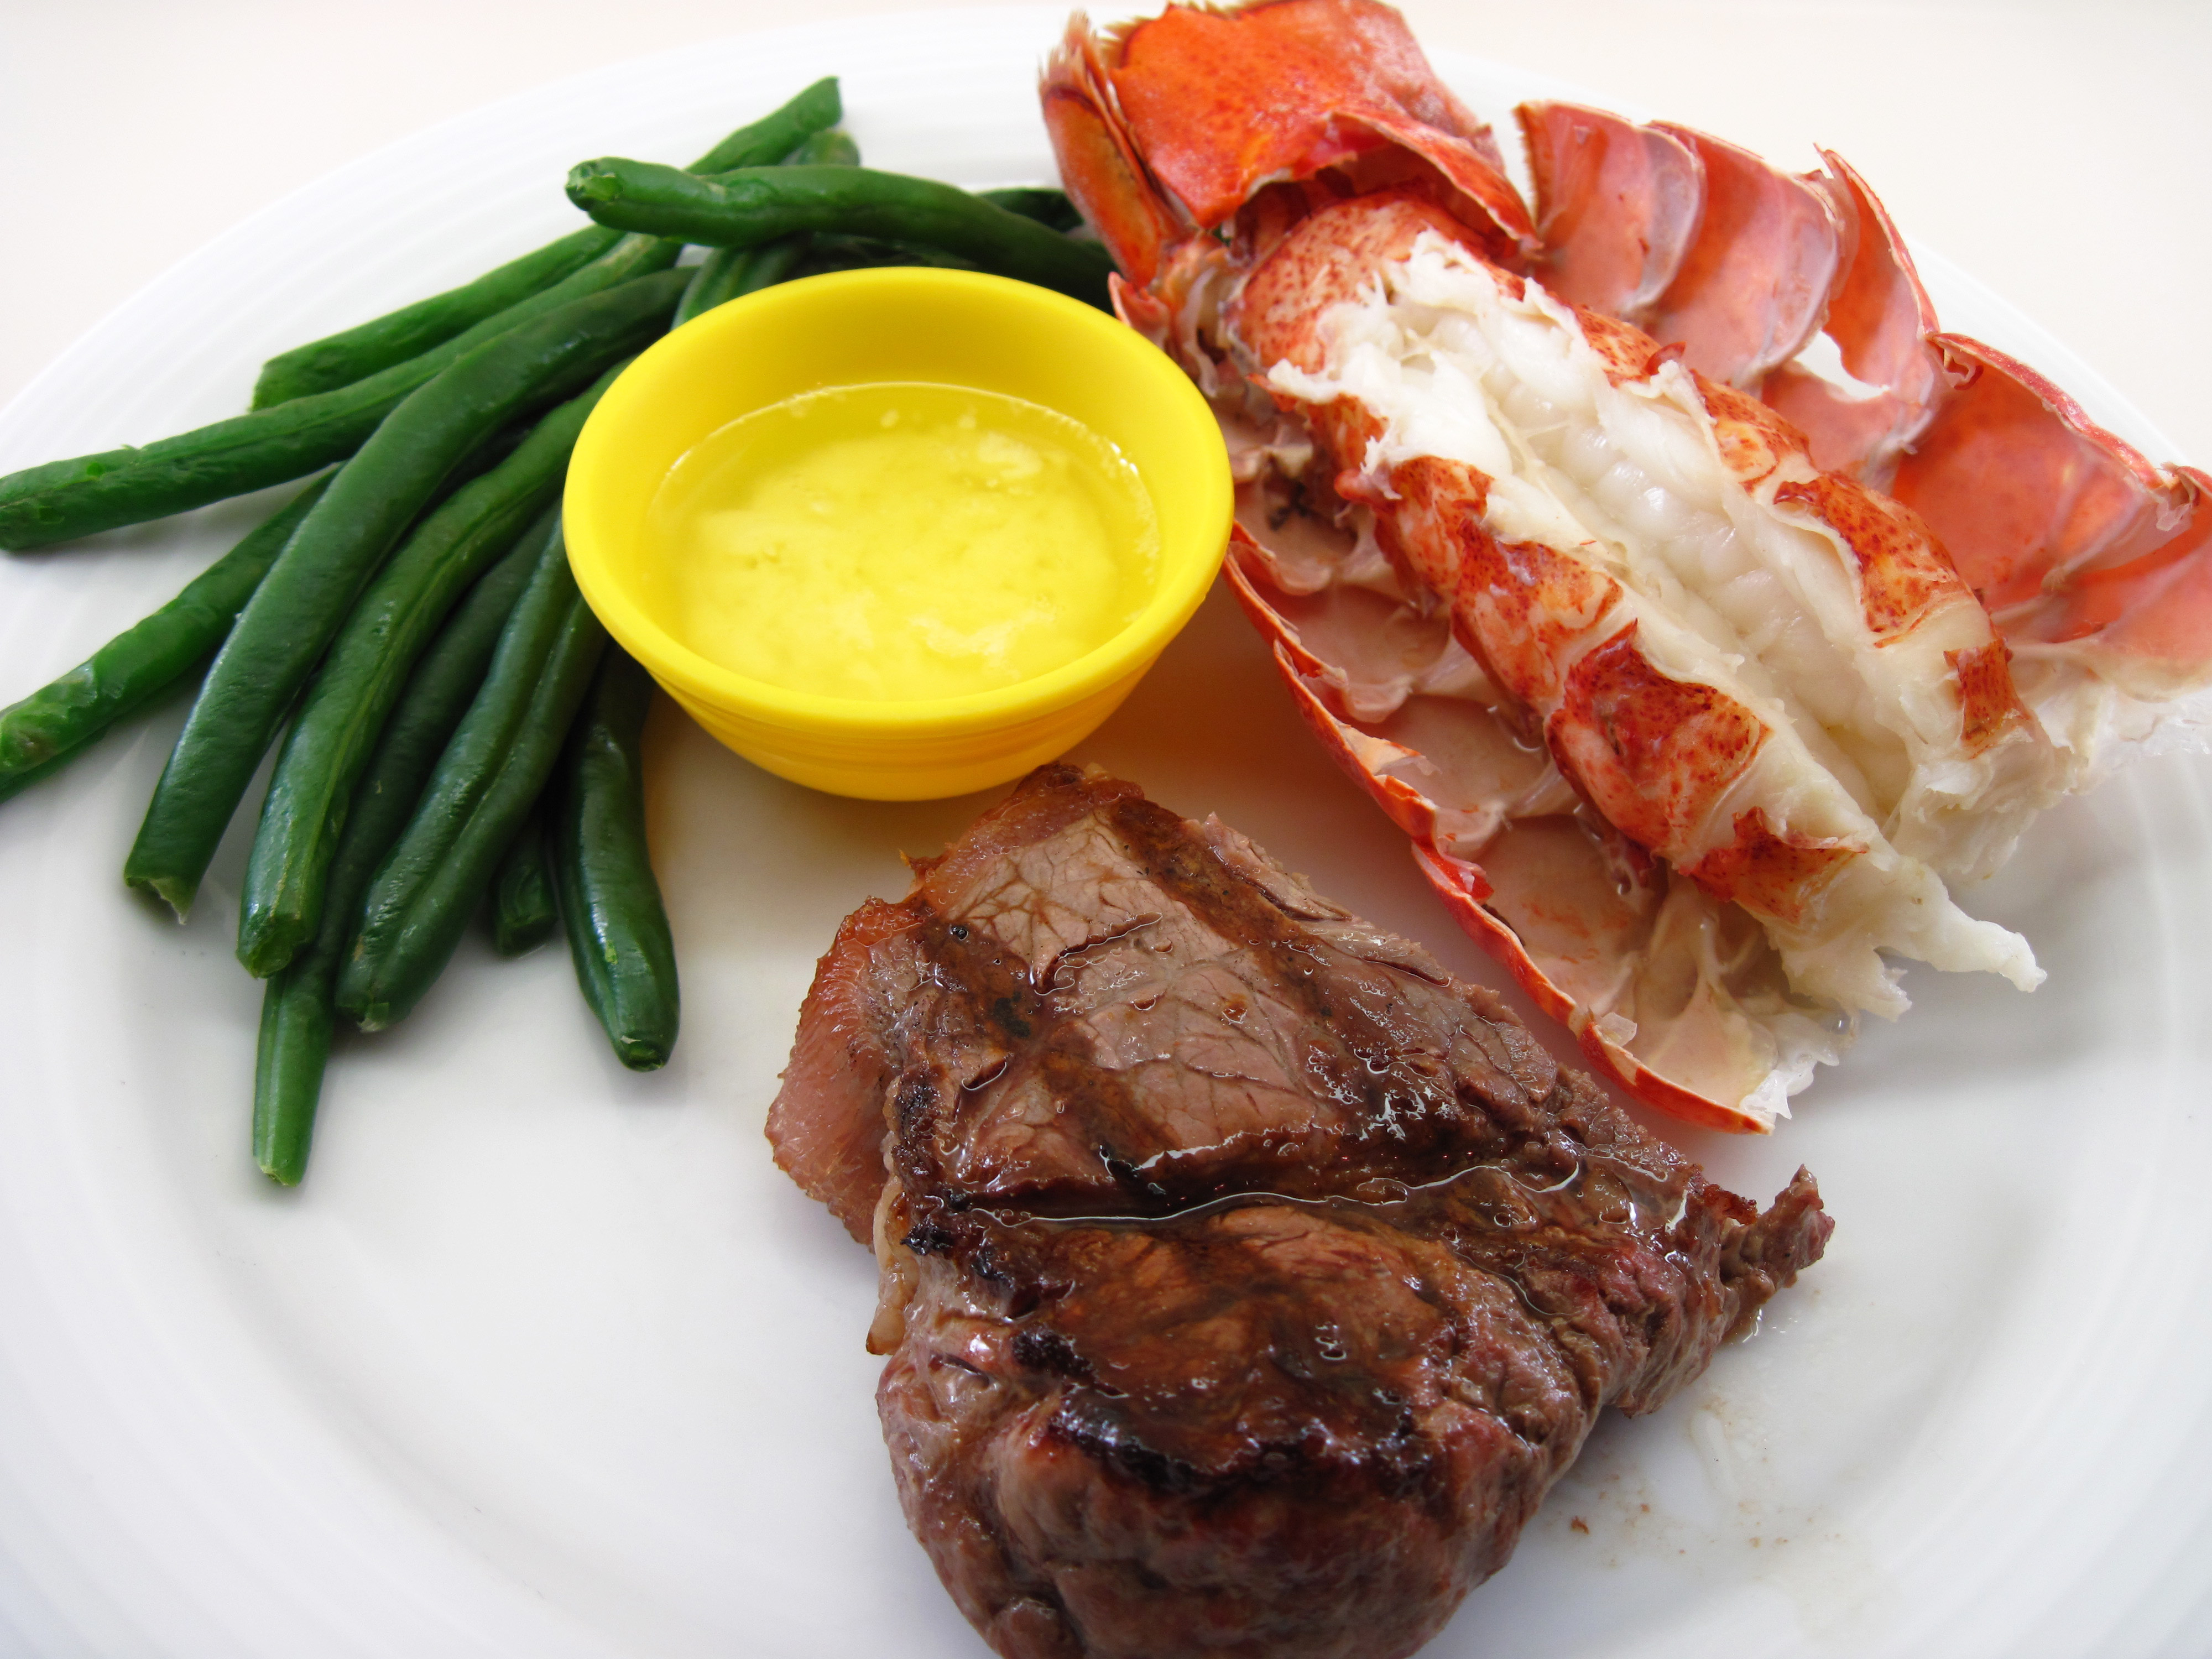
I loved this simple preparation! The Boiled Lobster Tails, served with a grilled steak, green beans, and a salad made our Valentine’s Day dinner feel quite special. But there’s no reason you can’t make Surf and Turf any day of the year for your honey!
a

a
Boiled Lobster Tails
(Adapted from a Better Homes and Gardens recipe)
a
a
Serves 2
a
2 lobster tails (5 – 8 ounces each)
1½ teaspoons salt
Melted butter (optional, for serving)
a
2 for $12.98. Not bad!

a
1. Bring 6 cups of water to boil in a 3-quart pot.
2. Run a wooden skewer through each lobster tail lengthwise to keep them straight.
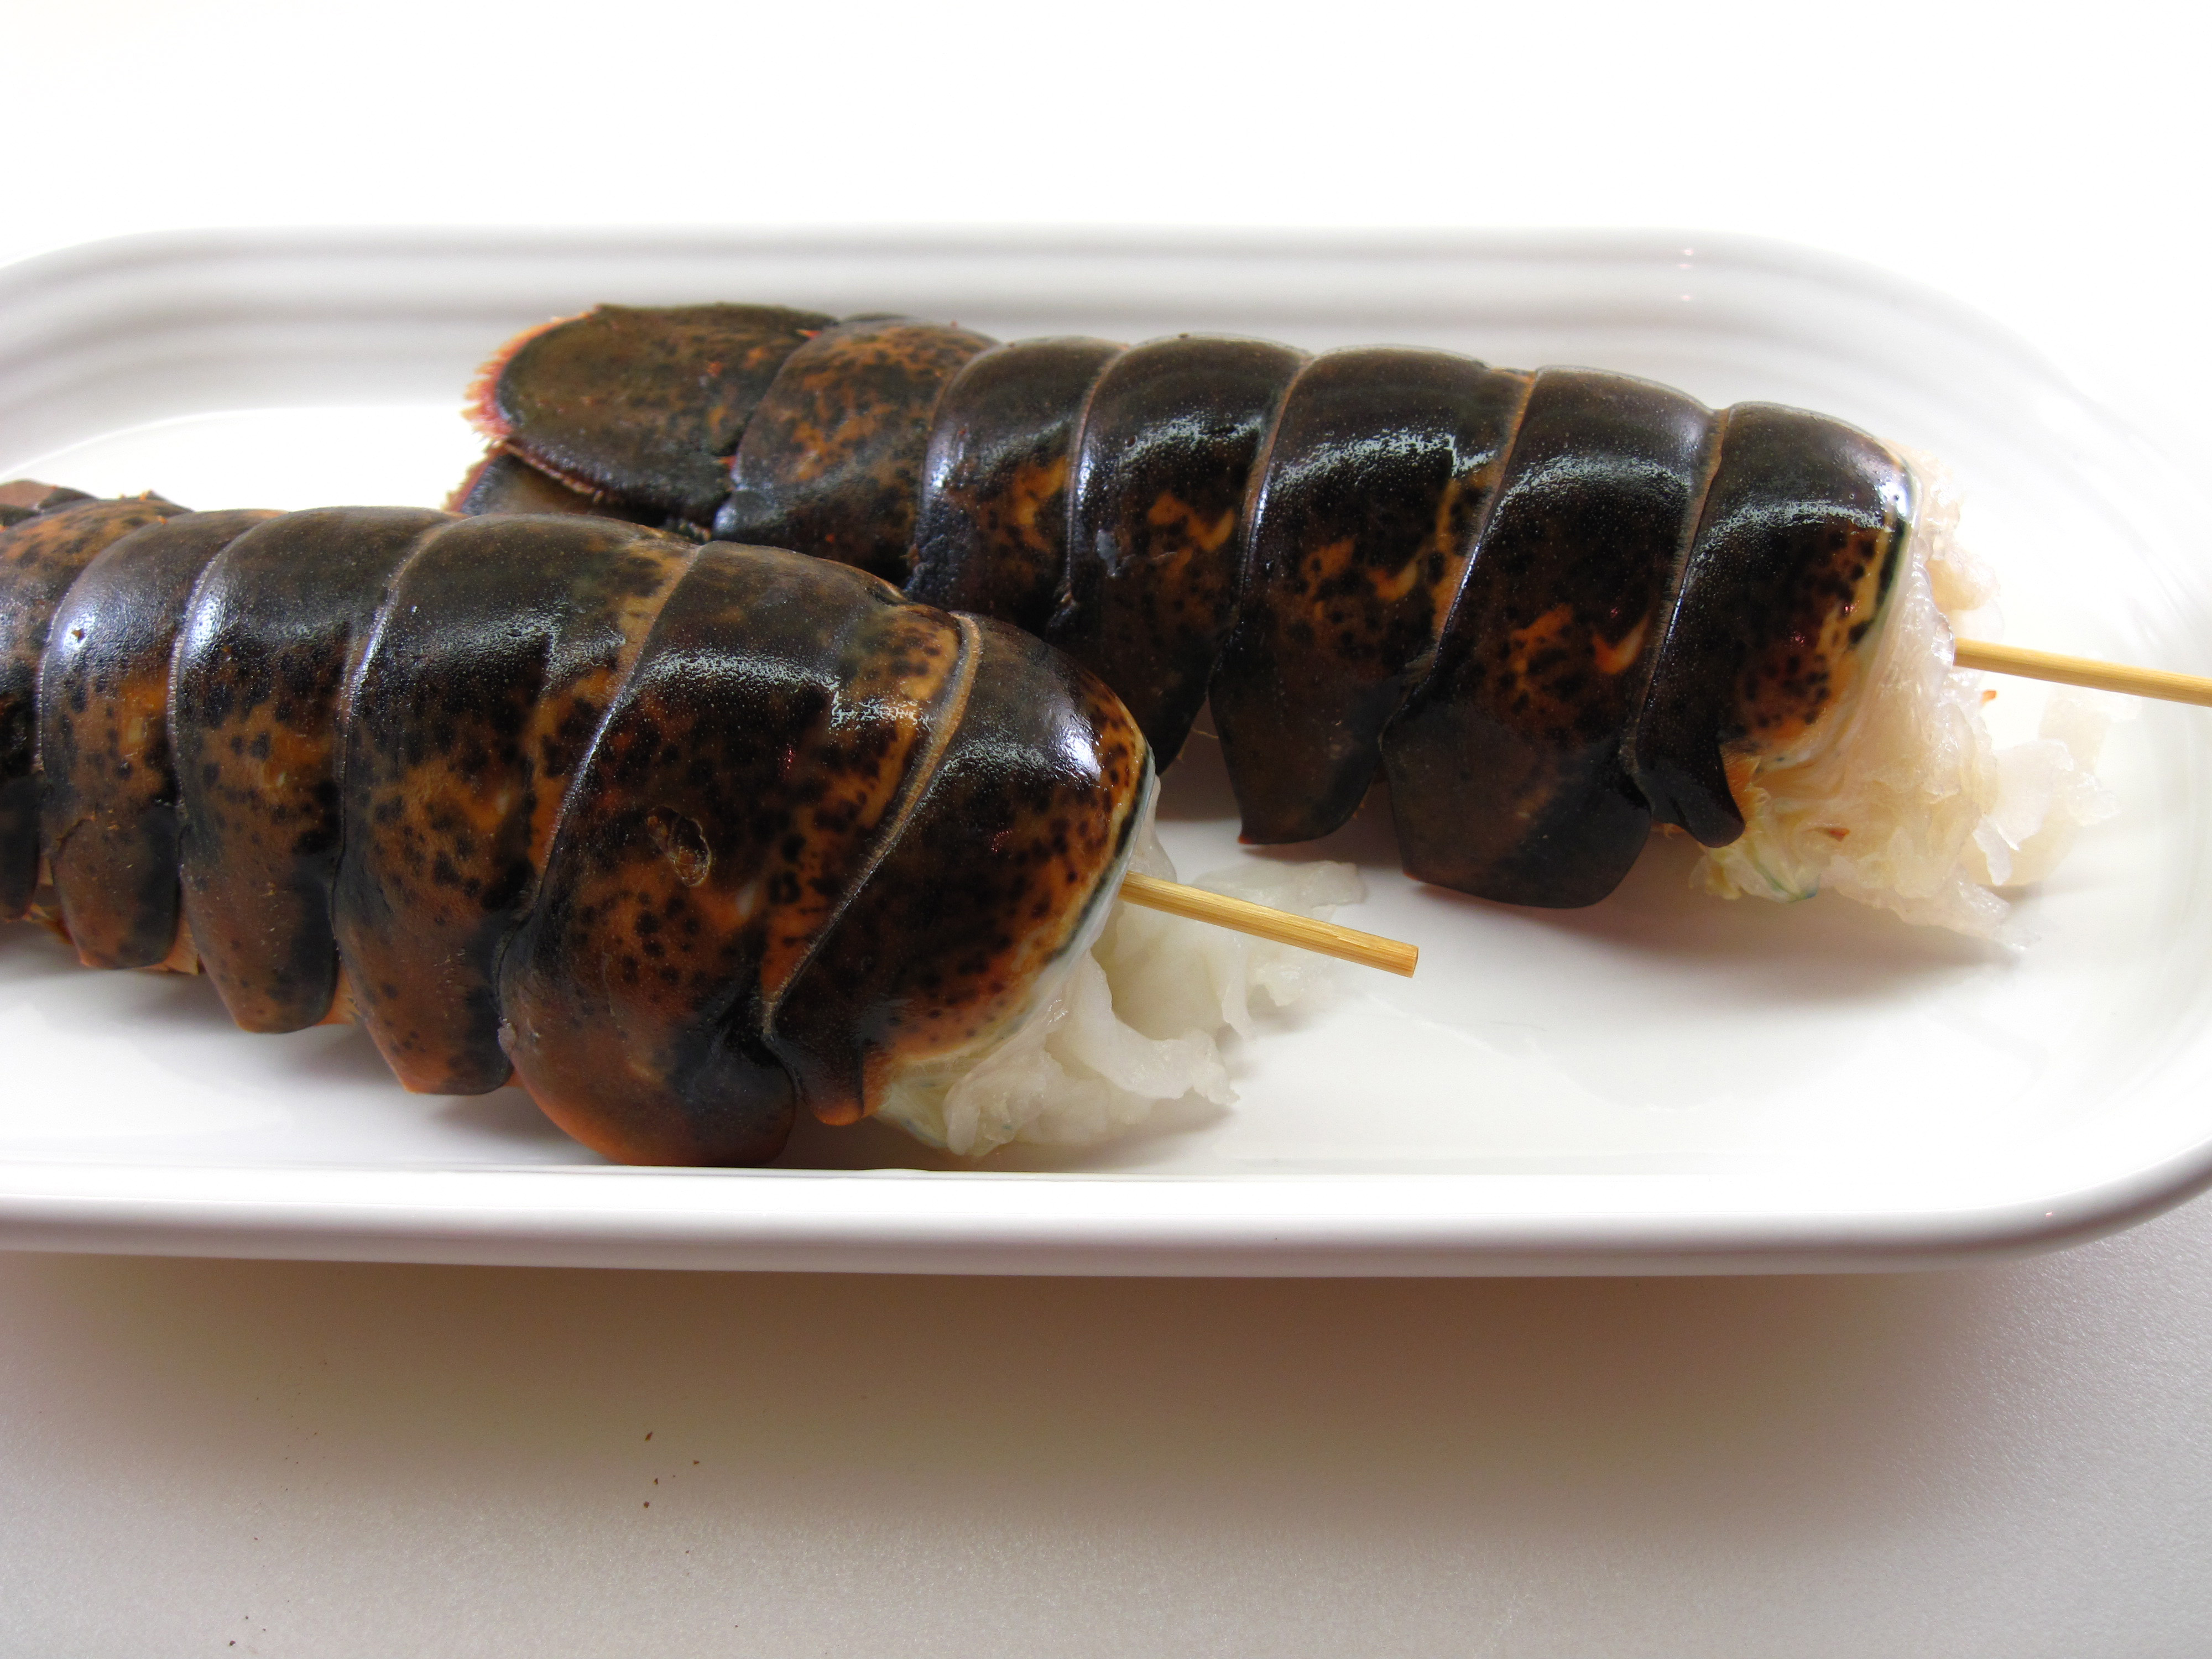
a
3. When the water is boiling, add 1½ teaspoons salt to the pot. Add the lobster tails and turn the heat down a bit so they are simmering. Simmer for 5 – 8 minutes (or 1 minute for each ounce of your lobster tails).
4. Drain for a minute or so in a colander. Then use scissors to cut the shells; spread them open with your fingers.
5. Serve with melted butter, if desired.
Share this:

Flax Buns
By Kath Dedon
a
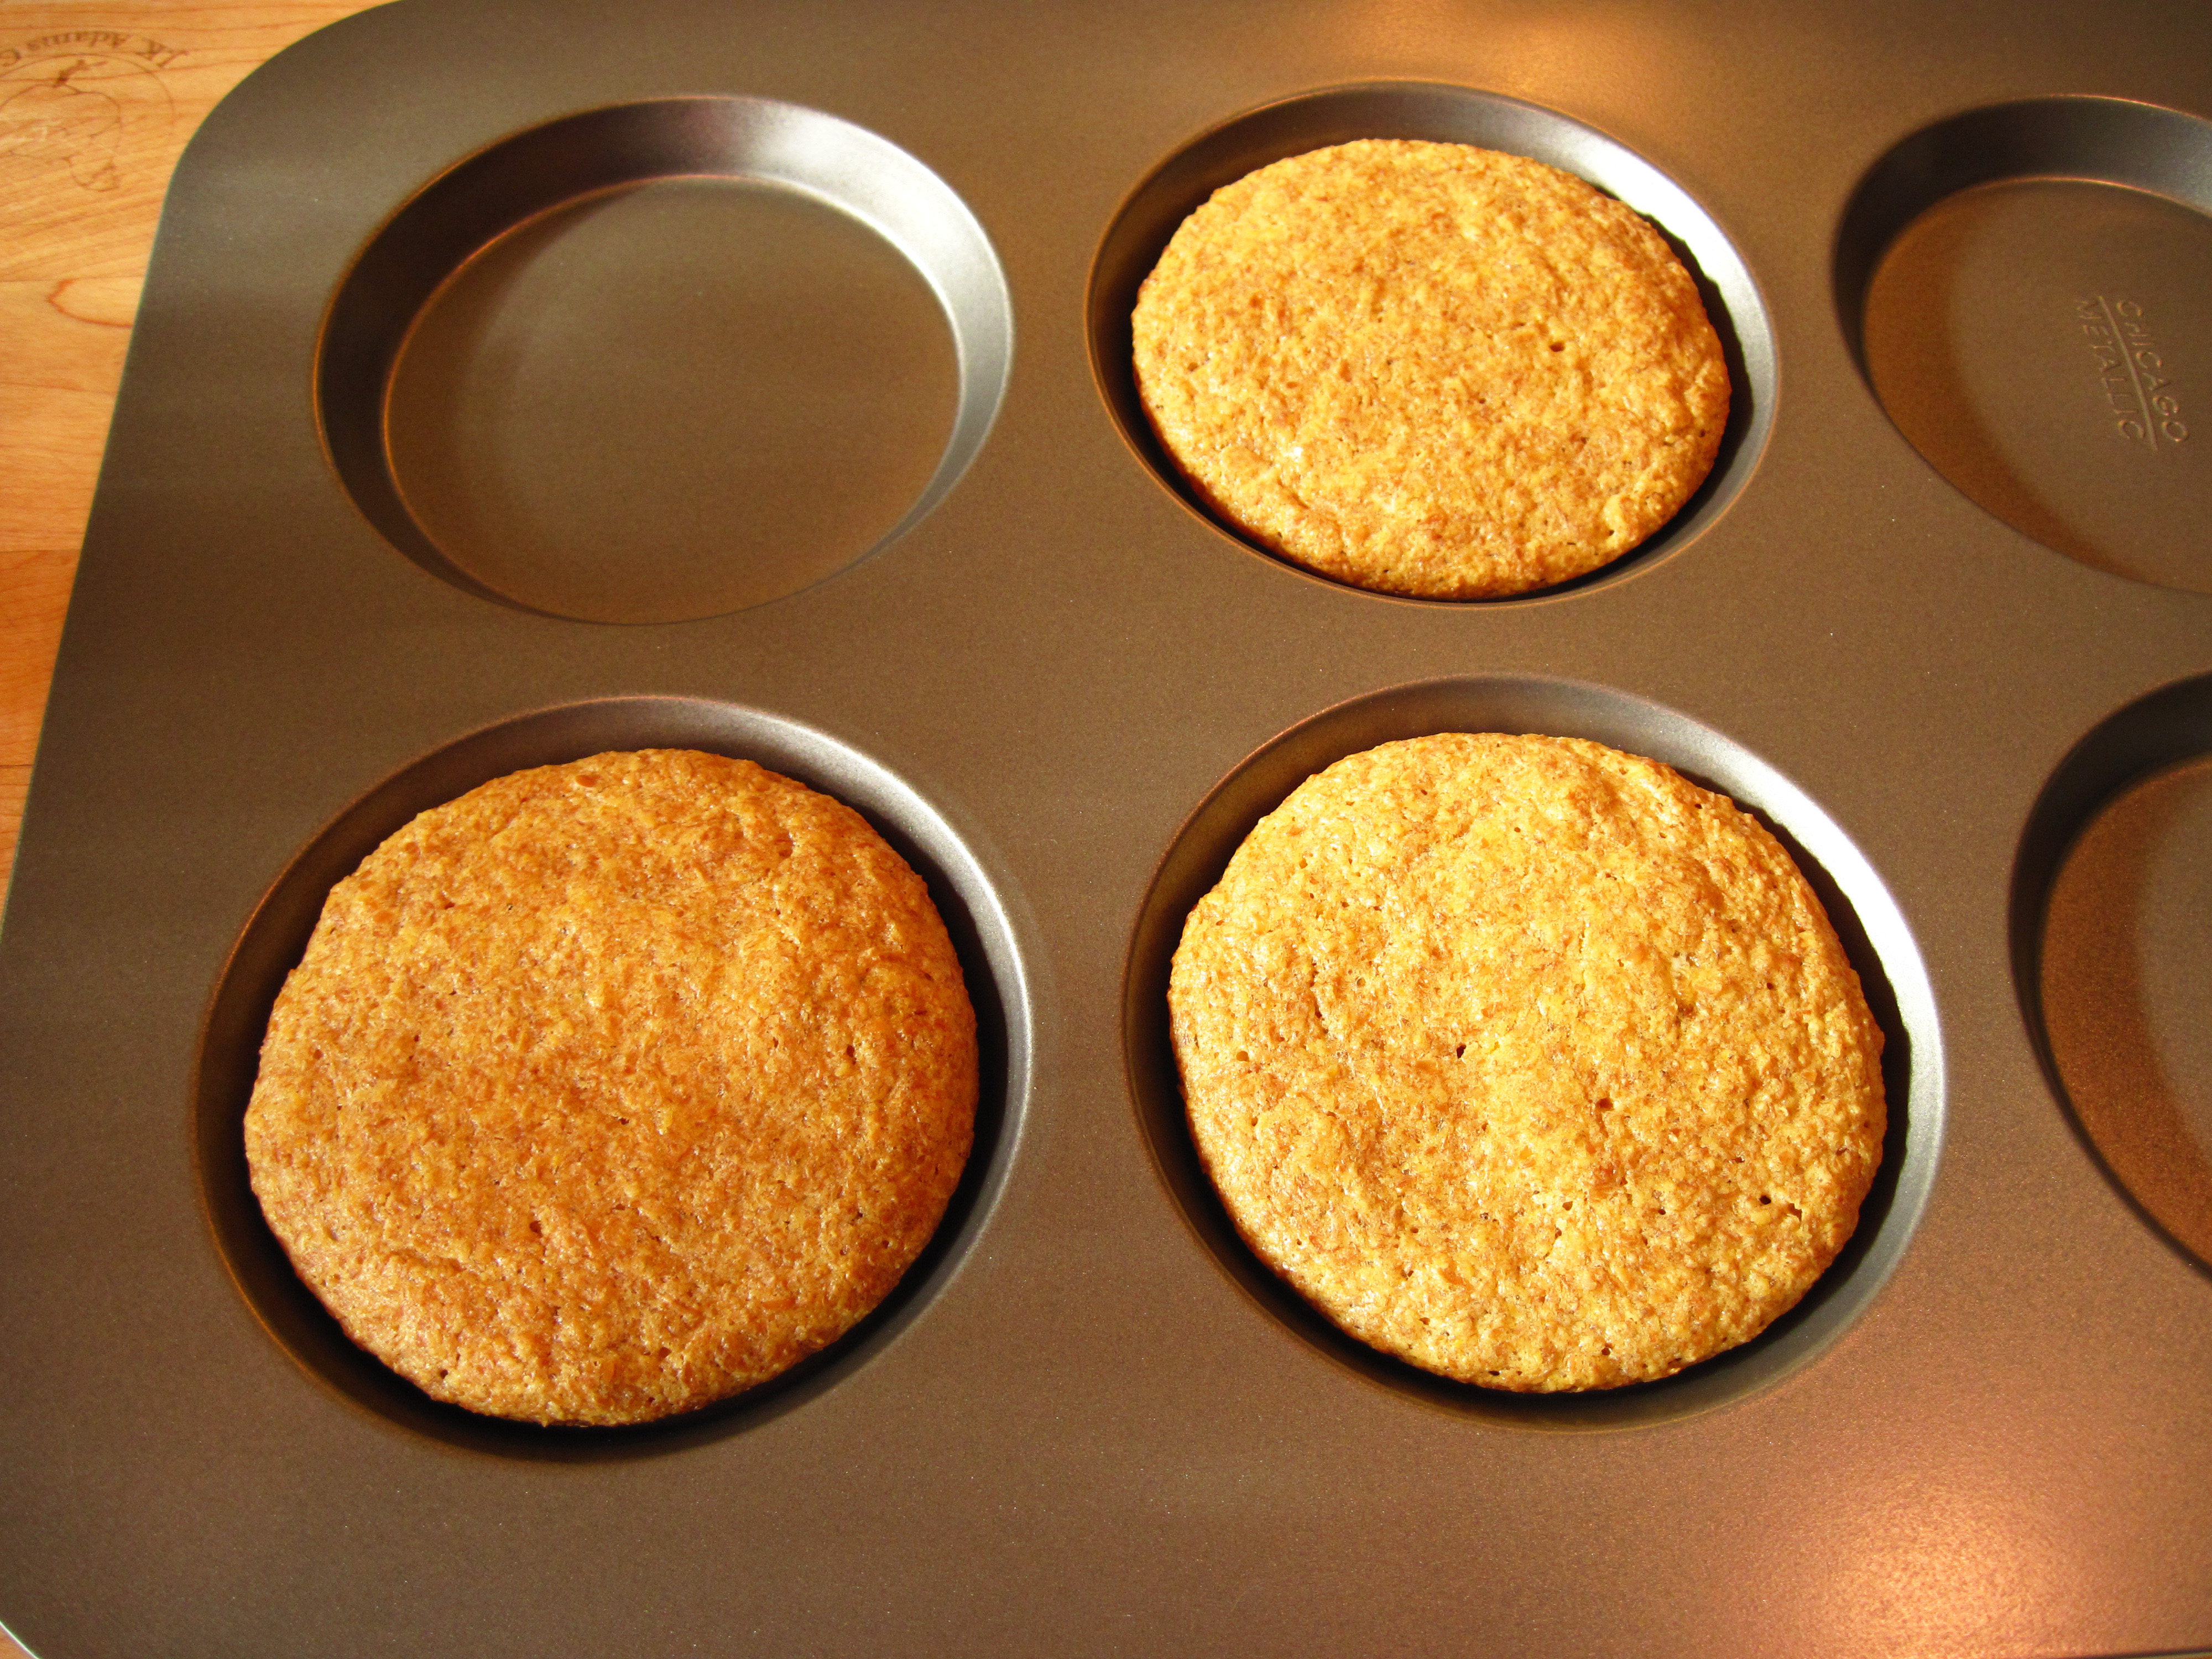
I found this recipe for Flax Buns in an amazon.com comment about Bob’s Red Mill Golden Flaxseed Meal. Apparently golden flaxseed meal works much better than regular flaxseed meal for this recipe. And you need a muffin top pan to make it work.
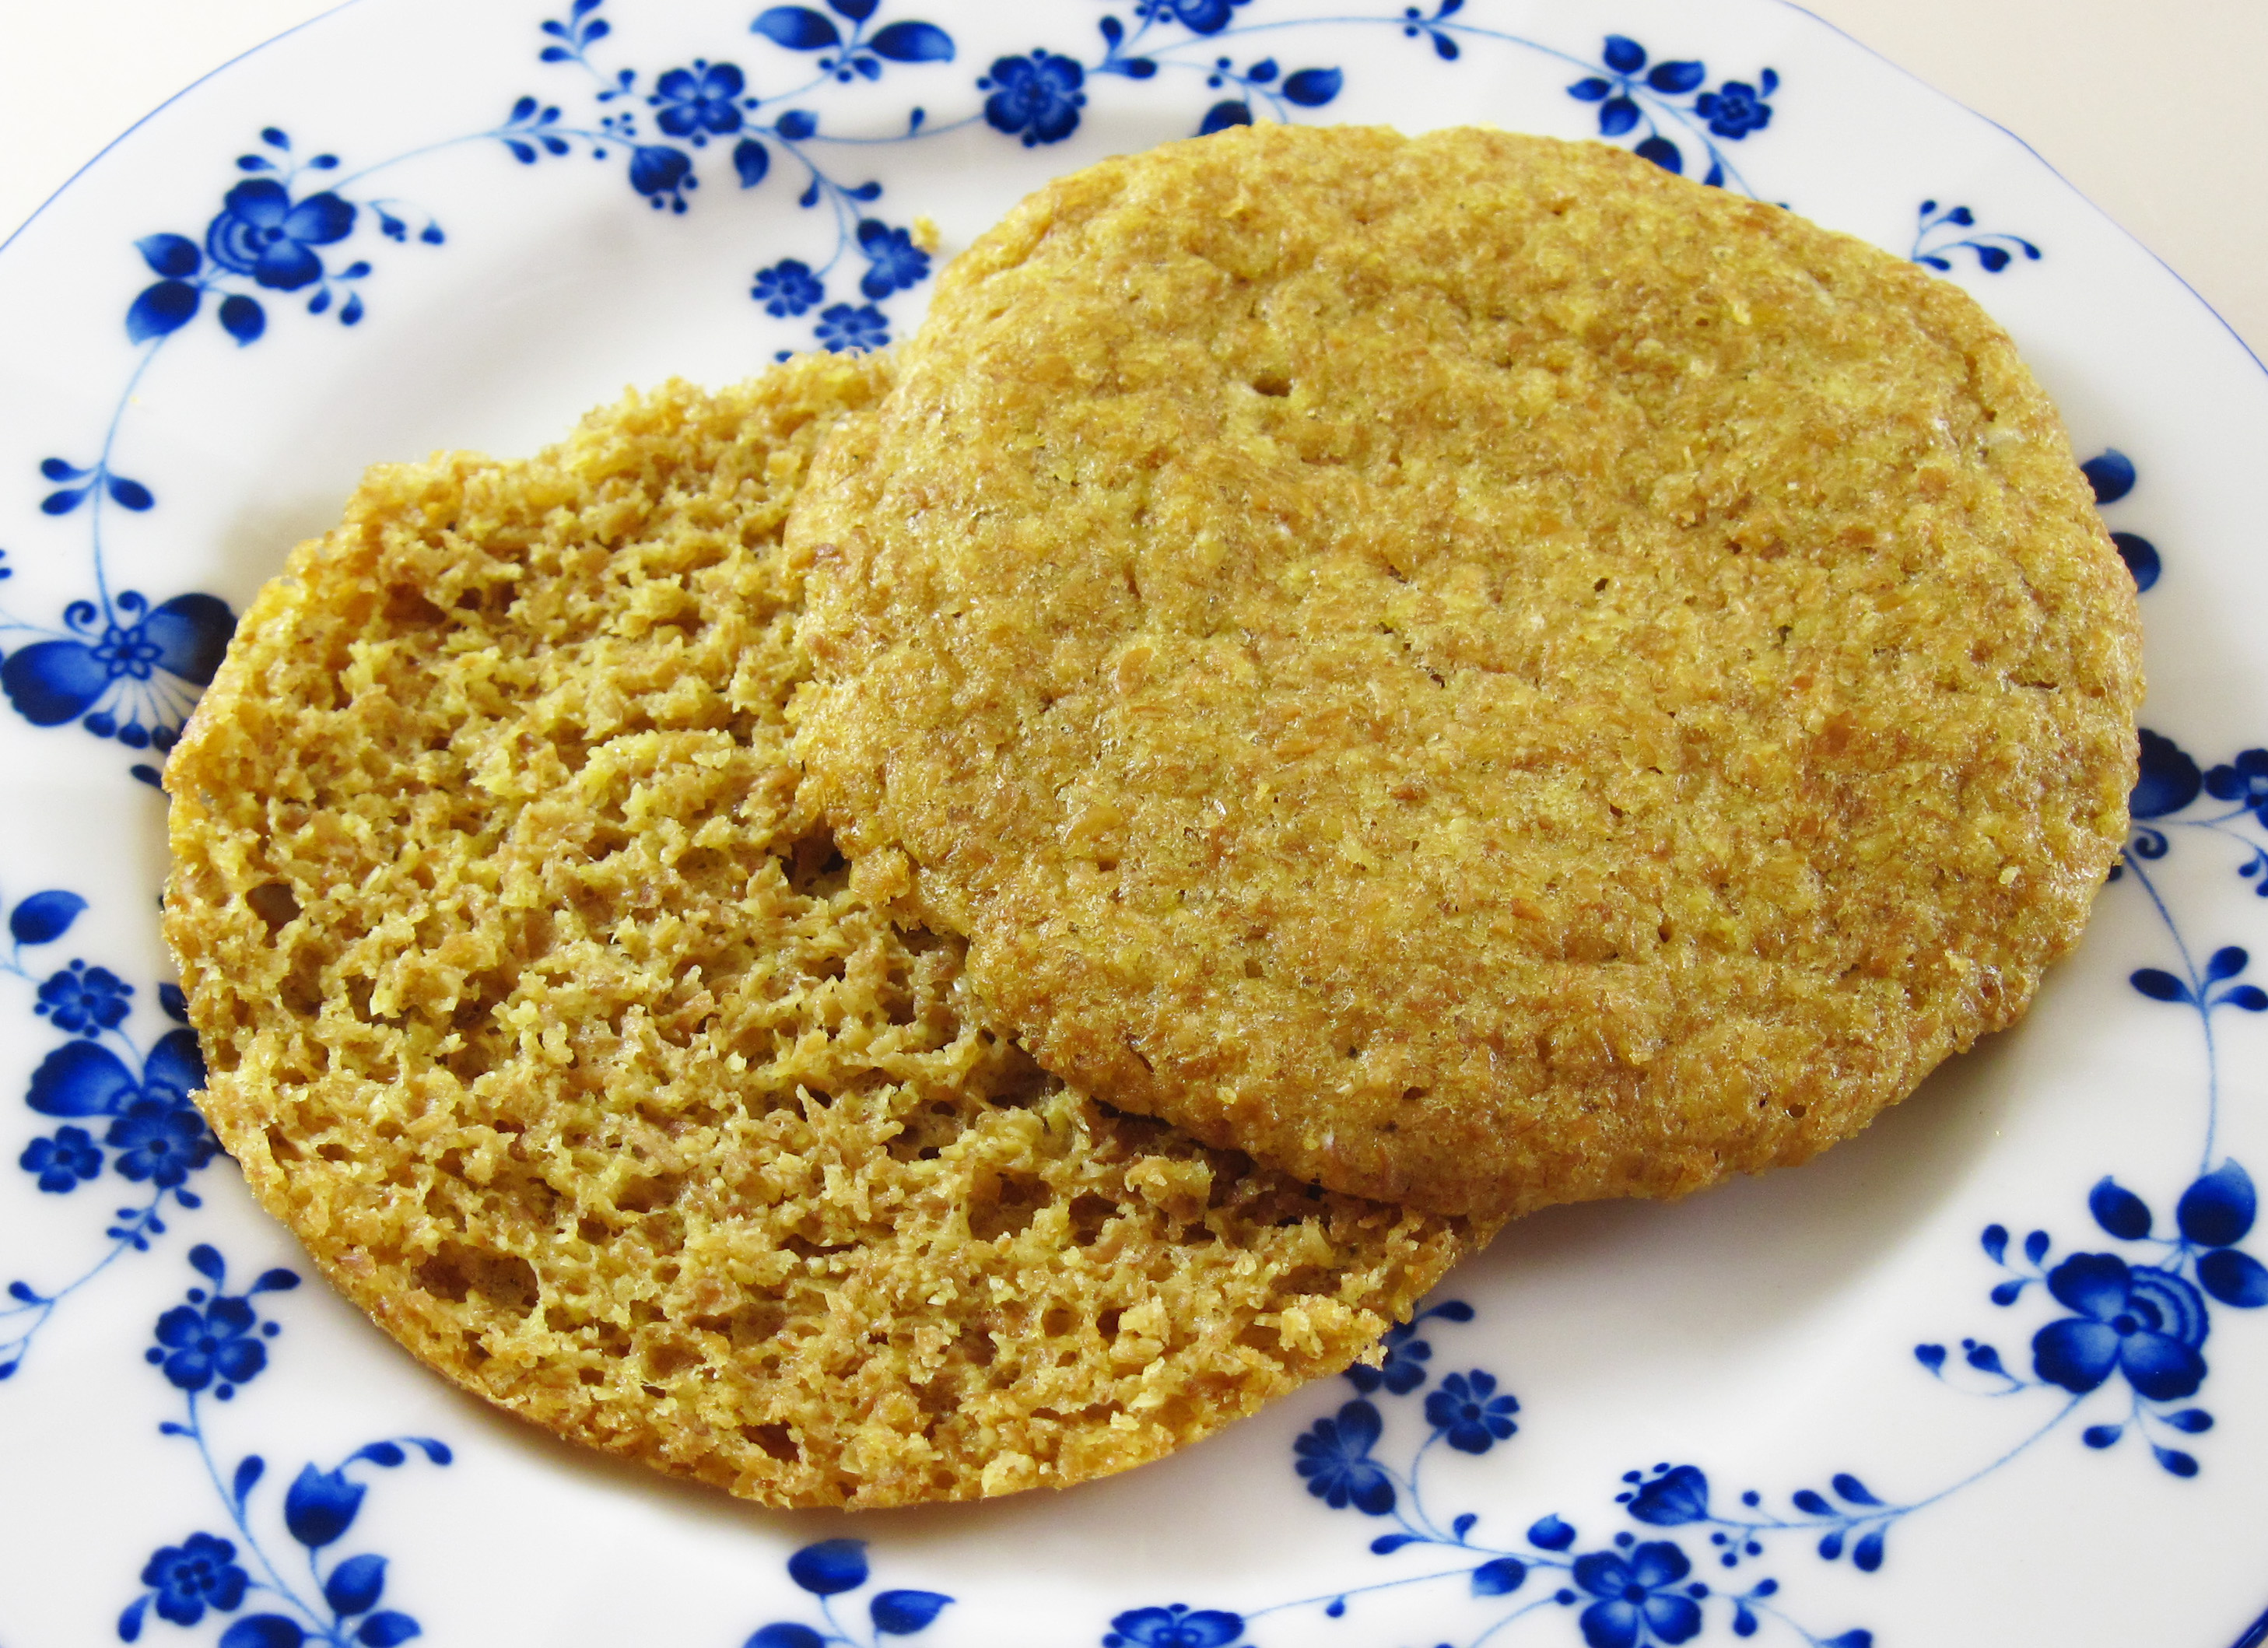
I was very skeptical about this recipe, but I bought the flaxmeal and the muffin top pan, and what do you know? It works! The buns have a very tender, bread-like crumb. They’re small, about the size of a “sandwich thin”. I’m able to slice them in half horizontally to make a sandwich. Or I’ll use half of one to make toast.
The Flax Buns are wheat free, gluten free, high fiber, high protein, low carb, and full of healthy essential fatty acids and plant lignans. (Go ahead and google those if you want to know more.) And, they can literally be ready to eat in mere minutes. I love that!
The original recipe included an artificial sweetener, which I left out. I really don’t think it needs any sweetener. The original recipe also makes 6 buns. I cut it in half so I just make 3 at a time. The recipe is so quick to make, I decided it would be better to make them fresh more often.
So, if you are looking for an alternative bread, get yourself a muffin top pan and some golden flaxseed meal and give these a try. They are way better than any commercial gluten free bread I have tried.
I’d like to thank “G. Fawkes” for sharing the recipe in the amazon comments!
a
A flax bun, sliced in half
a
Flax Buns
(Adapted from G. Fawkes’ recipe left in an amazon.com comment.)
a
Makes 3 or 6 buns
a
For 6 buns:
¾ cup (78g) golden flaxseed meal
1½ teaspoons baking powder
½ teaspoon salt
4 tablespoons olive oil
2 large eggs, beaten
3 tablespoons + 1 teaspoon water
a
For 3 buns:
6 tablespoons (39g) golden flaxseed meal
¾ teaspoon baking powder
¼ teaspoon salt
2 tablespoons olive oil
1 large egg, beaten
1 tablespoon + 2 teaspoons water
a
1. Preheat the oven to 350˚.
2. Stir the flaxmeal, baking powder, and salt together.
3. Add the olive oil, beaten eggs, and water to the dry ingredients, and stir until well-combined.
4. Let the mixture sit for 2 – 3 minutes to thicken up.
5. Divide the batter into muffin top cups (about ¼ cup batter to each cup).
6. Bake for 15 minutes.
7. Remove from the pan and cool on a rack.
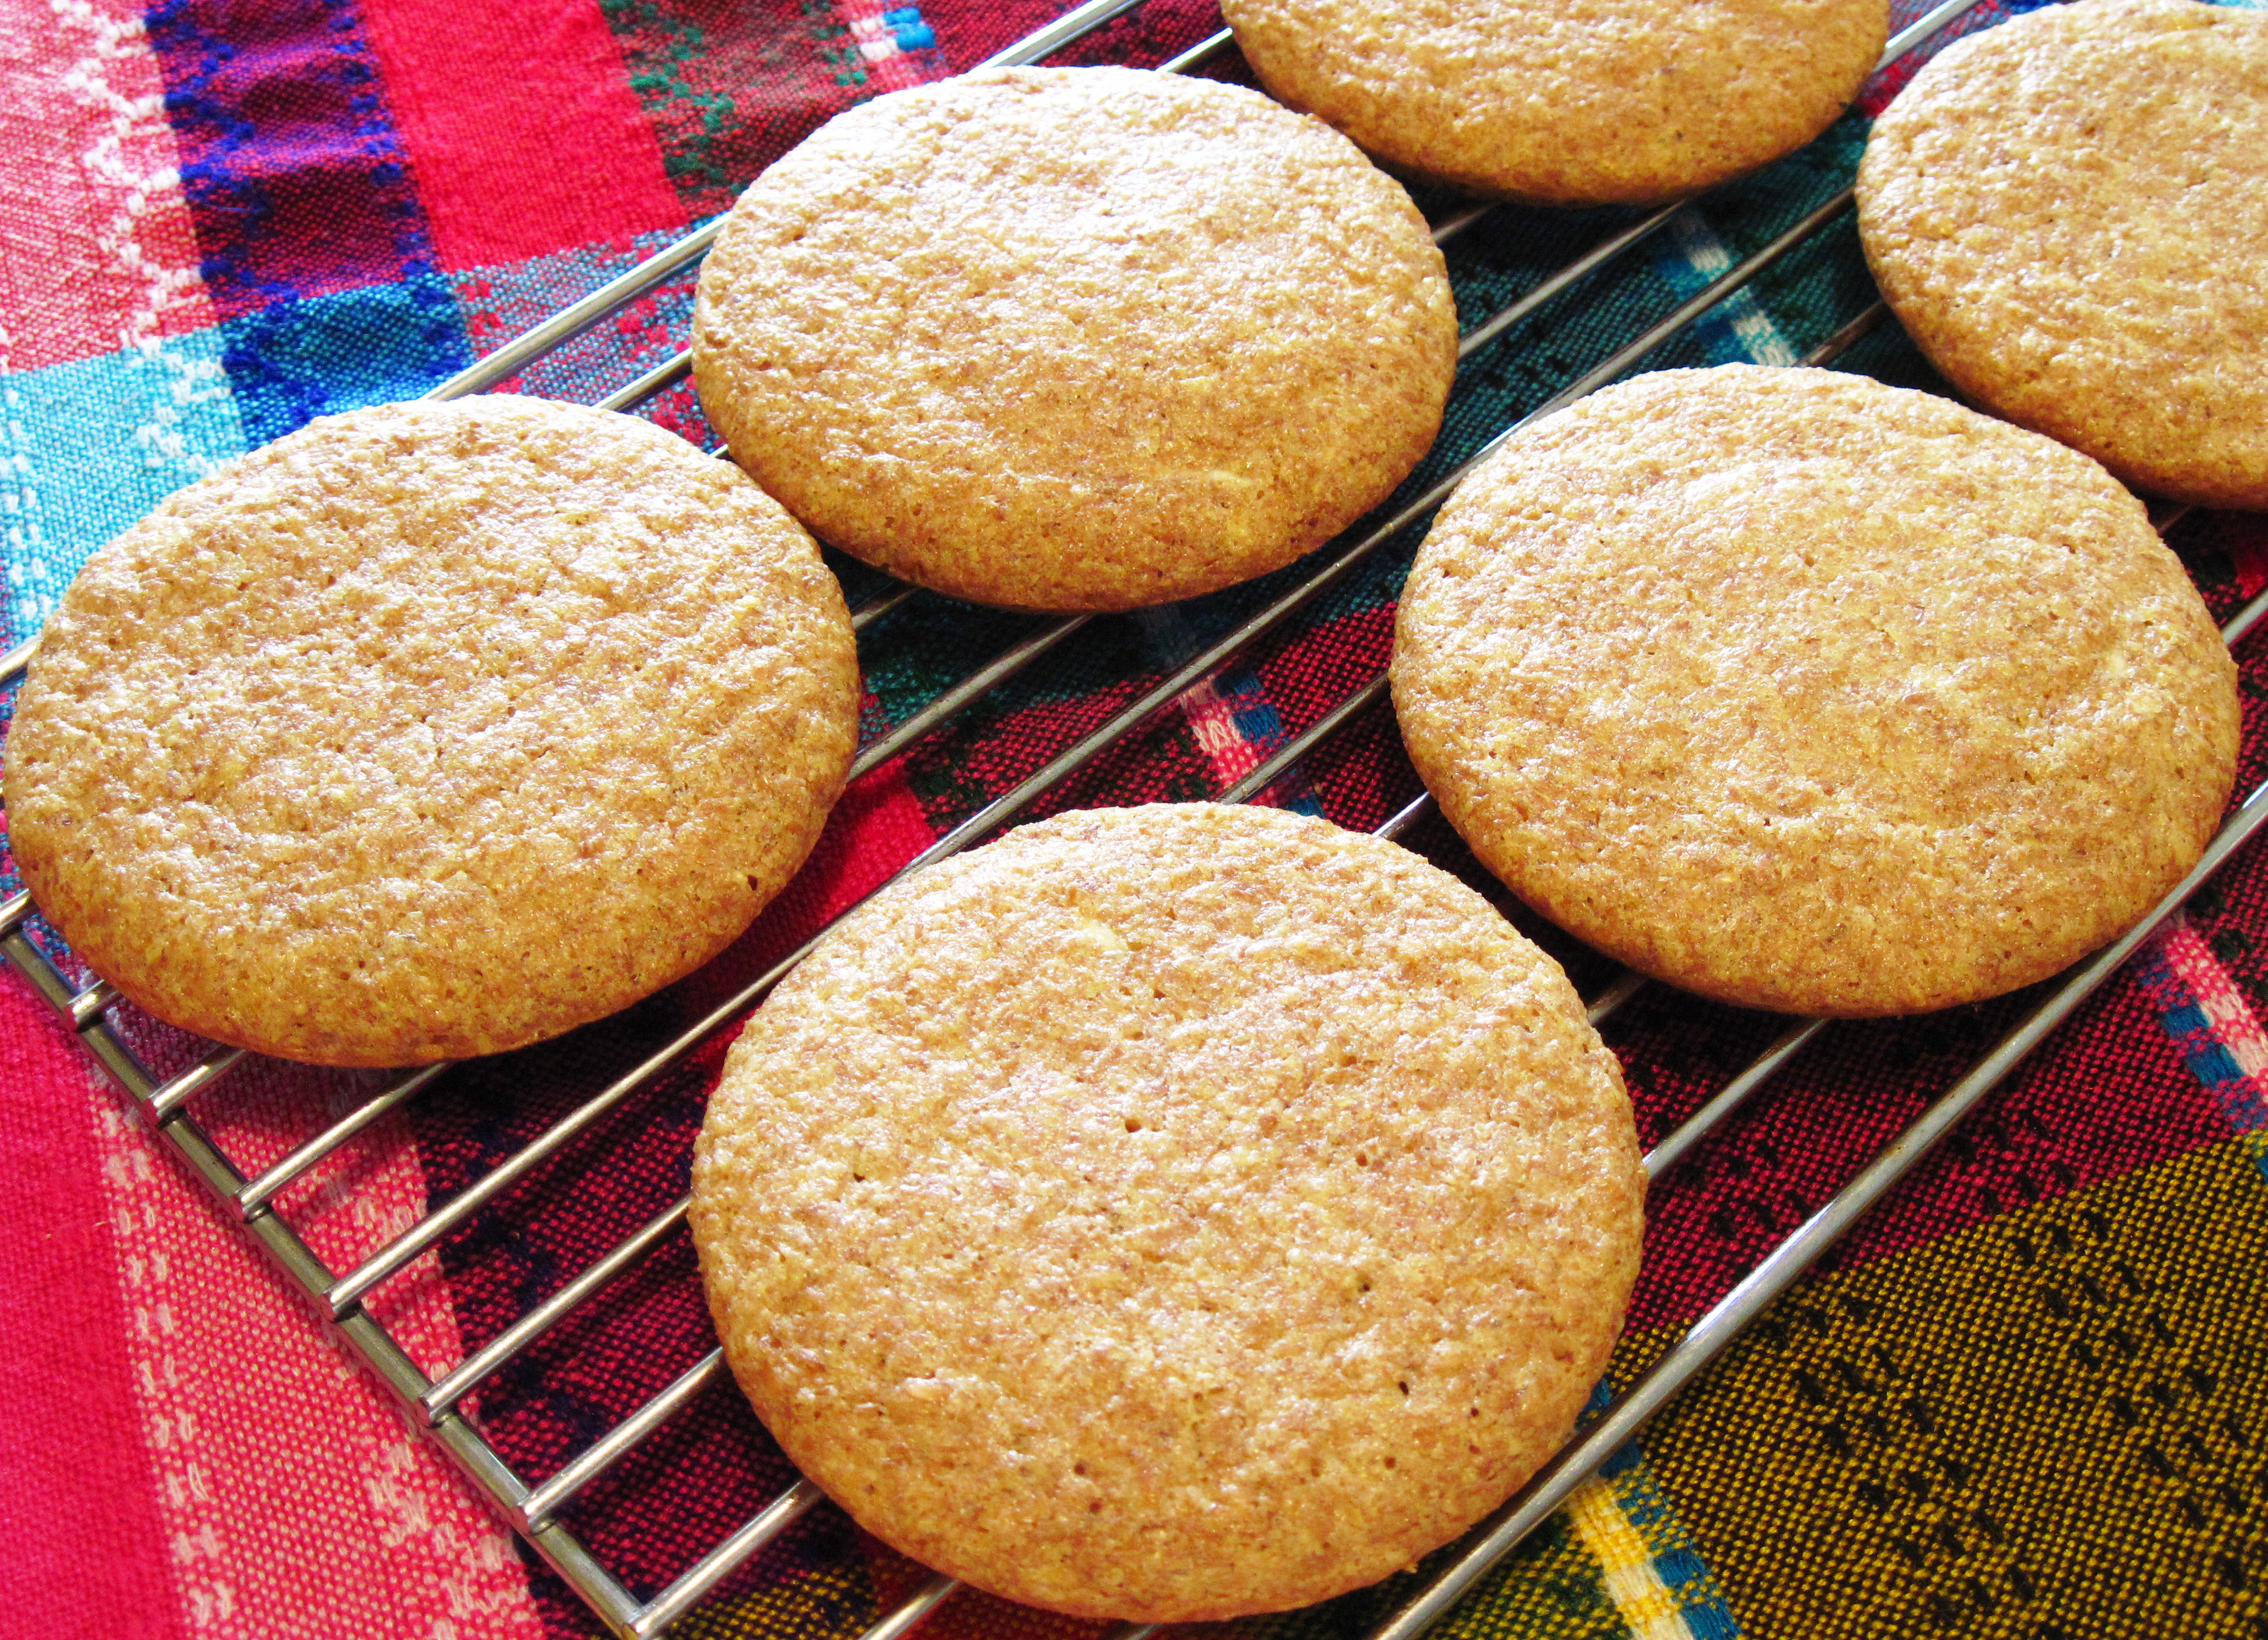
aa
Batch of 6 Flax Buns
a
Share this:

Roasted Delicata Squash
By Kath Dedon
a
Roasted Delicata Squash is a great side dish for two people. It’s quick to prepare because it’s not necessary to peel the squash. And the peel is edible!
I was inspired by a recipe on whiteonricecouple.com. Todd and Diane seasoned their squash with a tablespoon of chopped rosemary instead of garlic. I like the idea of using rosemary, but it was dark and raining when I started dinner and I didn’t feel like trekking into the backyard to our rosemary bush. Maybe I’ll try it that way next time.
a
a
Roasted Delicata Squash
(Adapted from a recipe on whiteonricecouple.com)
a
a
Serves 2
a
1 Delicata squash (about 1 pound)
1½ teaspoons olive oil
6 cloves garlic, unpeeled
Salt
Freshly ground black pepper
a
My 1-pound Delicata squash
 a
a
a
1. Preheat the oven to 400˚.
2. Cut the squash in half and remove the seeds.
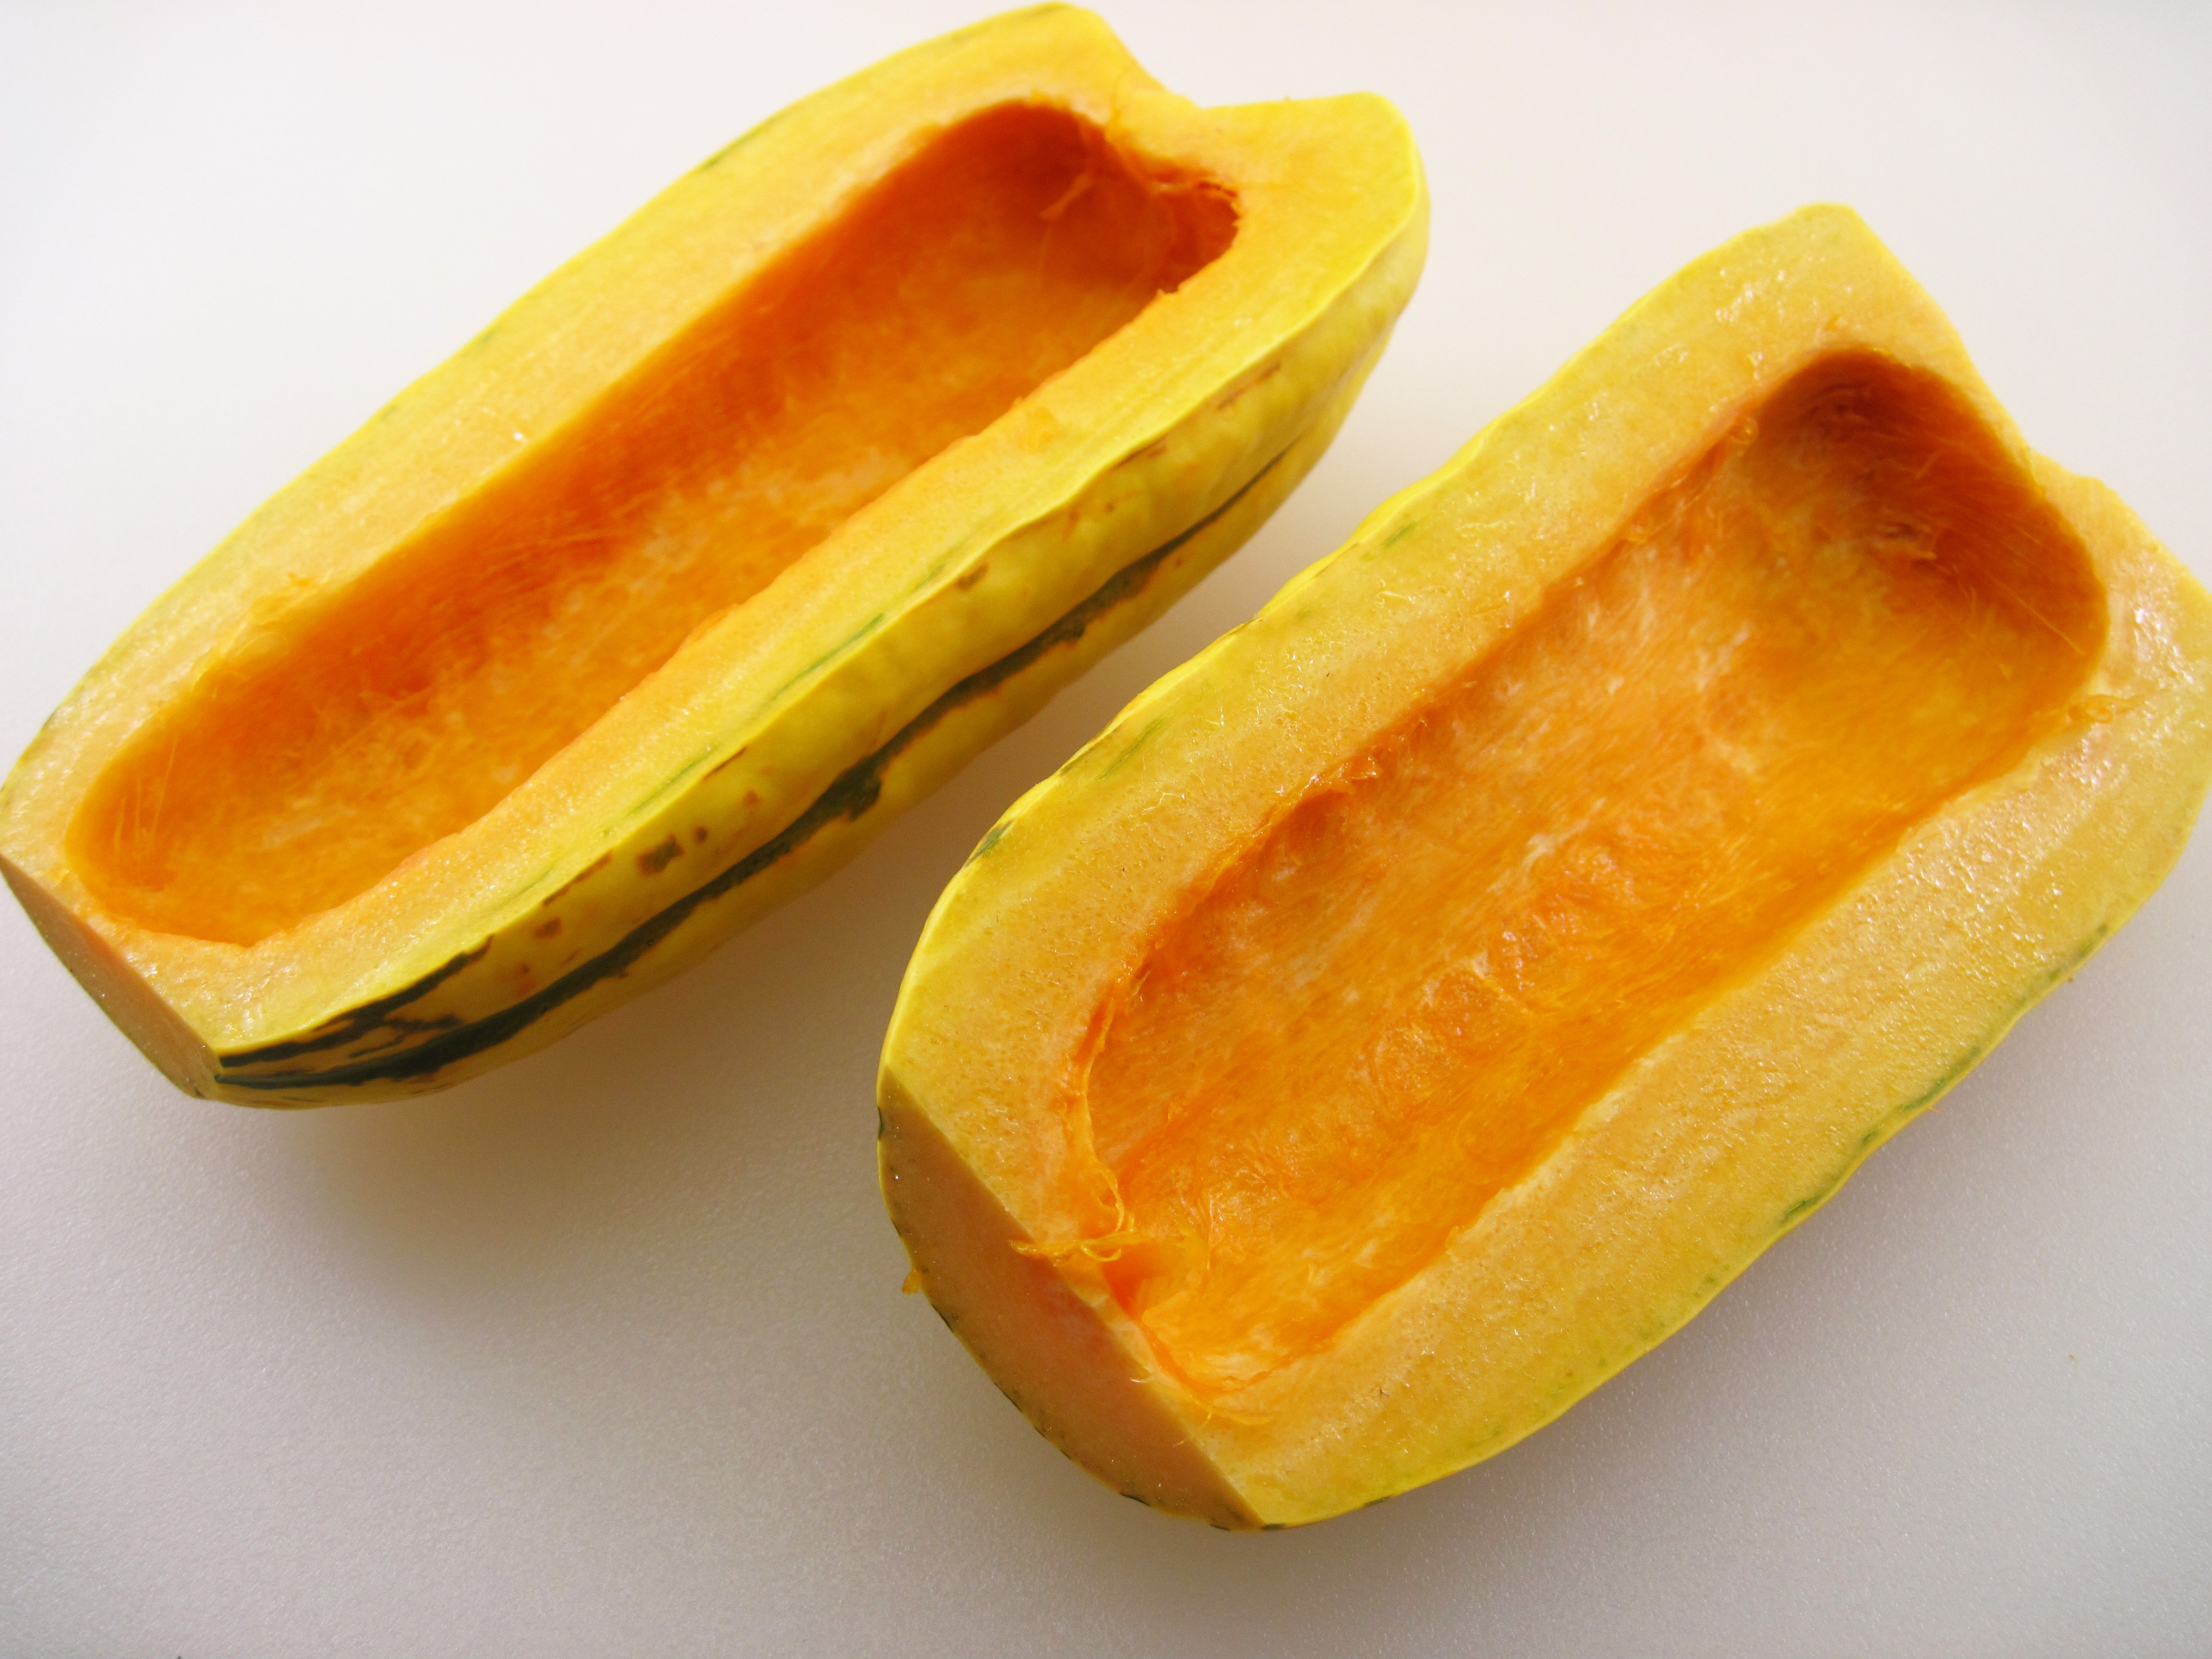
a
3. Slice the squash halves into ½-inch slices.
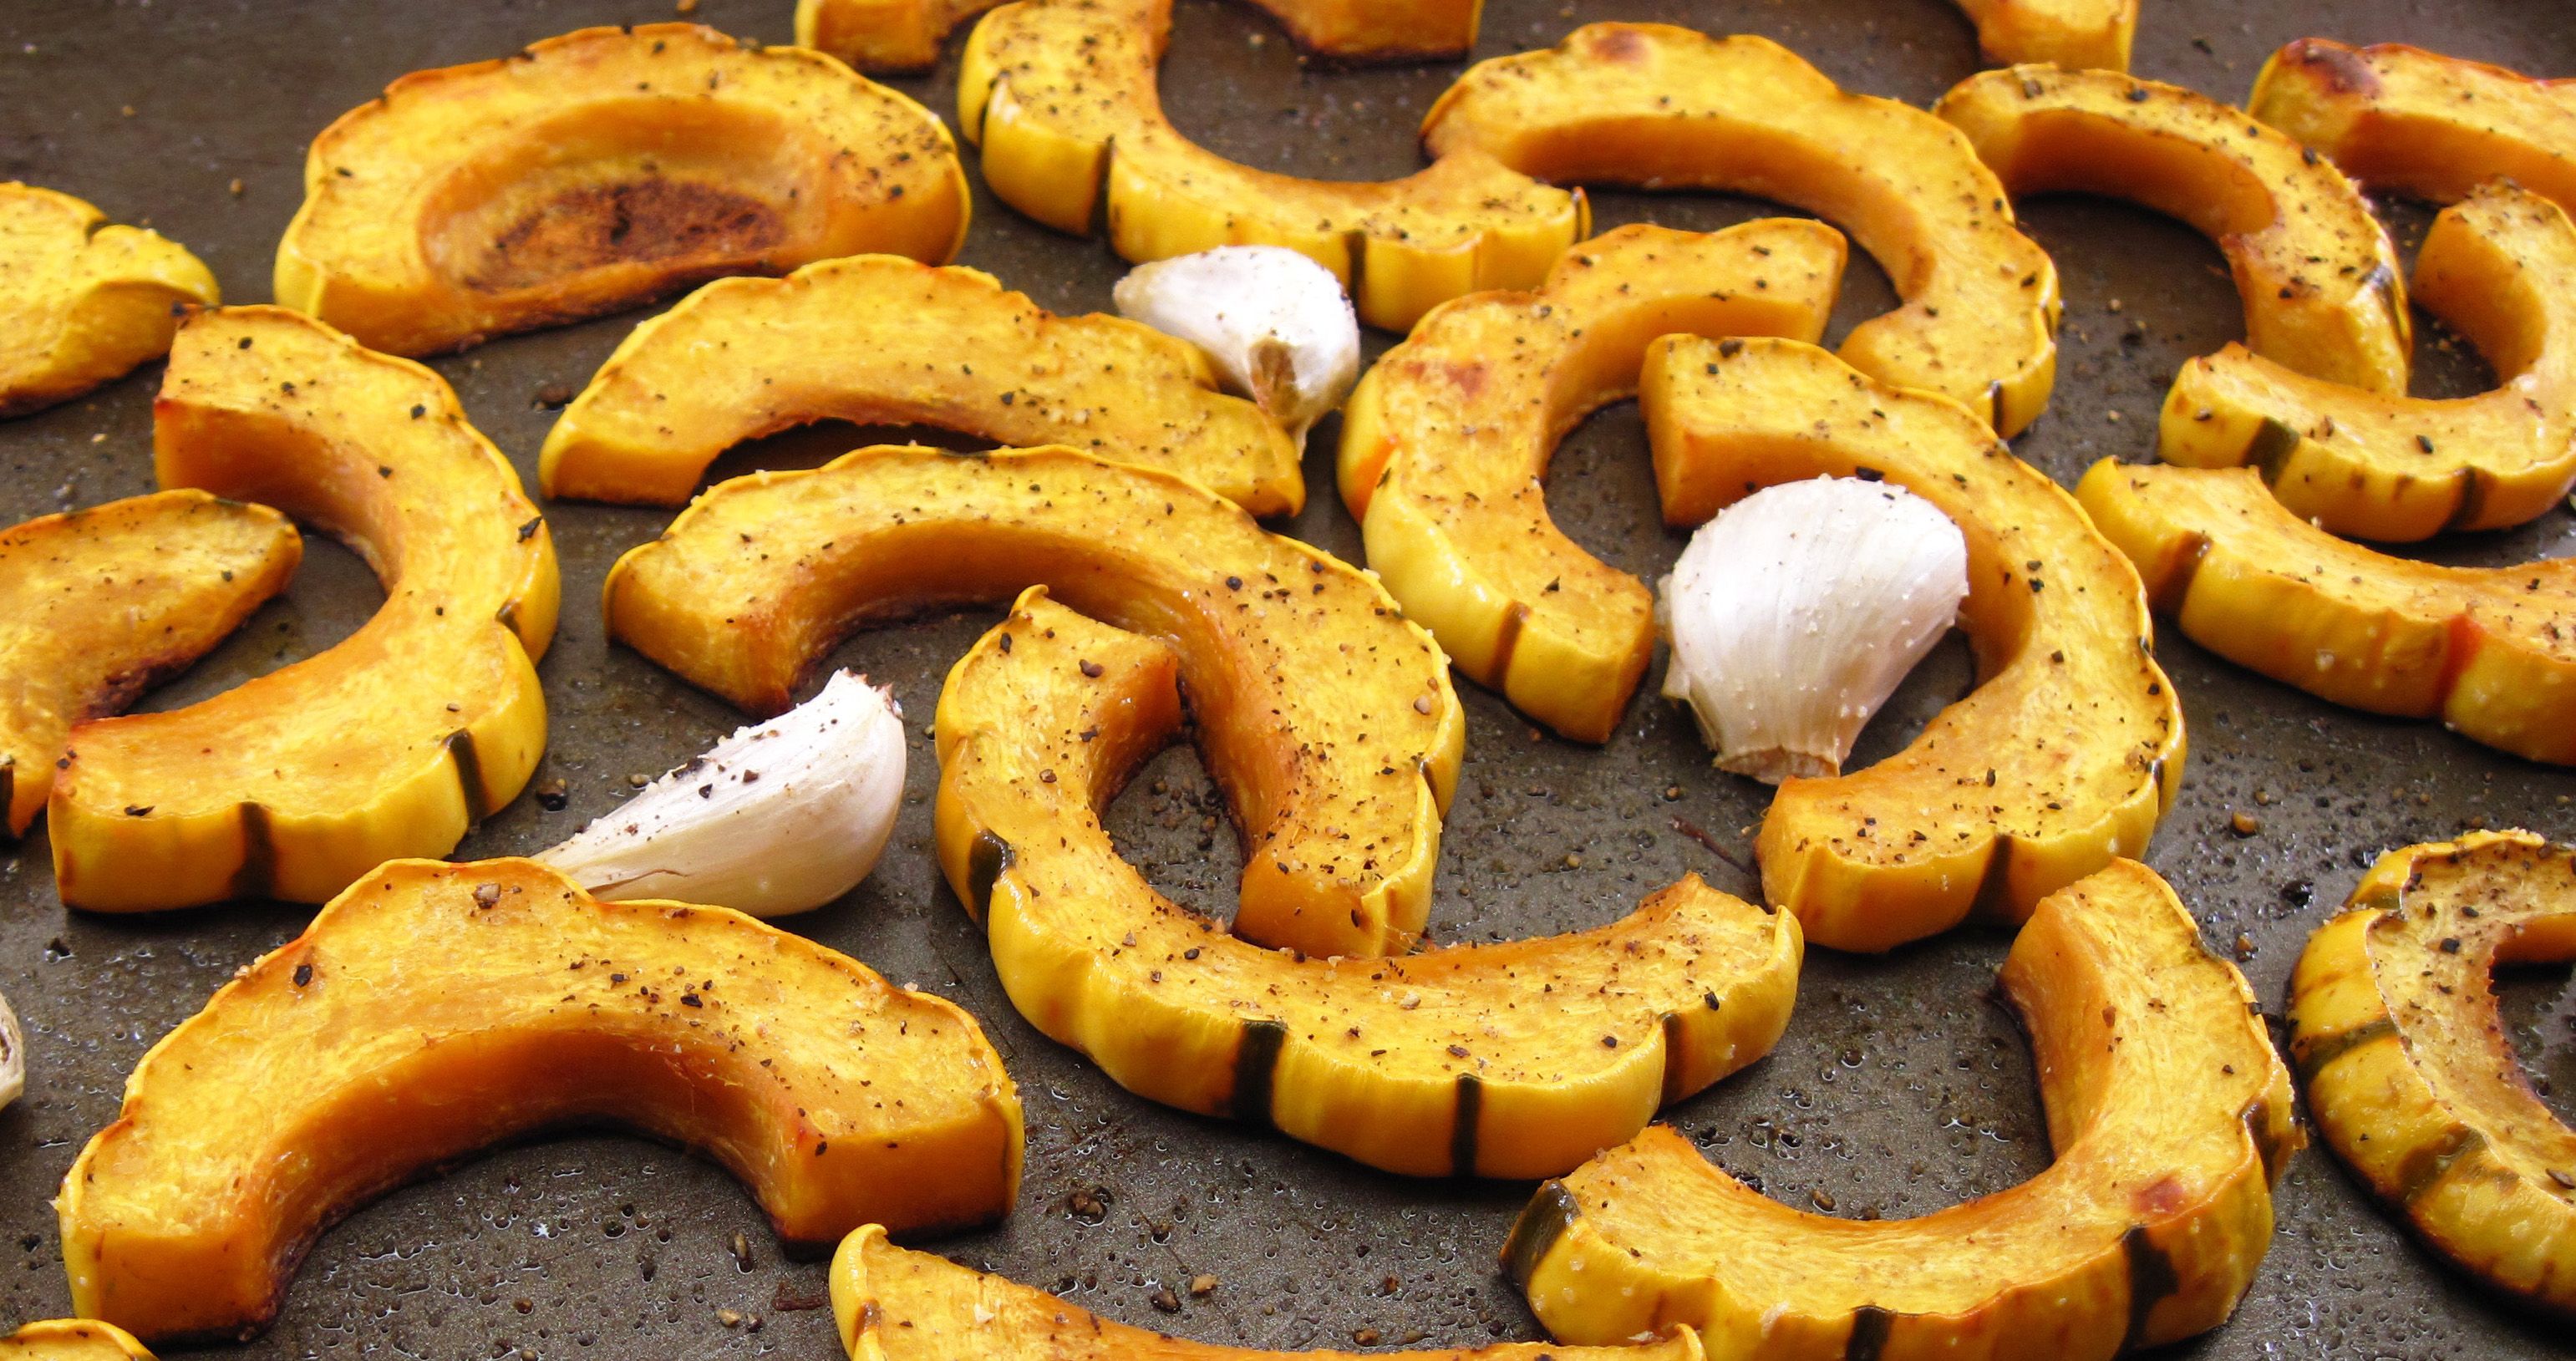
4. Put the squash and garlic cloves on a rimmed baking sheet. Drizzle with the olive oil and toss to distribute the oil. Sprinkle with salt and pepper.
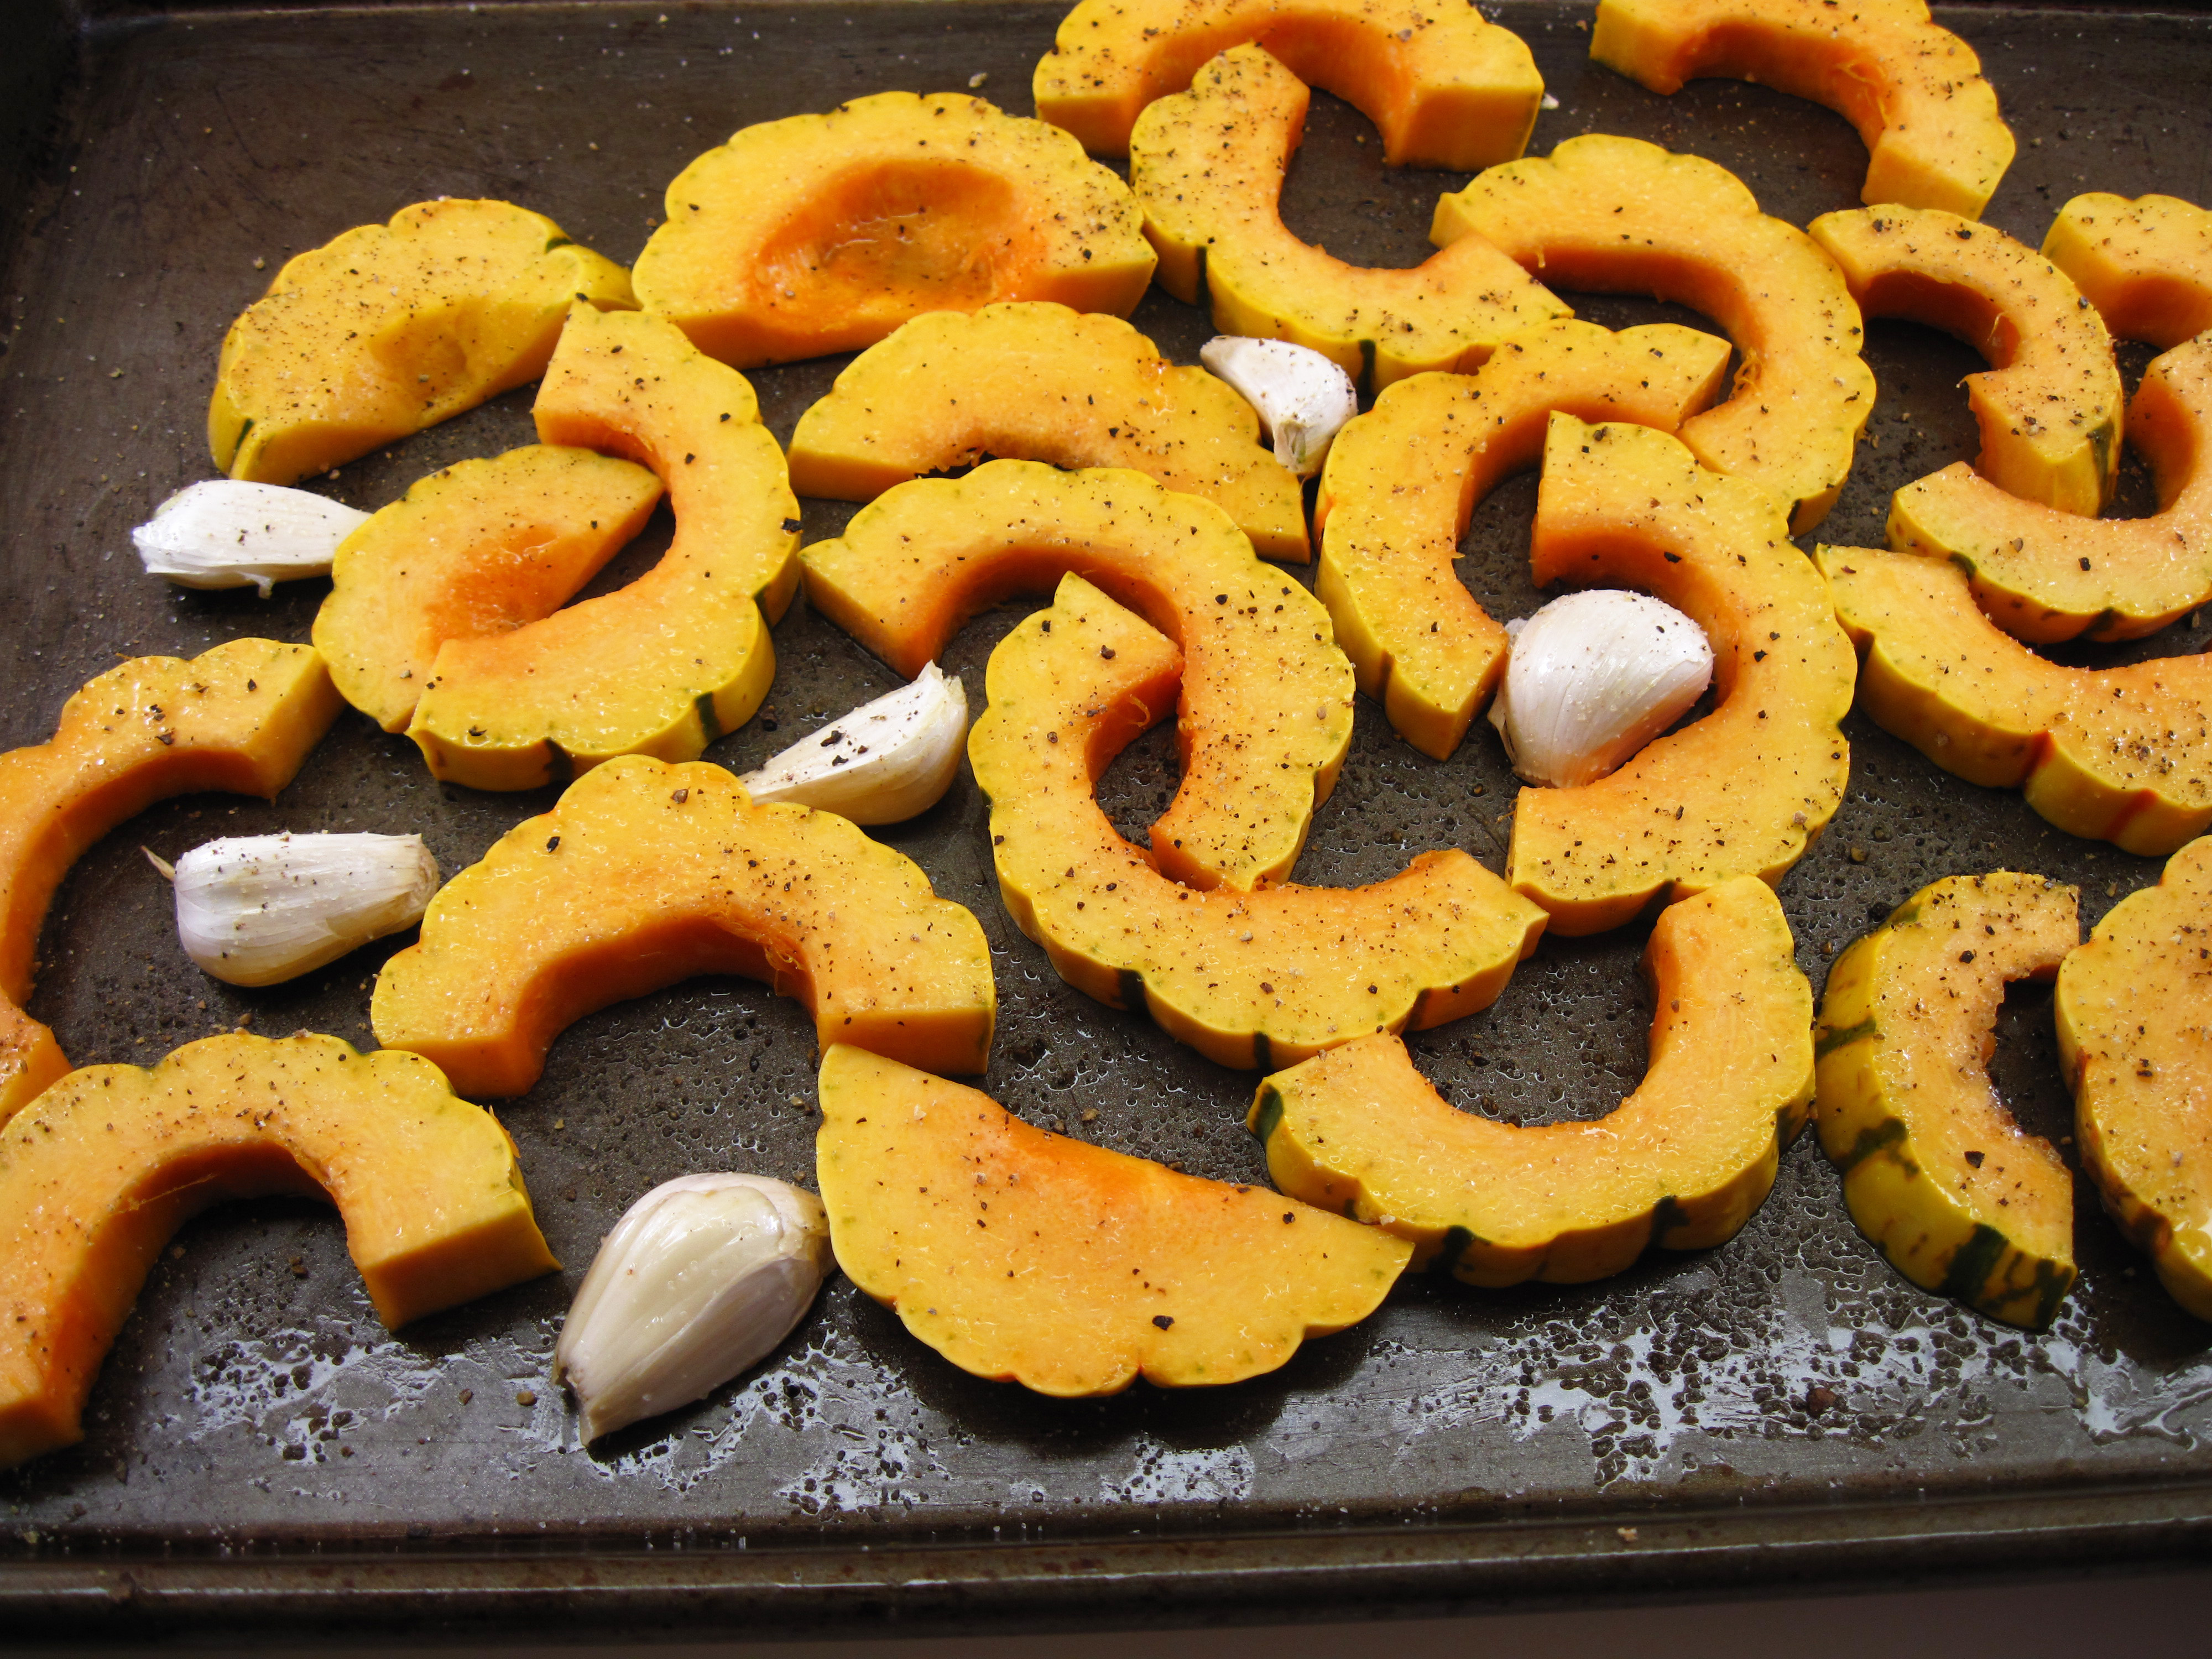
a
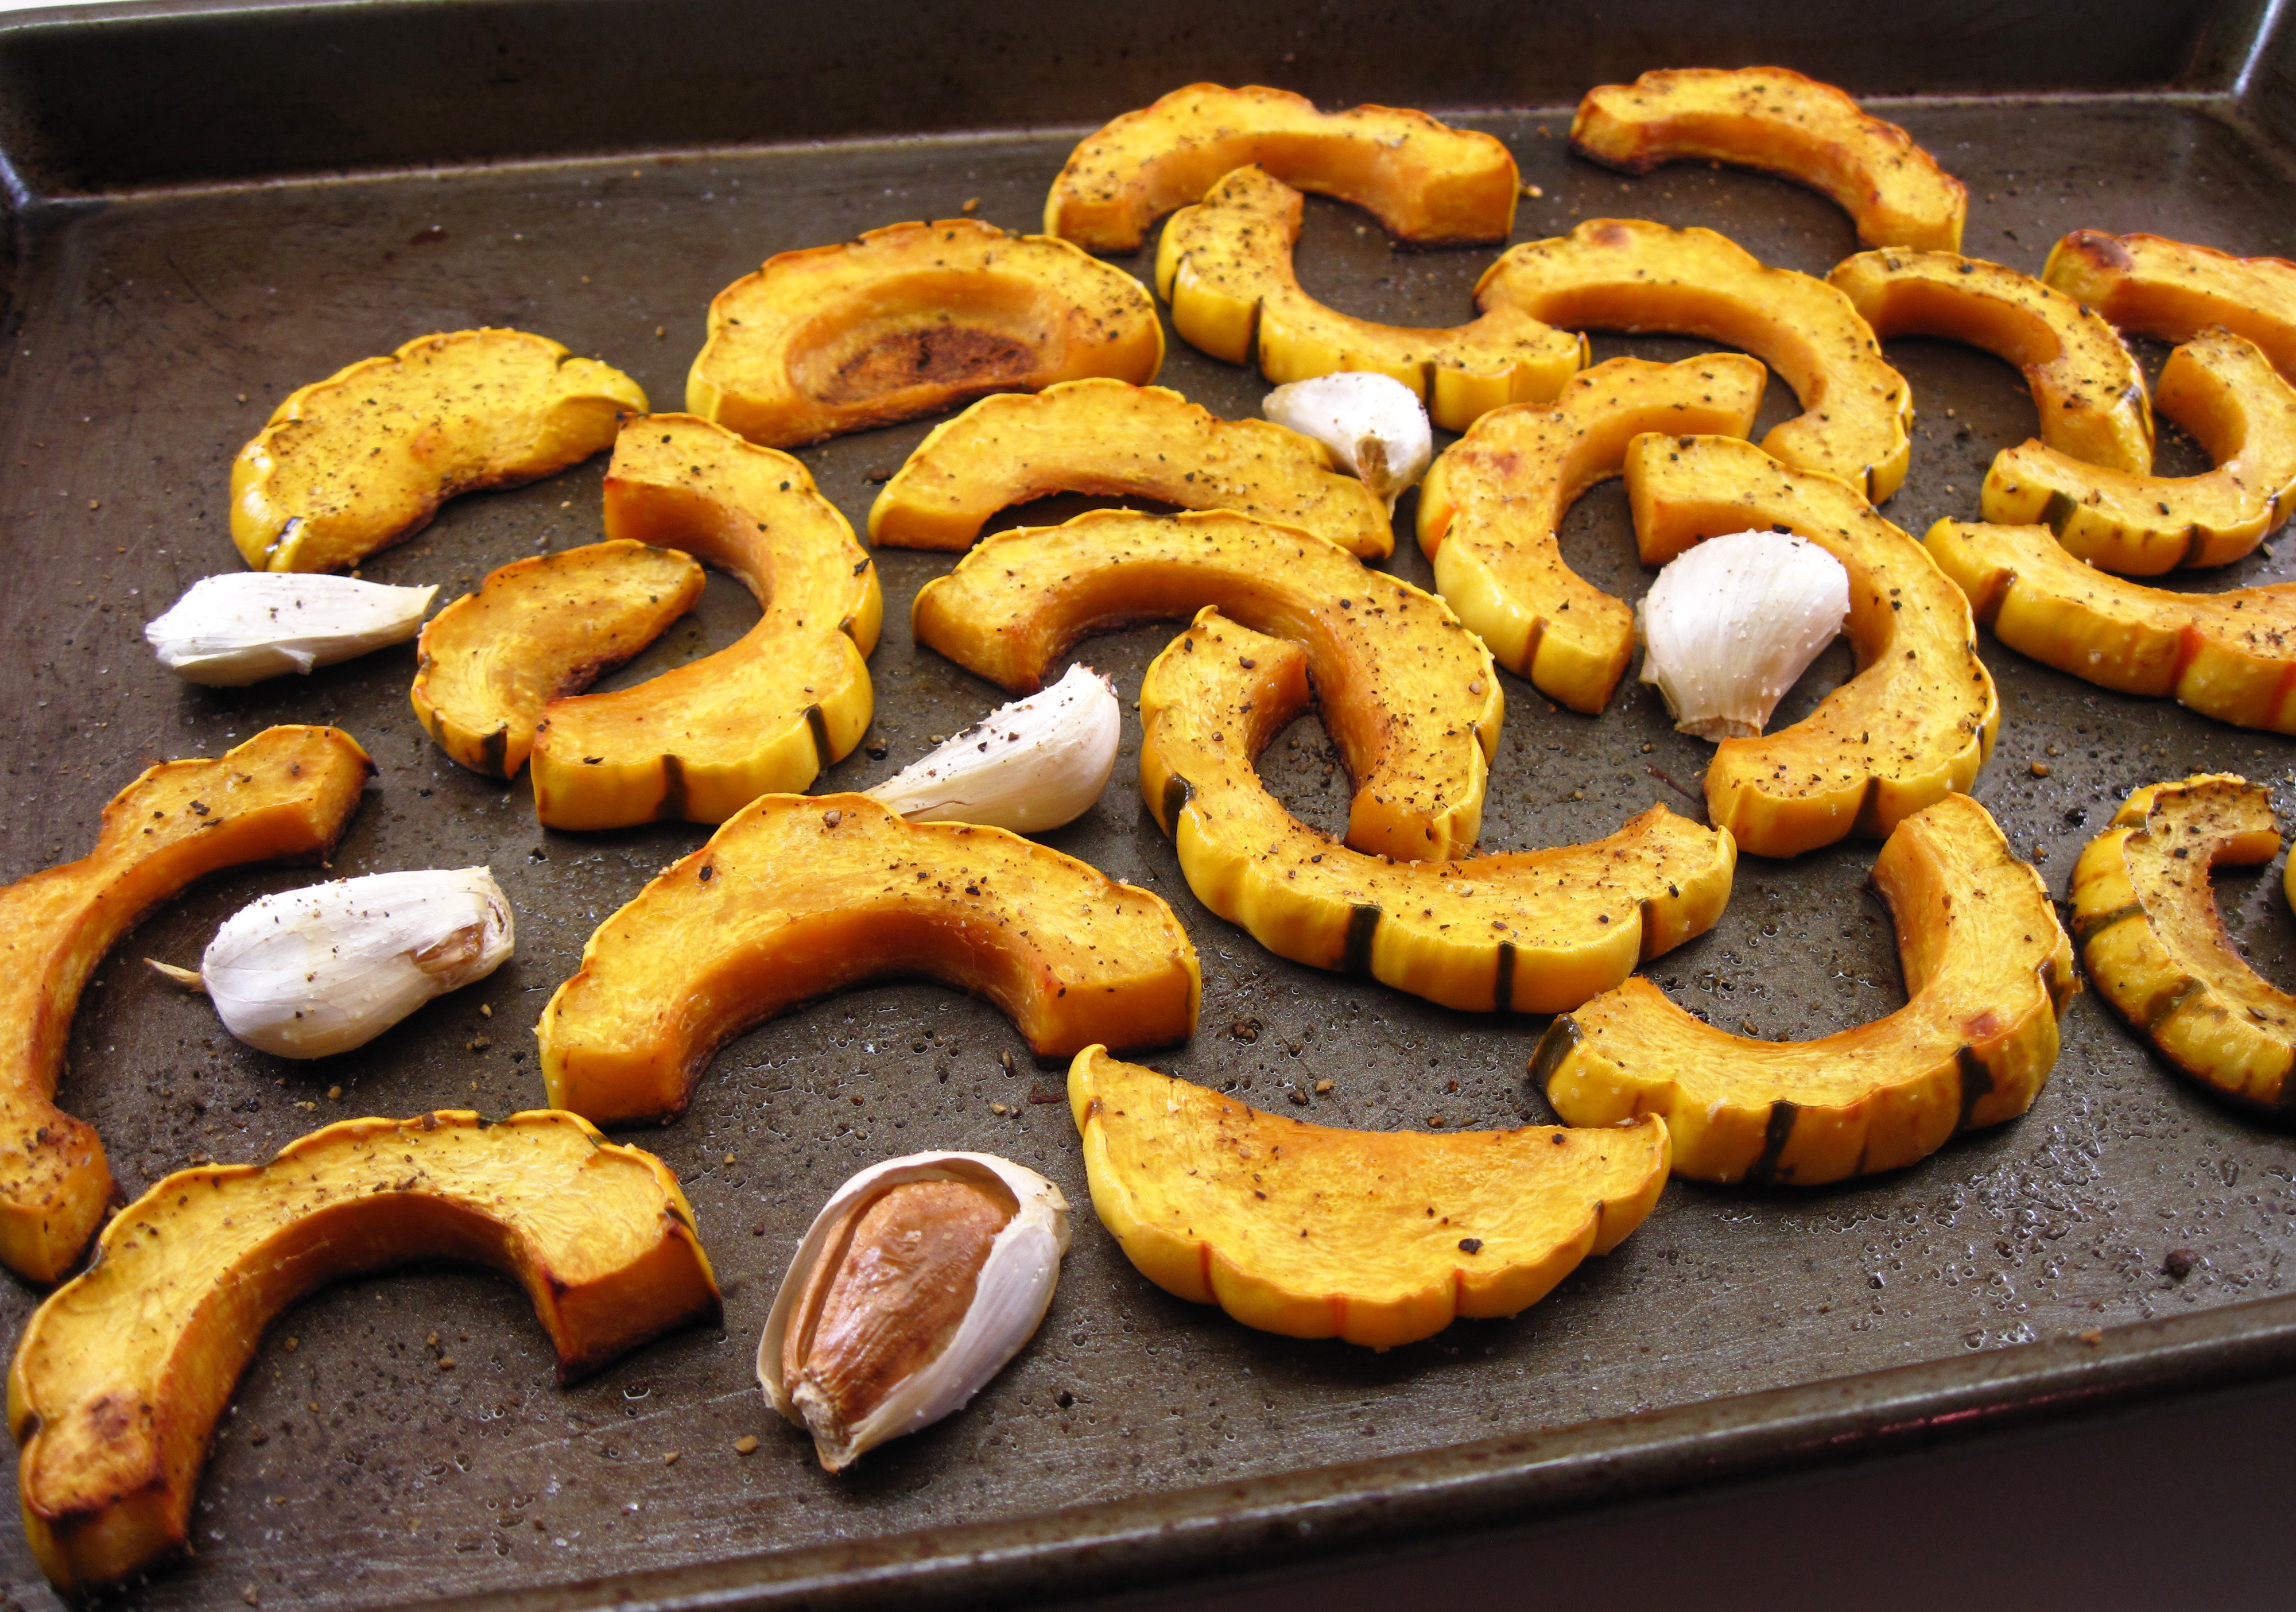
5. Roast for about 30 minutes, until tender. Squeeze the garlic cloves out of their skins and serve with the squash.
a


