Welcome!
You'll find over 470 of my favorite recipes here, including ideas for Quick meals, Cooking for 2, Feasting on Leftovers, and cooking with 5 Ingredients or Less. I'm adding new posts regularly; you can subscribe by email or RSS feed if you'd like to receive the latest recipes. Bon appétit!
Homemade Bean with Bacon Soup
By Kath Dedon
When I was a kid, we often had Campbell’s soup for lunch. Mom believed in having something hot for lunch during the long, cold, Minnesota winters.
I can’t think of any Campbell’s soup that I didn’t like back then, but I think my favorite was their Bean with Bacon.
When I saw Elise Bauer’s recipe for Bean and Bacon Soup on Simply Recipes, I had to try it. I was not disappointed. We really enjoyed it. Beans and bacon really do partner well together! I’ll definitely keep this one in the soup rotation during the cooler seasons.
.

Homemade Bean with Bacon Soup
(Adapted from Elise Bauer’s recipe on Simply Recipes)
Serves 4 – 6
1 pound navy beans (also called “pea” beans)
5 ounces of bacon, cut into ½-inch wide pieces (about 4 or 5 pieces of thick-sliced bacon)
2 cups chopped onion (1 large)
¾ cup chopped celery (about 2 large stalks)
¾ cup chopped carrots (1 large carrot)
3 cloves garlic, minced (about 1 tablespoon)
6 cups chicken stock (plus an extra cup or two to thin the soup if it’s too thick)
2 bay leaves
1 teaspoon dried thyme (or 1 tablespoon fresh)
2½ teaspoons kosher salt (or 1¼ teaspoons table salt)
¼ teaspoon black pepper
3 tablespoons tomato paste
½ teaspoon paprika
1 ounce bacon, cooked and crumbled for garnish (optional)
- First thing in the morning rinse and sort the beans. Put them in a large pot and cover with plenty of water. Cover and let them soak for 8 -10 hours.

.
2. Put the bacon in a large, thick-bottomed Dutch oven. Cook over medium heat for 2 or 3 minutes, until it has started to render its fat.
3. Add the onion, celery, and carrots to the pot. Cook, stirring occasionally, until the vegetables have softened, about 12 – 15 minutes.
4. Add the garlic and cook, stirring for an additional minute.
5. Add the stock, bay leaves, thyme, salt, and pepper. Bring the soup to a boil. Reduce the heat to a simmer and partially cover the pot. Simmer for 1 hour, until the beans are done.
6. Stir in the tomato paste and paprika. Simmer for 5 more minutes.
7. Remove the bay leaves and use an immersion blender to partially blend the soup. You want some of the beans to remain intact.
8. Season to taste with salt and pepper.
9. If the soup seems too thick, thin it with a bit more chicken stock.
10. Serve, garnished with crumbled bacon, if desired.

Share this:

Instant Pot Punjabi-Style Black Lentils
By Kath Dedon
.
Inspired by Deb Perelman’s recipe for Punjabi-Style Black Lentils, I decided to see if I could adapt it to make it in my Instant Pot. I have to say, it worked quite well and my Instant Pot Punjabi-Style Black Lentils was delicious.
You might wonder why it is called “Punjabi-Style”. It is very similar to Dal Makhani, a dish from the Punjab region of northern India. Dal Makhani is made with a black bean called urad dal, which is not the same as the lentils called black beluga lentils. For most people in the U.S., black beluga lentils are easier to find than black urad dal. Deb used black beluga lentils and I decided to follow her lead. I found them at Metropolitan Market in Seattle.
Melissa Clark, of the New York Times, has a handy guide about using an Instant Pot. It has a section on how to convert conventional recipes for the Instant Pot. Following her guidelines, I reduced the cooking time and the water. I was very pleased with the way my Instant Pot Punjabi-Style Black Lentils turned out! Give it a try if you have an Instant Pot. If you don’t, try Deb’s recipe on her Smitten Kitchen blog.
.

Instant Pot Punjabi-Style Black Lentils
(Adapted from Deb Perelman’s stovetop version on Smitten Kitchen)
Serves 4 – 6
2 tablespoons butter, oil, or ghee (I used butter.)
½ large yellow onion, finely chopped
½ teaspoon cumin seeds
1-inch piece of peeled ginger, finely chopped (2-3 tablespoons)
2 garlic cloves, finely chopped
1 cup canned crushed tomatoes
1 teaspoon ground coriander
¼ teaspoon ground turmeric
½ teaspoon garam masala
½ teaspoon cayenne pepper
1½ cups water
1 teaspoon salt
1 cup dried black beluga lentils
To Finish:
1½ tablespoons butter
2 tablespoons heavy cream
Handful of chopped fresh cilantro
- Chop the onion and set it aside.
- Chop the ginger and garlic and put them both in a small bowl.
- Put the crushed tomatoes in a bowl, and then add the coriander, turmeric, garam masala, and cayenne pepper to the bowl. (They all get added to the pot at the same time.)
- Using the Sauté function, heat the Instant Pot until it indicates that it’s hot. Add the butter (or oil) to the pot. As soon as it’s melted, add the chopped onions and cumin seeds. Cook, stirring occasionally, until the onion is starting to brown.
- Add the ginger and garlic and cook, stirring, for a minute more.
- Add the crushed tomatoes with the spices and cook, stirring often, for about 3 more minutes.
- Add the water, salt, and lentils. Stir.
- Press the Keep Warm/Cancel button to stop the sauté function. Put the cover on the pot, setting the Pressure Release to Sealing. Press the Manual button and set the time to 13 minutes.
- When the 13 minutes of pressure cooking is up, do nothing and let the pressure release naturally. (I didn’t time it, but it takes about 15 – 20 minutes.)
- When the pressure has released, open the pot. Put the butter on the lentils to melt and stir in the cream.
- Serve and top each serving with cilantro, if desire.

.
Share this:

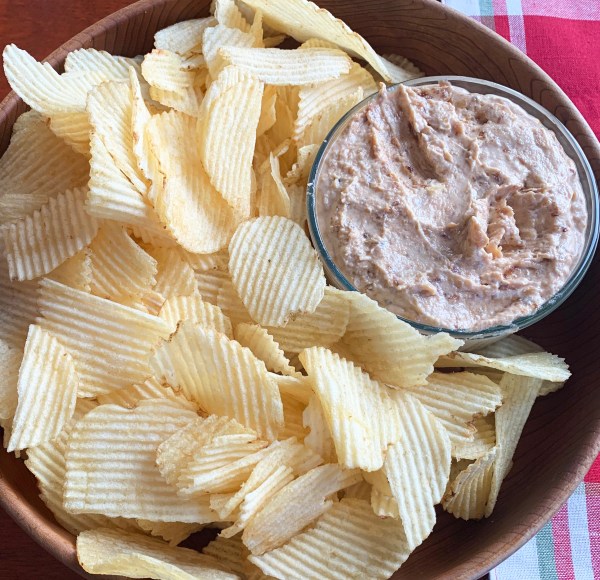
Pan-Fried Onion Dip
By Kath Dedon
Next Sunday is Super Bowl Sunday. Are you looking for a dish to share at a Super Bowl party? I recommend that you consider Ina Garten’s Pan-Fried Onion Dip!
Onion Dip has been around for decades, but we used to stir dry onion soup mix into sour cream to make it. I can’t lie; I loved that dip! Today, though, I prefer to use more natural ingredients. I’d had my eye on Ina’s Pan-Fried Onion Dip for quite a while. I decided to make it for a New Year’s Day party.
Of course, it was no surprise that the pan-fried onions made a dip that was much better than a dip made with a mix. The dip was well-received at the party, and I would definitely make it again.
I kept it retro and served the Pan-Fried Onion Dip with potato chips. Delicious!
.
.
Pan-Fried Onion Dip
(Adapted from Ina Garten’s recipe online.)
.
.
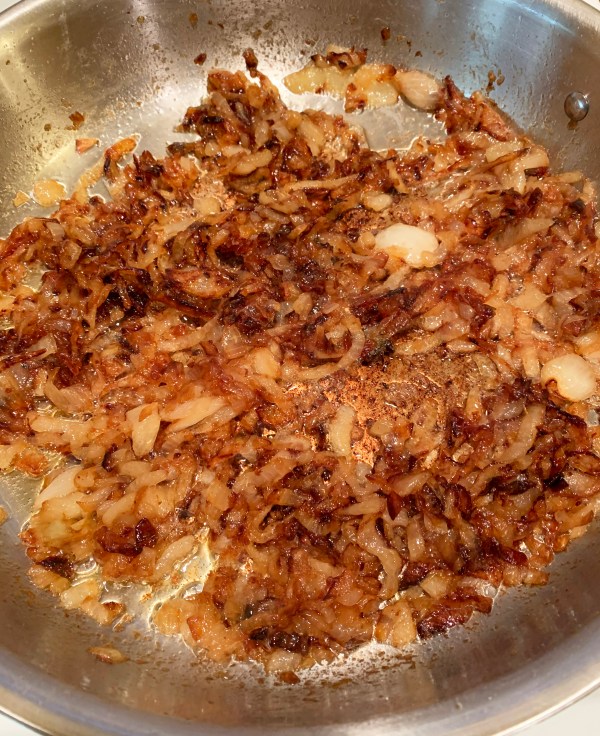
Don’t try to rush the onions. Keep the heat low to reach the stage where they are browned and caramelized, but not burned.
.
2 large yellow onions
¼ teaspoon ground cayenne pepper
1 teaspoon kosher salt
½ teaspoon freshly ground black pepper
4 tablespoons unsalted butter
¼ cup vegetable oil (I used avocado oil.)
4 ounces cream cheese, at room temperature
½ cup sour cream
½ cup mayonnaise
½ teaspoon Worcestershire sauce (Optional. I added it for a bit of umami.)
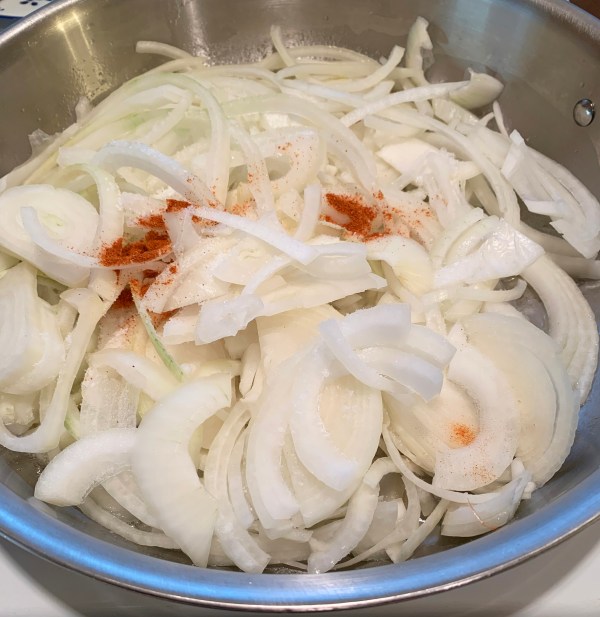
- Peel the onions. Cut them in half from top to bottom (through the root end). Cut off the roots. Slice the onions into 1/8-inch half-rounds. Put them in a large bowl.
- Add the cayenne pepper, salt, and black pepper and stir so the seasonings are well-distributed.
.
.

3. Heat a large skillet over medium heat.
4. Add the butter and oil to the hot skillet. When the butter has melted, add the onions. Cook, stirring often for about 10 minutes.
5. Turn the heat down to medium-low and continue to cook the onions, stirring occasionally, for 20 – 30 minutes more. The onions will become browned when they are done.
6. Remove the pan from the heat and let the onions cool a bit.
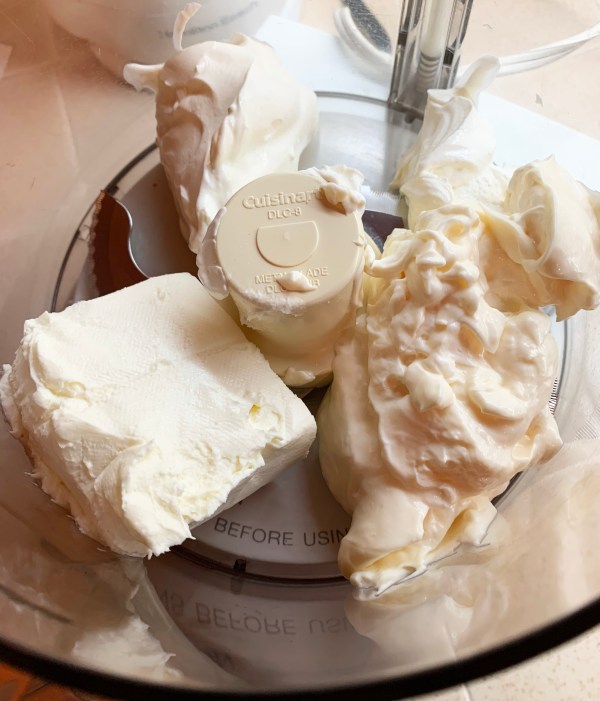
7. Put the cream cheese, sour cream, and mayonnaise in a food processor. Process until smooth.
8. Add the onions and Worcestershire sauce to the food processor. Process until the onions are mixed in well and cut up a bit.

9. Serve with potato chips.
10. Can be made ahead and refrigerated. When it’s time to serve, bring it back to room temperature so the cream cheese can soften again.

.
Share this:

Streusel Coffee Cake
By Kath Dedon
.
This Streusel Coffee Cake is the one I often made for breakfast for Laura and Carrie when they were little. The recipe is easy to make and I often had all of the ingredients I needed to make it for a spur-of-the-moment treat.
The recipe is from the 1981 edition of Better Homes and Gardens® New Cook Book. The original recipe calls for ½ cup of raisins stirred into the batter, but we prefer it without the raisins. If you just love raisins, you may want to include them.
I’m happy to add this family favorite to the blog. Laura and Carrie won’t need to wonder which coffee cake recipe I made back in the day.
.
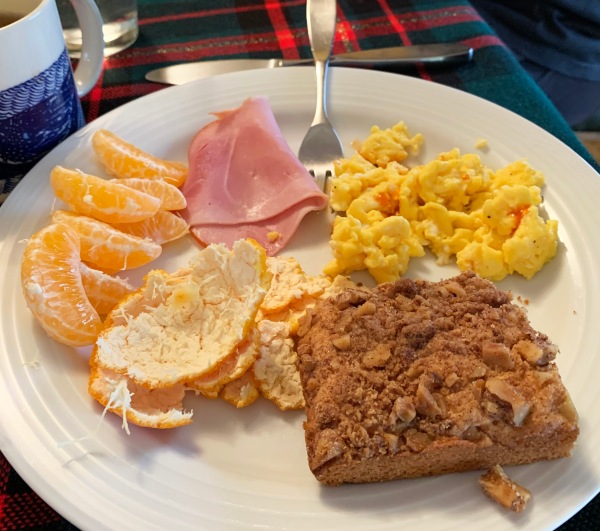
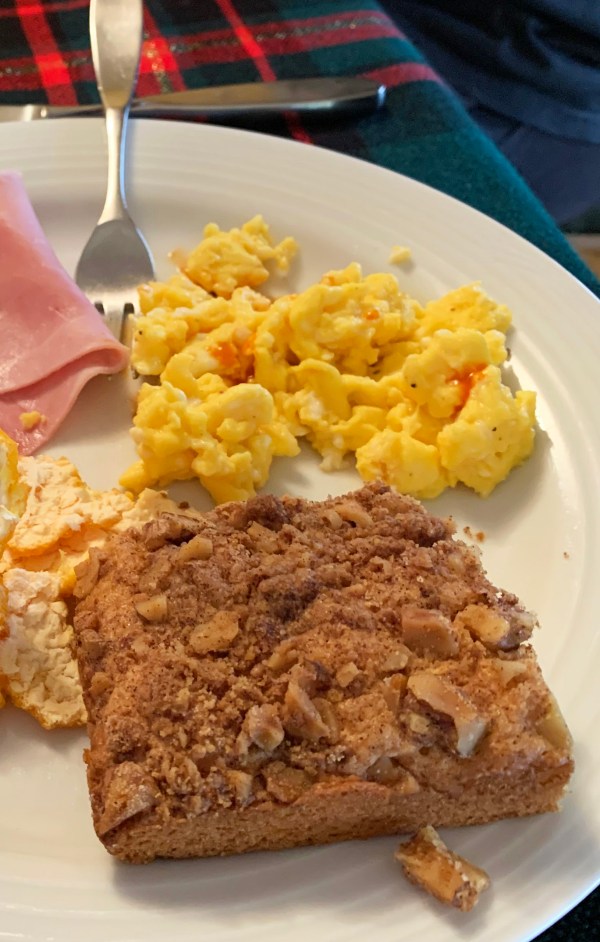
The Streusel Coffee Cake was terrific with our Christmas breakfast, which included Rhett’s fantastic scrambled eggs!
.
Streusel Coffee Cake
(Adapted from a Better Homes and Gardens® recipe)
Makes one 9 x 9-inch coffee cake
Note that the butter needs to be softened to room temperature.
¼ cup packed brown sugar (I used maple sugar)
1 tablespoon all-purpose flour
1 tablespoon butter, at room temperature
1 teaspoon ground cinnamon
½ cup chopped nuts (I used walnuts)
1½ cups all-purpose flour
¾ cup granulated sugar (I used maple sugar)
2 teaspoons baking powder
½ teaspoon salt
1 beaten egg
½ cup milk
¼ cup oil
½ cup raisins (optional, I didn’t add them)
- Preheat oven to 375°.
- Grease a 9x9x2-inch baking pan.
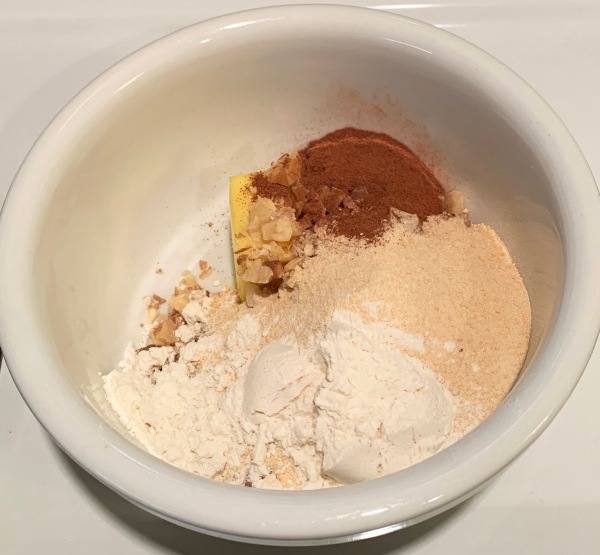
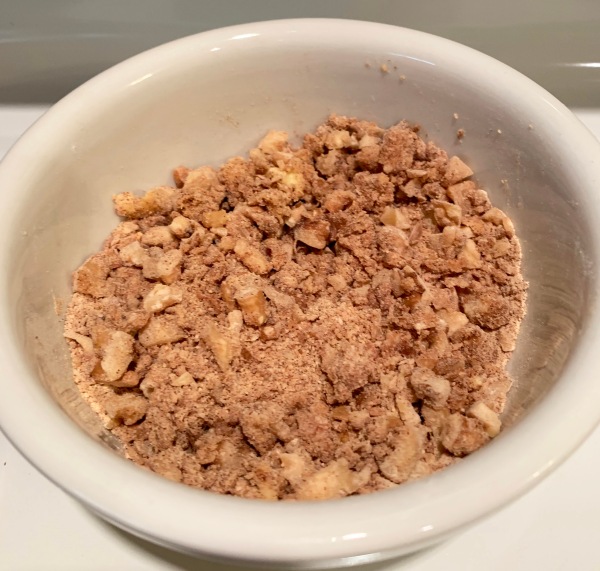
- Make the streusel topping. Mix the brown sugar, 1 tablespoon flour, butter, and cinnamon together. Stir in the chopped nuts. Set aside.
Sugar, flour, butter, and cinnamon for streusel topping
.
Chopped walnuts added to streusel ingredients
.
4. In a large bowl, stir the 1 ½ cups of flour, ¾ cup of sugar, baking powder and salt together.
5. In another bowl, whisk the beaten egg, milk and oil together and add to the flour mixture. Stir well.
6. Stir in the raisins, if using.
7. Spread the batter in the greased baking pan.
8. Sprinkle the streusel topping over the batter. Bake at 375° for about 25 minutes.
.
.
Share this:

Make-Ahead Turkey Gravy
By Kath Dedon
.
If you have made Make-Ahead Turkey Stock, it’s easy to make Make-Ahead Turkey Gravy. Get your gravy made ahead of time and freeze it. On Turkey Day you’ll have one less thing to make.
Without further ado, here’s how I did it.
.
Make-Ahead Turkey Gravy
(Adapted from a Julia Child recipe in The Way to Cook)
UPDATE November 27, 2024
If you print the recipe, please note you need to change the amount of flour from 6 tablespoons to 12.)
Makes about 4¾ cups, serving 12
9 tablespoons turkey fat, skimmed from the top of refrigerated Make-Ahead Turkey Stock
3 tablespoons butter
12 tablespoons Wondra flour
6 cups turkey broth
1 teaspoon fish sauce (optional; adds umami, not fishy flavor)
Salt and pepper, to taste
- Melt the butter in the turkey fat over medium heat.
- When the butter is melted, add the flour to make the roux. Cook, stirring constantly, for 10 – 15 minutes. The roux will turn brown.
Whisking the roux
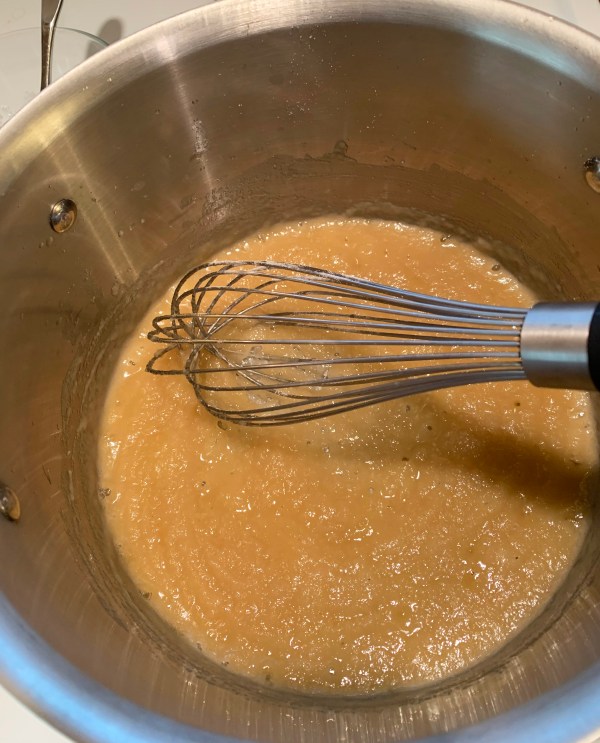
Darkened roux
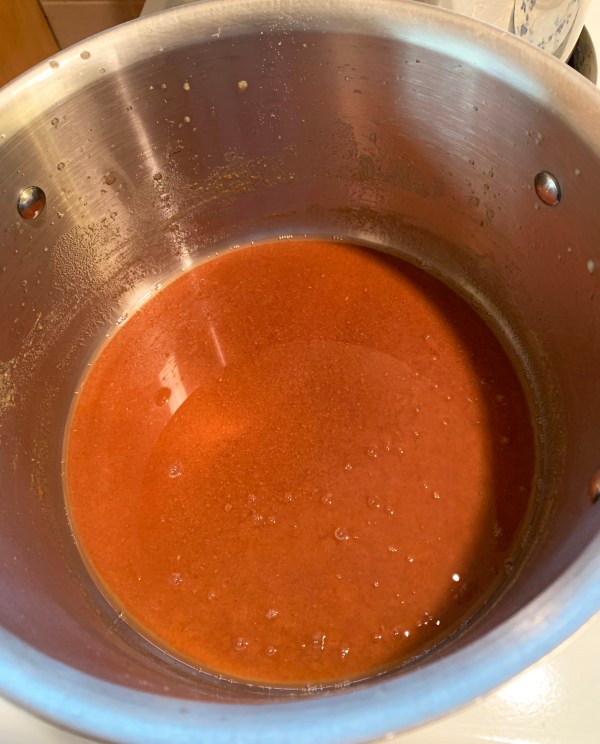
3. Remove the pan from the heat. Pour a small amount of the broth into the roux and whisk vigorously until it is smooth and lump-free.
4. Whisk in the rest of the broth. Whisk in the fish sauce, if using.
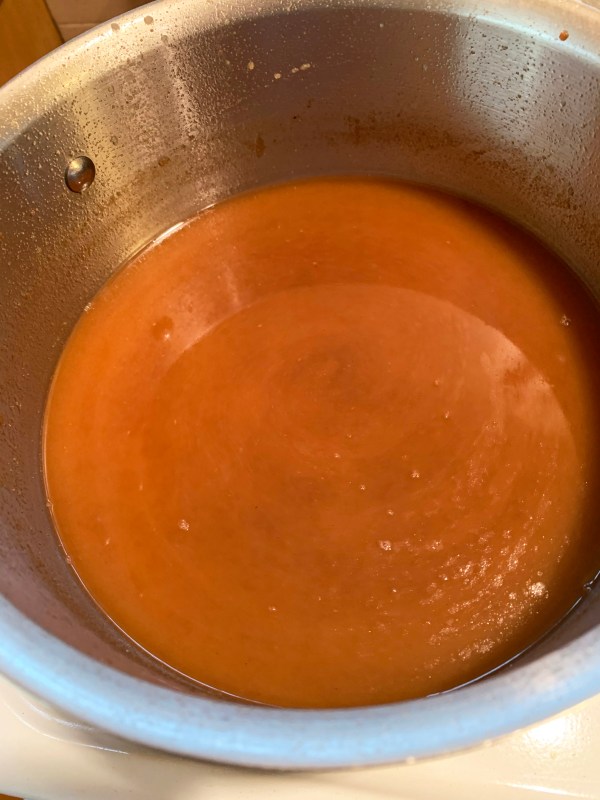
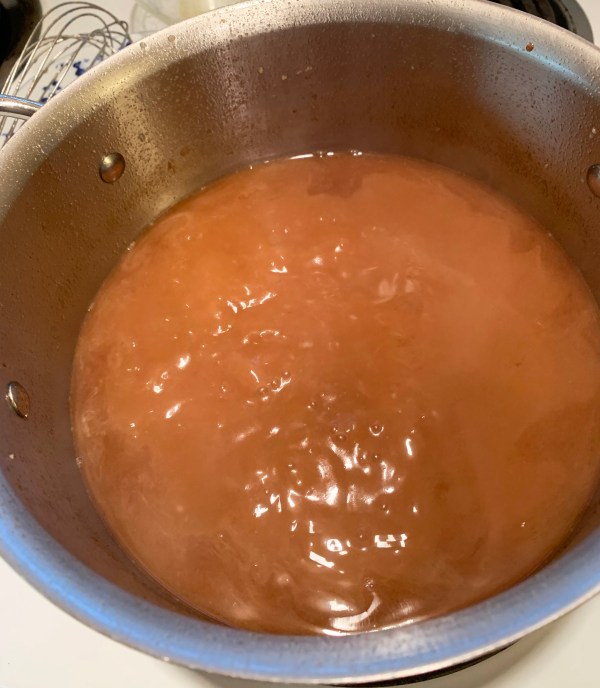
5. Put the pan back on the burner; reduce the heat so it is just simmering. Cook, stirring occasionally, for about 10 minutes.
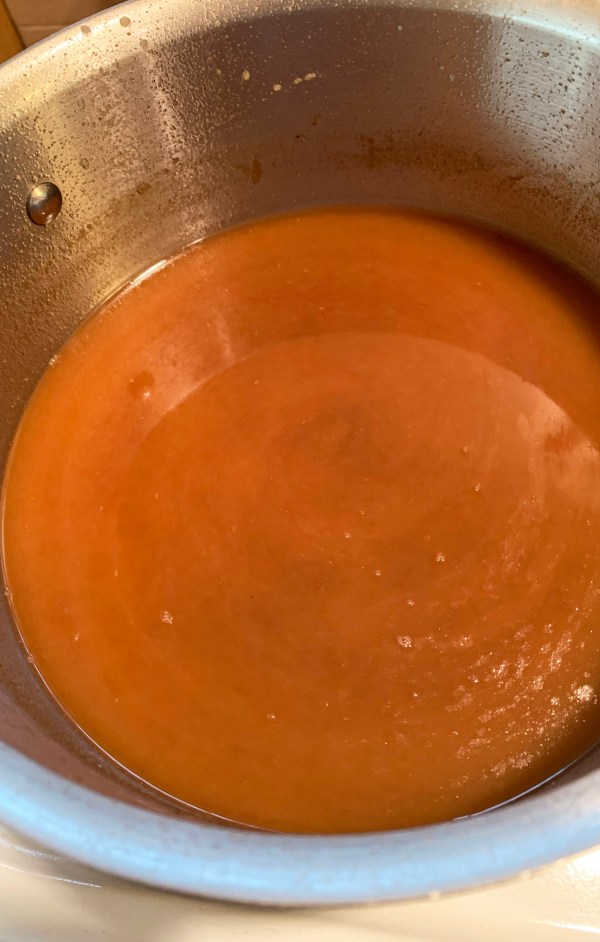
Simmering gravy
6. Refrigerate the gravy until it is chilled. Then freeze it. Defrost on the stovetop over low heat, stirring occasionally.
‘
.
Share this:

Make-Ahead Turkey Stock
By Kath Dedon
.
You can get a head start on your Thanksgiving feast if you make this Make-Ahead Turkey Stock and stick it in your freezer. I use a lot of stock to make Turkey Gravy and my Cornbread Dressing. It’s great to have it ready to go!
I chose a Food and Wine recipe because it makes about 3 quarts. But I took a tip from America’s Test Kitchen and used chicken stock instead of water. I figured it would have to make the stock more flavorful. I used Swanson’s Chicken Stock because it’s made with real food ingredients (Chicken Stock, Contains Less Than 2% Of: Salt, Carrots, Cabbage, Celery, Onions, and Parsley).
Make-Ahead Turkey Stock is admittedly an afternoon project, but it’s mostly hands-off and is very easy. There’s still time to get some turkey parts and make turkey stock for the big day.
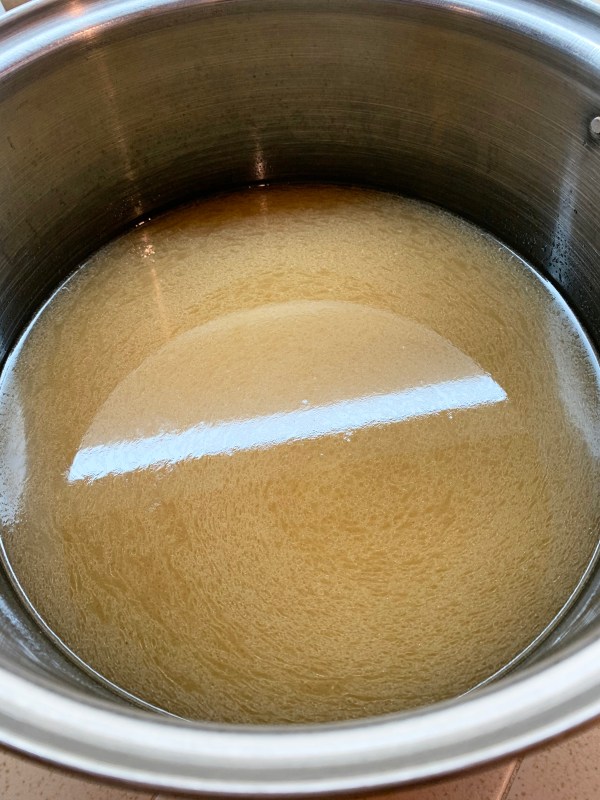
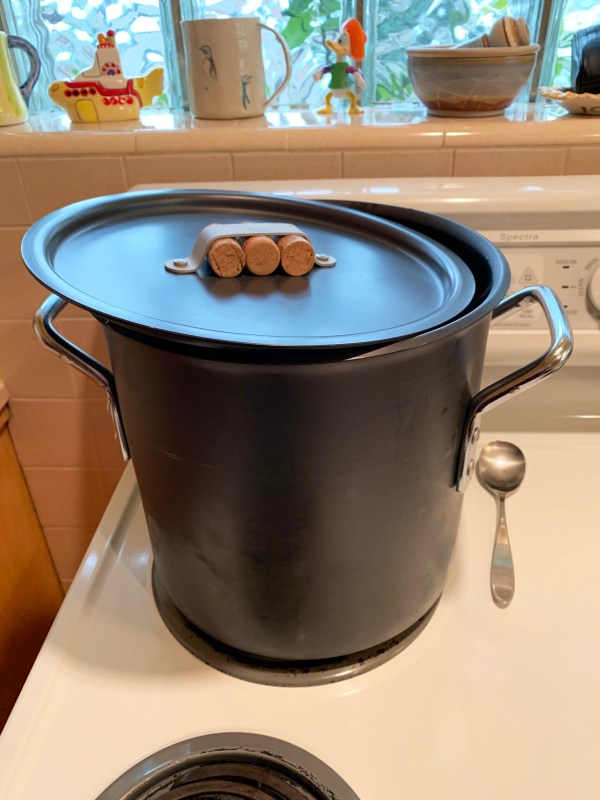
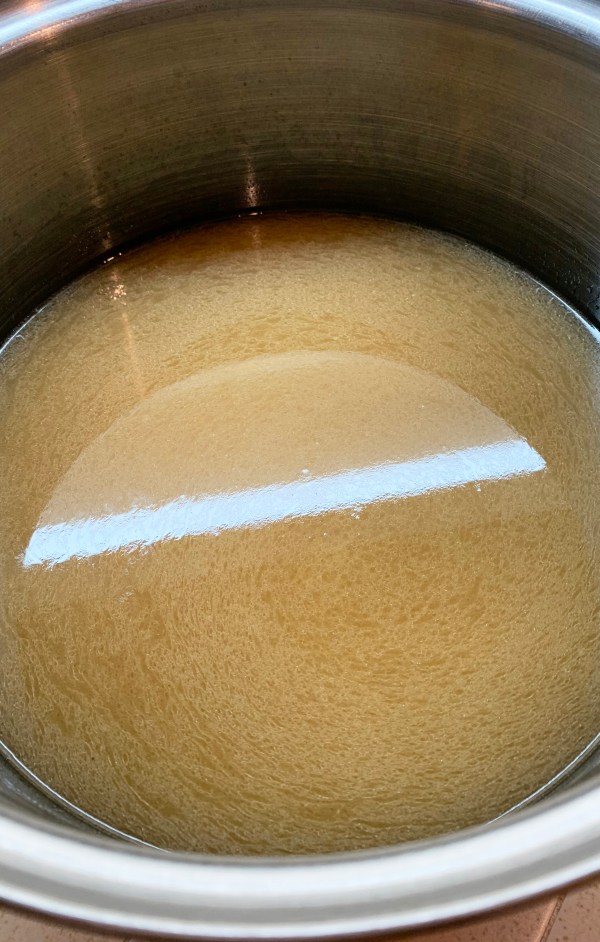
Finished Make-Ahead Turkey Stock, ready to freeze
.
Make-Ahead Turkey Stock
(Adapted from recipes from Food and Wine and America’s Test Kitchen)
Makes about 3 quarts
7 pounds turkey parts, such as wings, thighs, and drumsticks (I used meaty turkey backs)
4 quarts chicken stock (or water)
1 large onion, thickly sliced
1 large carrot, thickly sliced
1 large celery rib, thickly sliced
2 garlic cloves, smashed
Freshly ground pepper
(1 tablespoon salt, if you use water instead of stock)
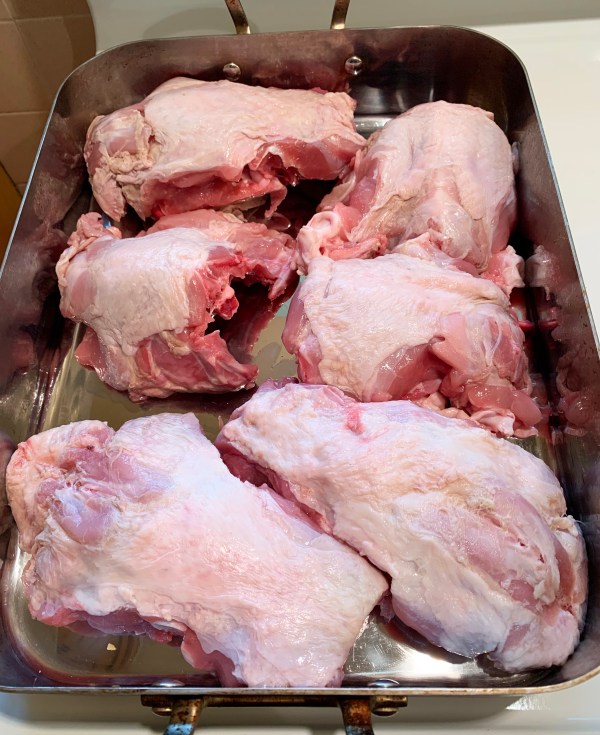
- Preheat the oven to 400°.
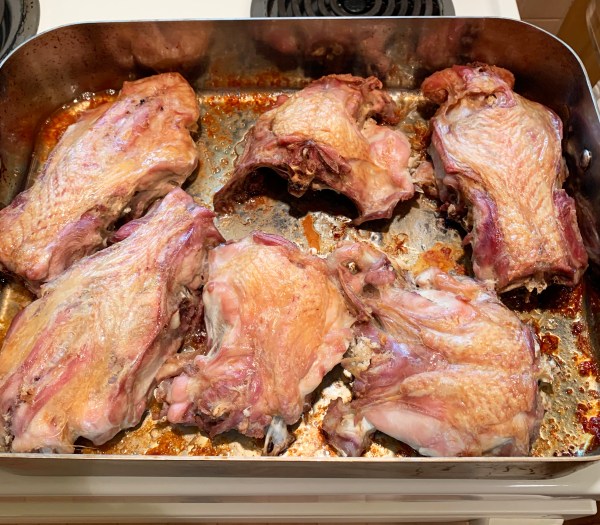
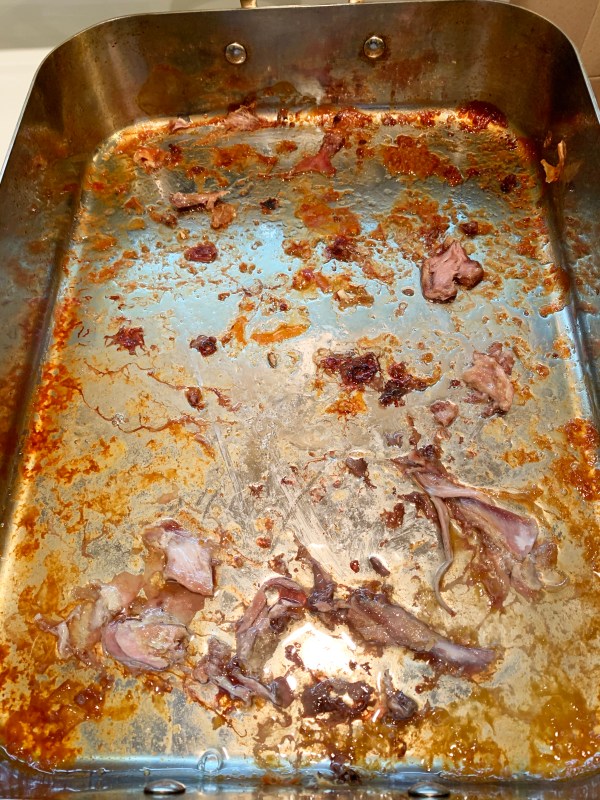
- Put the turkey parts in a large roasting pan and roast for 1½ hours. Put the turkey in a large stock pot.
Turkey backs
Finished roasting
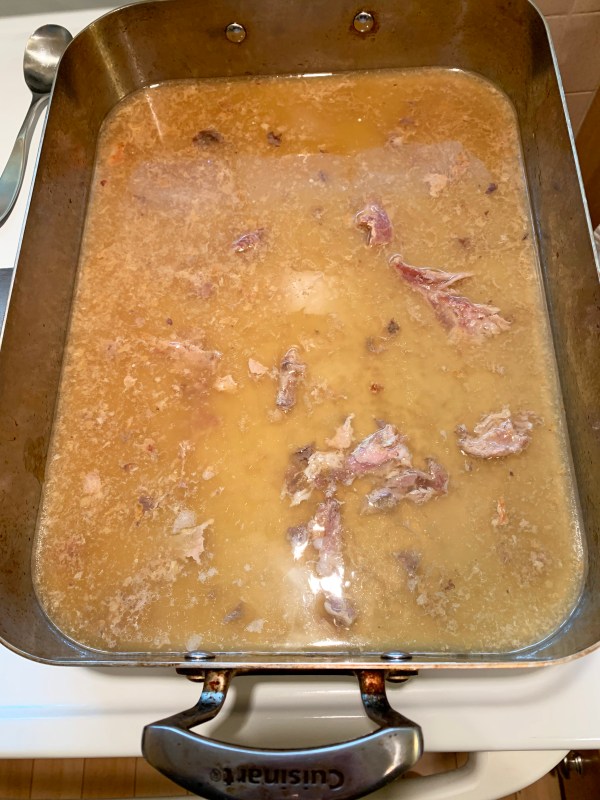
3. Put the roasting pan over two burners. Put 4 cups of the stock in the pan and heat it up, scraping the browned bits from the bottom of the pan. Pour all of the liquid with the bits into the pot with the turkey.
.
.
Four cups of the chicken stock added to the roasting pan
4. Add the rest of the chicken stock to the pot, along with the onion, carrot, celery rib, garlic, and pepper.
.
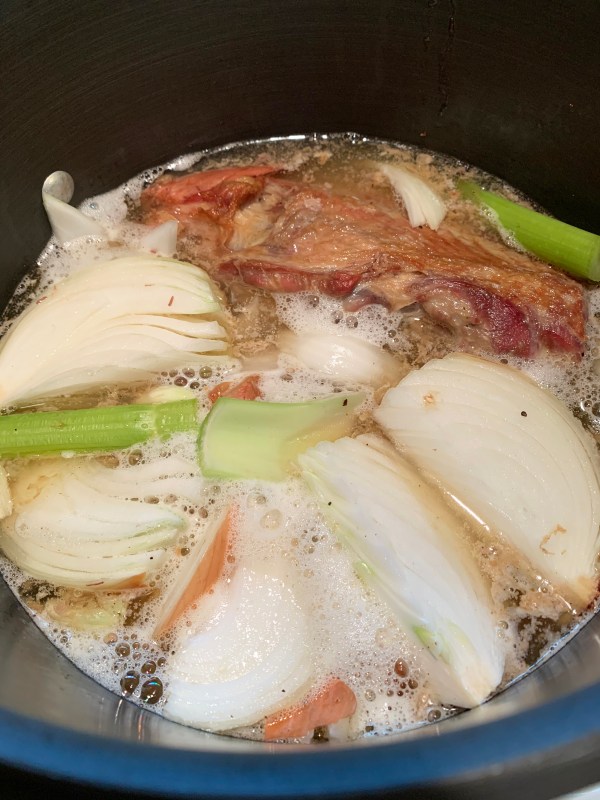
5. Bring the pot to a boil. Then reduce the heat so it is simmering. Simmer for 2½ hours, partially covered with a lid.
.
6. Strain the stock. Refrigerate overnight.
The next day:
- Carefully scrape the congealed fat from the surface of the stock. Reserve for making gravy. The stock and turkey fat will keep for 3 days in the refrigerator. For longer storage, freeze the stock and the fat separately. They can be frozen for a month.
Tip: Measure the amount of stock you will need for the gravy and put it in one labelled container or freezer bag. Measure the amount of stock you will need for dressing and put it in another labelled container or freezer bag. You can freeze any extra stock in a third container. You’ll now be able to defrost what you need when you need it.
.
.
Share this:

Braised Lentils with Polish Kielbasa and Cabbage
By Kath Dedon
.
Carrie recommended this Braised Lentils with Polish Kielbasa and Cabbage to Laura, and she recommended it to me. With their good reviews in mind, I had to give it a try.
The recipe is from Carla Snyder’s excellent cookbook, One Pan, Two Plates. The subtitle is “More than 70 Complete Weeknight Meals for Two”. I love the idea of cooking an entire meal in one pan. Although each recipe is supposed to serve two, I find that the portions are so generous that there is usually enough to save some for my lunch. As someone who enjoys leftovers for lunch (or breakfast), I consider that a bonus.
Braised Lentils with Polish Kielbasa and Cabbage is a great recipe for cooler fall evenings. I’m sure we’ll enjoy it again soon!
.
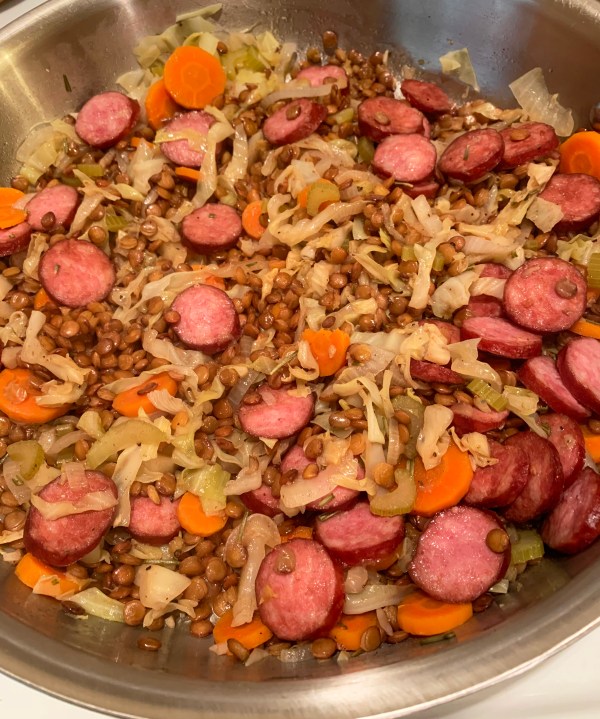
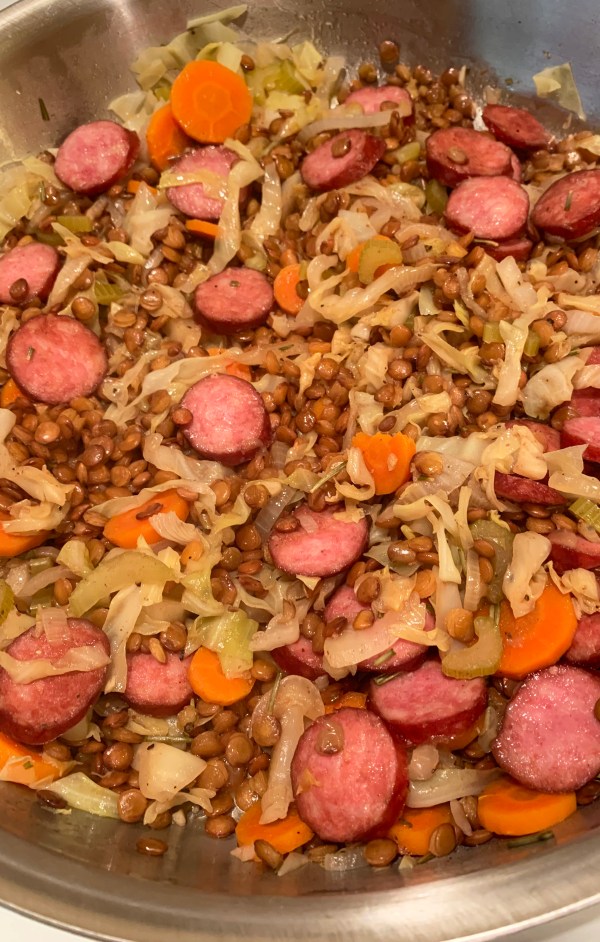
A meal in a pan!
.
Braised Lentils with Polish Kielbasa and Cabbage
(Adapted from Carla Snyder’s recipe in One Pan, Two Plates)
Serves 2 – 3
1 tablespoon vegetable oil
1 small yellow onion, thinly sliced
2 cups (about 6 ounces/170g) thinly sliced cabbage
1 carrot, peeled and thinly sliced
½ celery stalk, thinly sliced
1 clove garlic, minced
2 teaspoons fresh rosemary or 1 teaspoon dried
½ teaspoon salt
Freshly ground black pepper
1/3 cup dry white wine (or apple juice)
¾ cup dried lentils
1¼ cups chicken broth (I used 1 teaspoon Better than Bouillon Chicken Base in 1¼ cups water.)
8 oz./255 g Polish kielbasa, cut into bite-size pieces (I actually used Uli’s Smoked Bratwurst.)
2 teaspoons minced fresh flat-leaf parsley (Optional; I didn’t use it.)
1. Prep all of the ingredients so they are ready to go. (Chop the vegetables and sausage, measure the wine, lentils, and broth, etc.)
2. Heat a large skillet over medium-high heat. When it’s hot, add the oil. Swirl it around and let it heat up.
3. Add the onion to the skillet and cook, stirring occasionally, until it softens a bit, about 1 minute.
4. Add the cabbage, carrot, celery, garlic, rosemary, salt, and a bit of pepper to the pan. Cook, stirring occasionally, until the vegetables have softened a bit, about 3 or 4 minutes.
.

.
5. Add the wine and cook until most of the wine has evaporated.
6. Add the lentils, chicken broth and kielbasa, Stir so the lentils are submerged in the broth. Bring the mixture to a boil, then cover, reduce the heat to a simmer. Cook for 25 – 30 minutes, until the lentils are done.
.

.
7. Serve and garnish with parsley, if desired.
.
.
Share this:

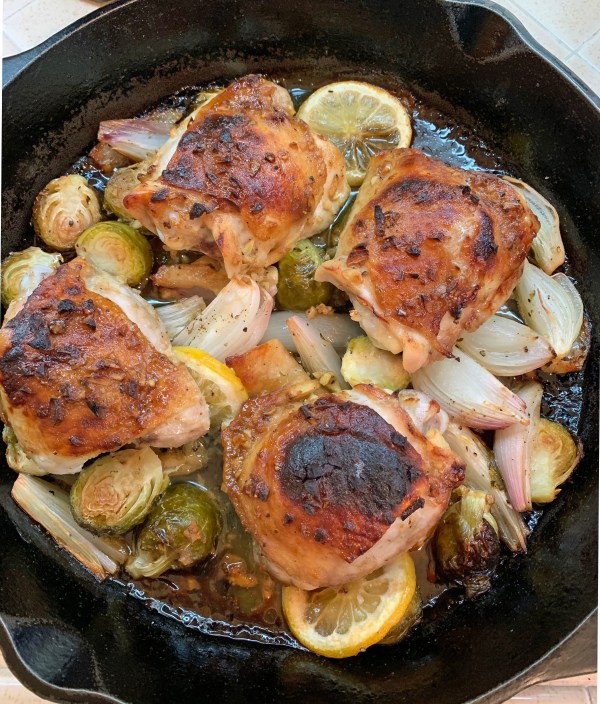
Sheet Pan Chicken, Sausage, and Brussels Sprouts
By Kath Dedon
.
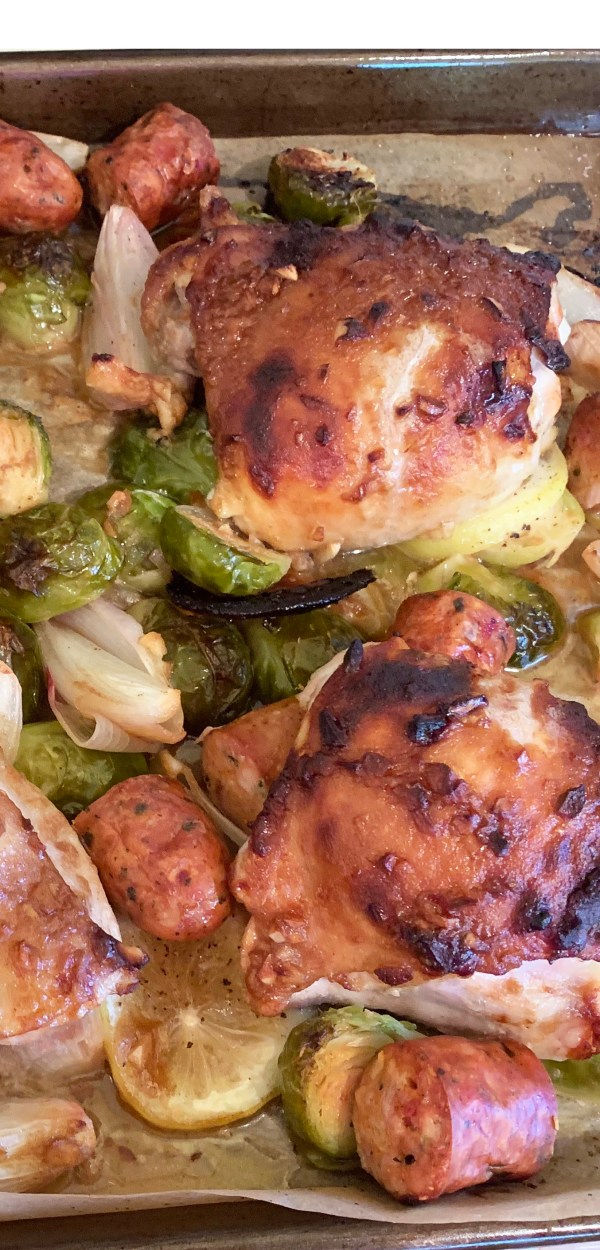
We have enjoyed this Sheet Pan Chicken, Sausage, and Brussels Sprouts recipe twice now. The recipe is adapted from an Emily and Matt Clifton recipe on Serious Eats. They used a 12-inch cast iron skillet. The first time I made it, I also used a cast iron skillet. The skillet was pretty full, despite the fact that I didn’t use the sausage and only had about a half pound of Brussels sprouts. The second time I made it I did use 12 ounces of sausage and decided to make it a sheet pan dinner.
I have to say I enjoyed it with and without the sausage. Either way, it’s a tasty dinner. The shallots and the sliced lemon add wonderful flavors to the dish. And the sauce on the chicken is perfect!
This easy Sheet Pan Chicken, Sausage, and Brussels Sprouts is a perfect meal for a fall evening. And it’s quick enough for a weeknight dinner.
.
.
Sheet Pan Chicken, Sausage, and Brussels Sprouts
(Adapted from Emily and Matt Clifton’s recipe on Serious Eats)
.
.Serves .
1 pound Brussels sprouts, trimmed and halved (I actually only used about 12 ounces)
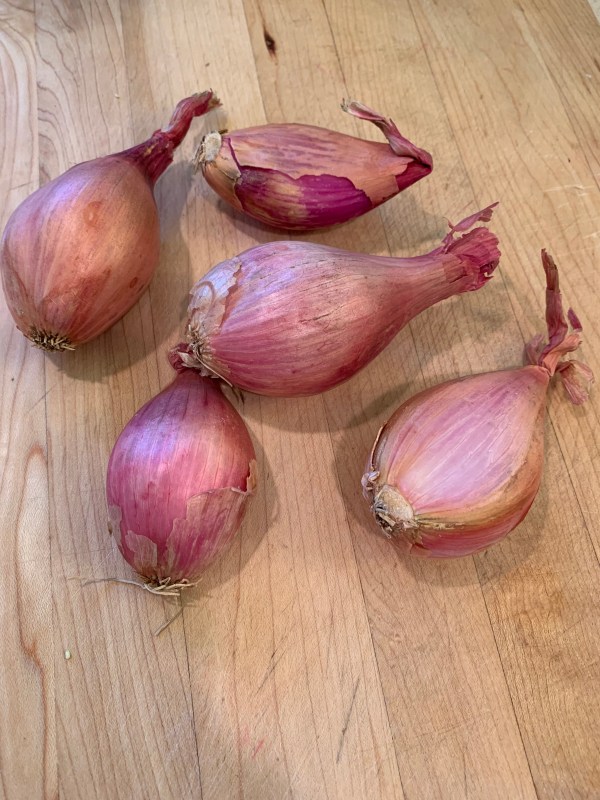
5 medium shallots, peeled and quartered
1 lemon, thinly sliced into rounds, seeds discarded
3 tablespoons extra-virgin olive oil, divided
Kosher salt and freshly ground black pepper
3 medium cloves garlic, minced
1½ tablespoons Dijon mustard
1½ tablespoons honey
1 tablespoon Worcestershire sauce
4 bone-in, skin-on chicken thighs (about 1½ pounds)
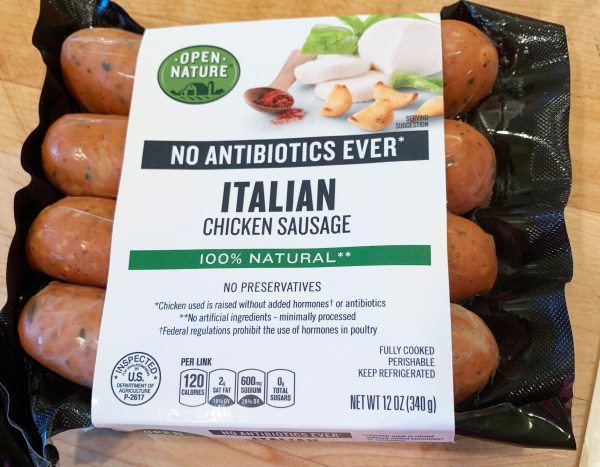
12 ounces fully cooked Italian sausages, cut into 2-inch lengths
.
,
- Put the oven rack in the lower third of the oven and preheat to 450°F (230°C).
- Put the Brussels sprouts, shallots, and lemon slices in the center of a parchment-lined sheet pan. Drizzle 2 tablespoons of the olive oil over them; toss them with the oil and spread them out on the sheet pan. Sprinkle them with kosher salt and pepper.
..
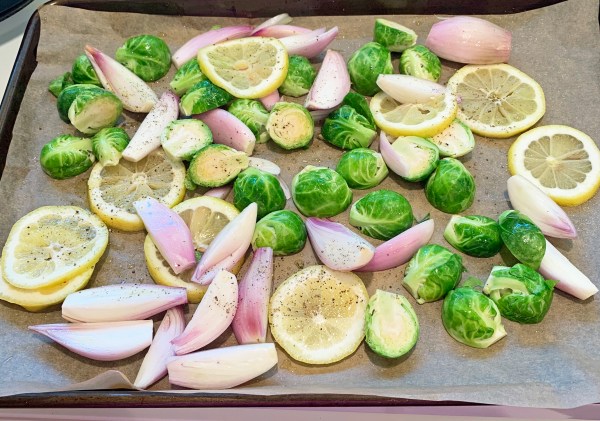
.
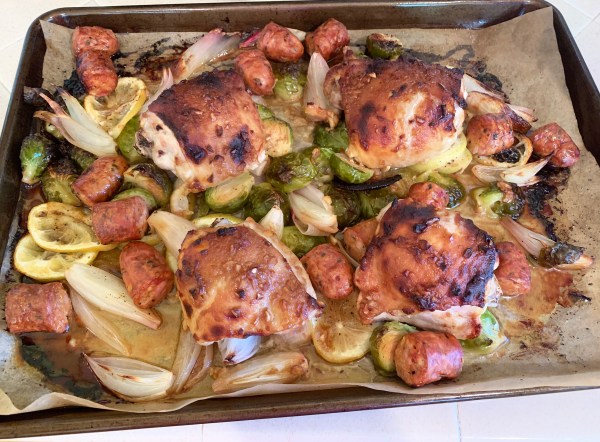
3. Mix the garlic, mustard, honey, Worcestershire sauce, and the remaining tablespoon of oil together in a small bowl. Put the chicken and sausage on top of the vegetables. Spread the sauce on top of the chicken.
.
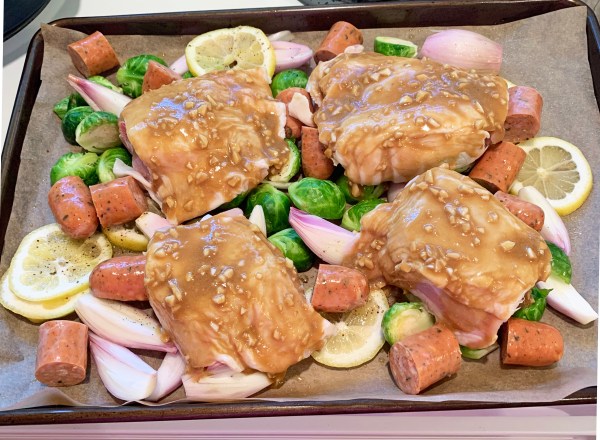
.
4. Roast until the chicken is done (165°F, 75°C). This took 40 minutes in my oven. Start checking the chicken at 30 minutes.
.
This is the sausage I used.
.
The first time I made it without the sausage.
,
.
Share this:

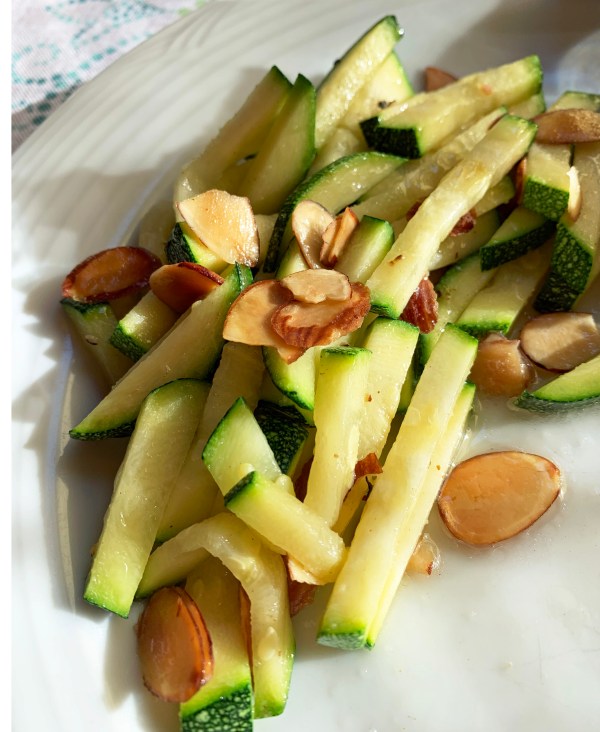
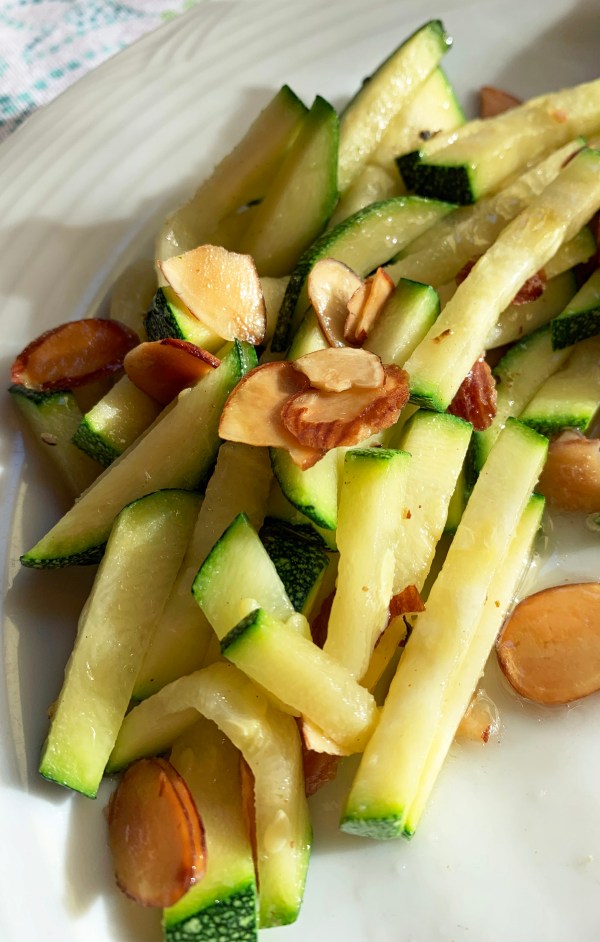
Quick Zucchini Sauté
By Kath Dedon
.
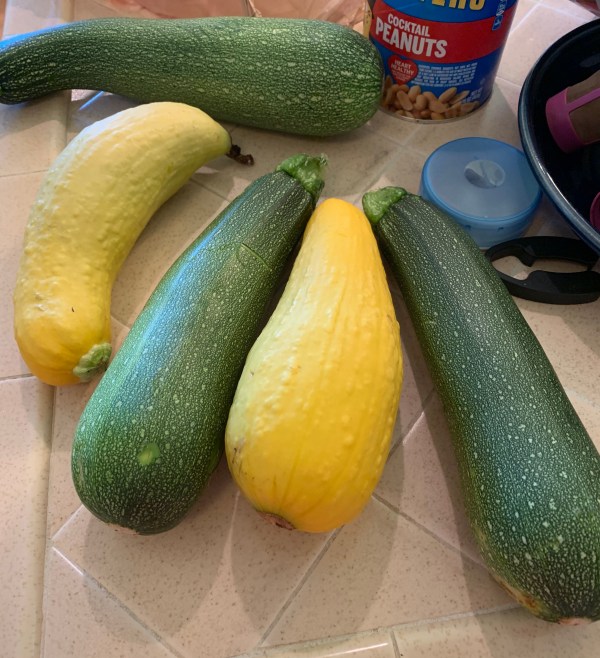
Our neighbor has been generously sharing the bounty of her garden with us. (Thank you, Gail!) We do love zucchini and yellow summer squash. I’ve been roasting them and air frying them. Delicious, but I was looking for some different ways to prepare them.
Quite a while ago Laura and Byron told me how much they liked Deb Perelman’s Quick Zucchini Sauté. The recipe was published 12 years ago on her Smitten Kitchen blog. I made it but Bob didn’t really like it. I’m pretty sure I followed the recipe as written, including the optional pecorino Romano cheese.
Yesterday I stopped by Laura and Byron’s house to give them some zucchini. I mentioned that I was going to make Deb’s Zucchini Fritters. They have made them and said that they are very good, but again told me how much they like the Quick Zucchini Sauté.
I revisited the Quick Zucchini Sauté recipe and thought, what’s not to like? I decided to try it again without the cheese. Bingo! It turned out to be a hit at Chez Dedon!
Think of this recipe as simply a guide. It’s not really necessary to measure anything. Cut up as much zucchini as you want to eat. For every cup or so of zucchini, use a tablespoon of almonds.
This is such a quick and easy recipe! I’m sure I’ll be making it again soon.
.
Dinner out on our deck last night featured Quick Zucchini Sauté.
.
Quick Zucchini Sauté
(Adapted from Deb Perelman’s recipe on smittenkitchen.com)
.
.
Serves 3 – 4
.
1 large zucchini (about 1.3 pounds, 3 – 4 cups when cut up)
2 – 3 tablespoons olive oil
4 tablespoons sliced almonds
Salt and pepper, to taste (I used a bit of Jane’s Krazy Mixed-Up Salt.)
Shavings of pecorino Romano or parmesan cheese for serving (Optional; we prefer it without the cheese.)
- Cut the zucchini into 1/8-inch slices and then cut the slices into matchsticks.
- Heat a large skillet over medium heat.
- When the pan is hot, add the oil. Swirl the oil around the pan and heat it up.
- Add the almonds. Cook, stirring, until they are golden-brown. This will take a minute or two.
- Stir the zucchini into the pan and cook for about 1 minute. The zucchini should be warmed and starting to soften, but fully cooked.
- Season to taste with salt and pepper and serve. Top with the cheese, if using.
.
.
.
Share this:

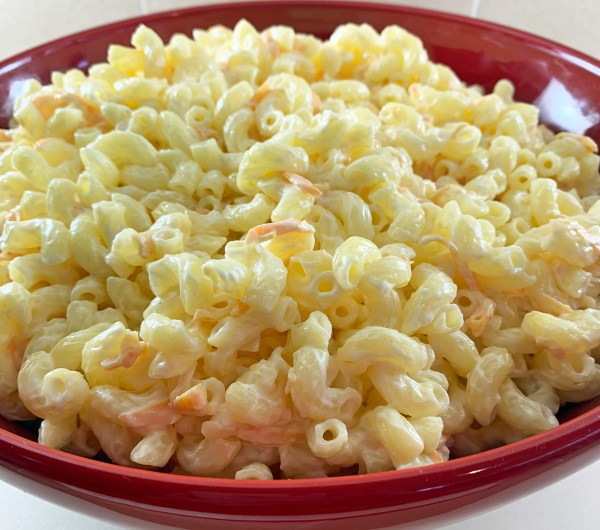
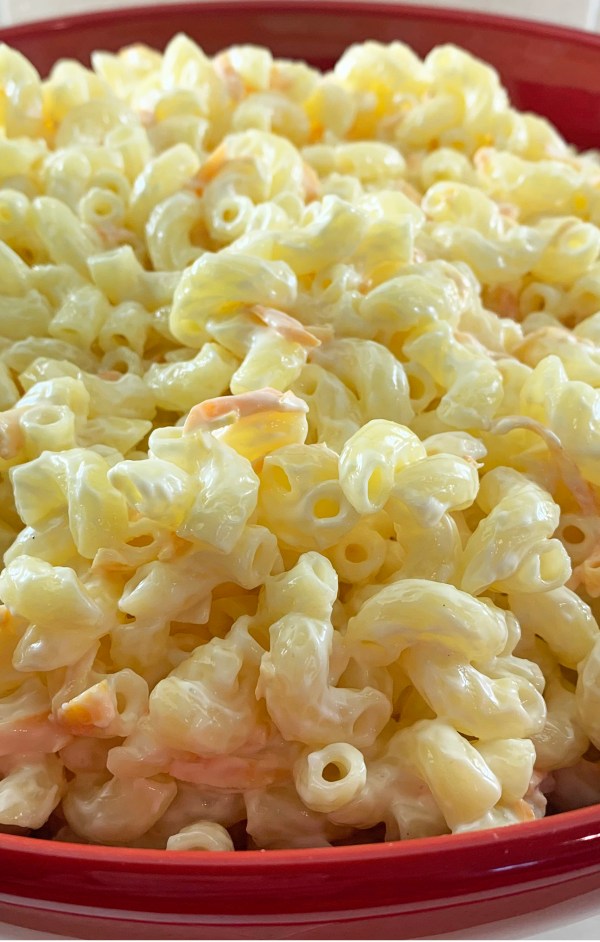
Authentic Hawaiian Macaroni Salad
By Kath Dedon
.
Last week we had a family dinner to celebrate Bob’s birthday. I planned on Kalua Pork with Cabbage. And then I got the bright idea to go in the direction of a Hawaiian plate lunch. So I added steamed rice and this Authentic Hawaiian Macaroni Salad.
My salad is adapted from Erica’s recipe on Favorite Family Recipes, the blog she writes with her sisters, Emily and Echo. Erica writes that she used to live in Hawaii; her goal was to replicate the macaroni salad that she had so often enjoyed at L&L Hawaiian BBQ.
Erica proclaims that this Authentic Hawaiian Macaroni Salad is the “real deal”, and there are many comments on her blog post by people who agree with her. This was the recipe to try!
I followed Erica’s advice to use Best Foods (or Hellman’s) mayonnaise. She said there are NO substitutes! I was a bit horrified to see how much mayonnaise is used, but I trusted the recipe. Tasting the finished salad, I had to admit that it was the perfect amount of mayonnaise.
If you want to make it gluten free, I recommend Barilla Gluten Free Elbows. I followed the package directions, cooking the macaroni for 8 minutes. The Barilla elbows worked so well! They were the perfect texture and if you don’t tell anyone, no one will know that they’re eating gluten free pasta. I have tried many brands of gluten-free pasta and I know many of them would not work as well. (Note that boxes of Barilla Gluten Free Elbows are only 12 ounces, so you’ll need 2 boxes to have a pound.)
I subbed ¼ cup of water for the ¼ cup of milk to keep it dairy free and it worked fine. And I used 2 teaspoons of maple sugar instead of regular sugar.
With my changes, maybe my Hawaiian Macaroni Salad is not quite “authentic”, but it was probably the best macaroni salad I have ever had. Sometimes you just have to splurge a bit, and this Authentic Hawaiian Macaroni Salad would be welcome at any barbecue or potluck party.
.
.
Authentic Hawaiian Macaroni Salad
(Adapted from Erica’s recipe on the Favorite Family Recipes blog)
.
.
Serves 10 – 12
.
1 pound macaroni (use Barilla Gluten Free elbows for gluten or wheat free)
1 tablespoon kosher salt
2 tablespoons apple cider vinegar
2 carrots, shredded (about 1 cup shredded)
2½ cups Best Foods or Hellman’s mayonnaise
¼ cup milk (or water for dairy free)
2 teaspoons sugar (I used maple sugar)
Kosher salt and pepper to taste
- Bring a large pot of water to boil. When it’s boiling, add the tablespoon of kosher salt and the macaroni to the pot. Stir and cook according to the package directions. The pasta should be well-cooked, not al dente. (I cooked the Barilla Gluten Free Elbows for 8 minutes.)
- Drain the macaroni and put it in a large bowl. Stir in the vinegar and the shredded carrots. Stir gently until the carrots are evenly distributed. Allow it to cool slightly while you prepare the dressing.
- Stir the mayonnaise, milk (or water), and sugar together in a smaller bowl or a 1 quart Pyrex pitcher.
- When the macaroni has cooled a bit (15 minutes or so), stir the dressing in. Season to taste with salt and pepper. (I added a bit of salt, but no pepper.)
- Cover the salad and refrigerate for at least 4 hours before serving.
.
.


