Welcome!
You'll find over 470 of my favorite recipes here, including ideas for Quick meals, Cooking for 2, Feasting on Leftovers, and cooking with 5 Ingredients or Less. I'm adding new posts regularly; you can subscribe by email or RSS feed if you'd like to receive the latest recipes. Bon appétit!
All-American Potato Salad for Two
By Kath Dedon
a
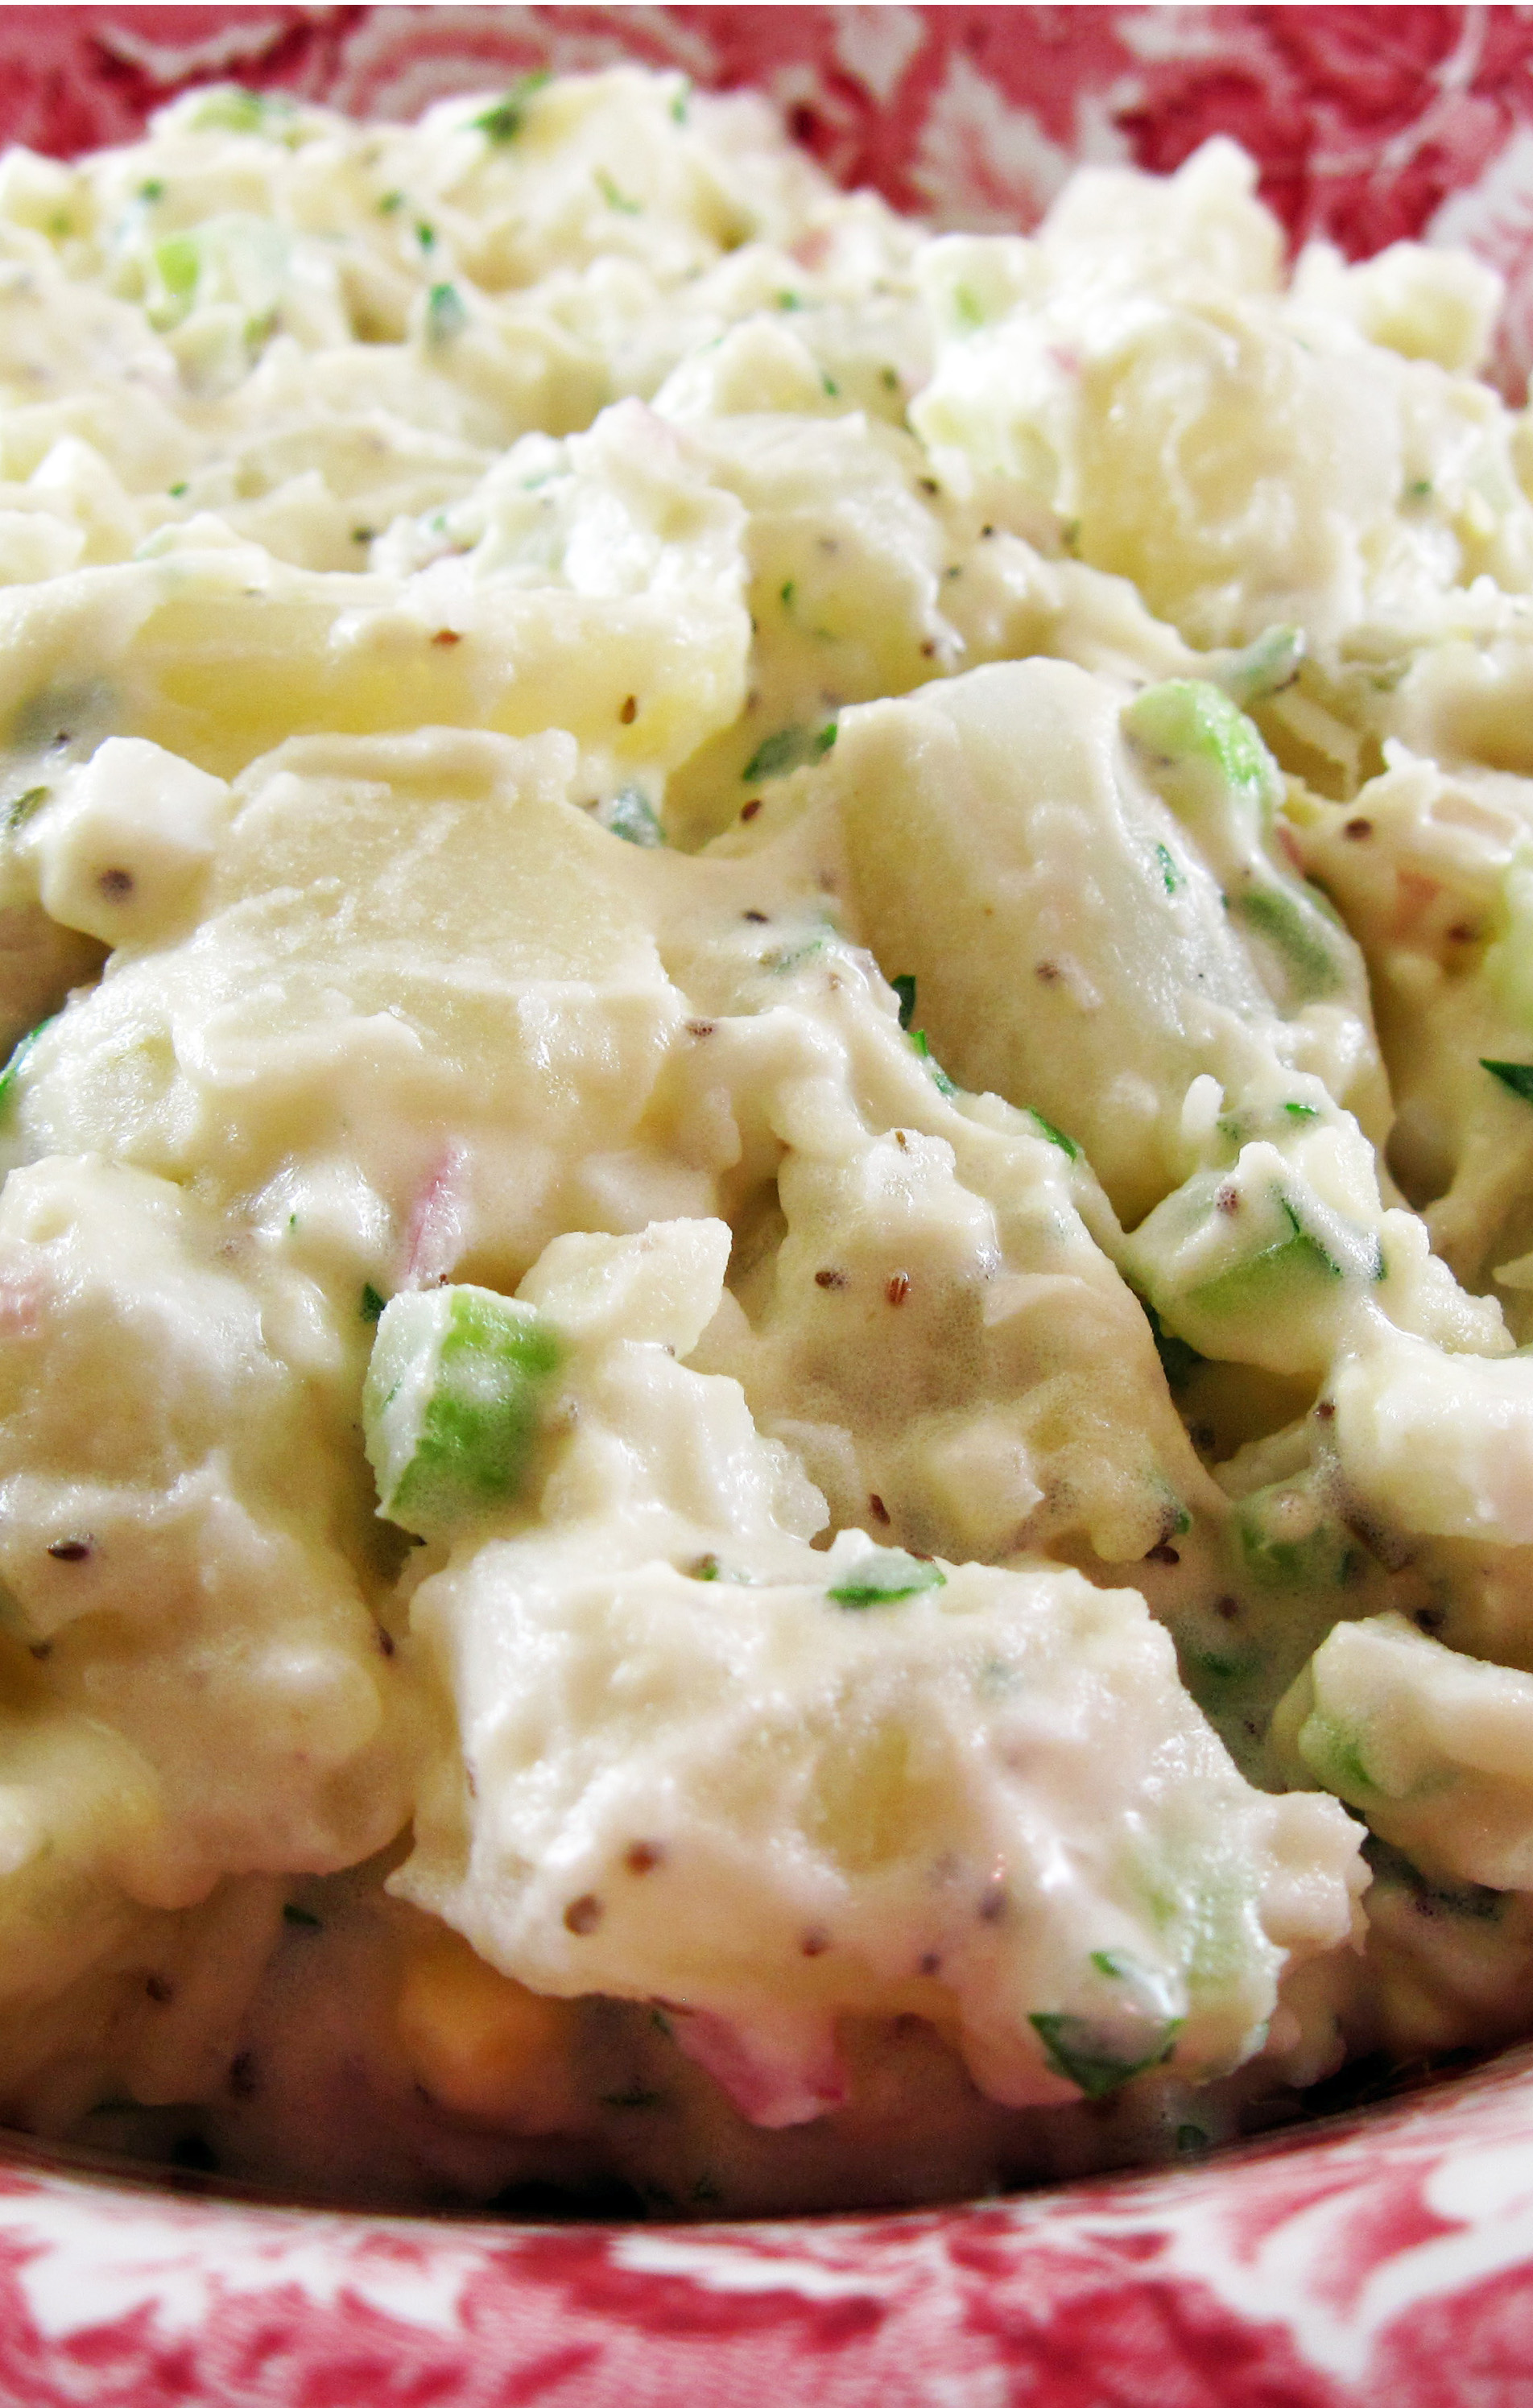
Lately I have been craving potato salad. Maybe it’s because it’s almost the 4th of July so you could say it’s potato salad season. But I did not want to make a big batch of potato salad for just the two of us. Leave it to America’s Test Kitchen to come to the rescue. I made their All-American Potato Salad from The Complete Cooking for Two Cookbook.
The recipe was so similar to the potato salad that I have made for years. I didn’t need to make many changes. I like to pour dill pickle juice over the hot cooked potatoes to give them more flavor. ATK used vinegar in the same way. I used both pickle juice and vinegar for this recipe.
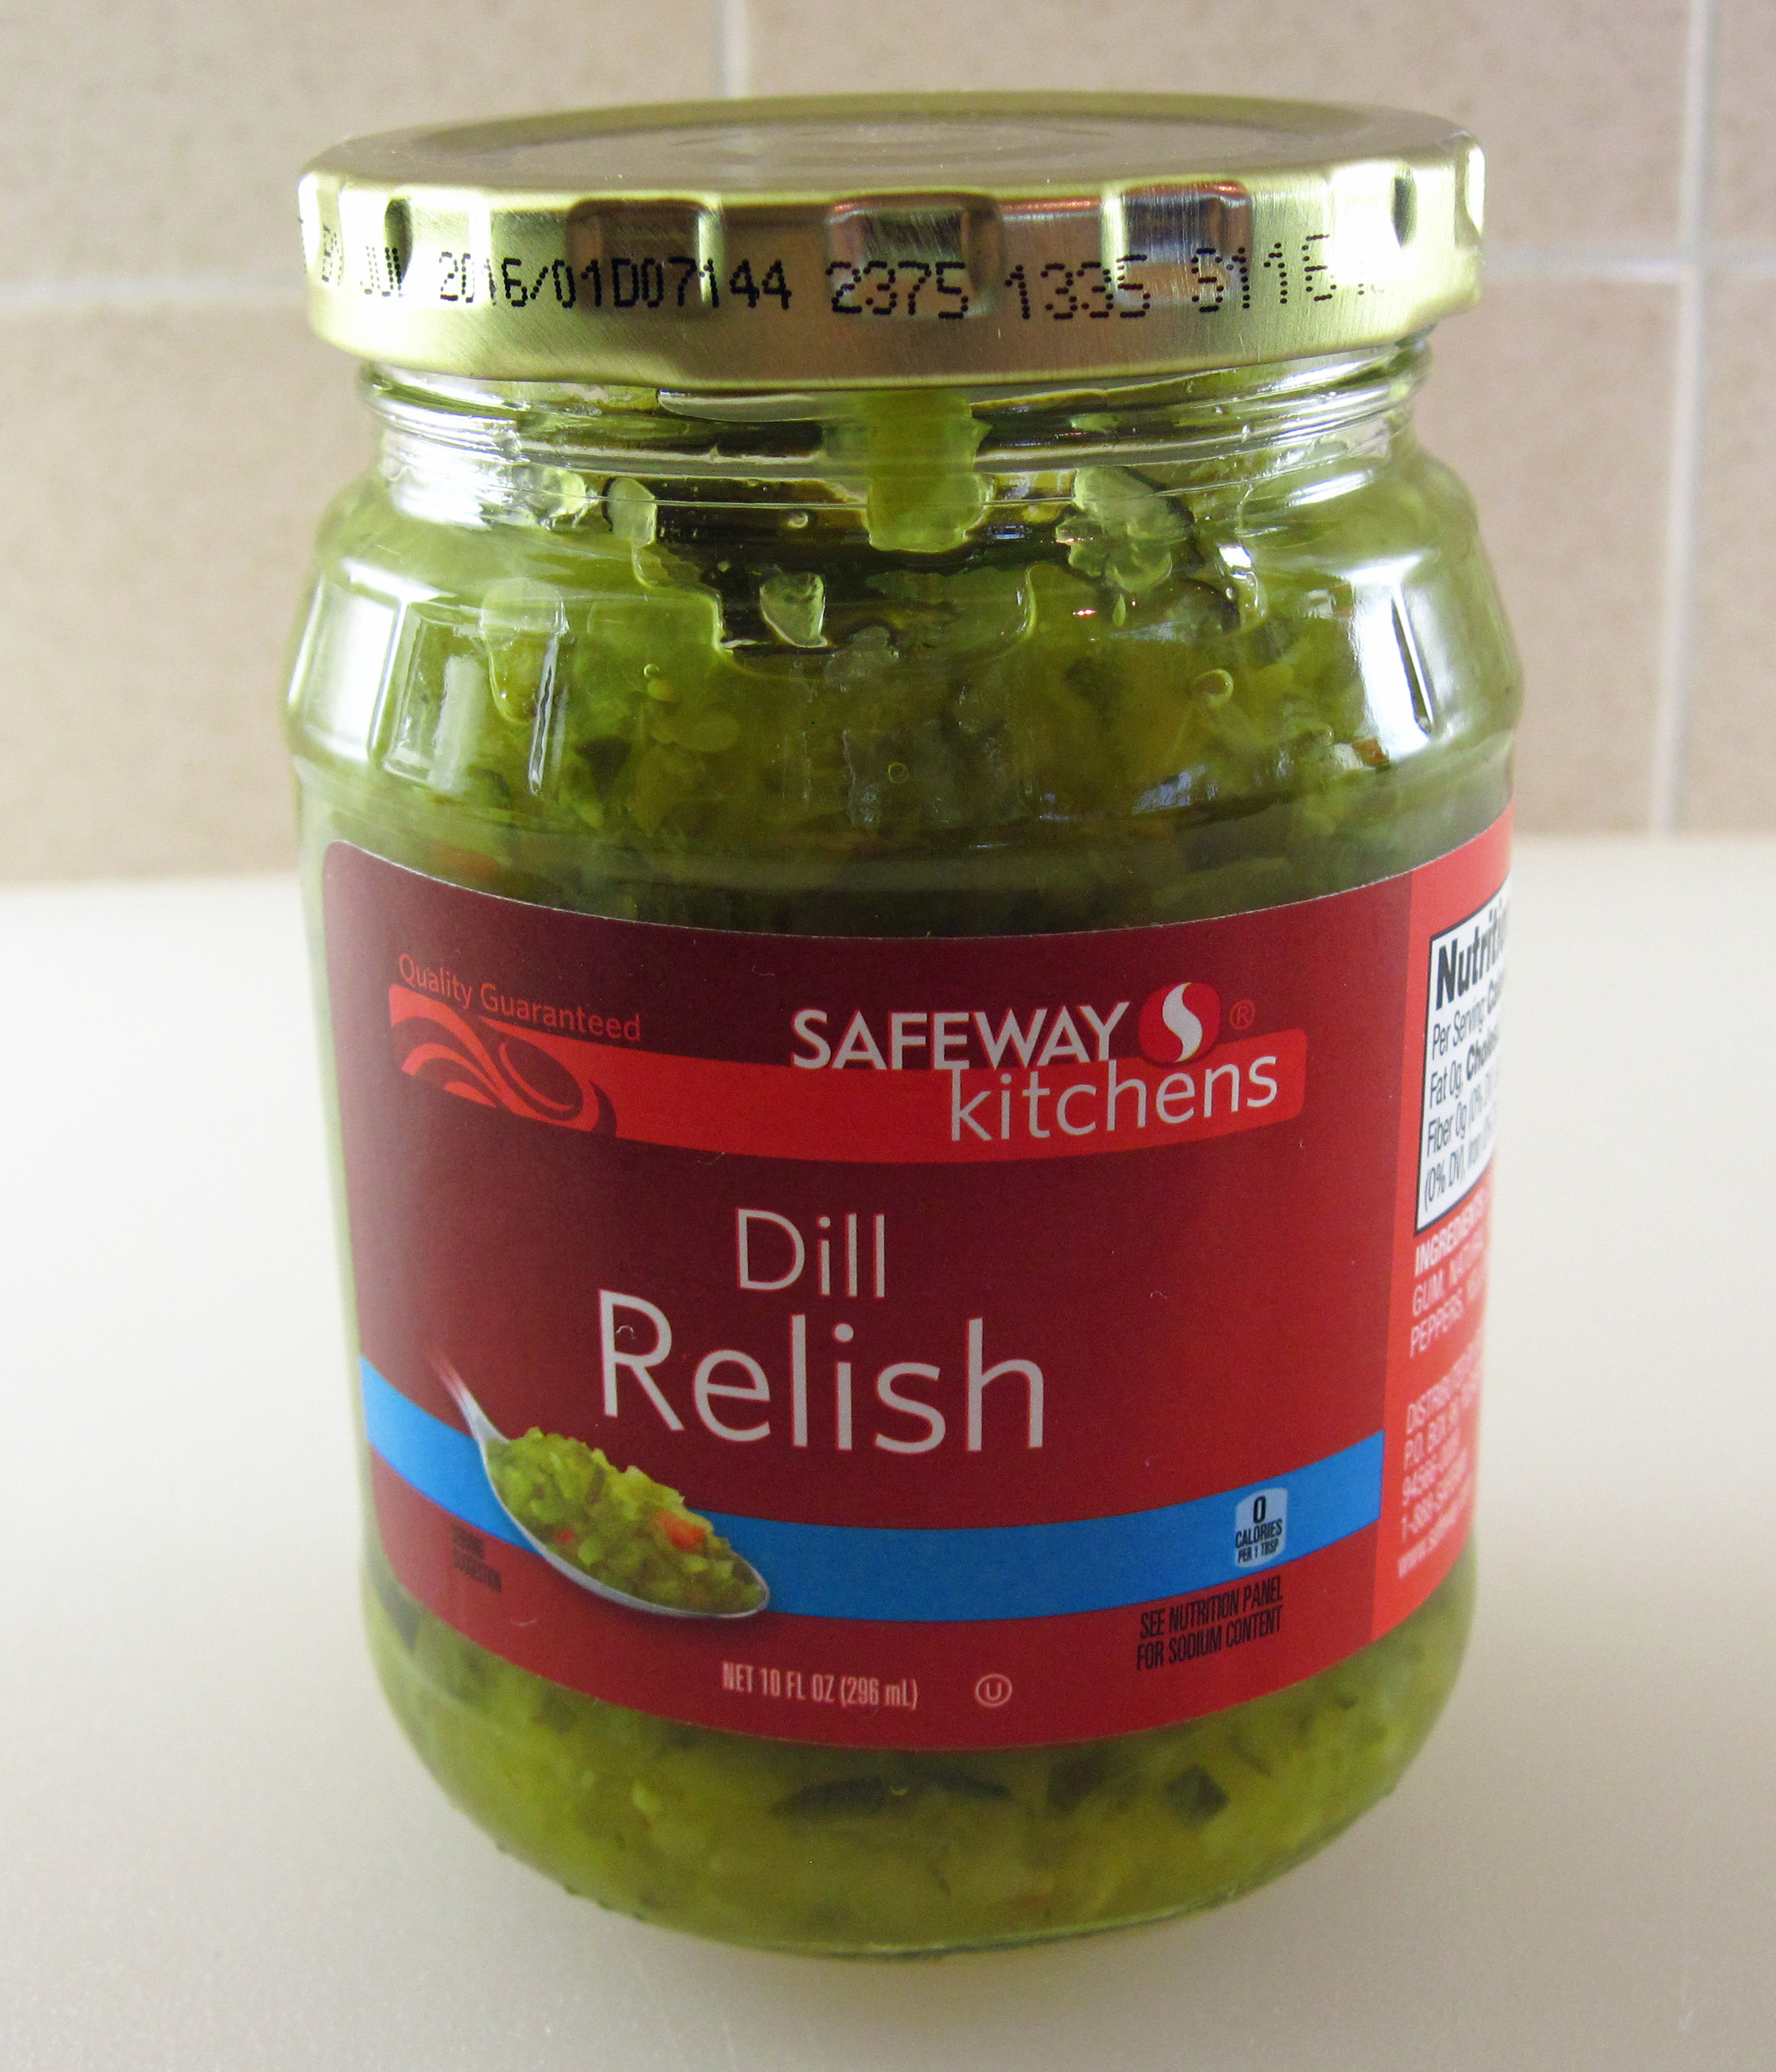
The original recipe uses sweet pickle relish. I like sweet relish but Bob really hates it so I used dill pickle relish which worked fine. Use whichever one you prefer.
Working with small quantities, the recipe seemed easier than making enough to serve 8 – 10. It took less than an hour start to finish. It’s supposed to chill in the refrigerator for at least an hour, so it could be made early in the day before the house heats up. The only thing I had to do at dinner time was to cook some chicken and toss a Dedon House Salad.
If you’re cooking for a small household, give this All-American Potato Salad for Two a try. It’s a perfect classic potato salad and you won’t have a lot of leftovers. And it’s SO much better than your average supermarket deli potato salad. You can’t beat homemade!
P.S. The little bit that was leftover was delicious for breakfast!
a

a
All-American Potato Salad for Two
(Adapted from a recipe in America’s Test Kitchen’s The Complete Cooking for Two Cookbook)
a
a
Serves 2 – 3
a
1 pound russet potatoes, peeled and cut into 3/4-inch pieces
1 tablespoon kosher salt
1 tablespoon dill pickle juice
1 tablespoon distilled white vinegar
¼ cup mayonnaise
1 small celery rib, minced (about 1/3 cup)
1½ tablespoons dill pickle relish (or sweet relish, if you prefer)
1 small shallot, minced (about 2 tablespoons)
1 tablespoon minced fresh parsley
½ teaspoon dry mustard
½ teaspoon celery seeds
1 large hard-cooked egg, cut into ¼-inch pieces
a

a
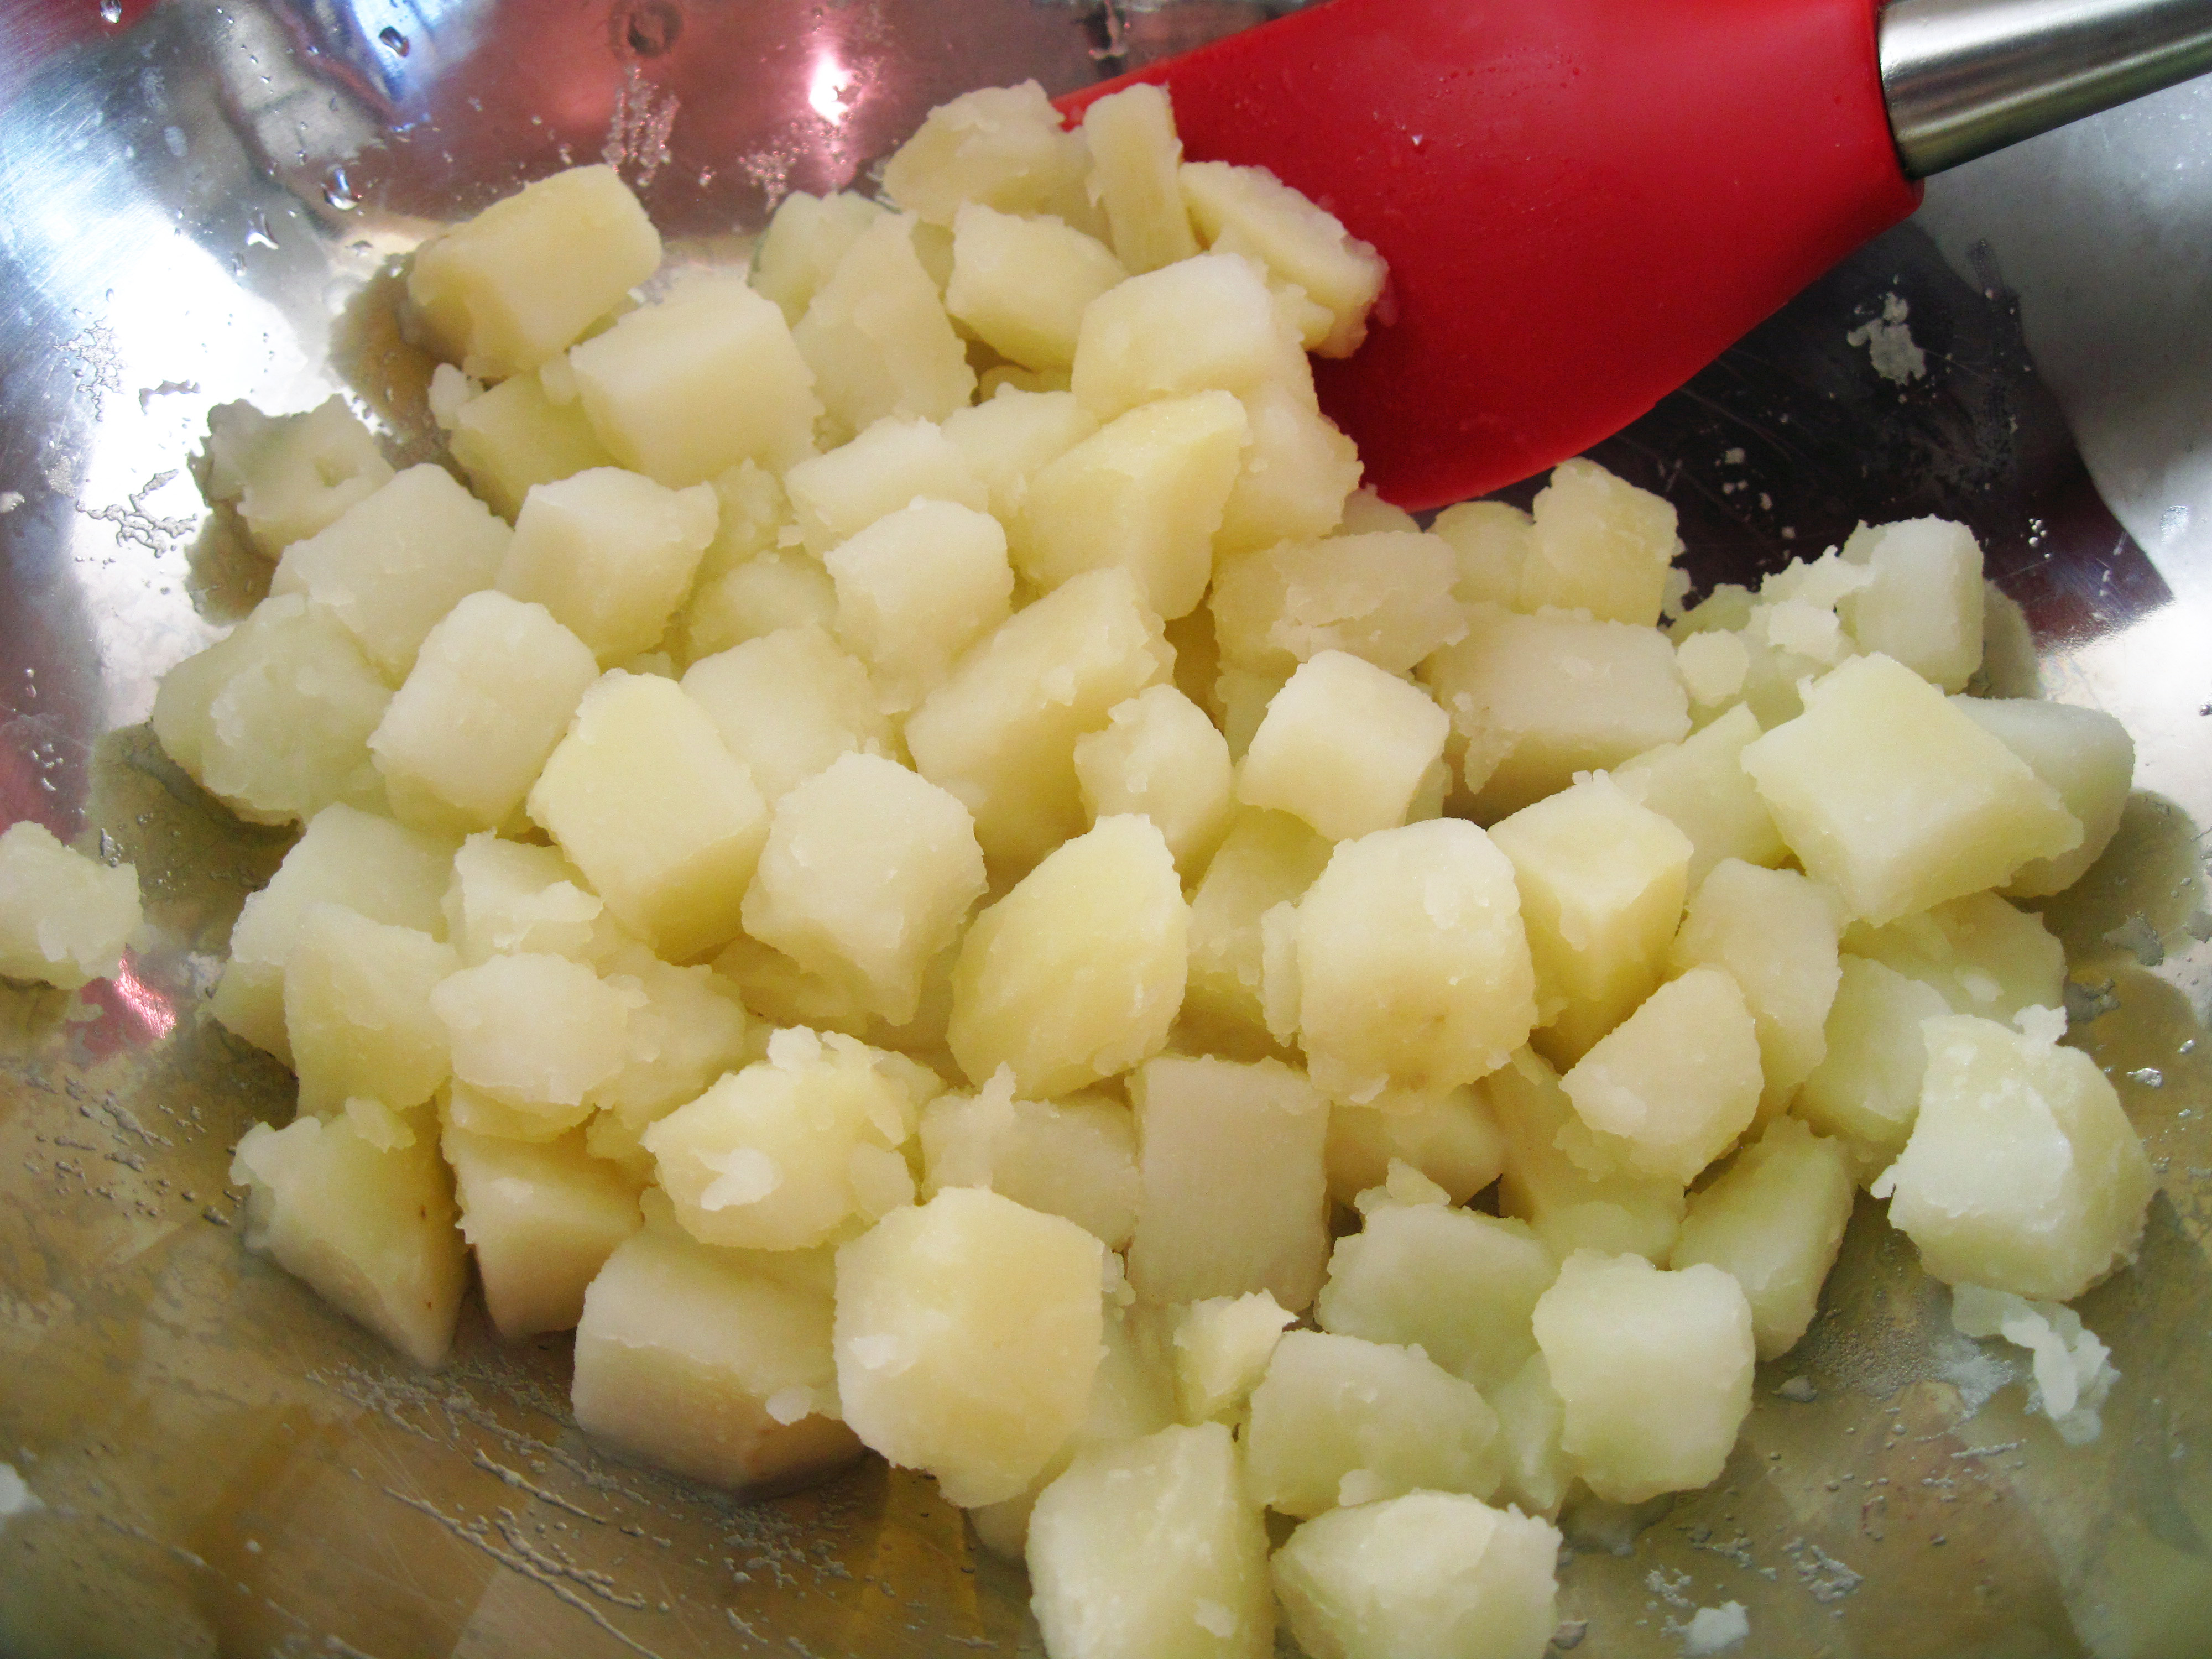
1. Put the potatoes in a medium pot and add water so they are covered by one inch. Bring to a boil, stir in the tablespoon of salt, and then reduce heat to simmer for 6 – 8 minutes, until tender.
2. Drain the potatoes and put them in a bowl. Pour the dill pickle juice and vinegar over them and gently stir with a spatula to distribute the juice and vinegar. Let the potatoes cool for about 20 minutes.
a
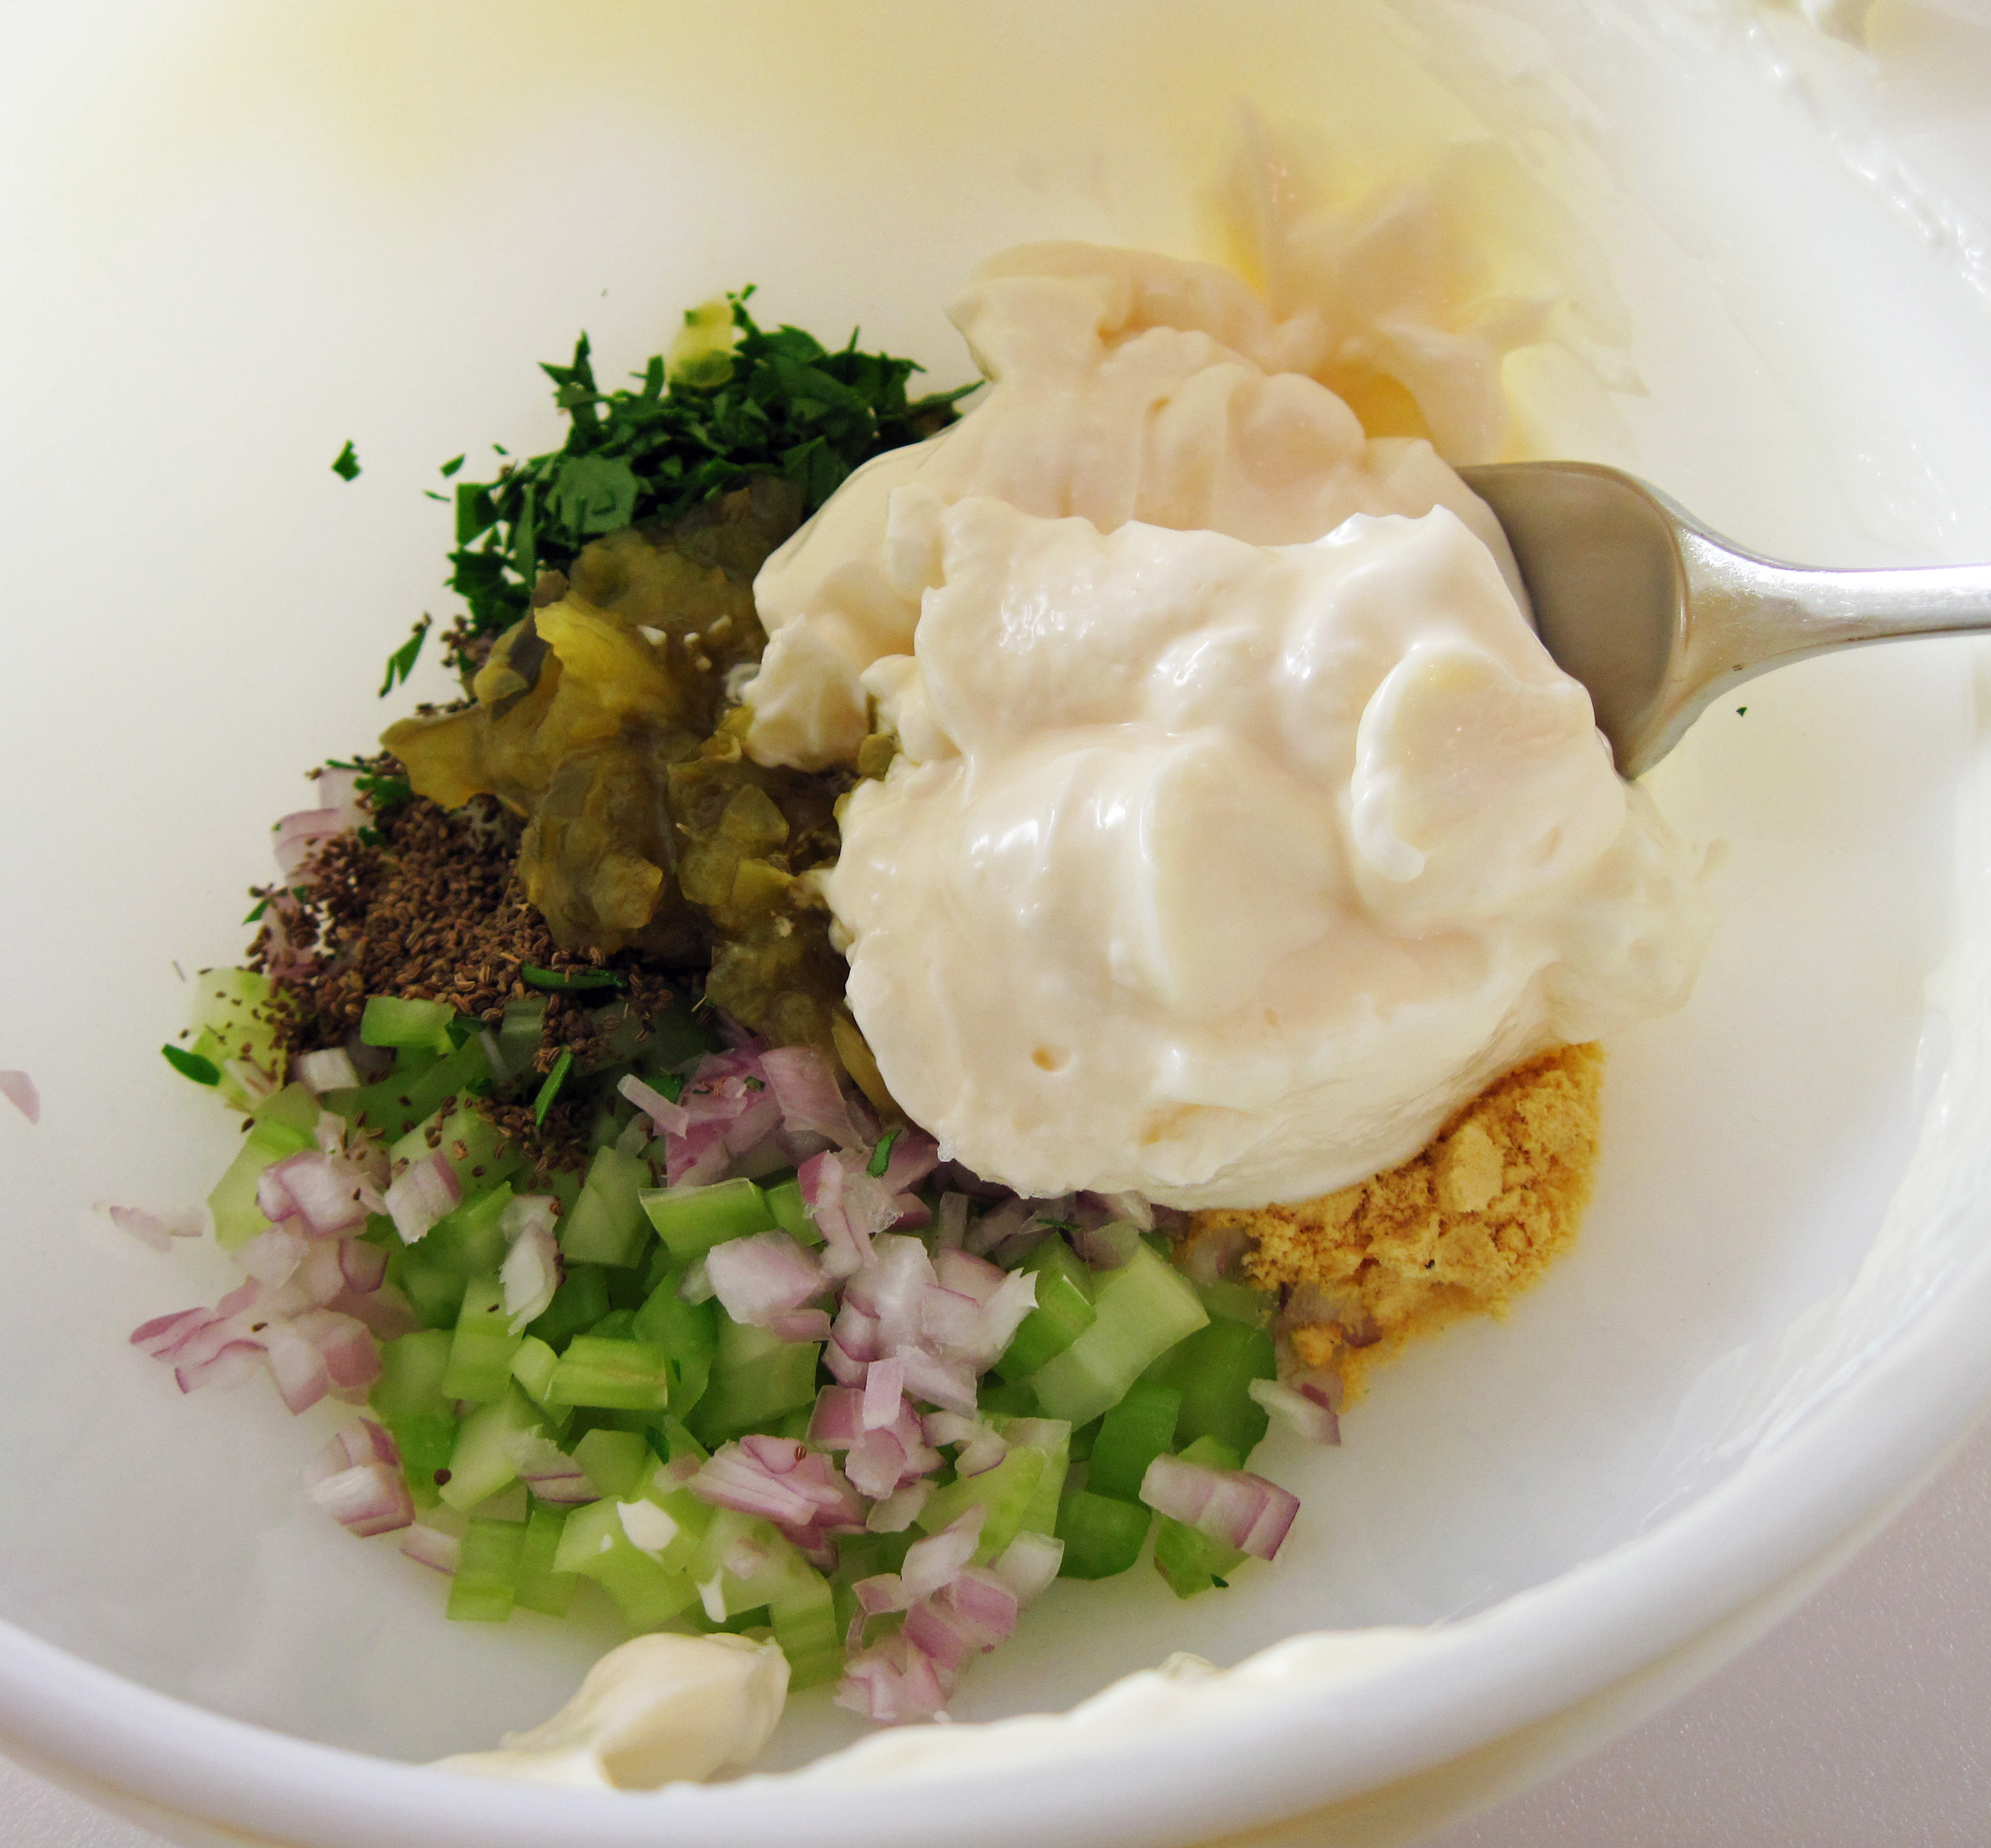
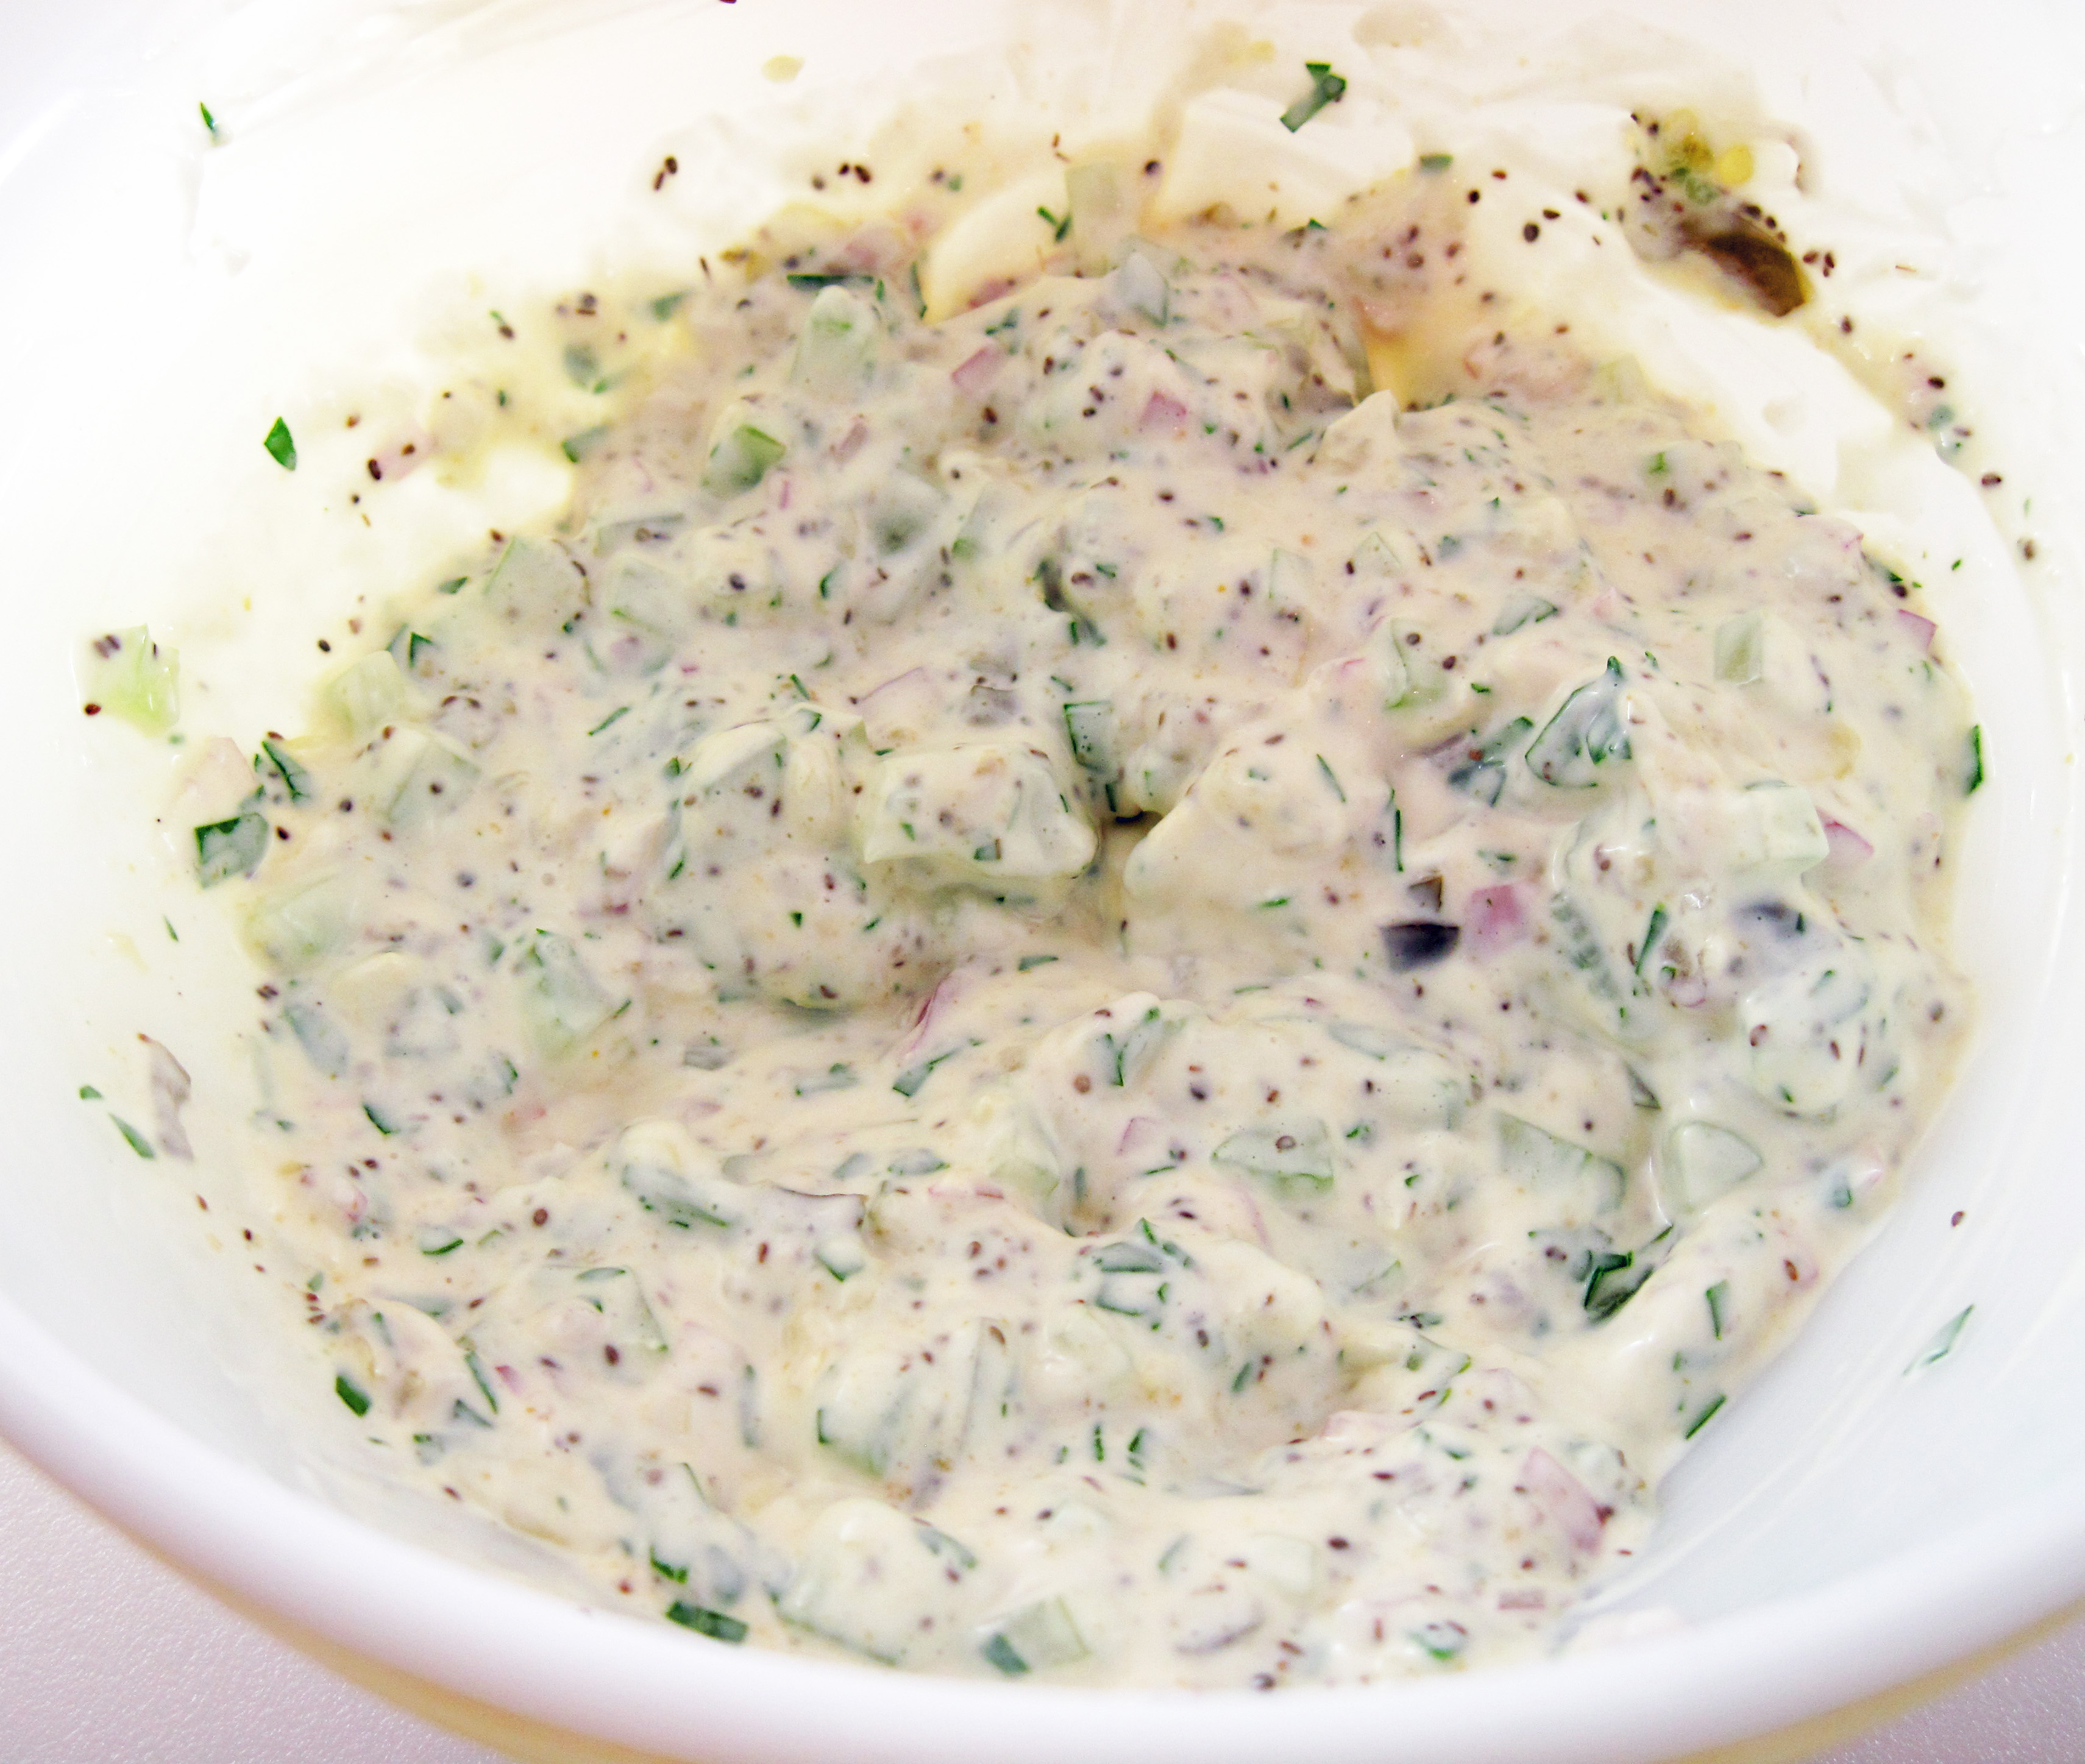
3. While the potatoes are cooling, make the dressing. Stir the mayonnaise, minced celery, pickle relish, minced shallot, minced parsley, dry mustard and celery seeds together.
a
a
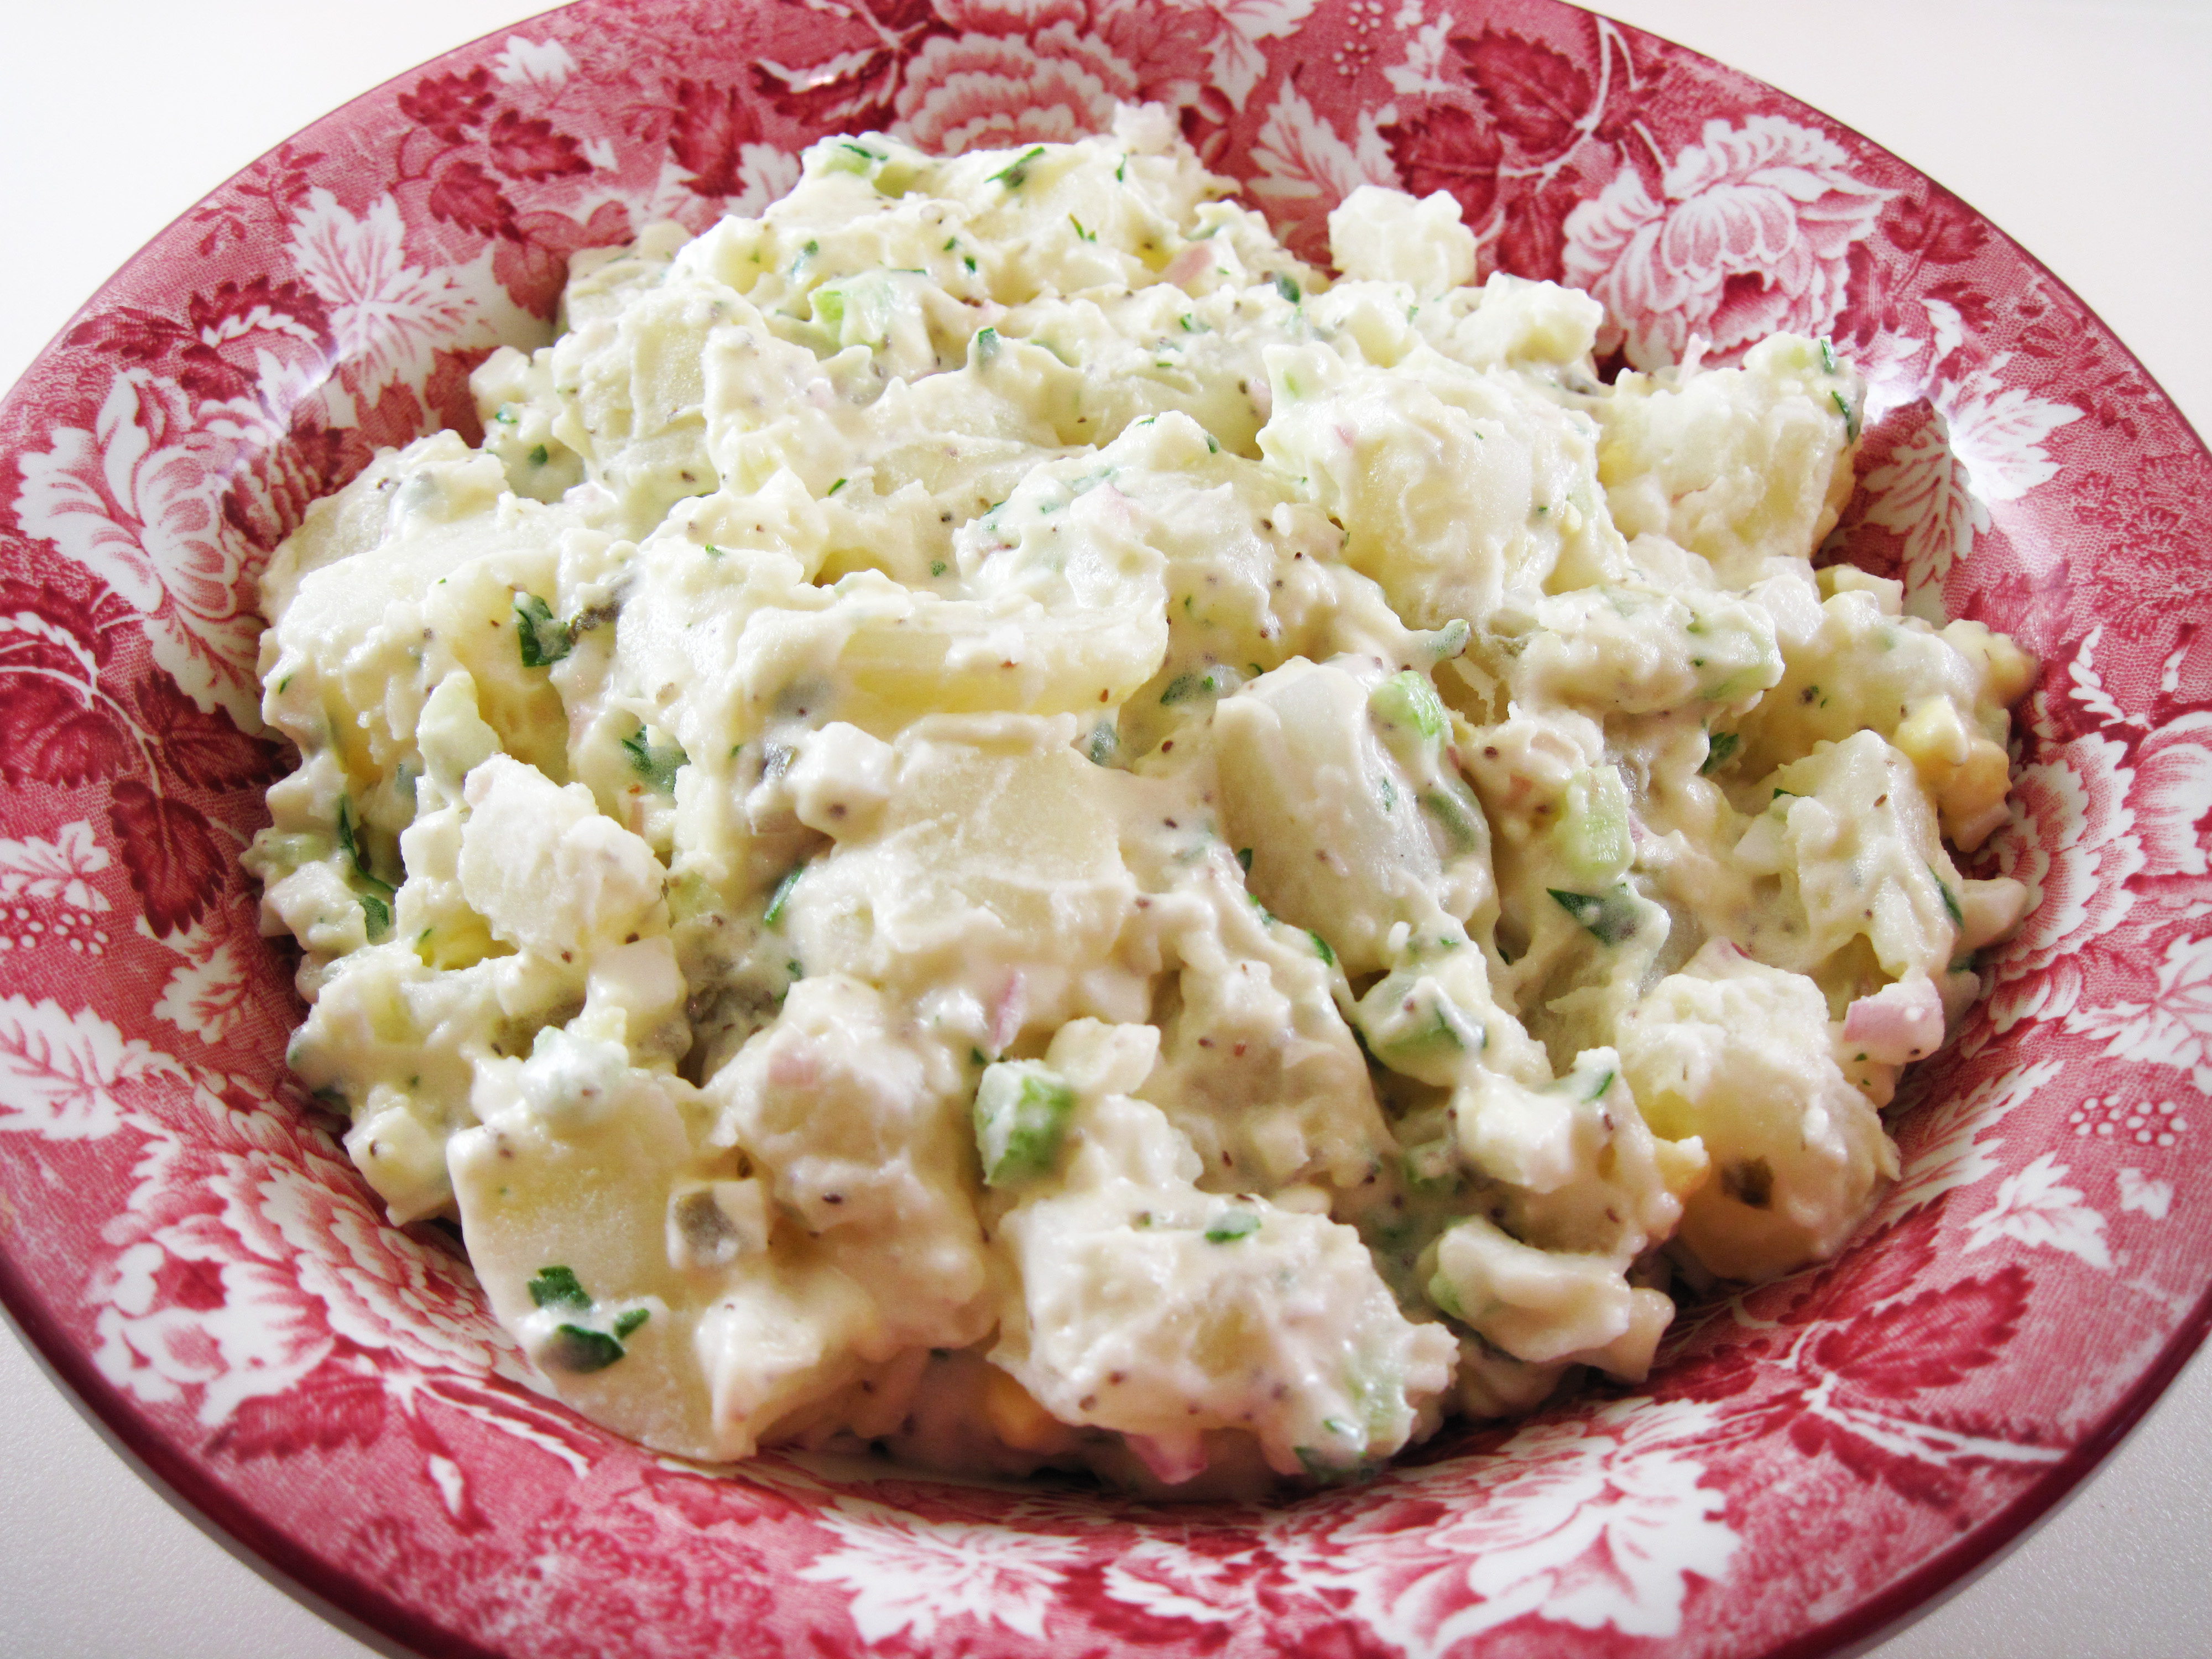
4. After the potatoes have cooled for about 20 minutes, gently stir the dressing and the hard-cooked egg into the potatoes. Refrigerate for at least an hour before serving.
a
a
a
Share this:

Etta’s “Rubbed with Love” Salmon
By Kath Dedon
a
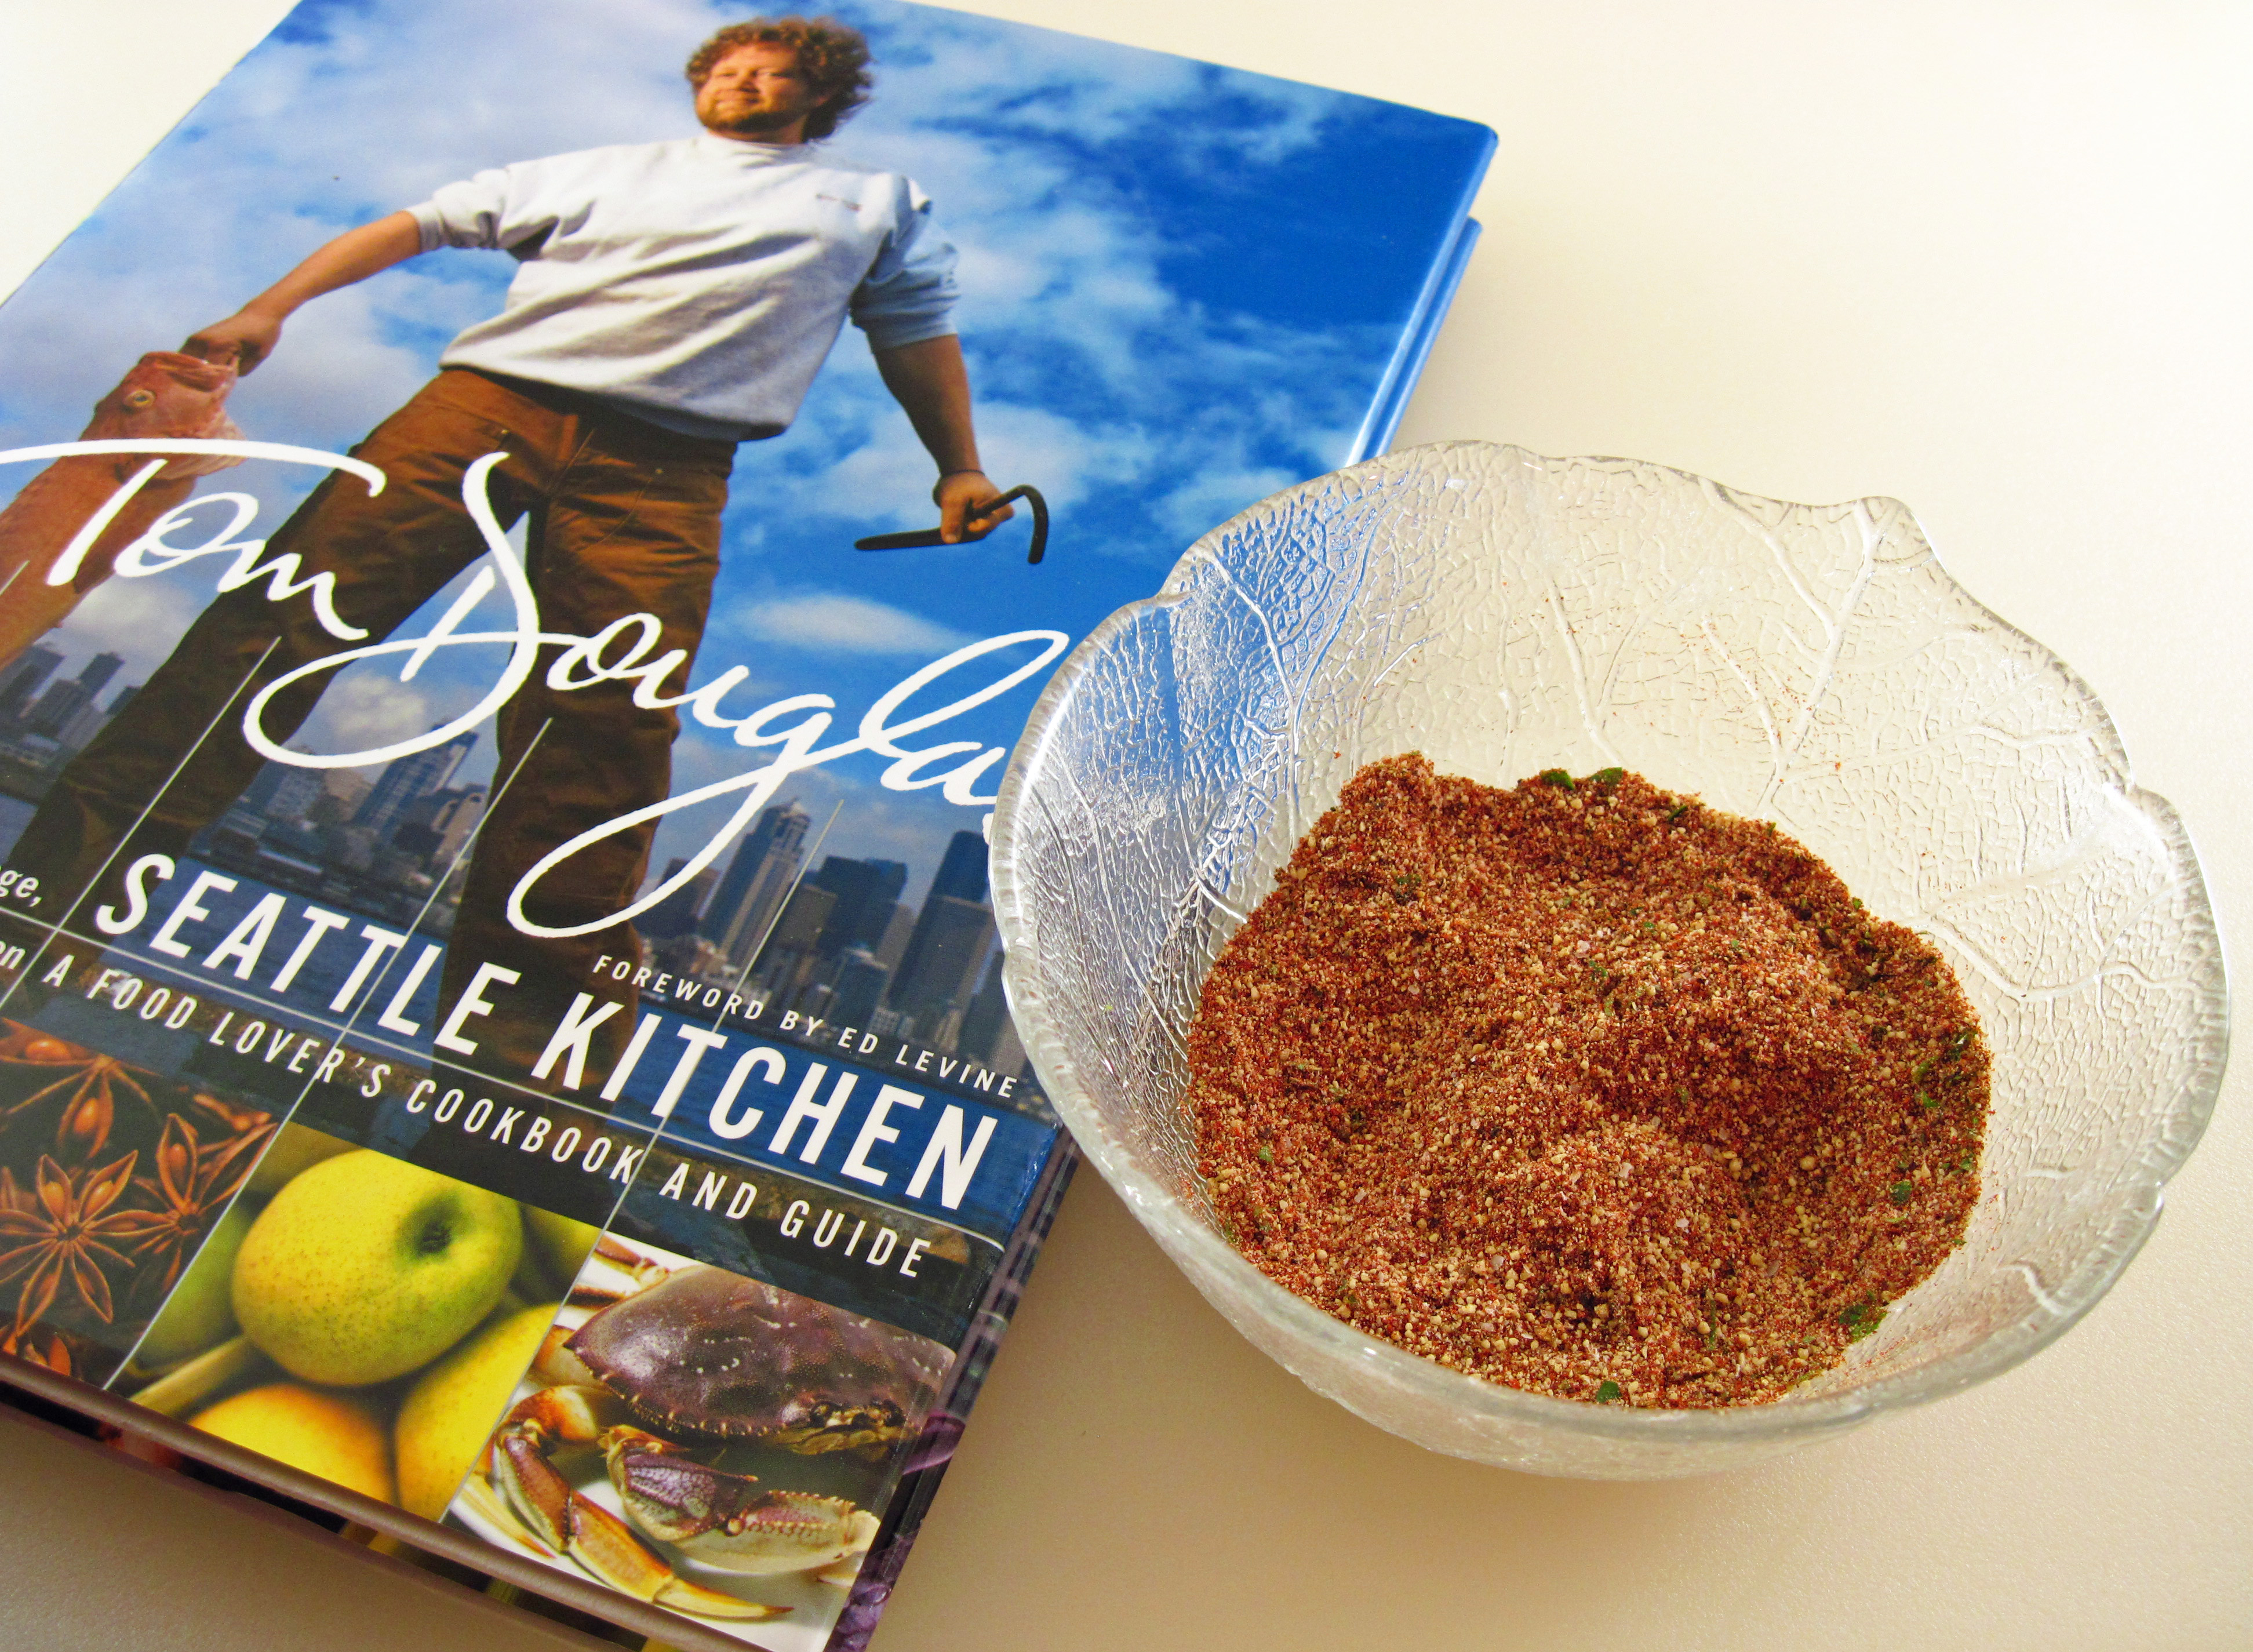
Back in 2001 Tom Douglas wrote in his Seattle Kitchen cookbook that “Etta’s Pit-Roasted Salmon with Grilled Shiitake Relish” had become a classic at his third Seattle restaurant, Etta’s. Etta’s opened in 1995. Today, 20 years later, you’ll still find Etta’s “Rubbed with Love” Salmon on the menu and it is still served with Etta’s Cornbread Pudding and Grilled Shiitake Relish.
Tom uses salmon fillets that have had the skin removed and he uses the spice rub on both sides. My Copper River Sockeye fillet still had the skin so I only used the rub on the flesh side. I don’t find it necessary to try to remove the skin because after the salmon is cooked it slips right off.
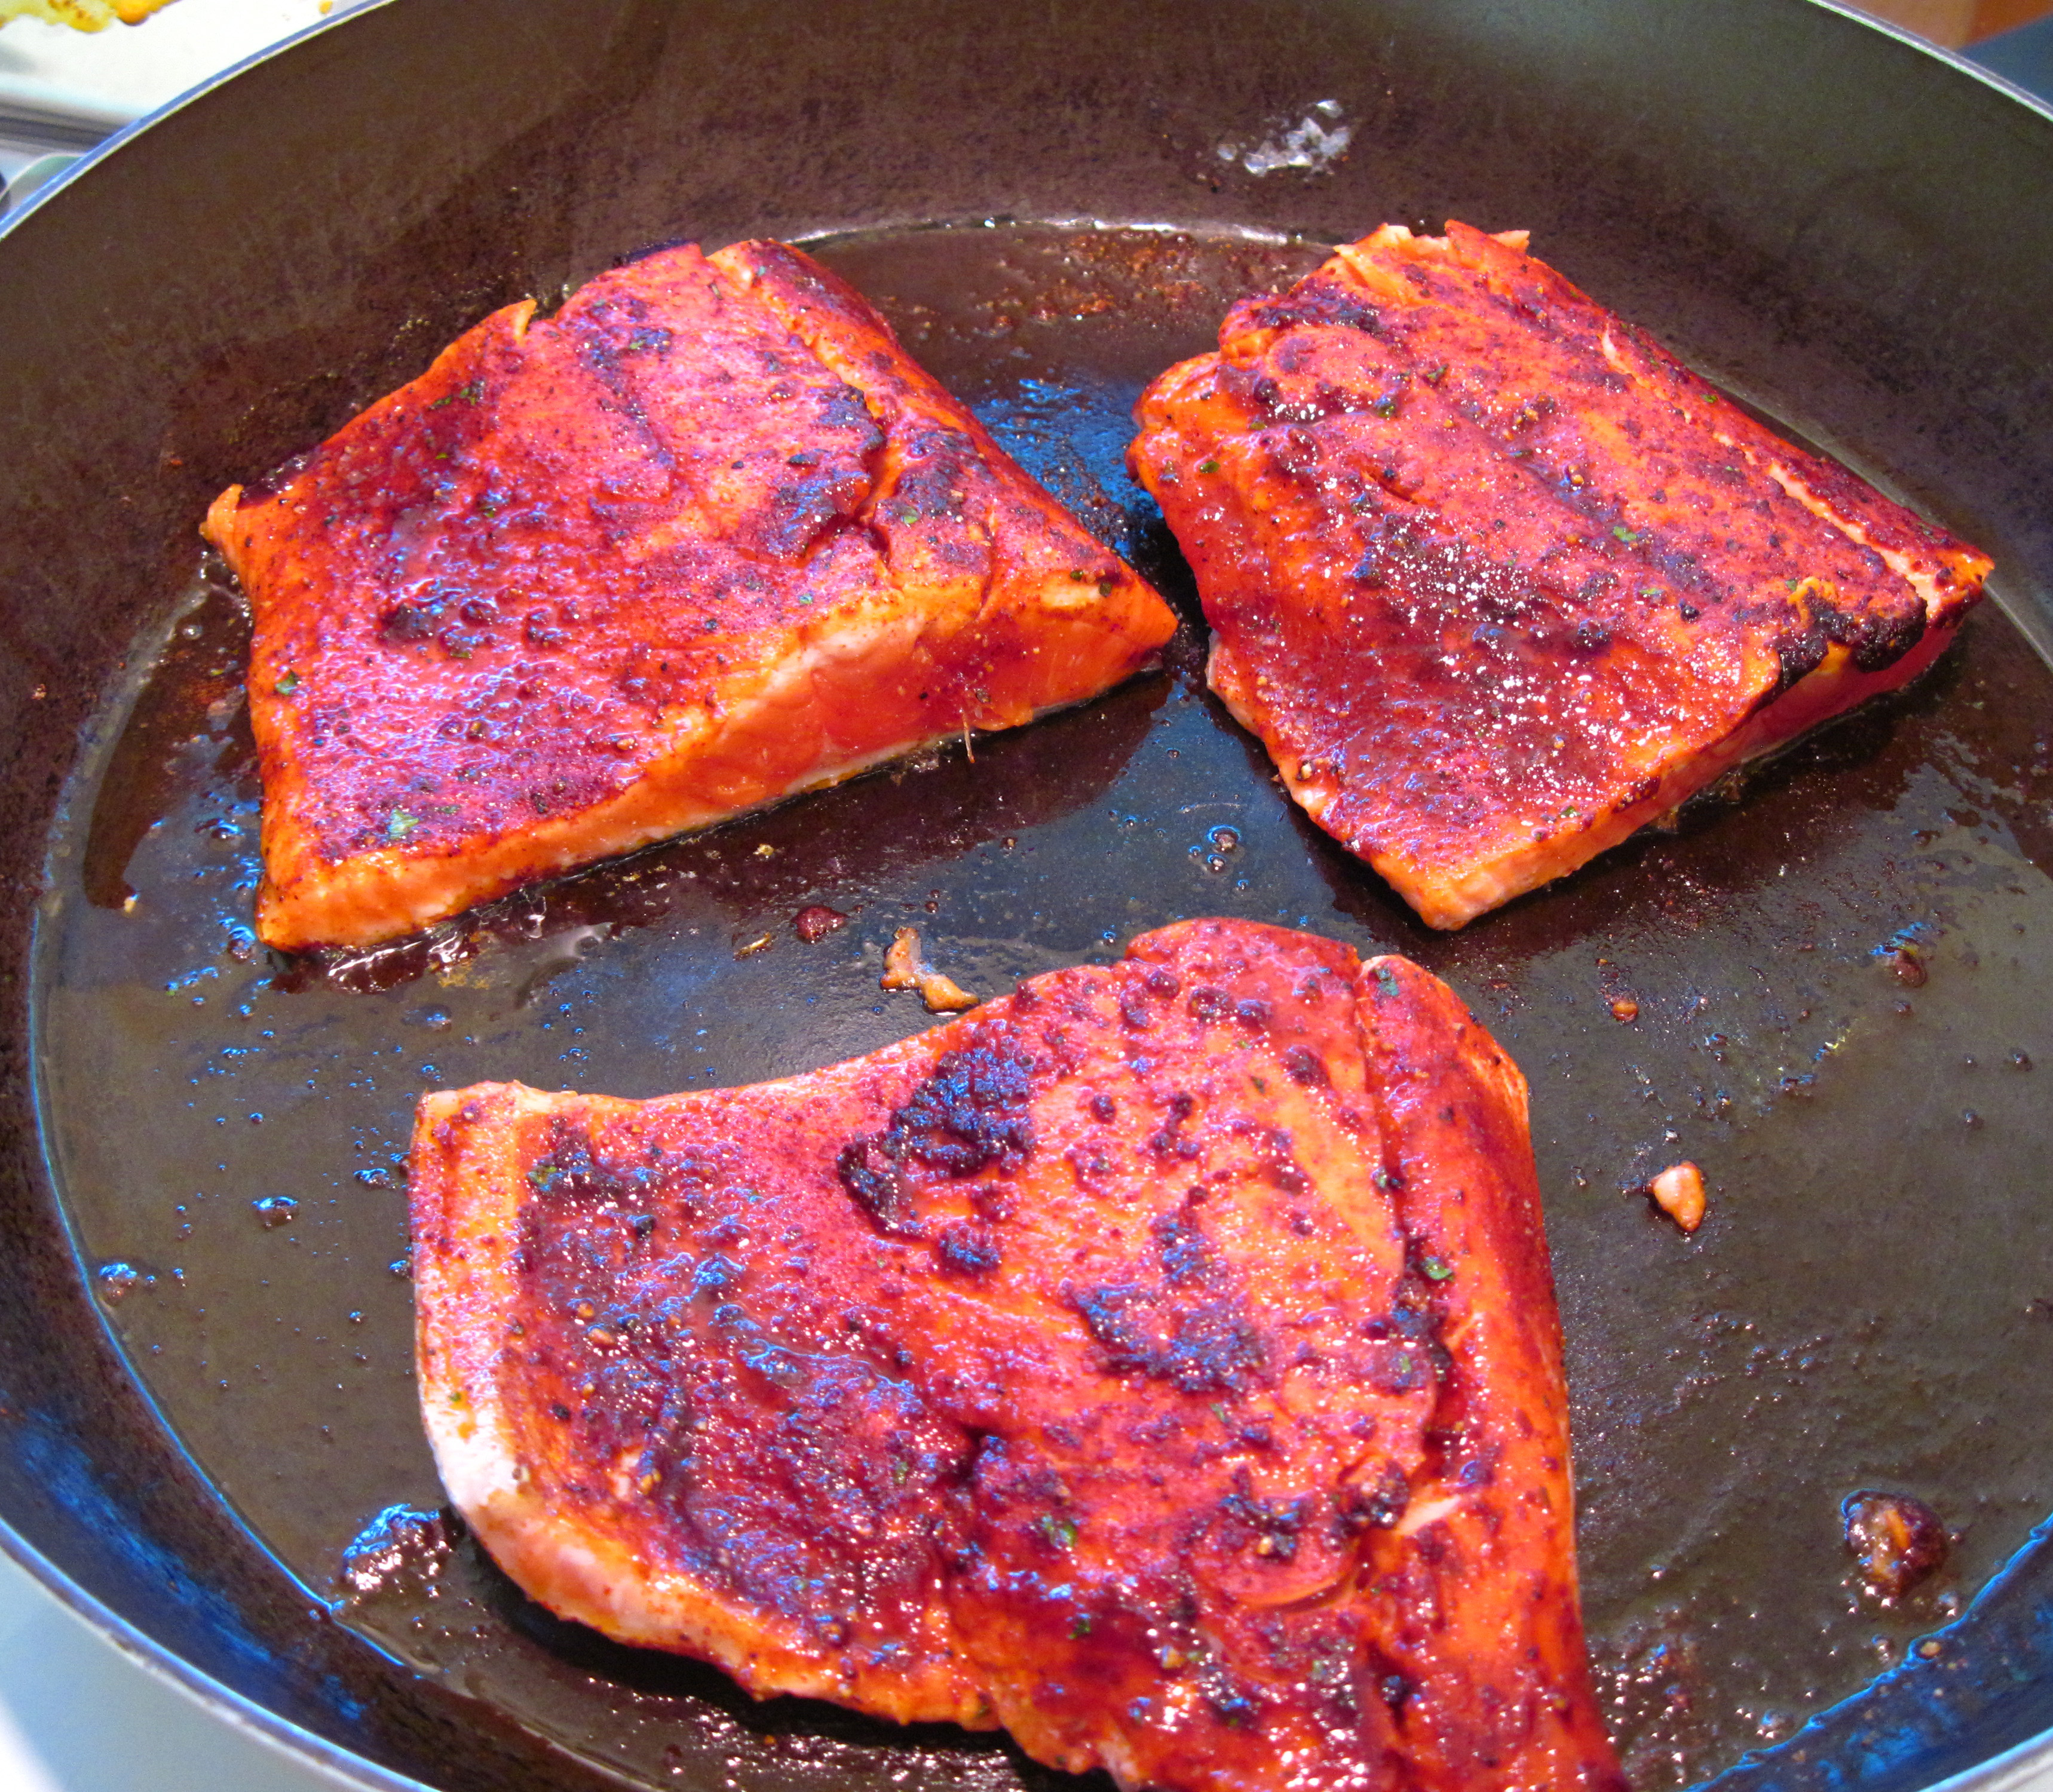
In the cookbook’s version of the recipe, Tom grills the salmon over a charcoal fire. But he also has a video showing how to start the salmon on the stovetop. Because the rub contains sugar, you need to keep the pan at a medium to medium-low heat so it doesn’t burn. Just a couple of minutes in the pan will beautifully brown the fish. At that point it can be turned and finished in a preheated 350 degree oven. To watch the video to see how he applies the rub (since I failed to get a photo of the rub on my fish) and to see how he cooks it click here.
When Tom wrote the cookbook it wasn’t that easy to find smoked paprika. He said you could buy Rub with Love Salmon Rub which uses the ingredient, or you could make the recipe in the book which calls for regular paprika. So if you want to make the rub yourself you can go either way. I had some Penzey’s Smoked Paprika so that’s what I used. (Since writing the book, Tom has added his own apple-smoked Smoked Paprika to his Rub with Love collection.)
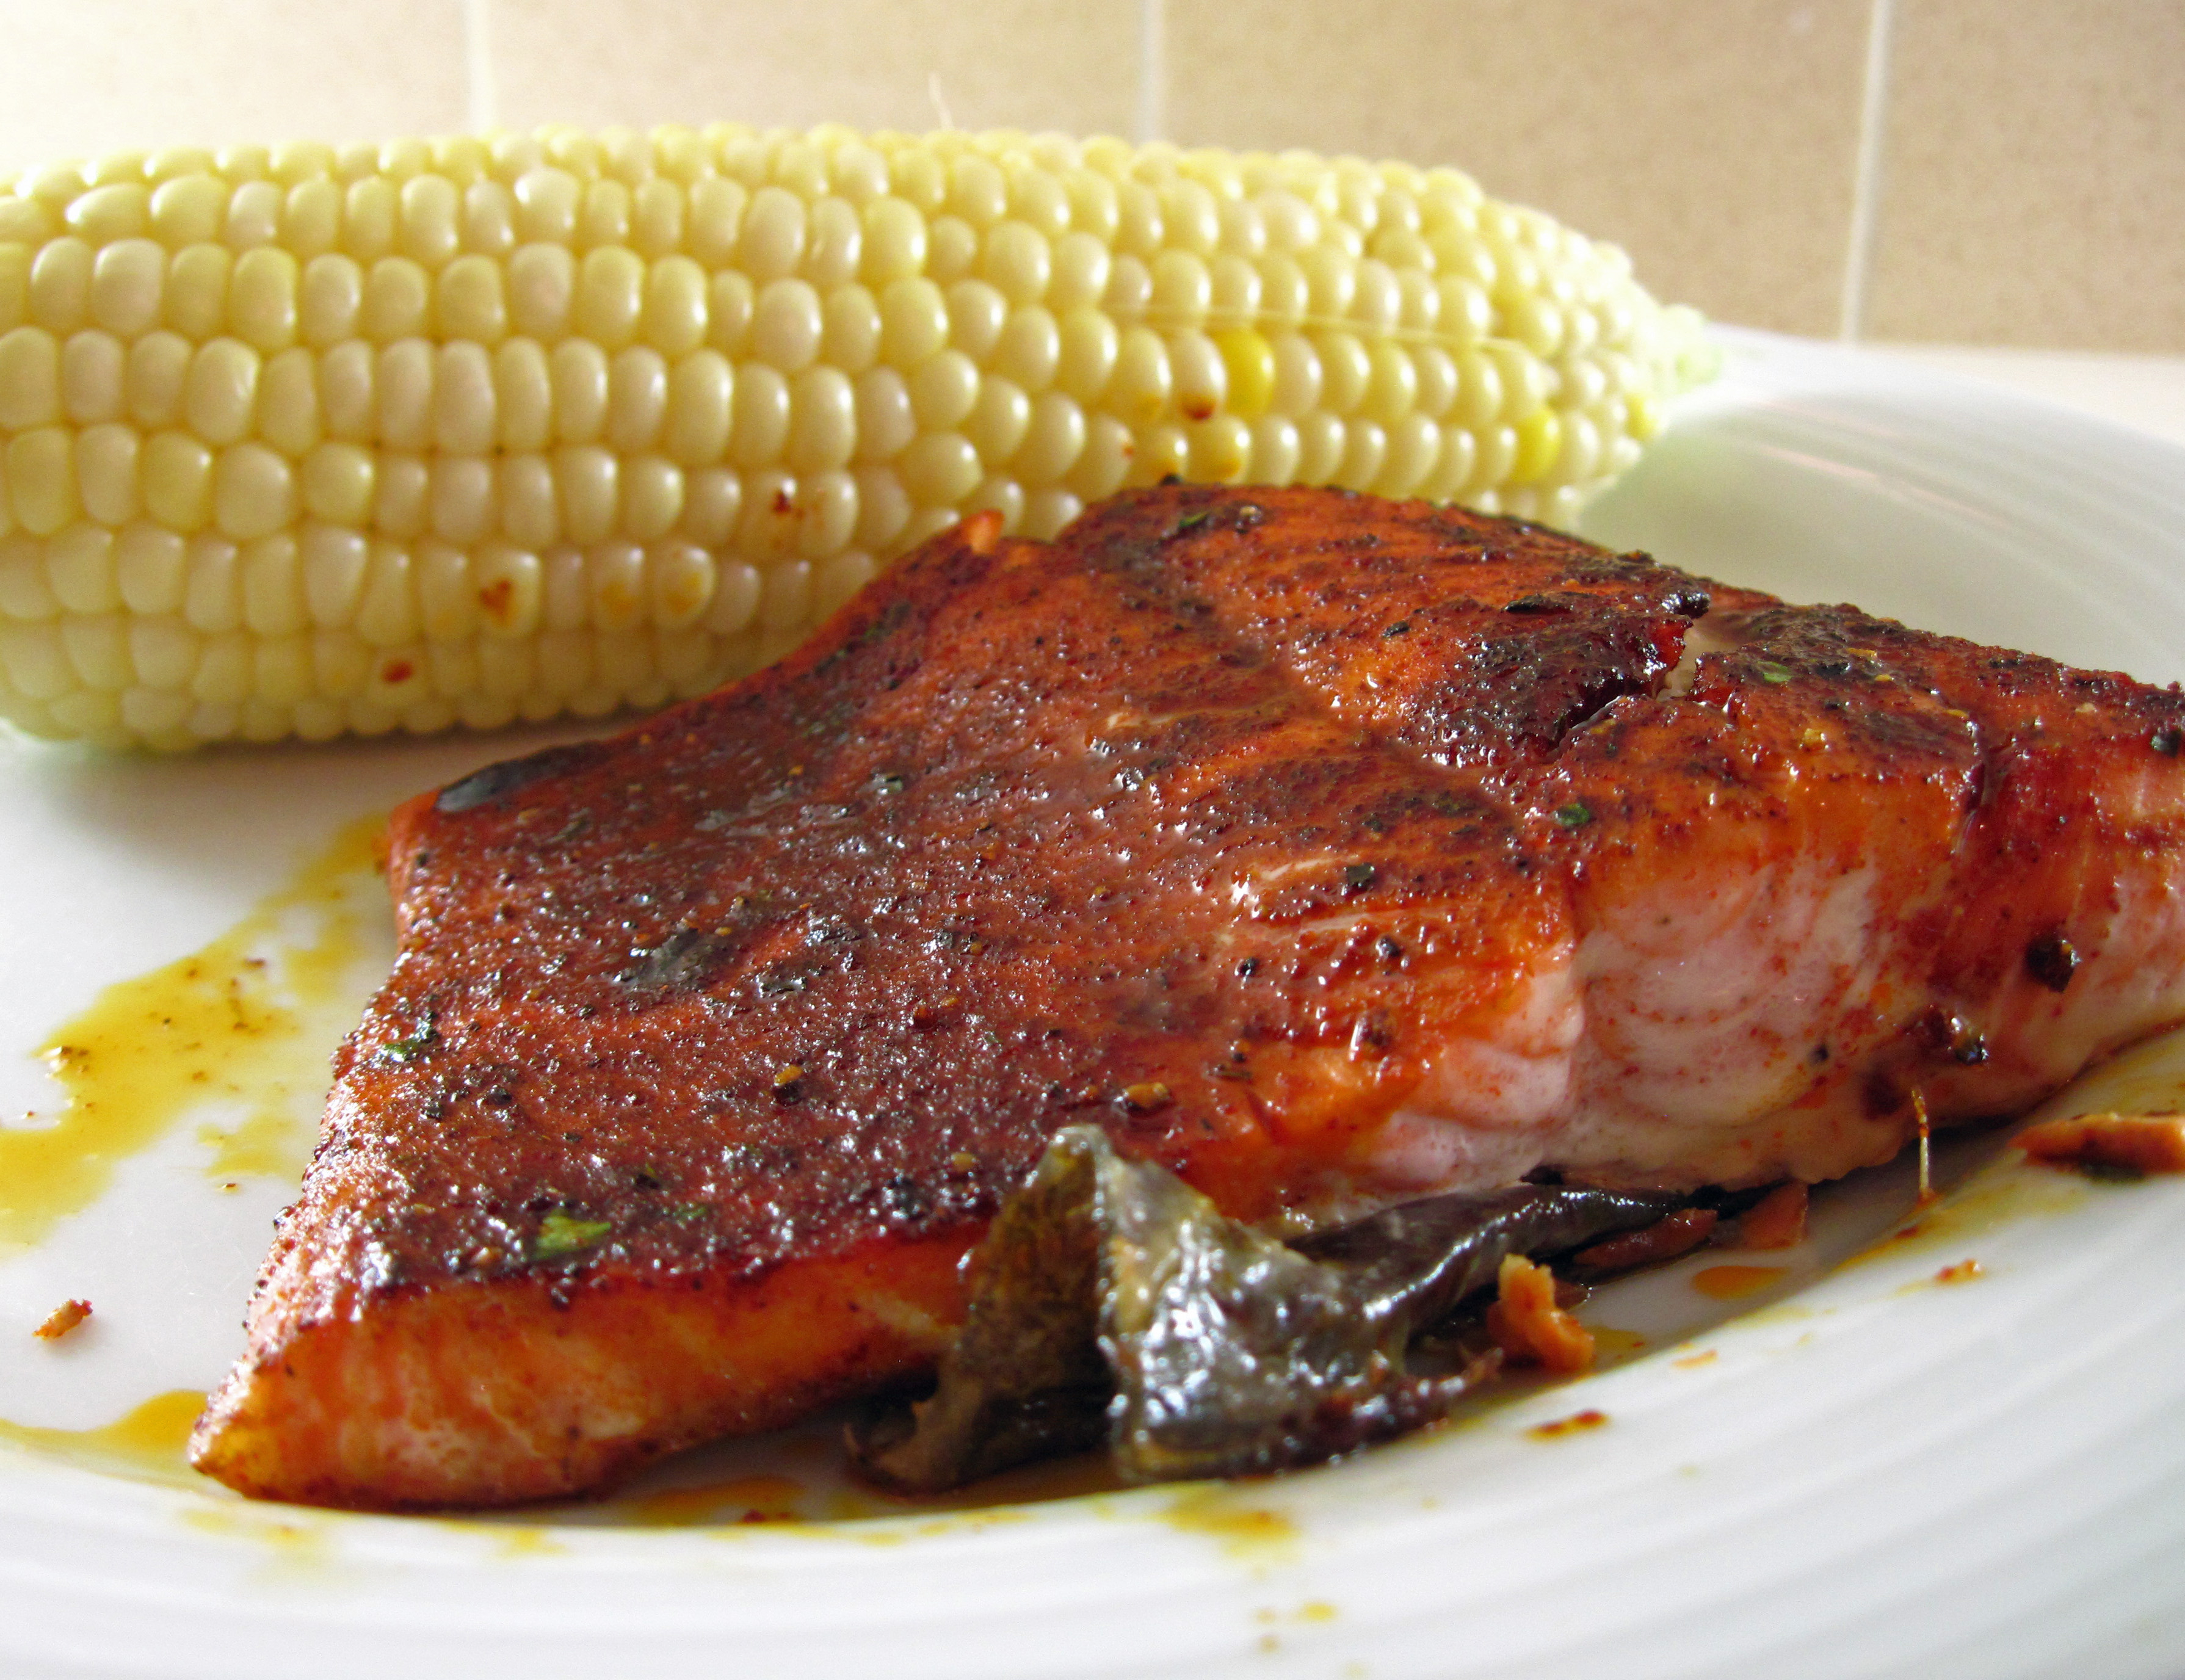
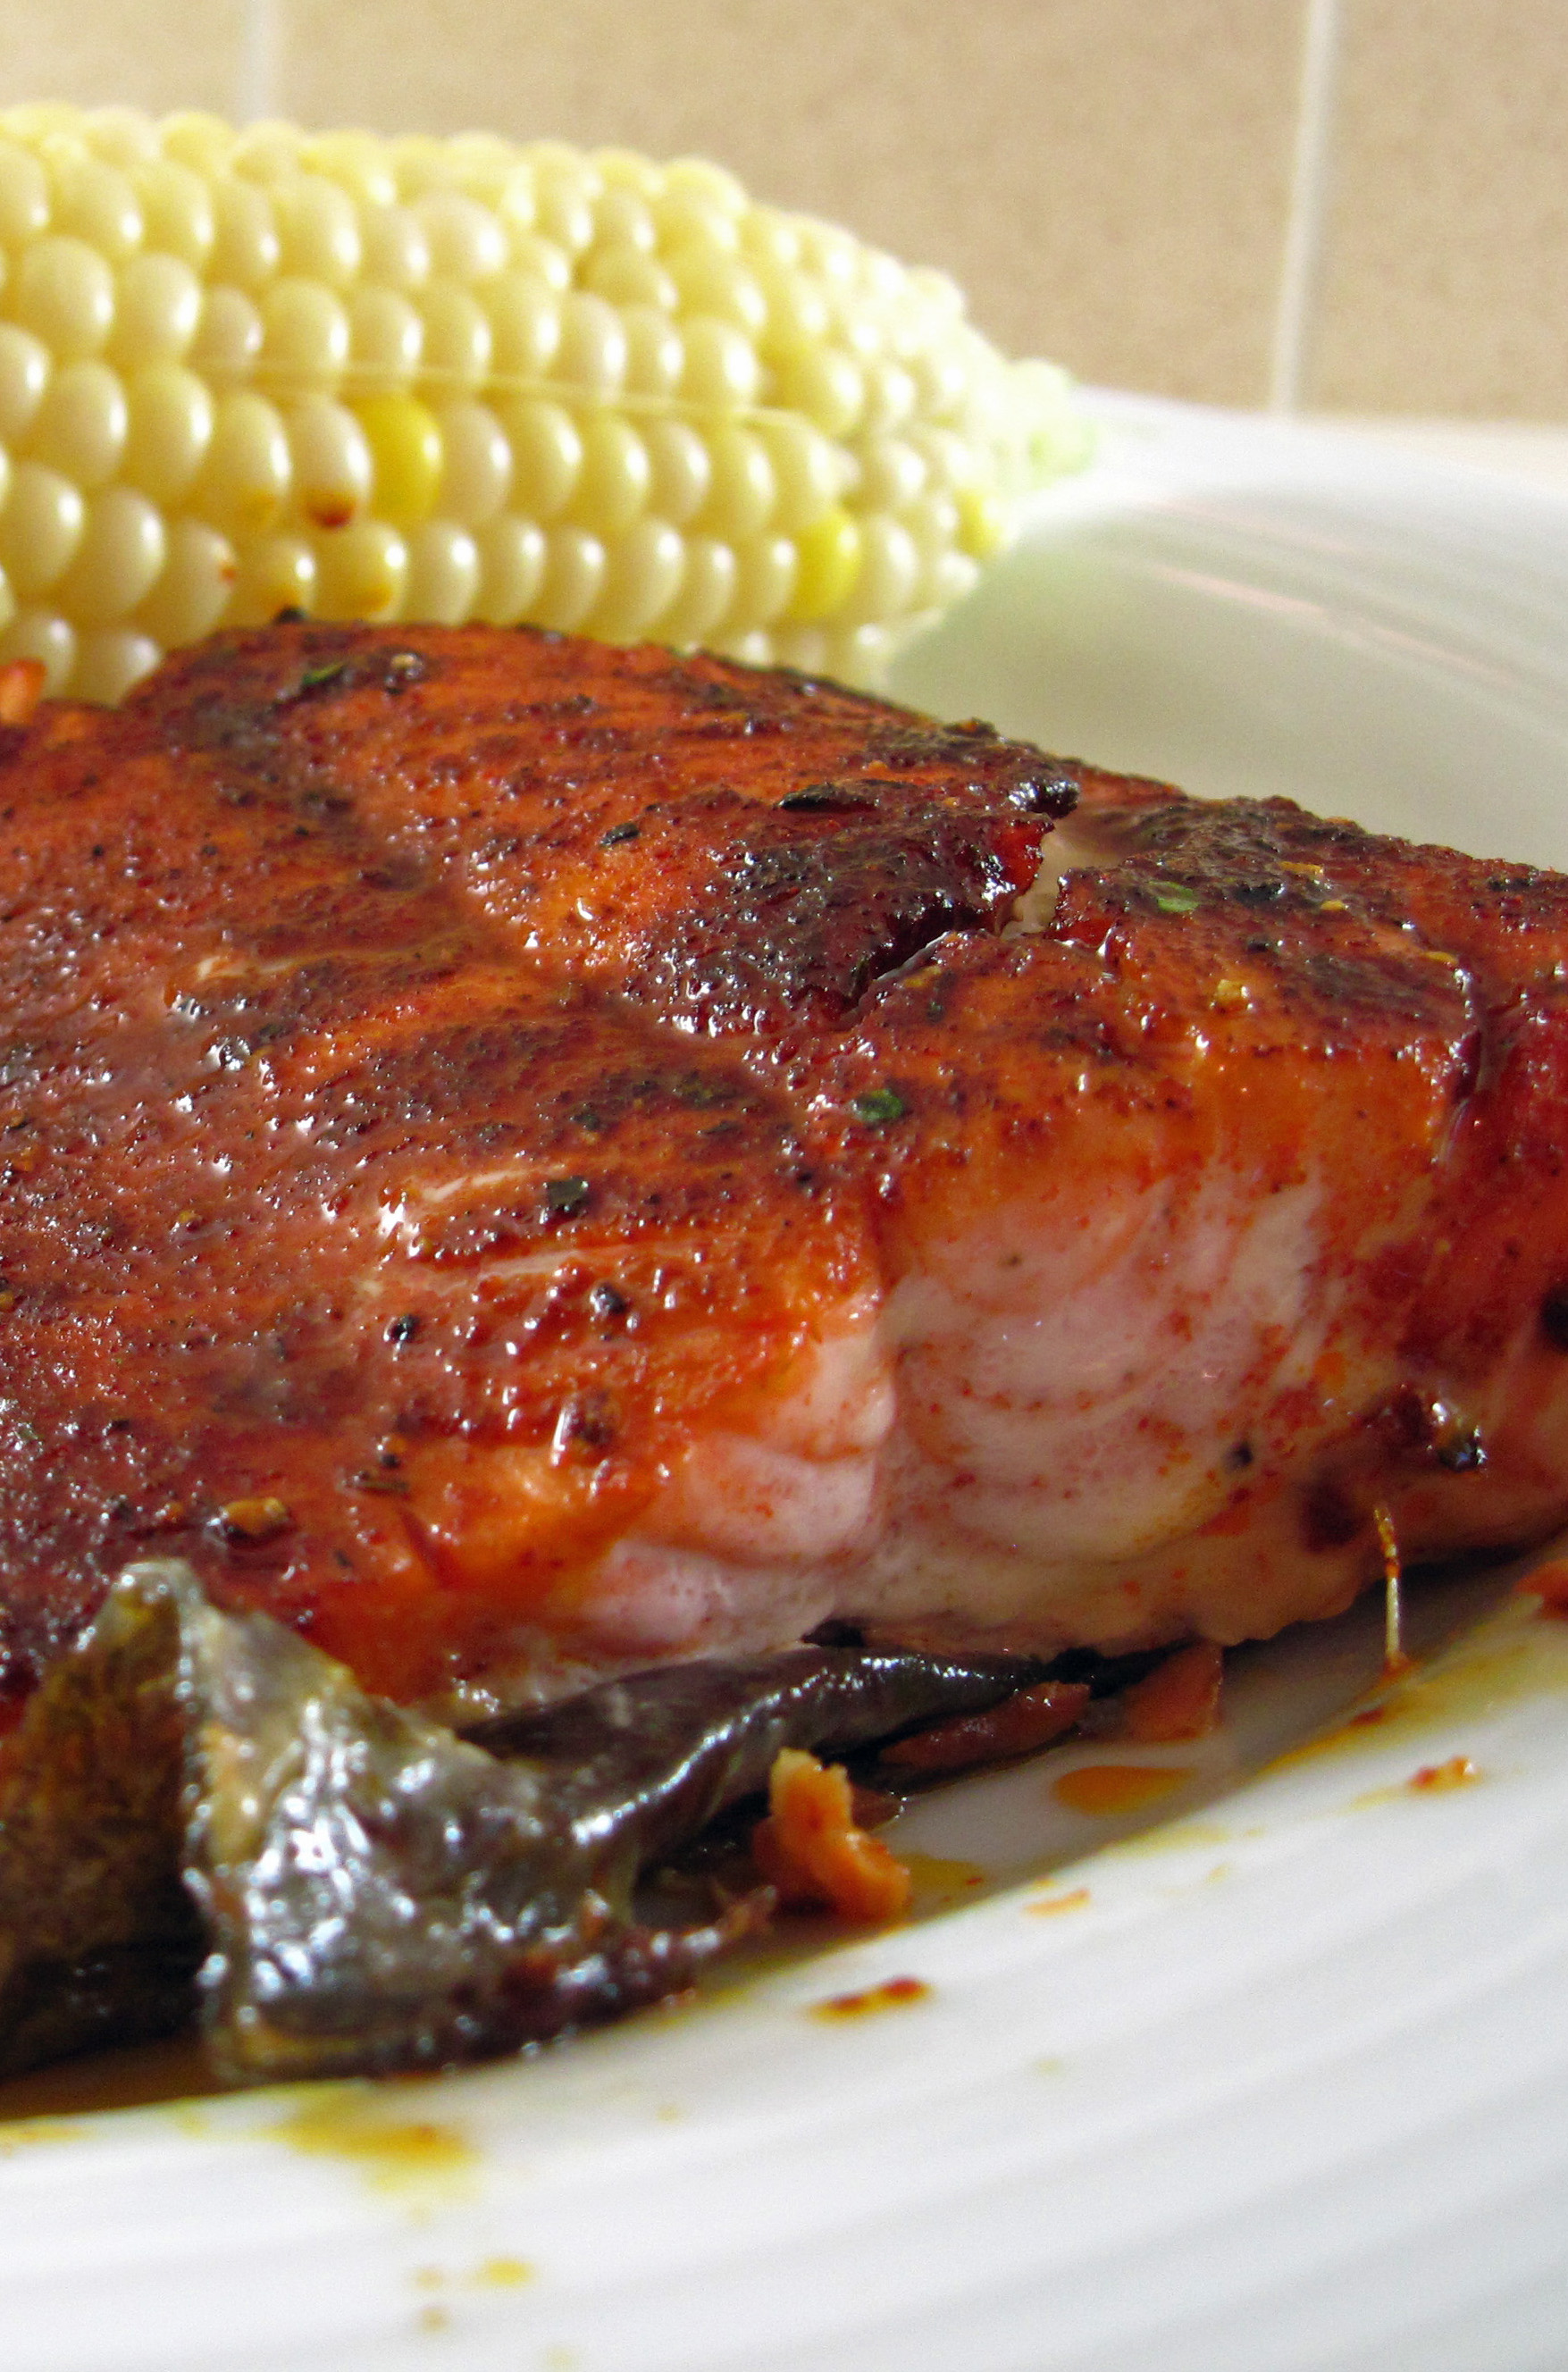
Laura joined us for dinner last night. I cut the fillet into three 6.5-ounce portions and used Tom’s stovetop method. We all agreed that Etta’s “Rubbed with Love” Salmon is outstanding! The cookbook has the recipes for Etta’s Cornbread Pudding and the Grilled Shiitake Relish but I decided to keep it simple for a hot summer night. We enjoyed the salmon with corn on the cob and a salad made with lettuce from our garden. Delish!
a
Etta’s “Rubbed with Love” Salmon (photo by Laura)
This photo illustrate’s how easily the skin slips off once the salmon is cooked. 😉
a
Etta’s “Rubbed with Love” Salmon
(Adapted from the recipe in Tom Douglas’ Seattle Kitchen)
a
a
I made the full recipe of the spice rub but only used half of it since I only had 3 fillets instead of 6. I saved the other half in a small jar for a future meal.
a
Serves 3
a
Salmon Spice Rub
3 tablespoons maple sugar (or use firmly packed brown sugar as Tom does)
2 tablespoons smoked paprika (or regular paprika if you can’t find smoked)
2 teaspoons kosher salt
1½ teaspoons freshly ground pepper
1 teaspoon chopped fresh thyme
a
Three 6 or 7-ounce salmon fillets
Oil for the pan (I used grapeseed oil.)
a
1. Preheat the oven to 350˚.
2. Combine the five ingredients for the spice rub. Set half of it aside for another meal.
a
3. Preheat an oven-proof skillet over medium-low heat.
4. Just before you’re ready to cook (not more than 5 minutes before), sprinkle half of the recipe of the spice rub over the salmon. Gently press it on with your fingers so it will adhere well.
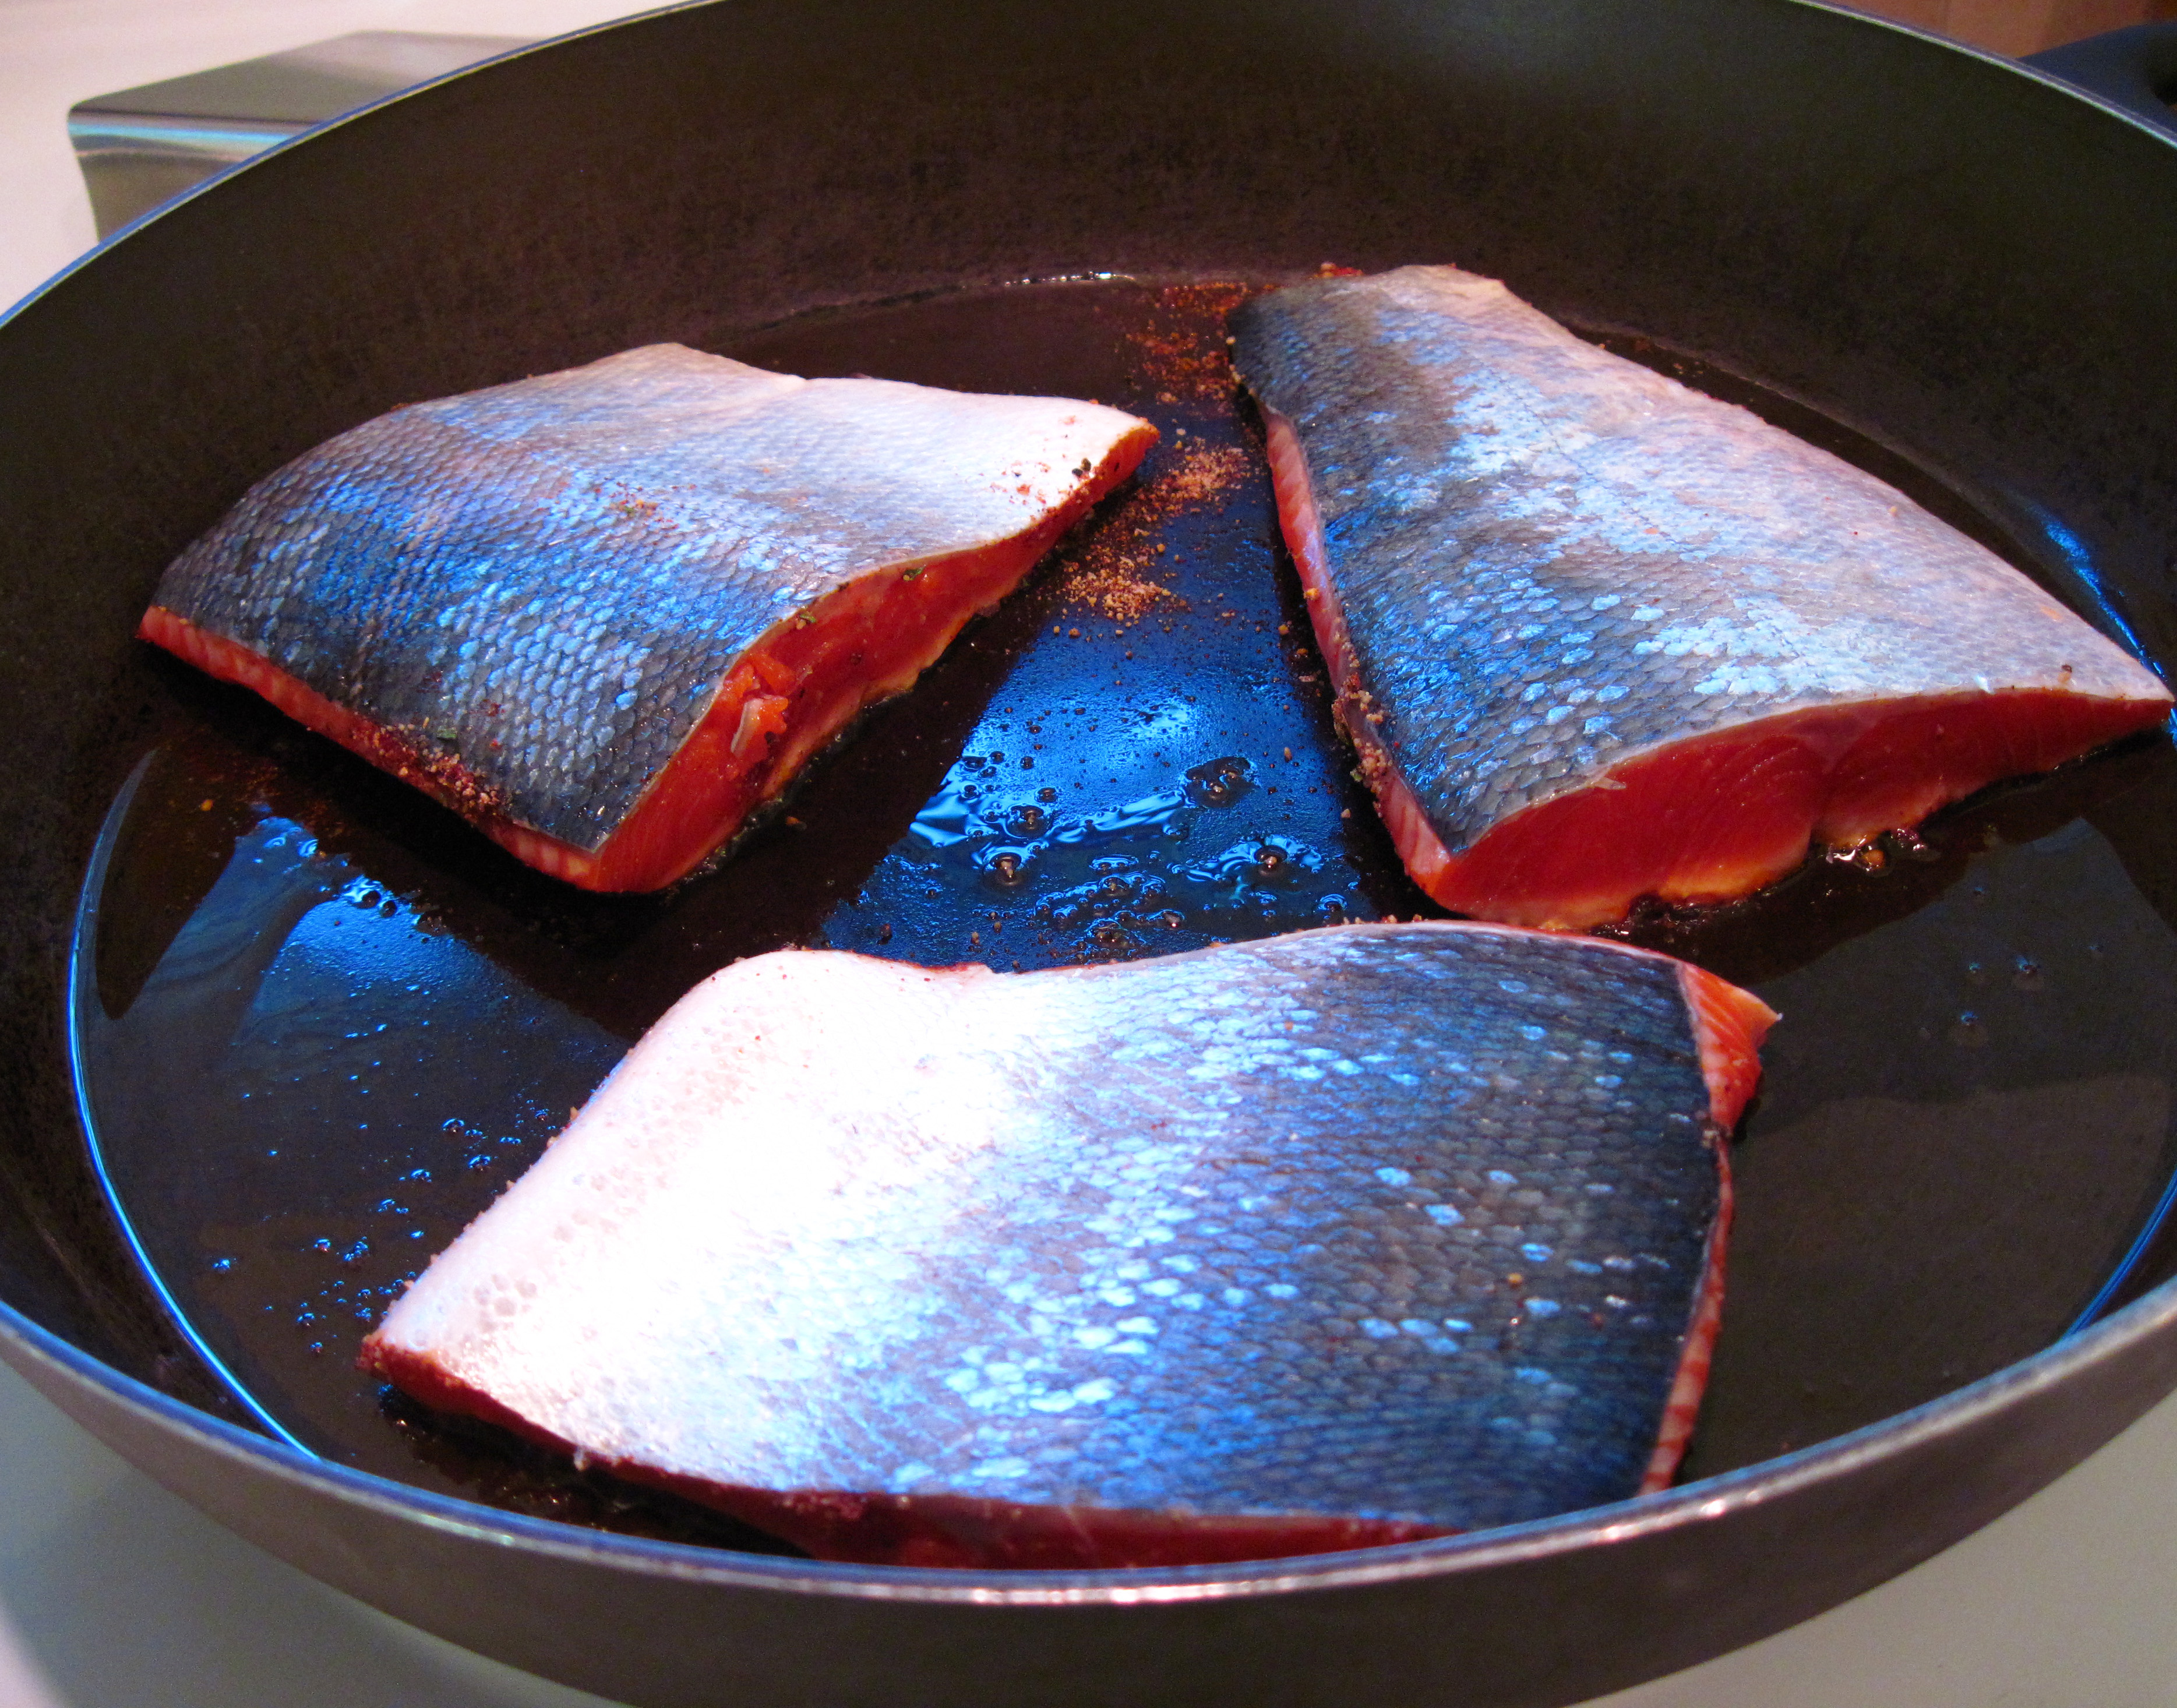
5. Heat the oil in the pan. Add the salmon, flesh-side down. Cook for a minute or two until the spice rub has caramelized.
a
Note the thin tail portion of the fillet on the upper right. After caramelizing, I turned the tip under the fillet so it would cook more evenly as you’ll see in the next photo.
a
6. Flip the fillets over and put the pan into the preheated oven and cook for about 8 minutes, until the salmon is done to your liking. (Timing will depend on the thickness of your fillet. The general rule of thumb is about 10 minutes for every inch of thickness.)
a
Ready to go into the oven. I turned that thin tip under the rest of the fillet before I put the pan in the oven.
a
Thanks to Laura for this photo!
a
Share this:

Ivar’s Famous Tartar Sauce
By Kath Dedon
a
People in Seattle have been enjoying Ivar’s Famous Tartar Sauce since 1938. That’s when Ivar Haglund opened a small fish and chips stand on the Seattle waterfront. By 1946 his business was doing well but he realized that people wanted a sit-down restaurant so he opened Ivar’s Acres of Clams. Ivar’s Acres of Clams is still on the waterfront, although it is temporarily closed for the city’s seawall restoration project. Ivar’s website advises to “Keep Clam”; they’re planning to reopen on July 1, 2015.
Fortunately for Ivar’s fans, people have been able to get their Ivar’s fix during this closure at one of their many other venues. There are two other restaurants, seafood bars, and seafood stands at the major sports venues in town.
Throughout his career, Ivar was one of the greatest cheerleaders for the Pacific Northwest. He was famous for his puns, wacky publicity stunts, and later for his television commercials. He was truly a beloved Seattle character. He died in 1985 at the age of 79 but his legacy lives on with his restaurants and seafood company.
In December 2013 I went to a Tom Douglas Cookbook Social with Joan, Laura, and Carrie. Bob Donegan, the current President of Ivar’s, Inc., was there with a newly published cookbook celebrating Ivar’s 75 years, Ivar’s Seafood Cookbook, the O-fish-al Guide to Cooking the Northwest Catch by “The Crew at Ivar’s” and Jess Thompson. He was also serving samples of Chris Garr’s House-Made Bacon-Wrapped Halibut which was delicious. I made a mental note that I wanted to check out the book. Laura secretly bought an autographed copy and surprised me with it for my birthday a few weeks later!
The cookbook is a delightful history of Ivar’s with lots of photos, historical information, cartoons, and trivia. It’s a fun look at the past for anyone who was in Seattle in the ‘40s, ‘50s, ‘60s, and ‘70s. Jess Thompson is credited for all of the puns that are in the book. They really capture the spirit of Ivar Haglund.
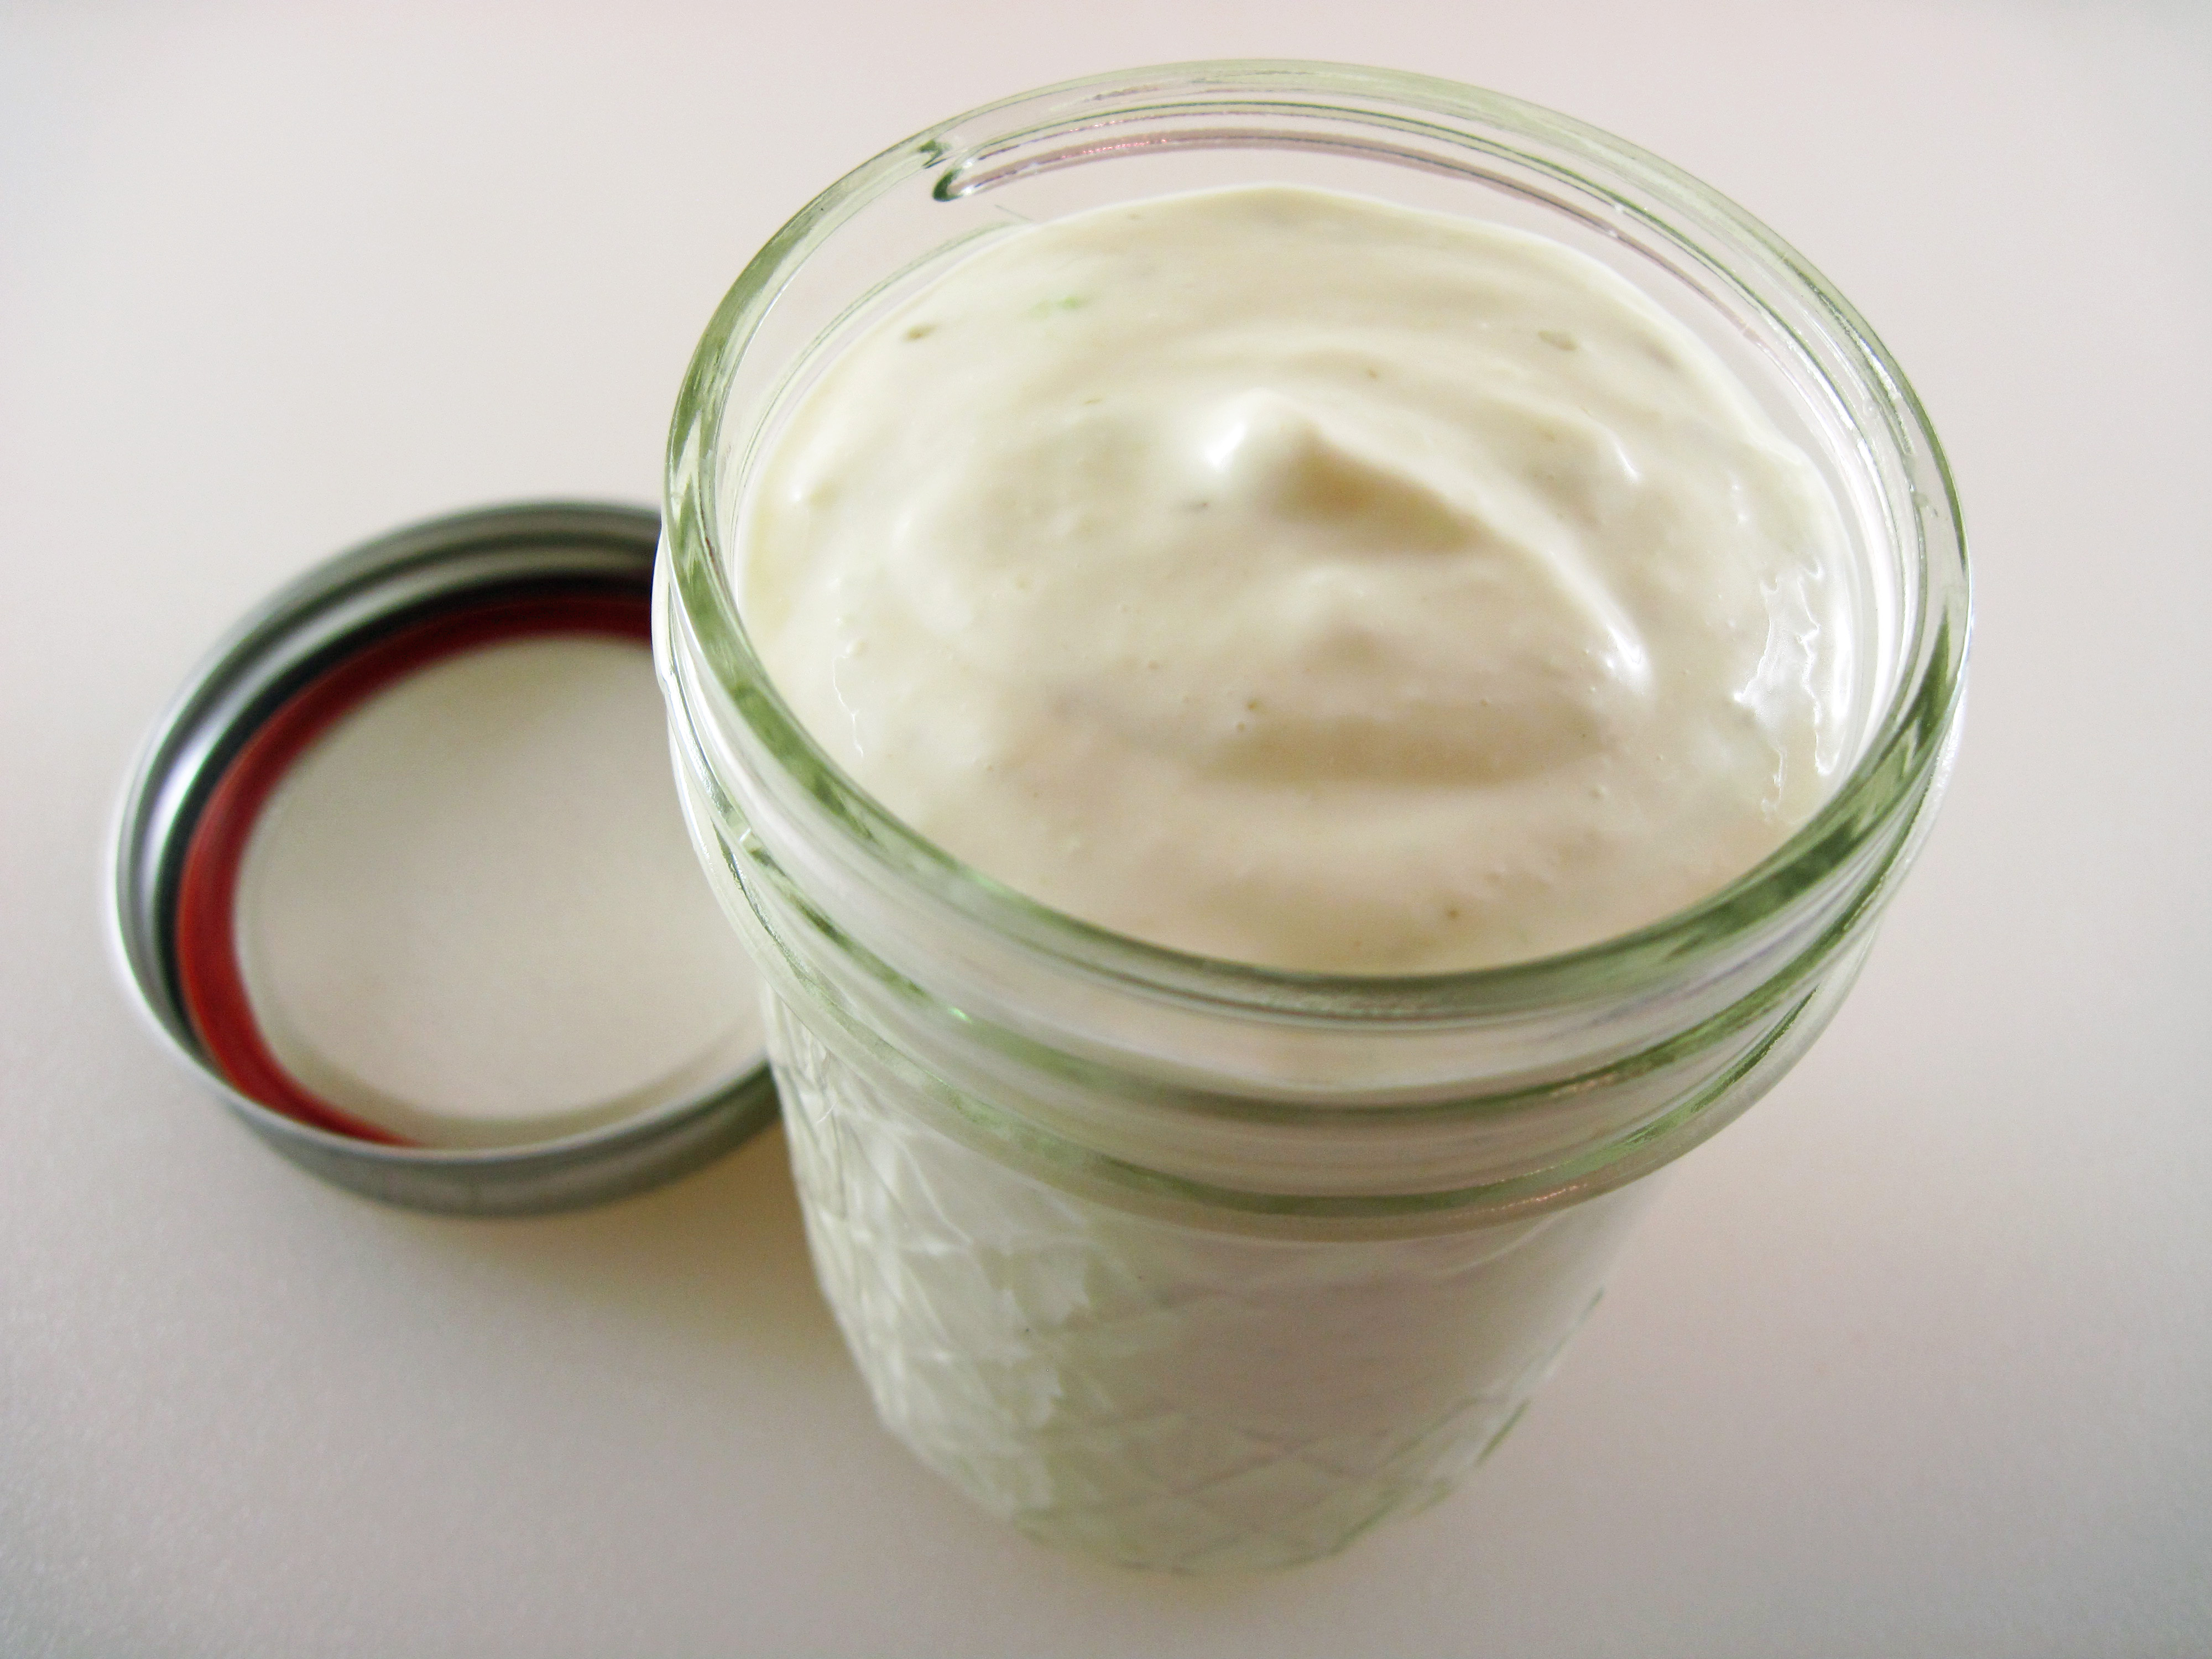
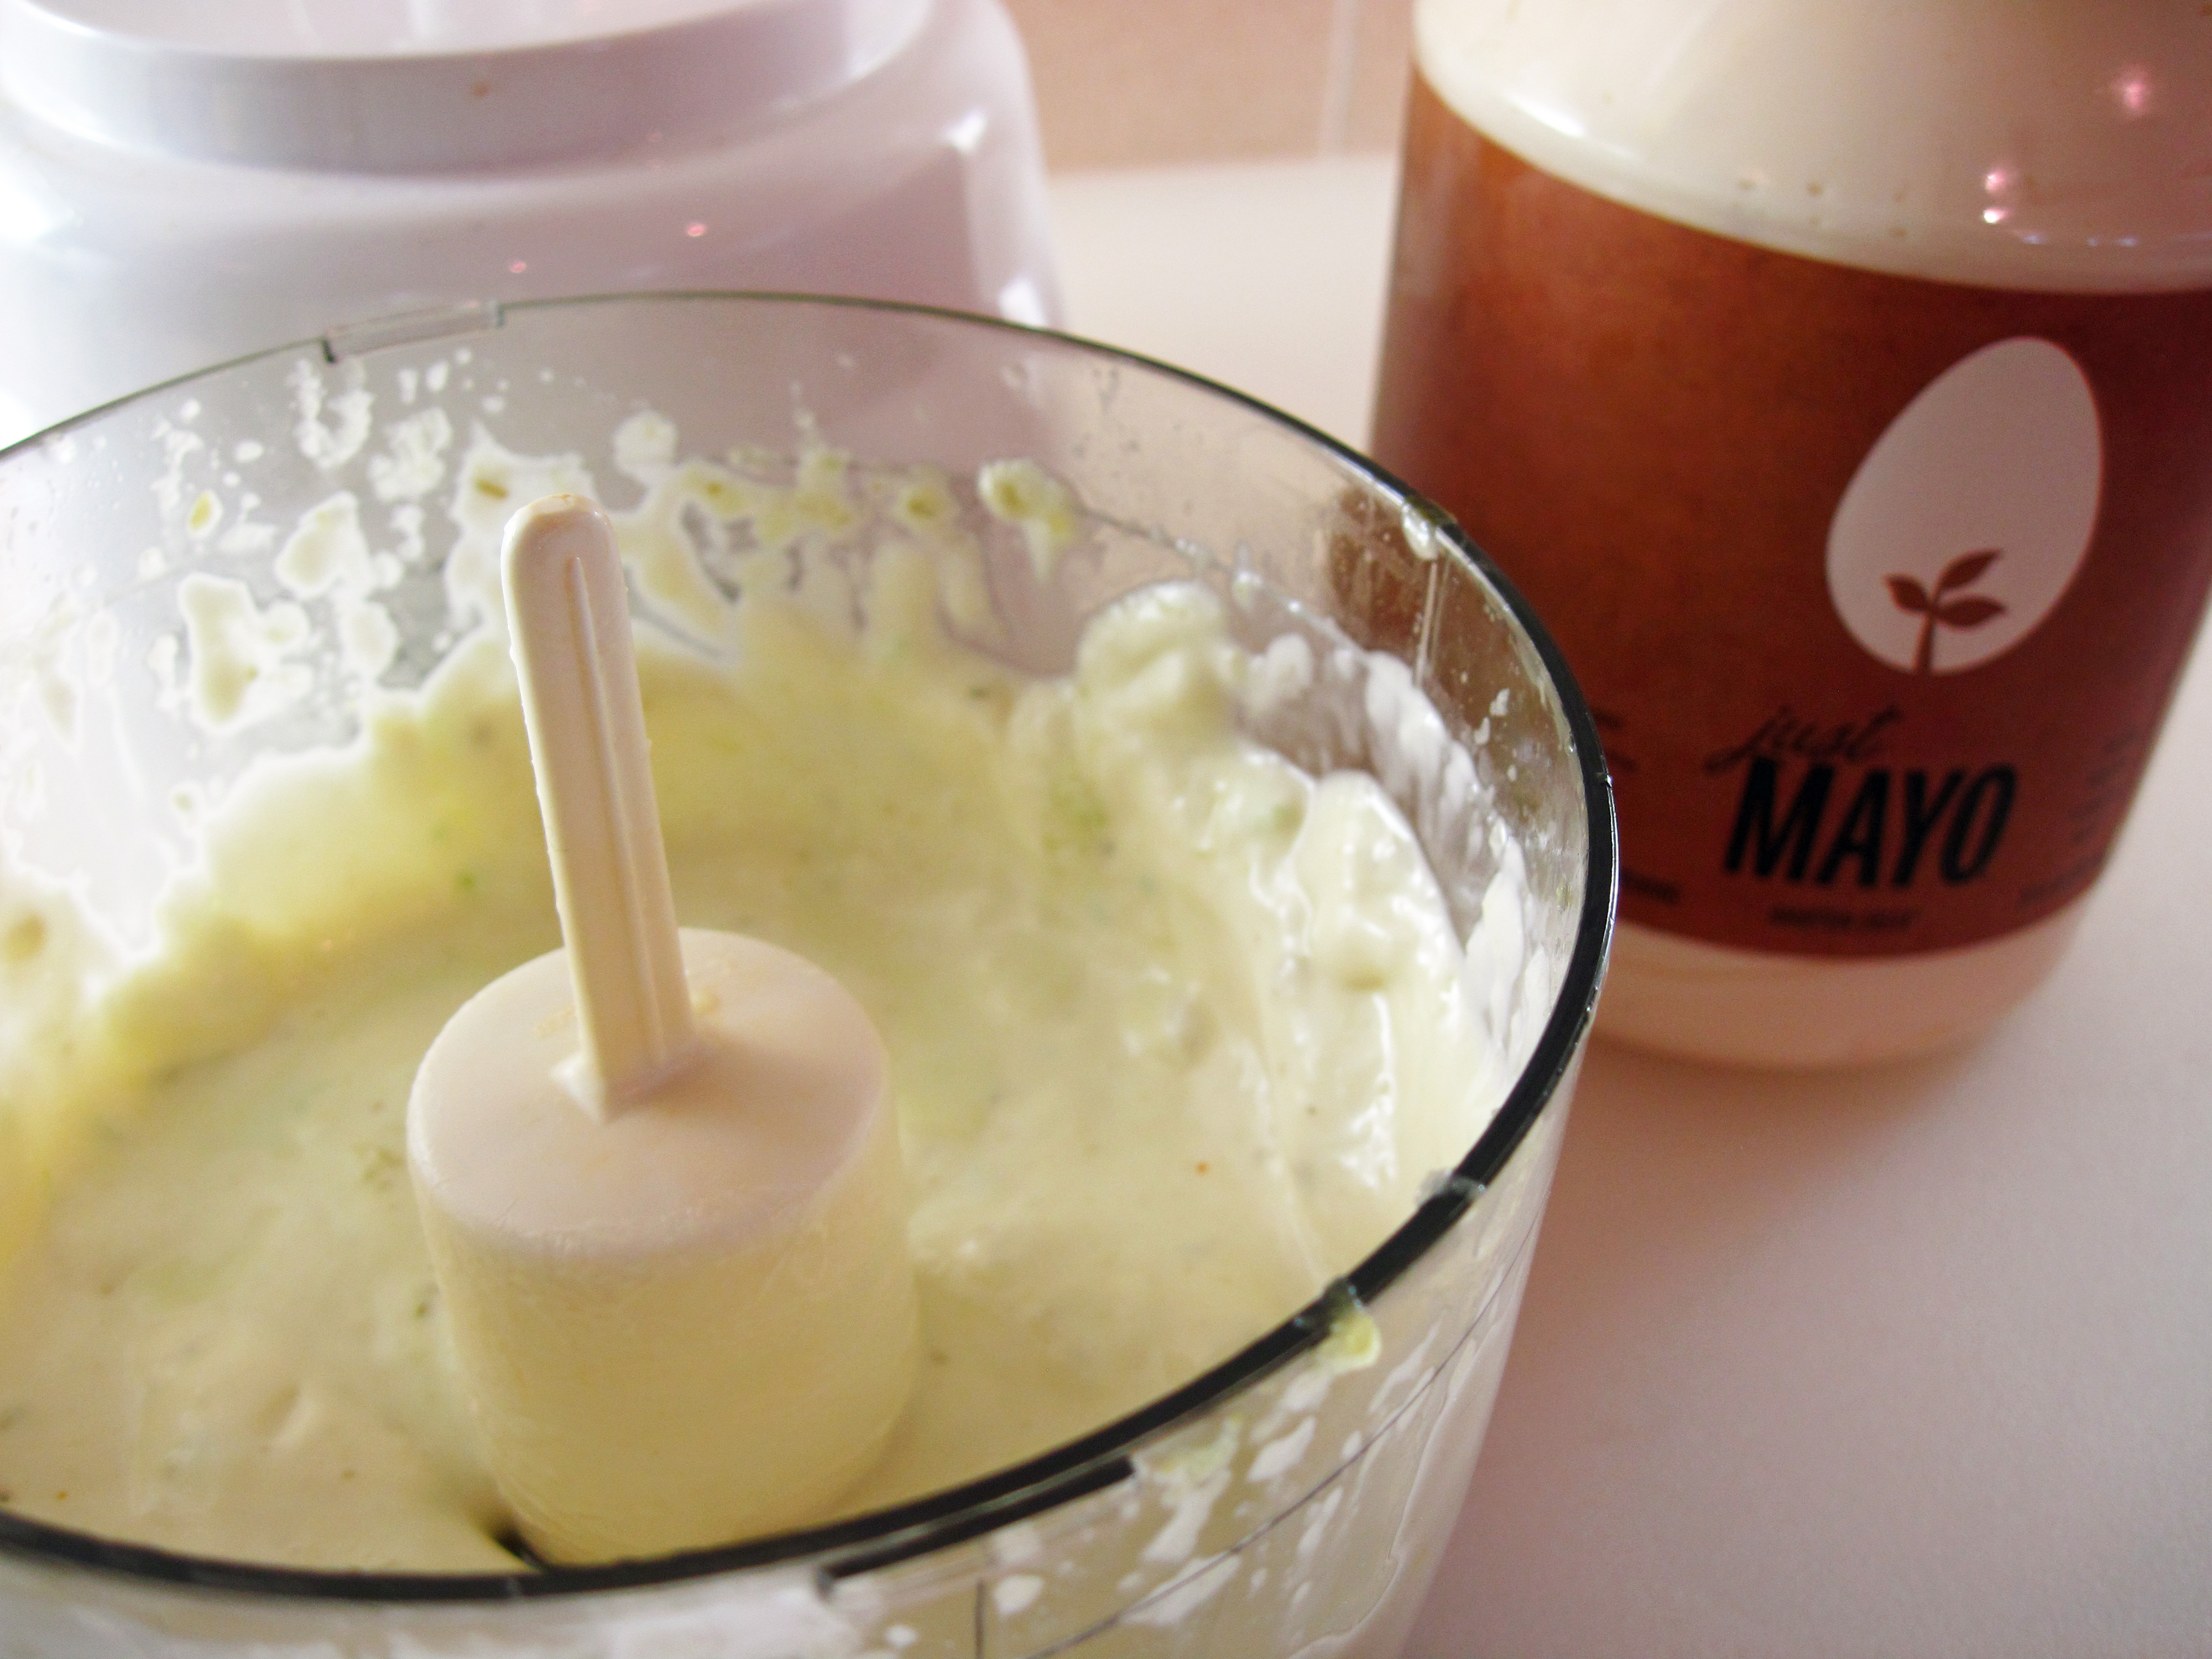
I made Ivar’s Famous Tartar Sauce and it worked really well with my Homemade Dungeness Crab Cakes. Making your own tartar sauce means you get to control the ingredients. I wanted to make an egg-free version so I subbed a vegan mayonnaise for regular mayonnaise. Serious Eats did a taste test of 4 different brands of vegan mayonnaise and Hampton Creek’s Just Mayo came out on top. I have to say that it’s pretty hard to tell the difference between it and regular mayonnaise.
Ivar’s Famous Tartar Sauce is great with seafood, but it would also be a delicious dip for vegetables or French fries. The cookbook even suggests adding some lemon juice and using it as a dip for asparagus. If you like being in charge of the ingredients in your food, I think you’ll enjoy this one. And if you love seafood and would like a glimpse into mid-century Seattle, I highly recommend Ivar’s Seafood Cookbook!
a
a
Ivar’s Famous Tartar Sauce
(Adapted from the recipe in Ivar’s Seafood Cookbook)
a
a
Makes 2 cups
a
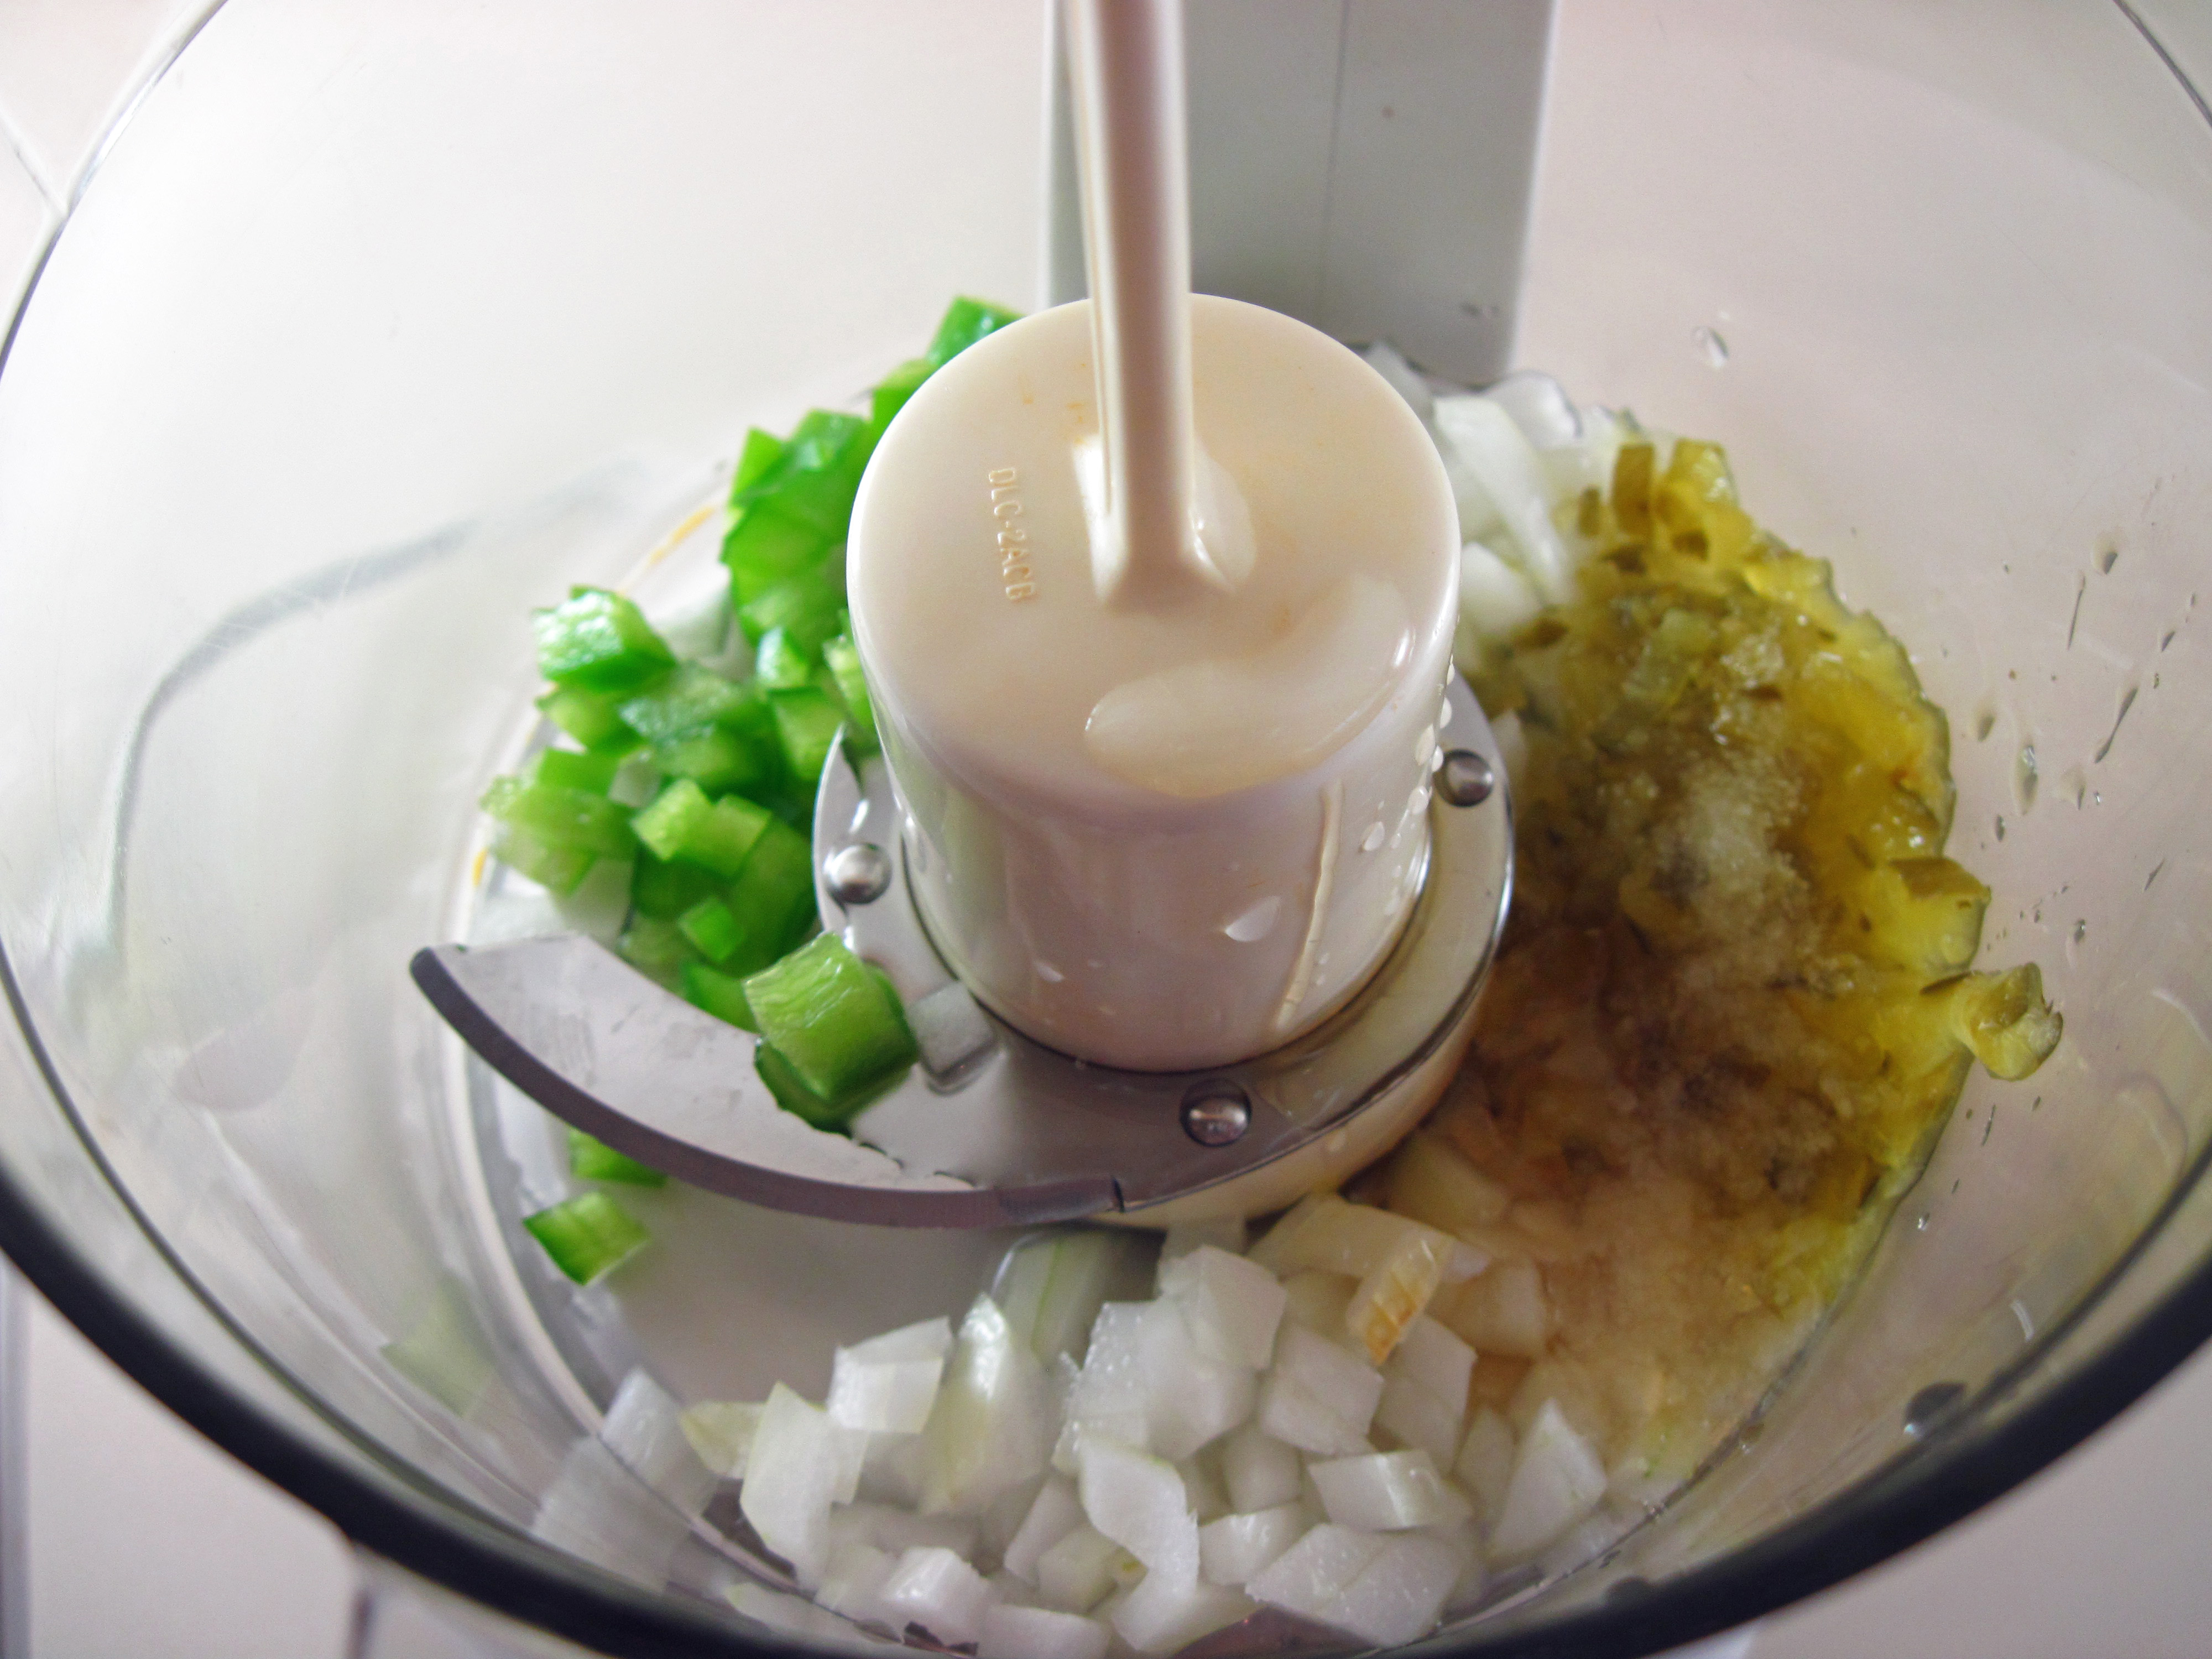
¼ cup chopped yellow onions
2 tablespoons chopped green bell pepper
2 tablespoons dill pickle relish
1 tablespoon white vinegar
1½ teaspoons sugar
½ teaspoon kosher salt
2 cups mayonnaise (Use a vegan mayonnaise for vegan or egg-free.)
a
Unsweetened pickle relish
a
1. Put everything except the mayonnaise in a food processor and process for 10 seconds. (A small 3-cup capacity food processor works fine.)
a
2. Add the mayonnaise and process for an additional 15 seconds.
a
Finished tartar sauce made with egg-free (vegan) Just Mayo

a
Share this:

Coconut Sweetened Vegan Chocolate Cake
By Kath Dedon
a
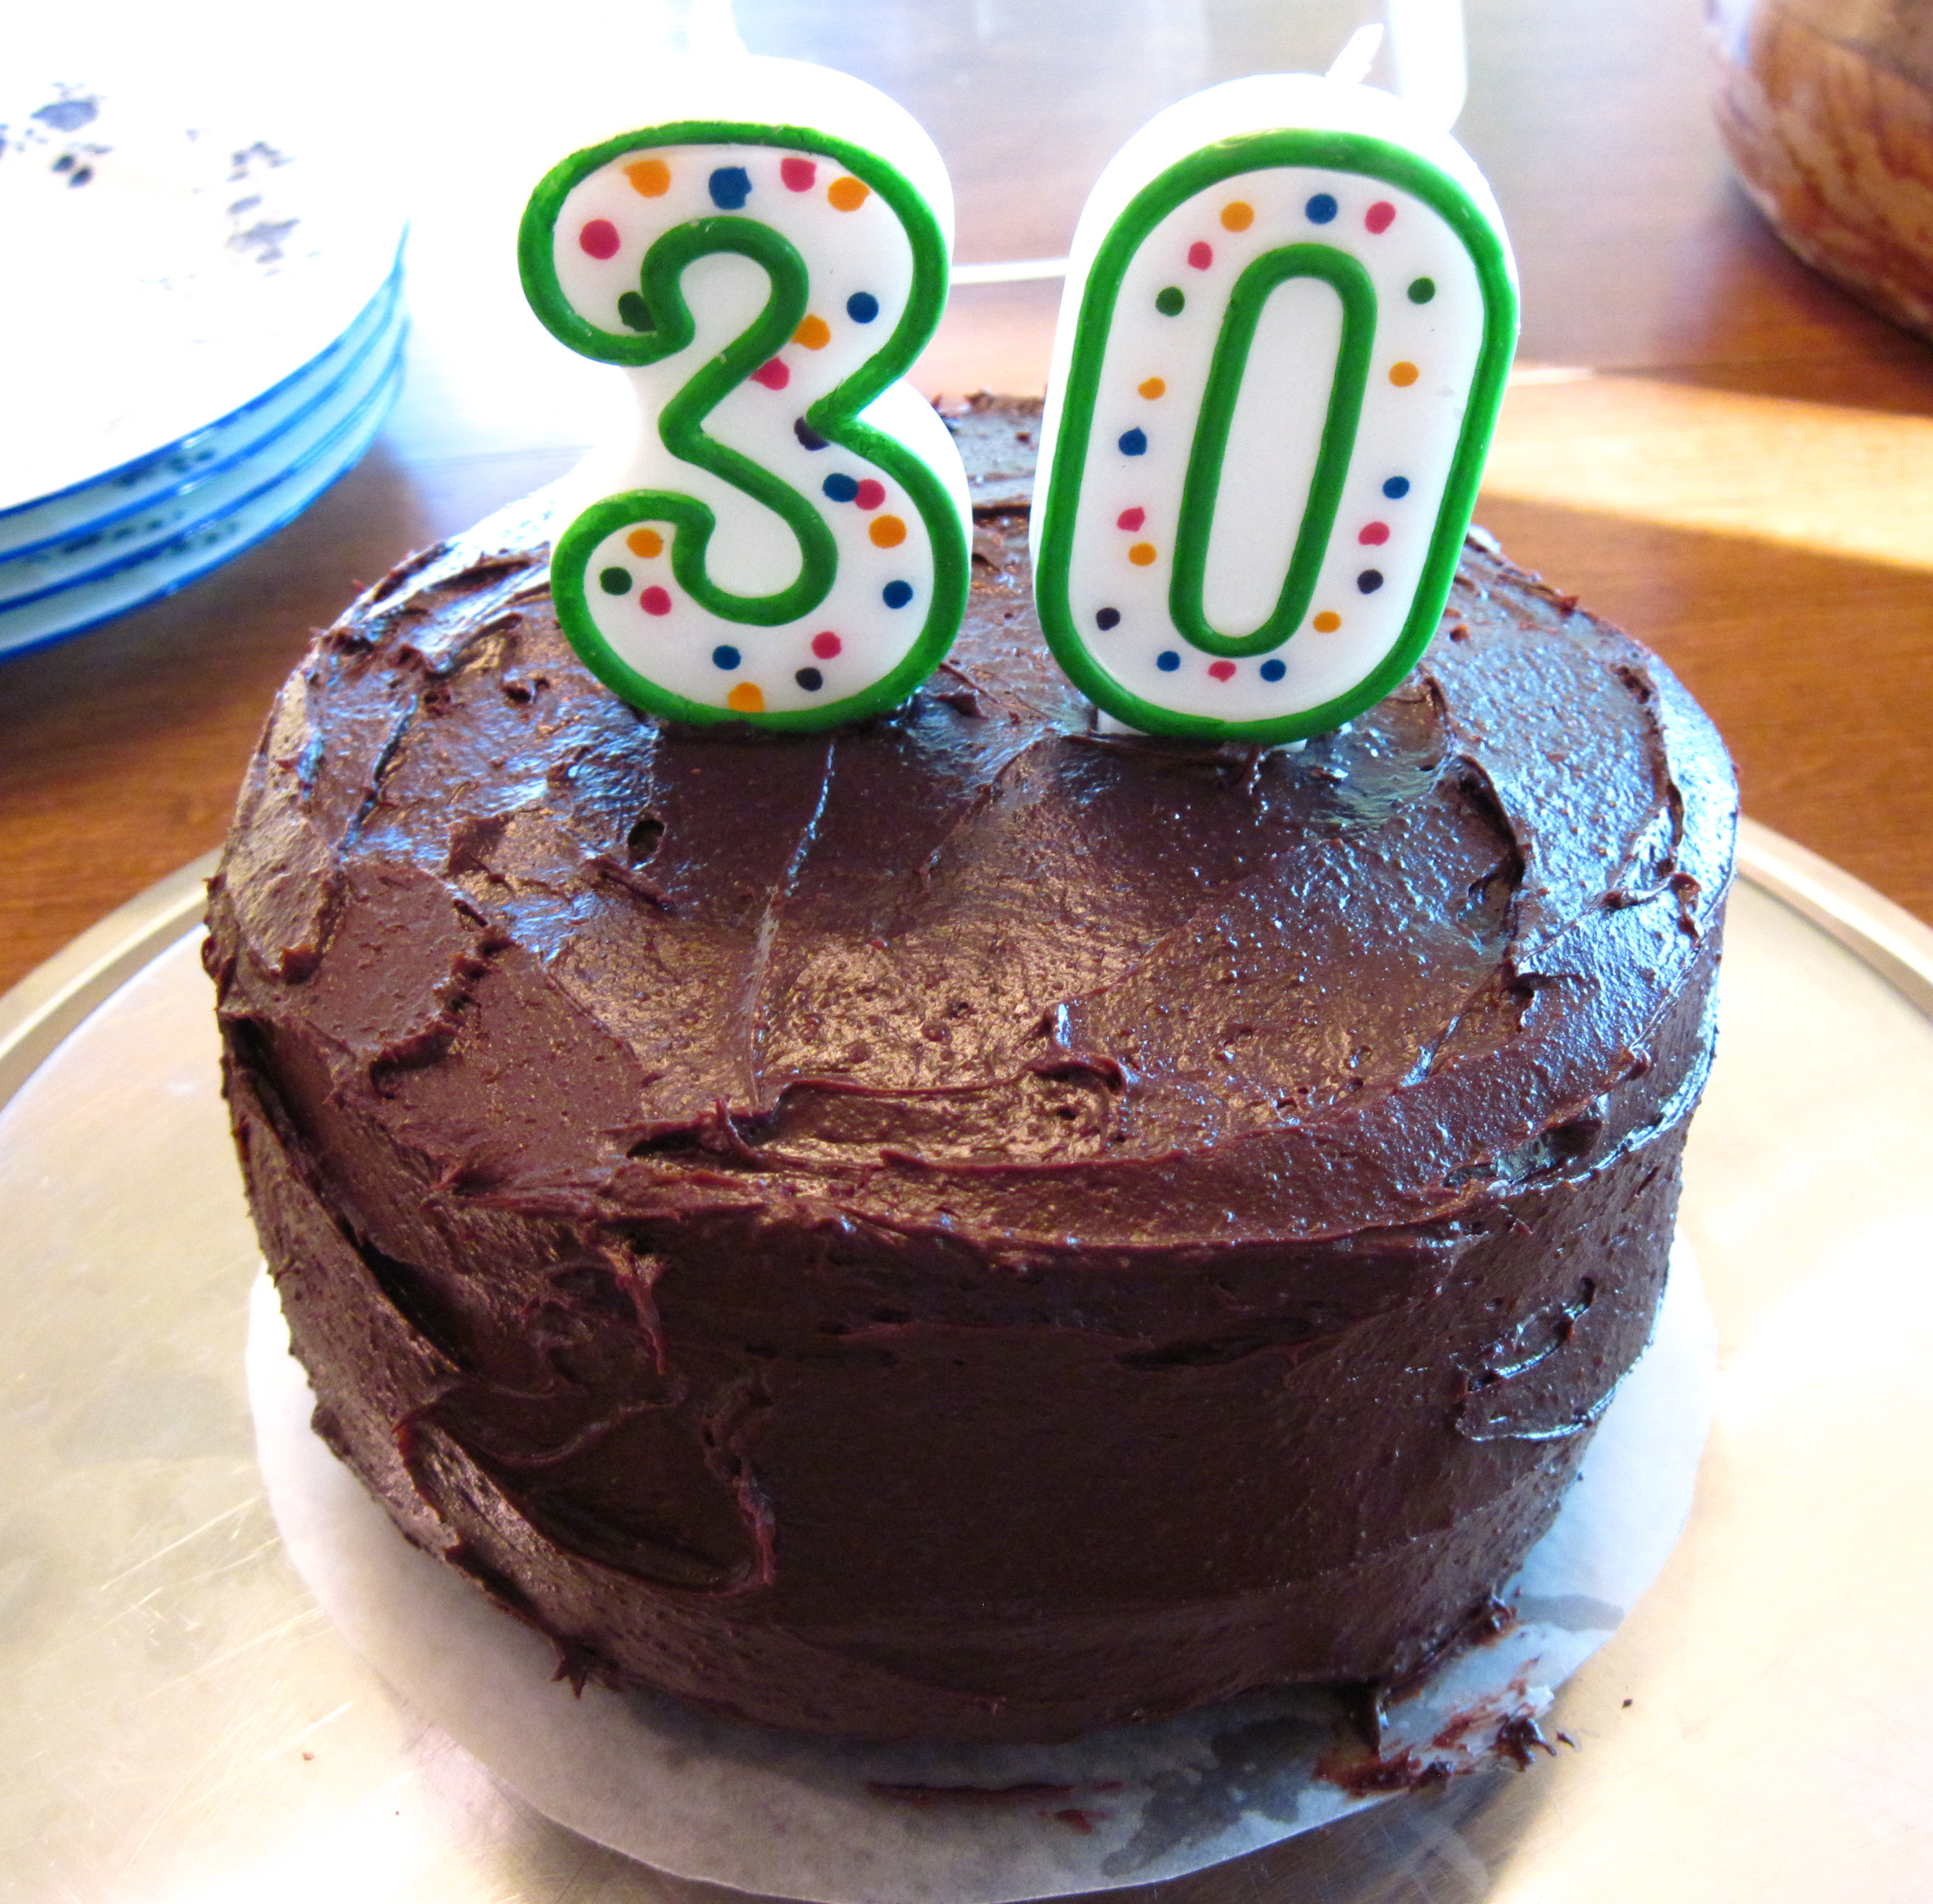
Earlier this month, we celebrated a special birthday. Laura turned 30! (Wait! Am I old enough to have a 30-year-old?) I made a Coconut Sweetened Chocolate Cake and I baked it in two 6-inch cake pans to make a small cake for a small family dinner.
The recipe for Cocoa “Crazy” Cake makes just the right amount of cake batter for two 6-inch layers. This time I tried it with coconut sugar and it worked just fine.
For frosting, I used half of the recipe for Hershey’s “Perfectly Chocolate” Chocolate Frosting. I subbed coconut sugar for the powdered sugar. It made way too much frosting for my little cake, but we found that the leftover frosting was delicious served as a little dollop over ice cream.
I’m really glad I invested in those 6-inch cake pans. It’s so much fun to make smaller versions of large cakes! If you like to try alternative sweeteners, I highly recommend this Coconut Sweetened Chocolate Cake. It was a big hit at our house.
a
a
Coconut Sweetened Chocolate Cake
(Adapted from the Cocoa “Crazy” Cake in The New American Diet, by Sonja L Connor, M.S., R.D. and William E. Connor, M.D.)
a
a
The cake is vegan. I used butter for the frosting, but you could swap the butter for a vegan butter substitute if you want to make the cake totally vegan. The parchment paper probably isn’t necessary in the pans, but I had some so I used it.
a
Makes a 6-inch layer cake (or you could make a one layer 9-inch cake or 12 cupcakes)
a
Coconut oil (or other oil) for greasing the pans
1½ cups (180g) all-purpose flour
1 teaspoon baking soda
3 tablespoons cocoa powder
½ teaspoon salt
1 cup coconut sugar (or white sugar)
3 tablespoons oil
1 teaspoon vanilla
1 tablespoon vinegar
1 cup cold water
a
1. Preheat the oven to 350˚.
2. Prepare two 6-inch cake pans. Grease the bottoms and sides with coconut oil. Cut two pieces of parchment paper to fit the bottom of the pans. Put the paper in the bottom and then grease the paper.
3. Stir the flour, baking soda, cocoa powder, and salt together in a medium bowl.
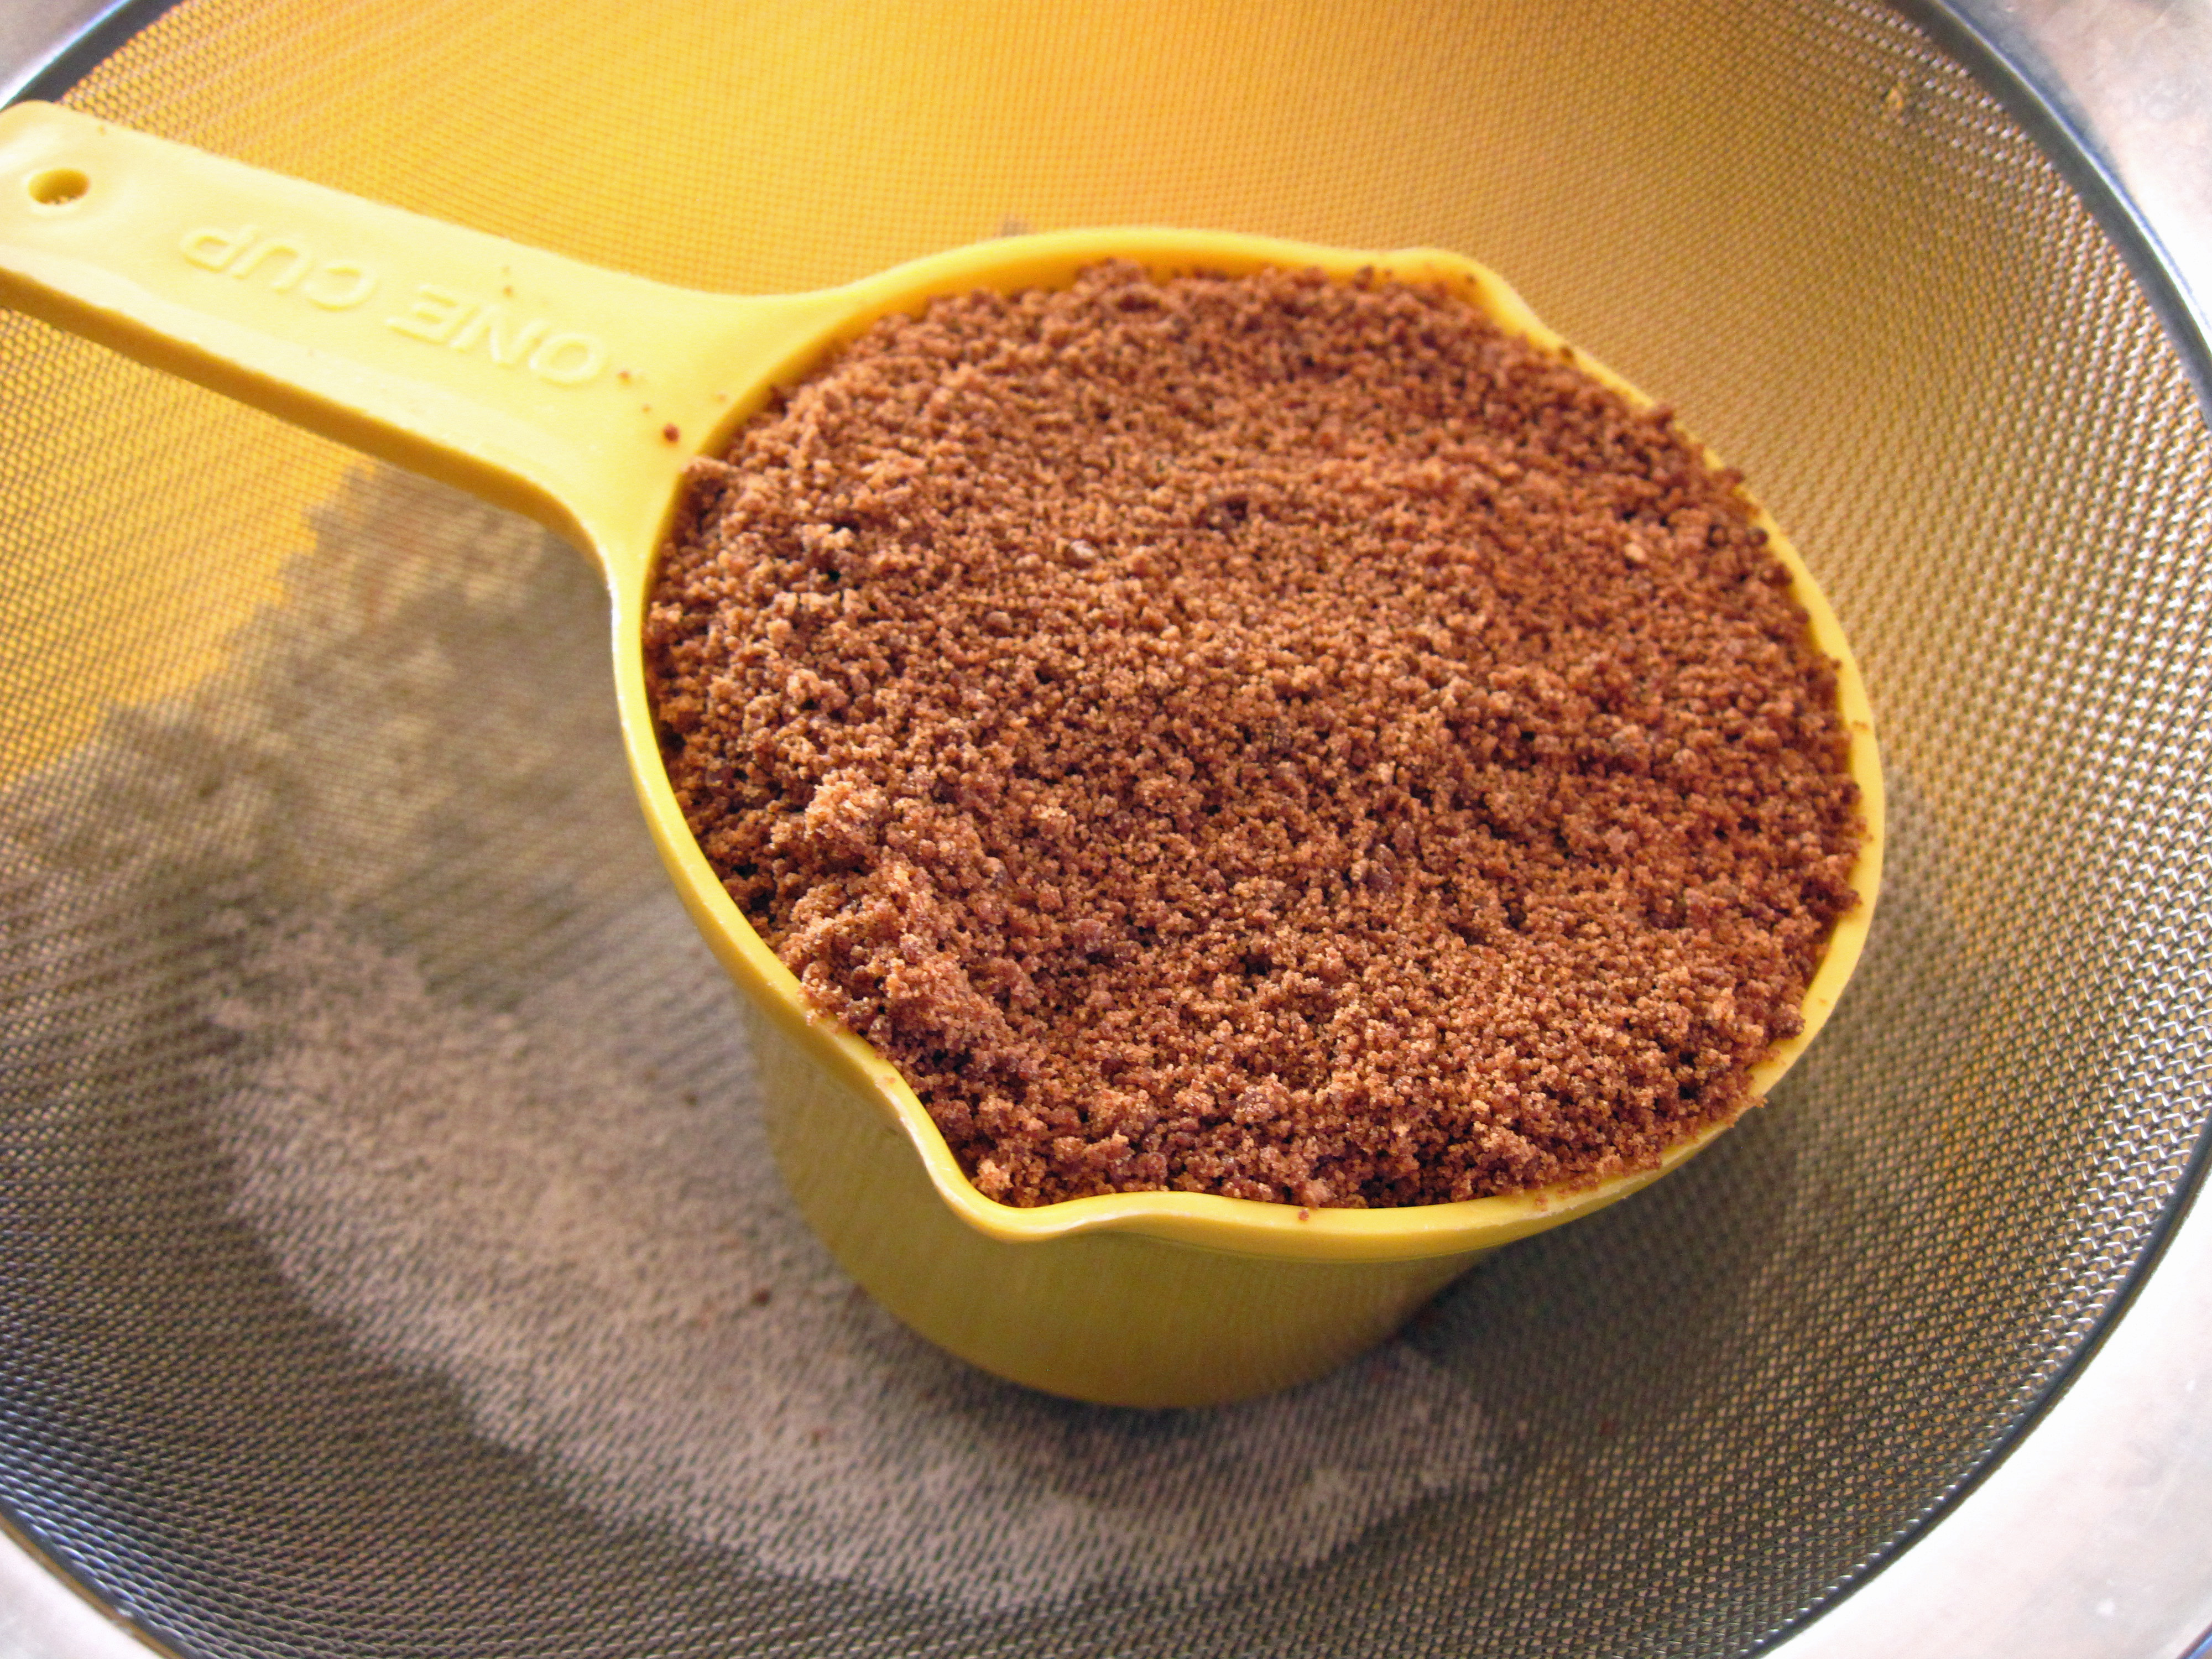
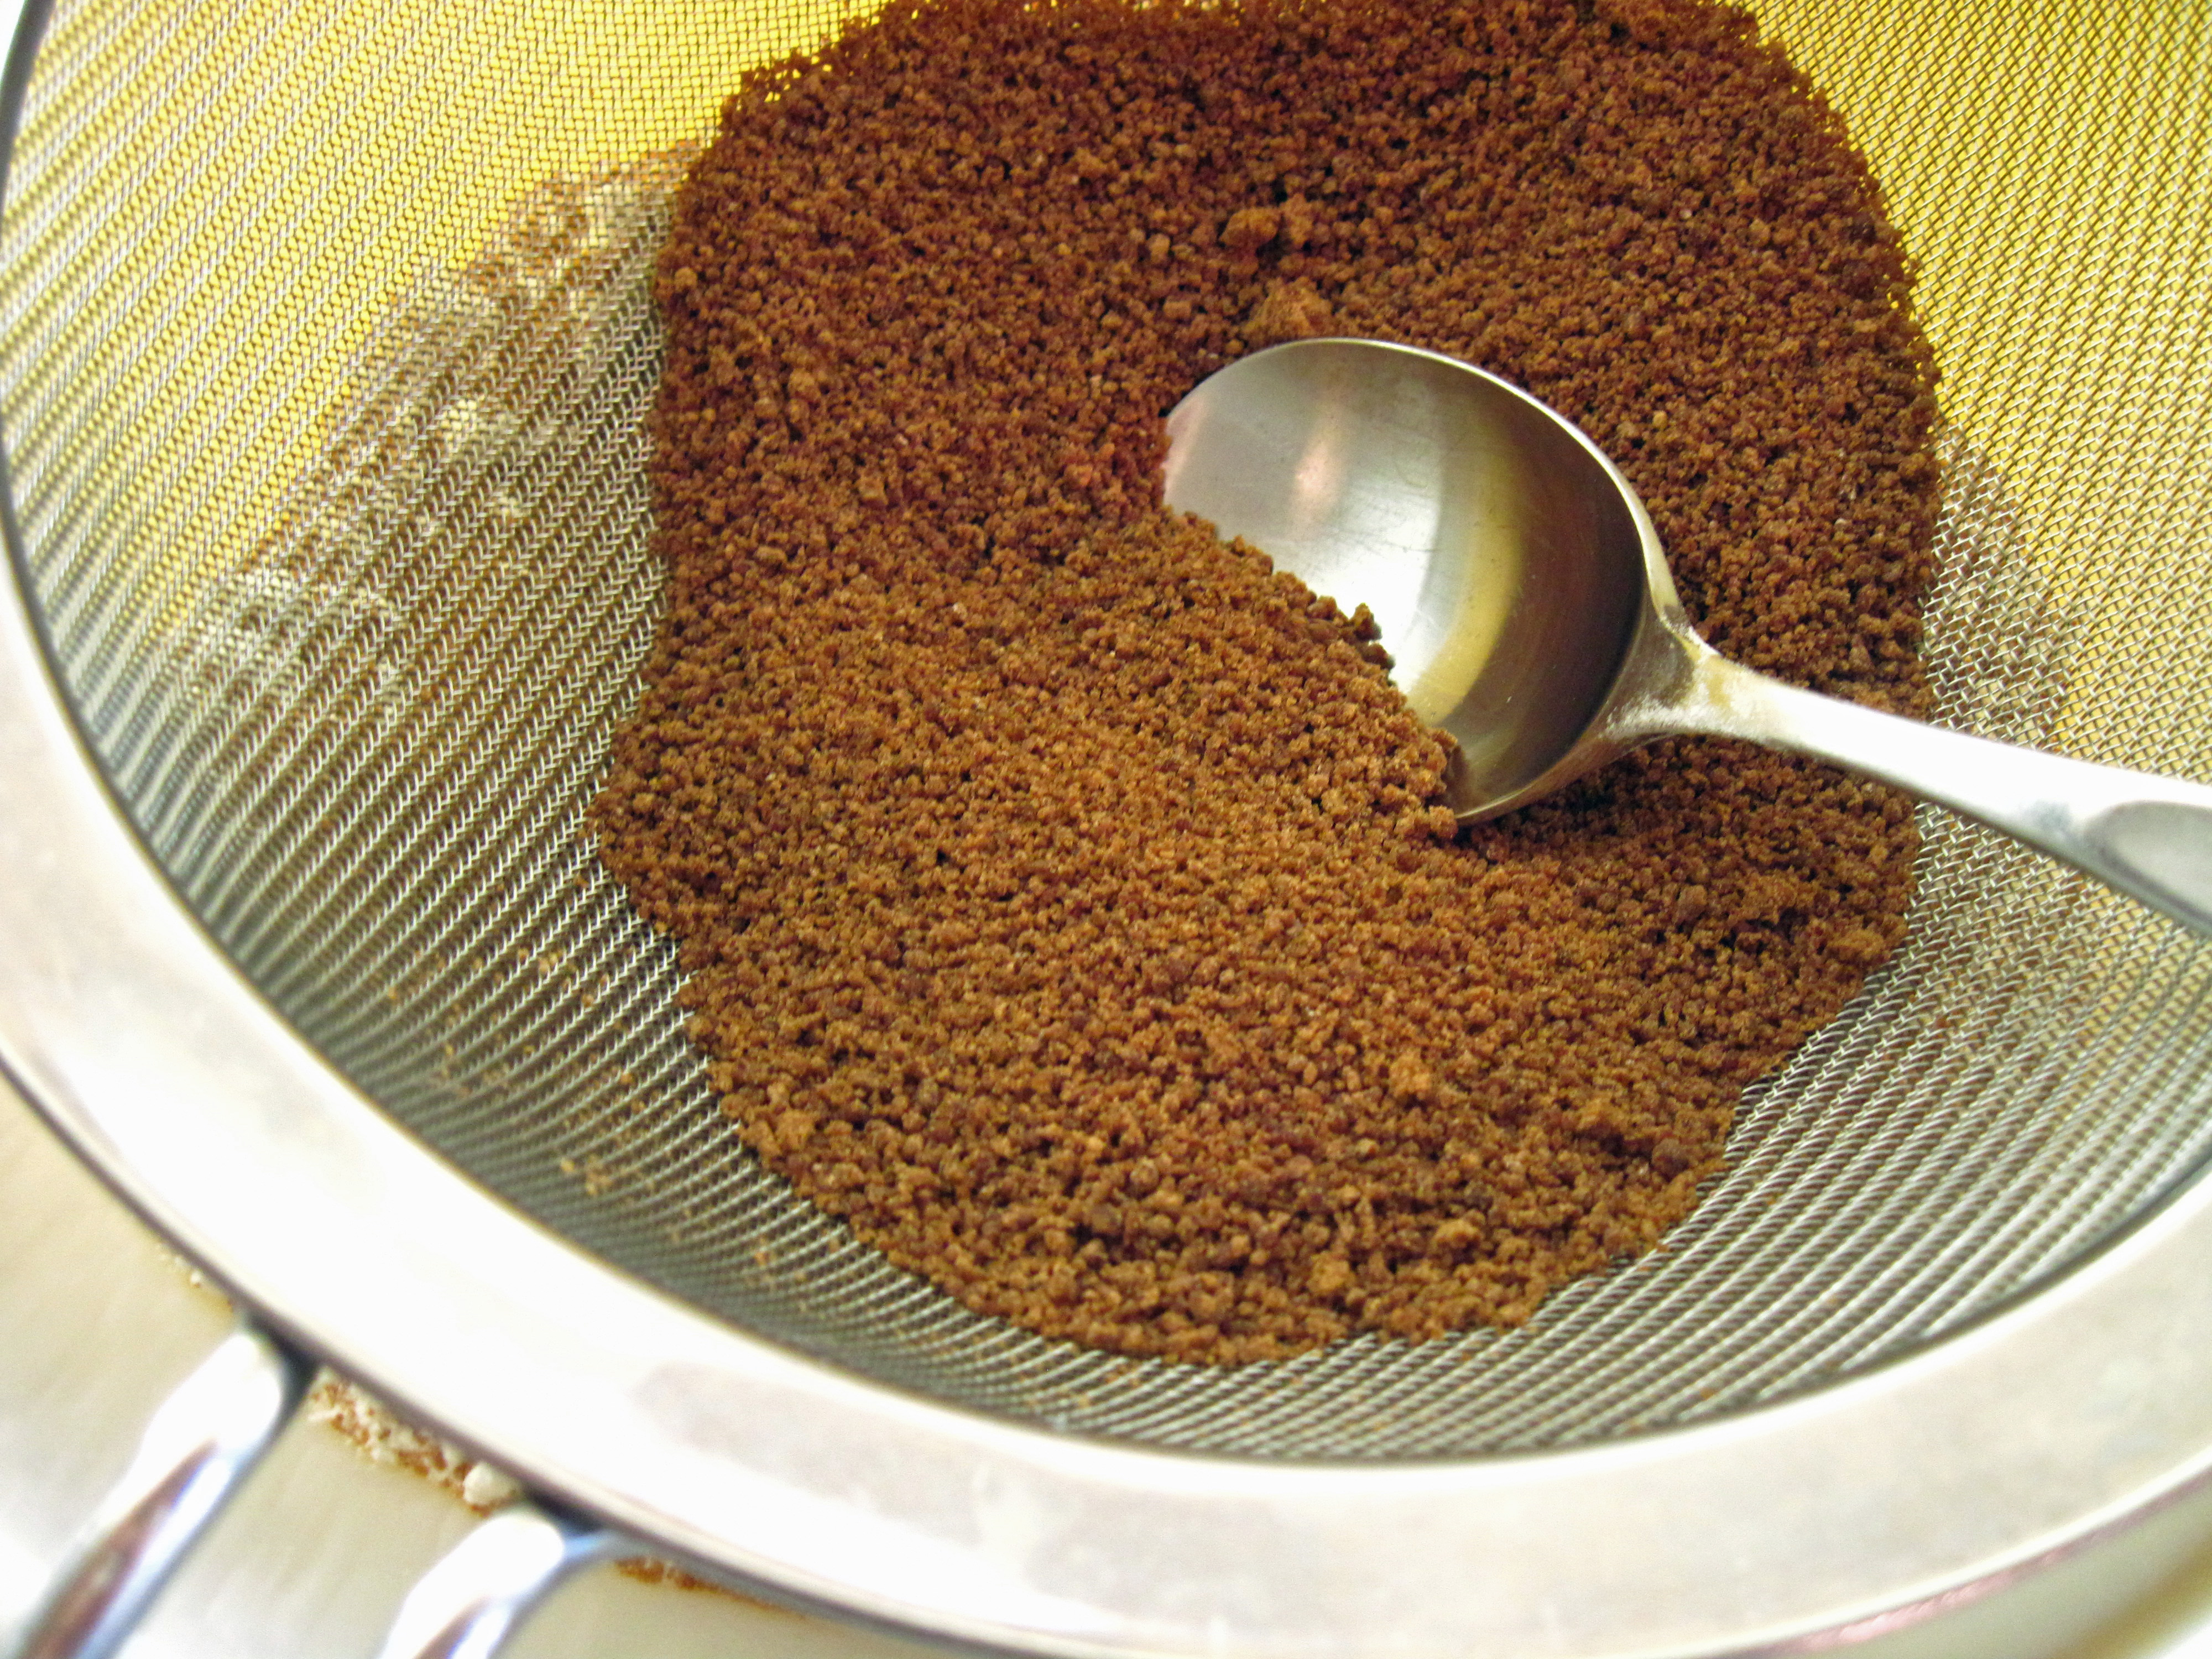
4. If your coconut sugar has a coarse texture, press it through a fine mesh strainer into the bowl to give it a finer texture. Stir it into the other dry ingredients.
a
The coconut sugar I used was a bit coarse.
a
I pressed the sugar through a fine meshed strainer with the back of a spoon.
a
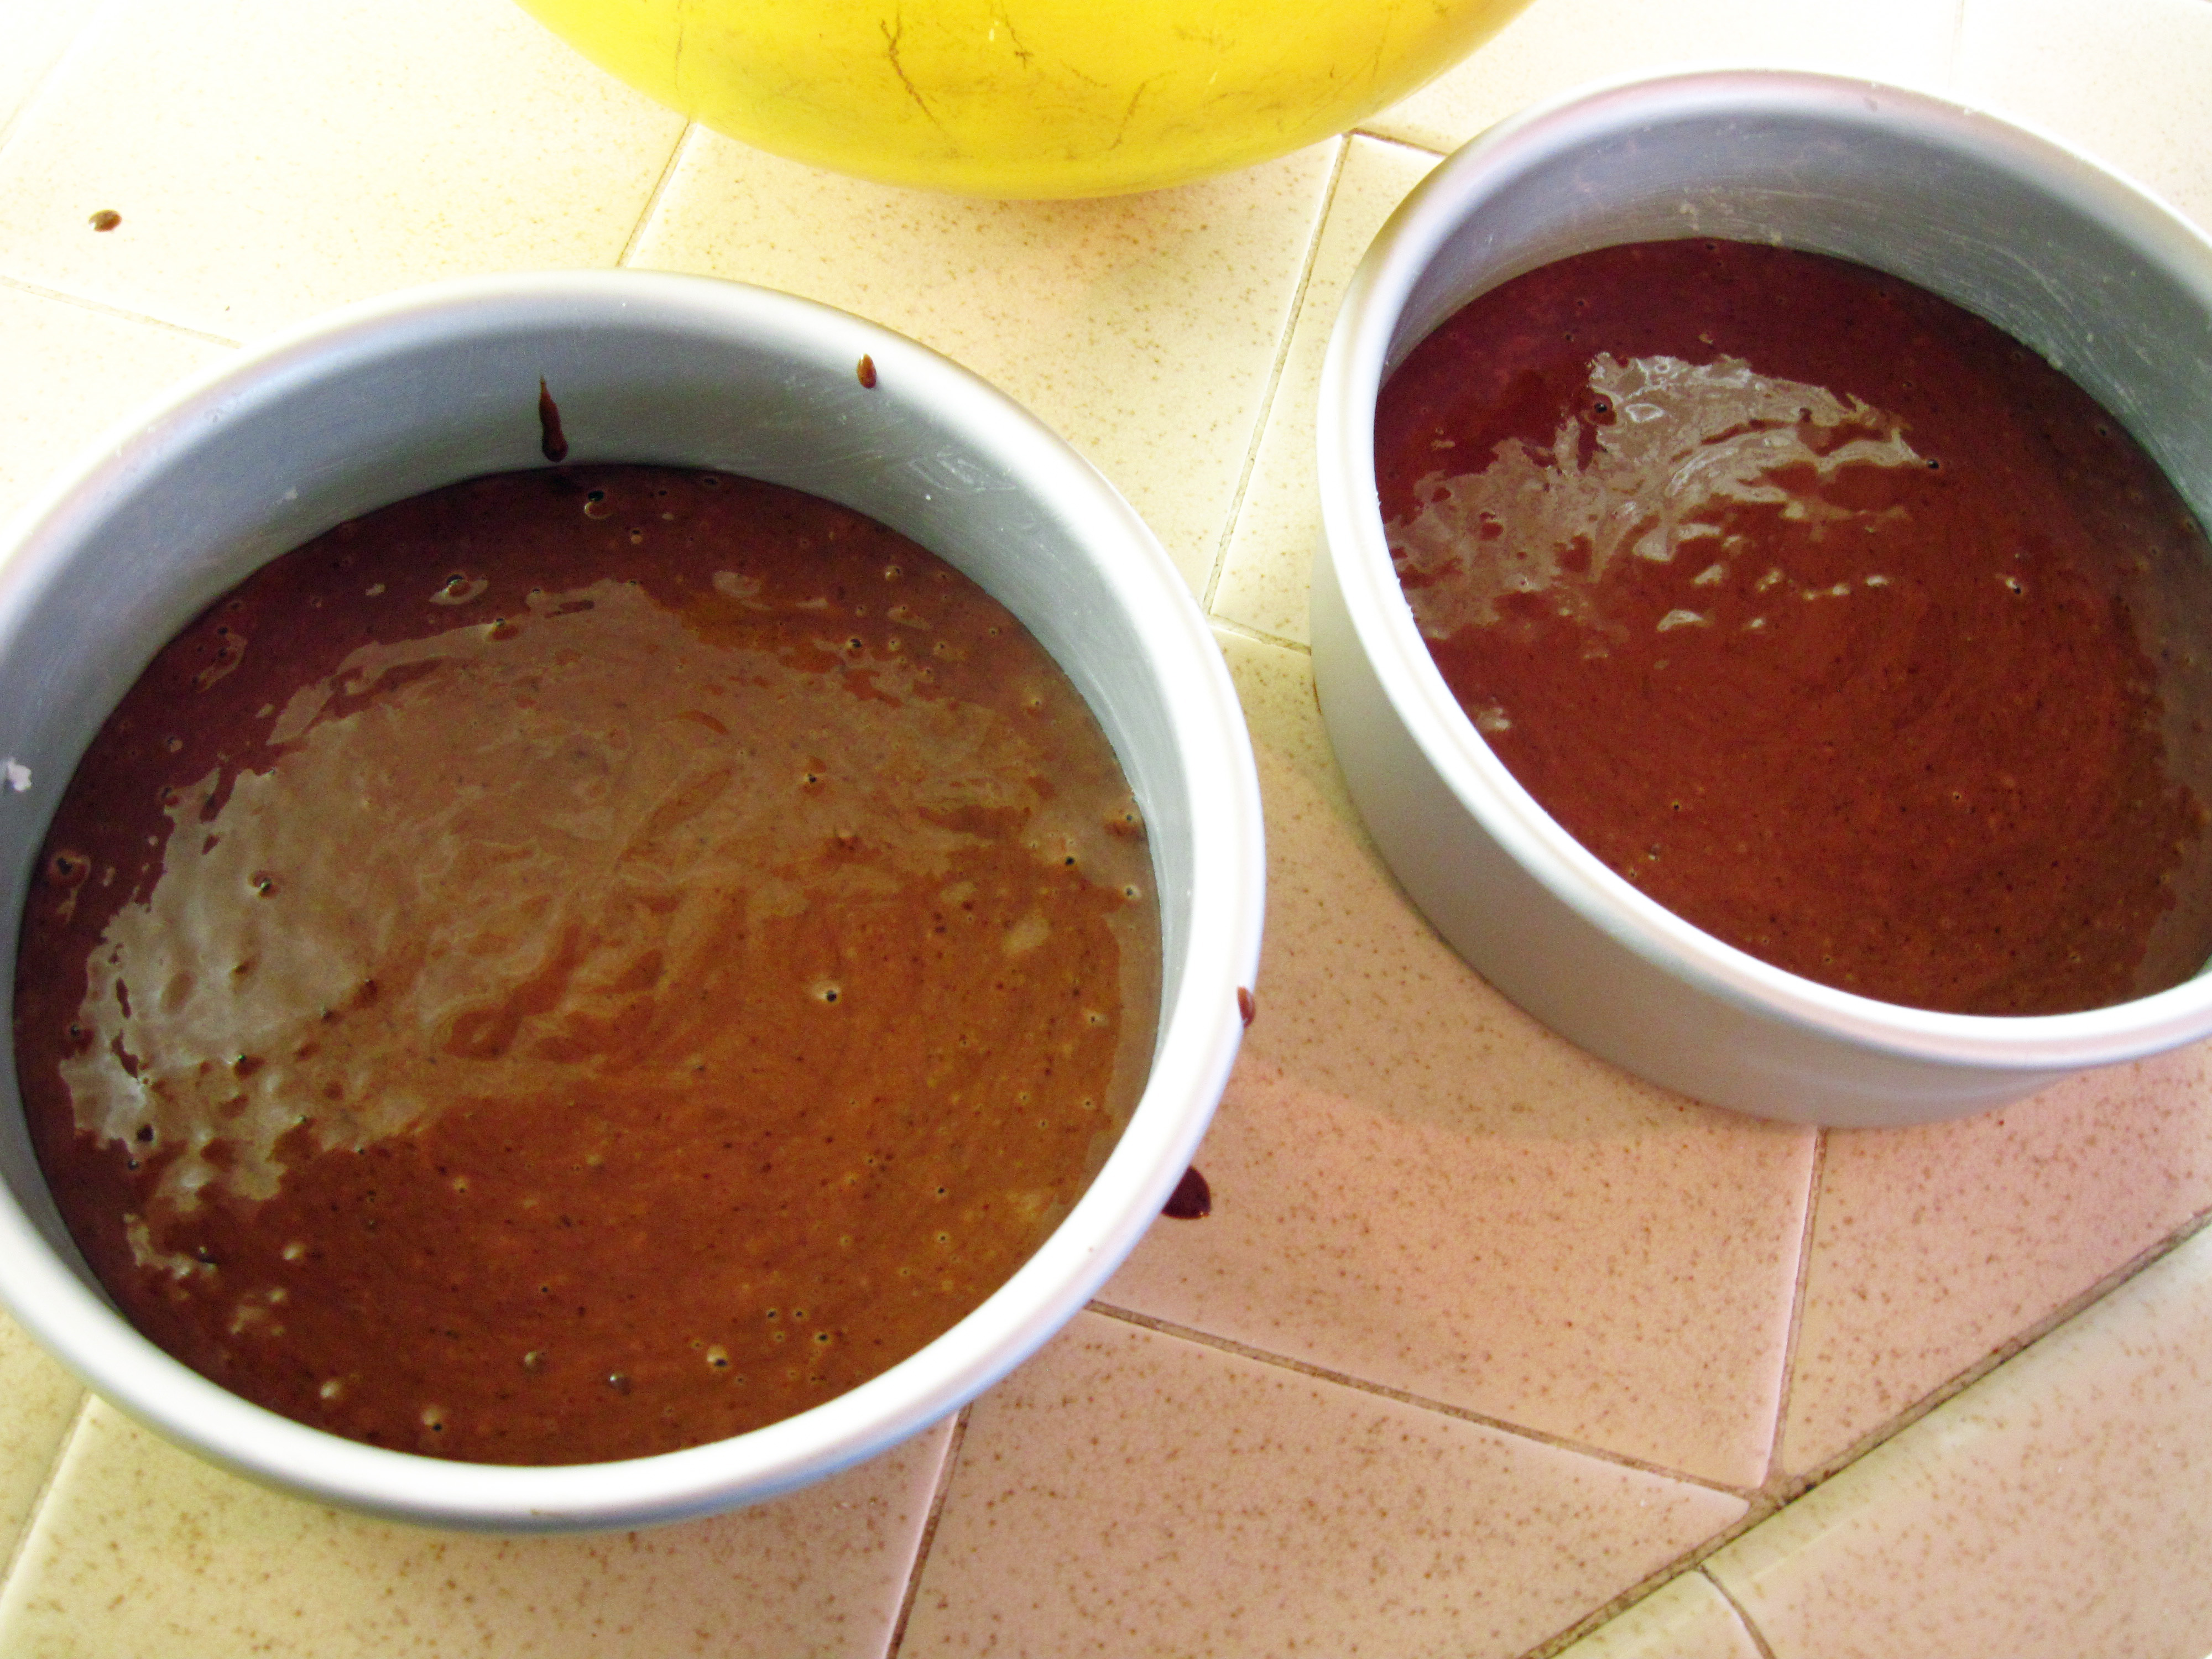
5. Pour the liquid ingredients into a bowl and stir well with a fork or whisk until well blended.
6. Pour the cake batter into the two prepared cake pans.
a
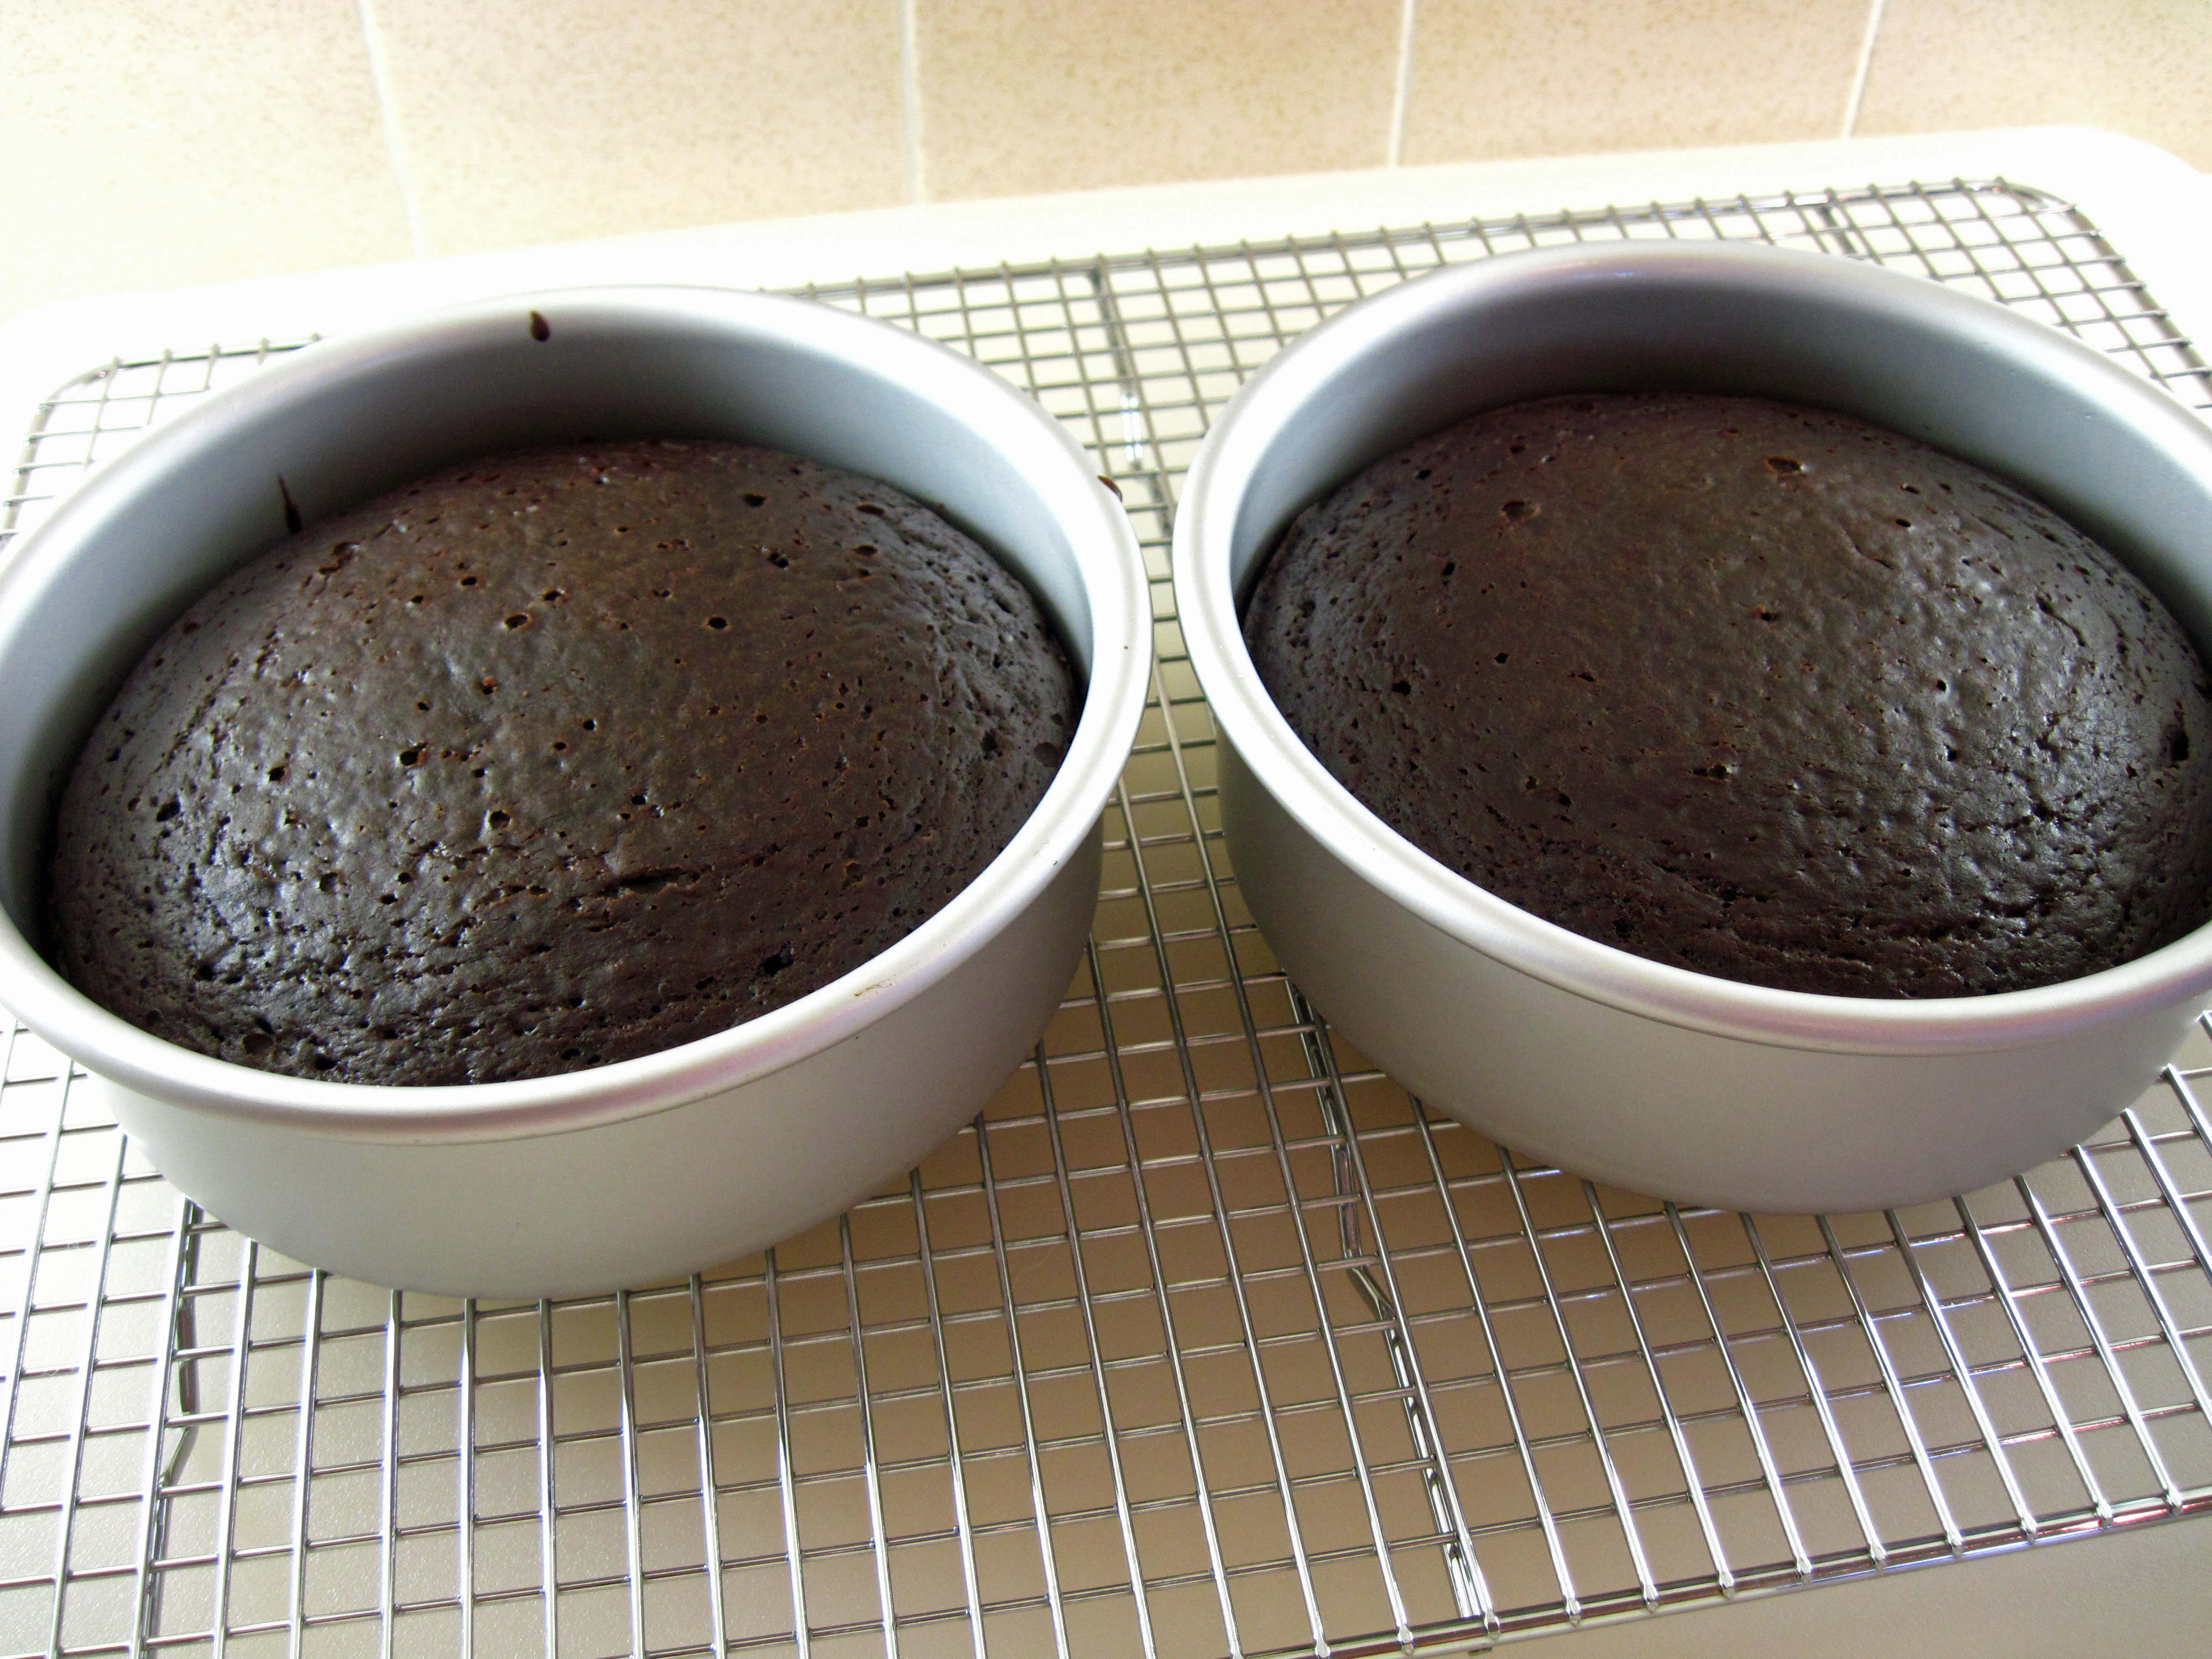
7. Bake the cake for 30 minutes, until a toothpick in the center comes out clean.
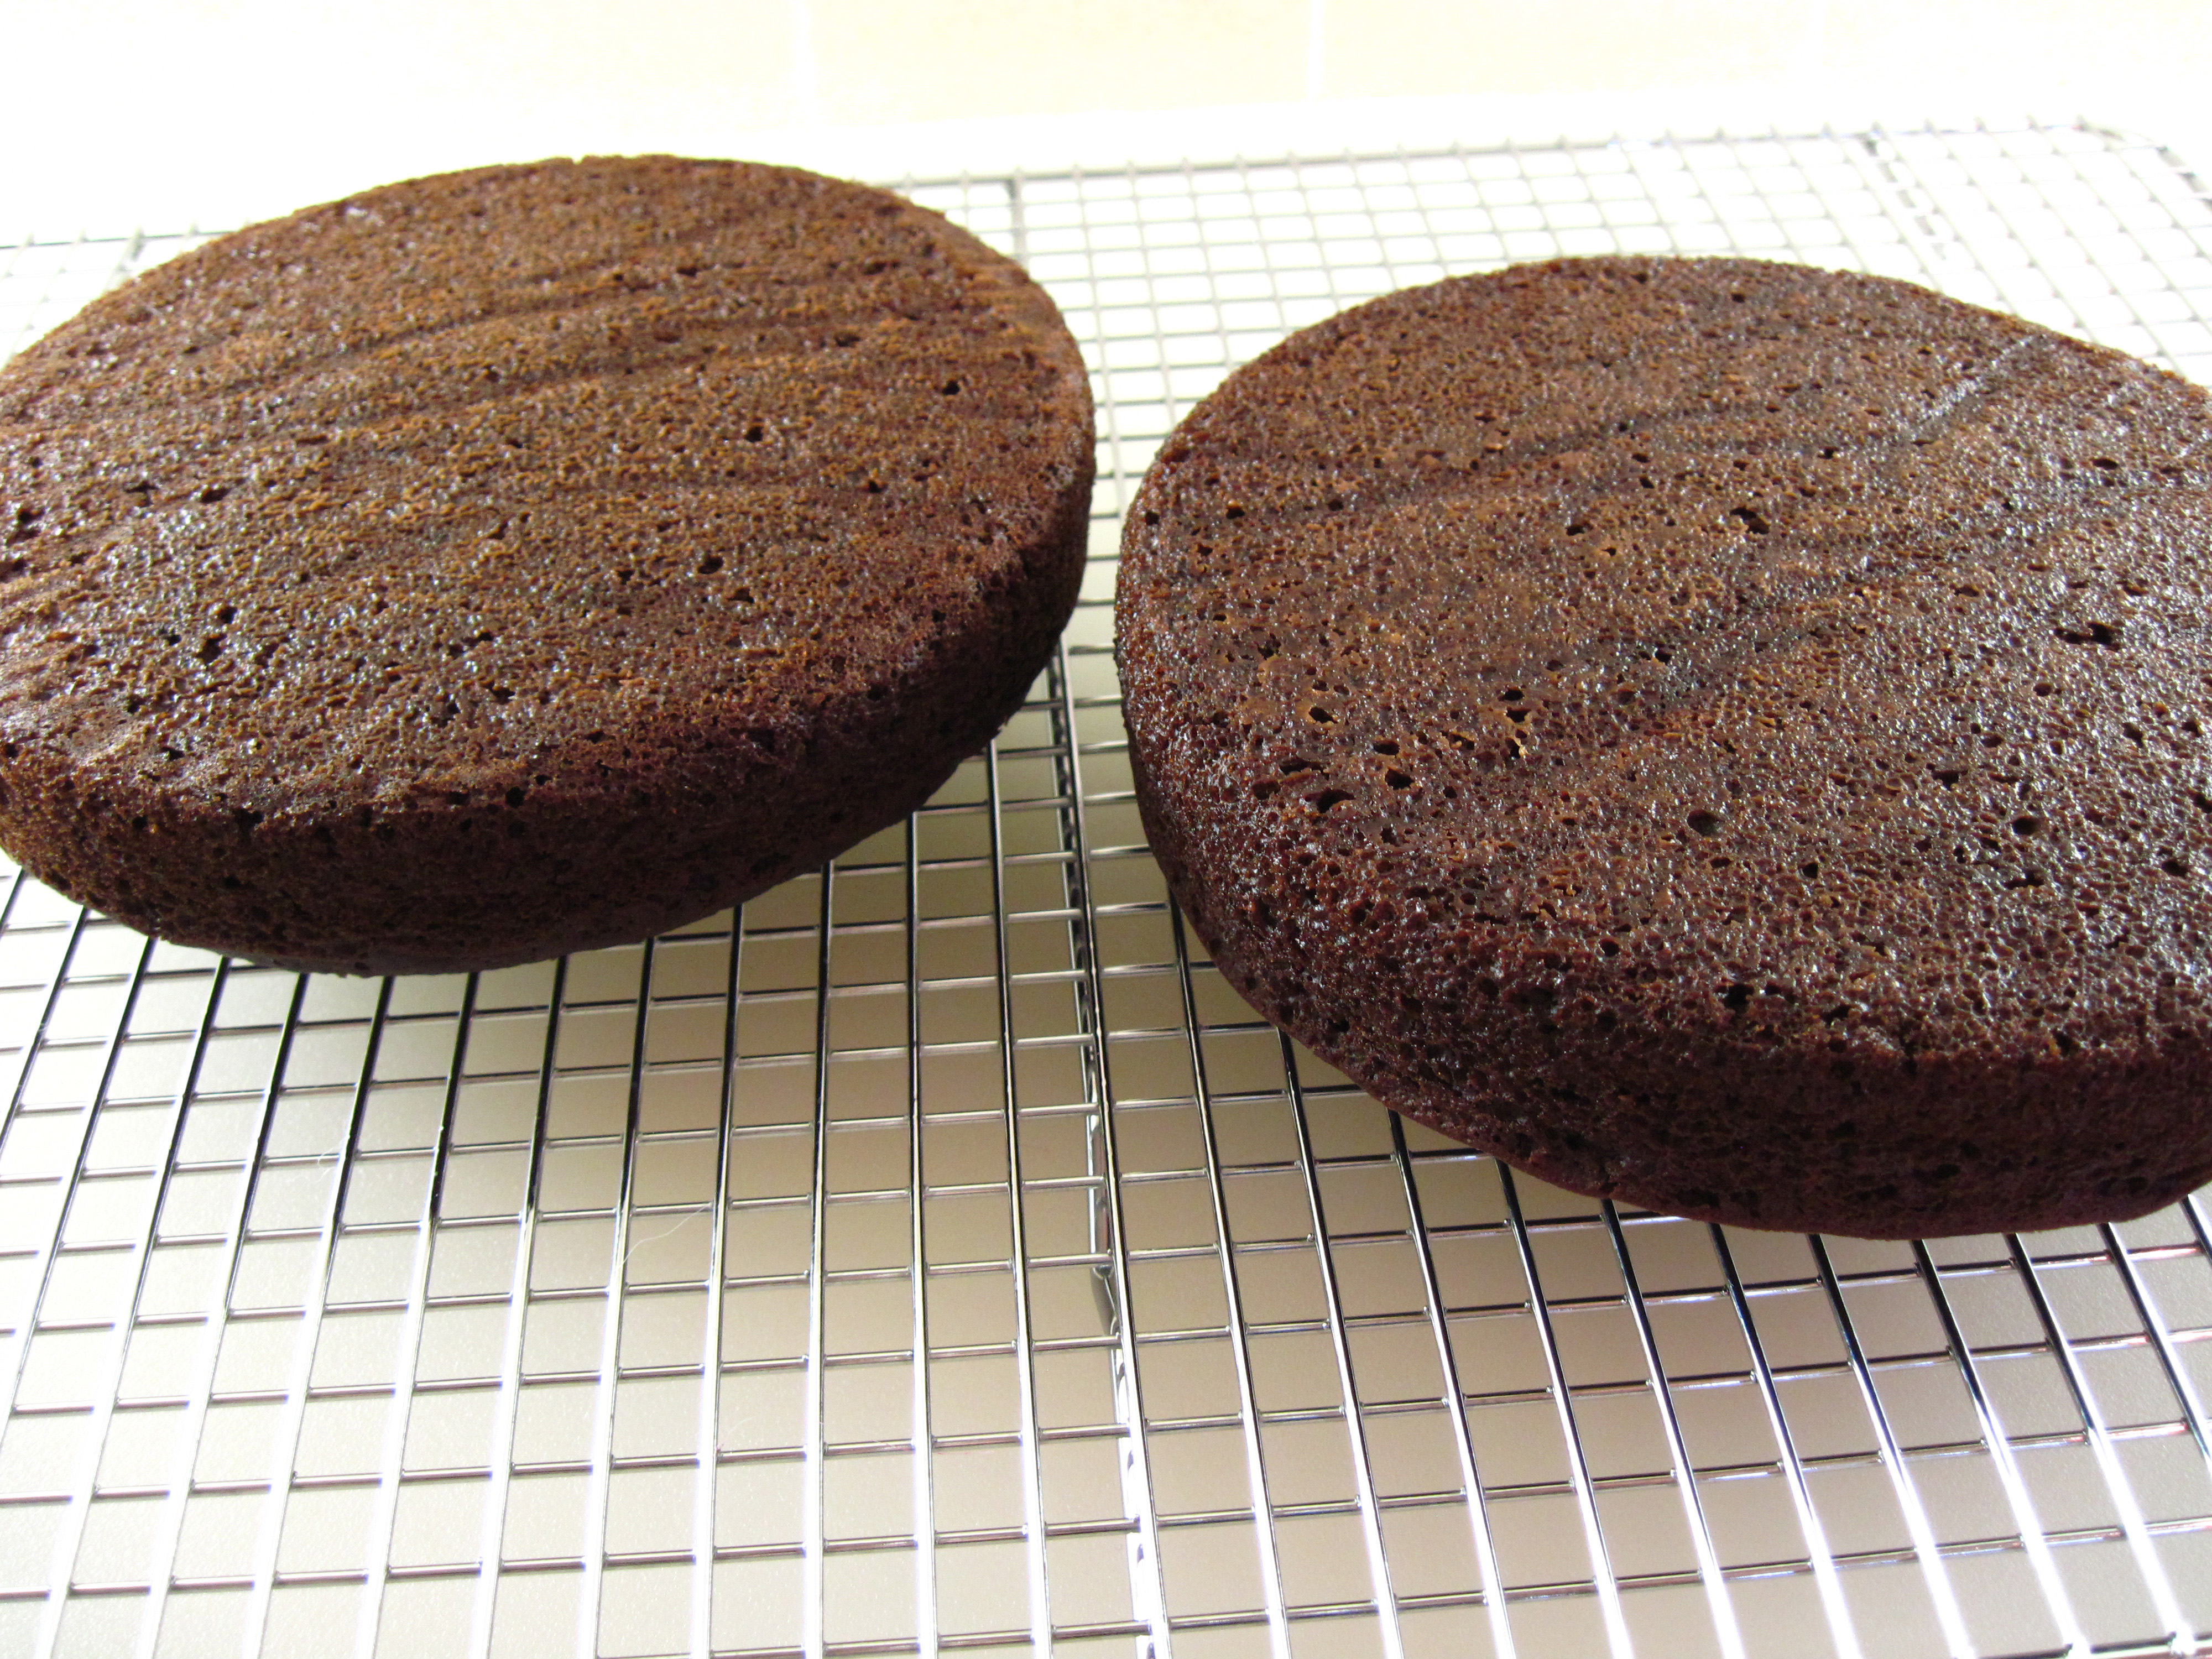
8. Cool in the pans on a cake rack for about 10 minutes. Then remove the cakes from the pans and finish cooling on wire racks.
a
a
9. When completely cool, frost with Coconut Sweetened Chocolate Frosting.
a
Coconut Sweetened Chocolate Frosting
(Adapted from Hershey’s “Perfectly Chocolate” Chocolate Frosting recipe on the Hershey’s Cocoa box.)
a
½ stick (4 tablespoons) butter (or a vegan substitute to make it vegan)
1/3 cup cocoa
1½ cups coconut sugar (or powdered sugar)
2½ tablespoons coconut milk
½ teaspoon vanilla
1. Melt the butter in a pan and pour it into a mixing bowl.
2. Sift the cocoa through a strainer into the bowl and mix well with the butter.
3. Blend the coconut sugar in a blender until it is as fine and powdery as you can get it. (Obviously, this step is not necessary if you use powdered sugar.)
a
Blended coconut sugar

a
4. Alternately add the coconut sugar and the milk to the butter/cocoa mixture, mixing well after each addition. Add a bit more milk if needed. Mix in the vanilla.
a

a
a
Share this:

Hummus with Smoked Paprika
By Kath Dedon
a
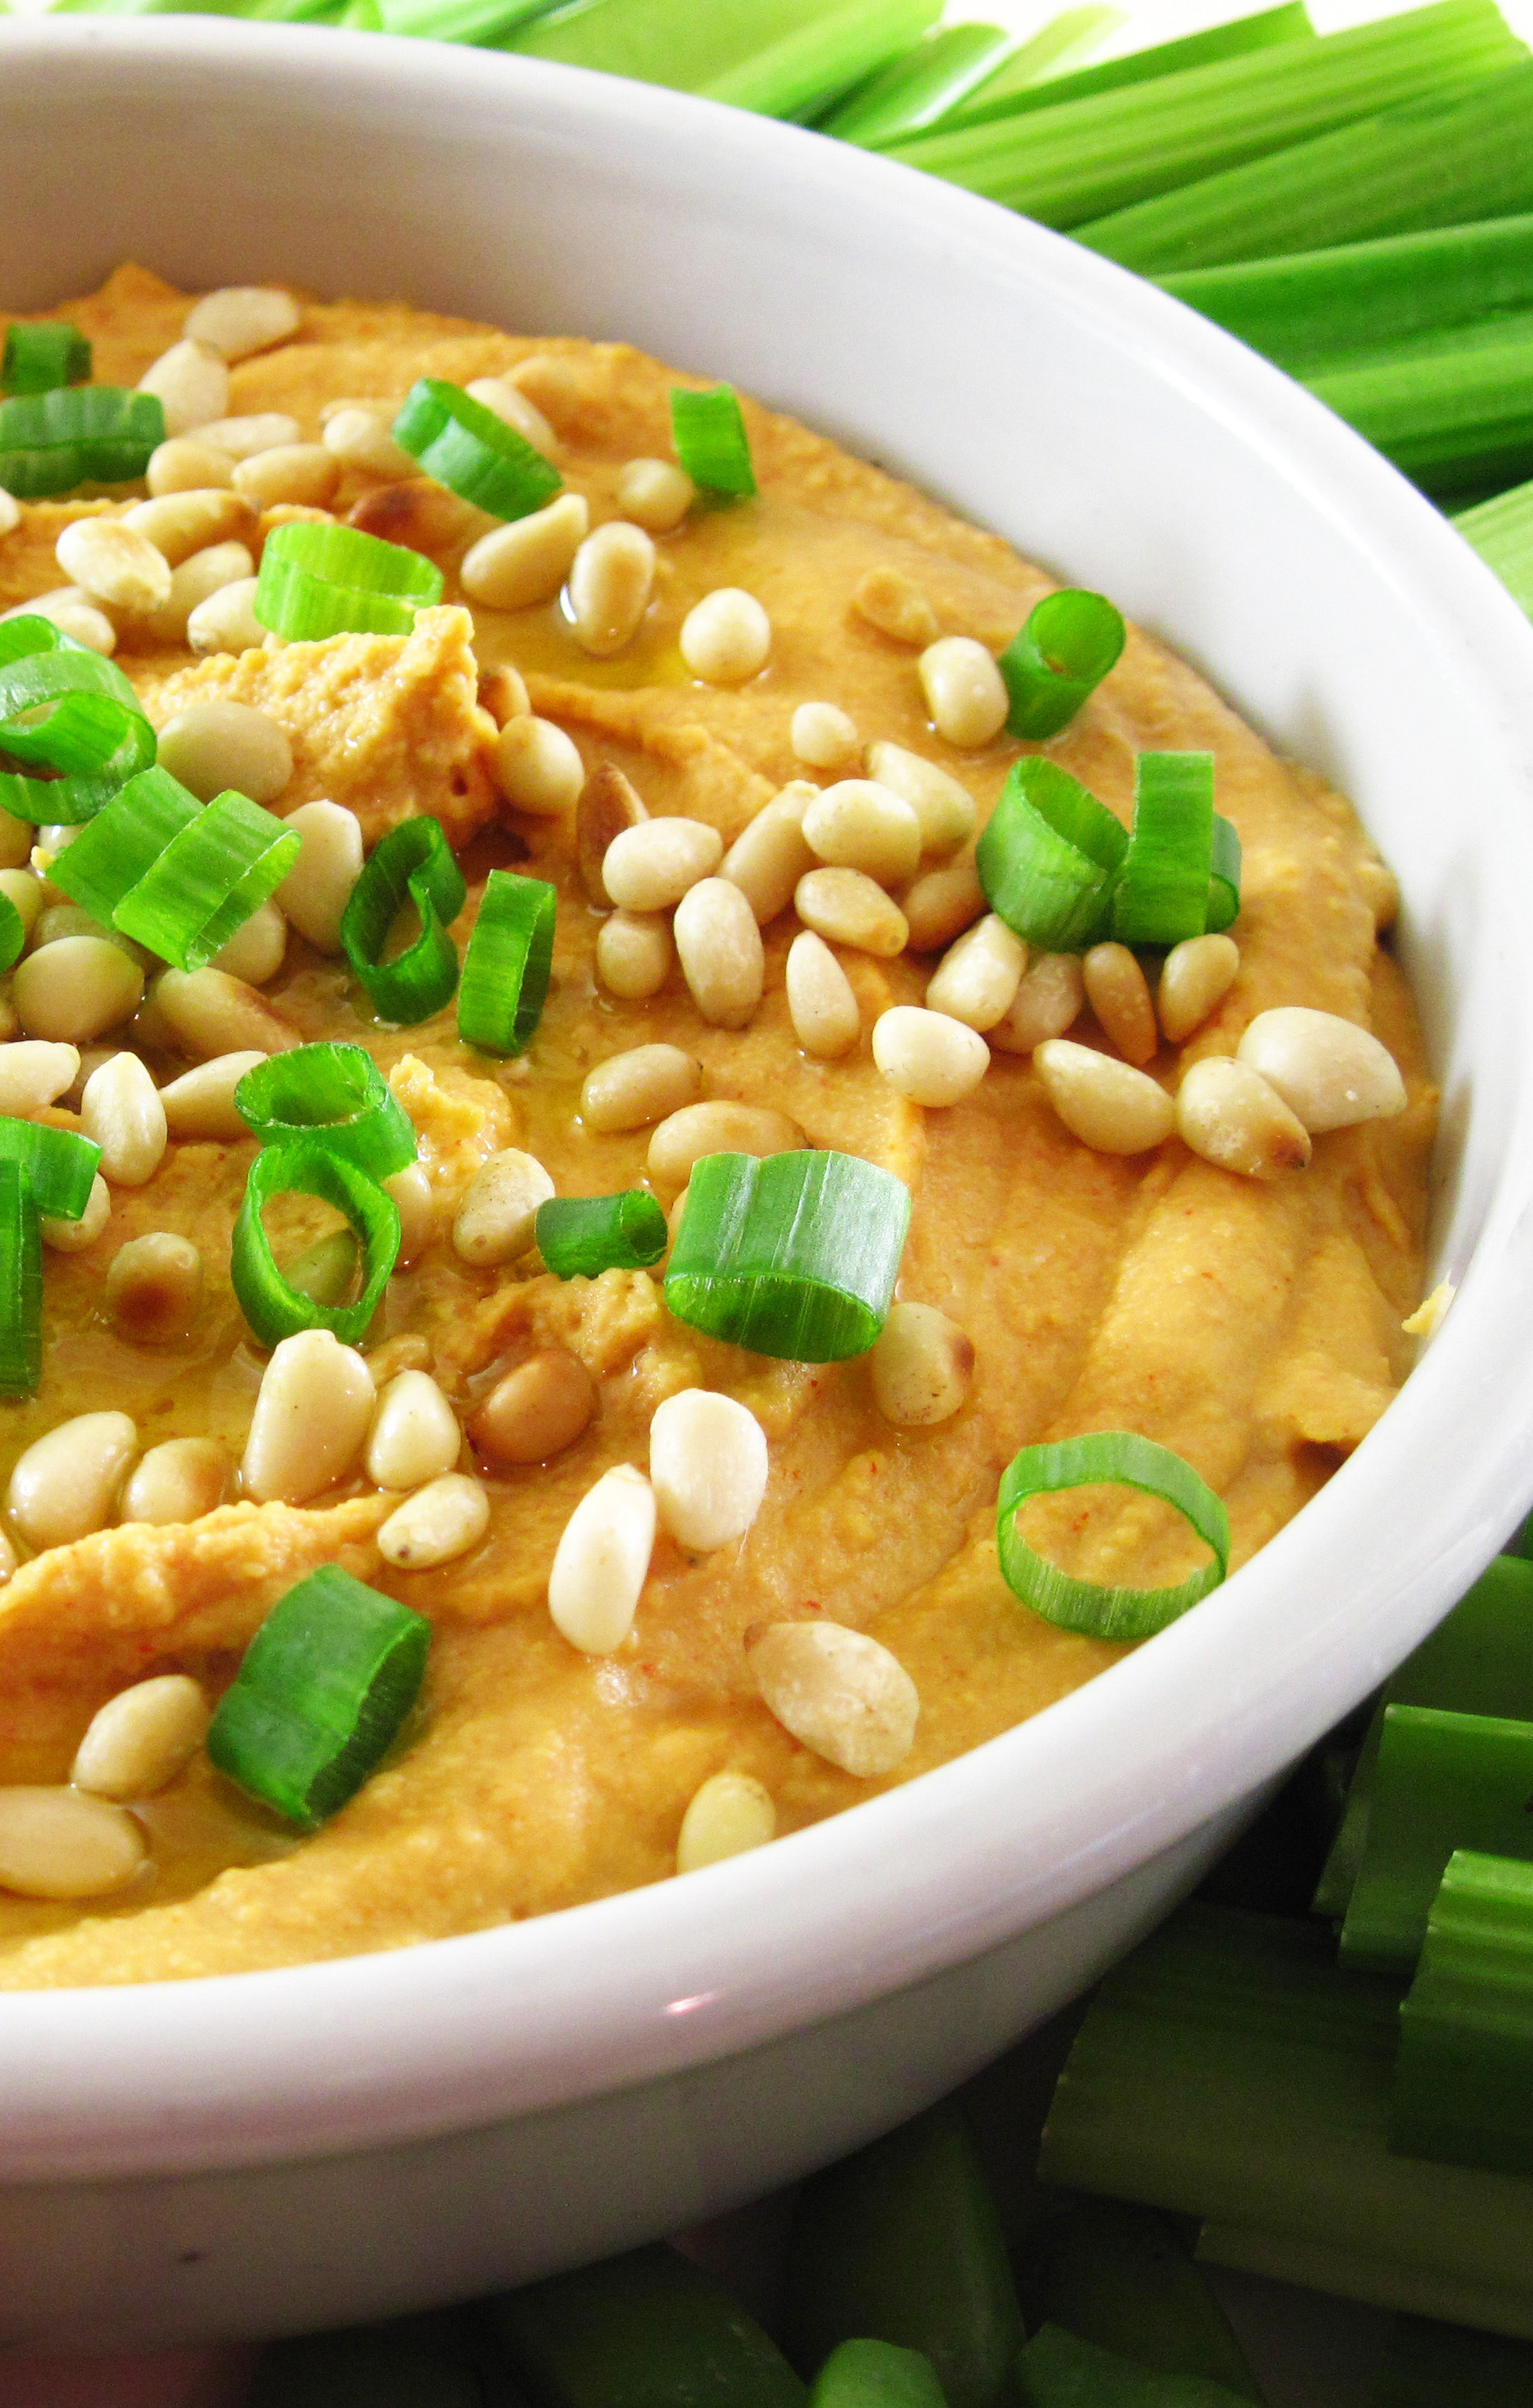
Hummus with Smoked Paprika, a variation of the Classic Hummus in The America’s Test Kitchen’s The Complete Vegetarian Cookbook, was a big hit at Chez Dedon recently. It was, as ATK says, “silky-smooth”. The smoked paprika added a lot of flavor and made the hummus a beautiful light orange color.
You may have seen other hummus recipes that claim that it is impossible to make a smooth hummus without peeling all of the little skins off of each and every chickpea. That has always sounded like way too much work to me and apparently the good folks at ATK agreed. They experimented and found that a simple technique using a food processor could achieve the same smooth results.
Their method involves processing the chickpeas and then slowly adding water and lemon juice while the processor is running. They then add a tahini and oil mixture slowly with the processor running. This method magically produces a super smooth hummus!
Give this Hummus with Smoked Paprika a try, and I think you’ll be hooked!
a

a
Hummus with Smoked Paprika
(Adapted from a recipe in The America’s Test Kitchen’s The Complete Vegetarian Cookbook)
Note about food processors: If you have a mini food processor with small holes at the top for drizzling in oil, please learn from my mistake. The holes are too small to handle the lemon juice and the tahini. It clogged for me and I had quite a mess on my hands. It is easiest to use this method with a full-sized food processor. If you only have the mini version, I suggest trying to blend in the lemon juice/water and the tahini/oil mixtures a bit at a time. It should work well even if it isn’t quite as smooth.
a
Makes about 2 cups
a
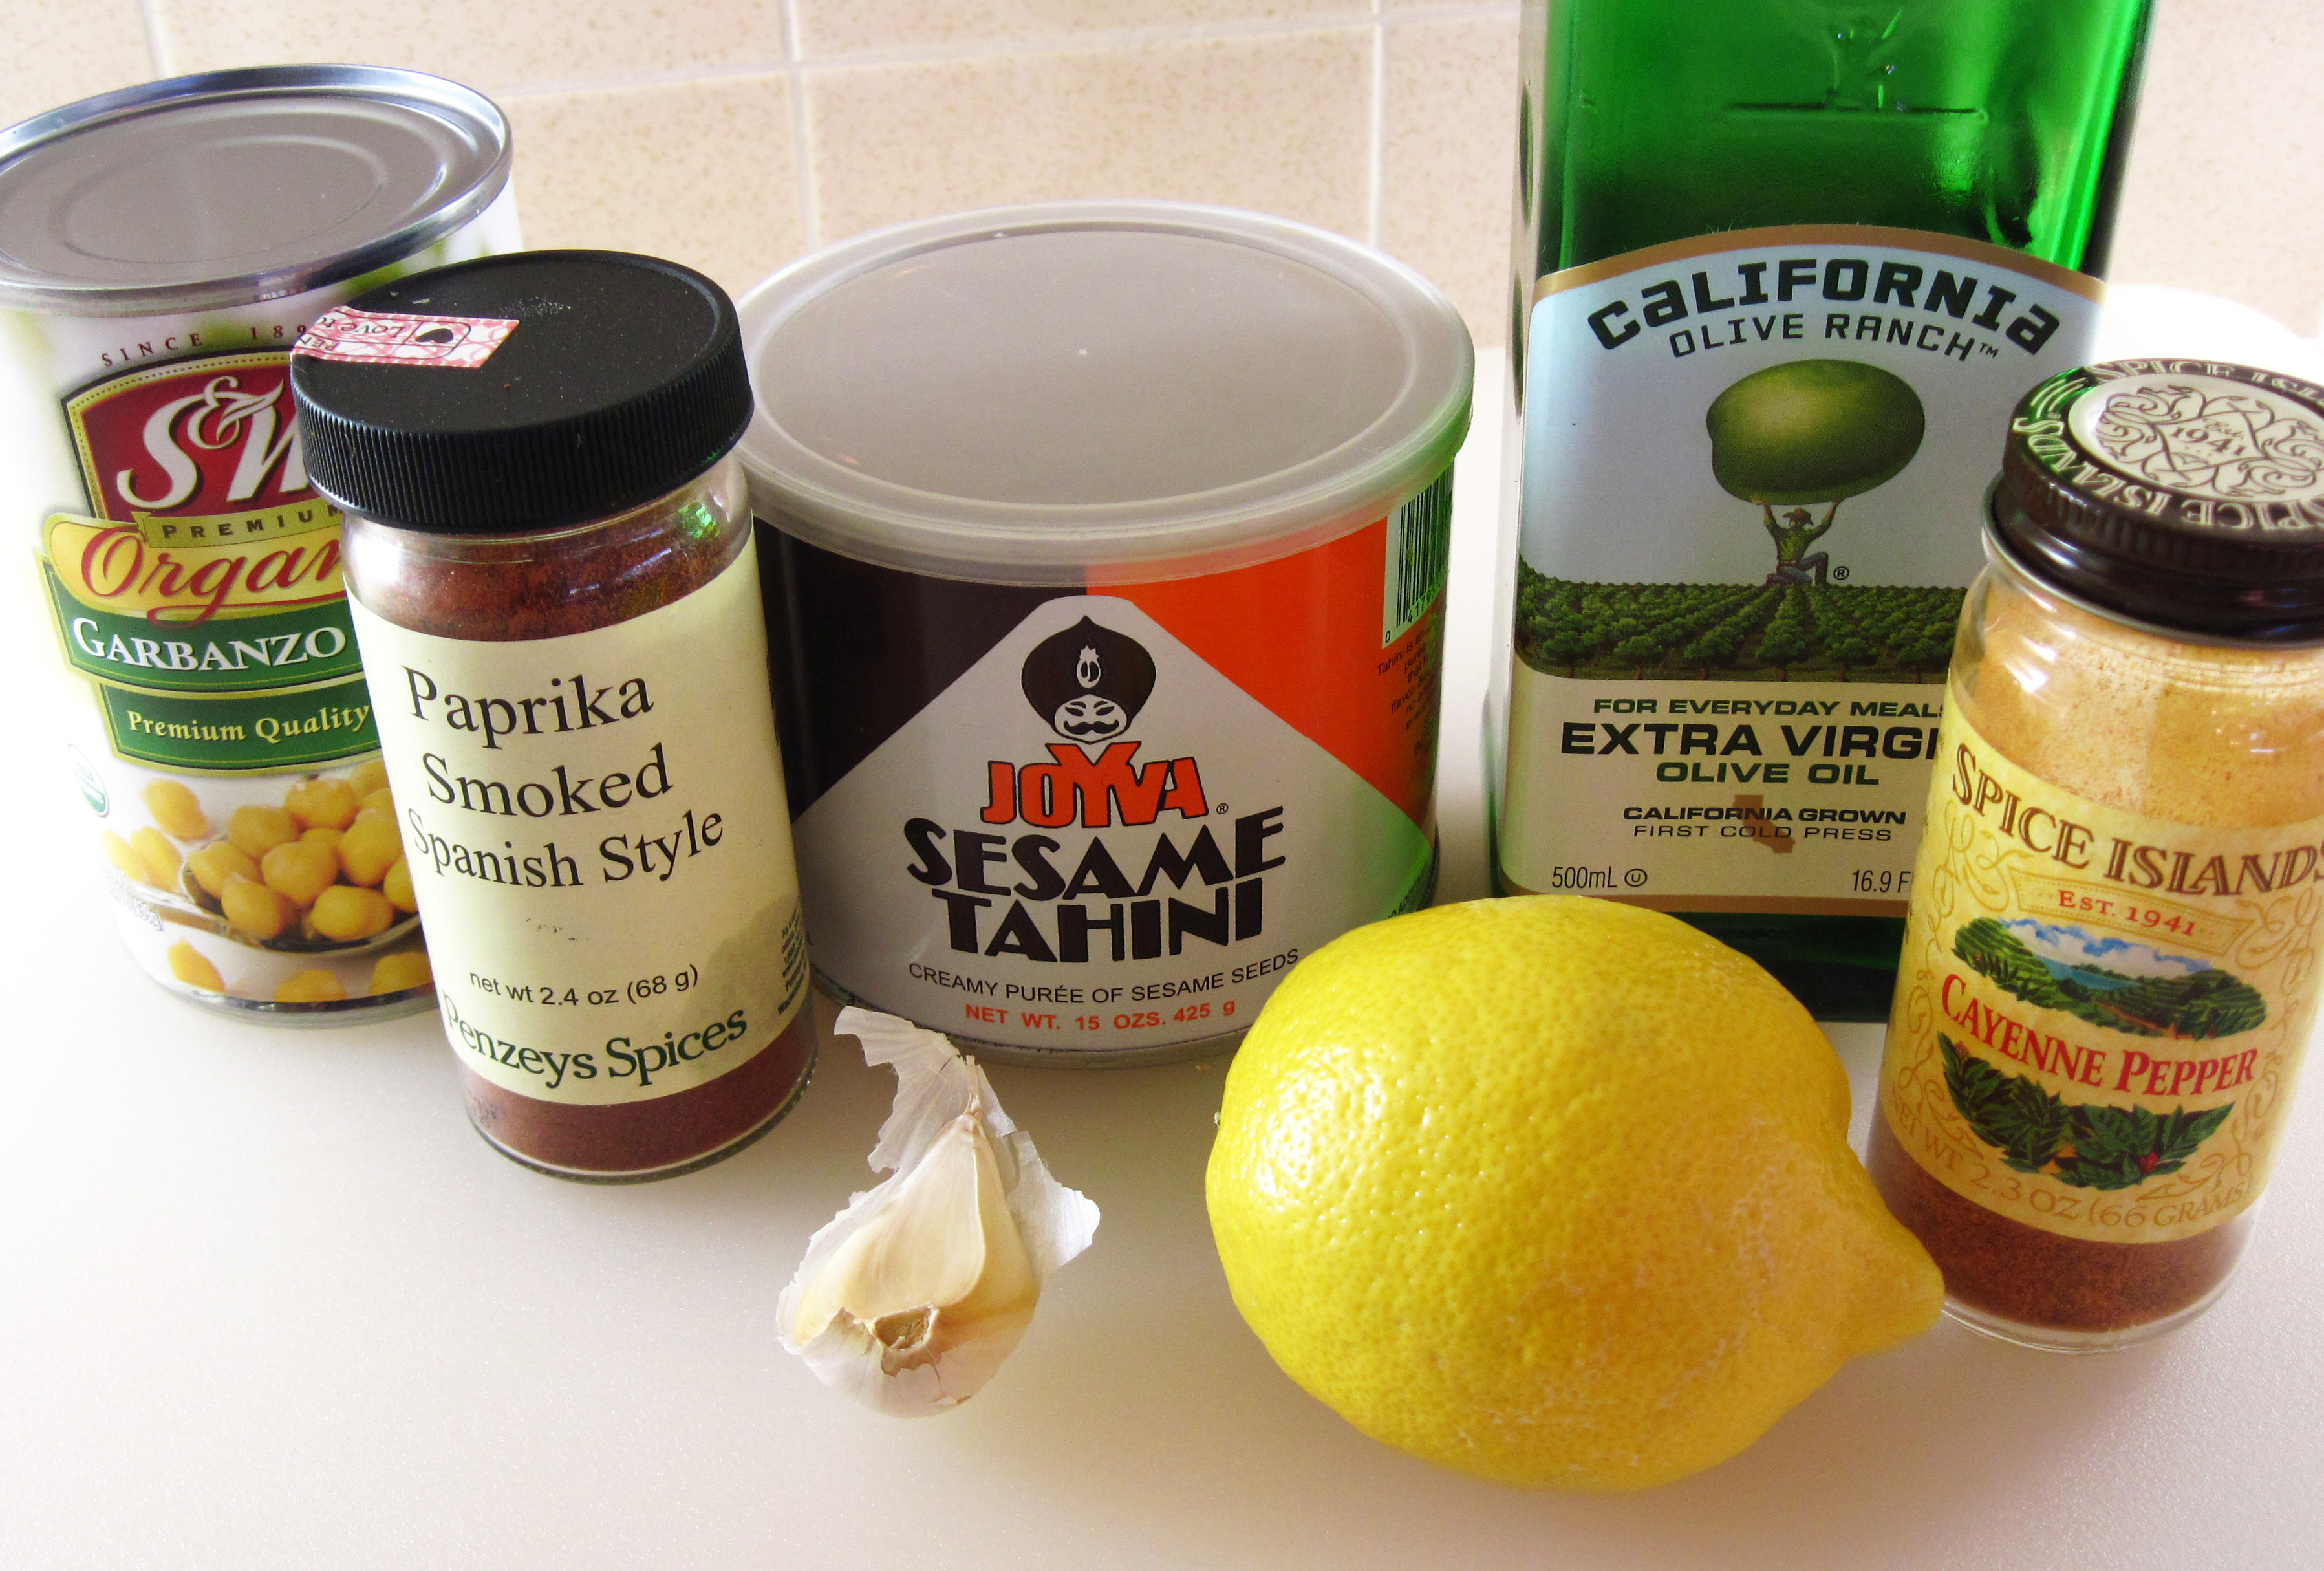
Ingredients for Hummus with Smoked Paprika
a
¼ cup water
3 tablespoons lemon juice
6 tablespoons tahini
2 tablespoons extra-virgin olive oil, plus more for drizzling
1 (15-ounce) can chickpeas (aka garbanzo beans), rinsed and drained
1 small garlic clove, minced
½ teaspoon salt
1 teaspoon smoked paprika
Pinch cayenne pepper
2 tablespoons toasted pine nuts
1 tablespoon thinly sliced green onion (the green part)
a
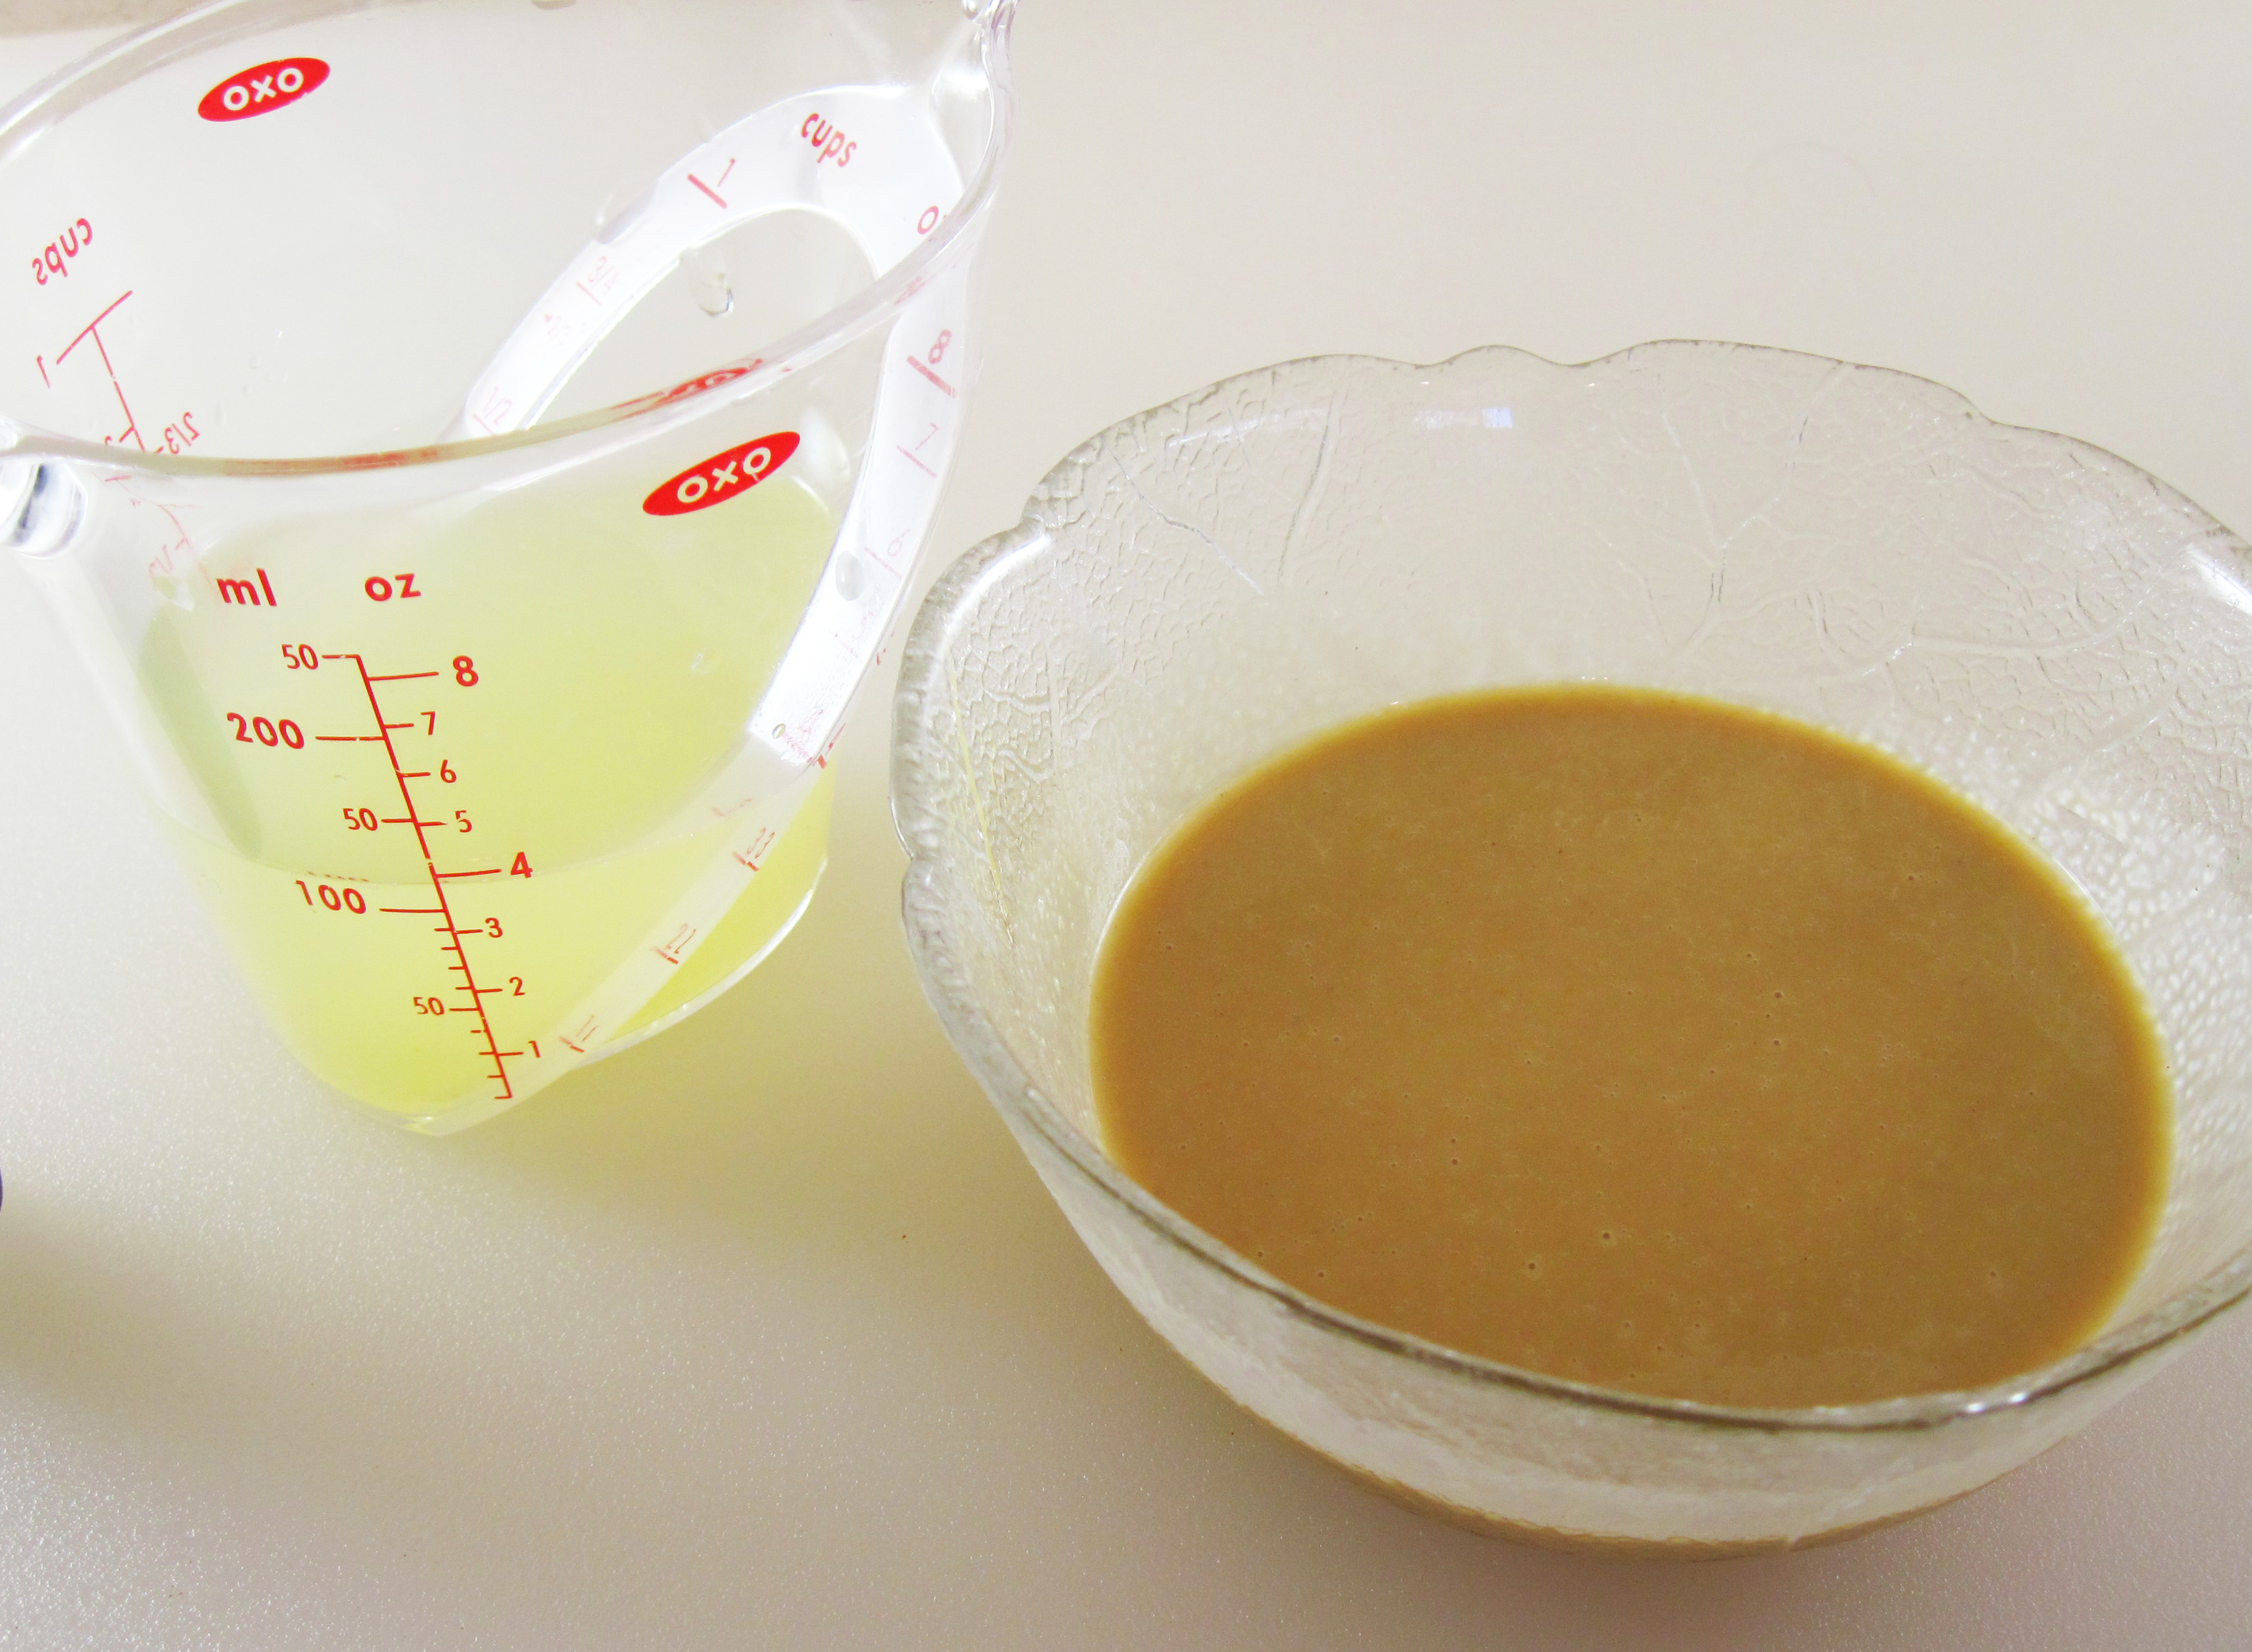
1. In a small bowl, combine the water and lemon juice. In another small bowl, blend the tahini and olive oil together.
a
Lemon juice and water on the left; tahini and olive oil on the right.
a
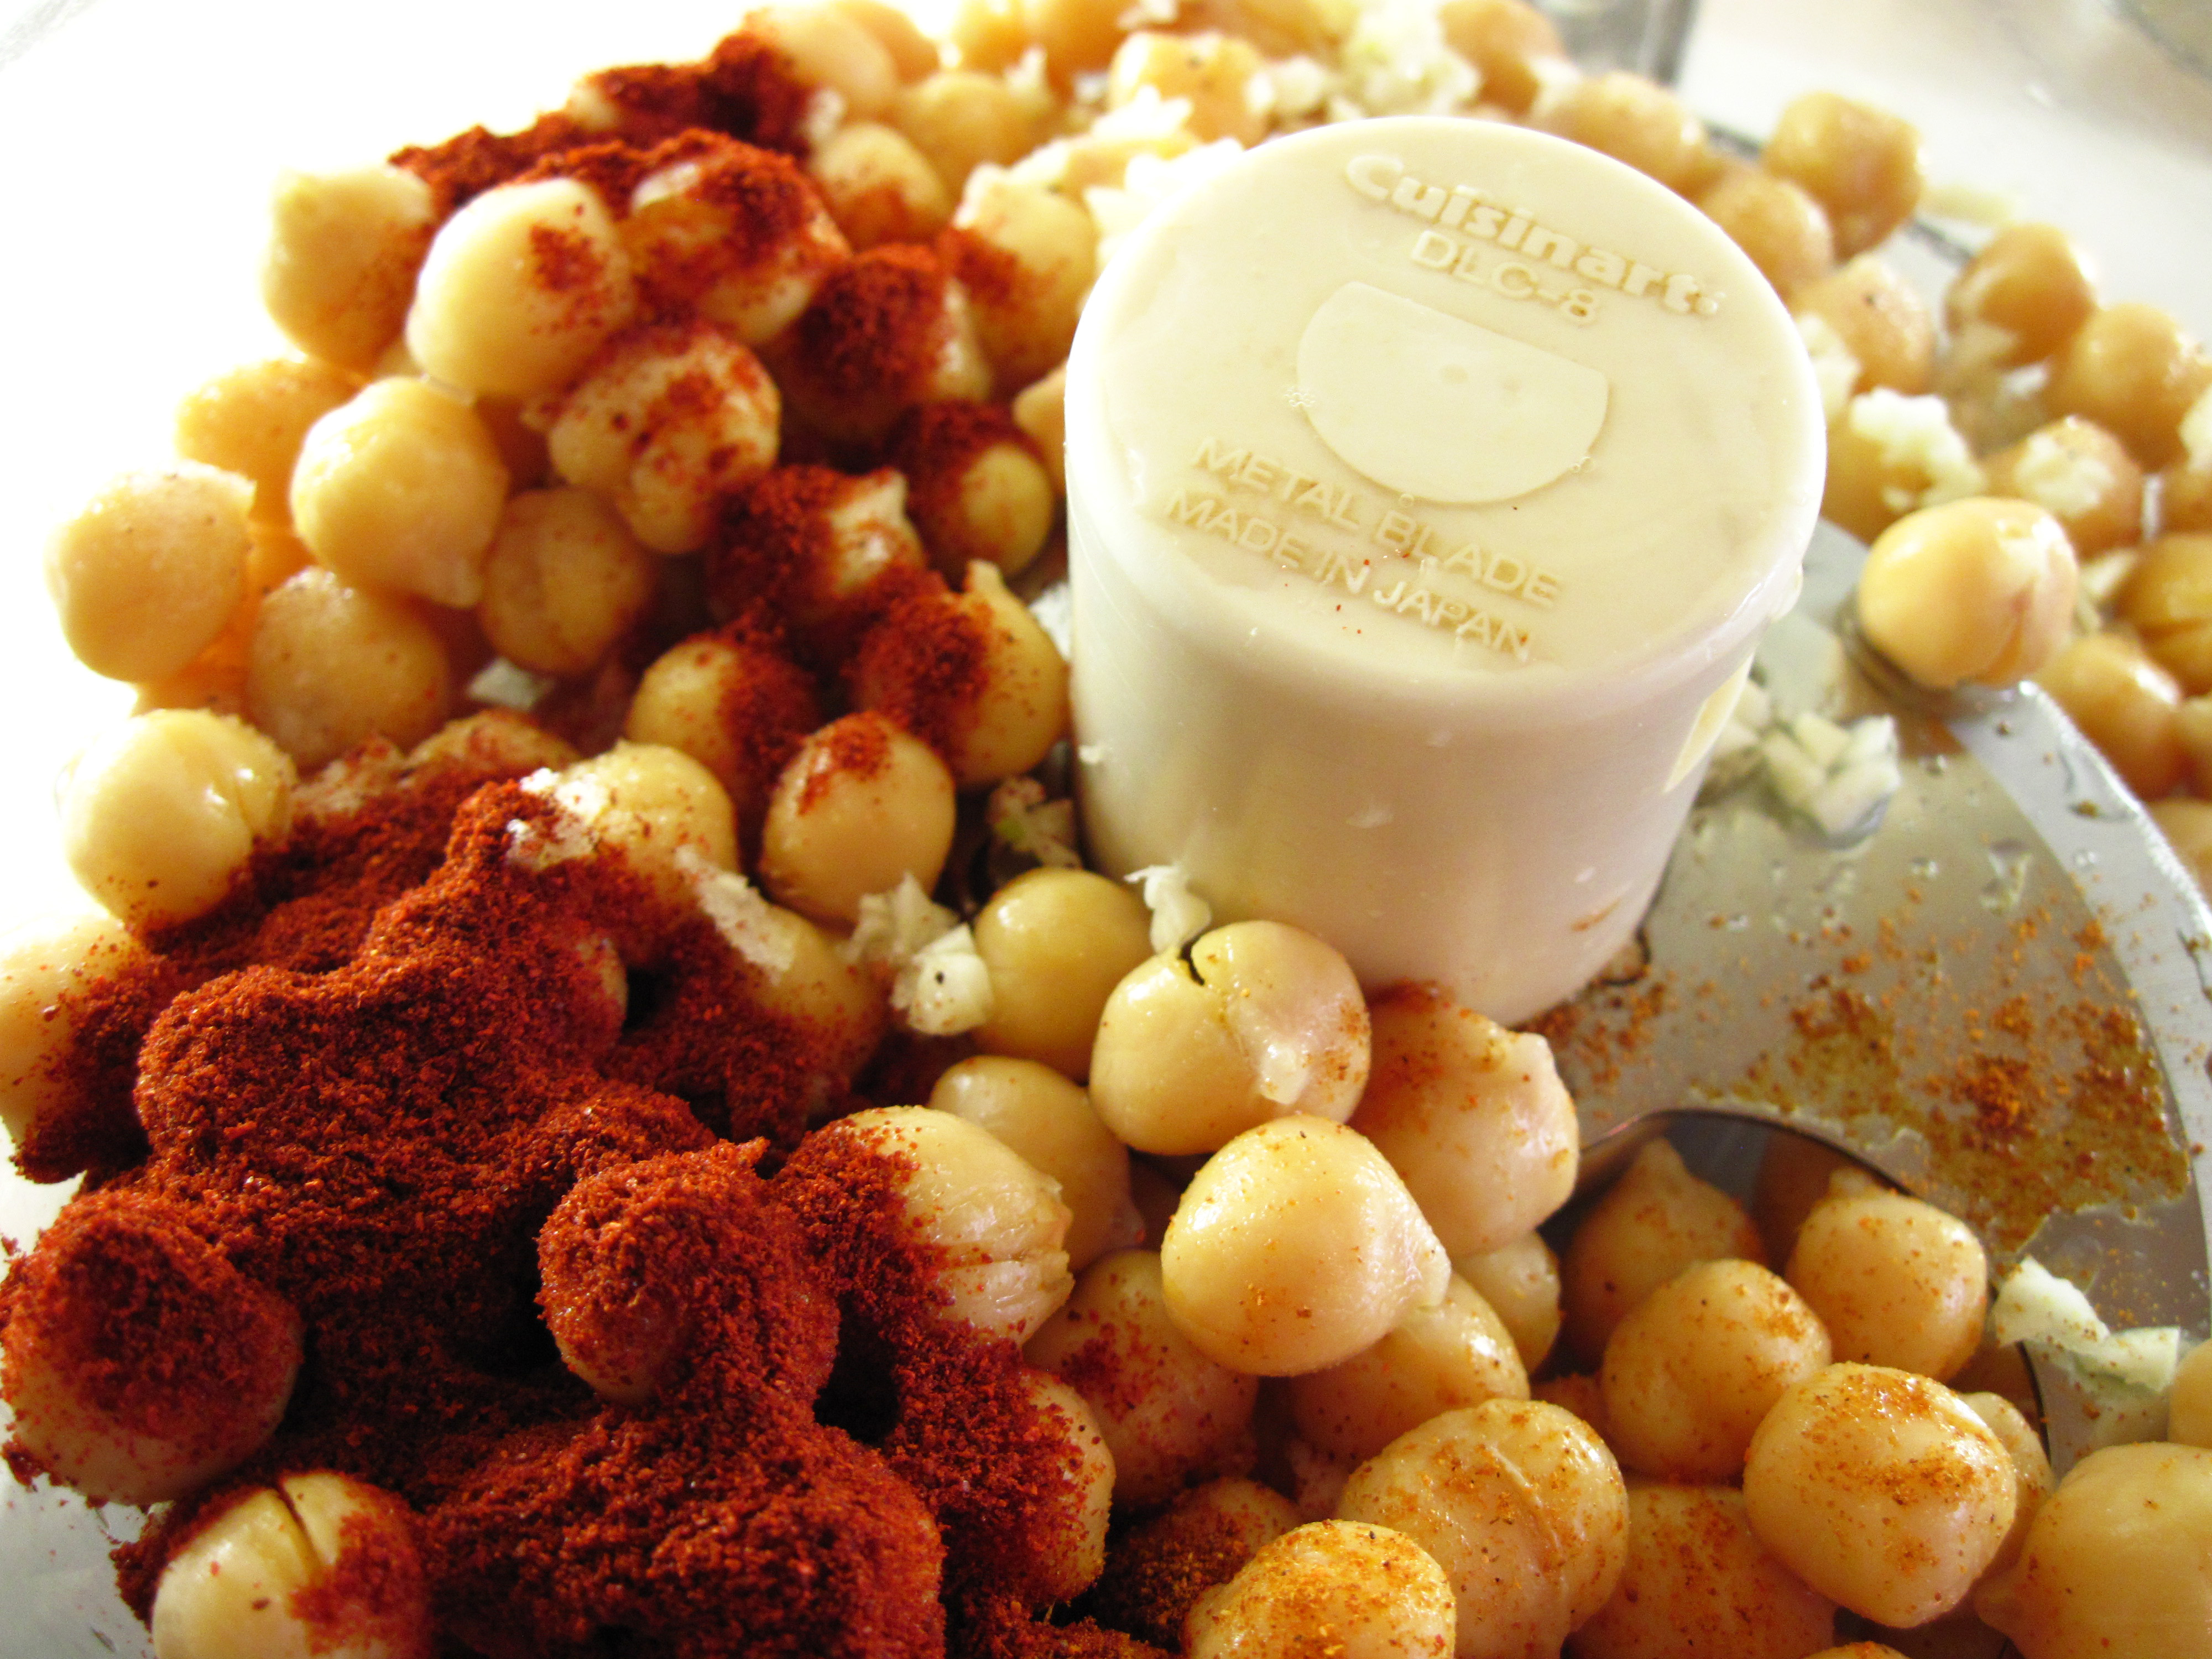
2. Put the chickpeas, garlic, salt, smoked paprika, and cayenne in the bowl of your food processor and process for about 15 seconds.
a
3. Scrape the mixture down into the bowl. With the machine running, slowly add the water and lemon juice. Scrape the mixture down and then process for about 1 minute more.
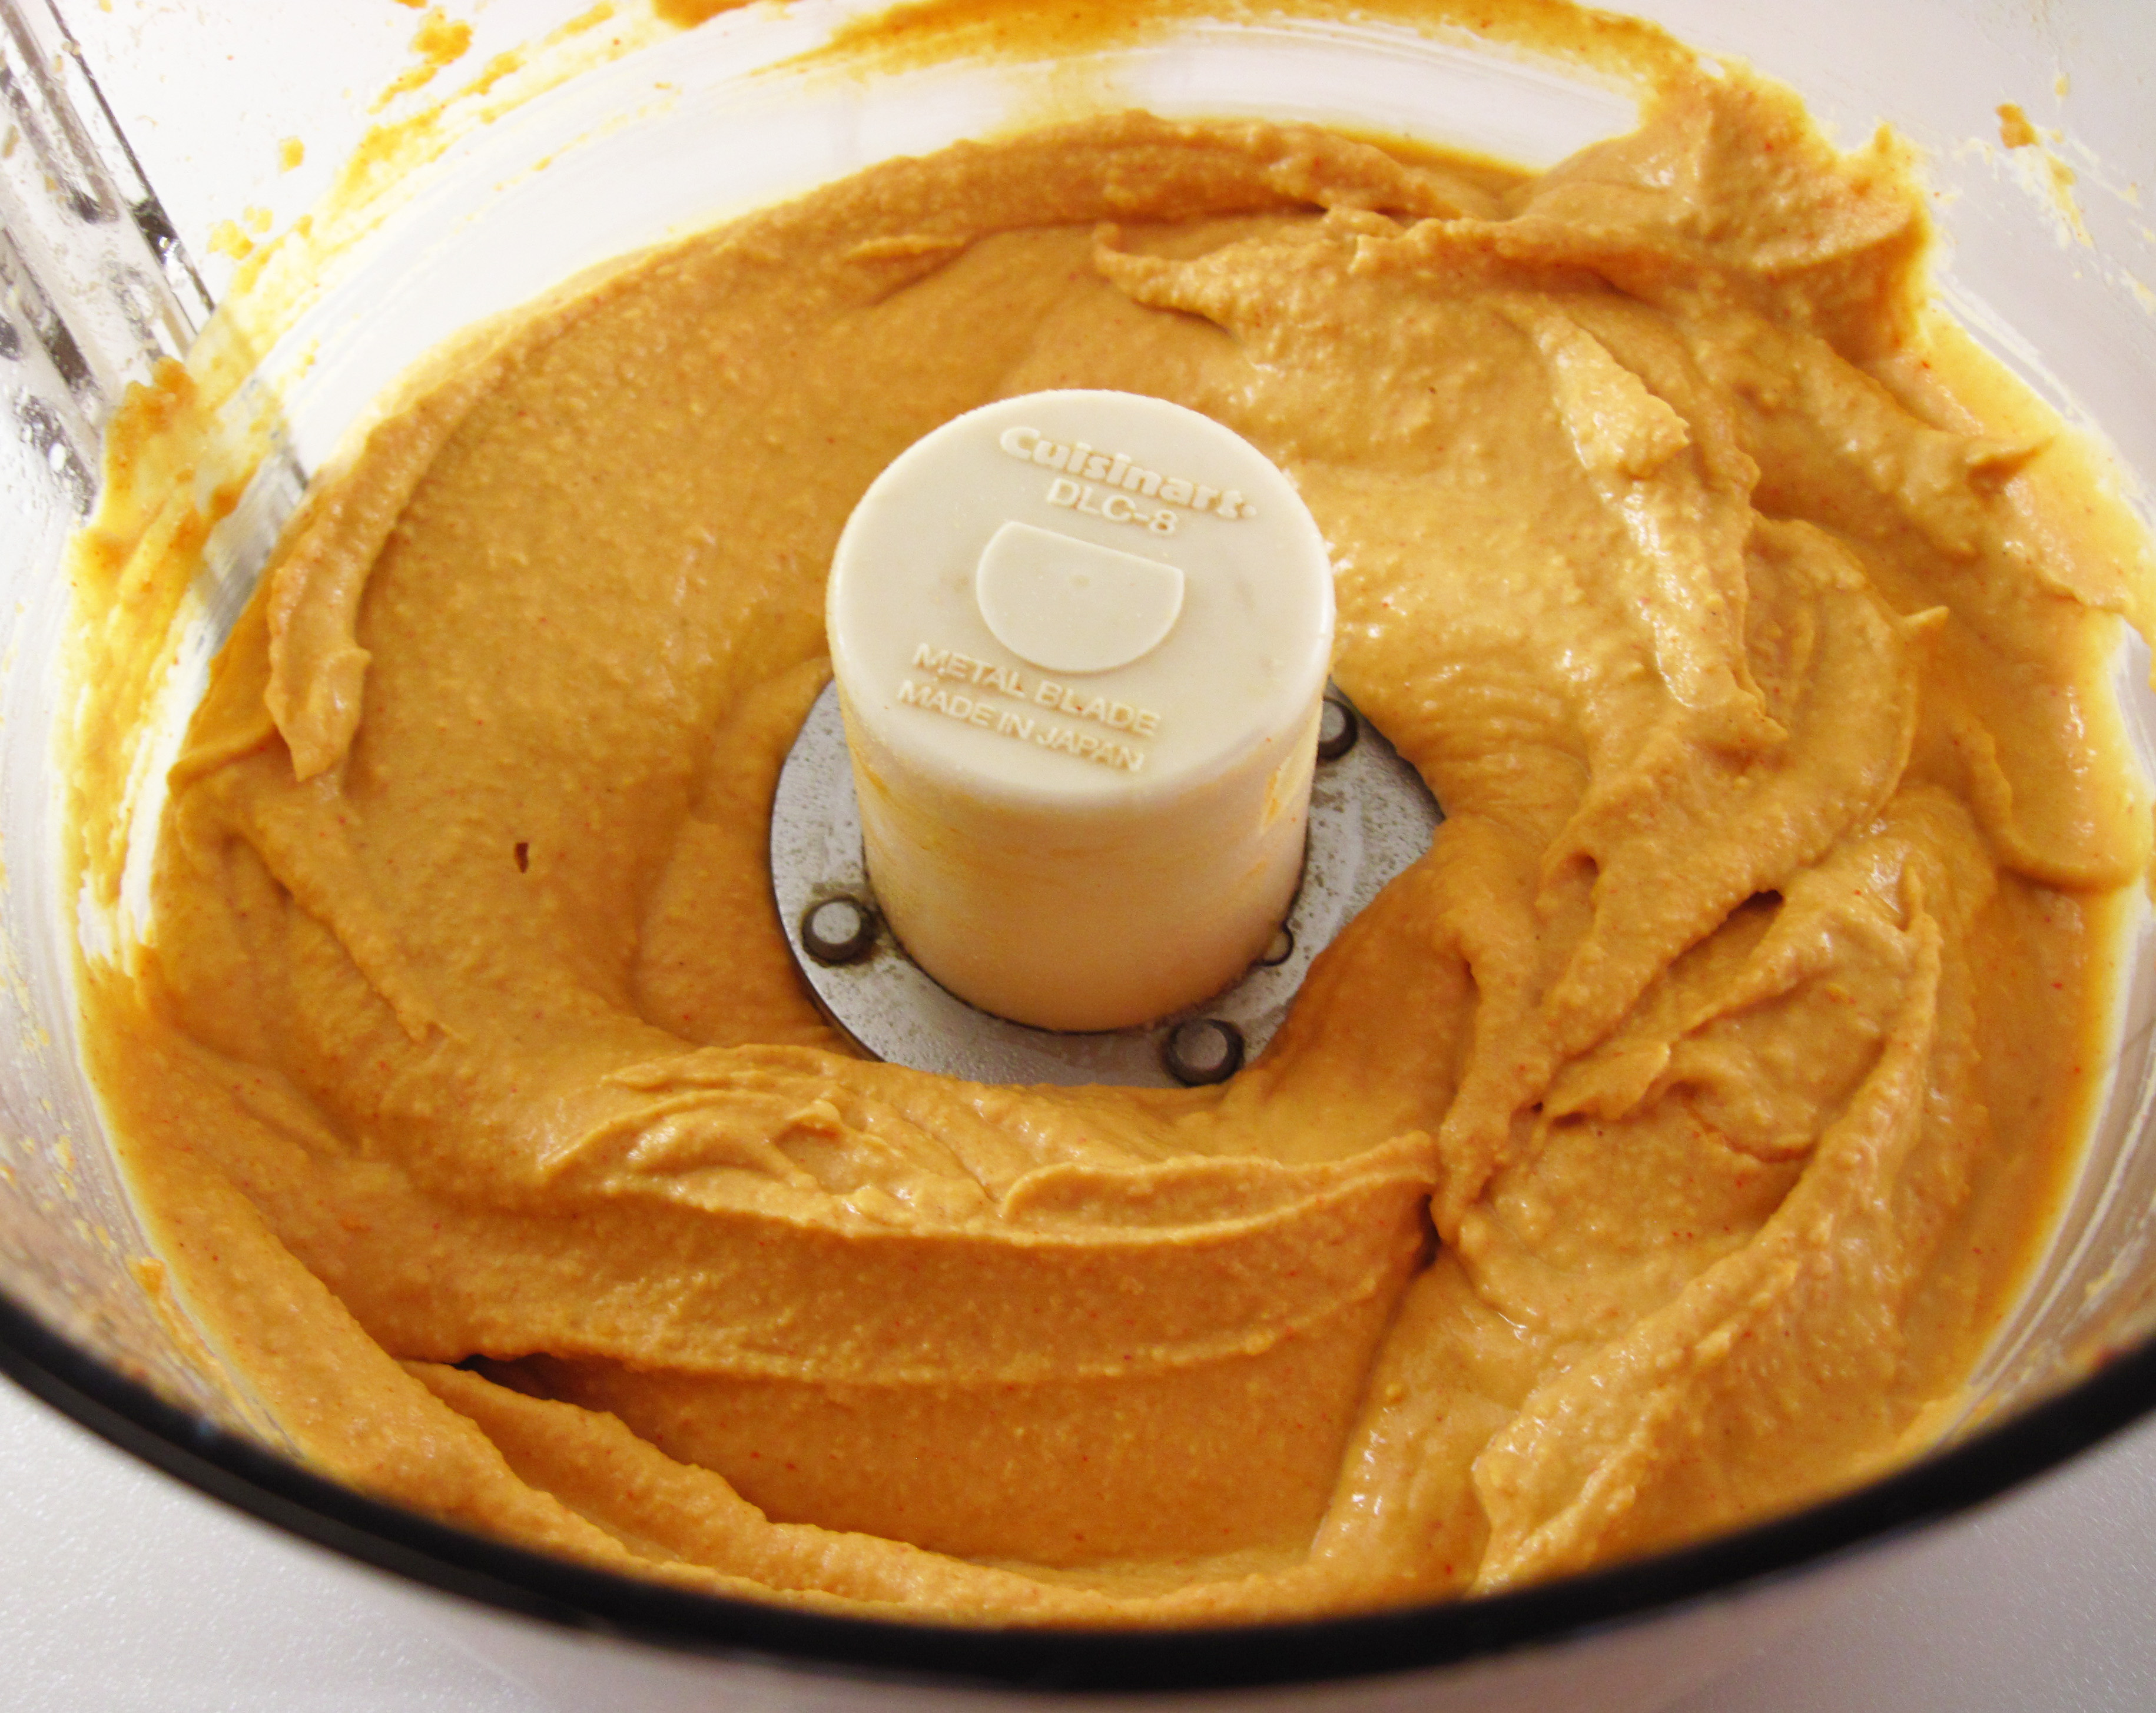
4. Scrape the mixture down and, with the machine running, slowly add the tahini and olive oil mixture and then process until smooth, about 15 seconds more.
a
5. Put the hummus in a serving bowl, cover with plastic wrap, and let it sit for at least 30 minutes to allow the flavors to meld.
6. When ready to serve, drizzle a bit of olive oil over the top and garnish with the pine nuts and green onion slices. Serve with carrot and celery sticks and/or pita chips.
a
a
Share this:

Homemade Dungeness Crab Cakes
By Kath Dedon
a
We love Metropolitan Market’s version of Dungeness Crab Cakes, but I wanted to try recreating them to make wheat-free and egg-free crab cakes. In order to thoroughly test my recipe, I had to make Dungeness Crab Cakes twice in one week – first for Laura’s birthday and then for our anniversary.
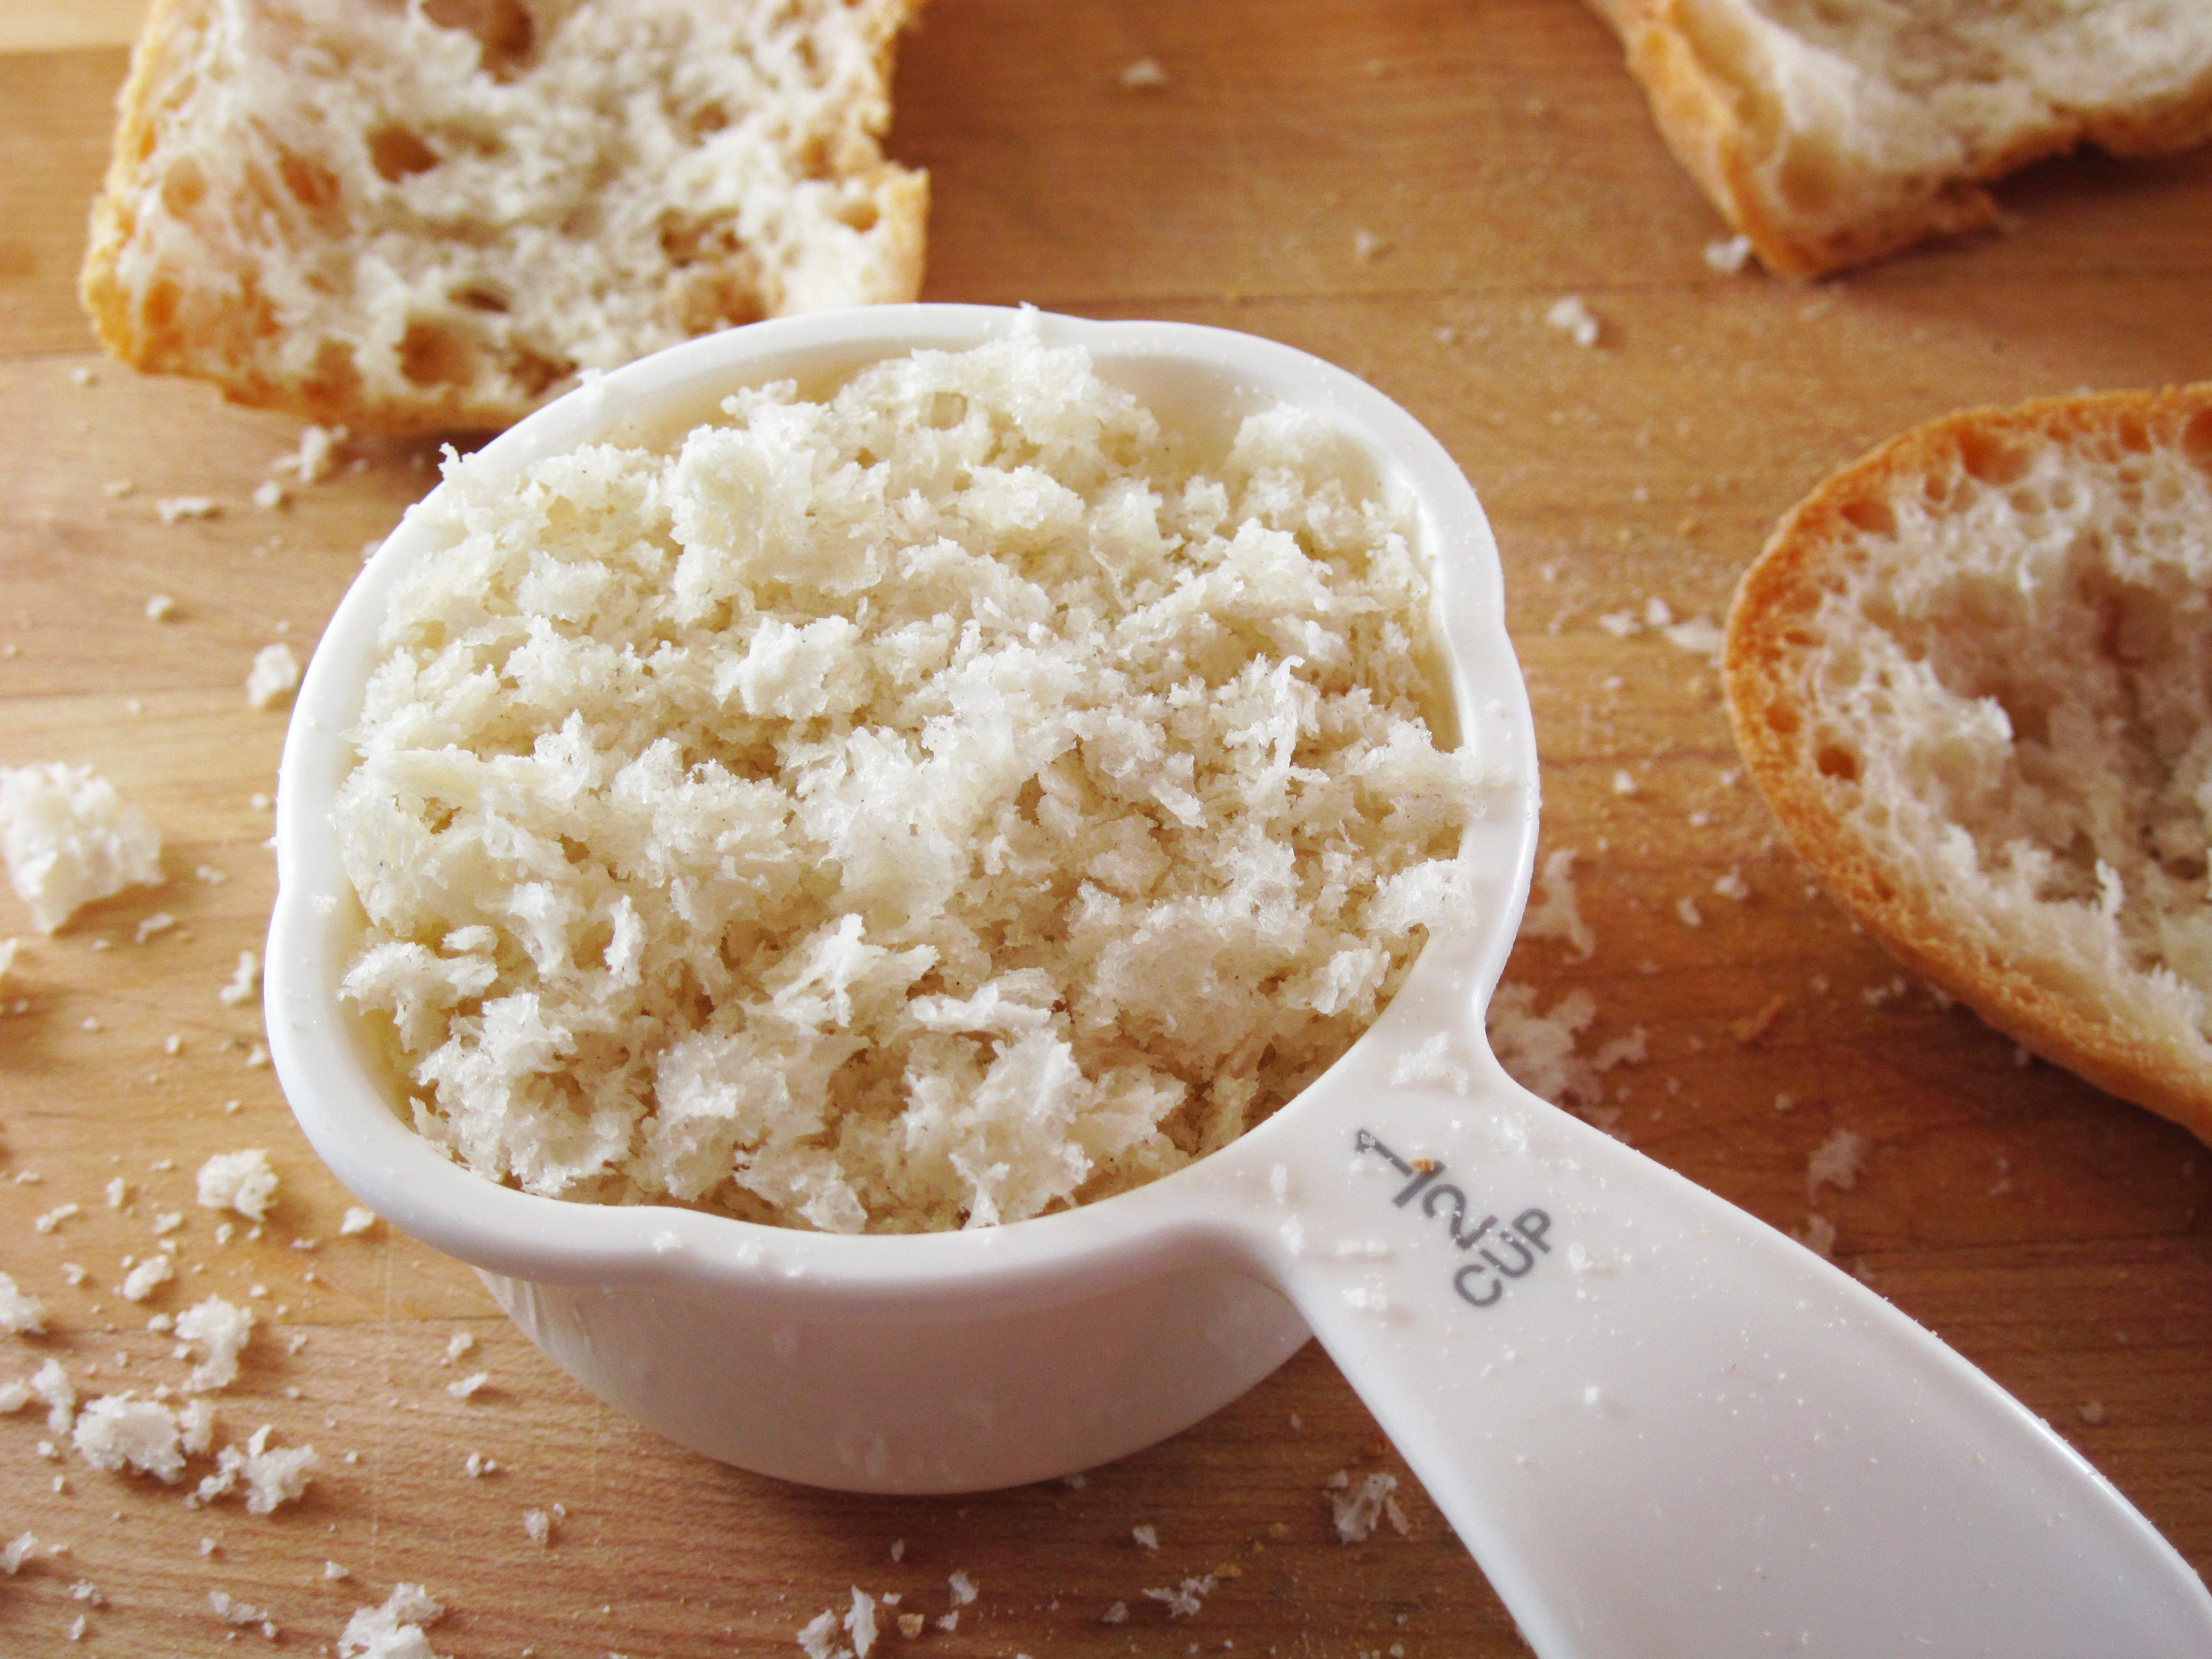
The ingredients in Metropolitan Market’s crab cakes are: crab, mayonnaise, panko, mustard, garlic, and green onion. I went wheat-free and egg-free for Laura’s birthday. Instead of panko, I made bread crumbs using a gluten-free, egg-free baguette and I subbed a vegan (thus egg-free) mayonnaise for regular mayonnaise. It worked great! The crab cakes were fantastic even though they kind of fell apart a bit.
For our anniversary I made them wheat-free but not egg-free. I used The Essential Baking Company’s Gluten-Free Deli Slice White Bread to make bread crumbs and used regular mayonnaise. The crab cakes held together much better this time. Could the small amount of egg in the bread and the mayonnaise make a difference? I don’t know.
I have to say that the Dungeness Crab Cakes were fabulous both nights. With the price of crab, this is most definitely a special occasion treat, but it’s still less expensive than going out for dinner and you get to make the crab cakes just the way you want them.
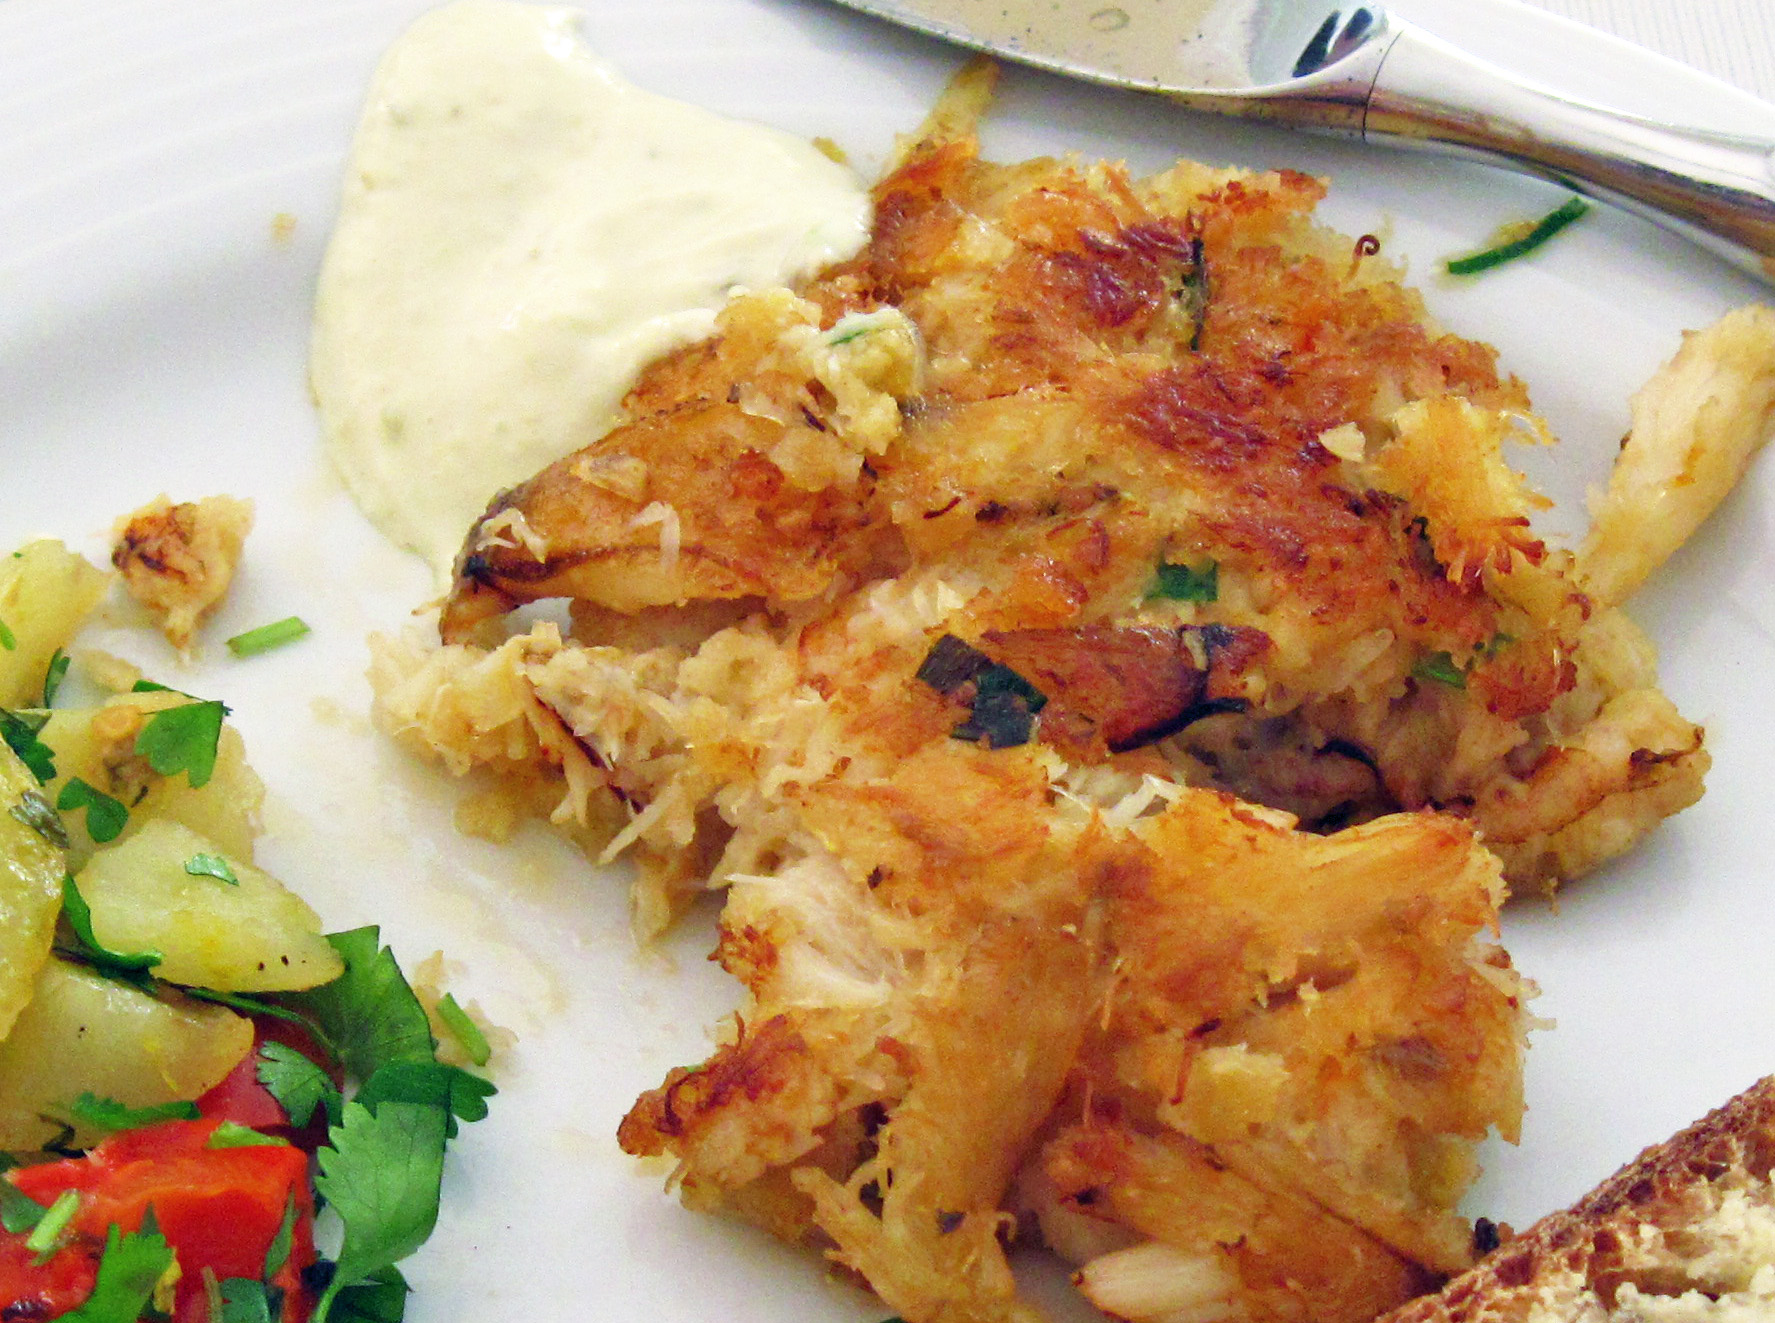
a
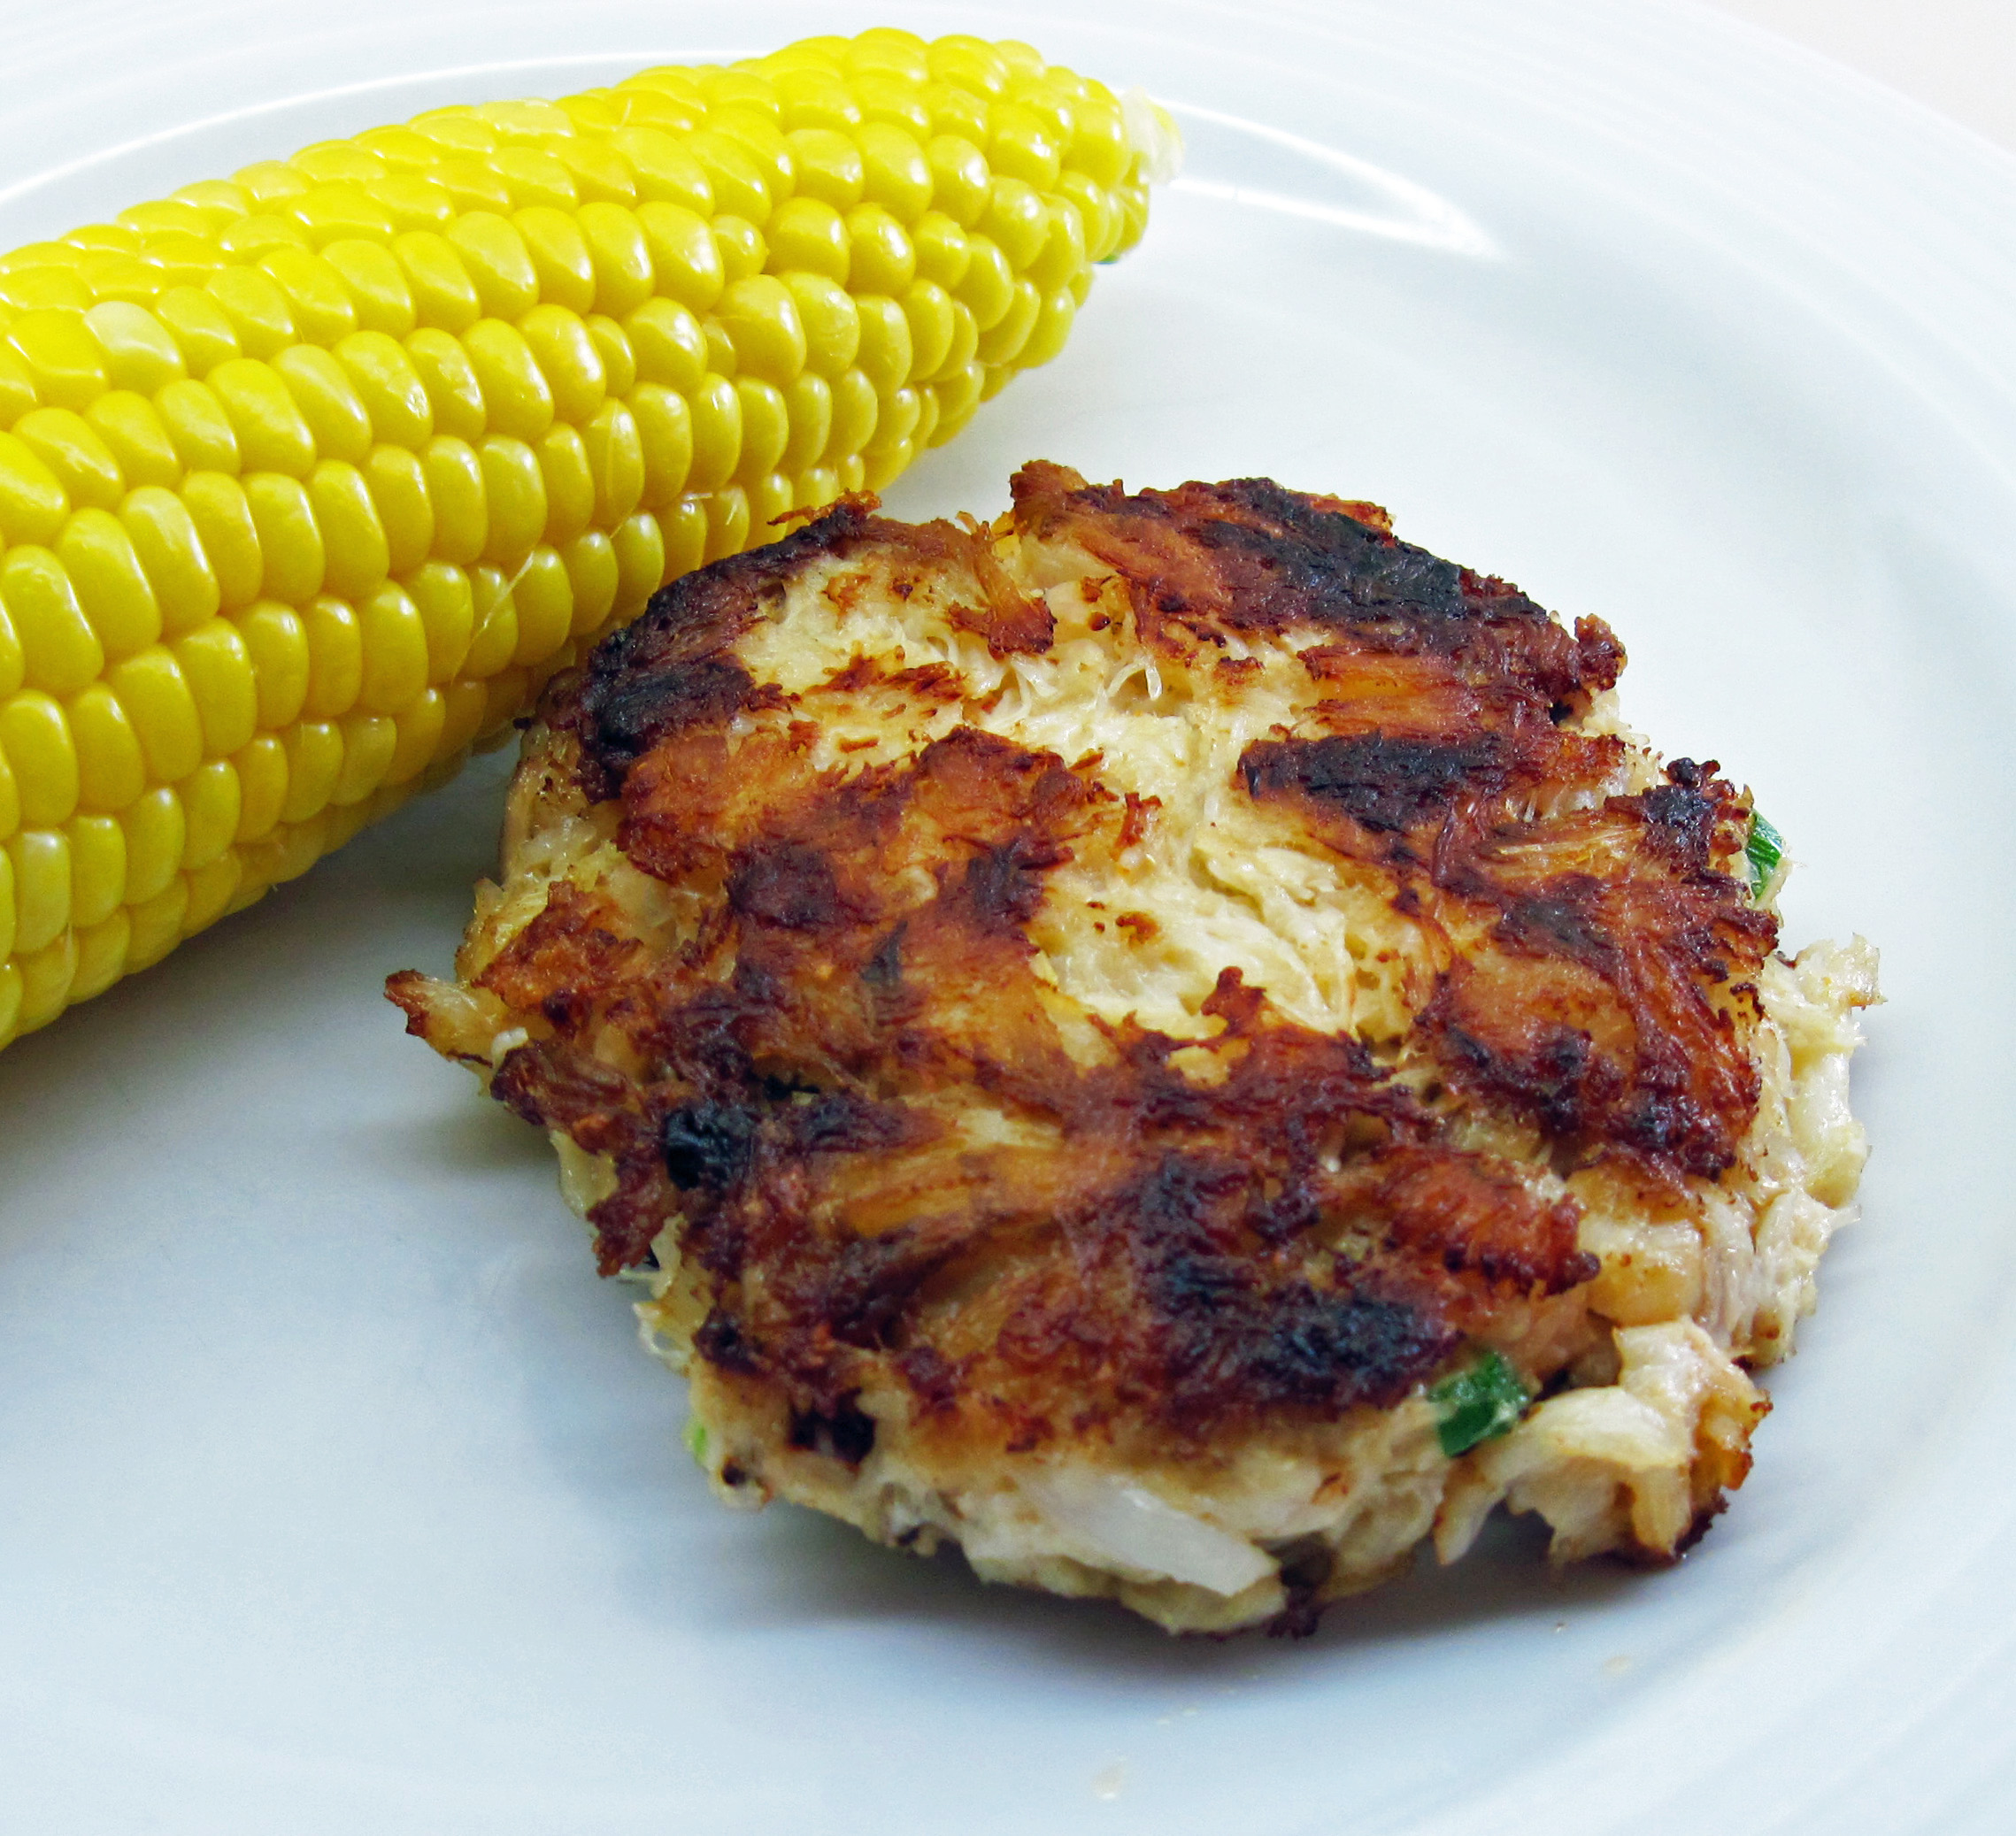
Wheat-free Dungeness Crab Cake for our anniversary
a
Homemade Dungeness Crab Cakes
(Inspired by Metropolitan Market’s crab cakes)
a
Use vegan mayonnaise and omit the egg if you want to make the crab cakes egg-free. The crab cakes won’t hold together quite as well without the egg, but they will still be delicious.
a
a
Serves 4 (Can easily be cut in half to serve 2)
a
1 pound Dungeness crabmeat
½ cup mayonnaise* (see note above for egg-free option)
½ cup panko (can sub gluten-free white bread crumbs)
½ teaspoon Dijon mustard
½ teaspoon minced garlic
2 tablespoons minced green onion
1 beaten egg* (see note above for egg-free option)
3 tablespoons olive oil for frying
a
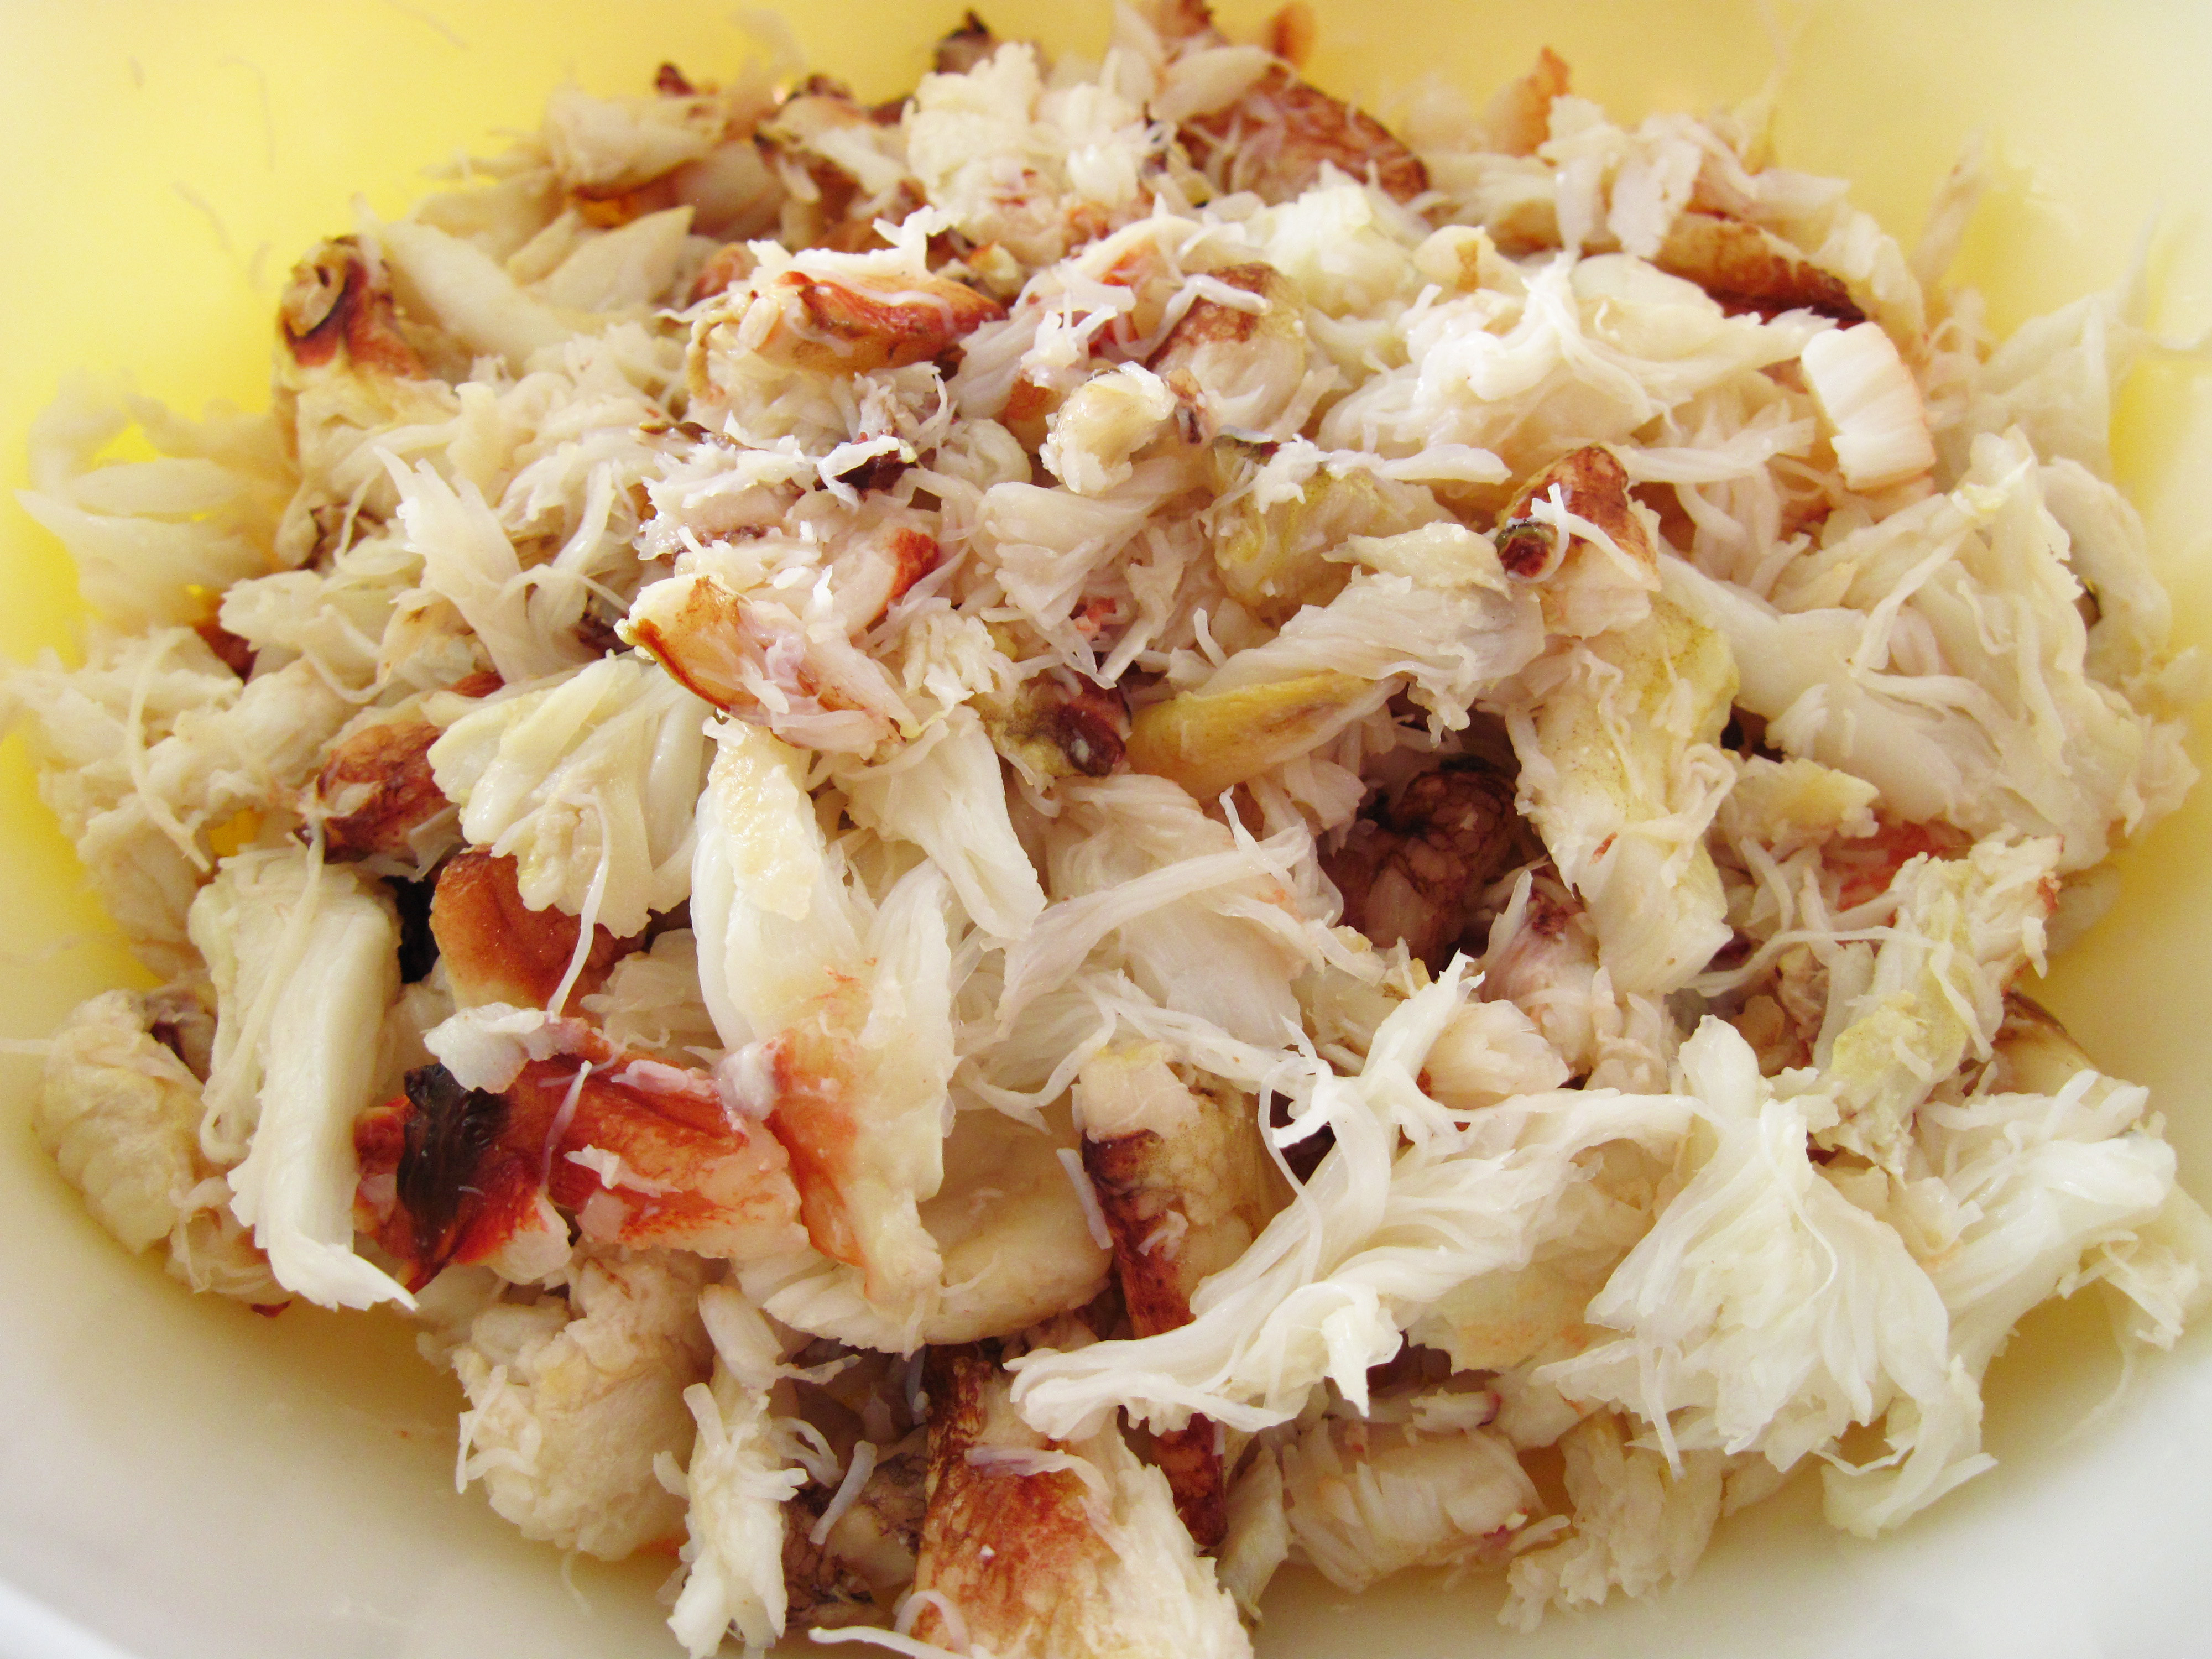
1. Combine all of the ingredients except the olive oil in a bowl.
a
Mmmm….fresh Dungeness crab!
Fresh gluten-free bread crumbs
a
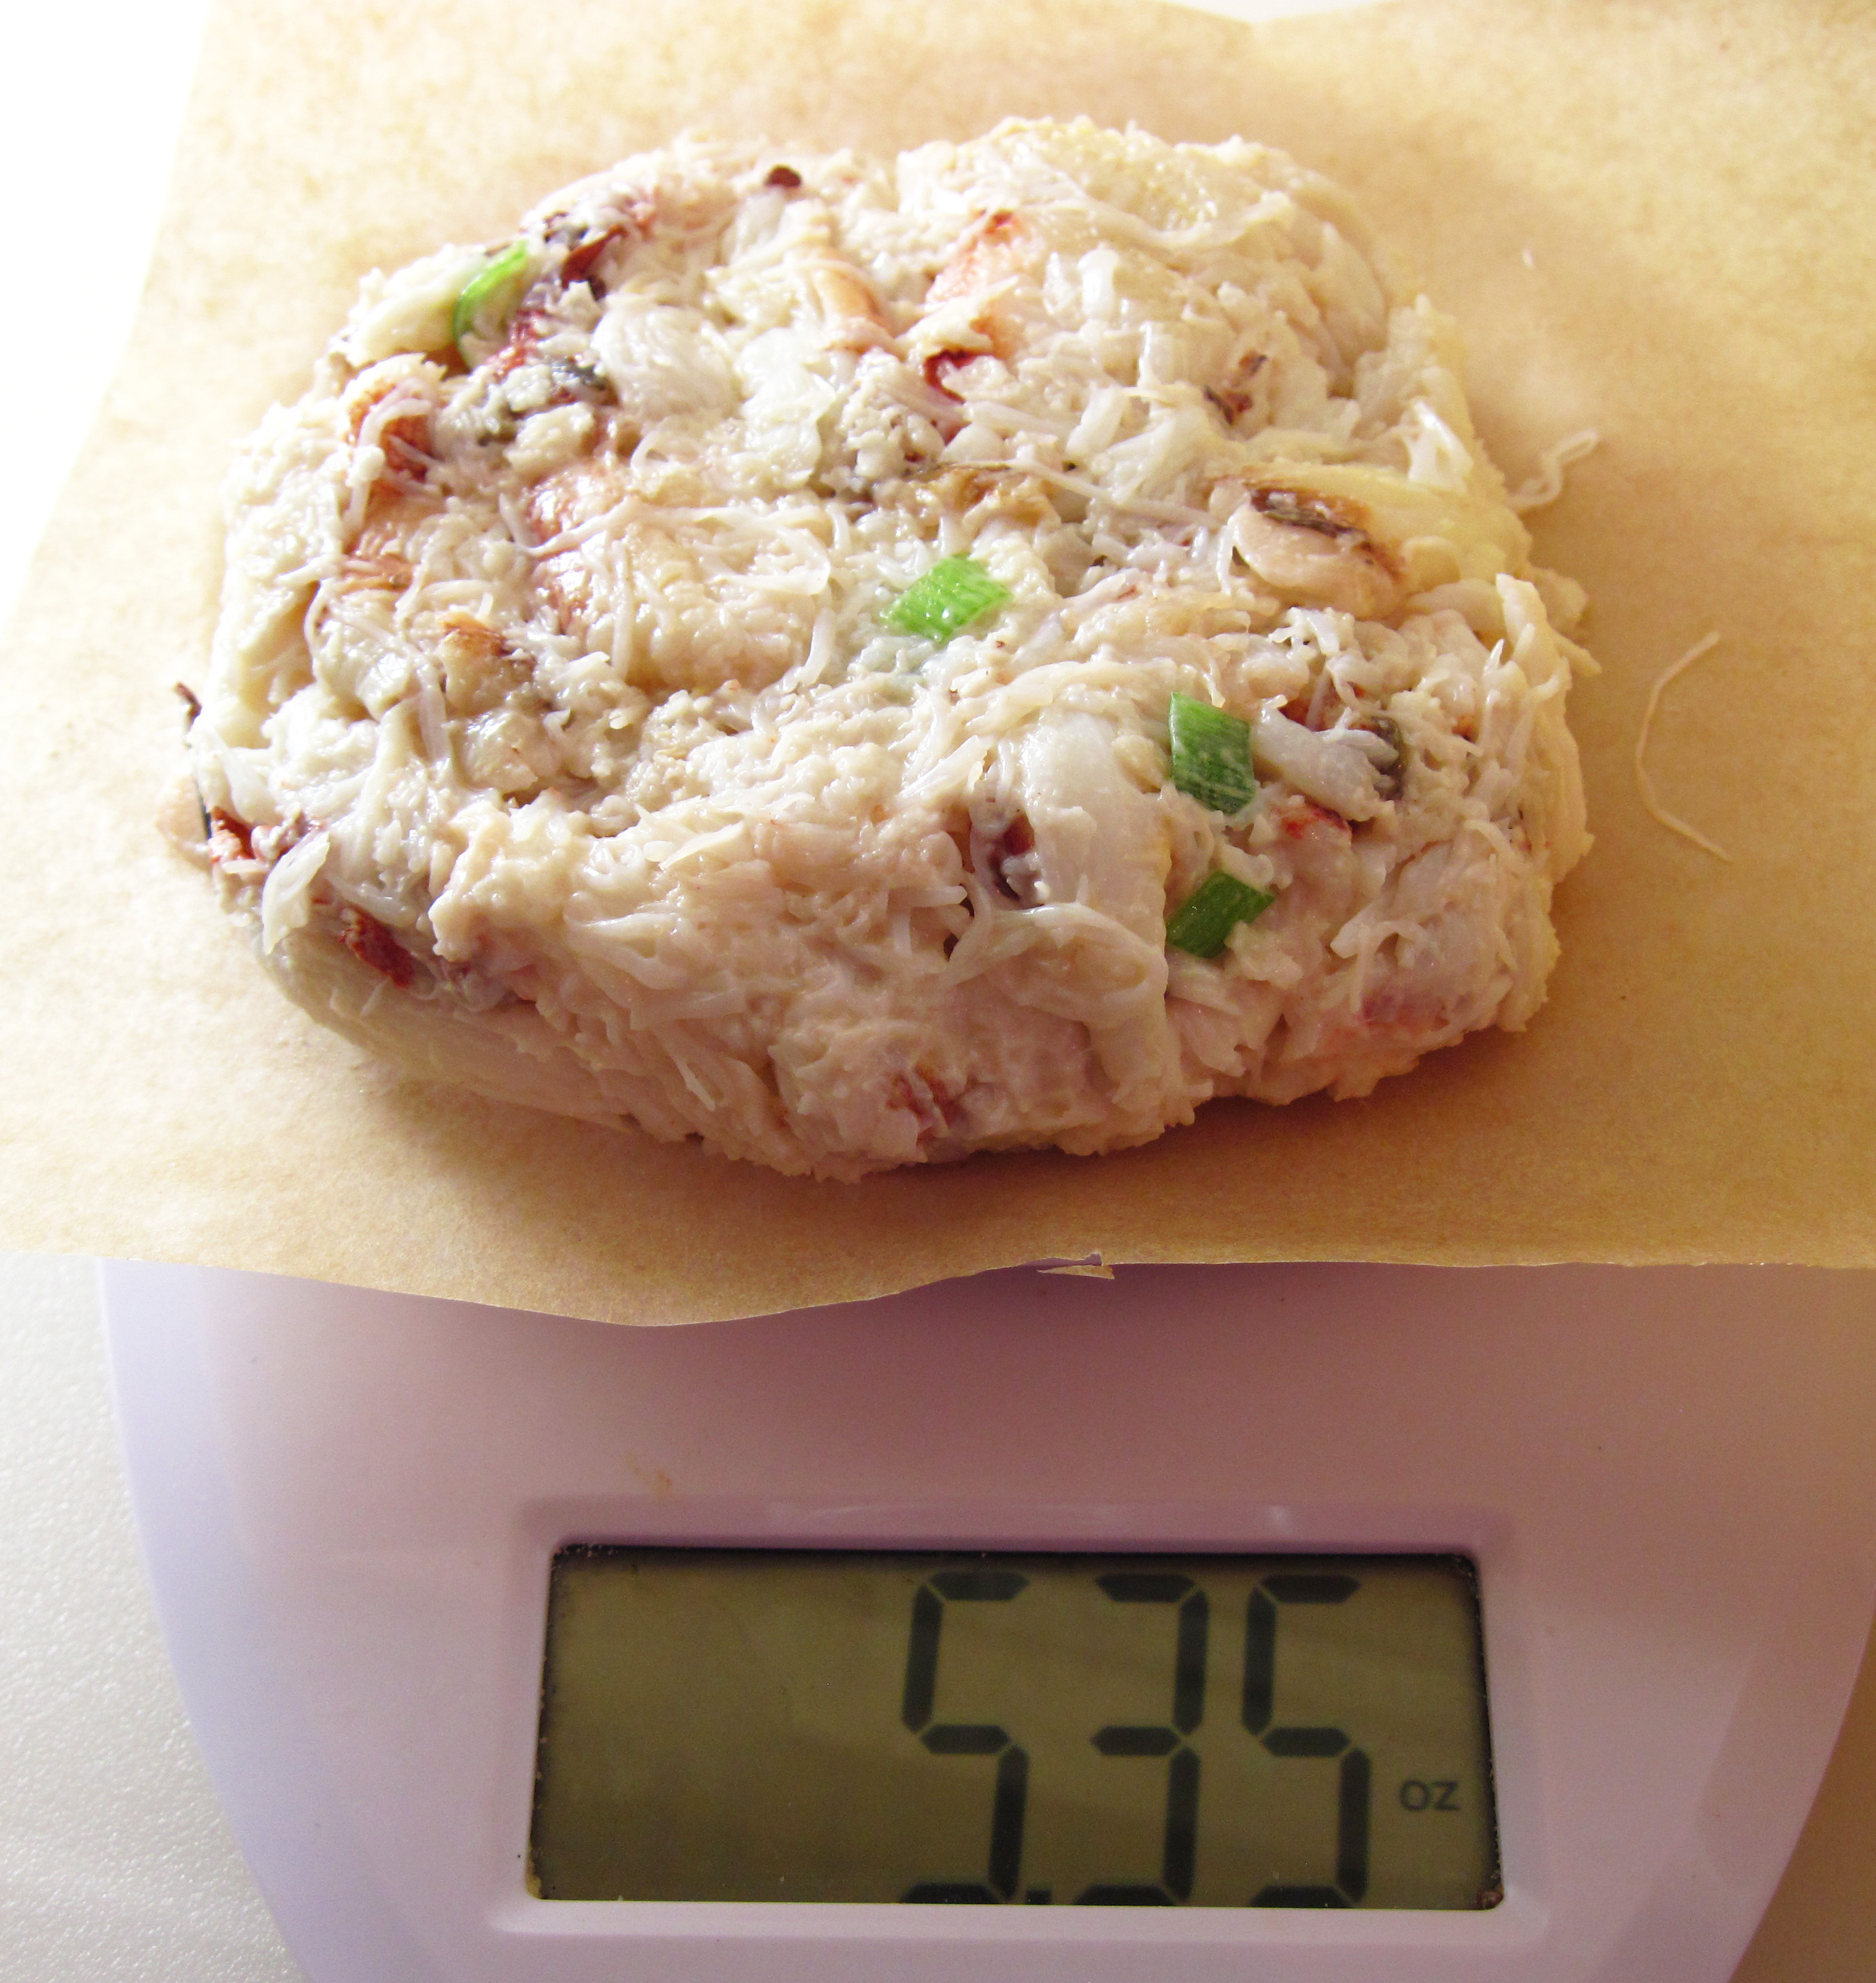
2. Divide into 4 equal balls and flatten into patties on squares of parchment paper. (The parchment paper makes it easier to transfer the crab cakes to a skillet.)
a
Each crab cake weighed about 5.3 ounces.

a
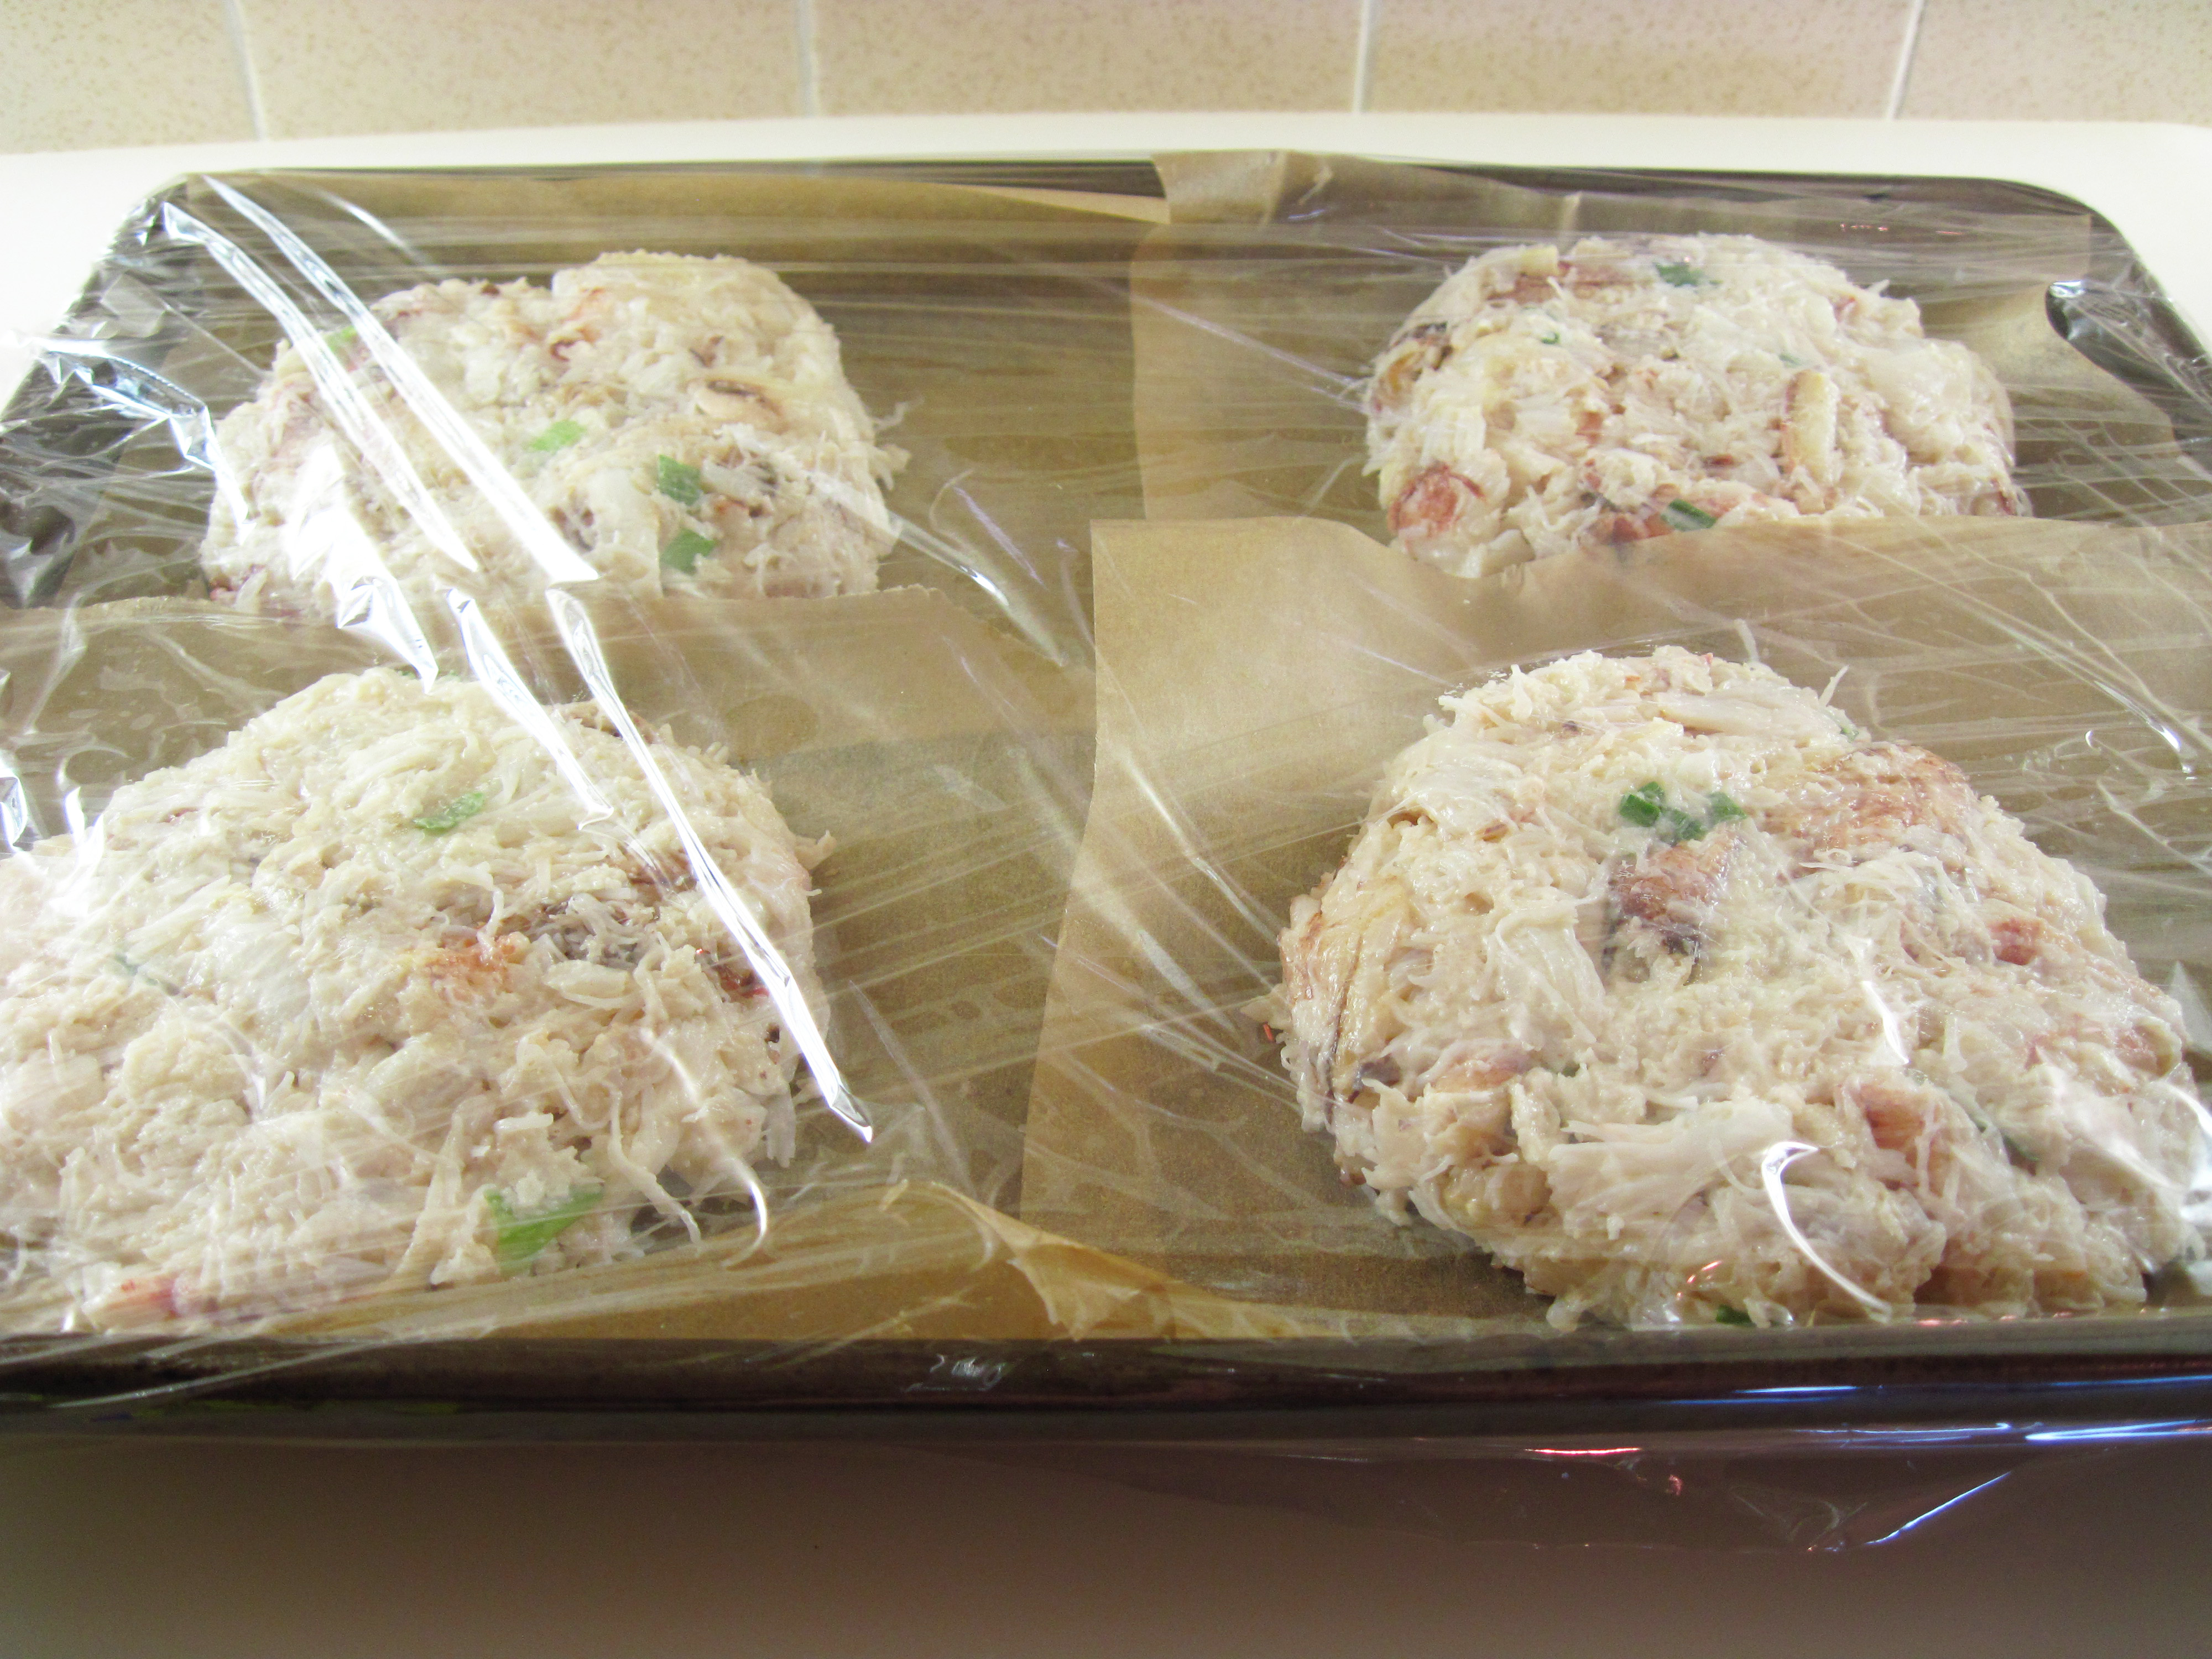
3. Heat the olive oil in a large skillet over medium heat. (I used a nonstick skillet.) Cook the crab cakes for about 4 minutes on each side and serve.
The crab cakes can be made up to a day ahead of time. Put the formed crab cakes on a baking sheet and cover with plastic wrap. Refrigerate until you’re ready to cook them.
a
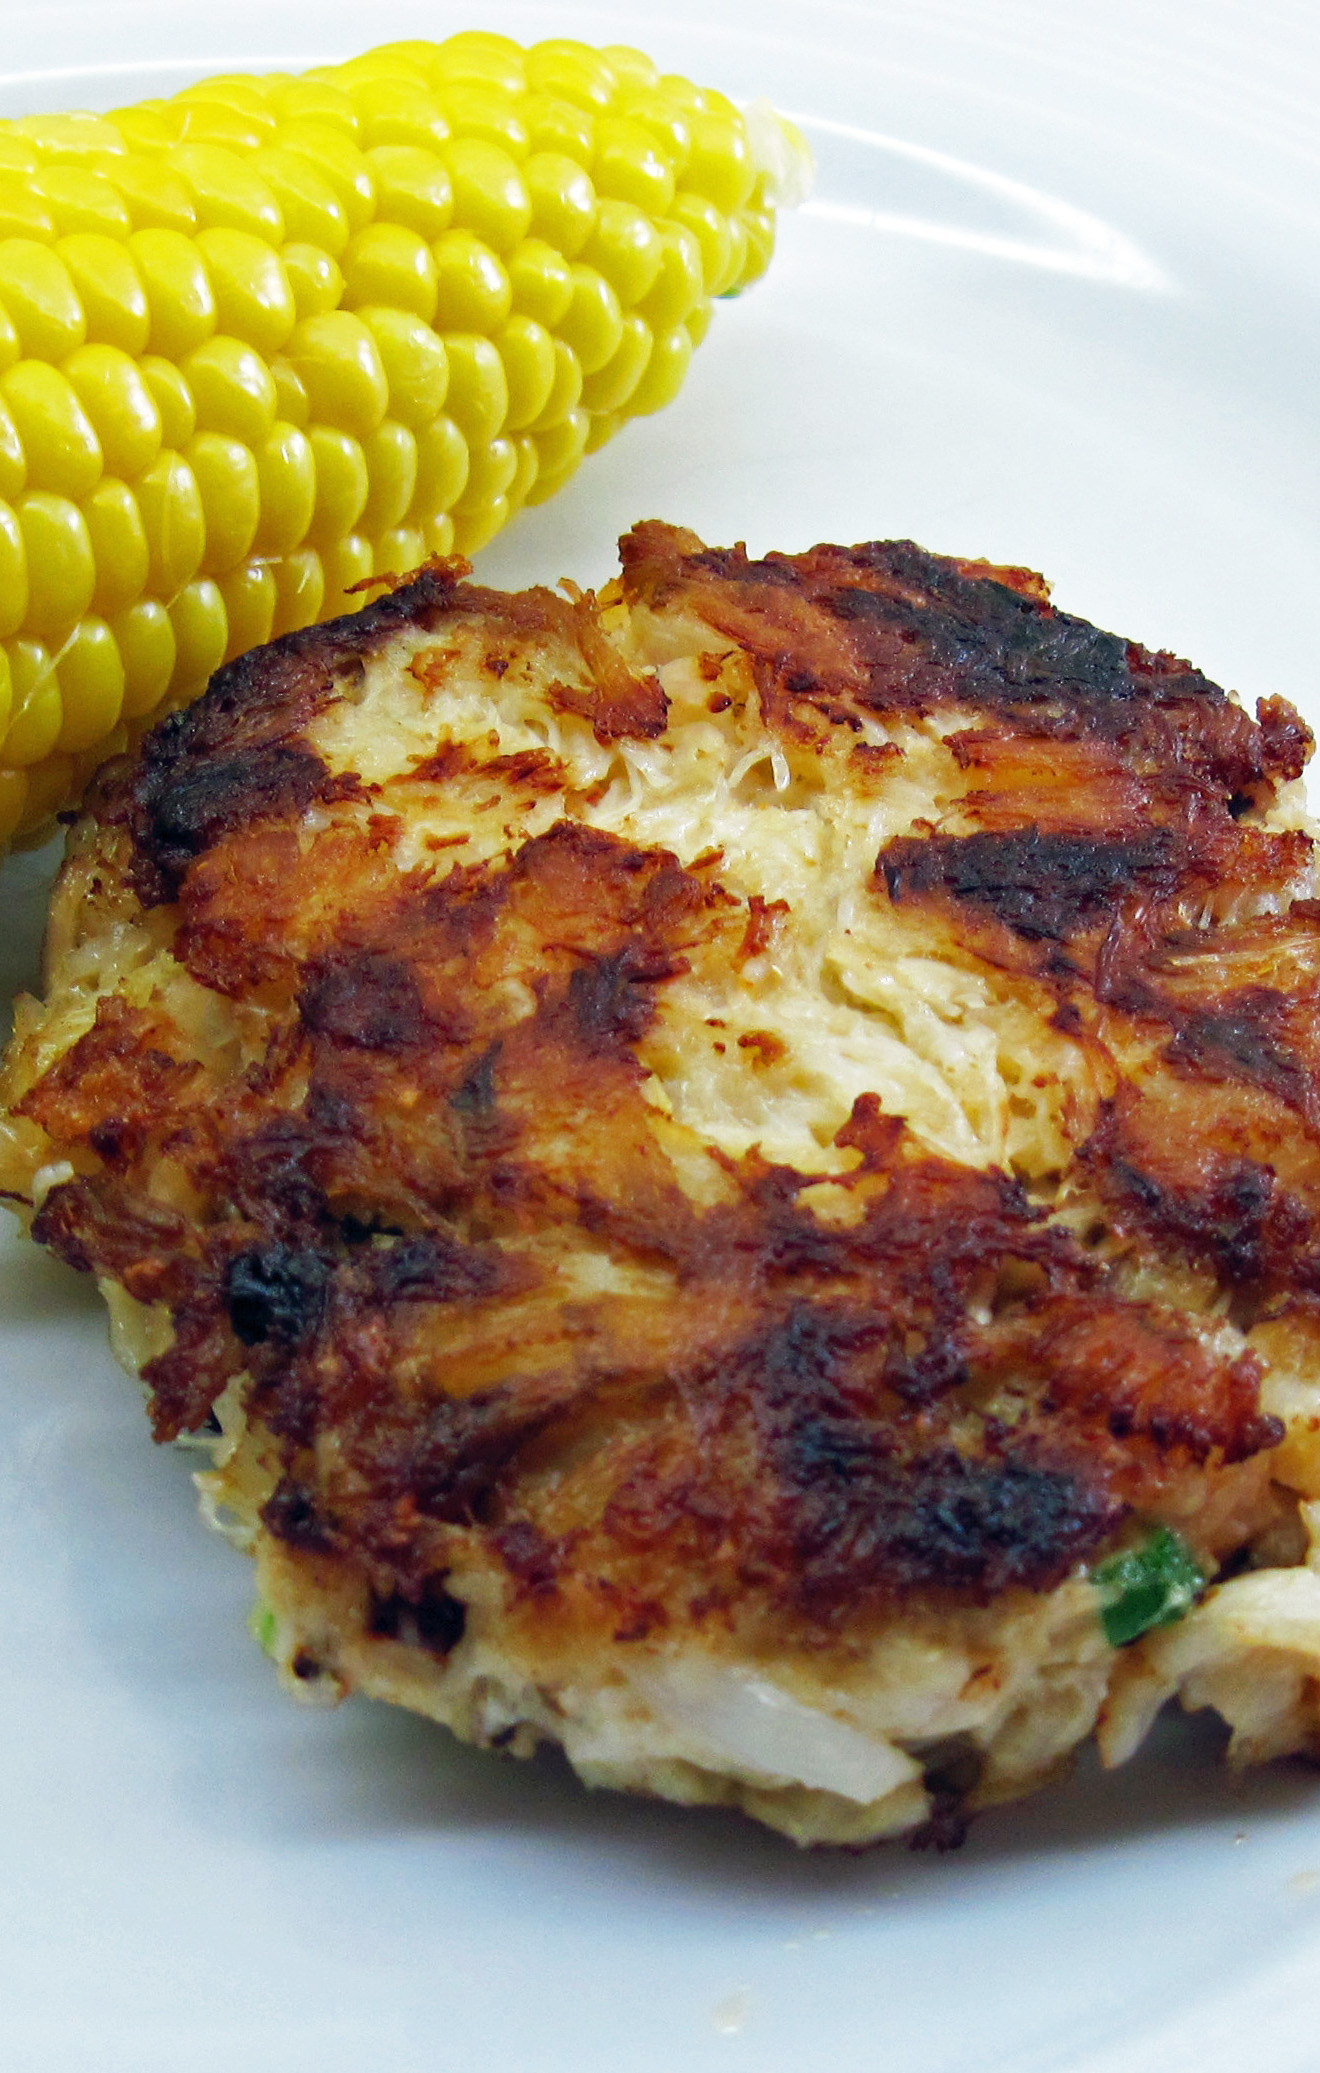
The wheat-free and egg-free crab cakes for Laura’s birthday dinner fell apart a bit, but they were still fantastic!
a
a
Share this:

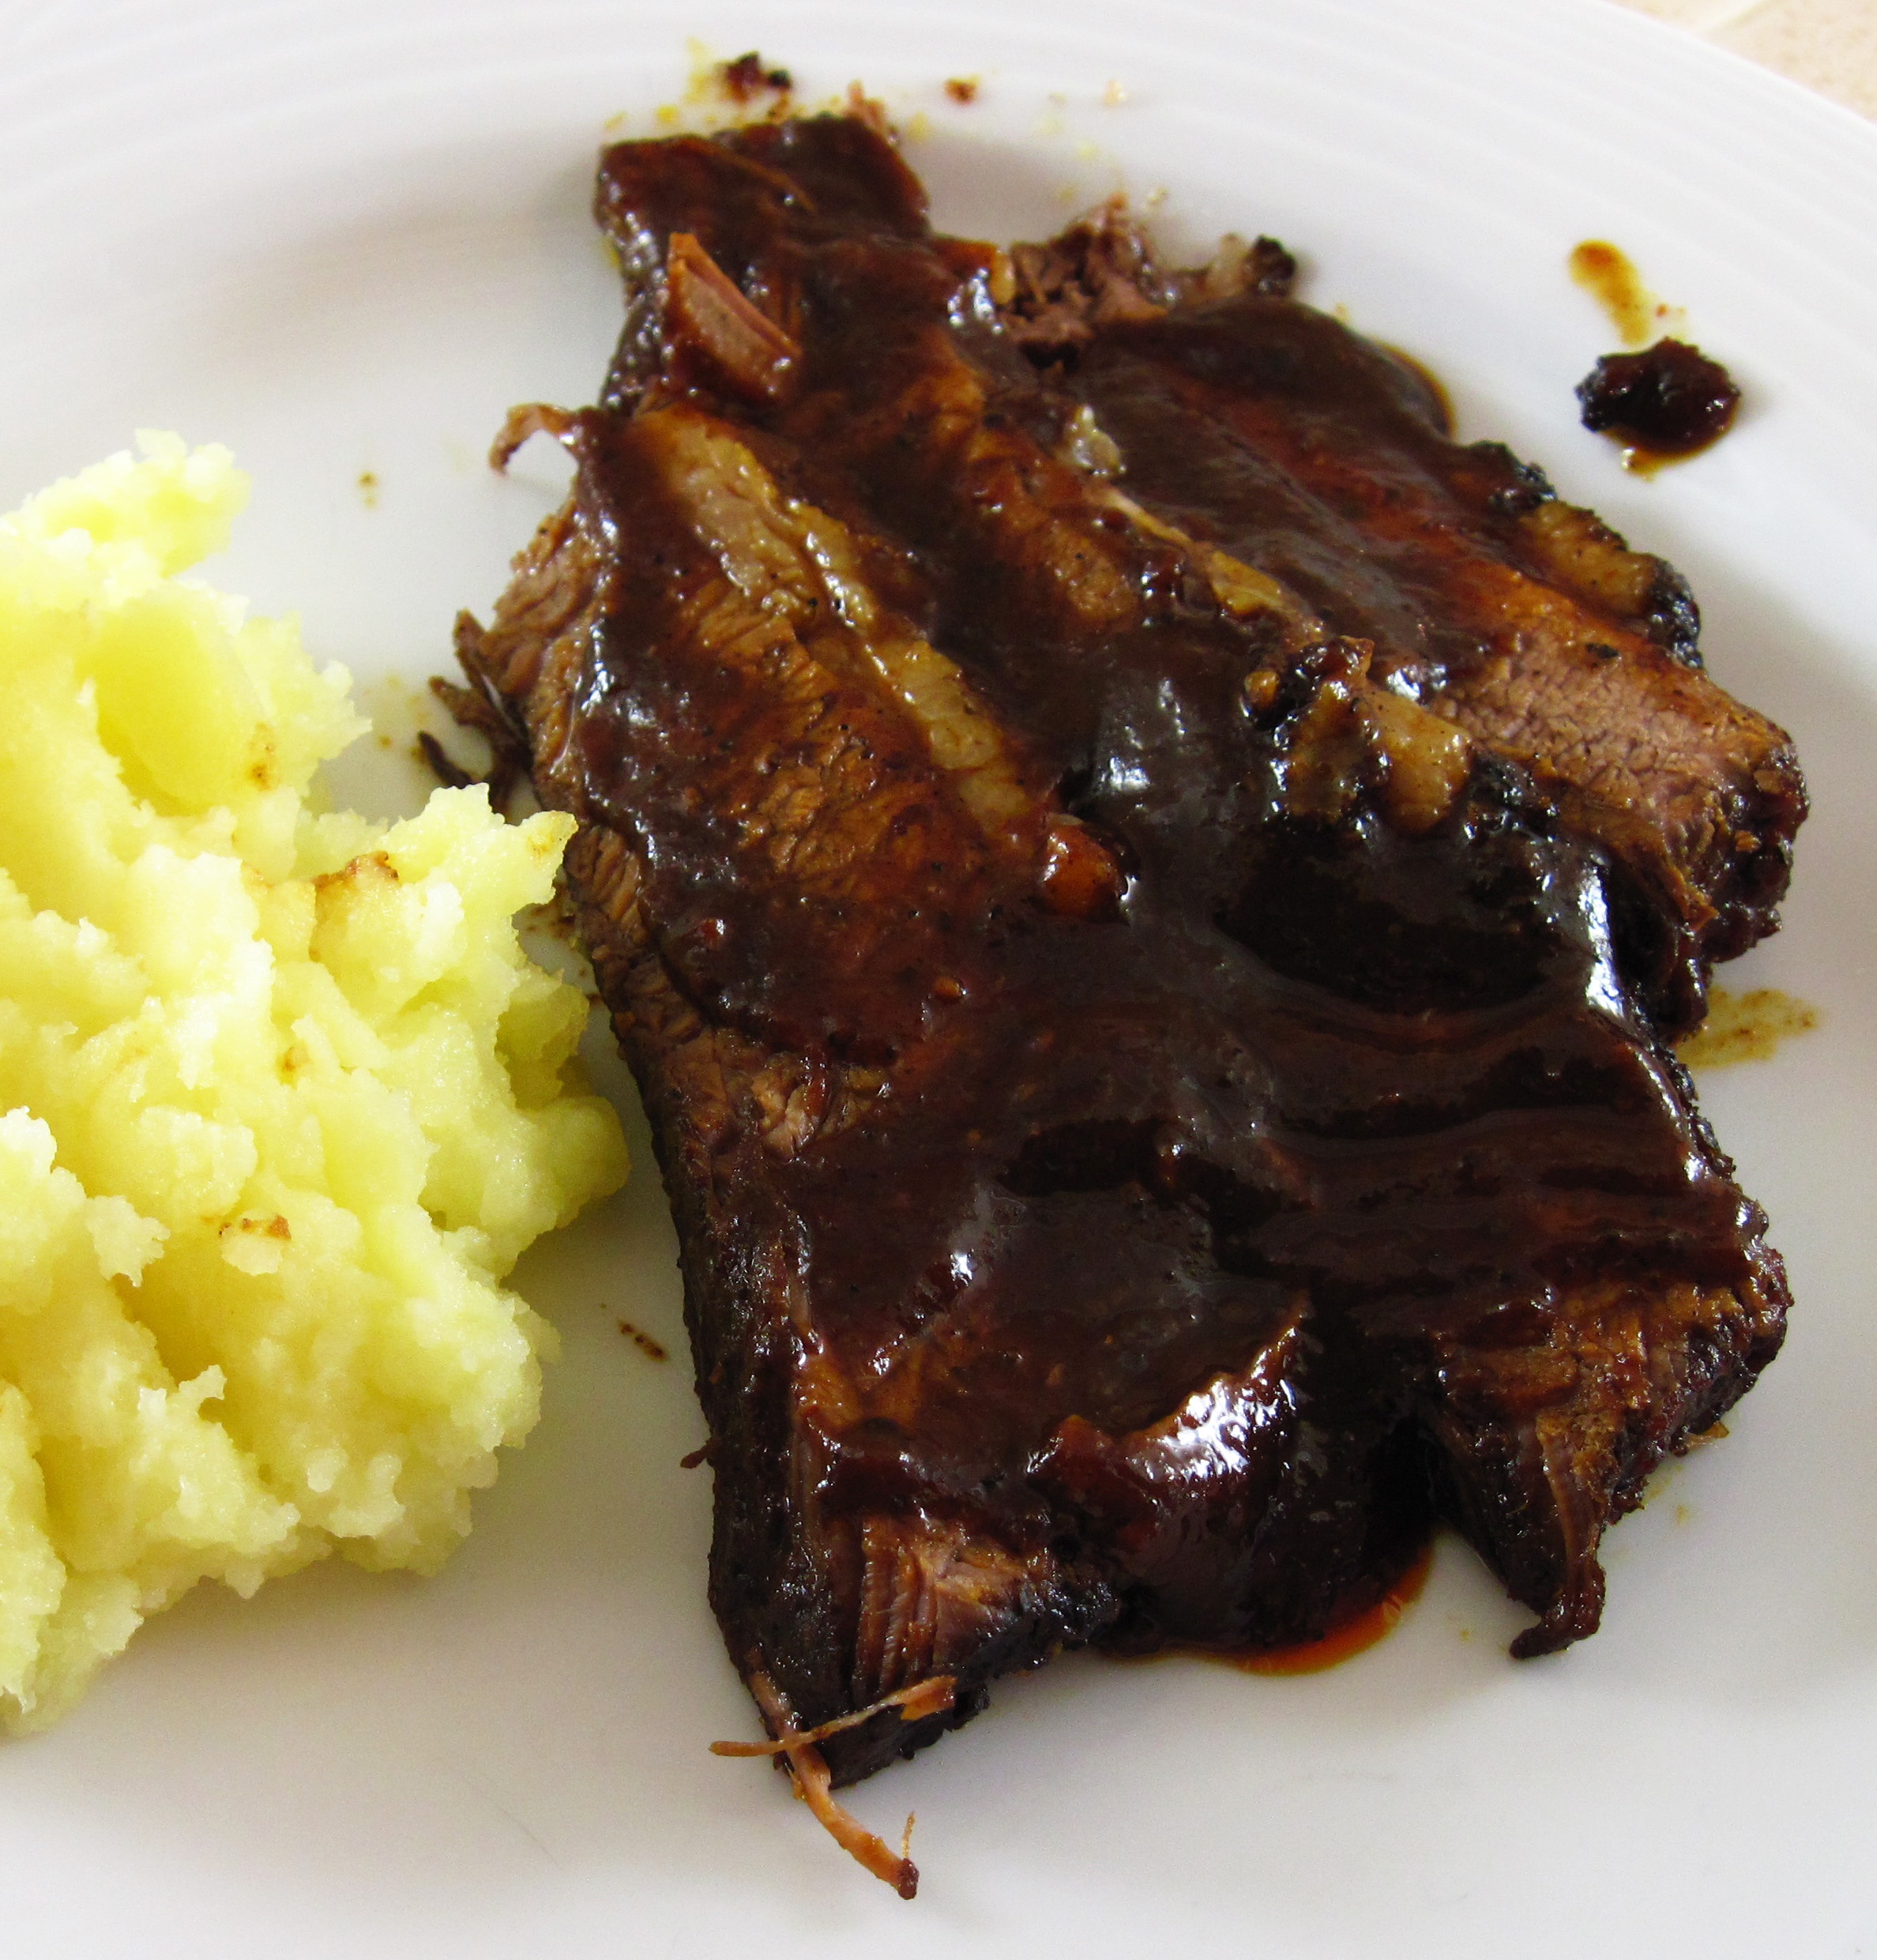
Brisket with Berbere & Whiskey Barbecue Sauce
By Kath Dedon
a
Brisket with Berbere & Whiskey Barbecue Sauce turned out to be even more delicious than the recipe sounded! I’d had my eye on it in Amanda Bevill and Julie Kramis Hearne’s World Spice at Home ever since I had received the book and it’s Flavor Companion of spices for my birthday last December. (Thank you, Joan!)
I was planning the menu for a small birthday dinner for Rhett and I asked Carrie what she thought he would like. She replied, “Well, he loves beef!” Bingo! I knew the time had come to try this recipe.
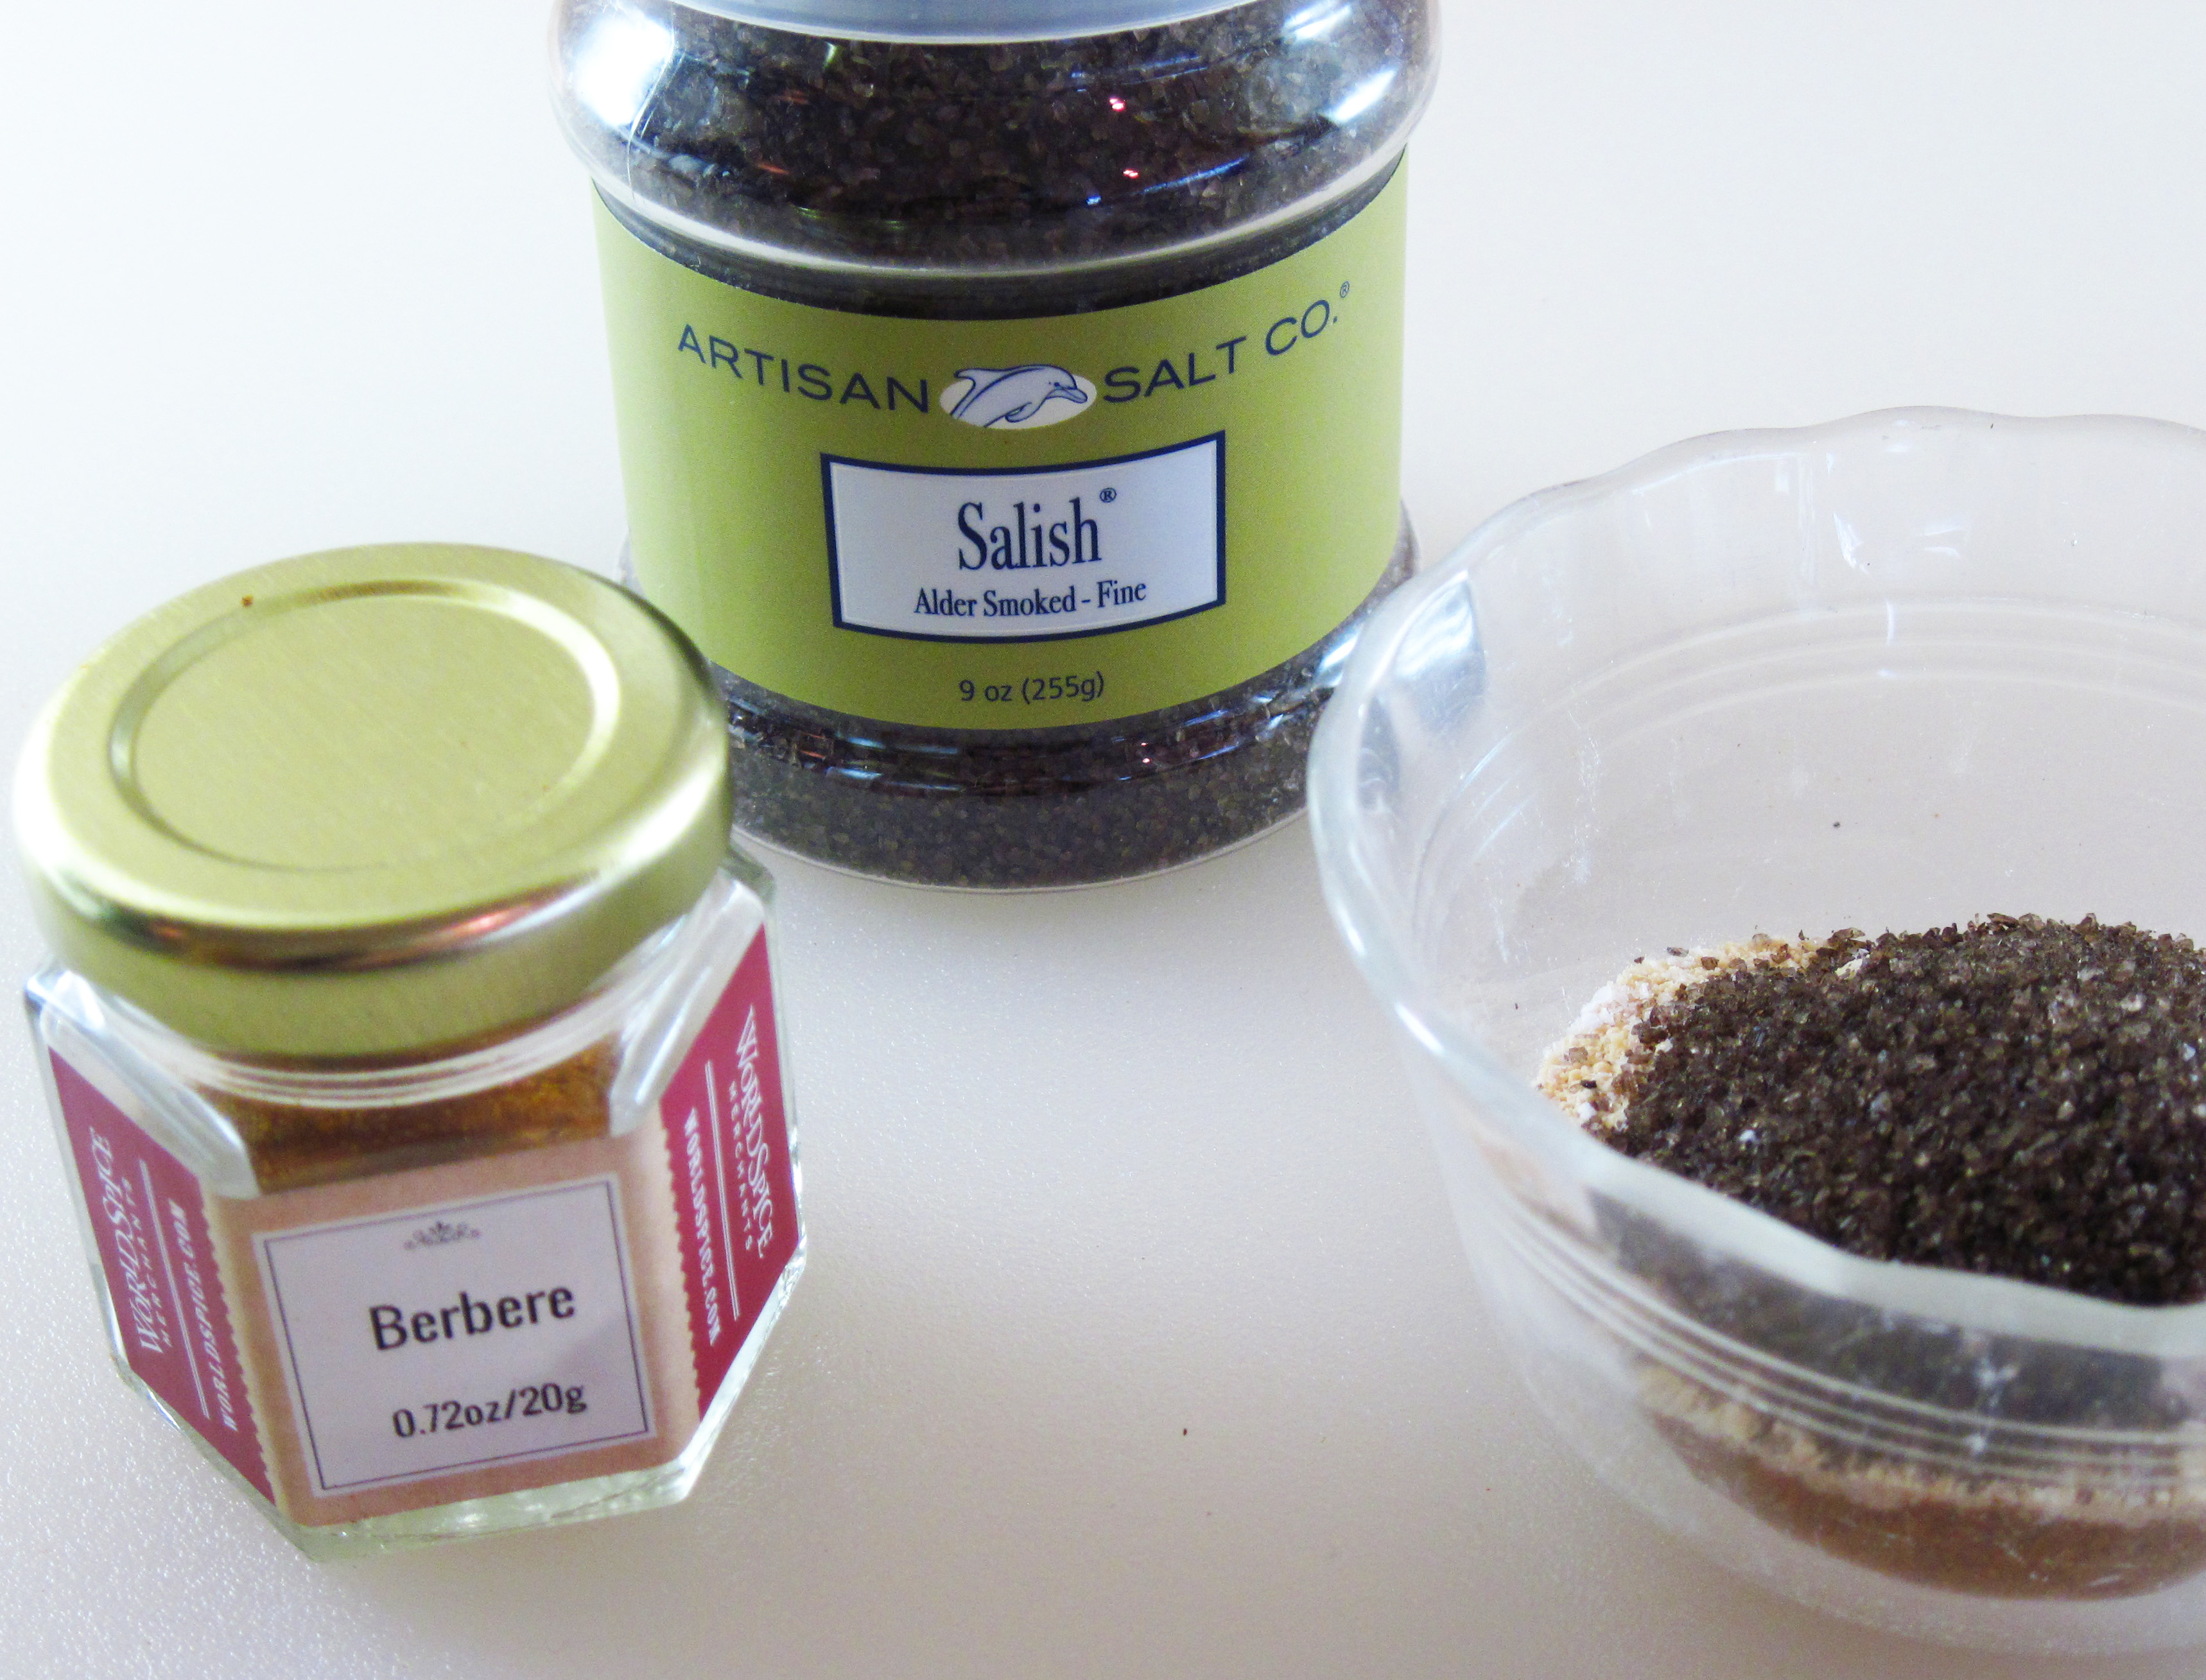
The beef rub does contain a couple of unusual ingredients: Berbere (pronounced “bur-bur-uh”), which is an Ethiopian spice blend, and smoked salt. I had the World Spice Berbere as part of the spice set that Joan included with the book. Amanda and Julie do give a recipe in their book to make your own Berbere, but it requires 14 ingredients to make a ½ cup. I am most likely to order a ½ cup of ground Berbere from World Spice when I run out.
I thought it might be hard to find smoked salt but apparently well-stocked grocery stores do carry it. I found three different kinds at my West Seattle Thriftway. I had to decide between Hickory Smoked Salt, Mesquite Smoked Salt, and Alder Smoked Salt. I chose Alder Smoked Salt. It is really fantastic and I think I’ll find many uses for it.
Once I had the ingredients, Brisket with Berbere & Whiskey Barbecue Sauce was very easy to make. It’s a slow, oven-braised dish that’s great for weekend entertaining.
We all loved this recipe! The brisket was tender and the sauce was rich and flavorful. It was perfect comfort food! If you have a special dinner coming up, I can’t recommend this recipe enough! It’s definitely worth the effort to gather the ingredients.
a
a
Brisket with Berbere & Whiskey Barbecue Sauce
(Adapted from Amanda Bevill and Julie Kramis Hearne’s World Spice at Home)
a
a
Serves 6 – 8
a
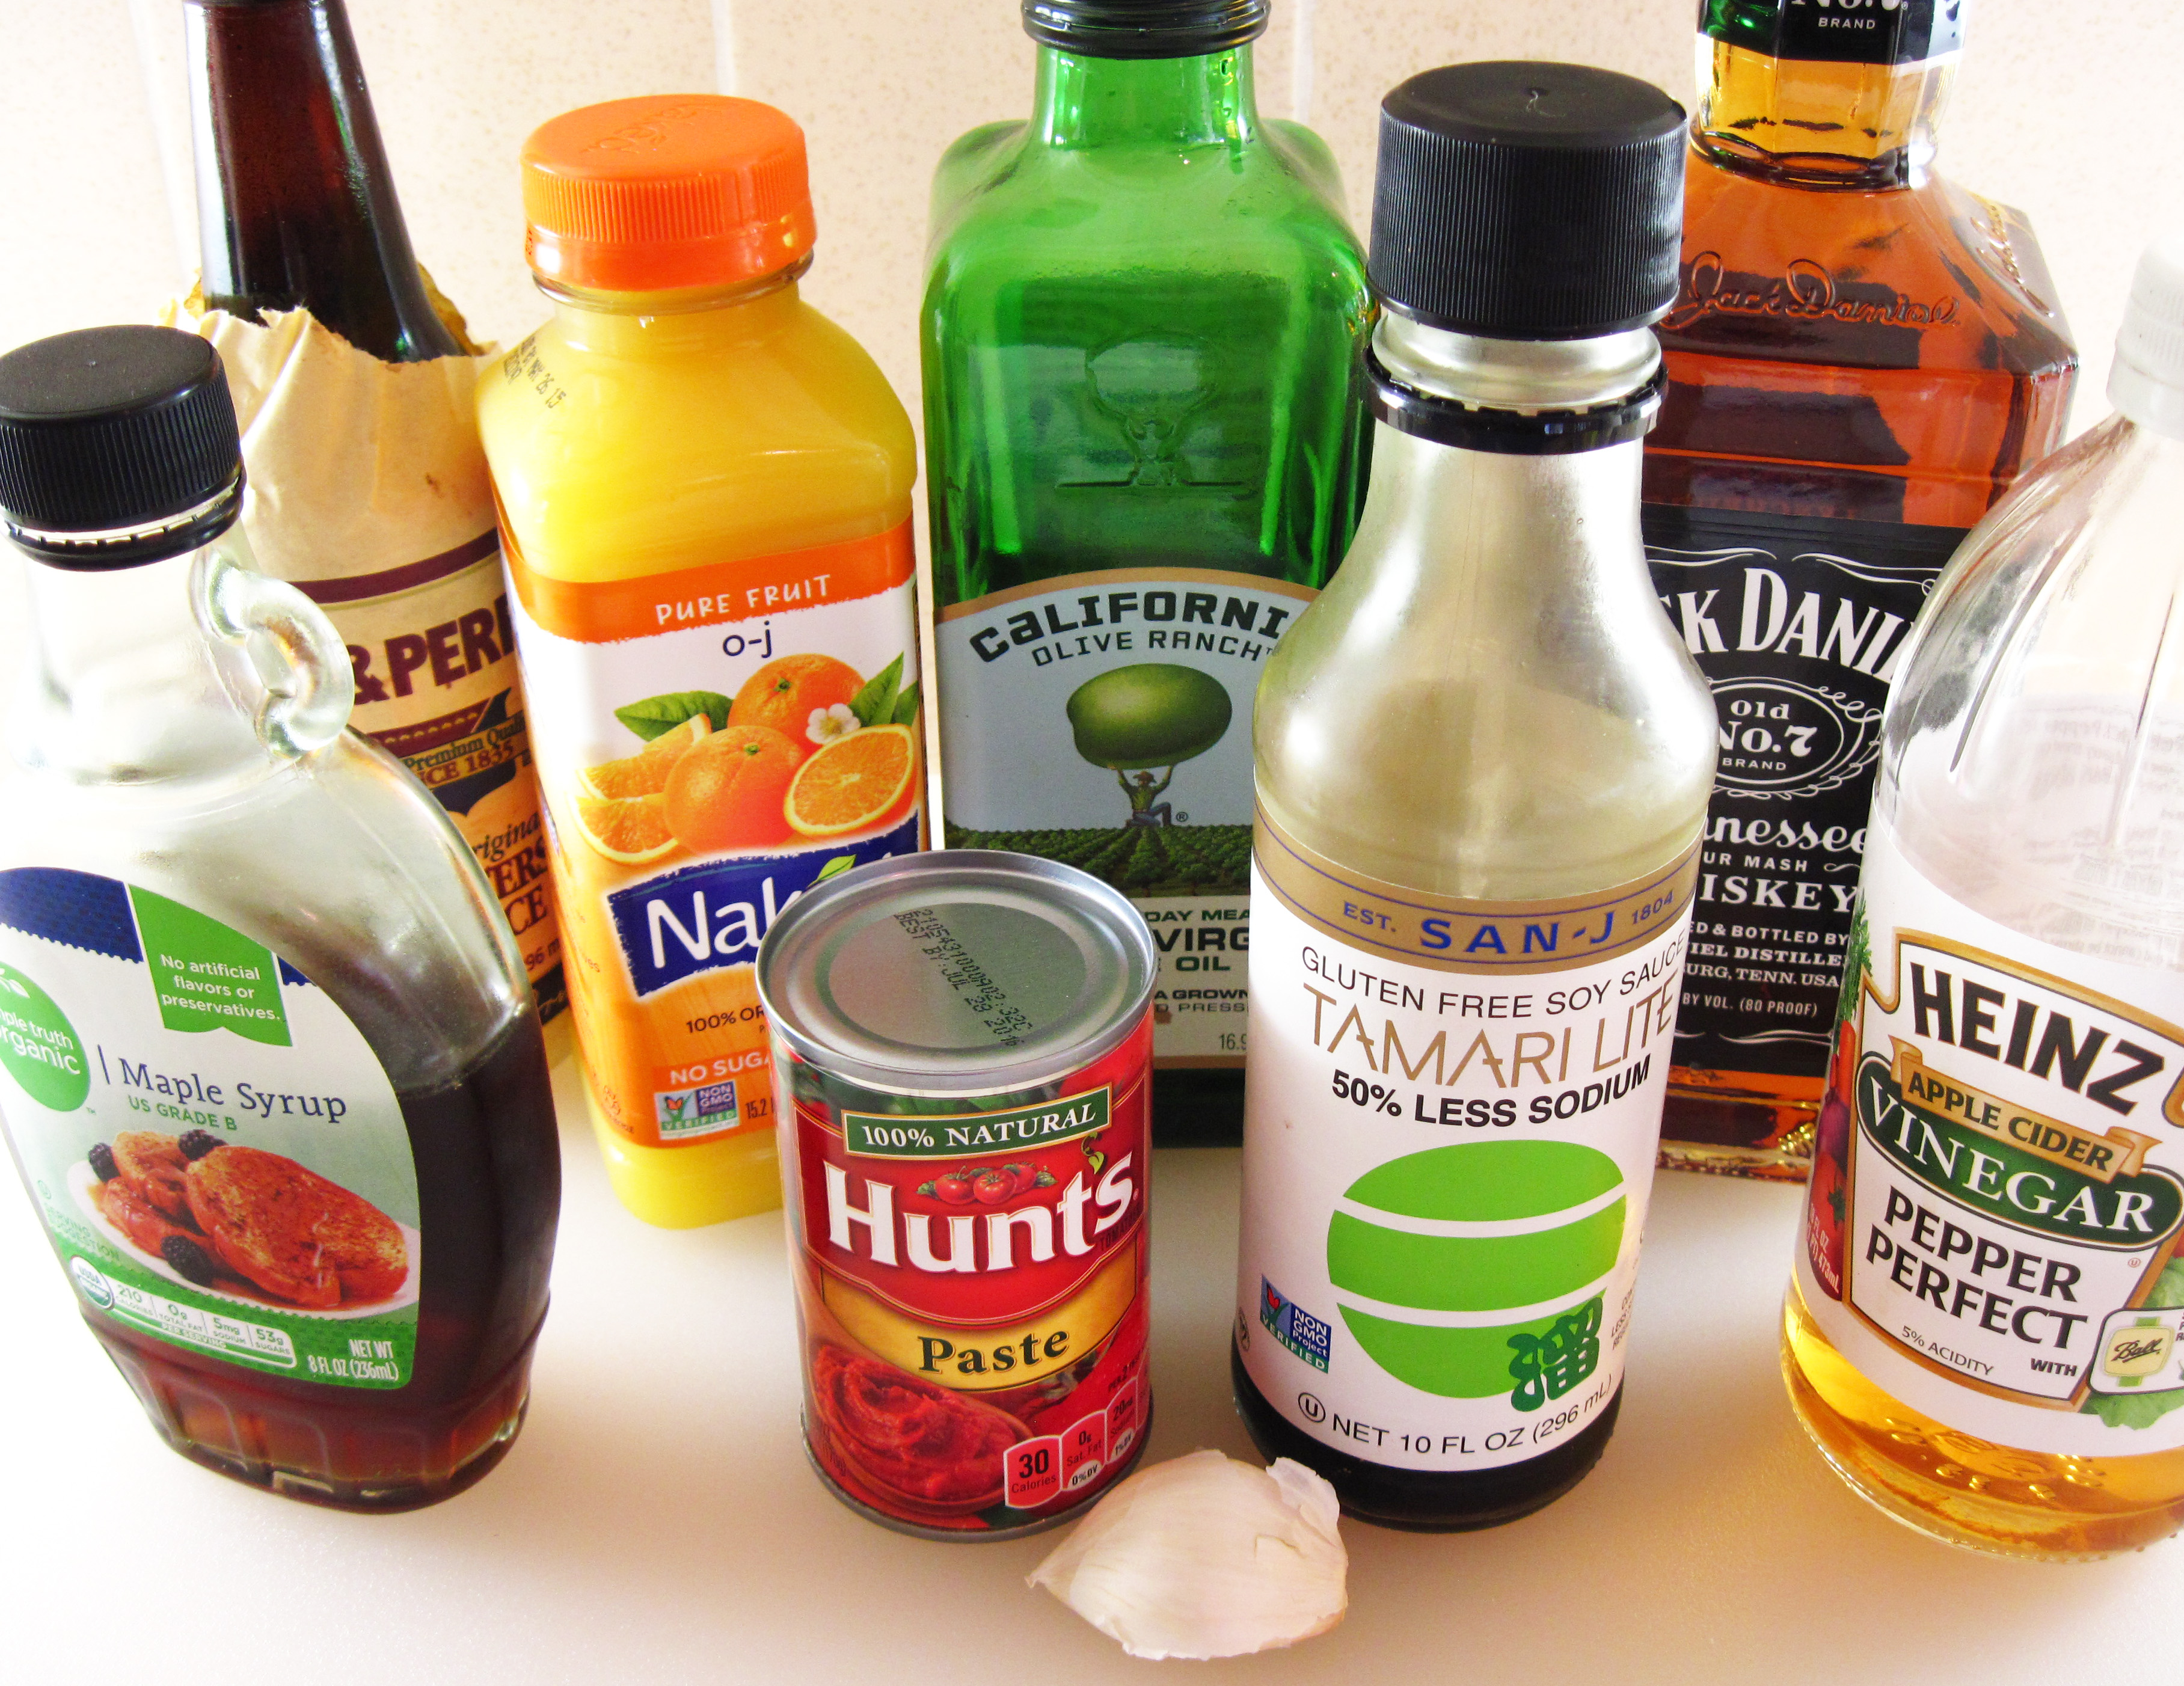
Ingredients for the Whiskey Barbecue Sauce
a
For the sauce:
1 clove garlic, smashed
1 tablespoon extra-virgin olive oil
½ cup whiskey
½ cup orange juice
¼ cup apple cider vinegar
¼ cup maple syrup
1 (6-ounce) can tomato paste
1 tablespoon Worcestershire sauce
1 tablespoon soy sauce (use wheat-free soy or tamari for gluten free)
1 teaspoon freshly ground black pepper
a
For the beef:
3 tablespoons coarsely ground Berbere
1 tablespoon brown sugar
1 teaspoon kosher salt
1 teaspoon smoked salt
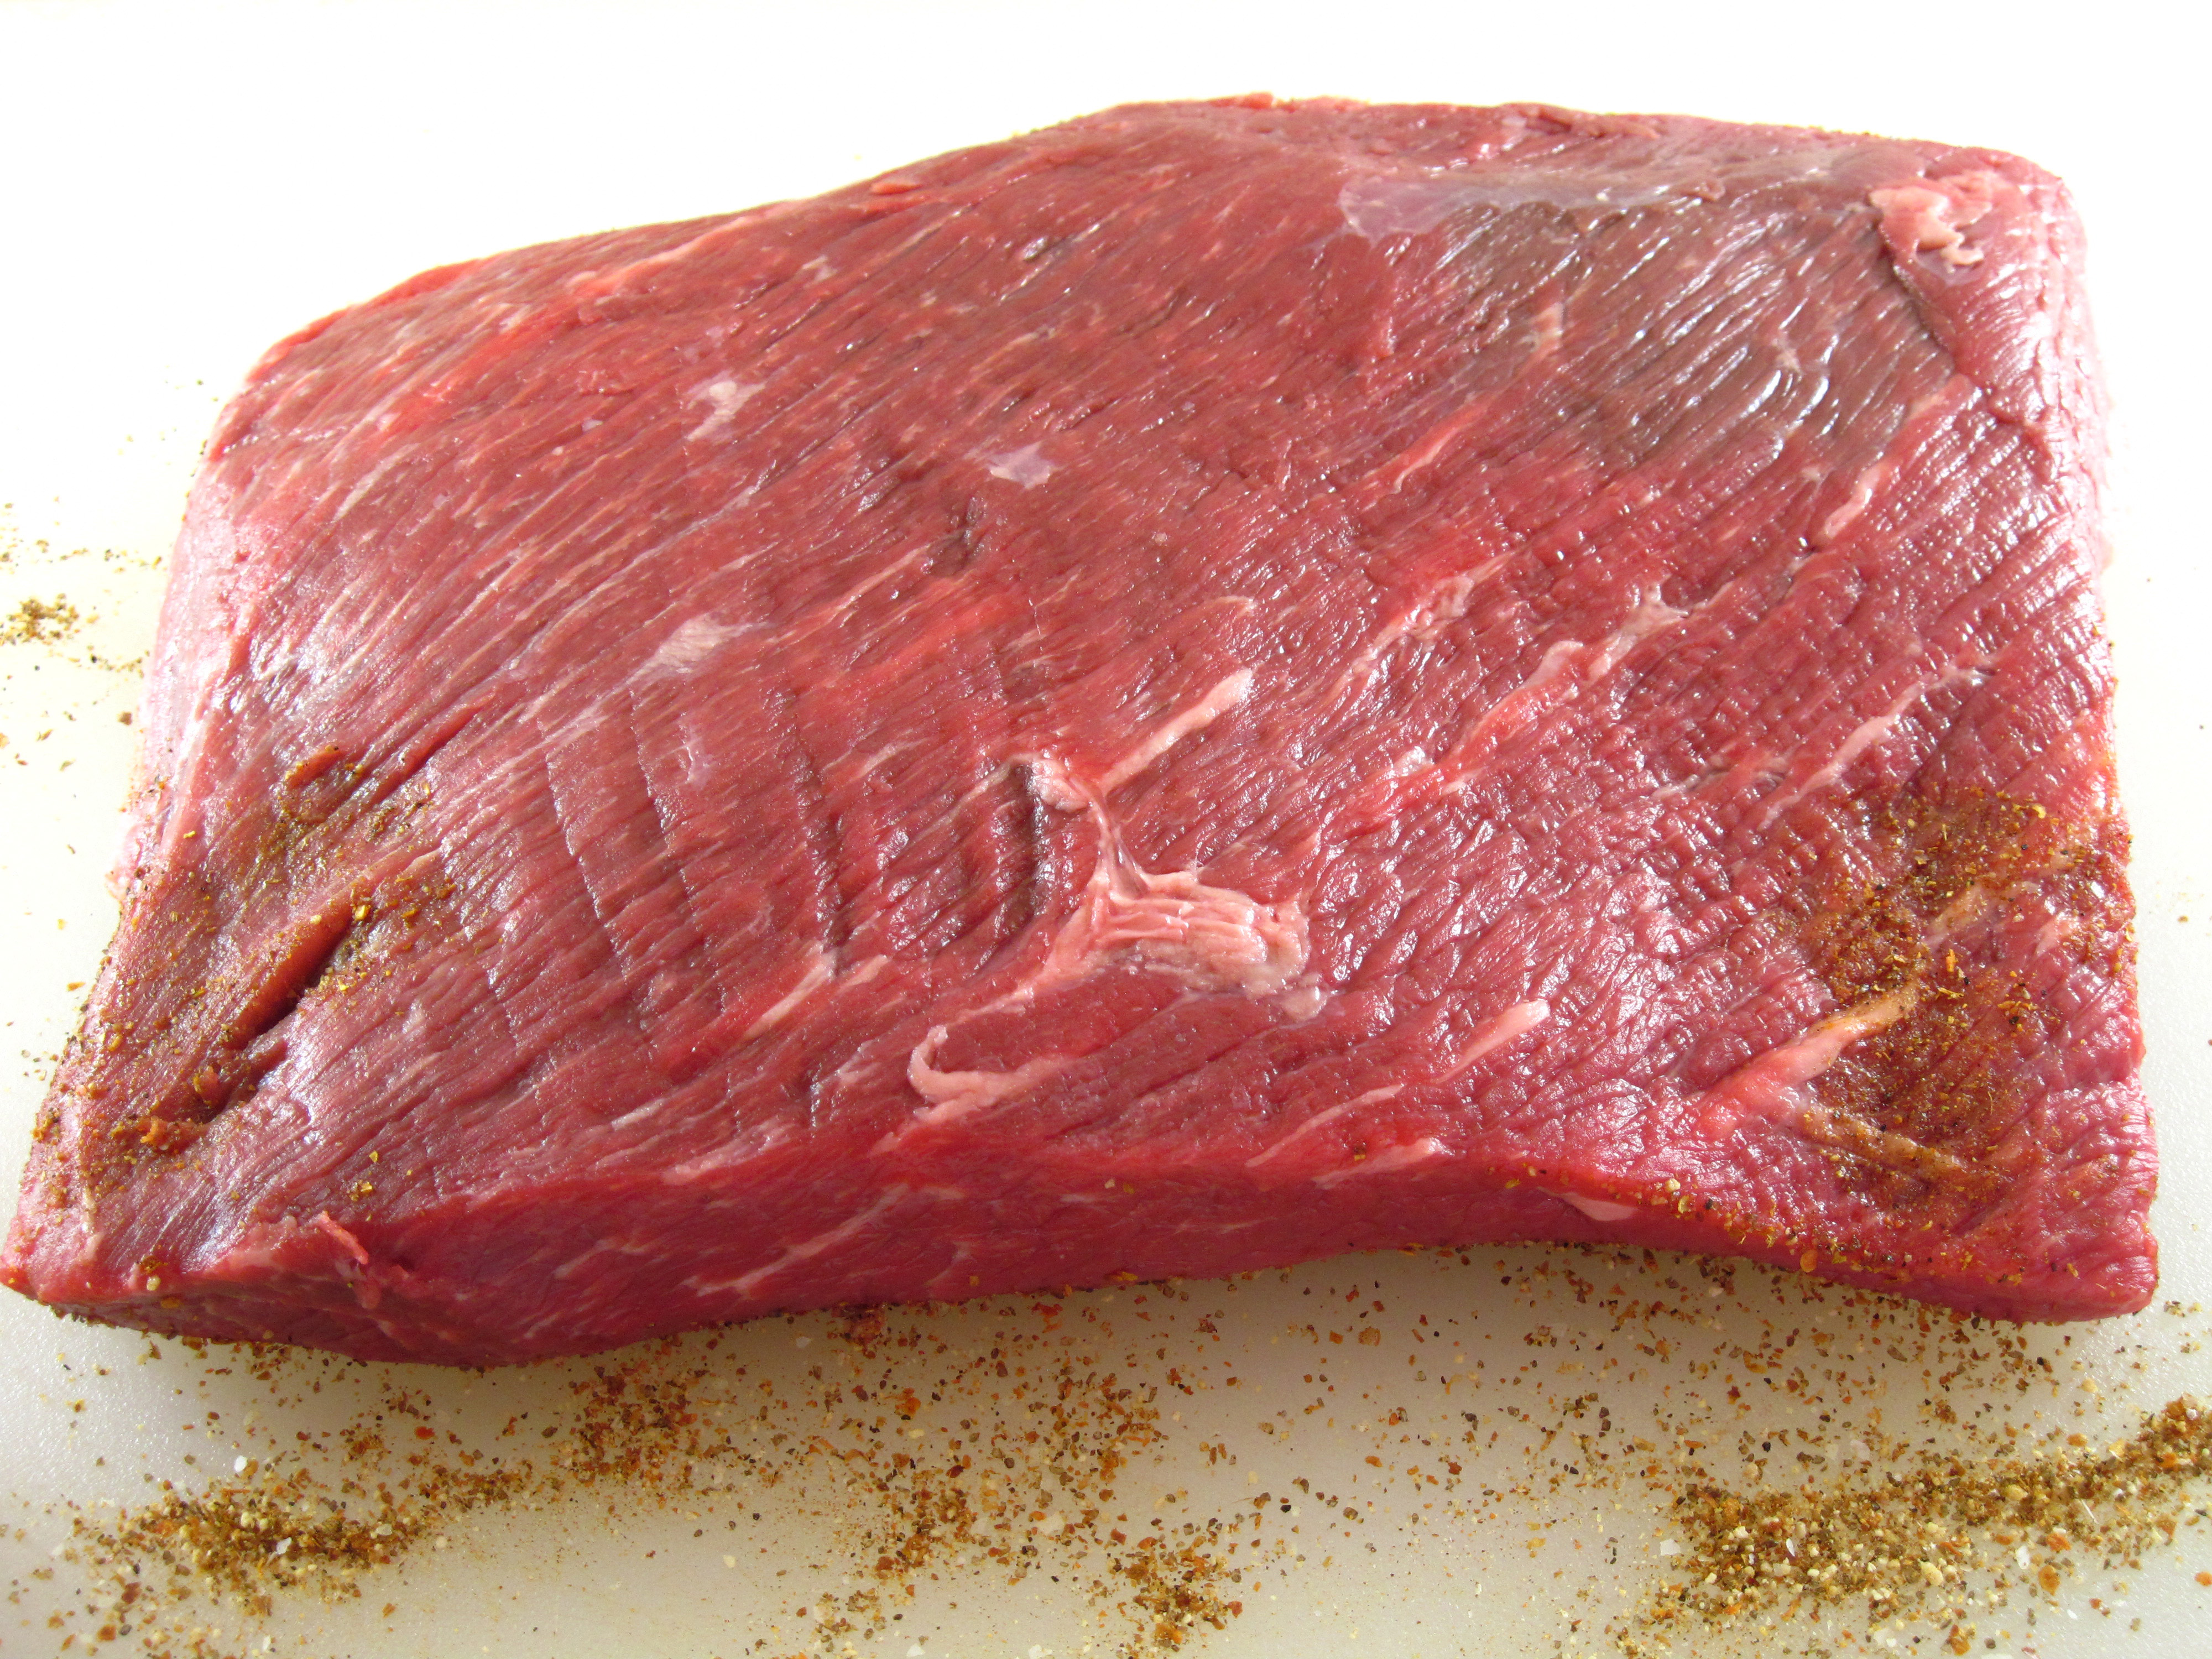
3 pounds beef brisket
2 tablespoons extra-virgin olive oil
a
1. Preheat oven to 300˚.
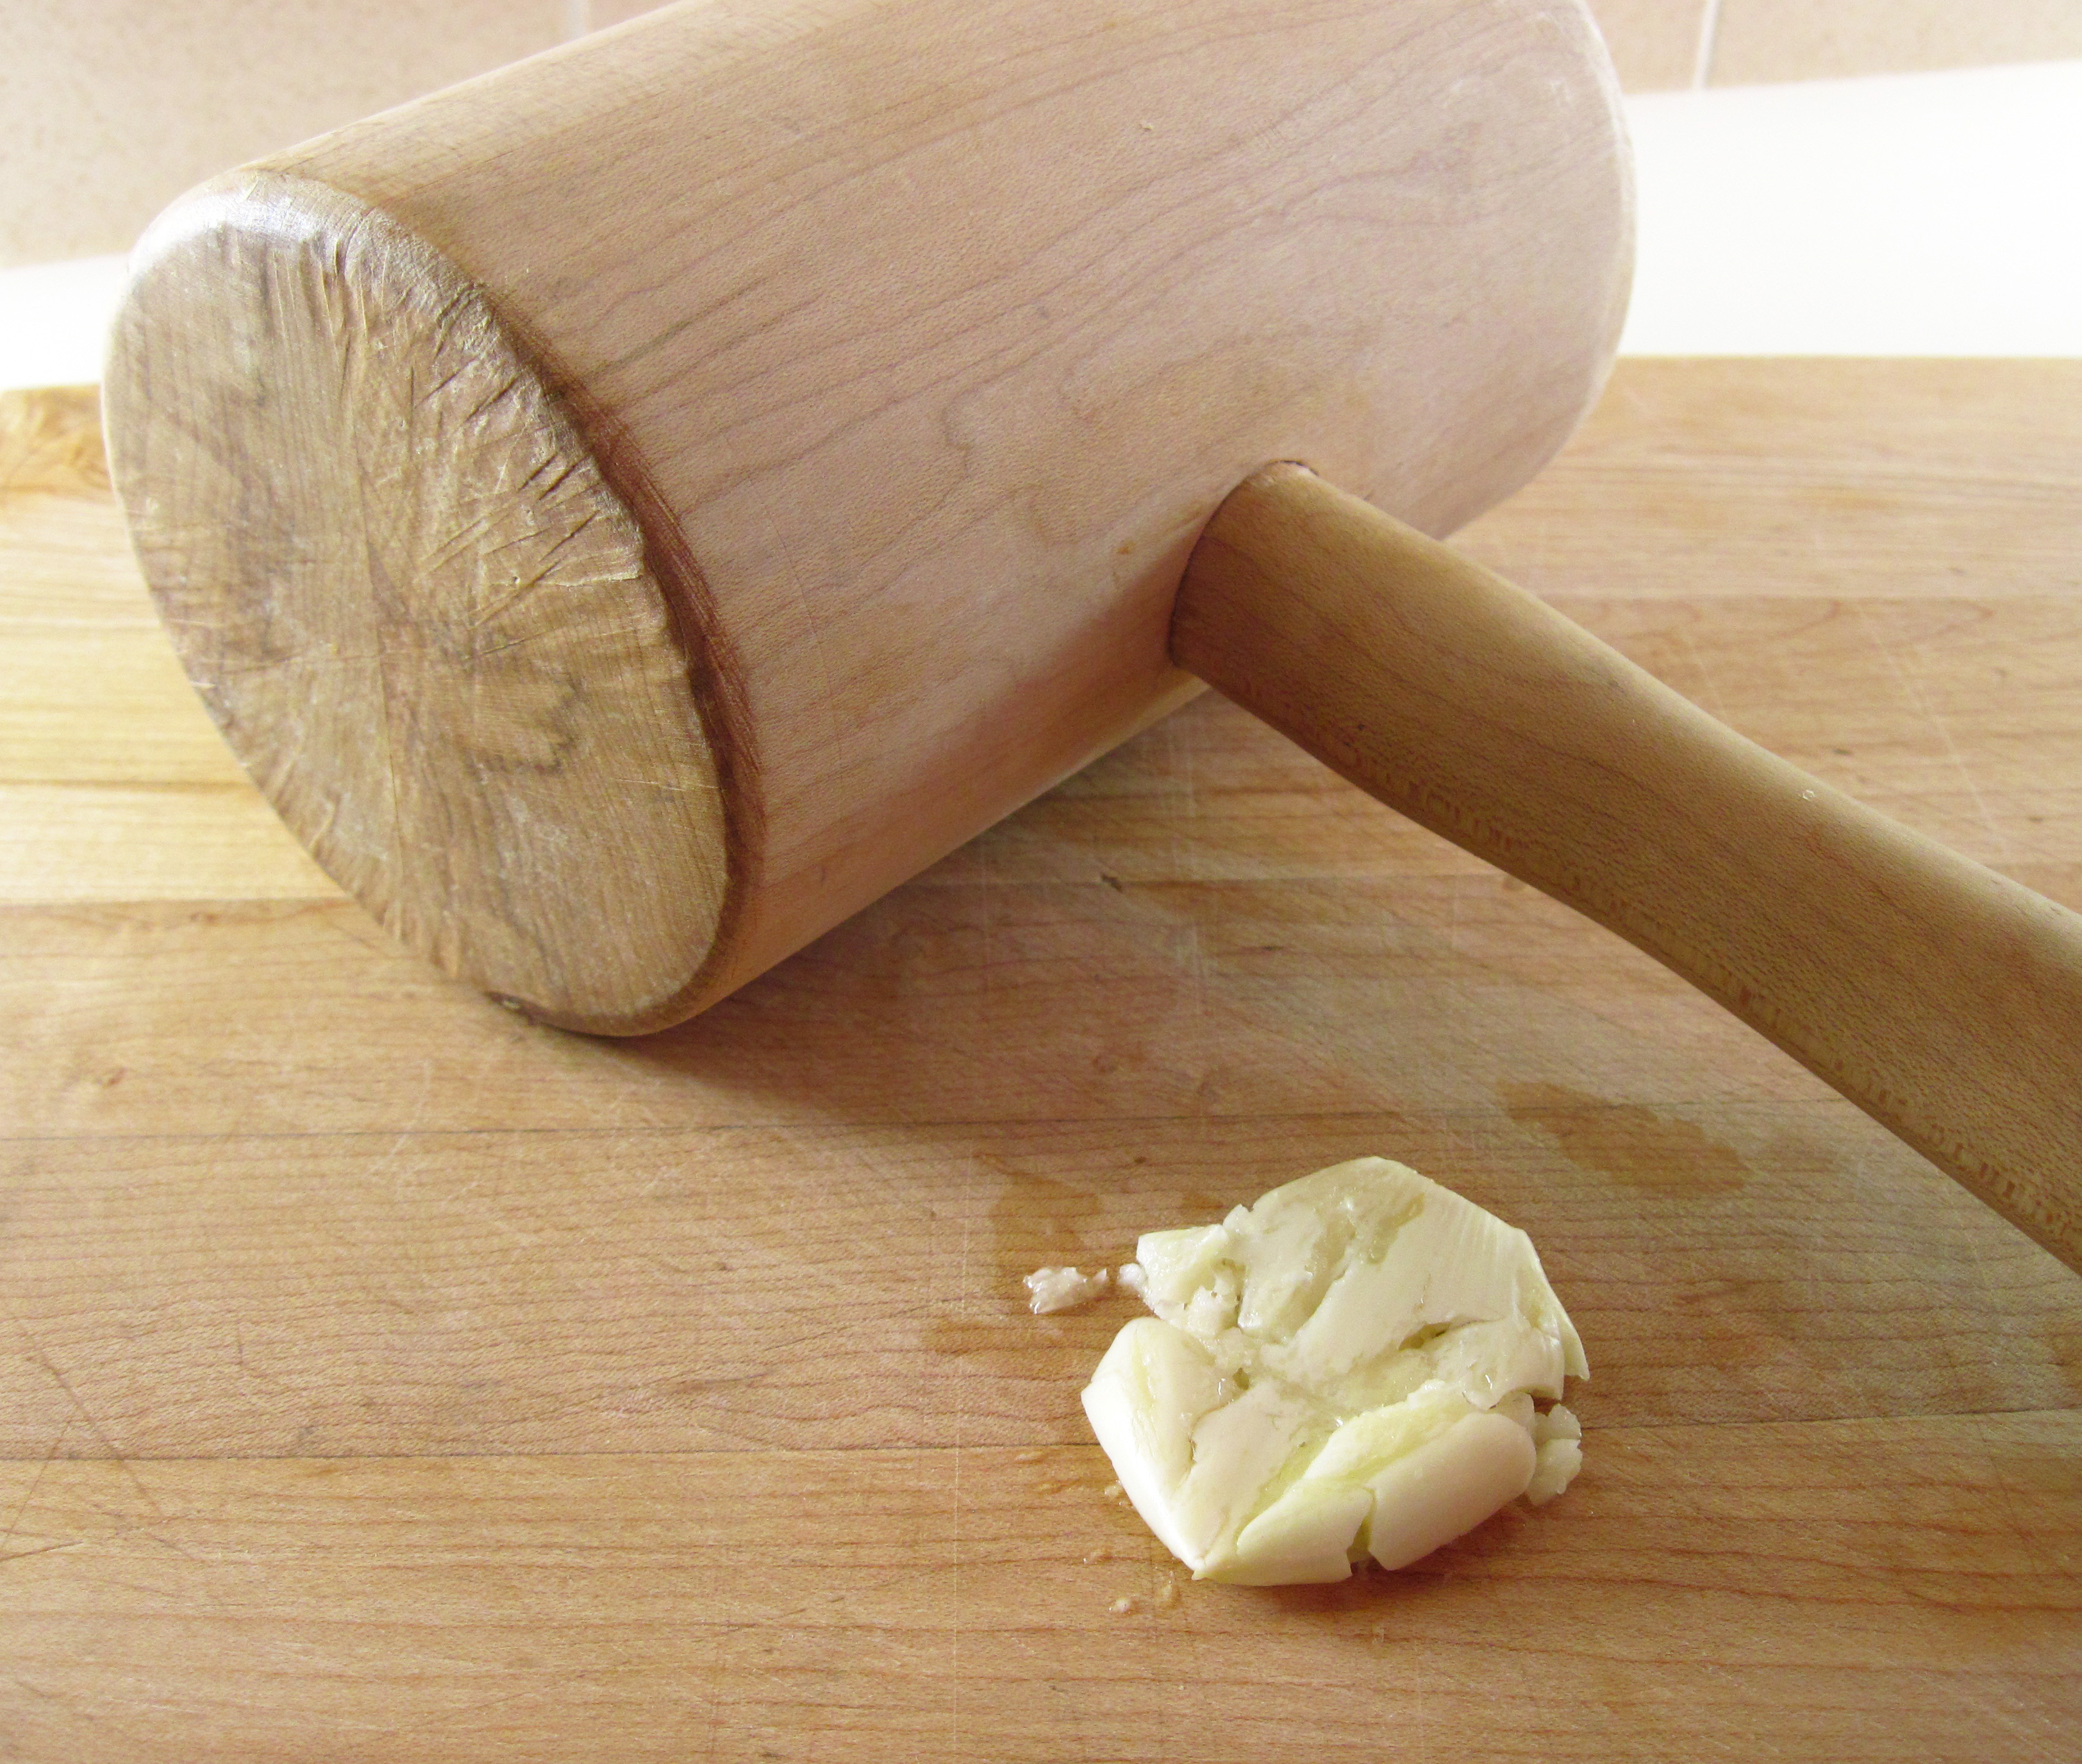
2. Make the barbecue sauce. Heat the 1 tablespoon olive oil in a medium saucepan. Add the smashed garlic and cook stirring for a minute or two, until fragrant.
a
The mallet that Bob’s brother, Mark, made from me made it easy to smash the garlic! 😉
a
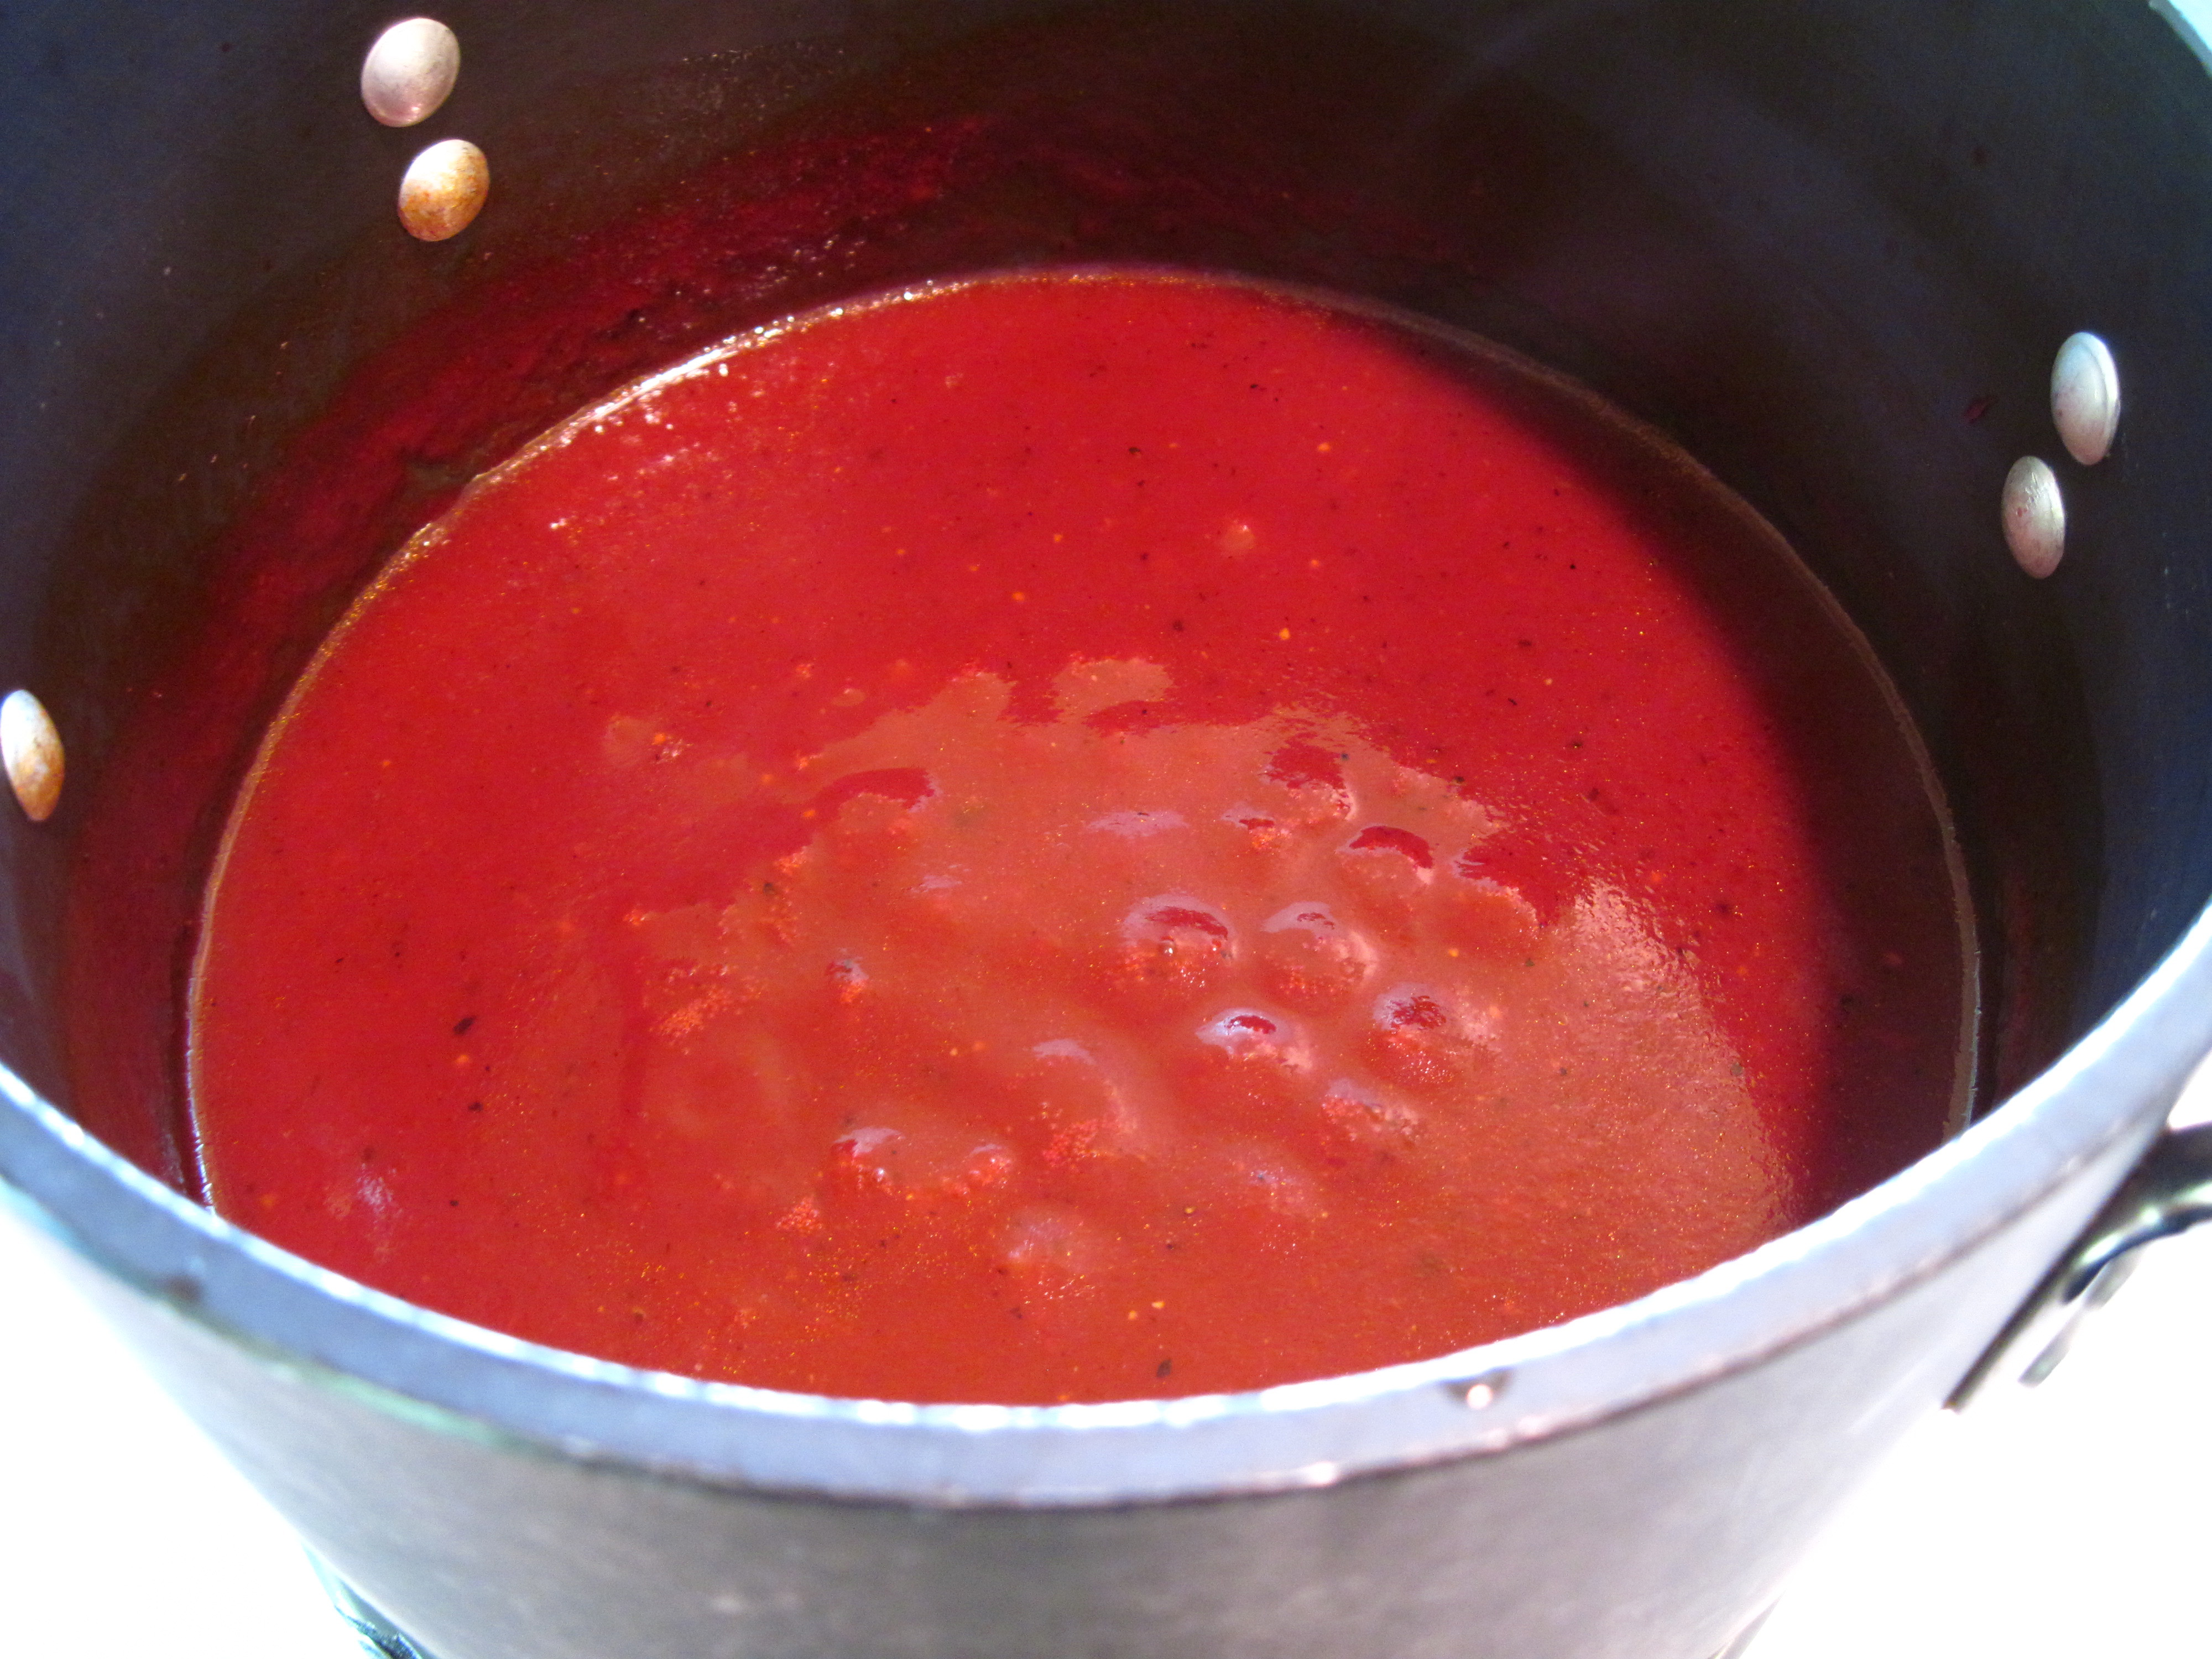
3. Add the rest of the sauce ingredients to the pan and stir well to combine. Bring to a boil and then simmer for about 5 minutes. Remove from heat and set aside.
a
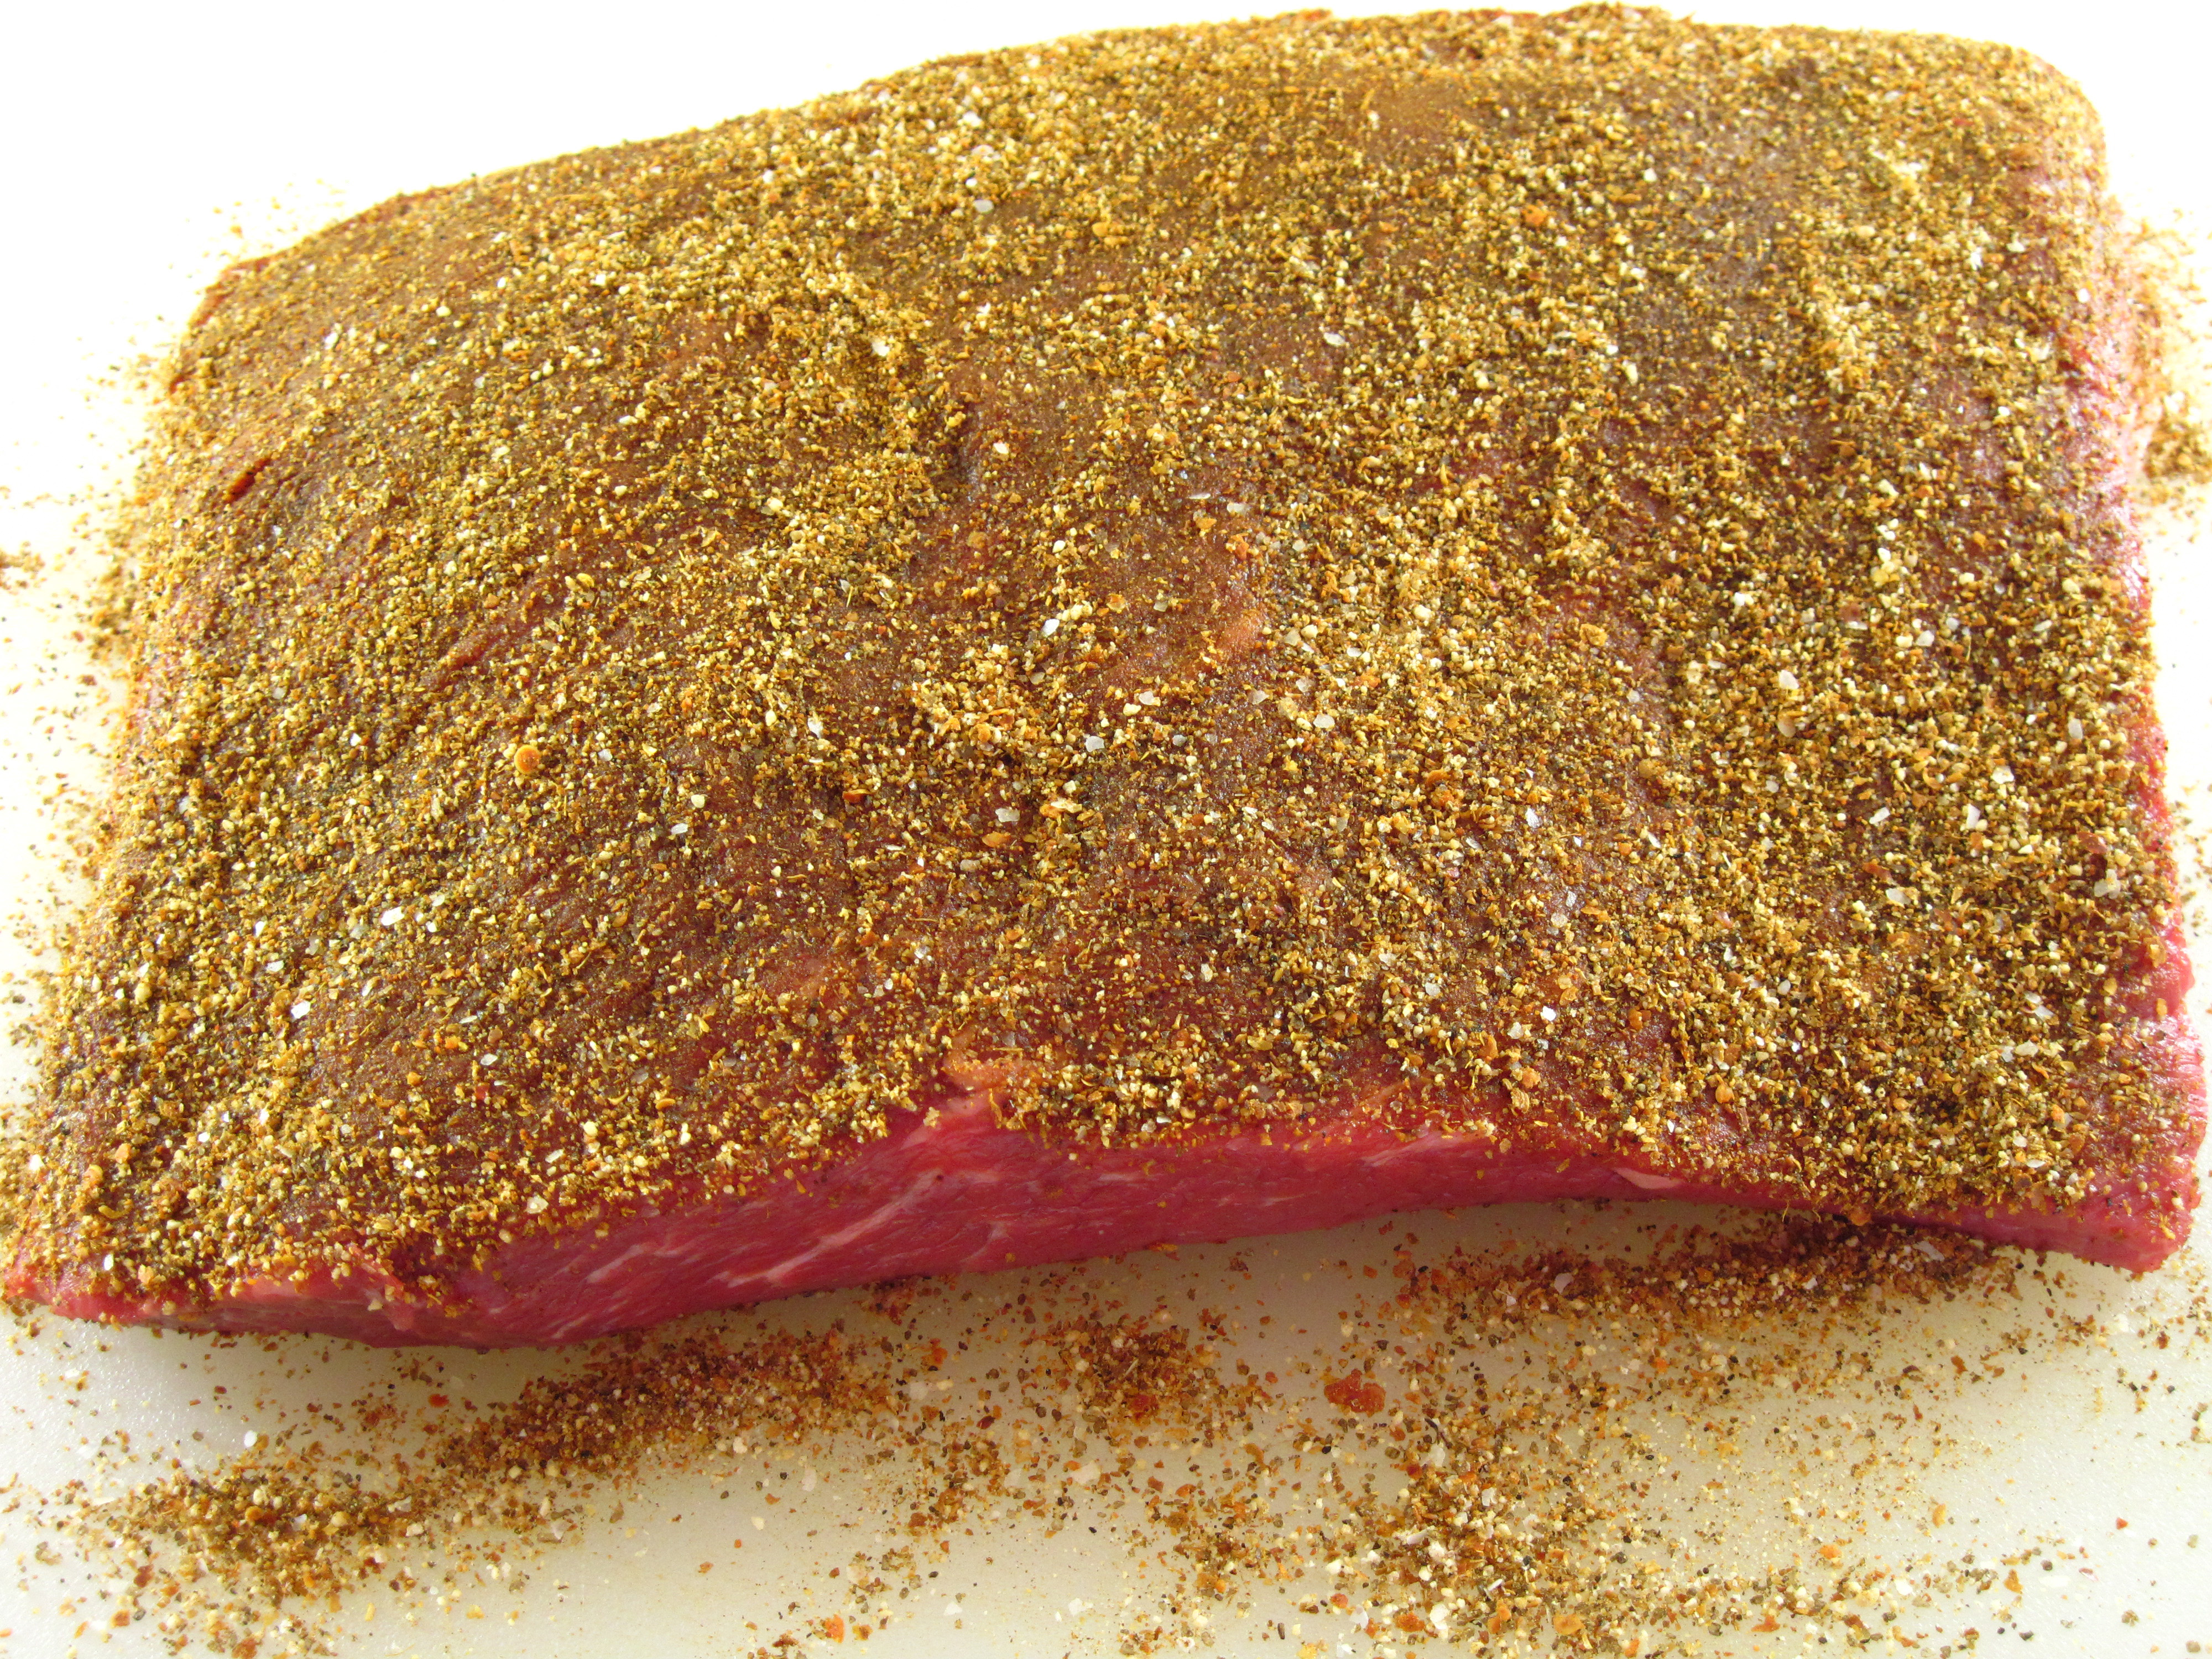
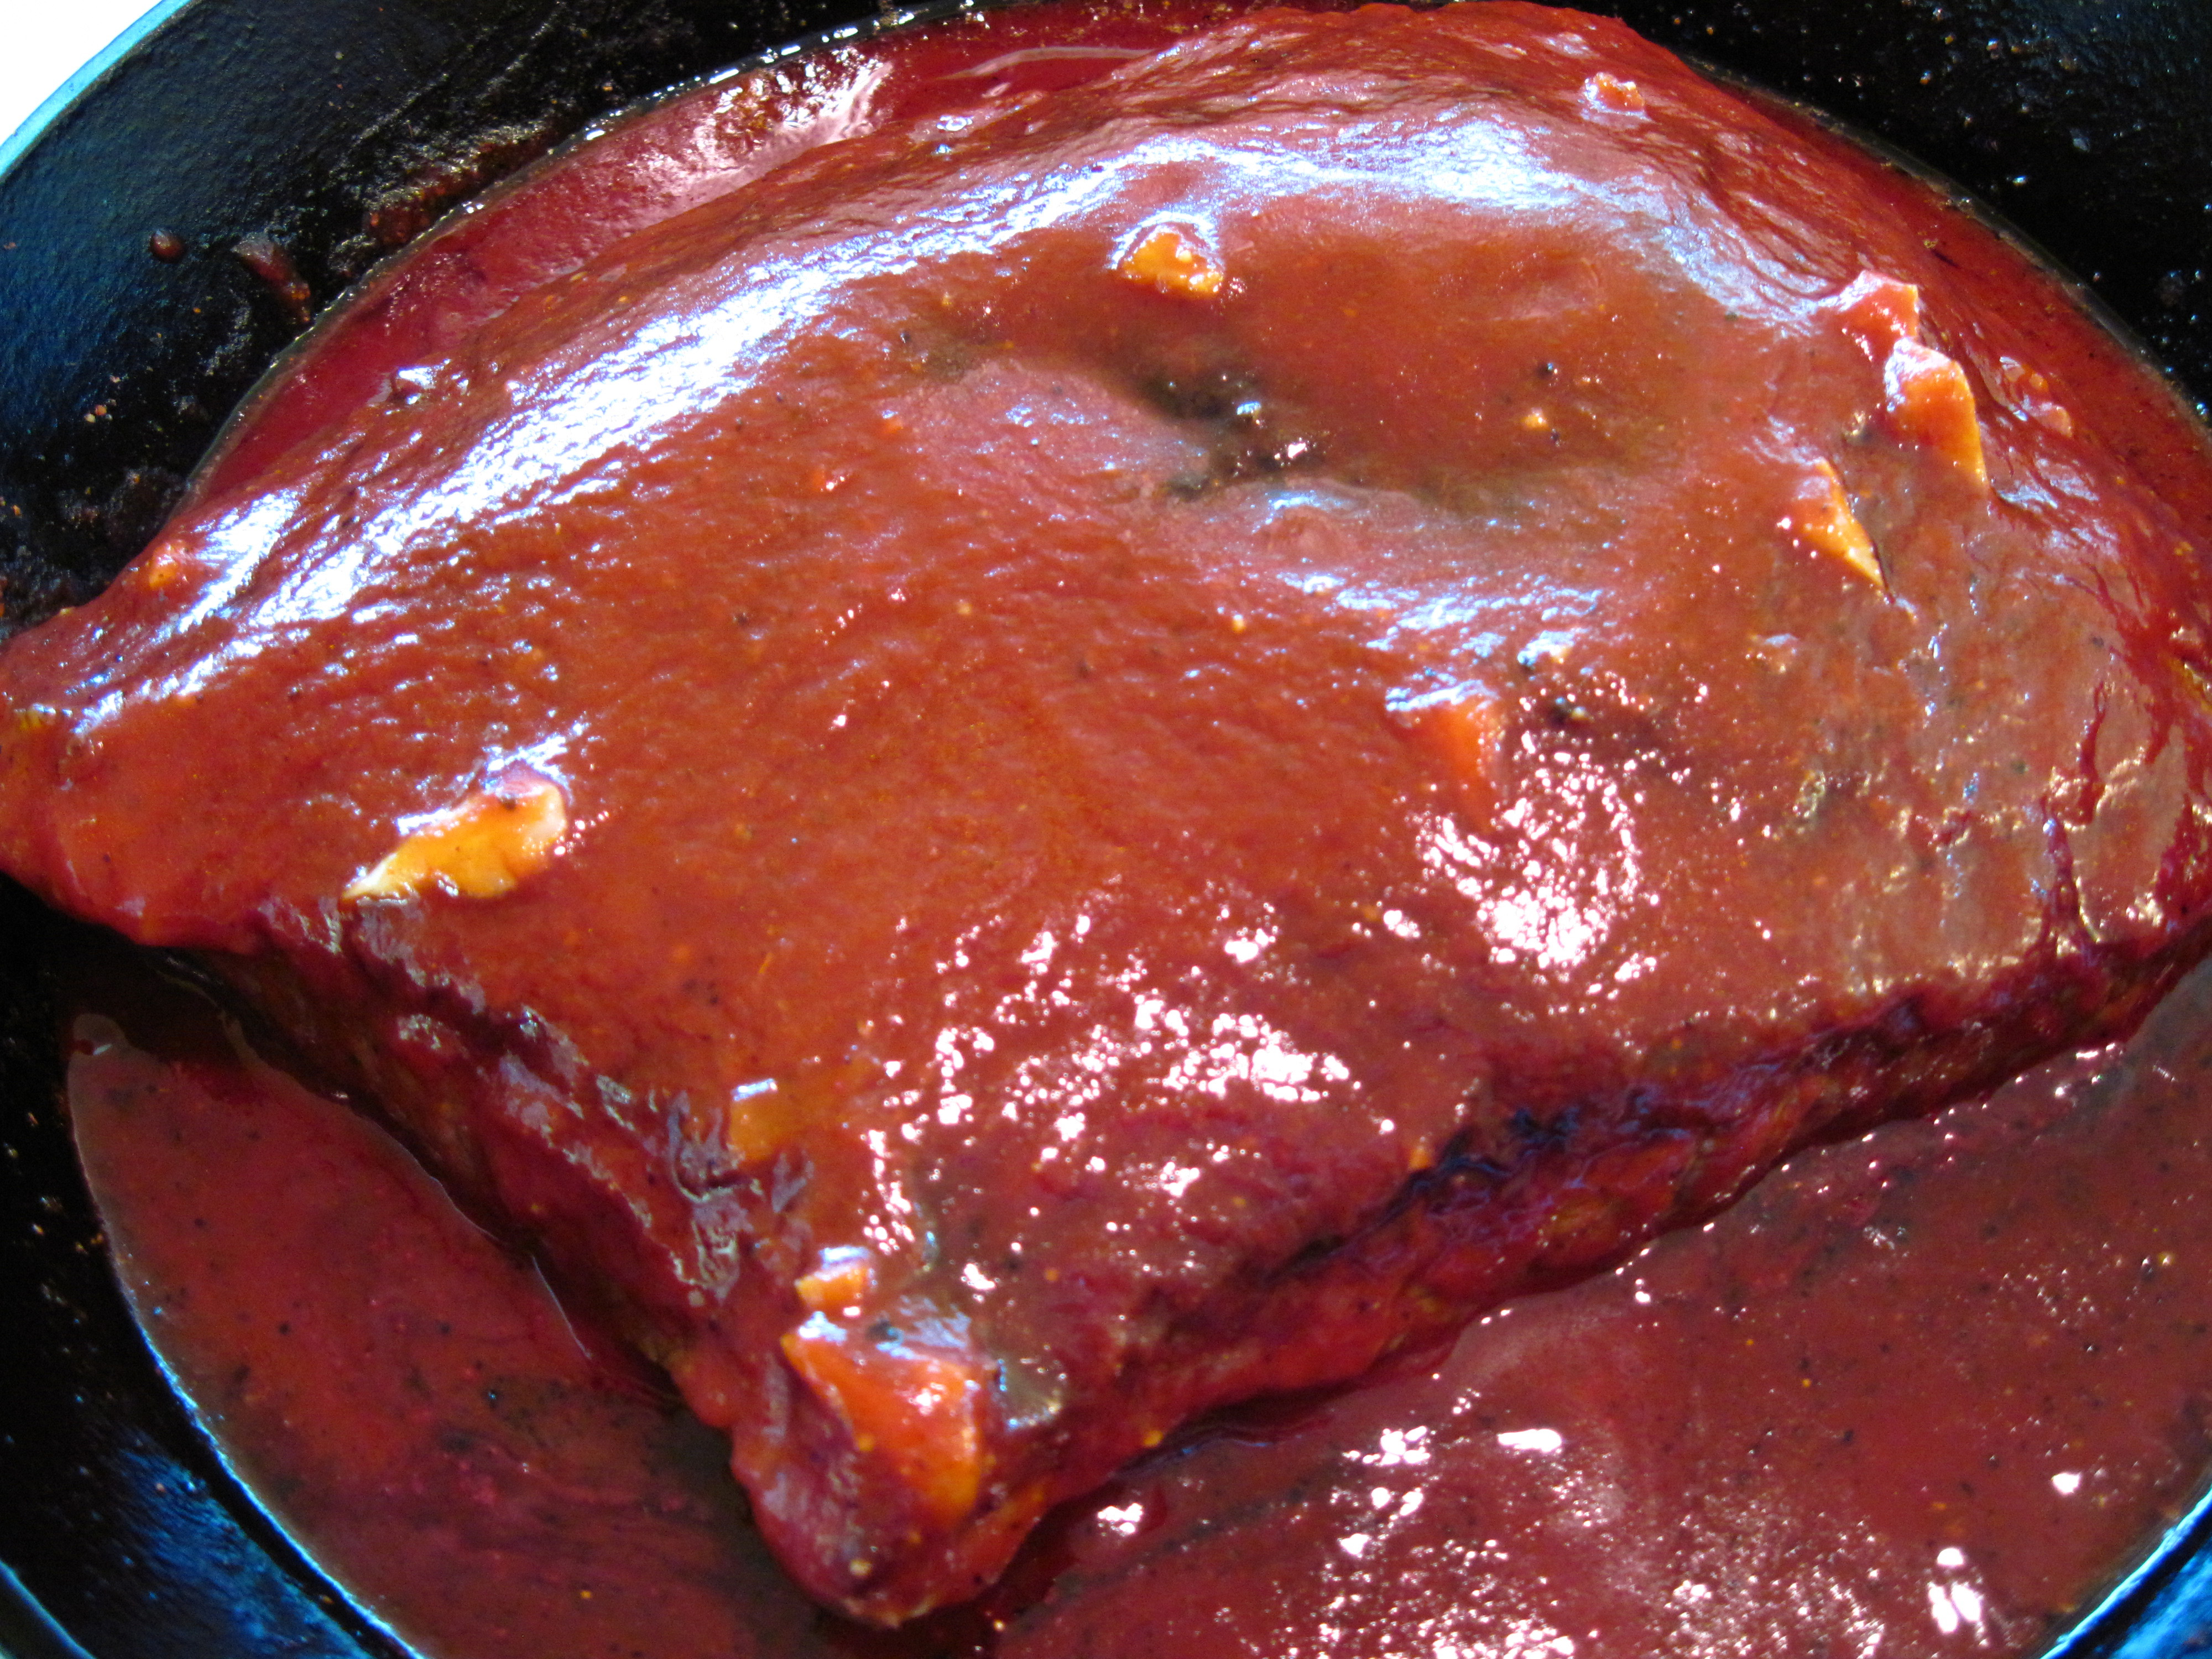
4. Combine the Berbere, brown sugar, kosher salt, and smoked salt together in a small bowl. Then rub the mixture all over the brisket.
a
a
a
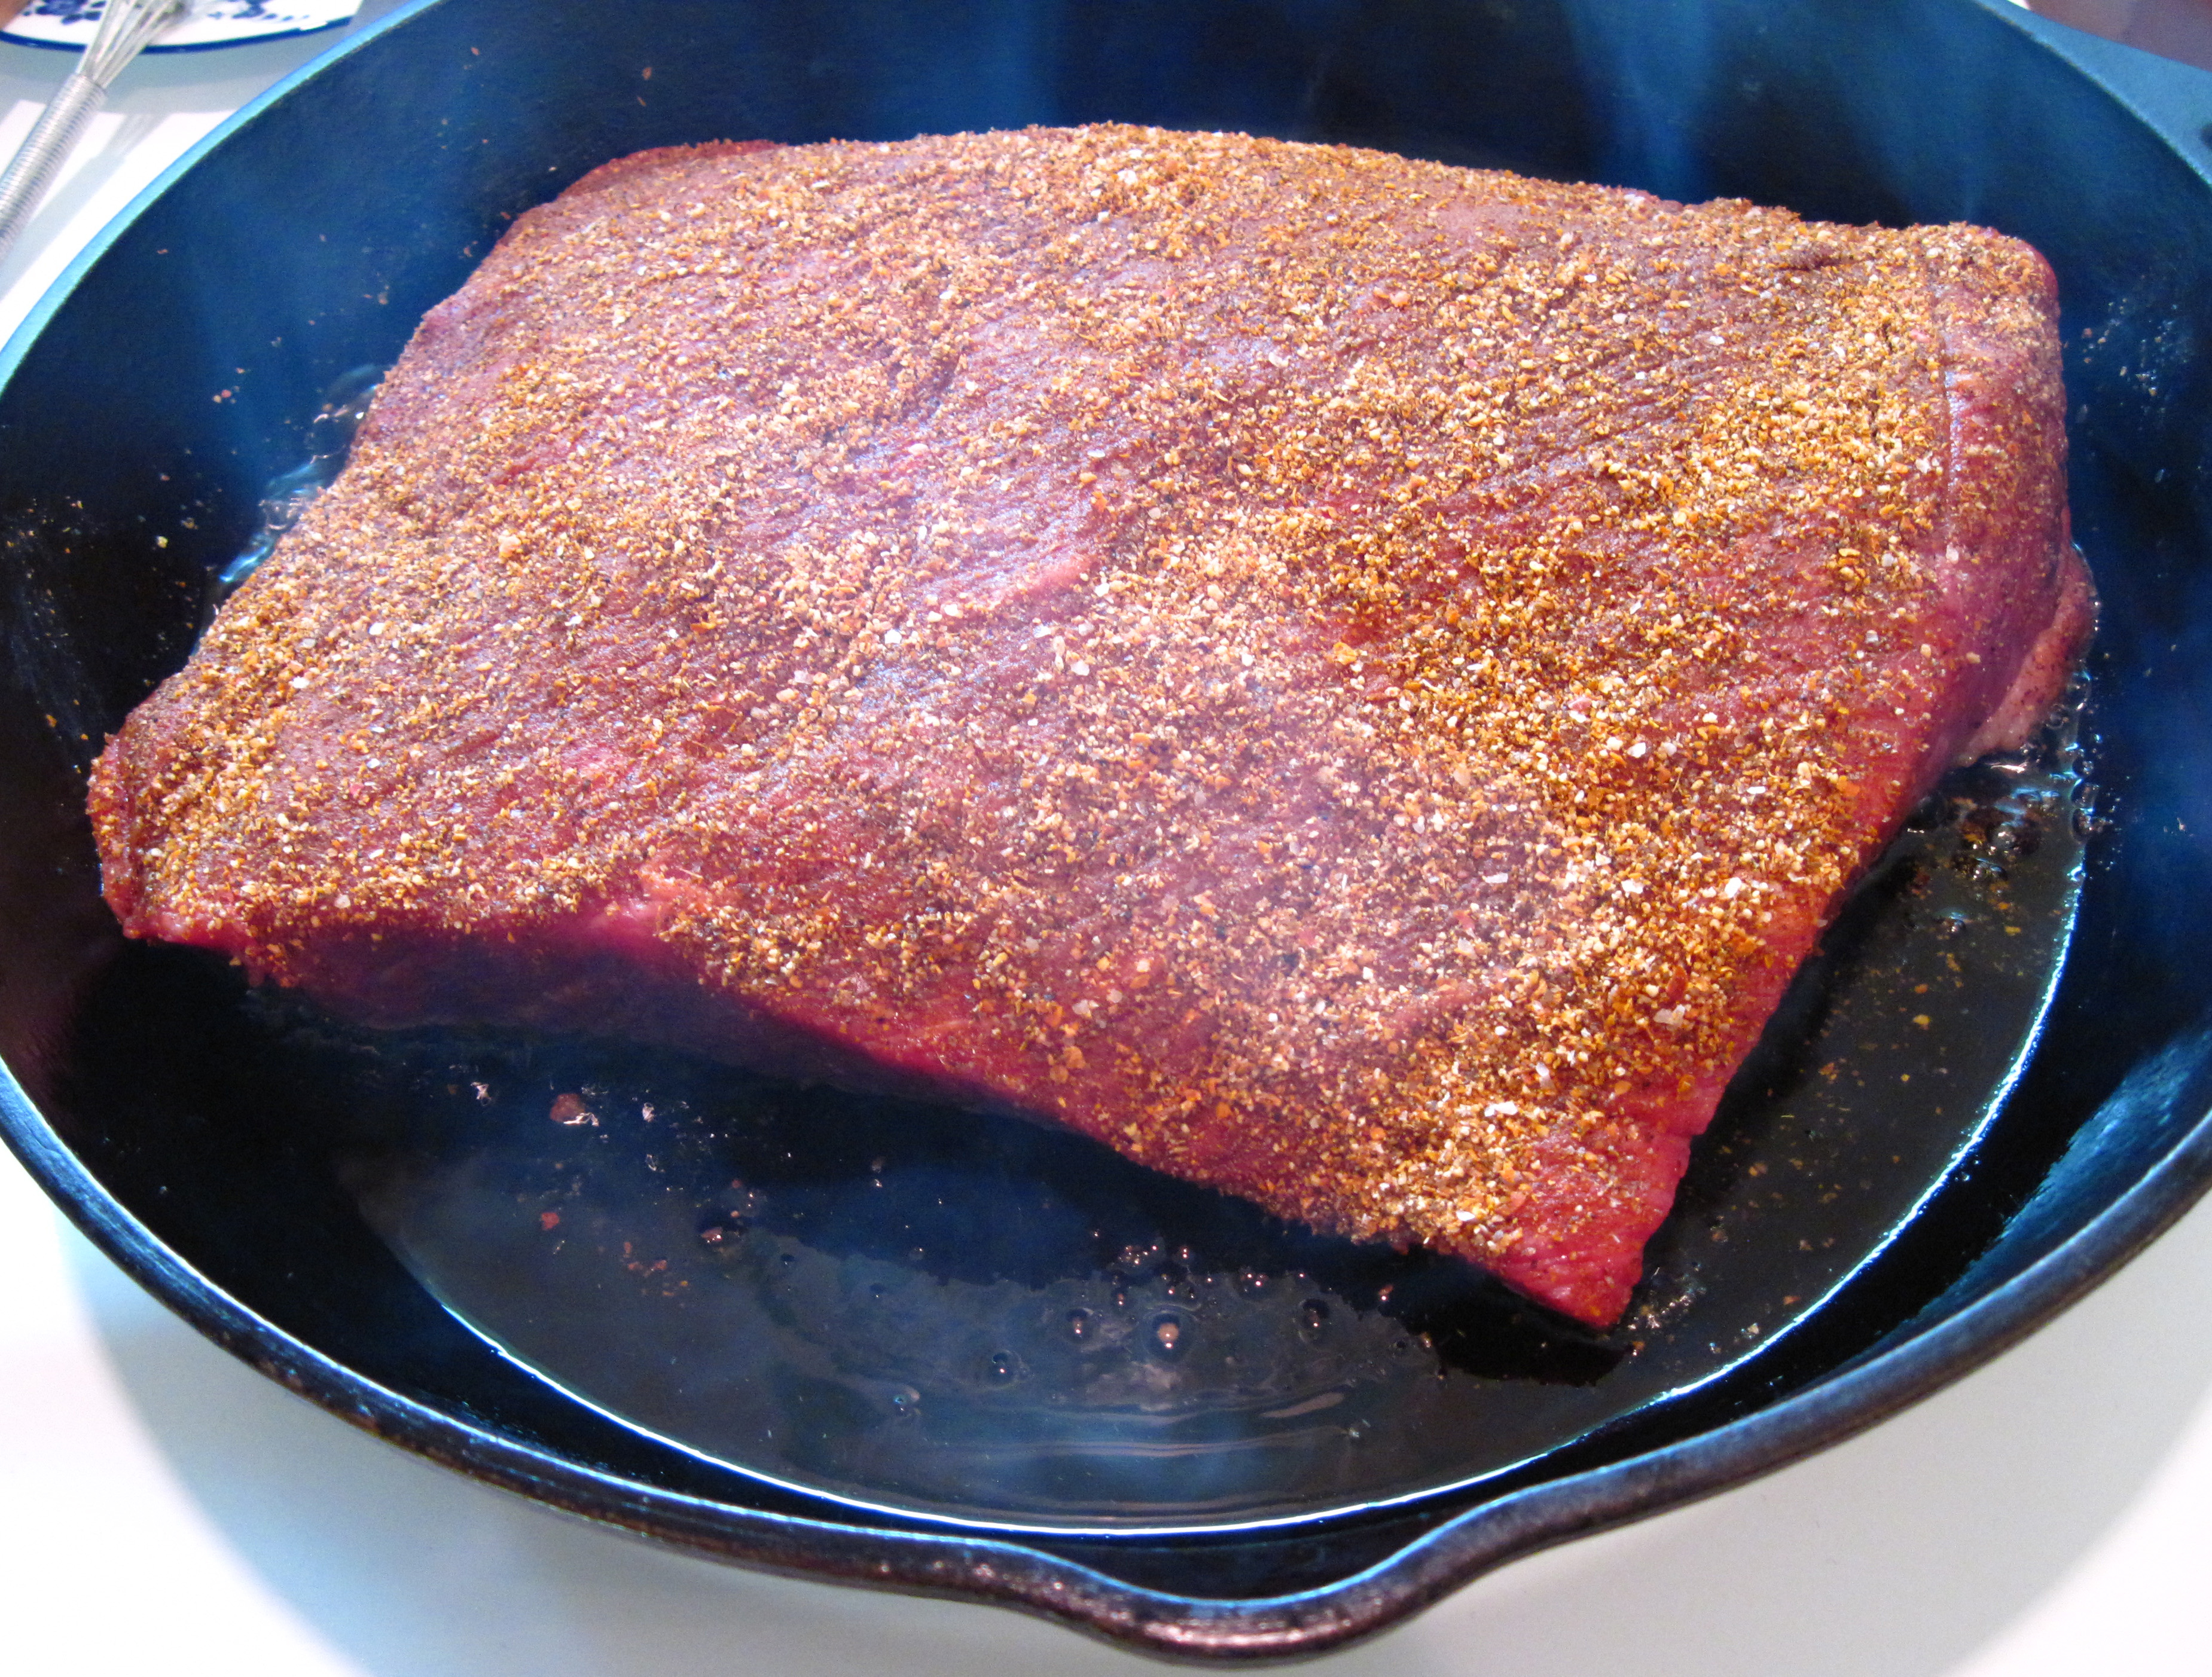
5. Heat the 2 tablespoons of olive oil in a large oven-safe skillet over medium. (Cast iron is ideal). Brown the brisket on both sides and then remove the skillet from the heat.
a
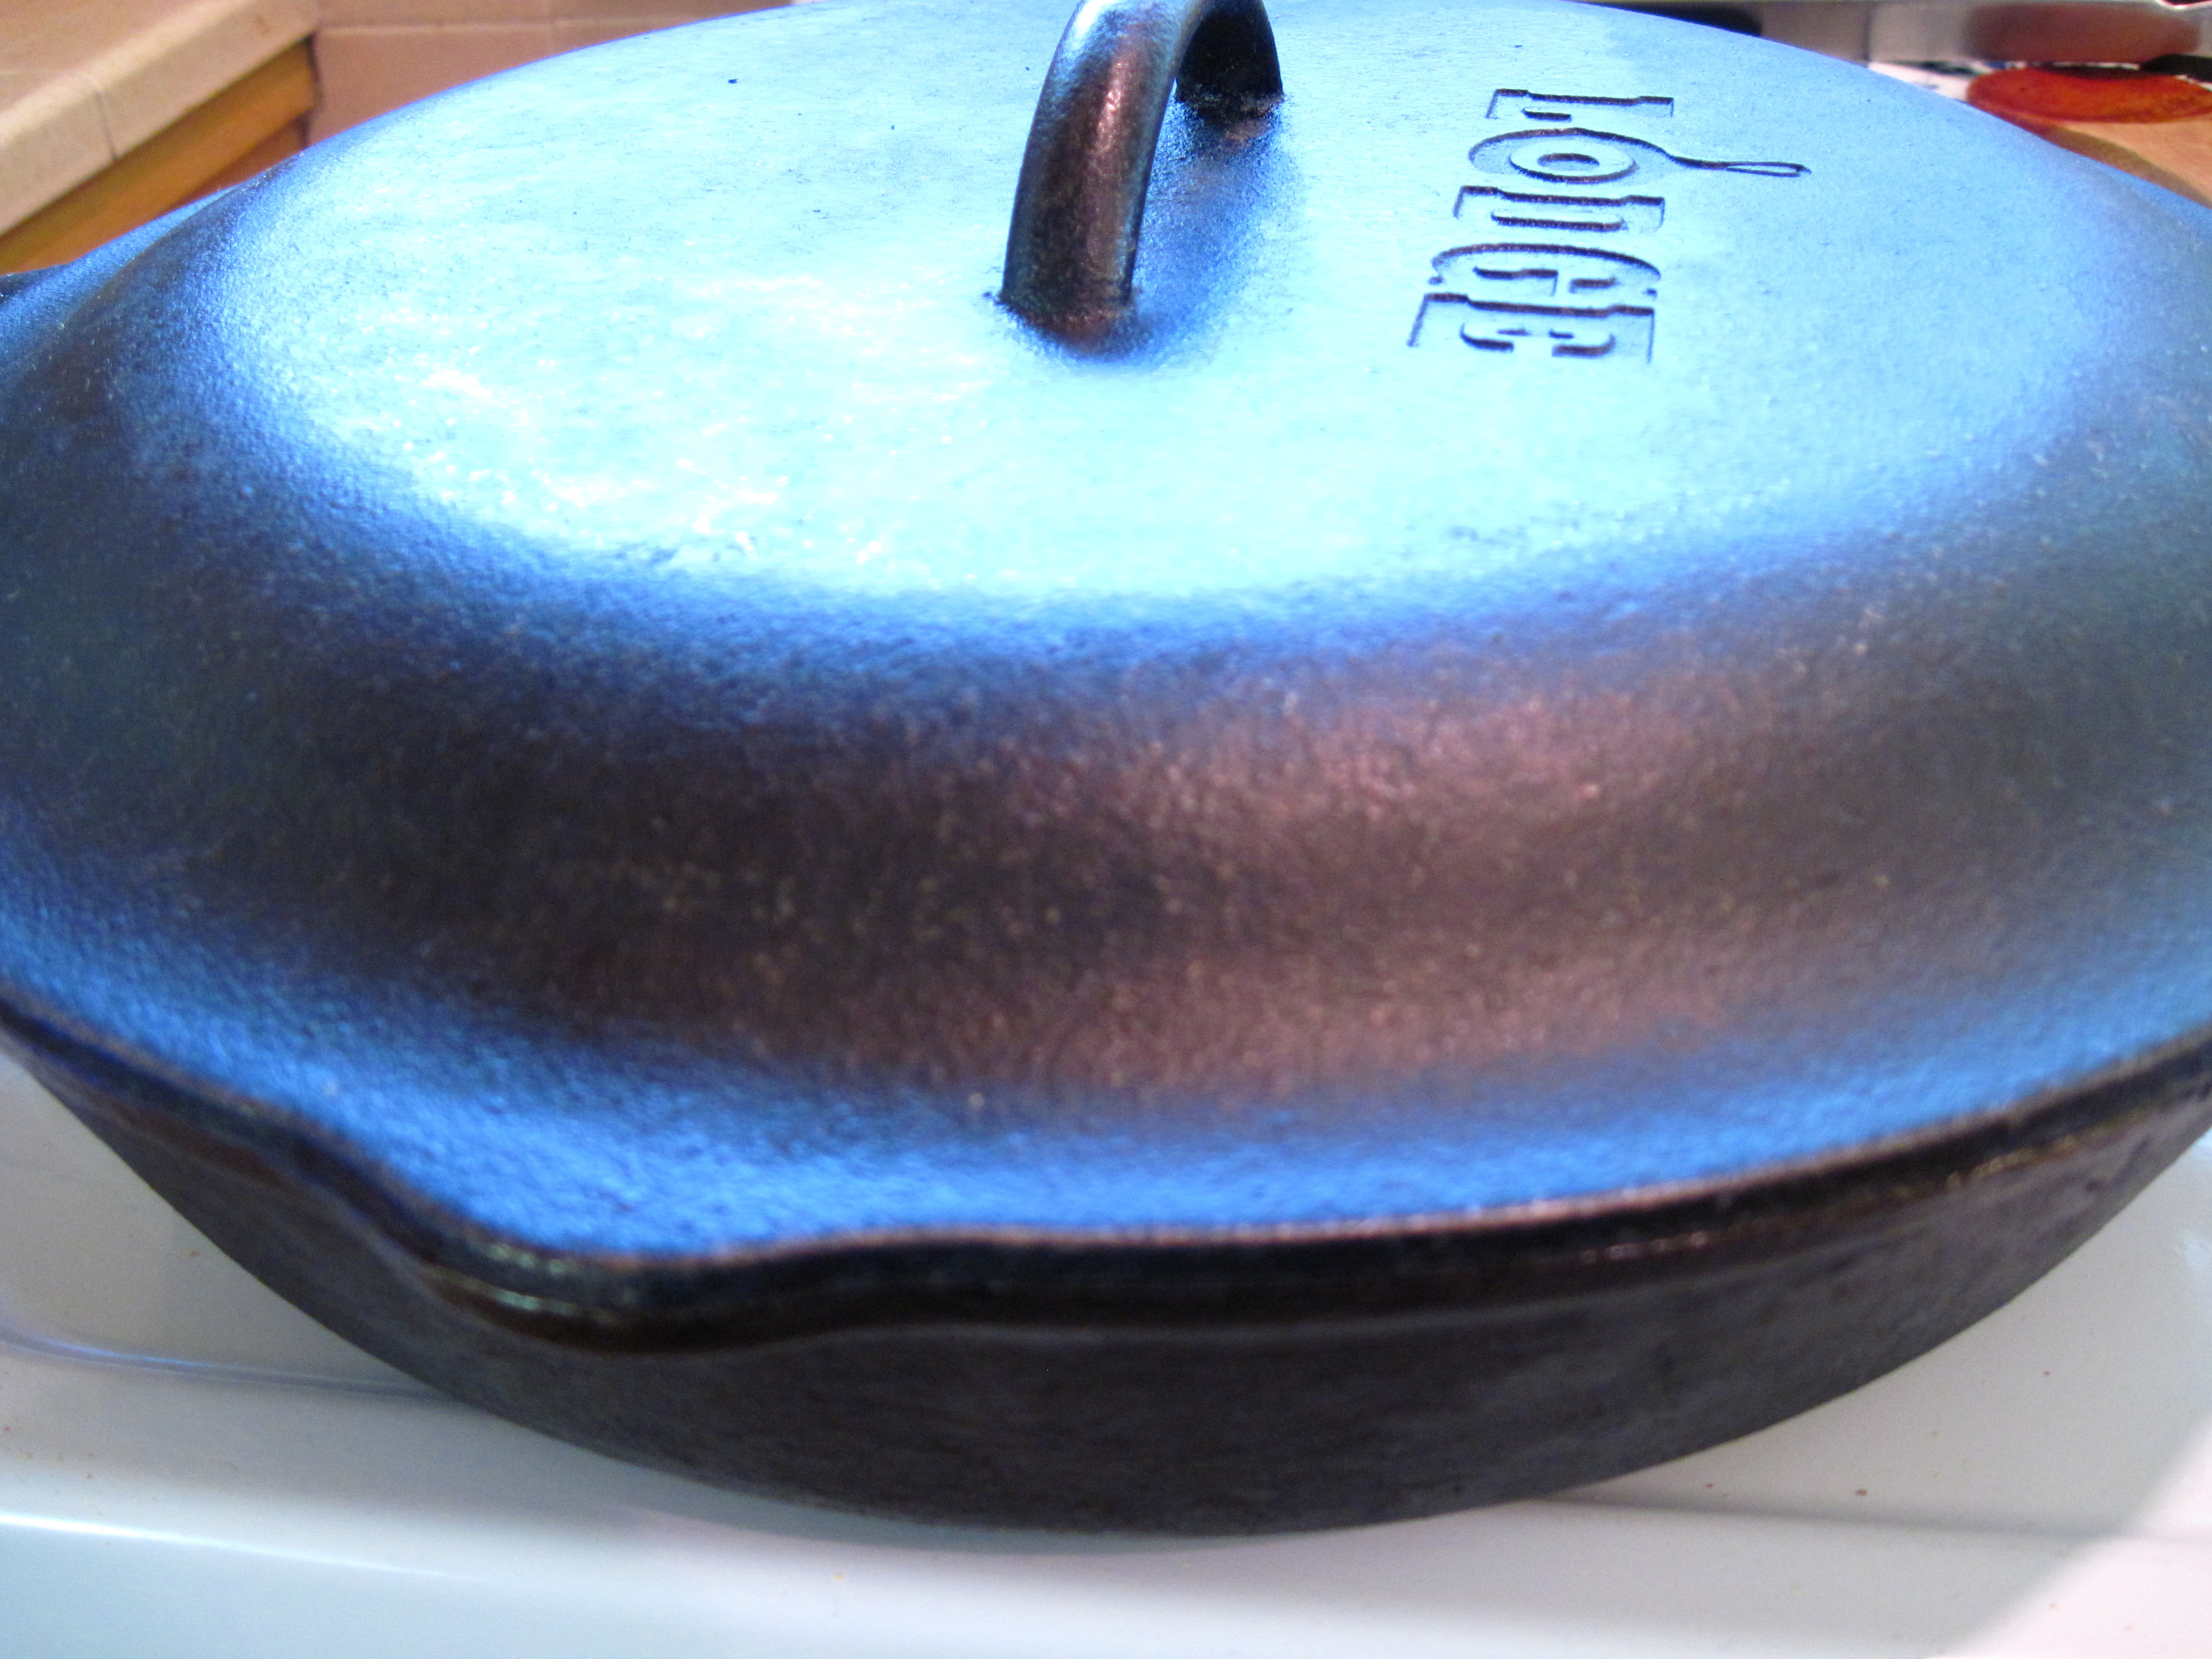
6. Pour the barbecue sauce over the brisket. Put a lid on the skillet and put it in the oven. Bake for 3 hours, or until the brisket is fork-tender.
a
If you don’t have a lid, you could tightly cover the skillet with heavy duty foil.
a
7. Remove the brisket from the pan and put it on a cutting board. Cover with foil and allow it to rest for 15 minutes.
8. While the brisket is resting, spoon off some of the fat that accumulates on the surface of the sauce. Heat the sauce over low heat, whisking it to blend it together.
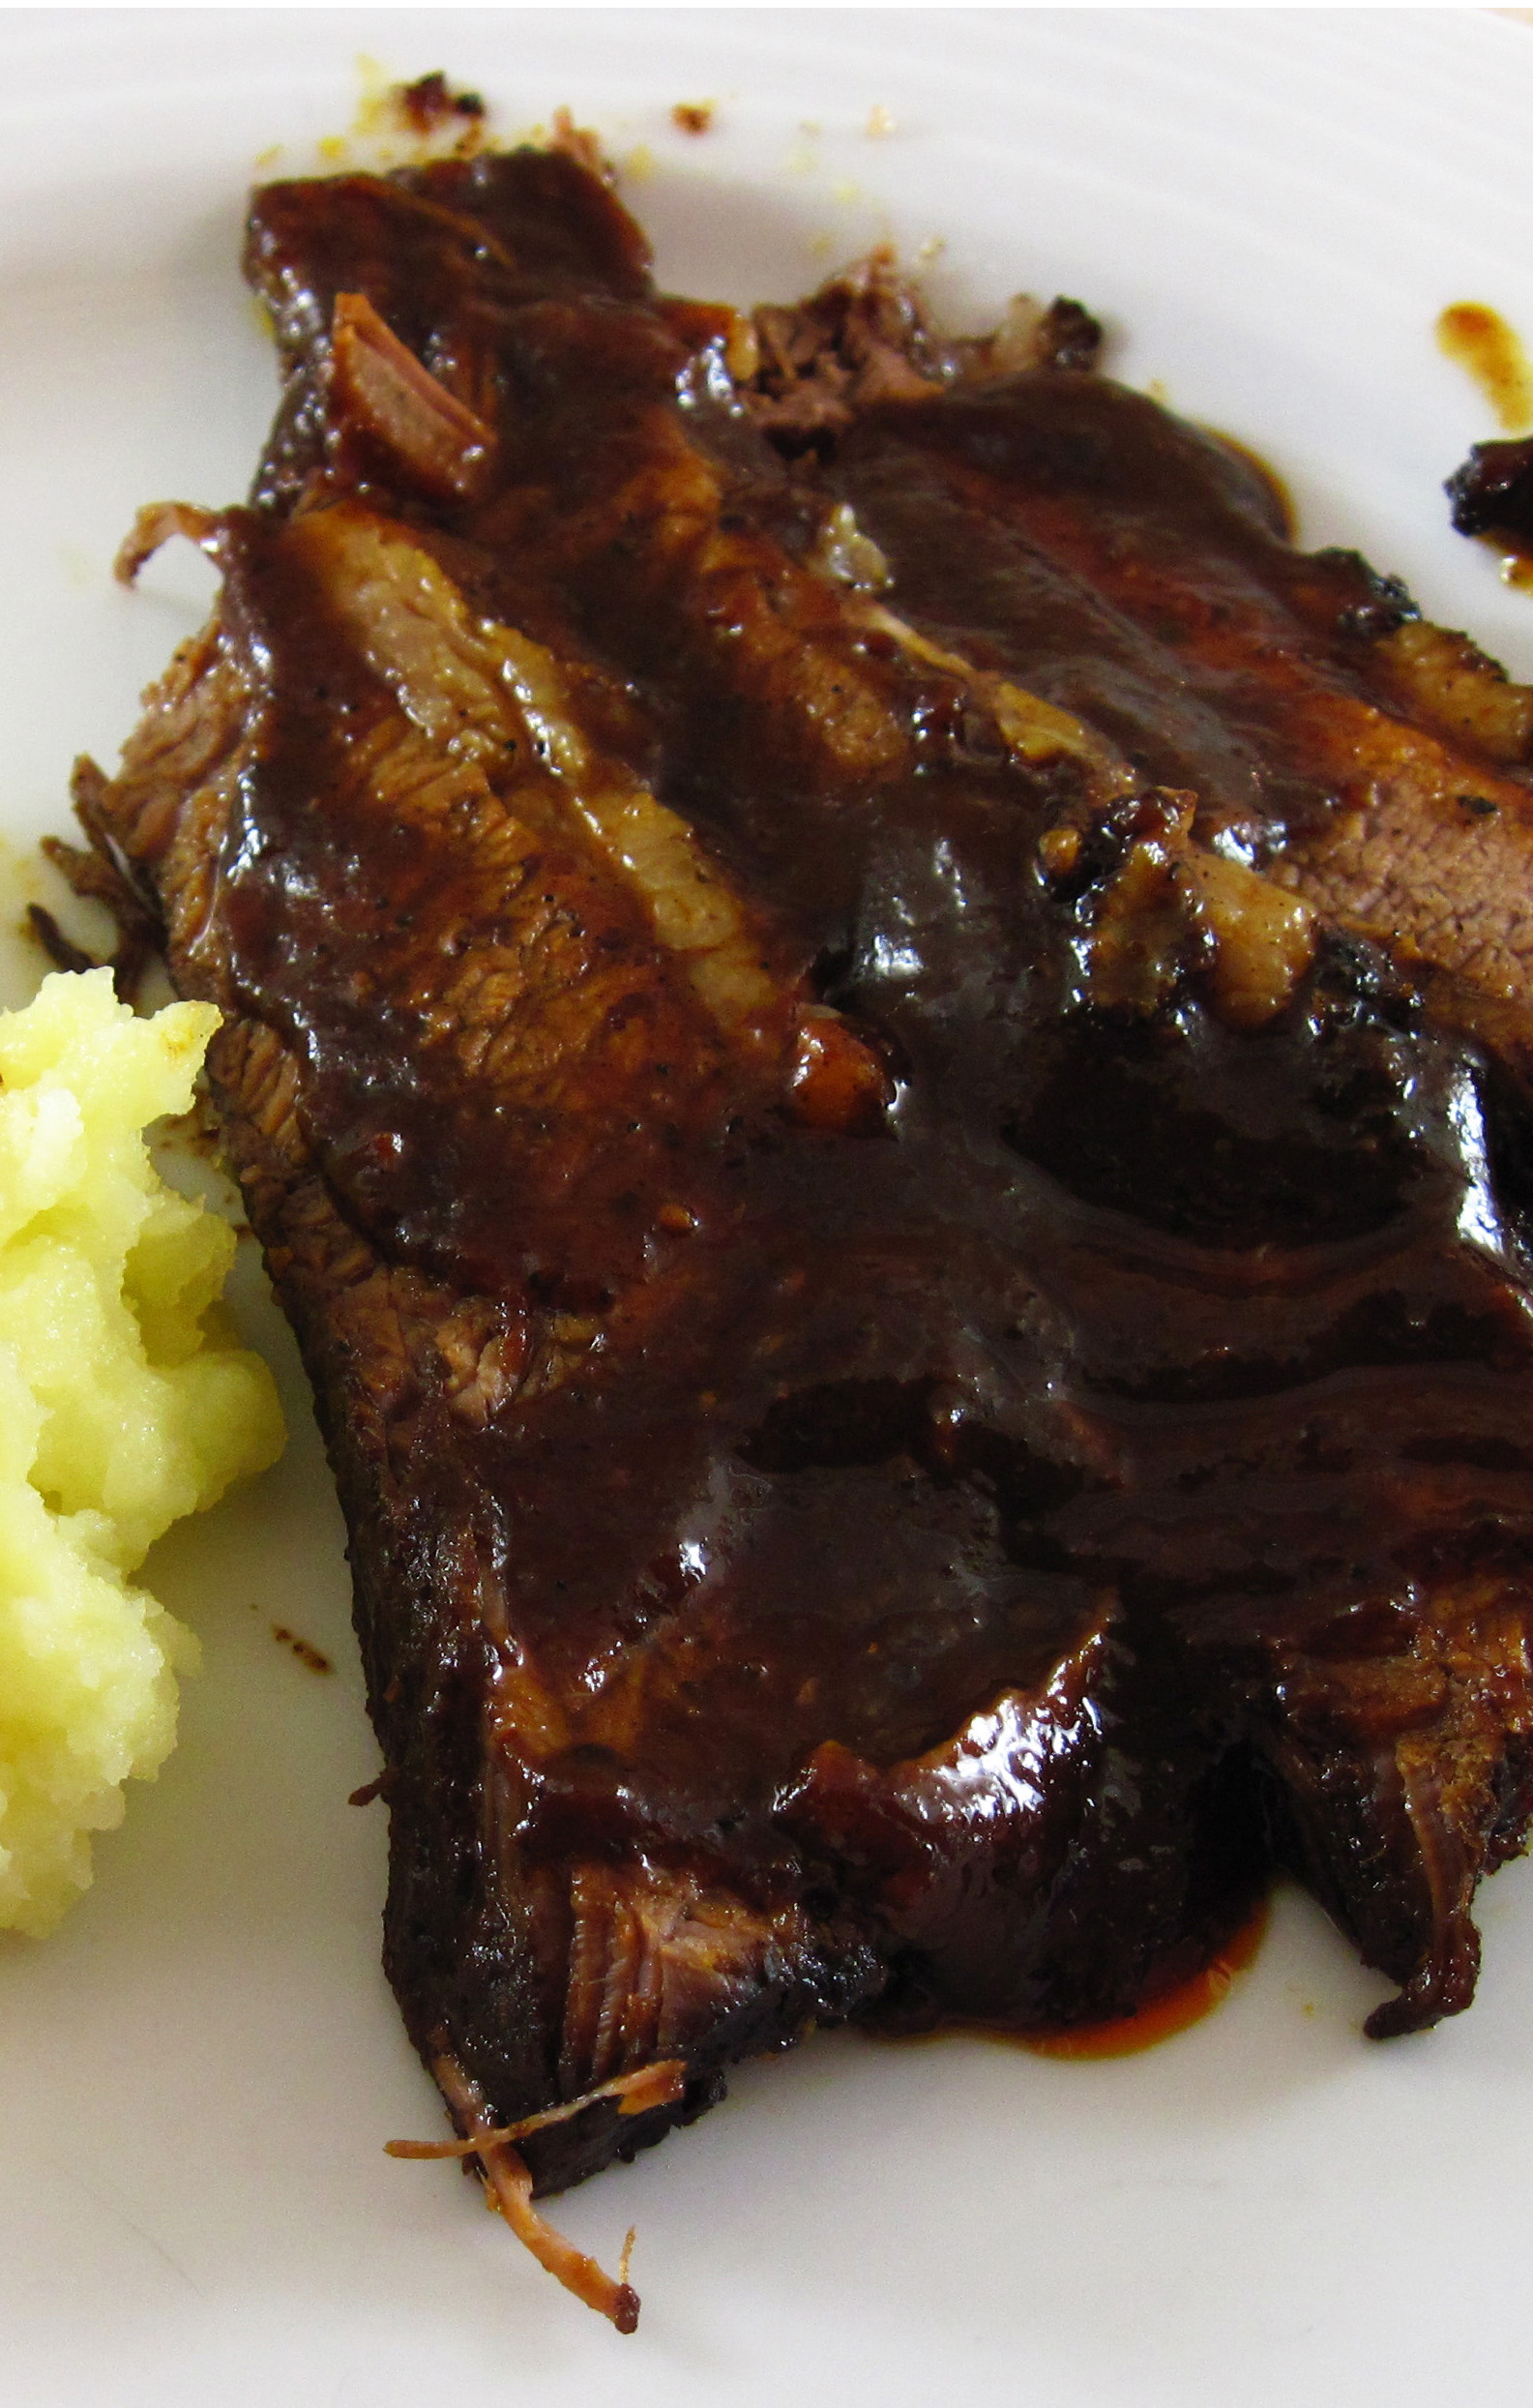
9. Slice the brisket against the grain. (Check out this excellent tutorial from the kitchn if you’re not sure what it means to “slice against the grain”.) Serve with the barbecue sauce.
a
a
Share this:

Slow Cooker Chicken Mole
By Kath Dedon
a
Who knew it could be so easy to make really good mole sauce? Cooking Light’s recipe for Slow Cooker Chicken Mole in their April 2015 issue is amazingly good!
Carrie made the recipe before I had gotten around to it. She shredded the chicken to use for tacos (with homemade corn tortillas!) and told me that it was delicious. It wasn’t long before I gave it a try.
I did make a couple of changes. Cooking Light recommends cooking the chicken for 8 hours. I had read in America’s Test Kitchen’s Slow Cooker Revolution, Volume 2 that they recommend cooking chicken thighs on Low for 4 – 5 hours. I decided to try 5 hours.
The other change I made was a substitution for the smoked almonds that they used. I’m not crazy about the ingredients in the smoked almonds that I have seen. A little research revealed that many Mexican recipes for mole use peanuts so that’s what I used. For the smoked almonds, I subbed ¼ cup of roasted peanuts and ¼ teaspoon of smoked salt*.
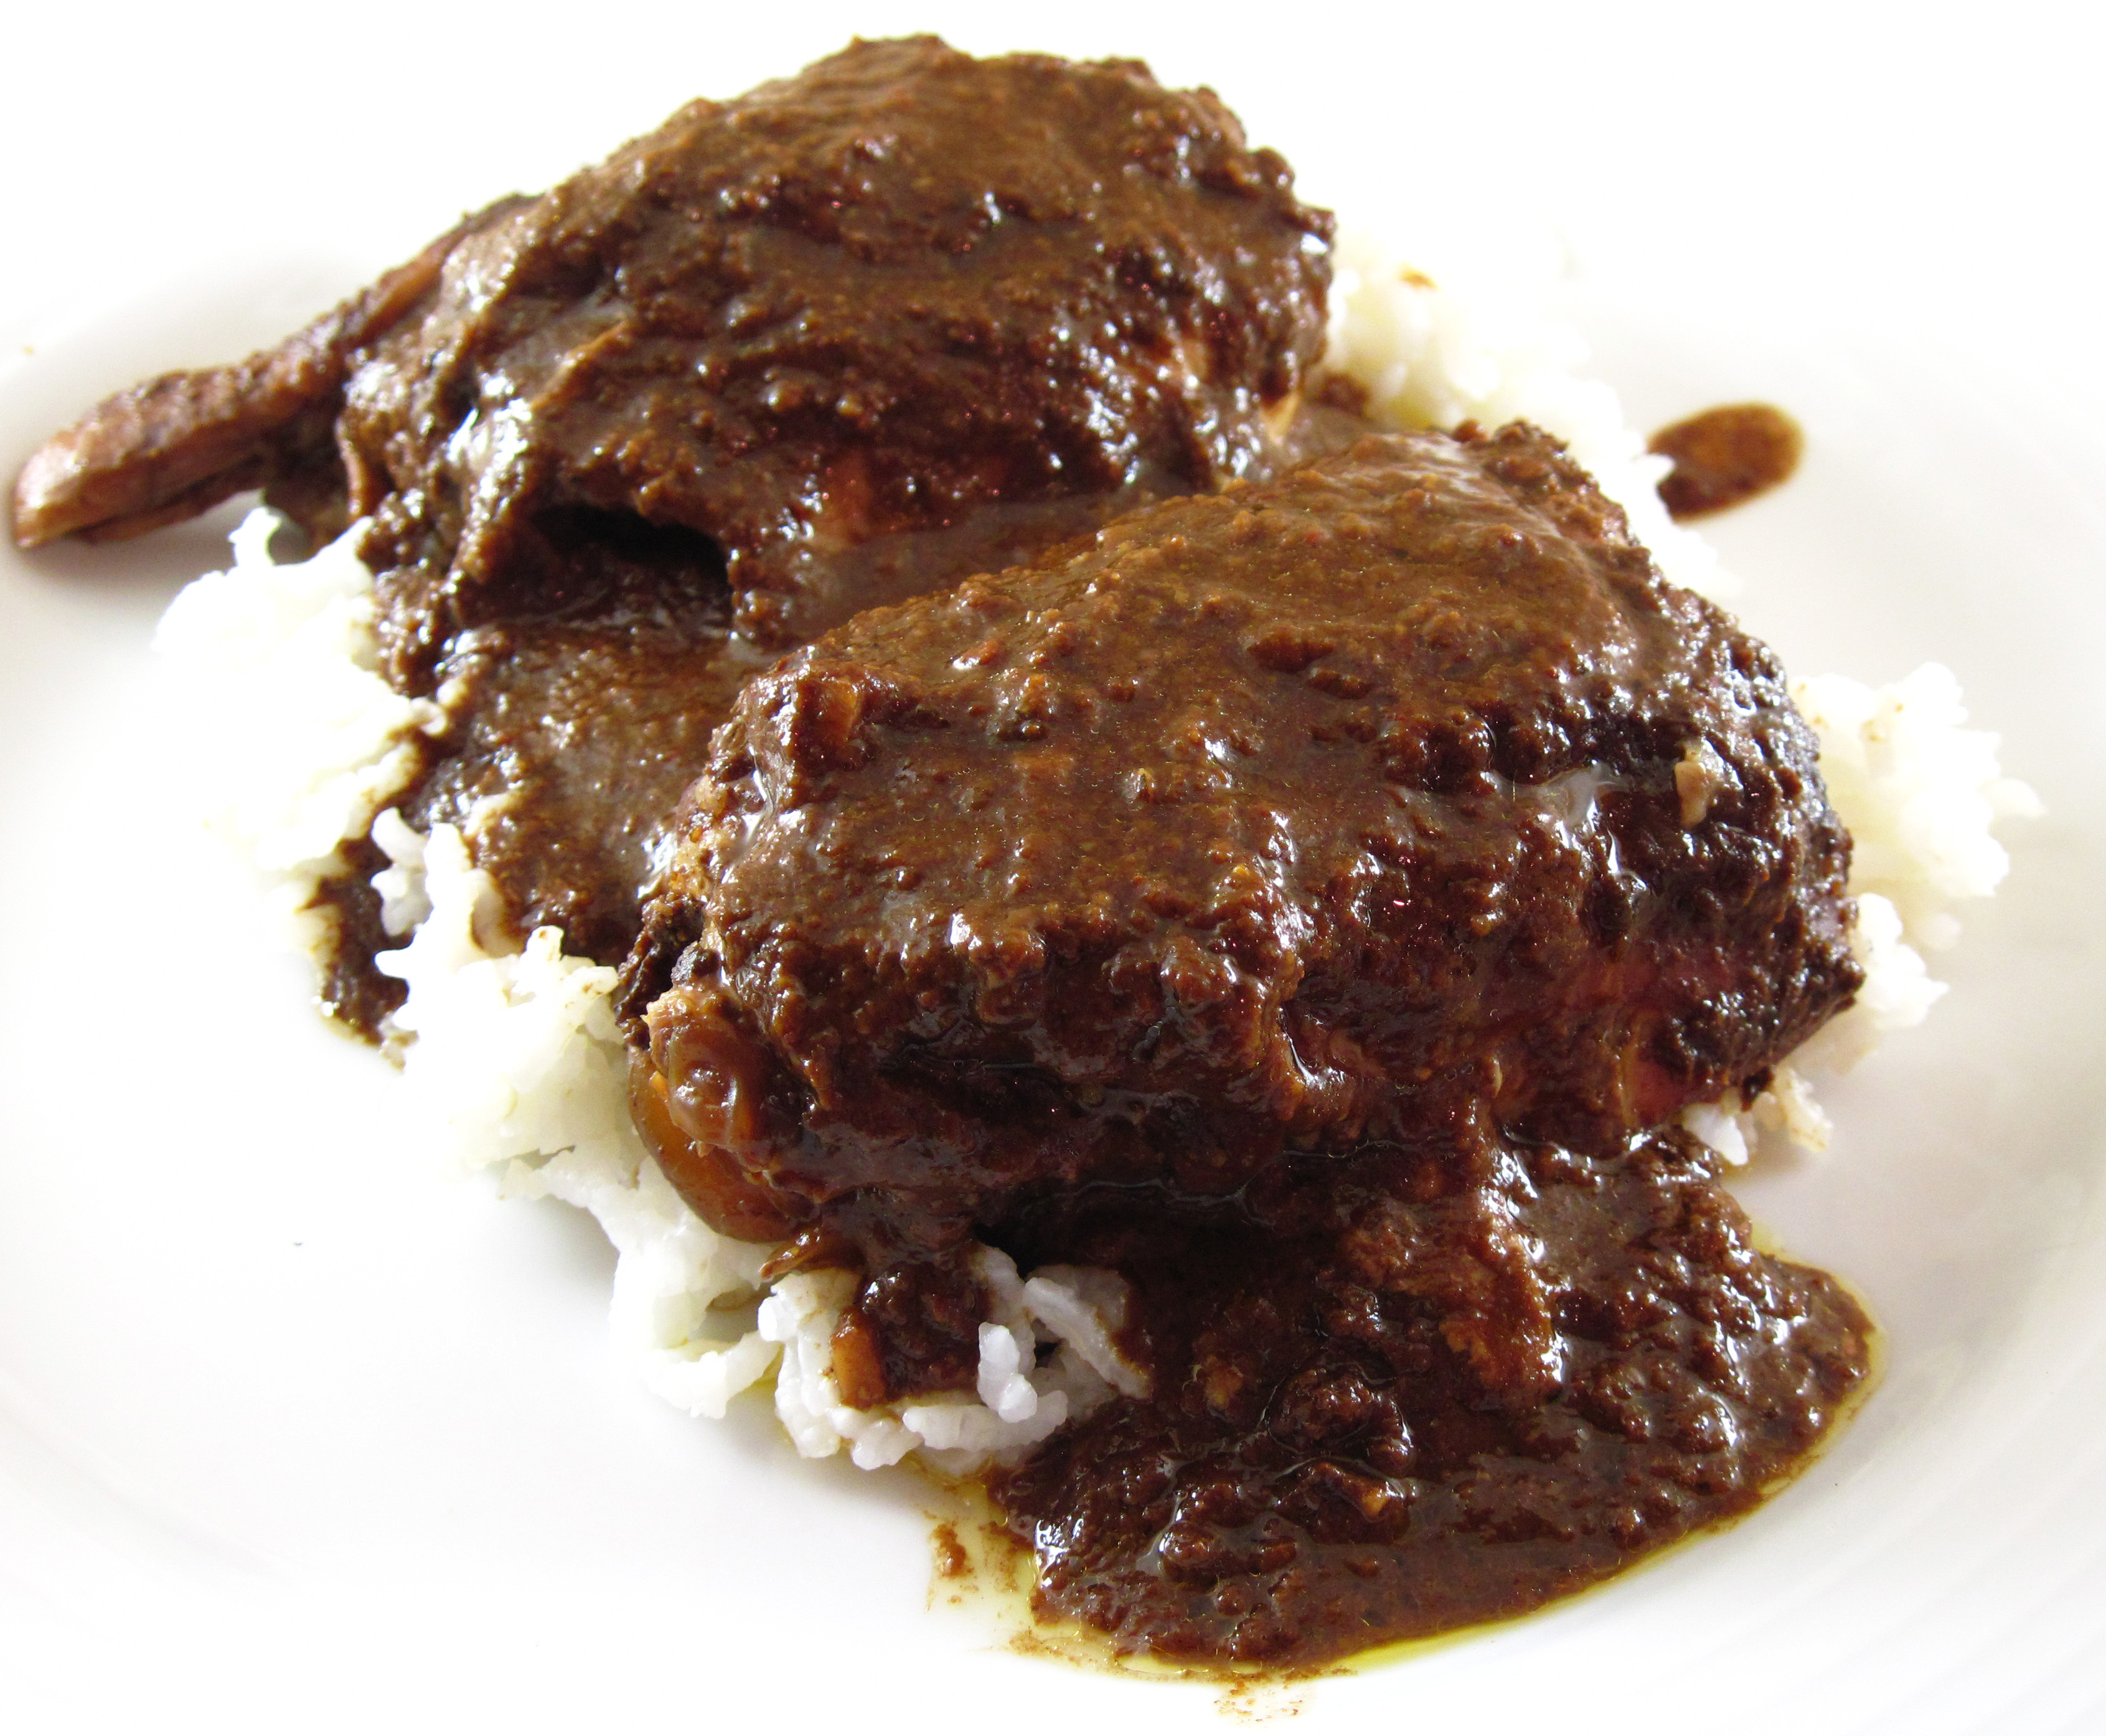
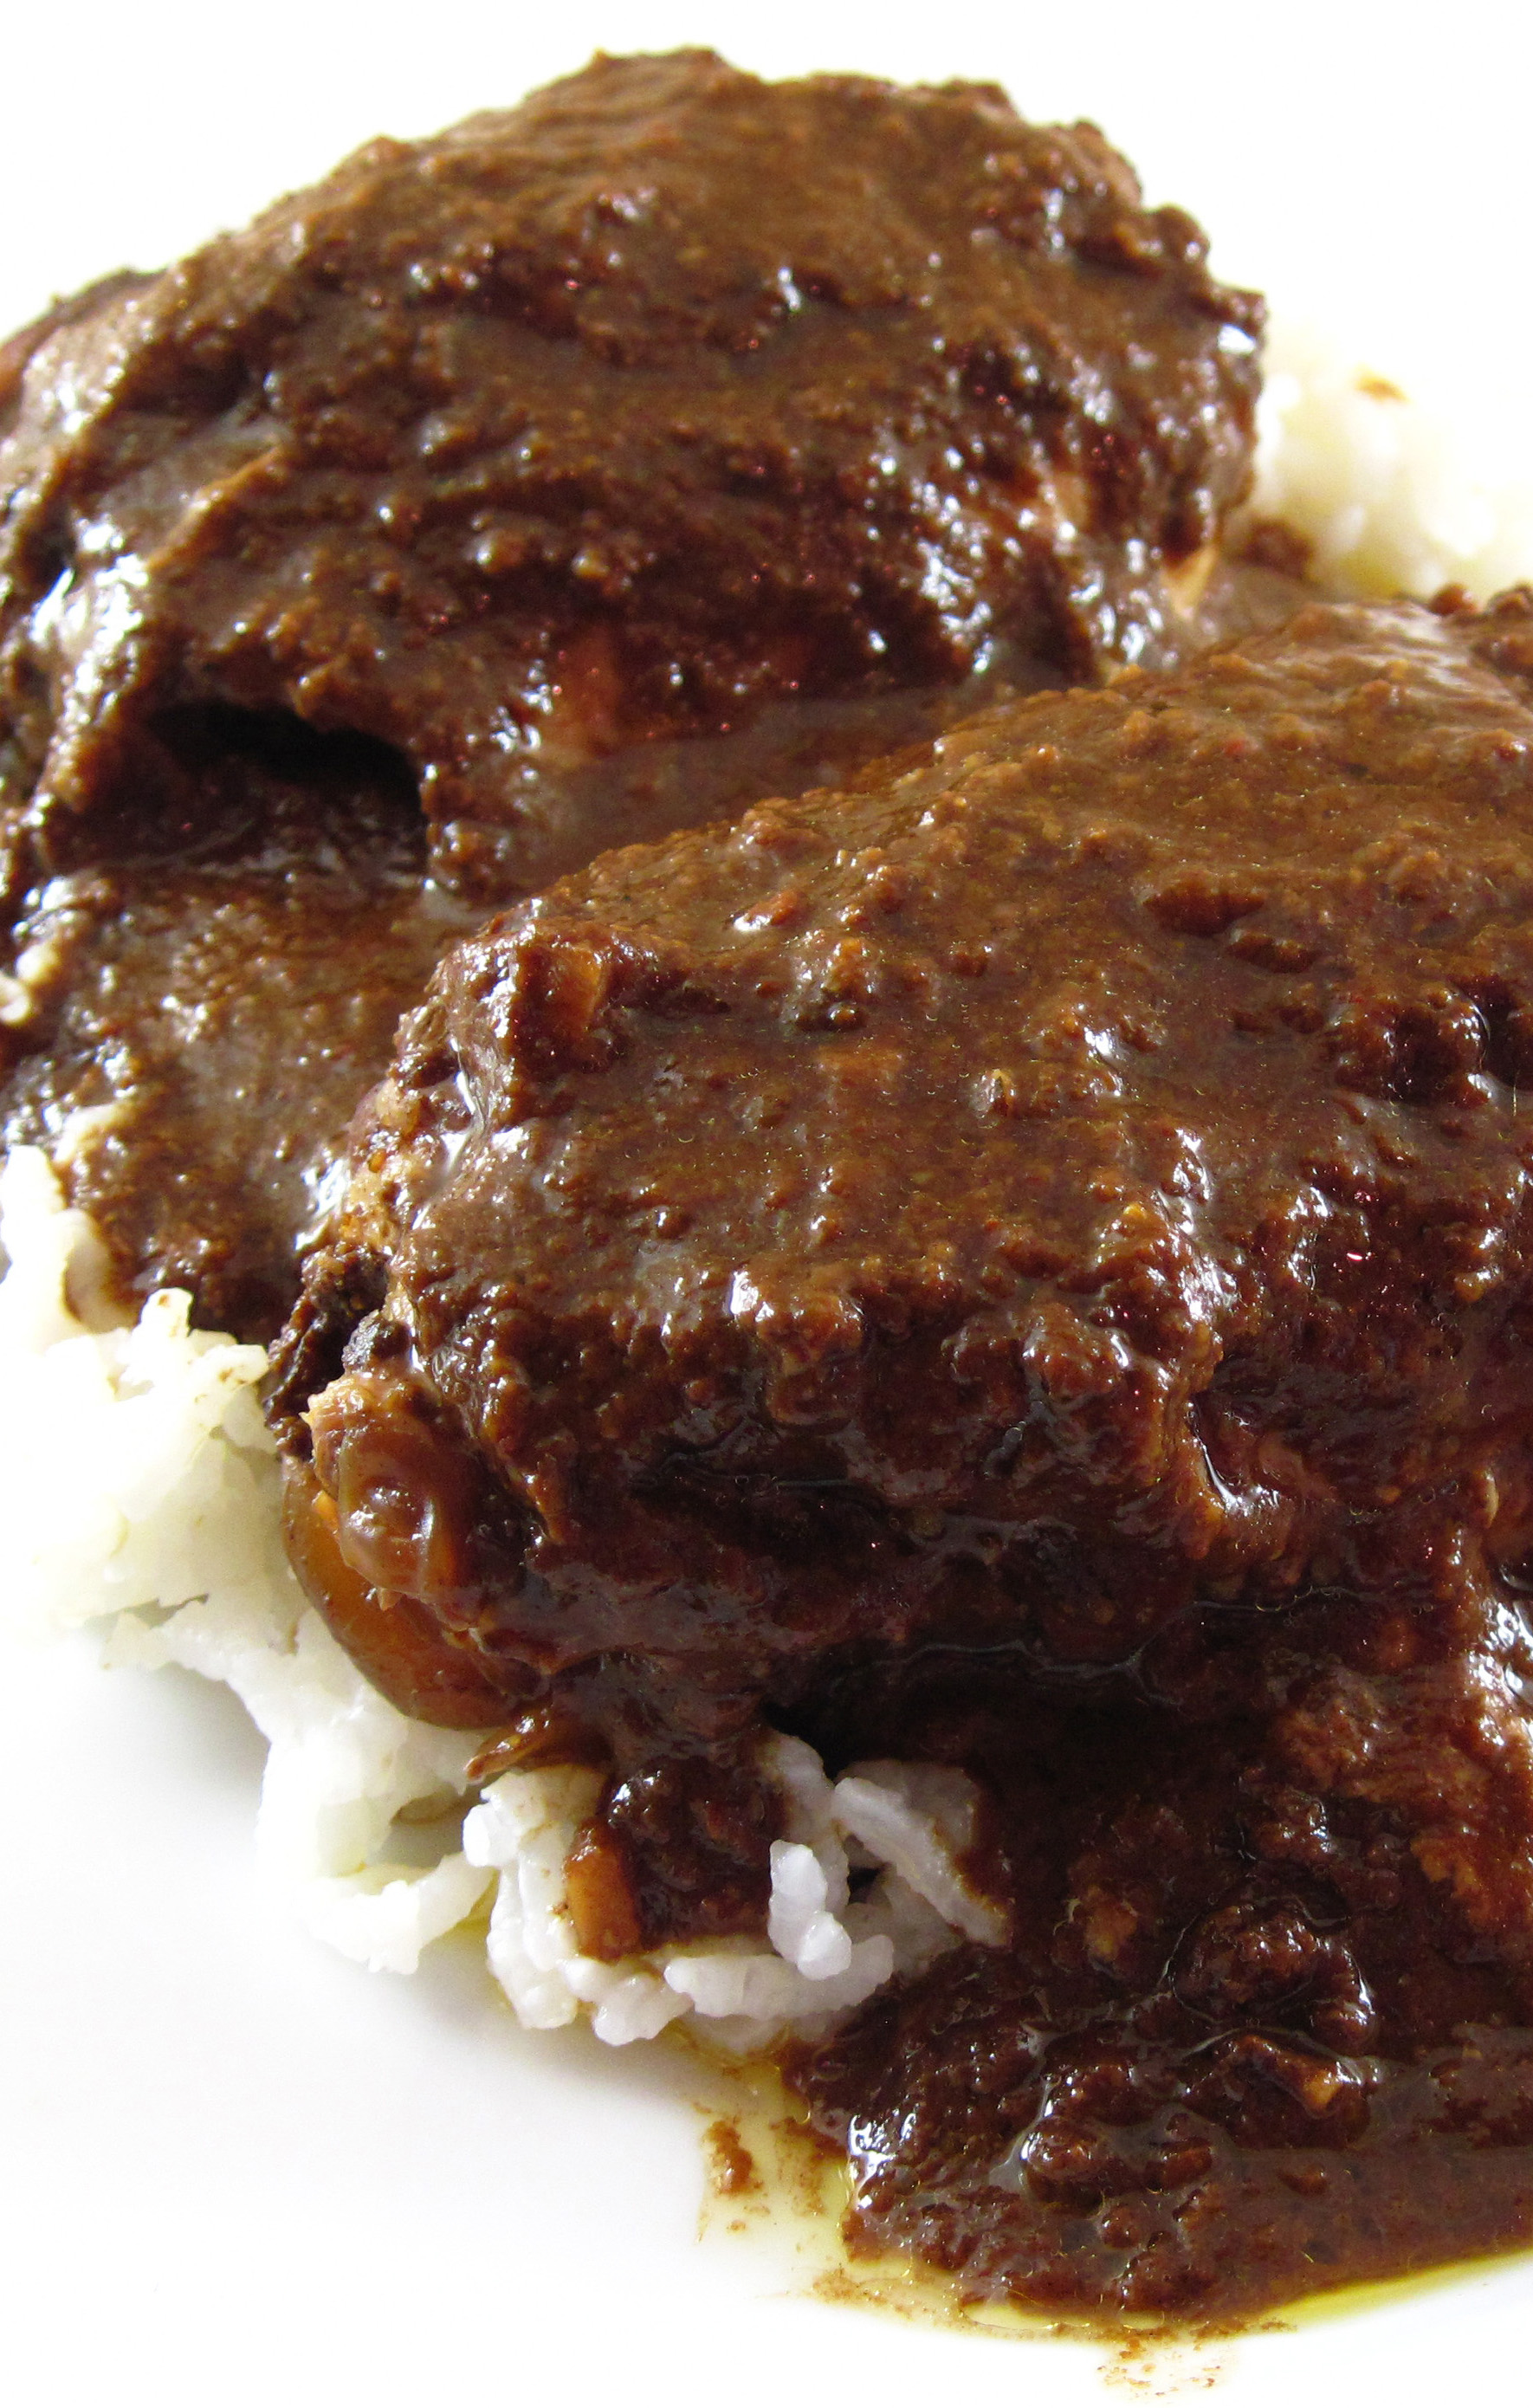
Instead of shredding the chicken, I served the thighs over steamed rice. Thinking that Bob would want to add Tabasco sauce, as he usually does with this type of dish, I put some on the table. He thought it was seasoned perfectly as it was, so he didn’t need the Tabasco. This recipe is a winner!
This Slow Cooker Chicken Mole is very quick and easy to put together. If you are home midday, you can get it going and then have the afternoon free to do whatever you want. I think you will be amazed, as we were, at how fantastic it is! I made the full recipe for the two of us and we eagerly ate it two nights in a row. I also took some to school for my lunch, and it reheated beautifully in a microwave oven. This is a recipe that WILL be part of my regular rotation!
a
a
Slow Cooker Chicken Mole
(Adapted from a recipe in the April 2015 Cooking Light magazine)
a
a
Serves 4
a
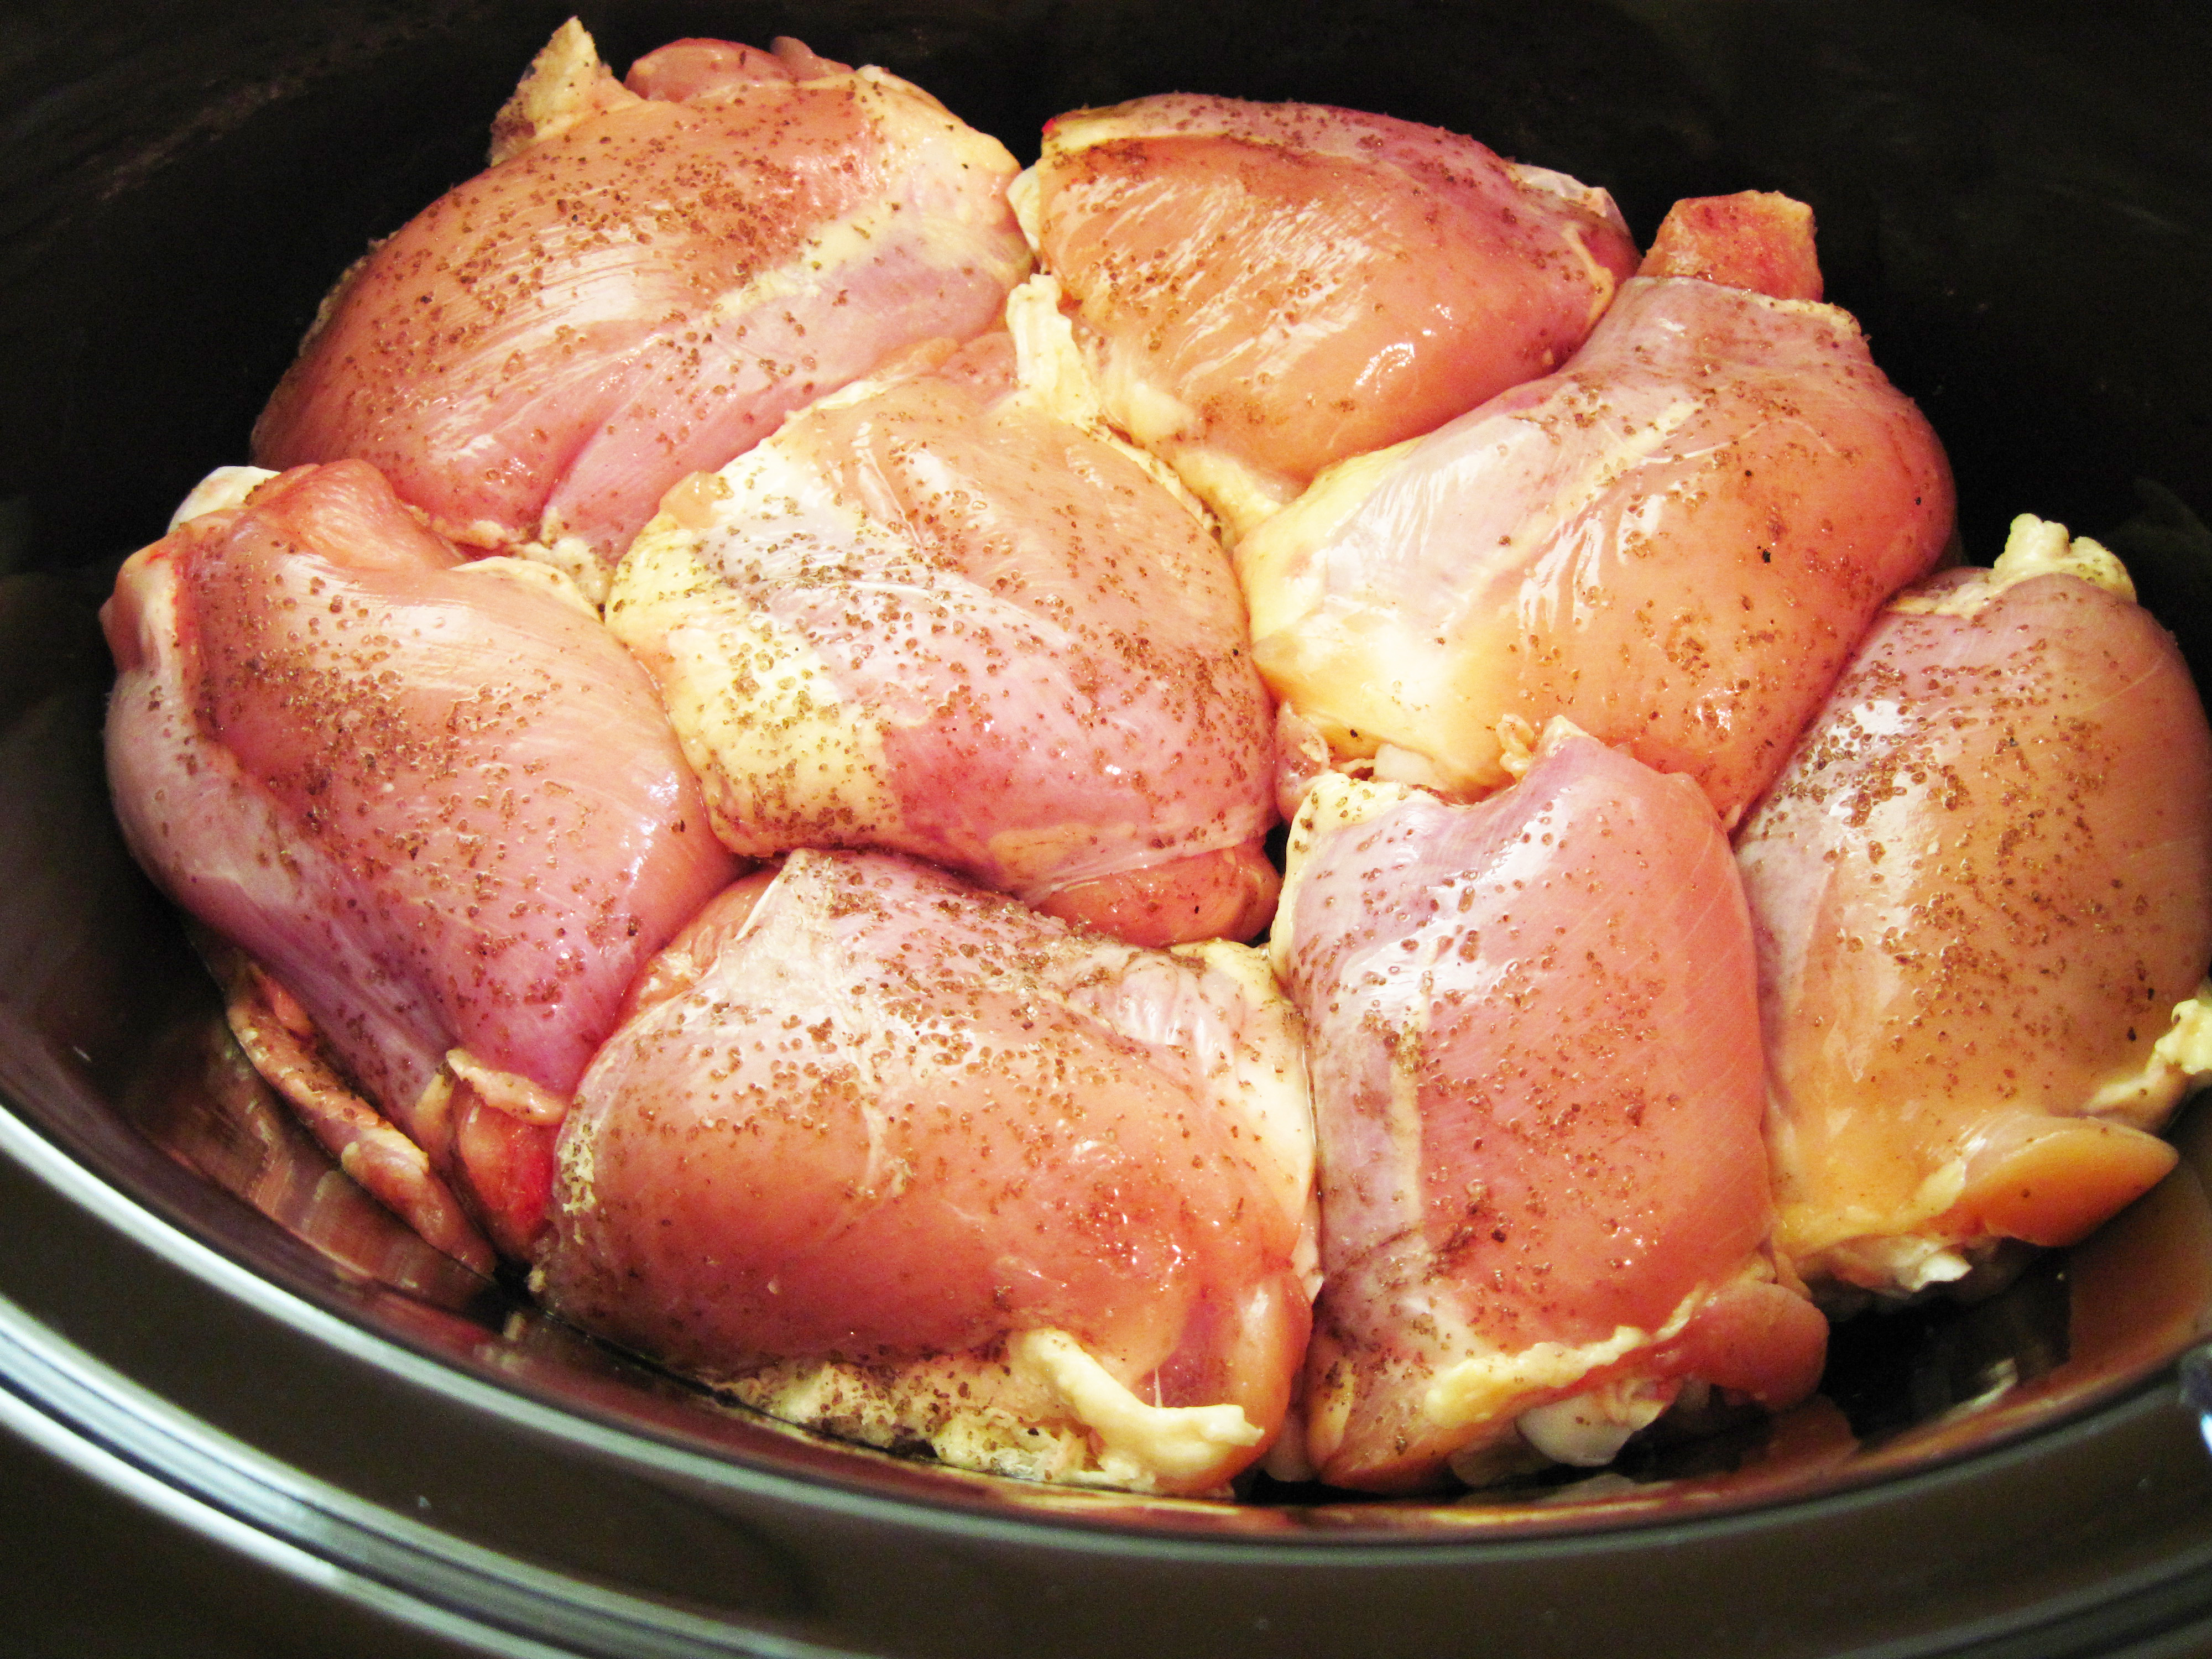
8 skinless, bone-in chicken thighs
¼ teaspoon kosher salt (I subbed smoked salt)
¼ teaspoon freshly ground black pepper
a
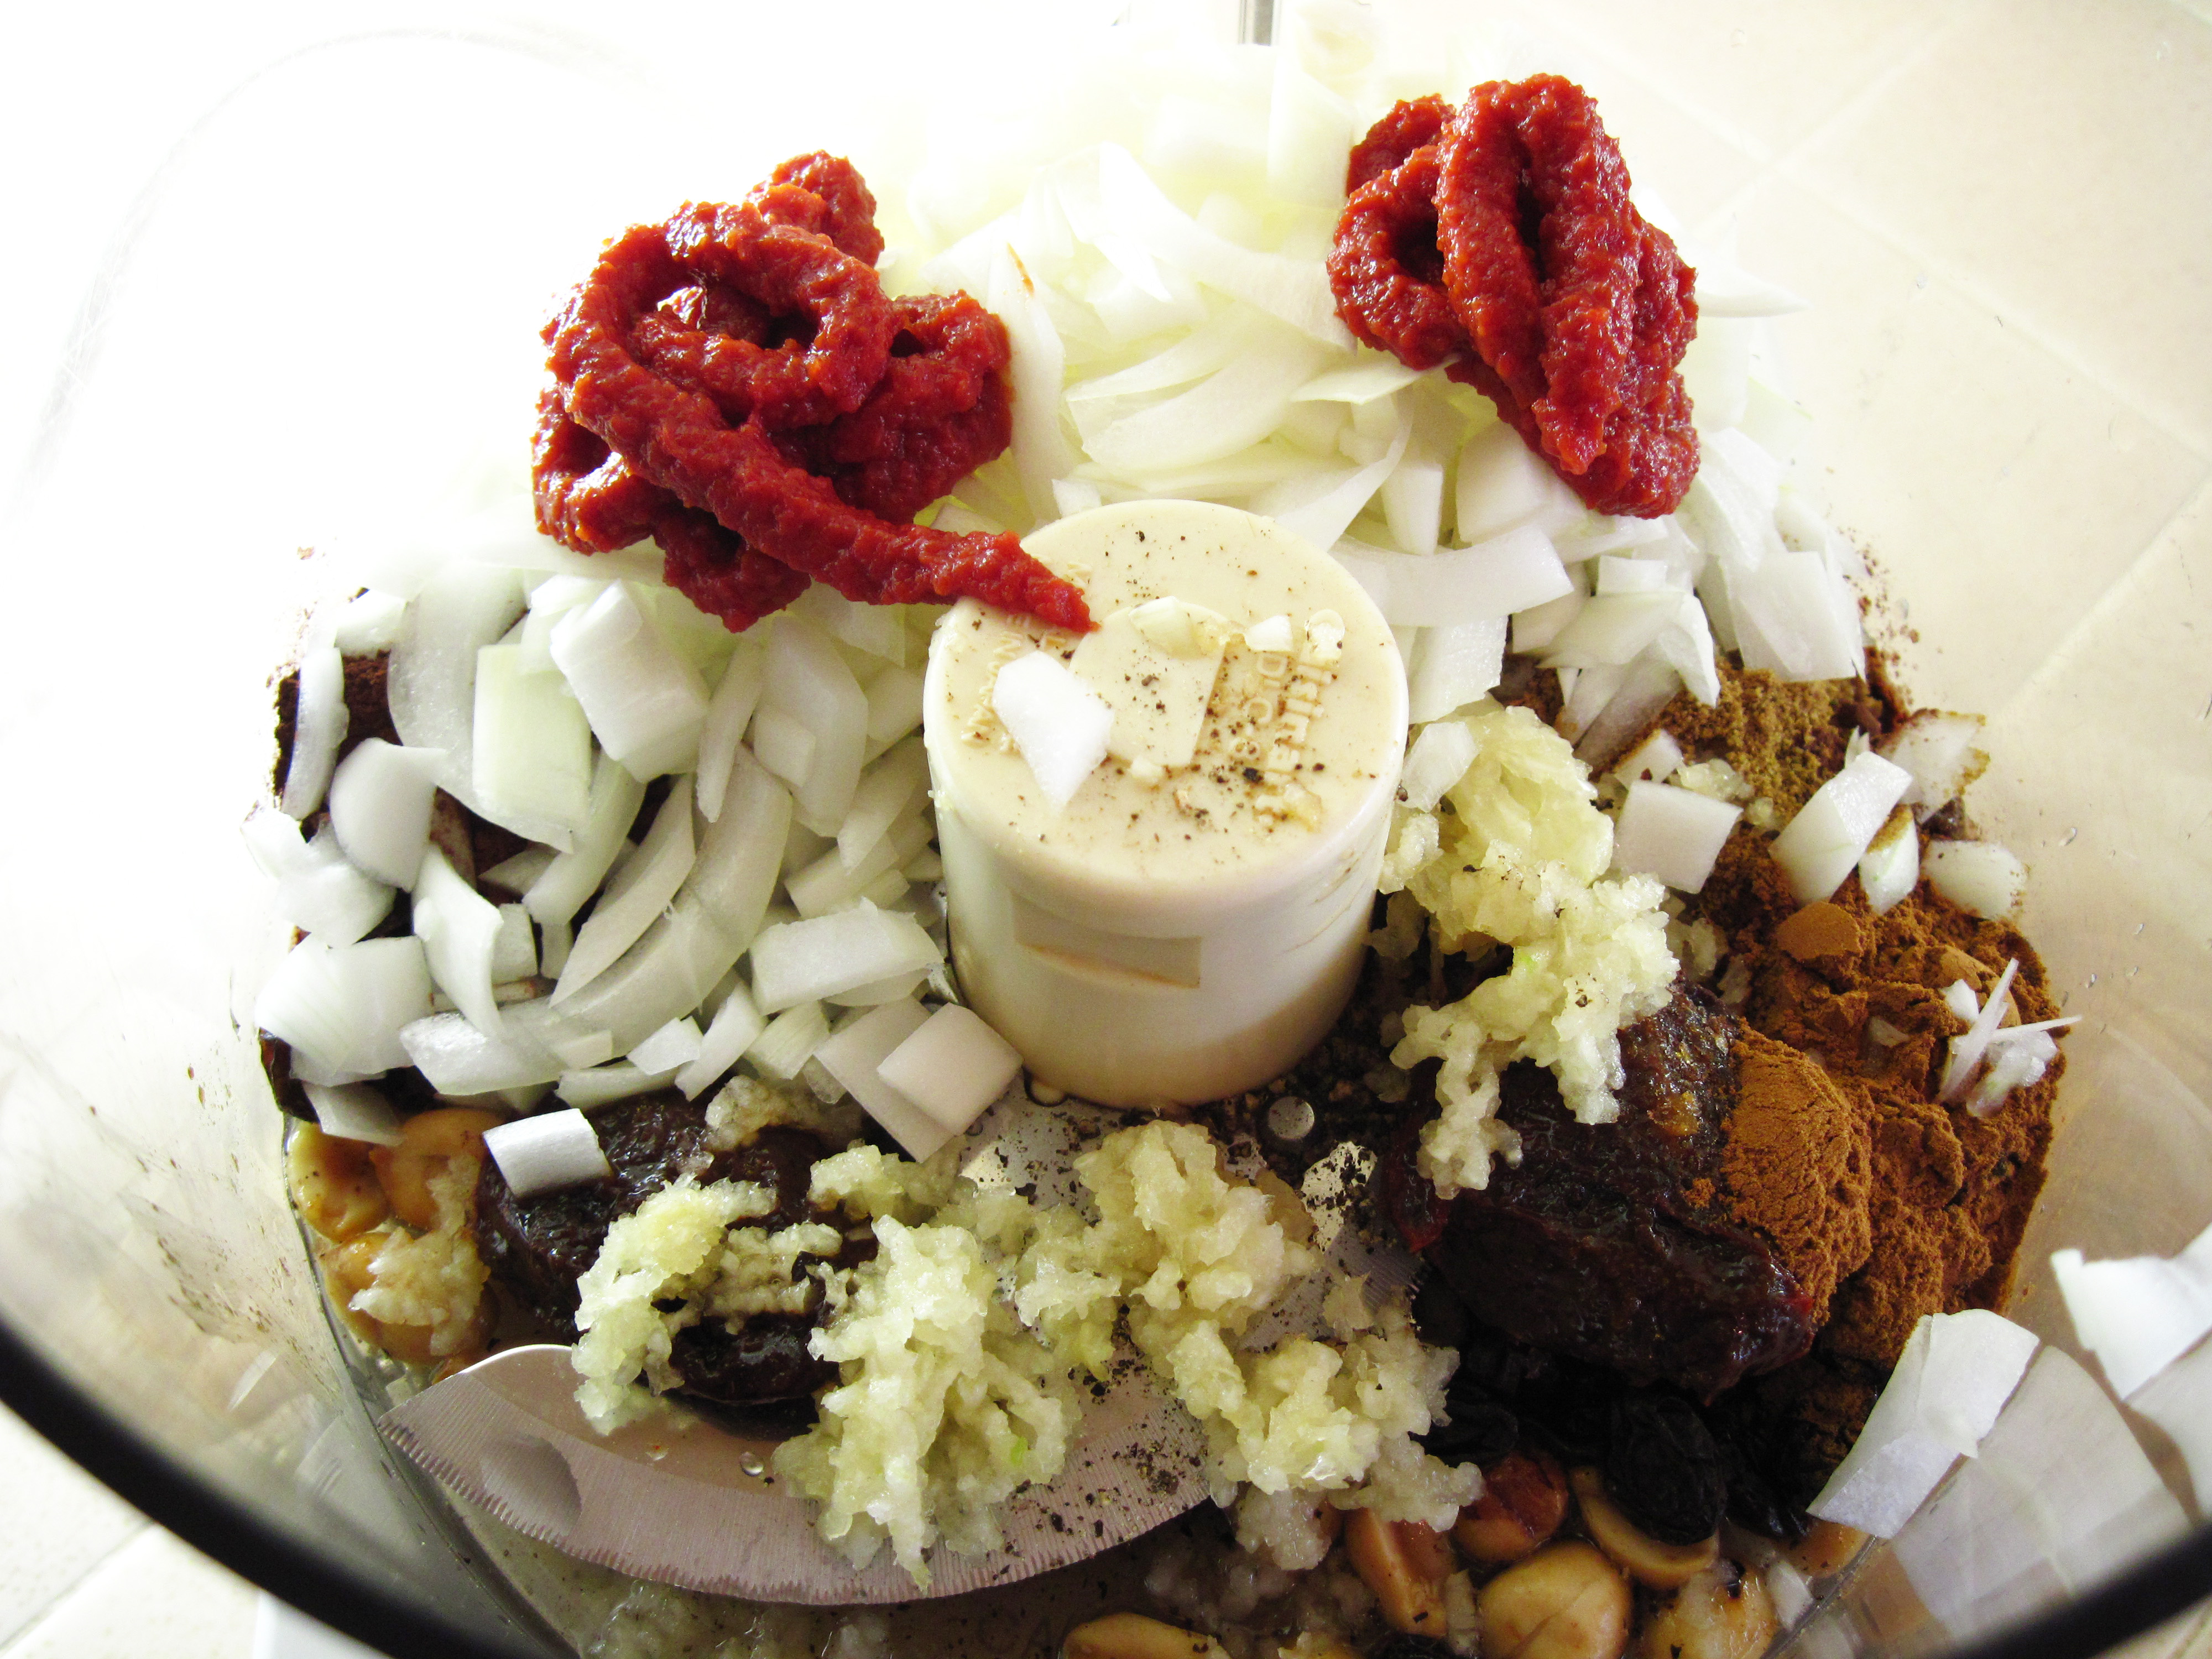
Mole Sauce
¼ cup water
¼ cup smoked almonds (I used ¼ cup peanuts plus ¼ teaspoon of smoked salt)
¼ cup raisins
2 tablespoons unsweetened cocoa
1 tablespoon ground cumin
2 tablespoons tomato paste
2 chipotle chiles, canned in adobo sauce
1 tablespoon adobo sauce
1 teaspoon ground cinnamon
4 garlic cloves, crushed
1 small sweet onion, chopped
a
1. Sprinkle the chicken thighs with the salt and pepper and put them in a 5 – 6 quart slow cooker.
a
2. Put all of the ingredients for the mole sauce in a food processor and process until it is smooth. You’ll probably have to stop the machine and push the sauce down the sides of the bowl a time or two.
a
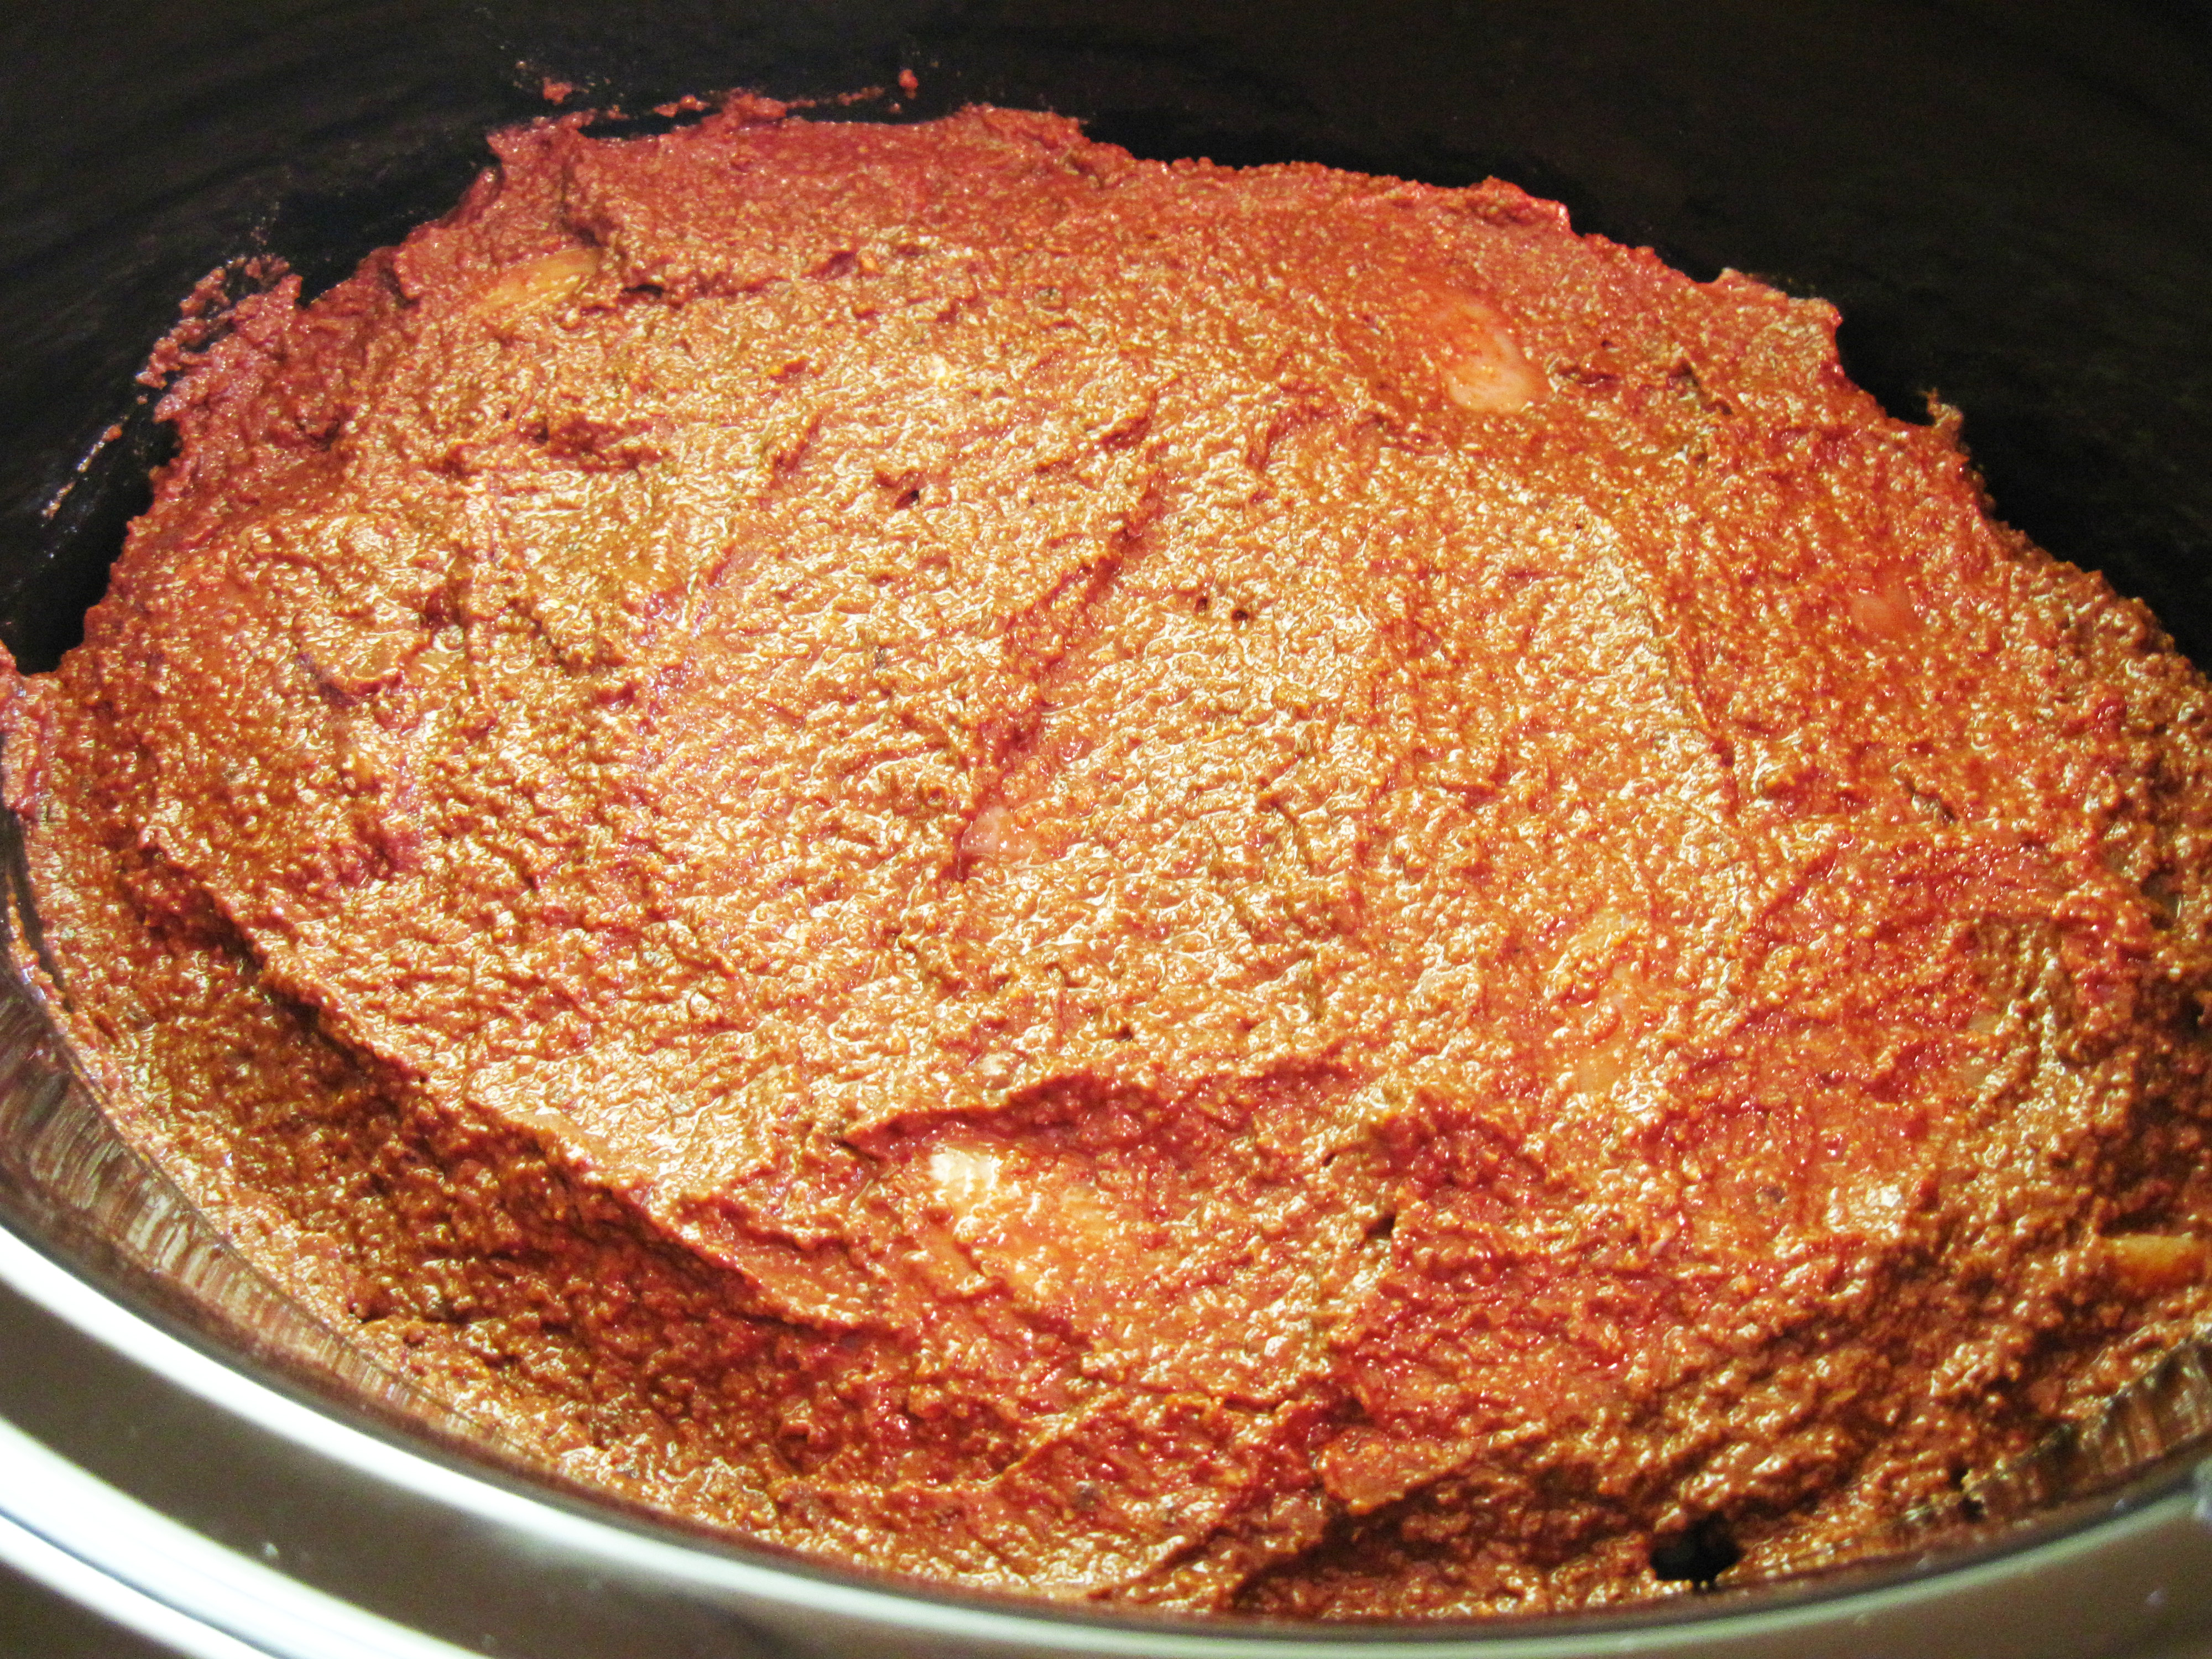
3. Spread the mole sauce over the chicken in the slow cooker.
a
4. Cook on Low for 5 hours.
5. Serve the chicken and sauce over rice. (Or shred the chicken to make tacos.)
a
a
* A note about smoked salt – I needed smoked salt for another recipe (which turned out to be delicious and will be posted soon). I wasn’t sure I had ever seen smoked salt at my usual grocery stores, but I put it on my list when I headed to Thriftway. They had 3 kinds of smoked salt, all produced by the same company. They had mesquite smoked, hickory smoked, and alderwood smoked. Their salts are naturally smoked over wood; there are no other ingredients. I chose the alderwood smoked salt and was blown away by the flavor. I have a new favorite ingredient!

a

a
Share this:

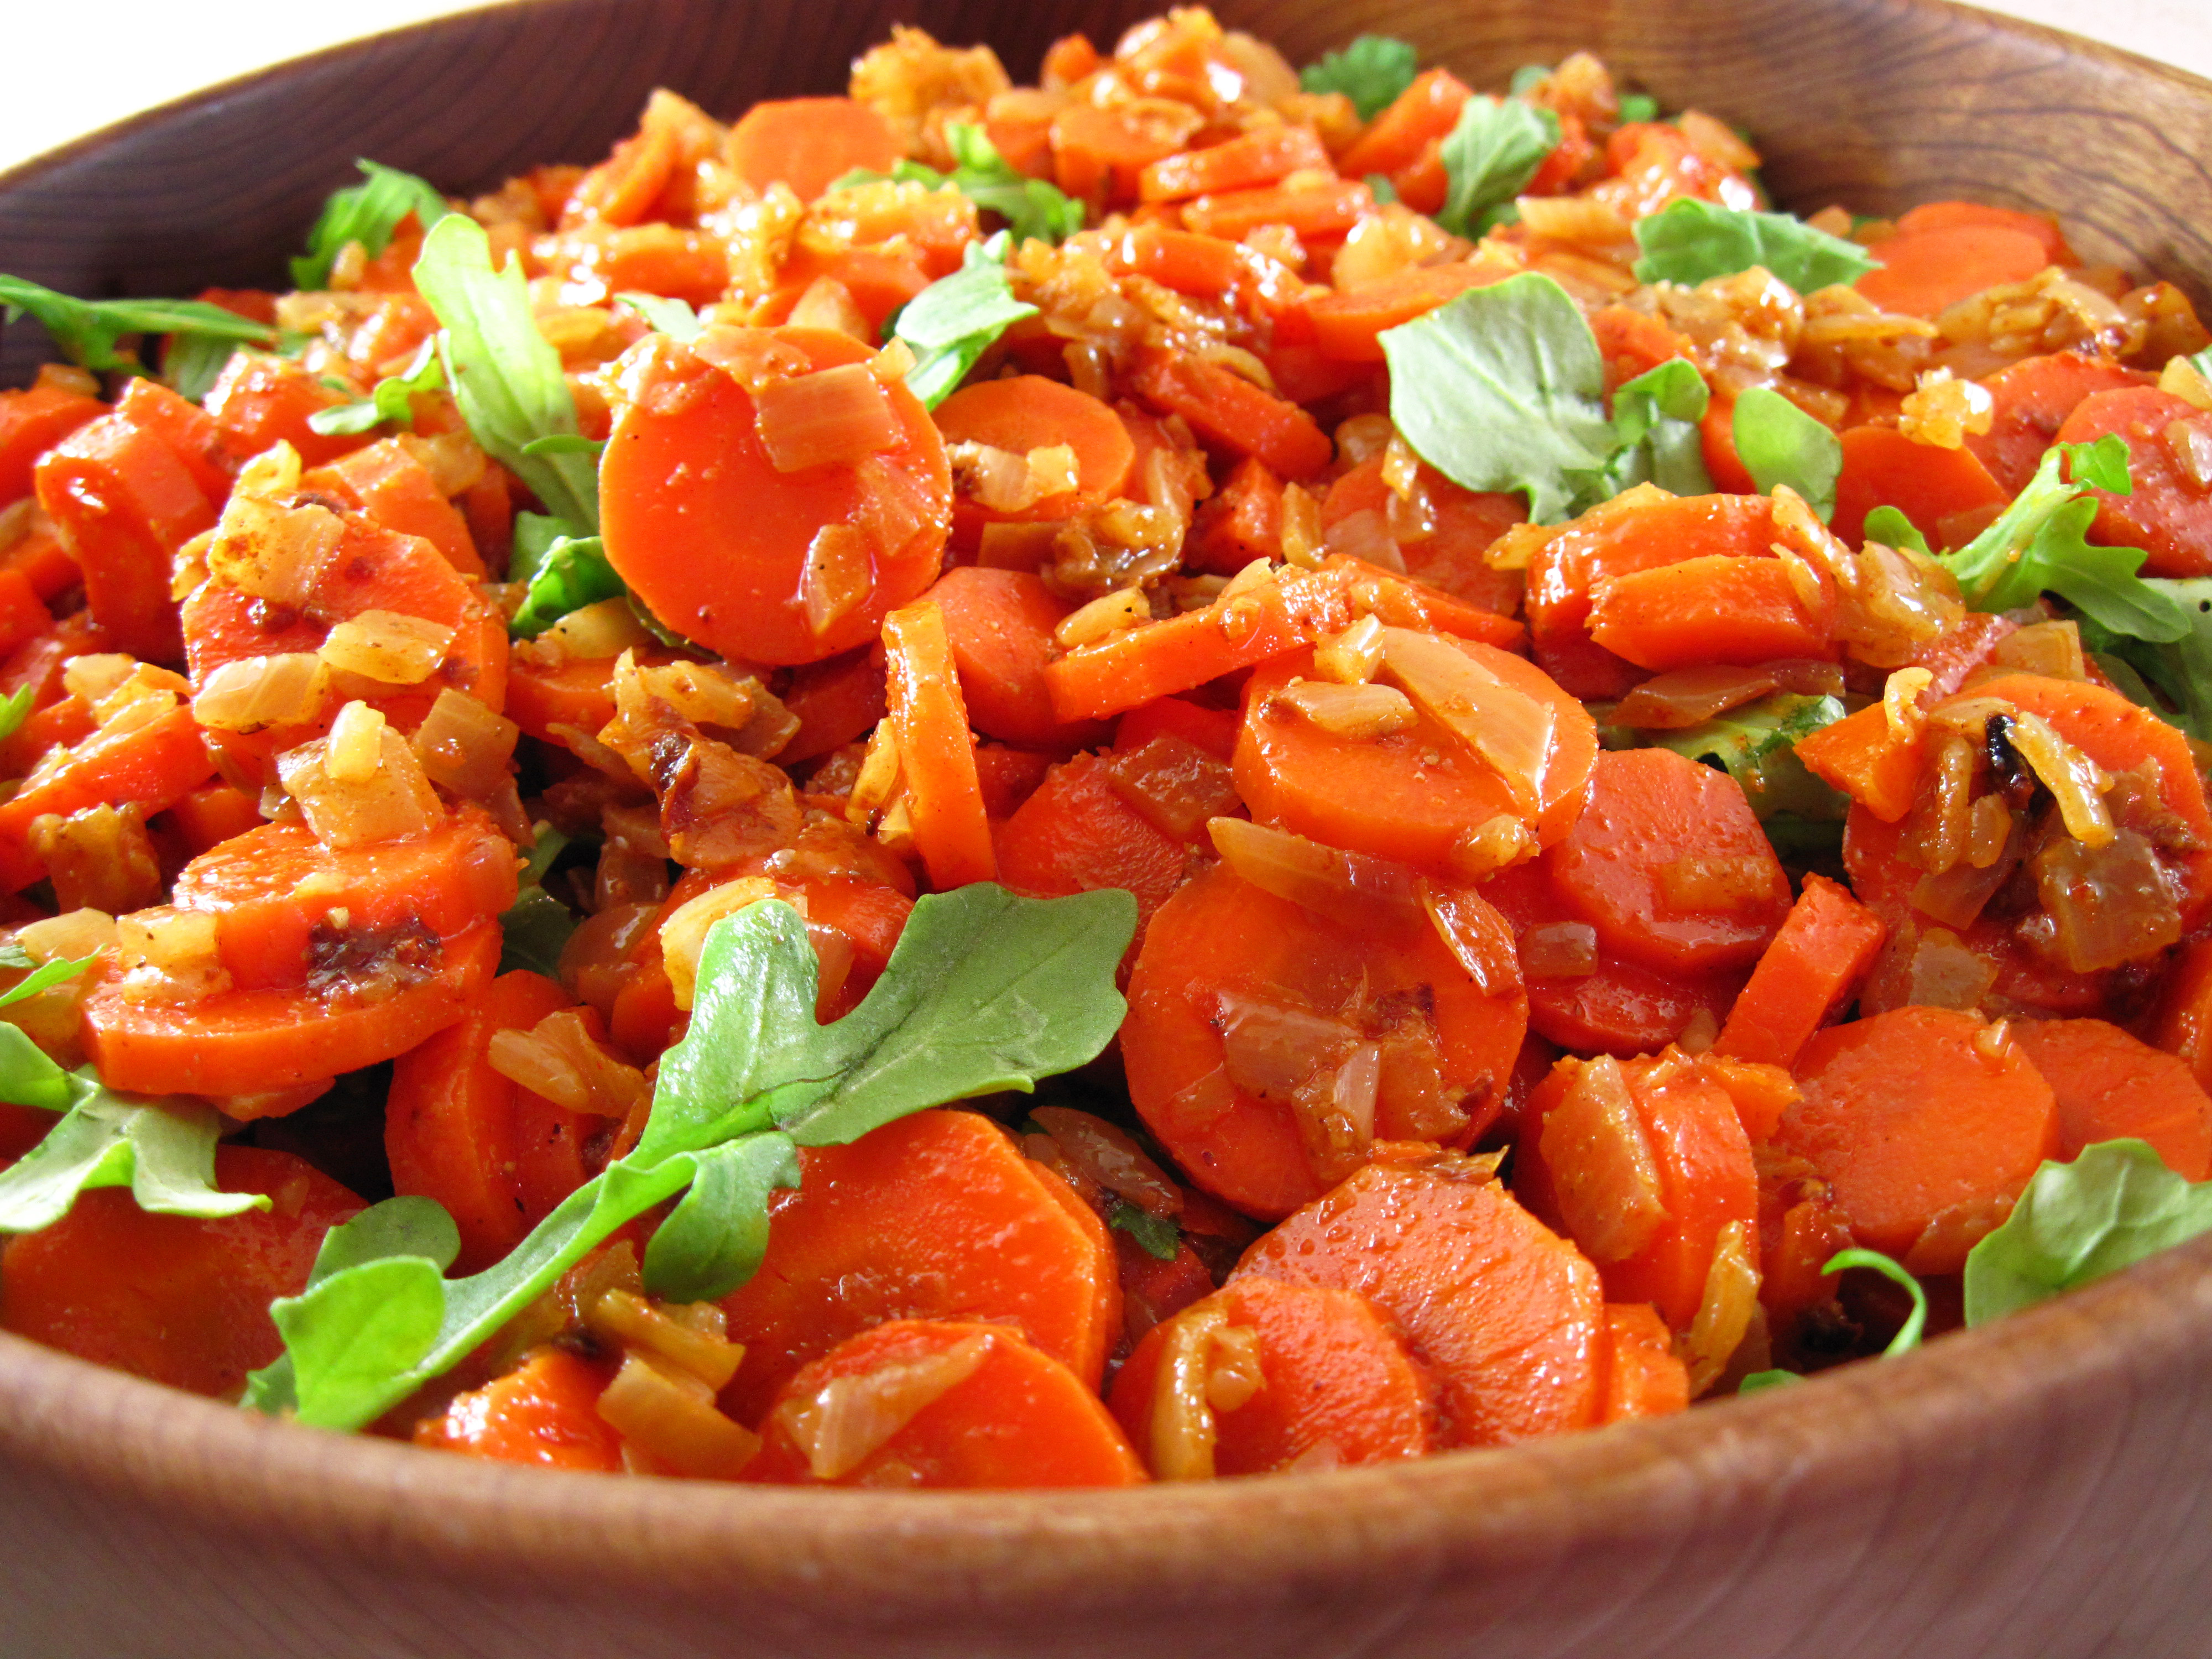
Spicy Carrot Salad with Pilpelchuma
By Kath Dedon
a
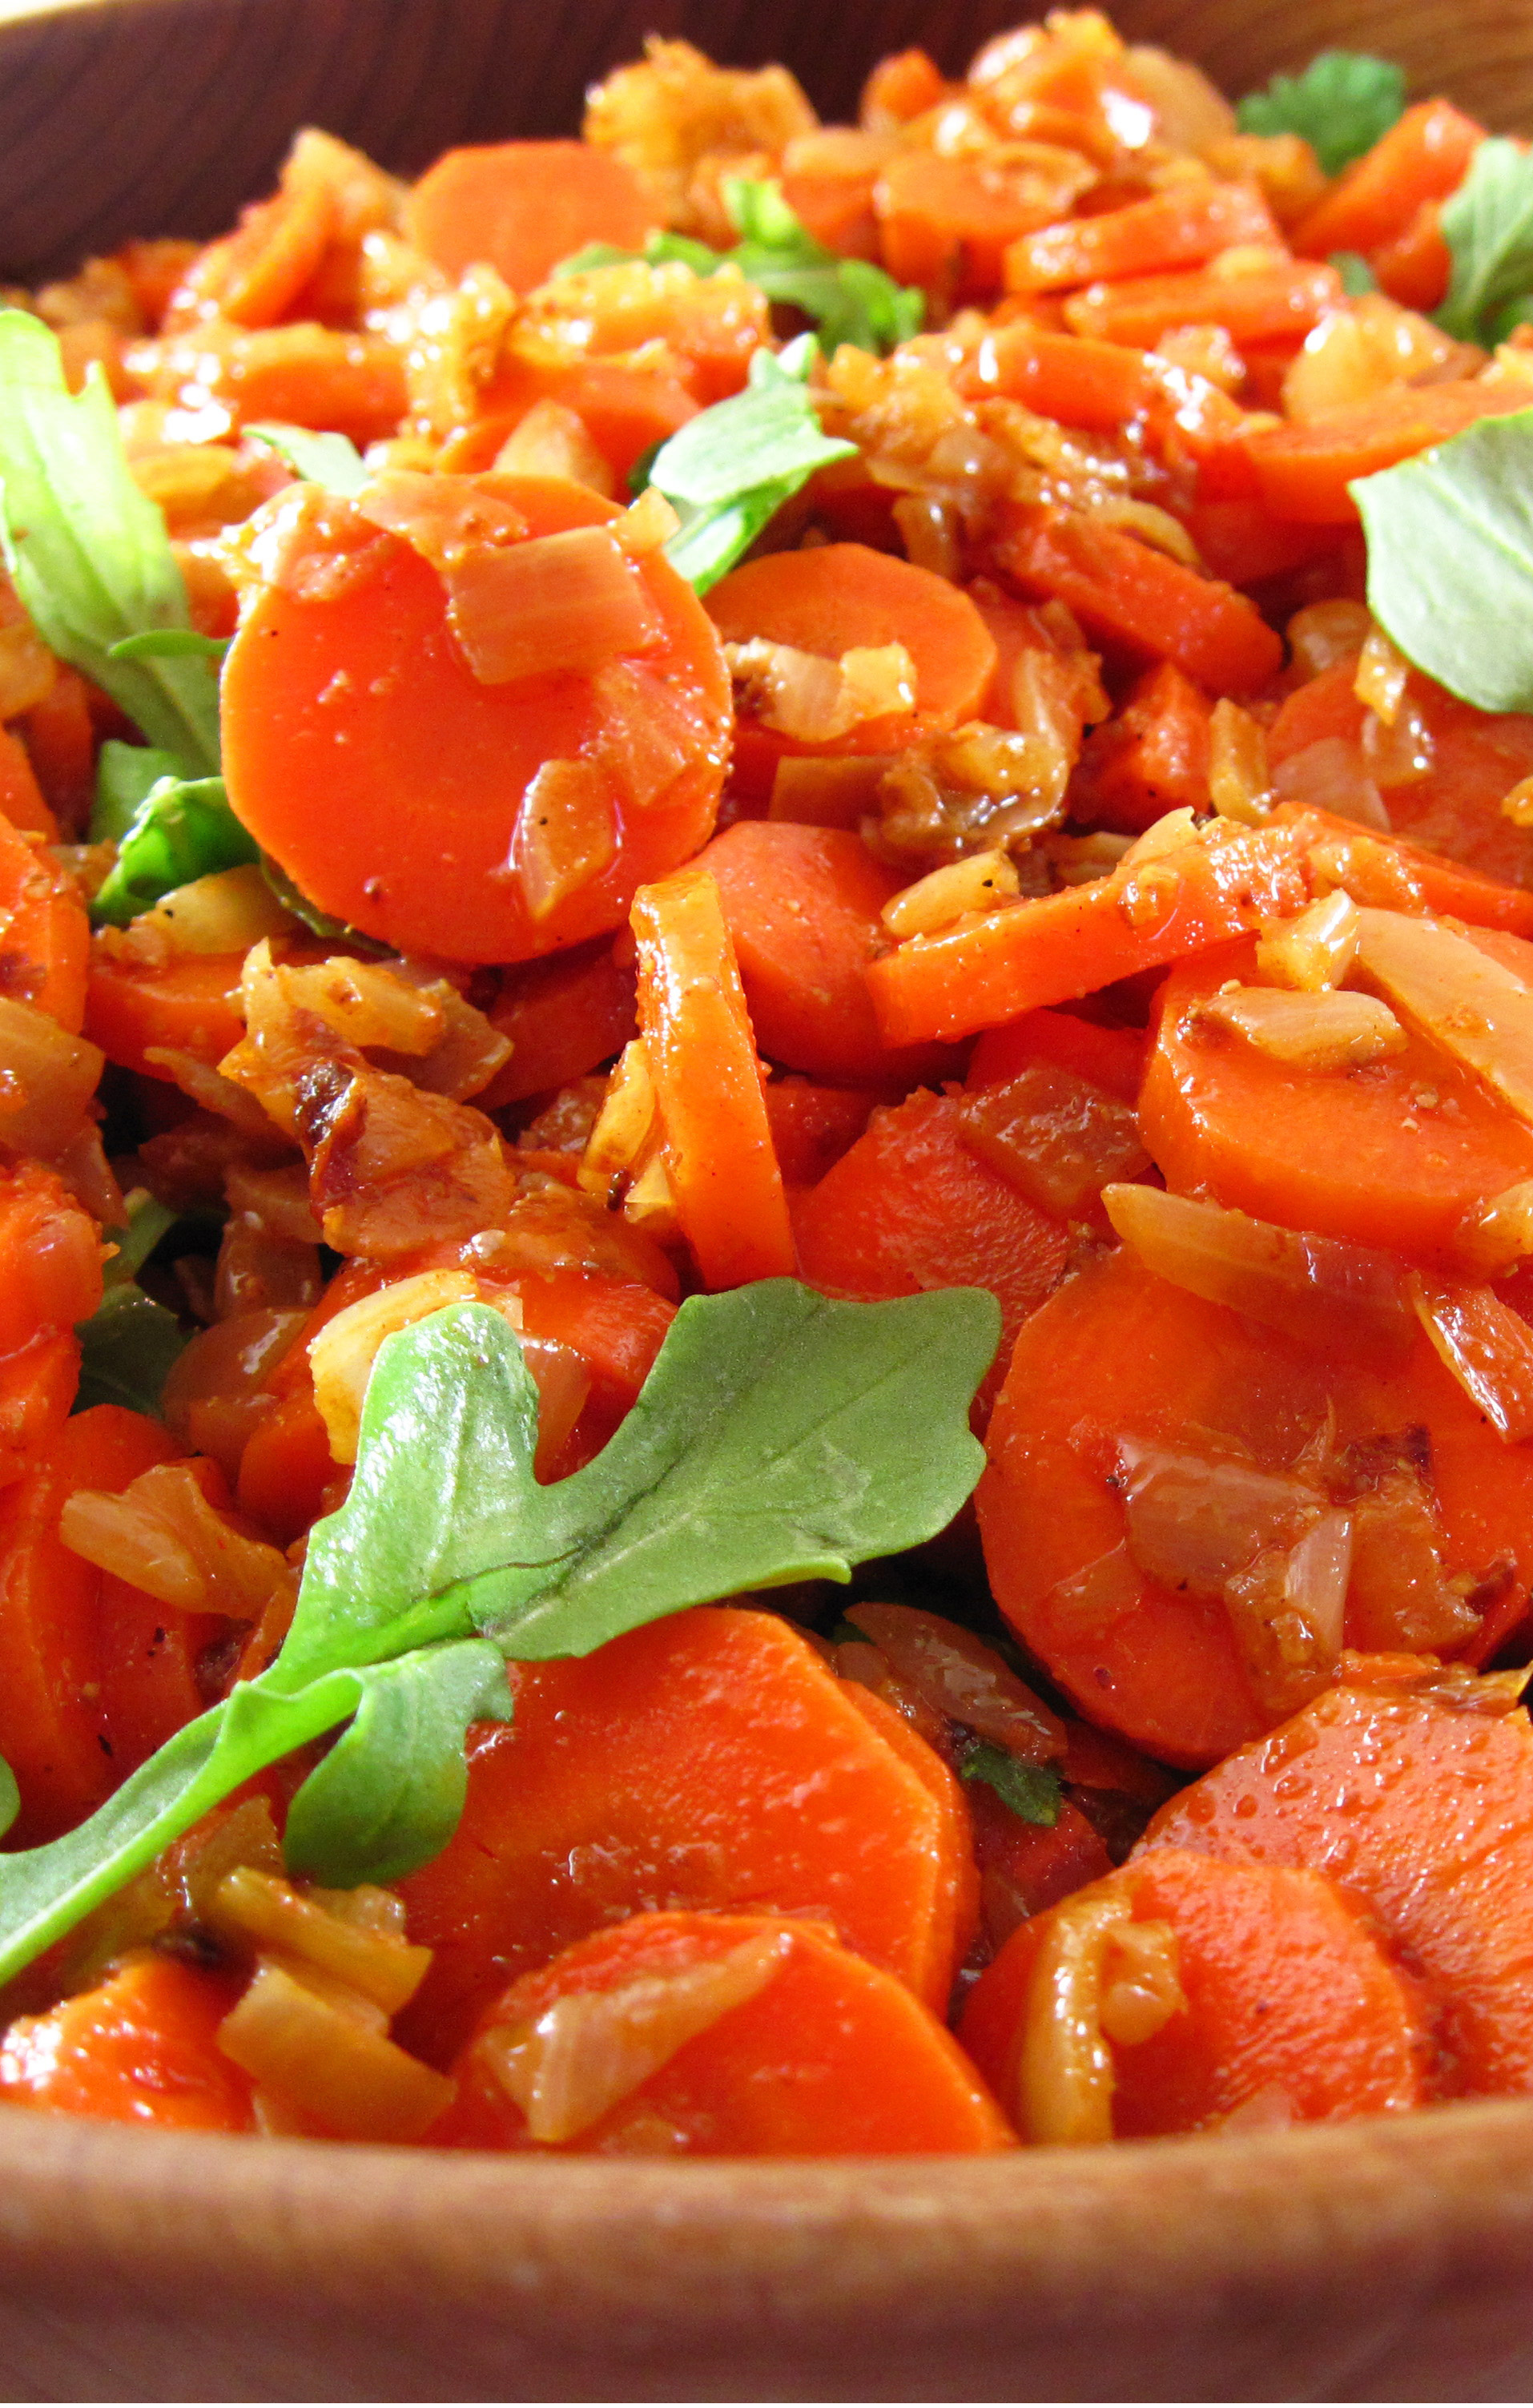
Yotam Ottolenghi and Sami Tamimi’s recipe for Spicy Carrot Salad in Jerusalem turned out to be a great side dish with our Easter ham. It’s actually best made ahead of time and served at room temperature so it is perfect for entertaining.
A chile and garlic blend called Pilpelchuma, popular in Tripoli, is what makes it spicy. It’s pretty potent, but only one tablespoon is used in the salad. It makes it very flavorful without being too hot. It’s suggested that Harissa can be substituted but you may need to adjust how much you add, which will depend on the heat of your Harissa.
A carrot salad is often a part of an appetizer spread (meze) served in restaurants in Jerusalem. Ottolenghi and Tamimi take the typical salad of carrots, oil, garlic, and lemon juice or vinegar to the next level with their spicy version. I highly recommend this Spicy Carrot Salad!
a
a
Spicy Carrot Salad
(This is adapted from an Ottolenghi/Tamimi recipe in Jerusalem. They credited Pascale Perez-Rubin for her recipe that inspired them.)
a
a
Serves 4 very generously, 6 – 8 as part of a meal with many other dishes
a
6 large carrots (1½ pounds/700g), peeled
3 tablespoons sunflower oil
1 large onion, finely chopped (2 cups/300g)
1 tablespoon Pilpelchuma (recipe below) or Harissa
½ teaspoon ground cumin
½ teaspoon caraway seeds, freshly ground
½ teaspoon sugar
3 tablespoon cider vinegar
1½ cups (30g) arugula leaves
¾ teaspoon sea salt
a
1. Place the peeled carrots in a large pot. Cover with water, bring to a boil, and then cover, lower the heat and simmer for about 15 – 20 minutes, until just tender. Drain and allow to cool.
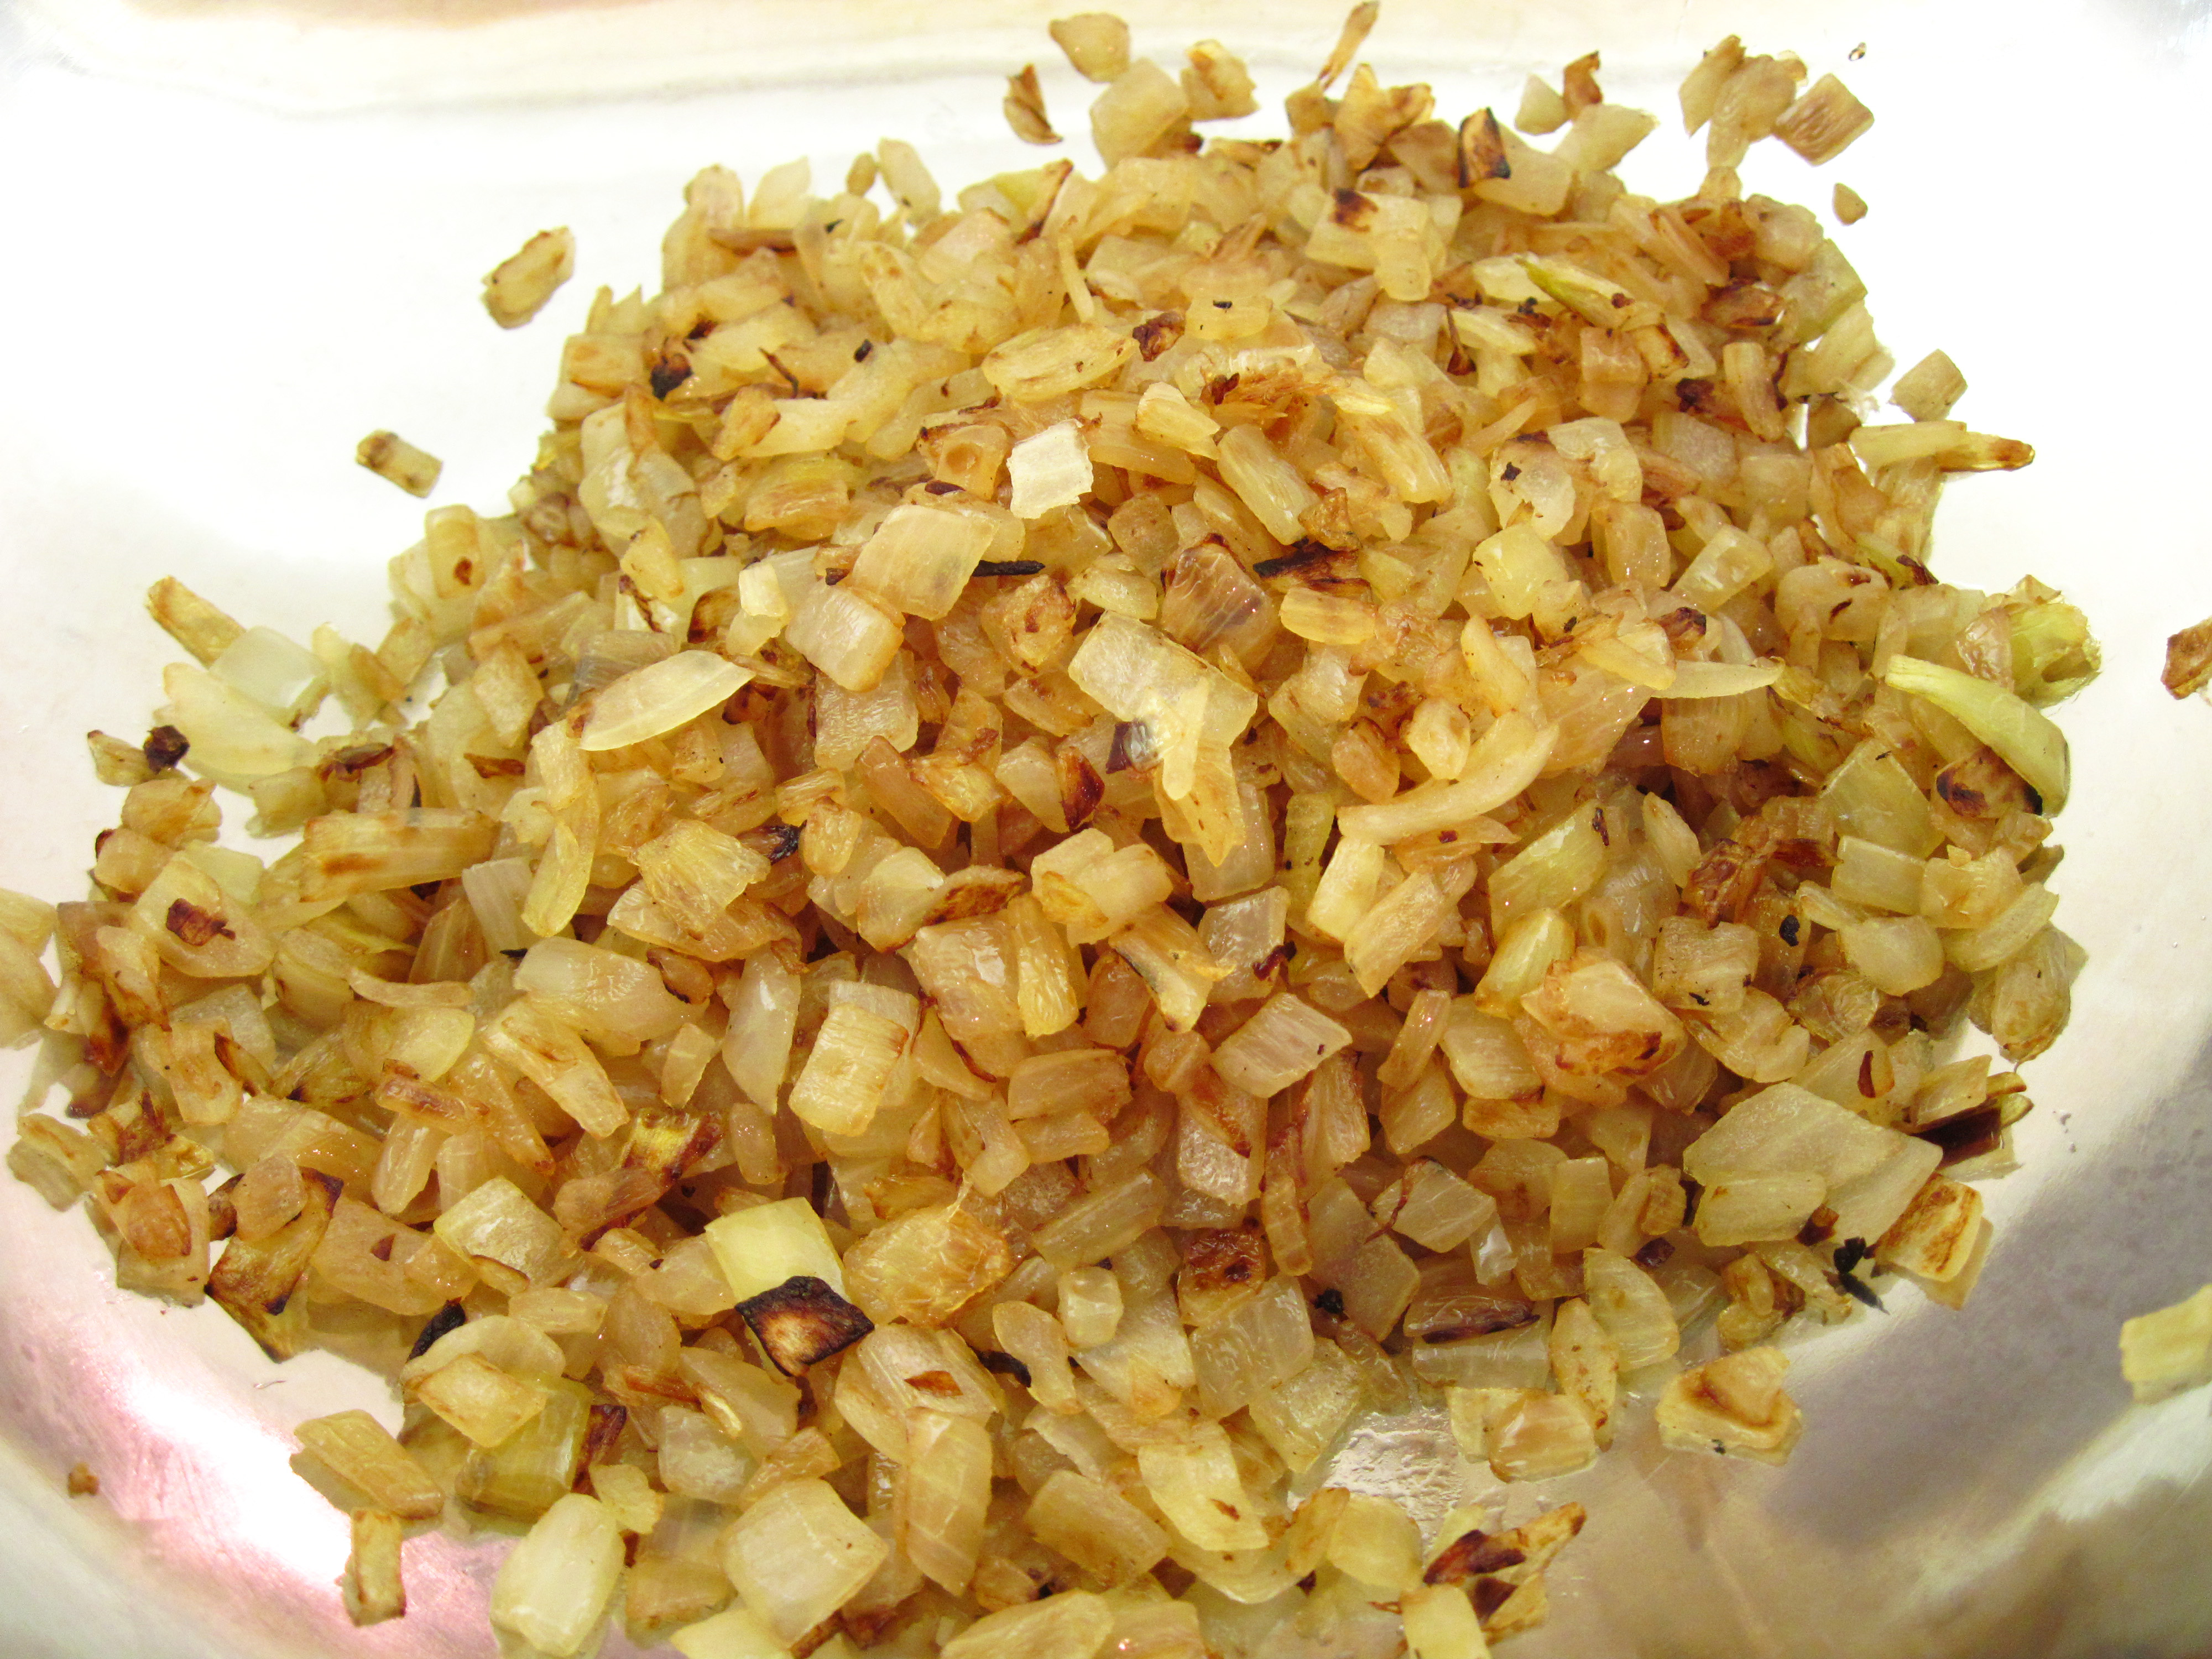
2. While the carrots are cooking, put half of the oil in a skillet and cook the onions over medium heat until golden brown, about 10 – 15 minutes.
3. In a large bowl, combine the onions, the other half of the oil, the Pilpelchuma, cumin, caraway, sugar, cider vinegar, and salt.
a
Cooked onions added to the mixing bowl
4. When the carrots have cooled, cut them into ¼-inch slices and stir them into the salad. Let the salad sit for at least 30 minutes before serving. (It can be made the day before. If so, cover and refrigerate but allow it to come to room temperature before serving.)
5. Just before serving, add the arugula or simply serve it on a bed of arugula. (If there is salad leftover, the arugula will wilt. I removed the arugula from our leftover salad.)
a

a
Pilpelchuma
(Leftover Pilpelchuma will keep for about a month in the refrigerator. The authors suggest pouring a thin film of oil over the surface to keep it from drying out. Use it as you would Harissa. Suggestions include smearing on root vegetables before roasting, mixing with oil and herbs to use as a meat rub, or mixing in scrambled eggs.)
Makes about 1 cup
a
I found dried ancho chiles in the section featuring Mexican ingredients.

a
a
You’ll need a small glass container that will hold about 1 cup
1 large ancho or pasilla chile or other dried chile with some heat (12g)
4½ tablespoons (25g) cayenne pepper
3½ tablespoons (25g) sweet paprika
2½ teaspoons ground cumin
1½ teaspoons caraway seeds, ground (I used a coffee grinder)
16 – 20 cloves garlic, peeled (2¾oz/75g)
¾ teaspoon sea salt
5 tablespoons (75 ml) sunflower oil
a
Caraway seeds ready to be ground in a clean coffee grinder

One head of garlic had 16 cloves of garlic, weighing 76g

a
a
1. Use Ottolenghi and Tamimi’s method to sterilize your container. Fill the container with boiling water. Leave it for a minute or so, and then empty and let it air dry.
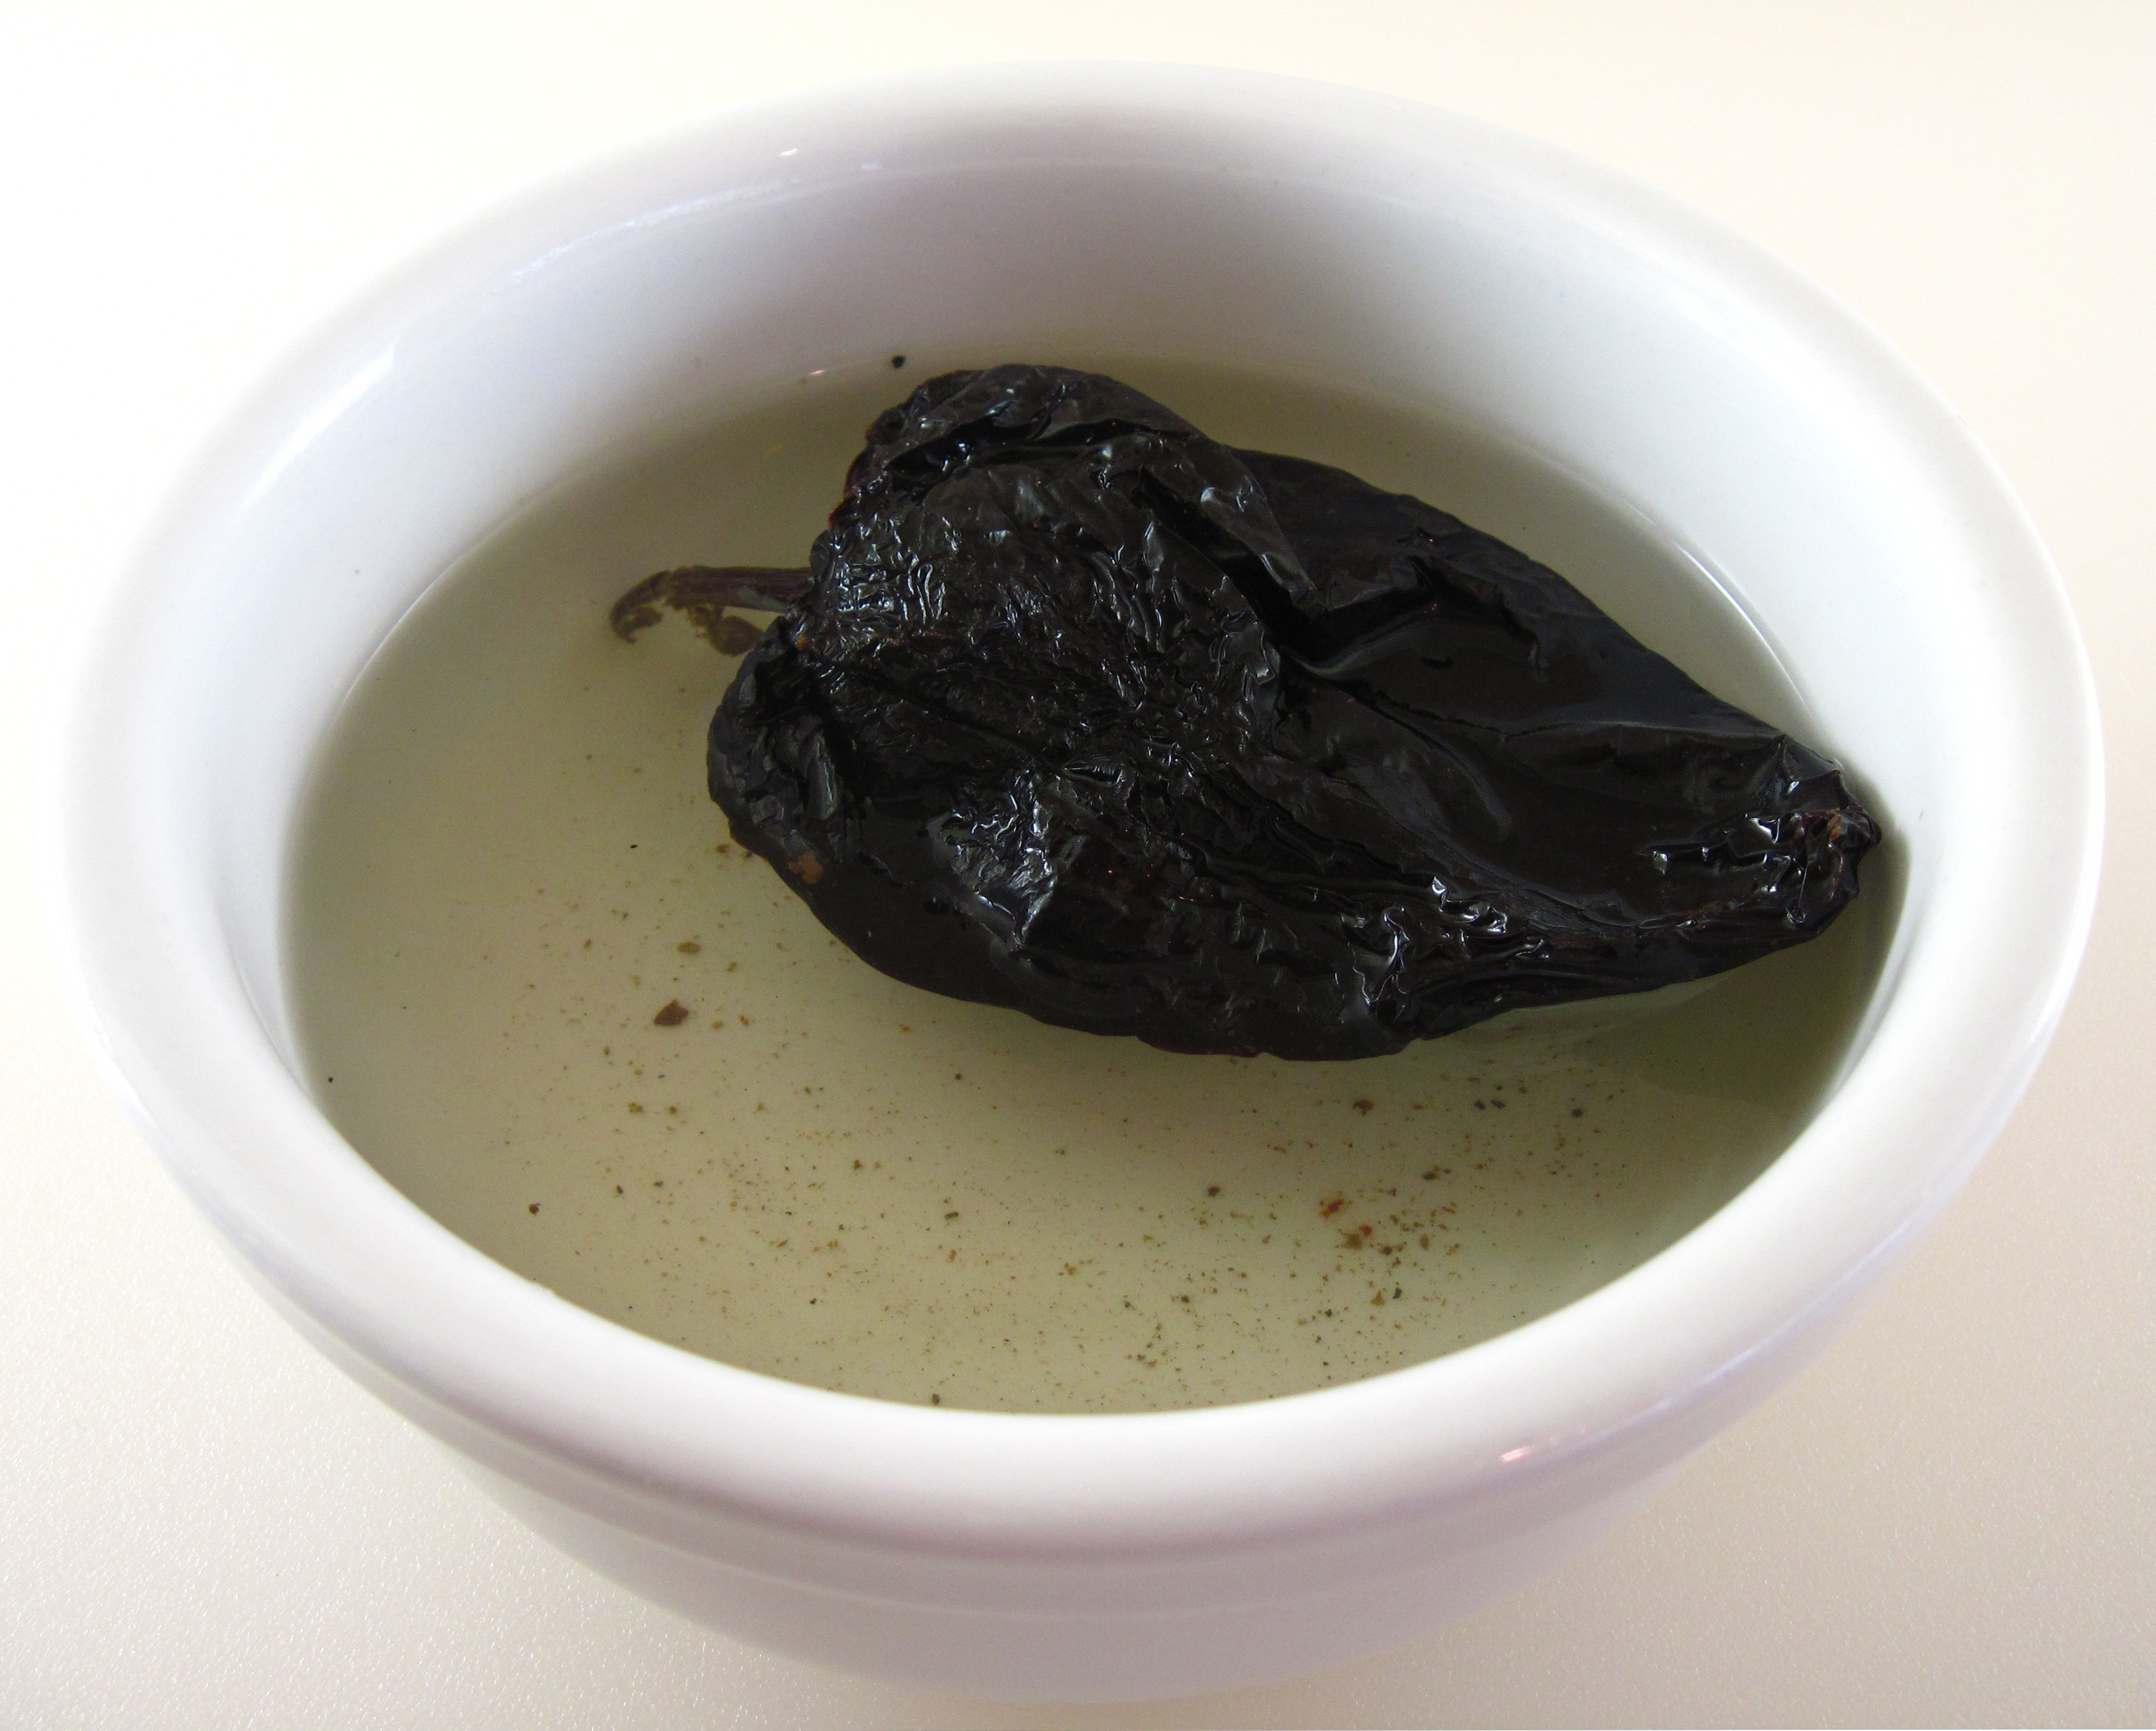
2. Put the dried chile in a bowl and cover with hot water. Let it sit for 30 minutes.
a
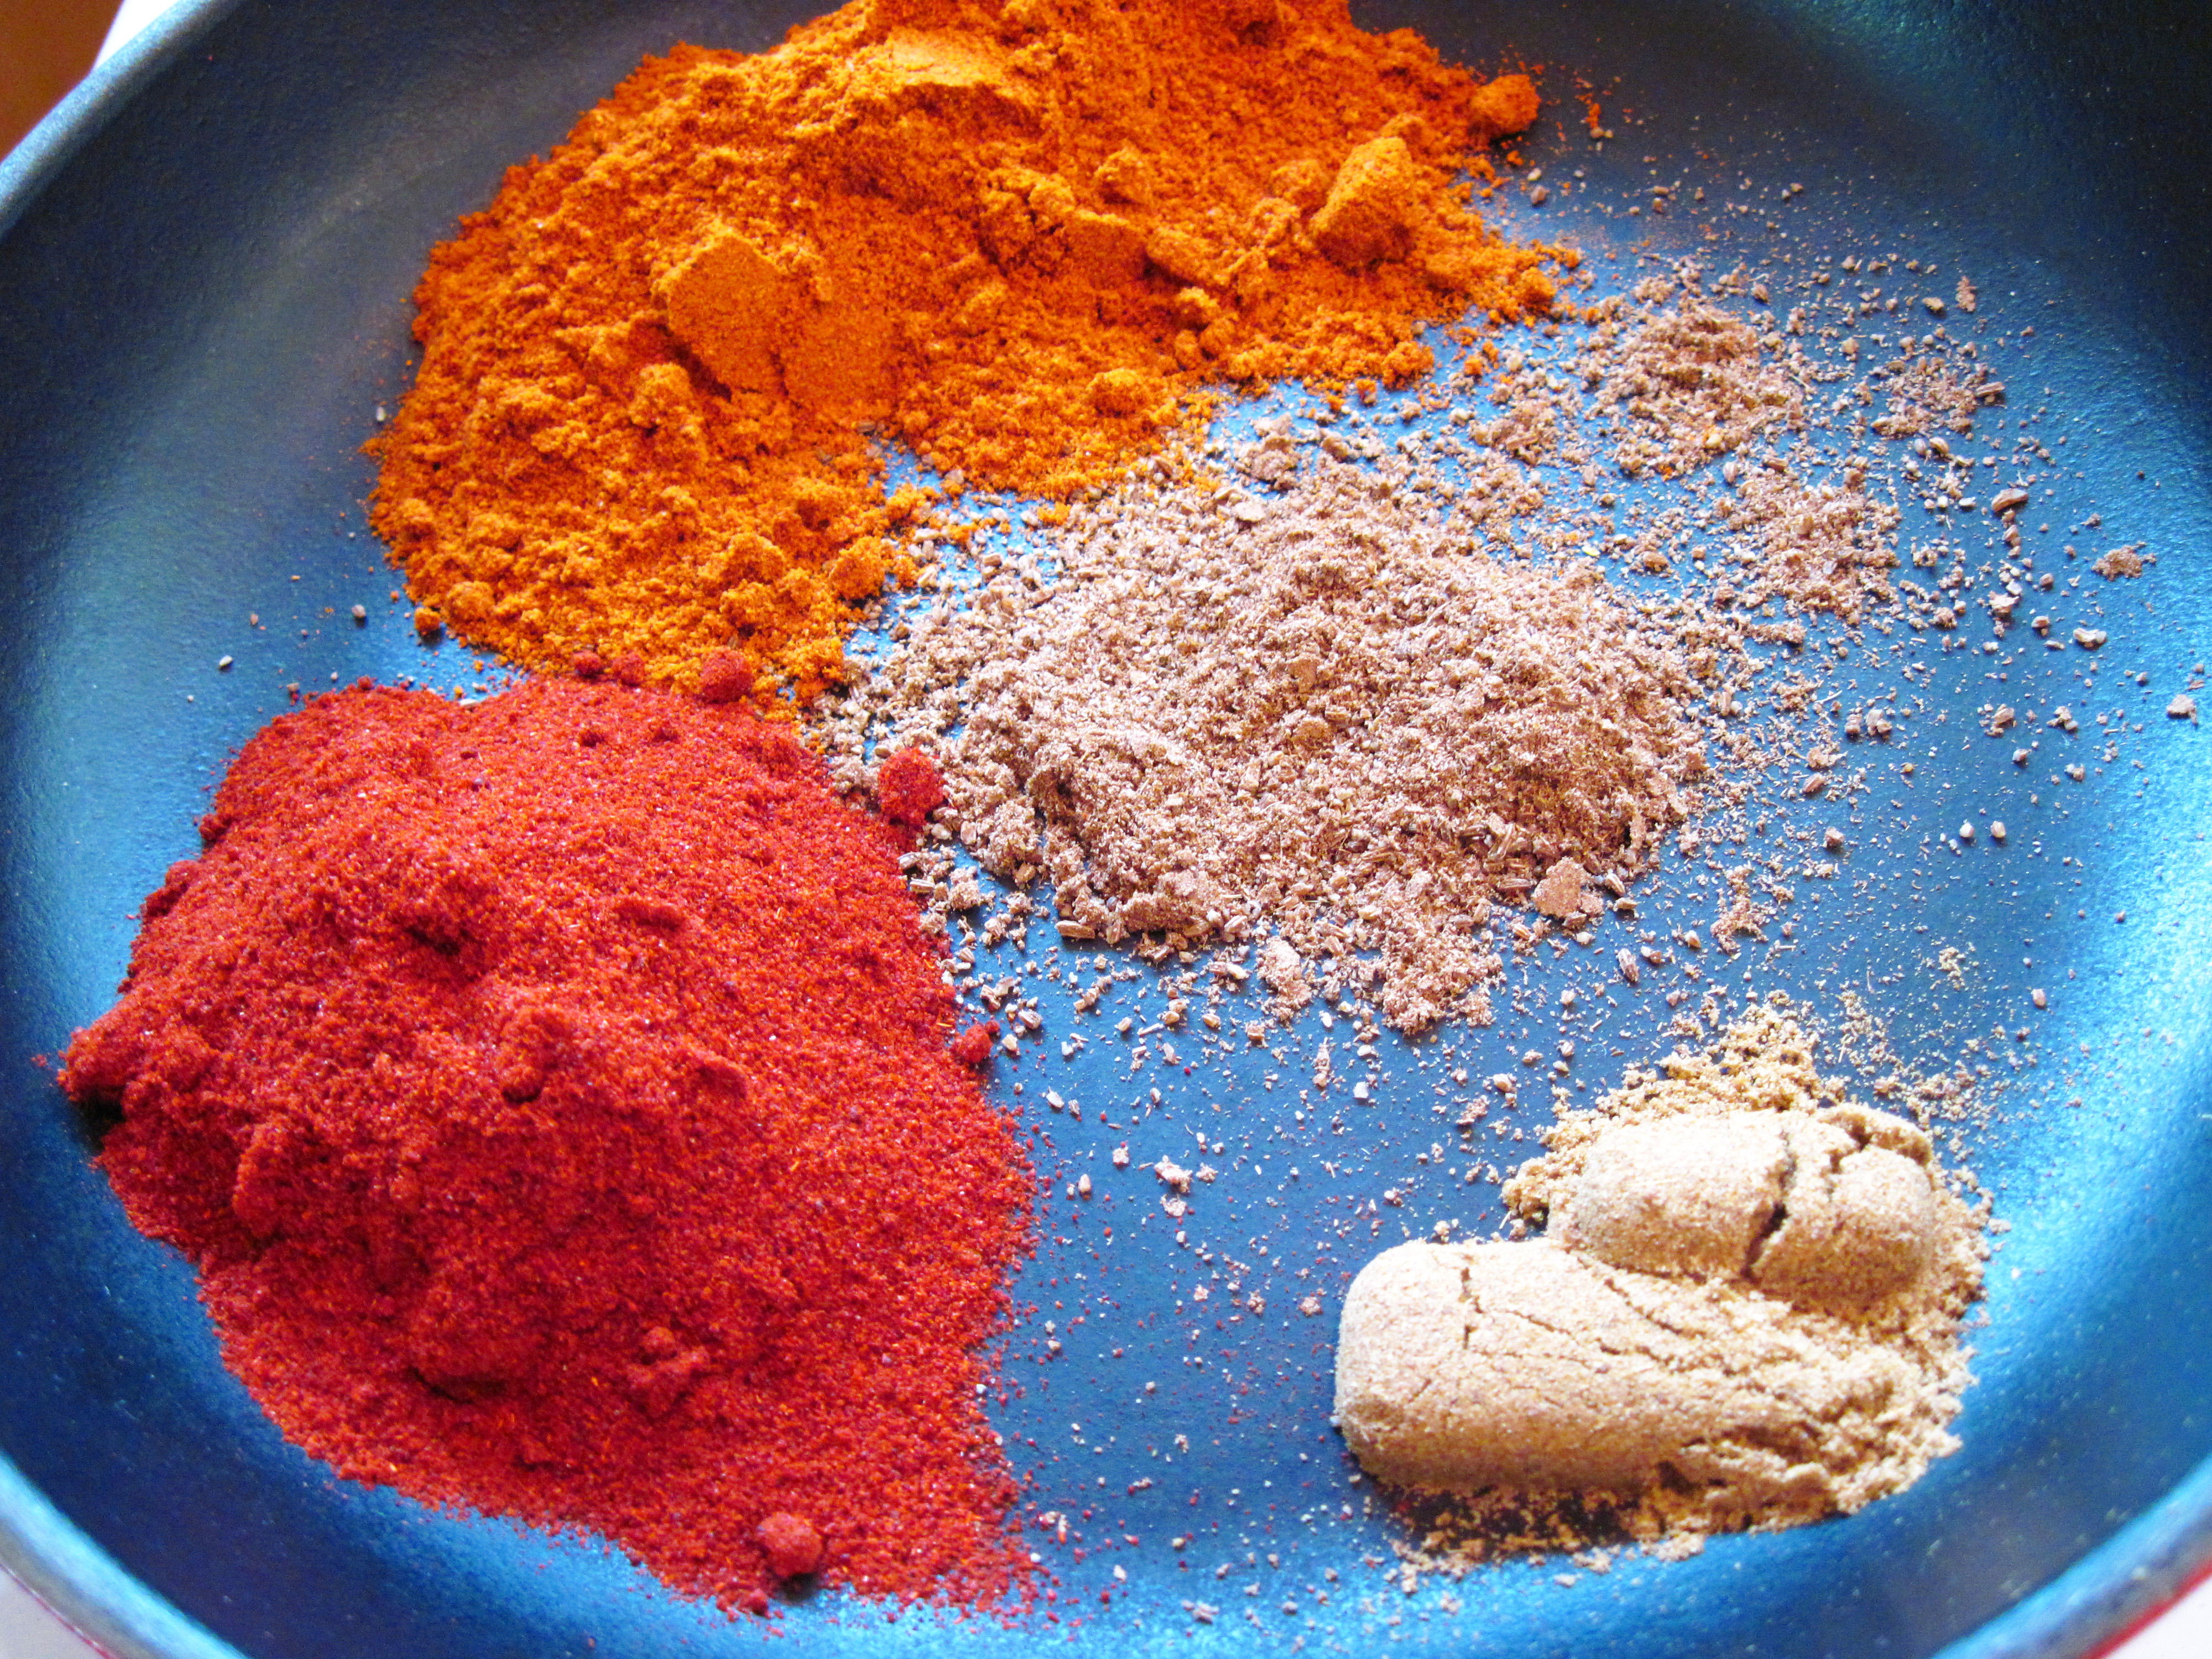
3. Put the ground spices in a skillet. Stir them over medium-low heat for about 2 minutes.
a
Cayenne pepper, ground caraway seeds, ground cumin, and paprika
a
4. Put the spices in a small food processor and add the garlic and salt.
5. Remove the chile from the bowl of water. Seed it and cut into pieces and add it to the food processor.
6. Process the ingredients a bit, and then add the sunflower oil and process until it is a well-blended paste.
7. Put the Pilpelchuma in the sterilized container. Put a thin film of oil over it and then put the lid on and refrigerate.
a
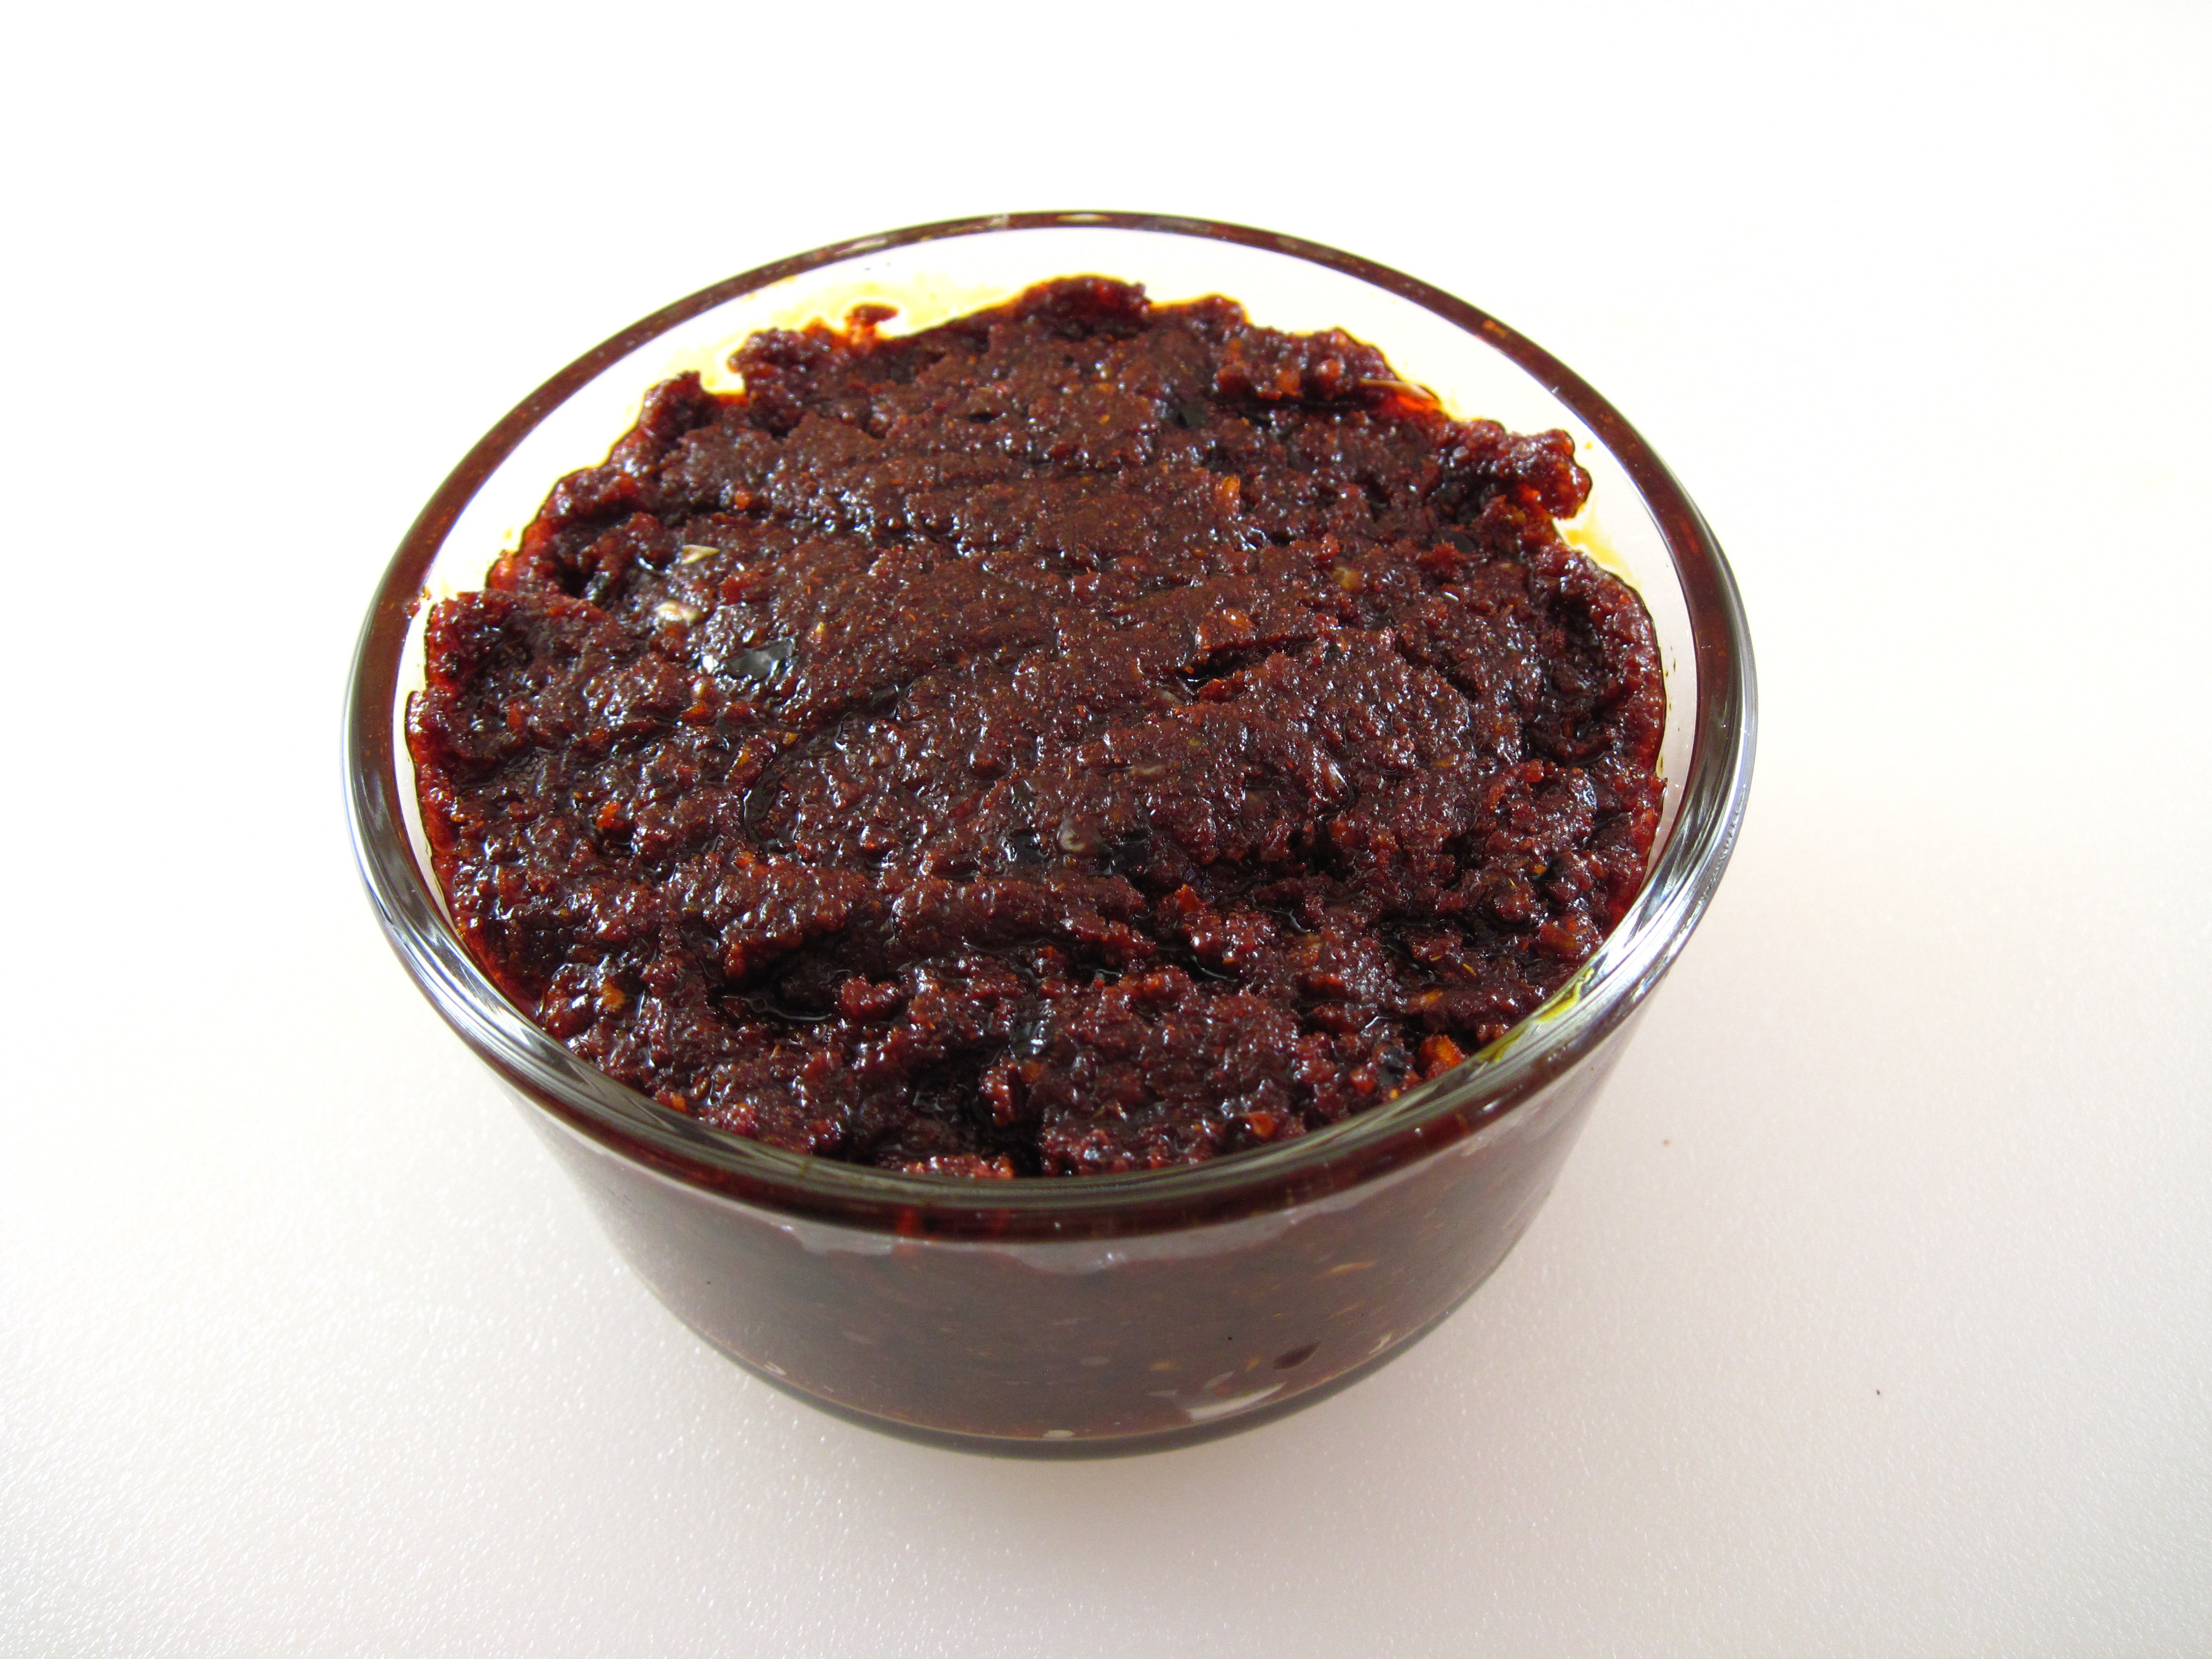
1 cup of Pilpelchuma
a
a
Share this:

Coconut Macaroons for Two
By Kath Dedon
a
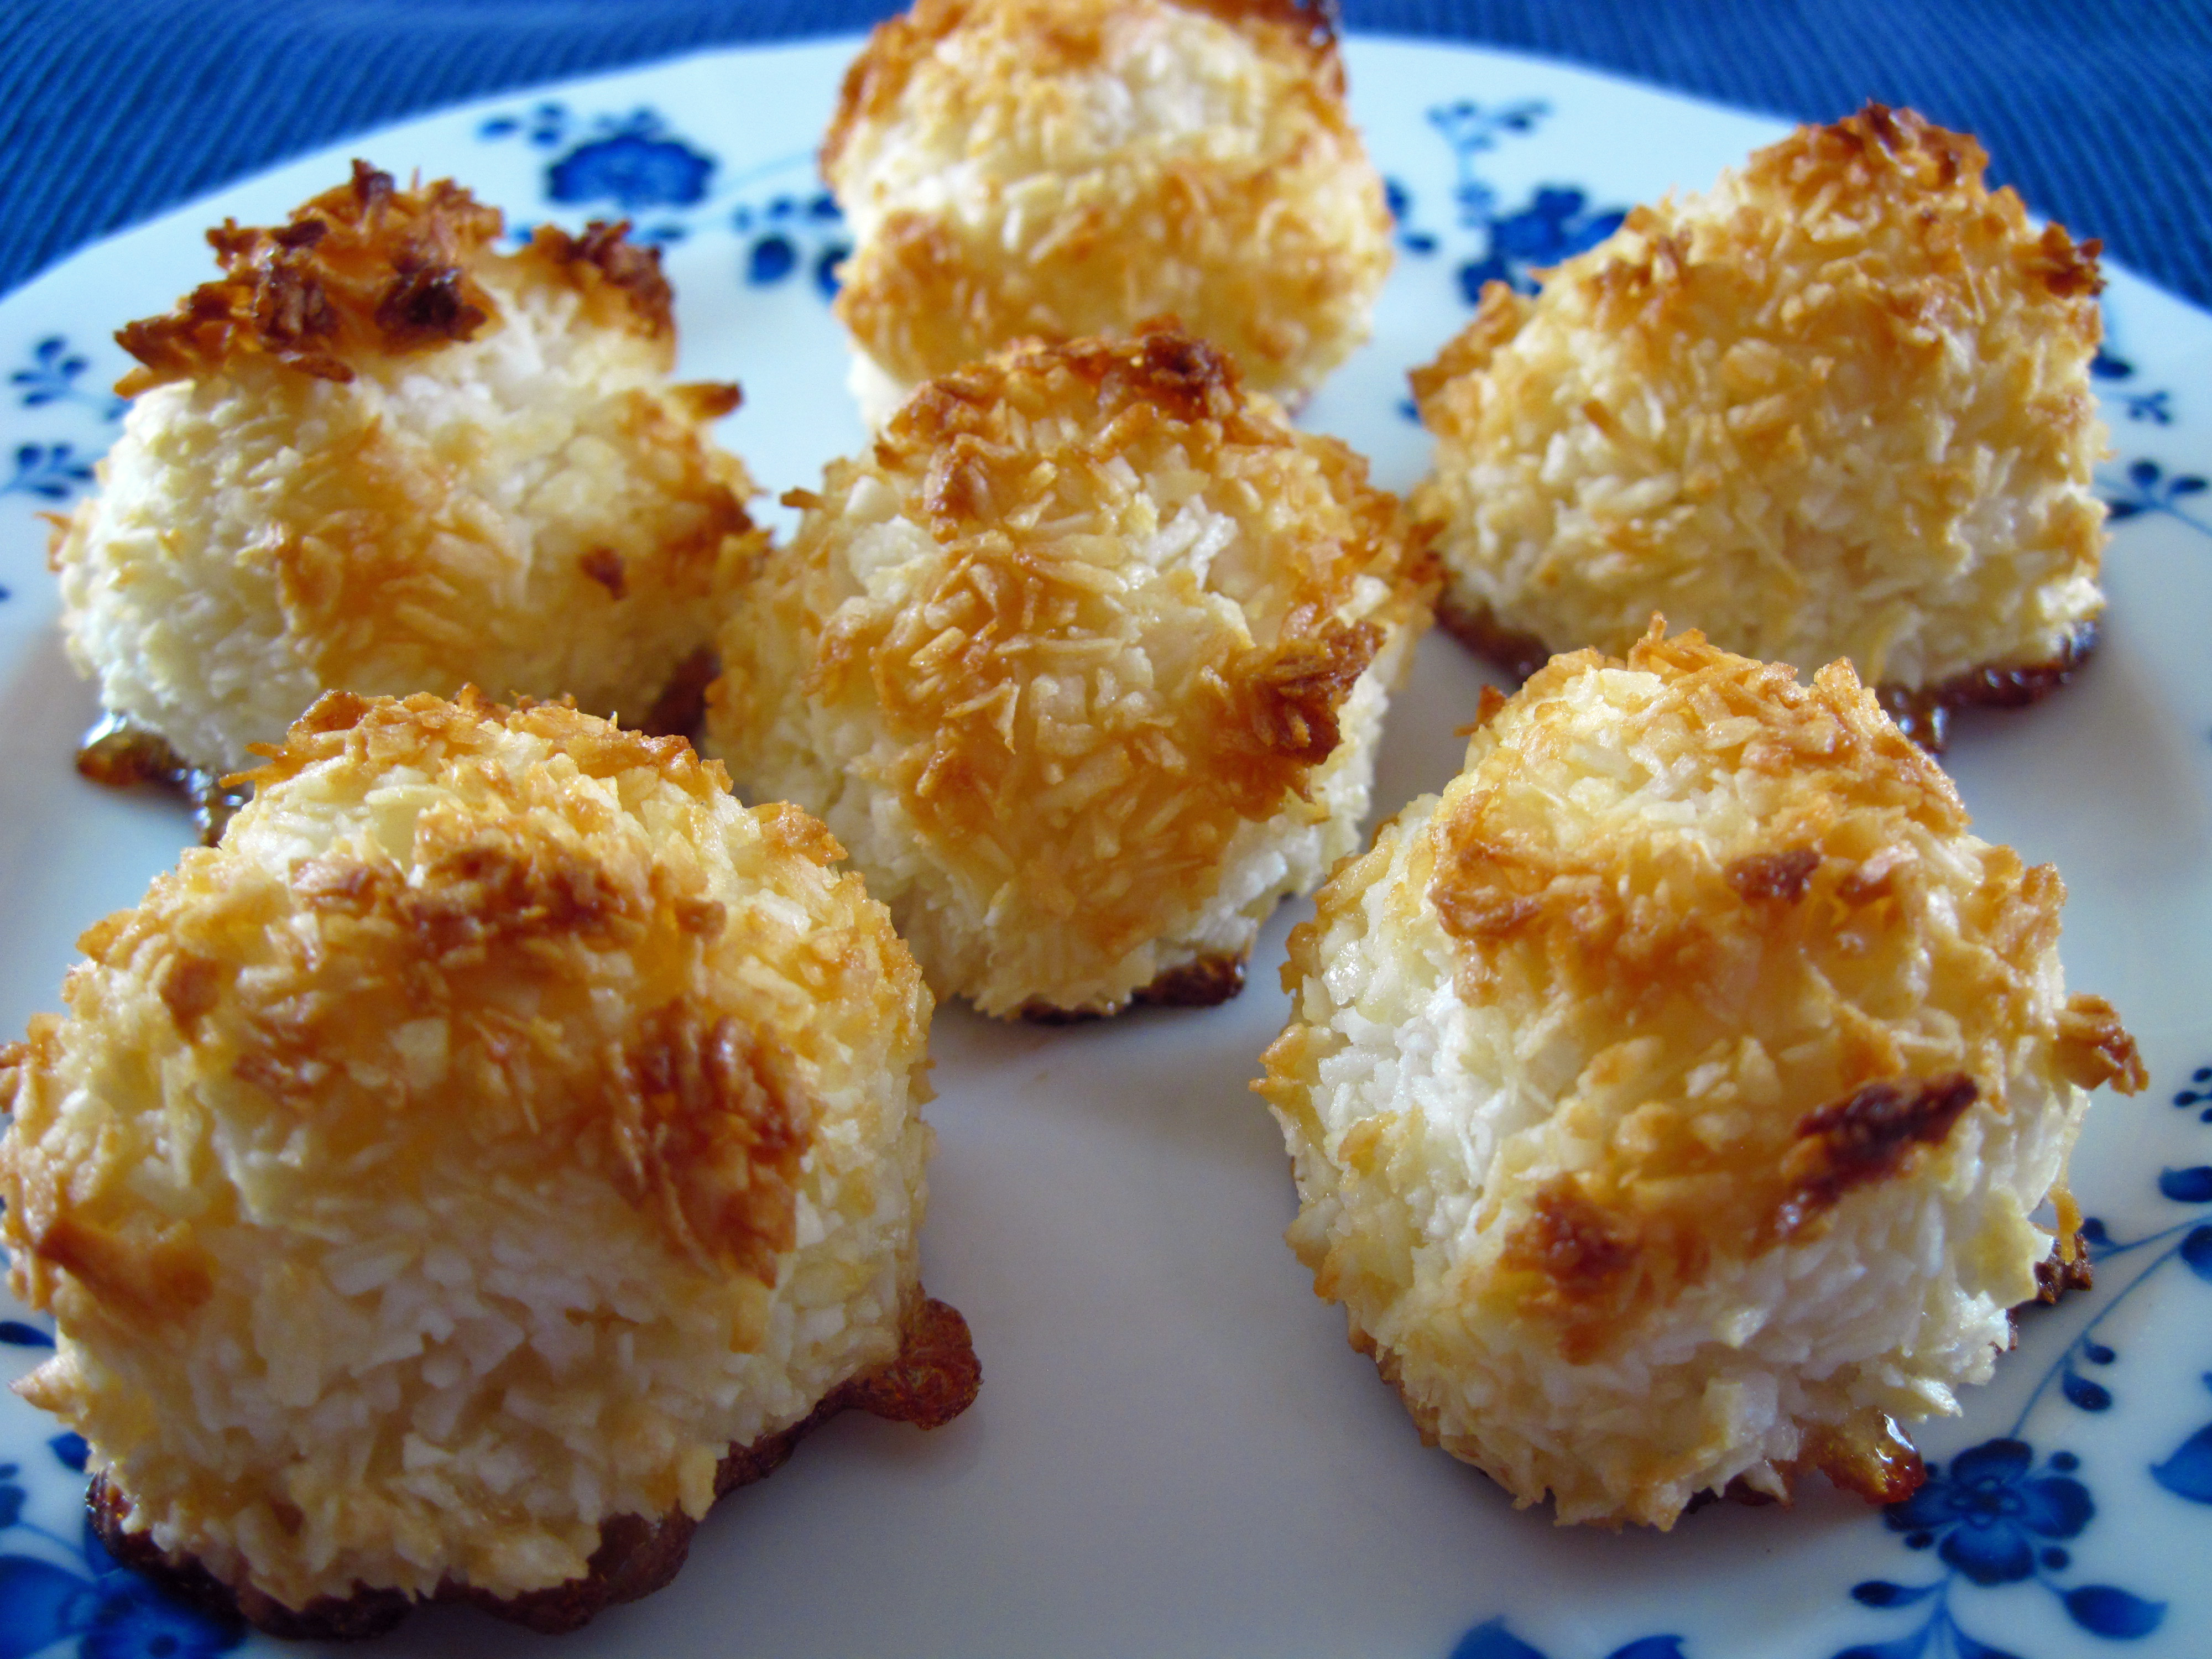
Bob loves coconut macaroons so I was excited to find this recipe for Coconut Macaroons for Two in the recently published book, Dessert for Two by Christina Lane. The book is full of great sounding desserts made in small batches to serve two people. I’m really looking forward to trying some more of Christina’s recipes!
The Coconut Macaroons recipe (Christina calls them Coconut Macarooooons) uses just five ingredients. With no flour, it’s naturally gluten-free and it is sweetened with honey. And it makes just 6 cookies. Perfect!
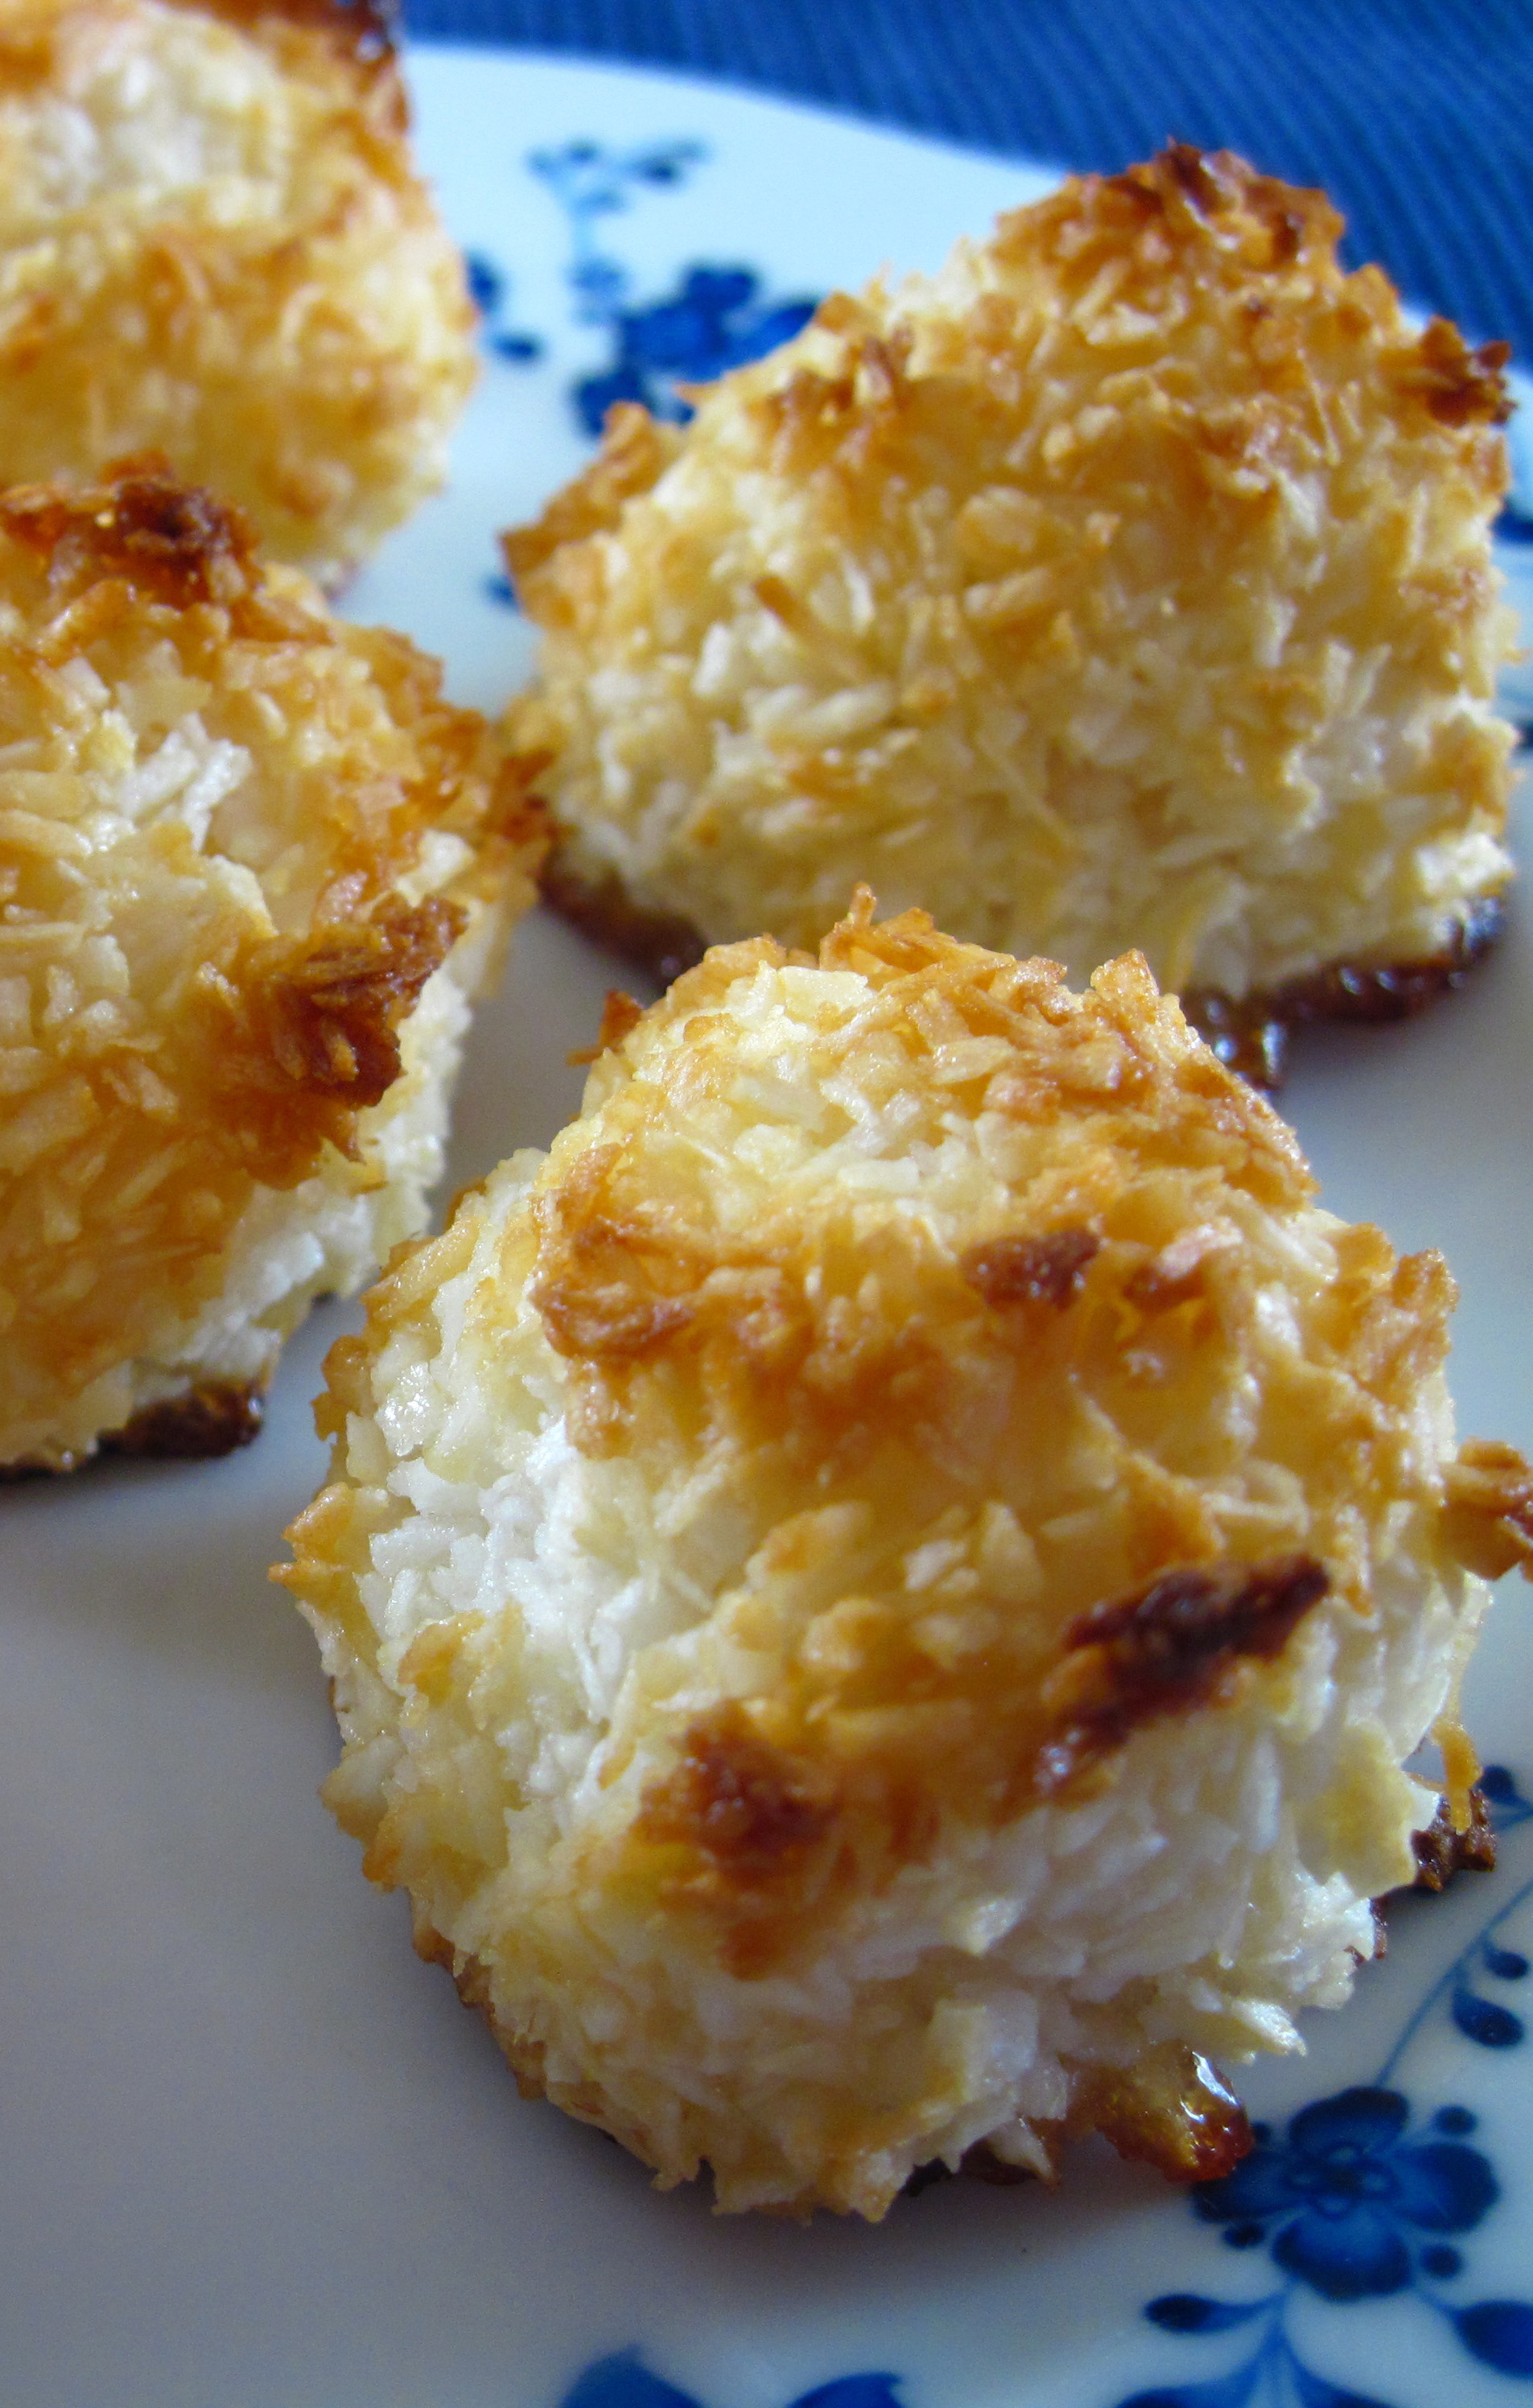
We loved these cookies! Bob proclaimed that they are right up there with my baklava. He ate the last one today and asked if I’d make them again. It’s not happening today, but I know it will happen again very soon.
a
a
Coconut Macaroons for Two
(Adapted from the recipe in Dessert for Two by Christina Lane)
a
a
Makes 6 cookies
1 cup packed (3 ounces) unsweetened finely shredded coconut
¼ teaspoon kosher salt
3 tablespoons (45 mL) honey
1 large egg white
¼ teaspoon almond extract
a
Parchment paper for the baking sheet (or cooking spray)
a
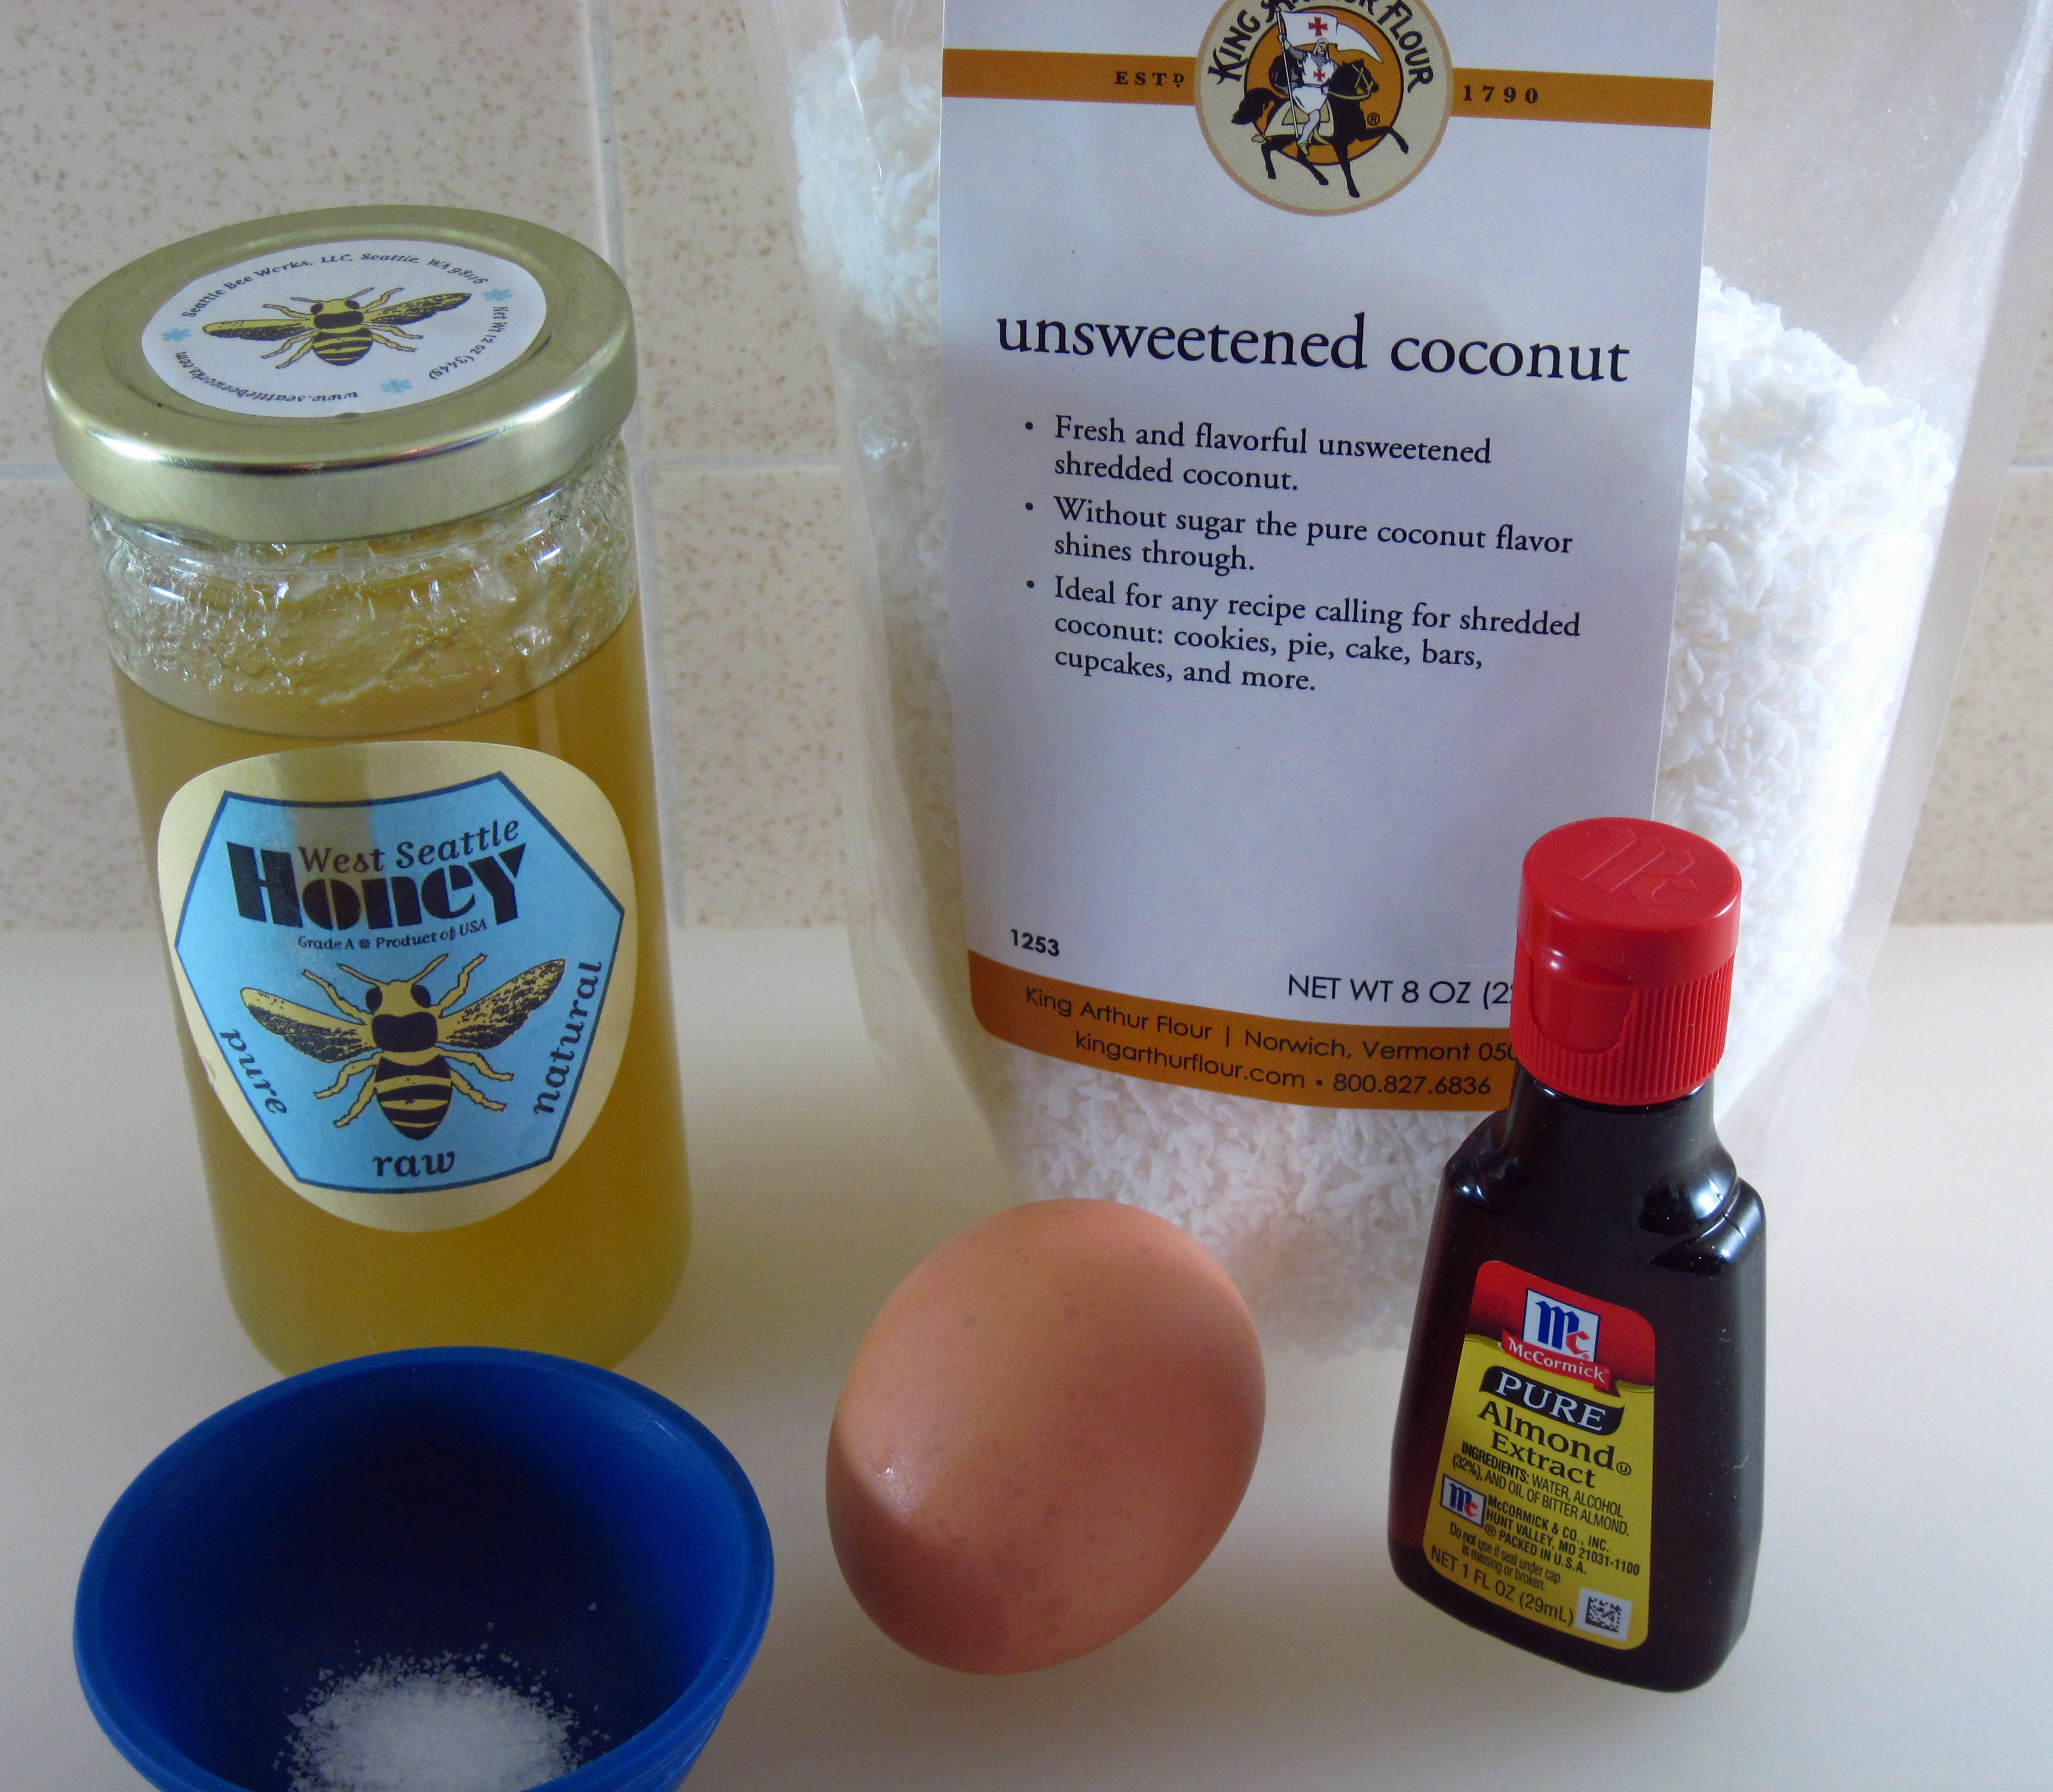
Just five ingredients: honey, coconut, almond extract, an egg white, and salt
a
- Preheat the oven to 350˚ and line a small baking sheet with parchment paper (or spray it with cooking spray).
- Stir the coconut and salt together in a bowl.
- In another small bowl, lightly beat the honey, egg white, and almond extract together.
- Pour the liquid ingredients into the coconut and stir well until it is all blended together.
- Make 6 balls of dough, packing each one as tightly as you can, and put them on the prepared baking sheet.
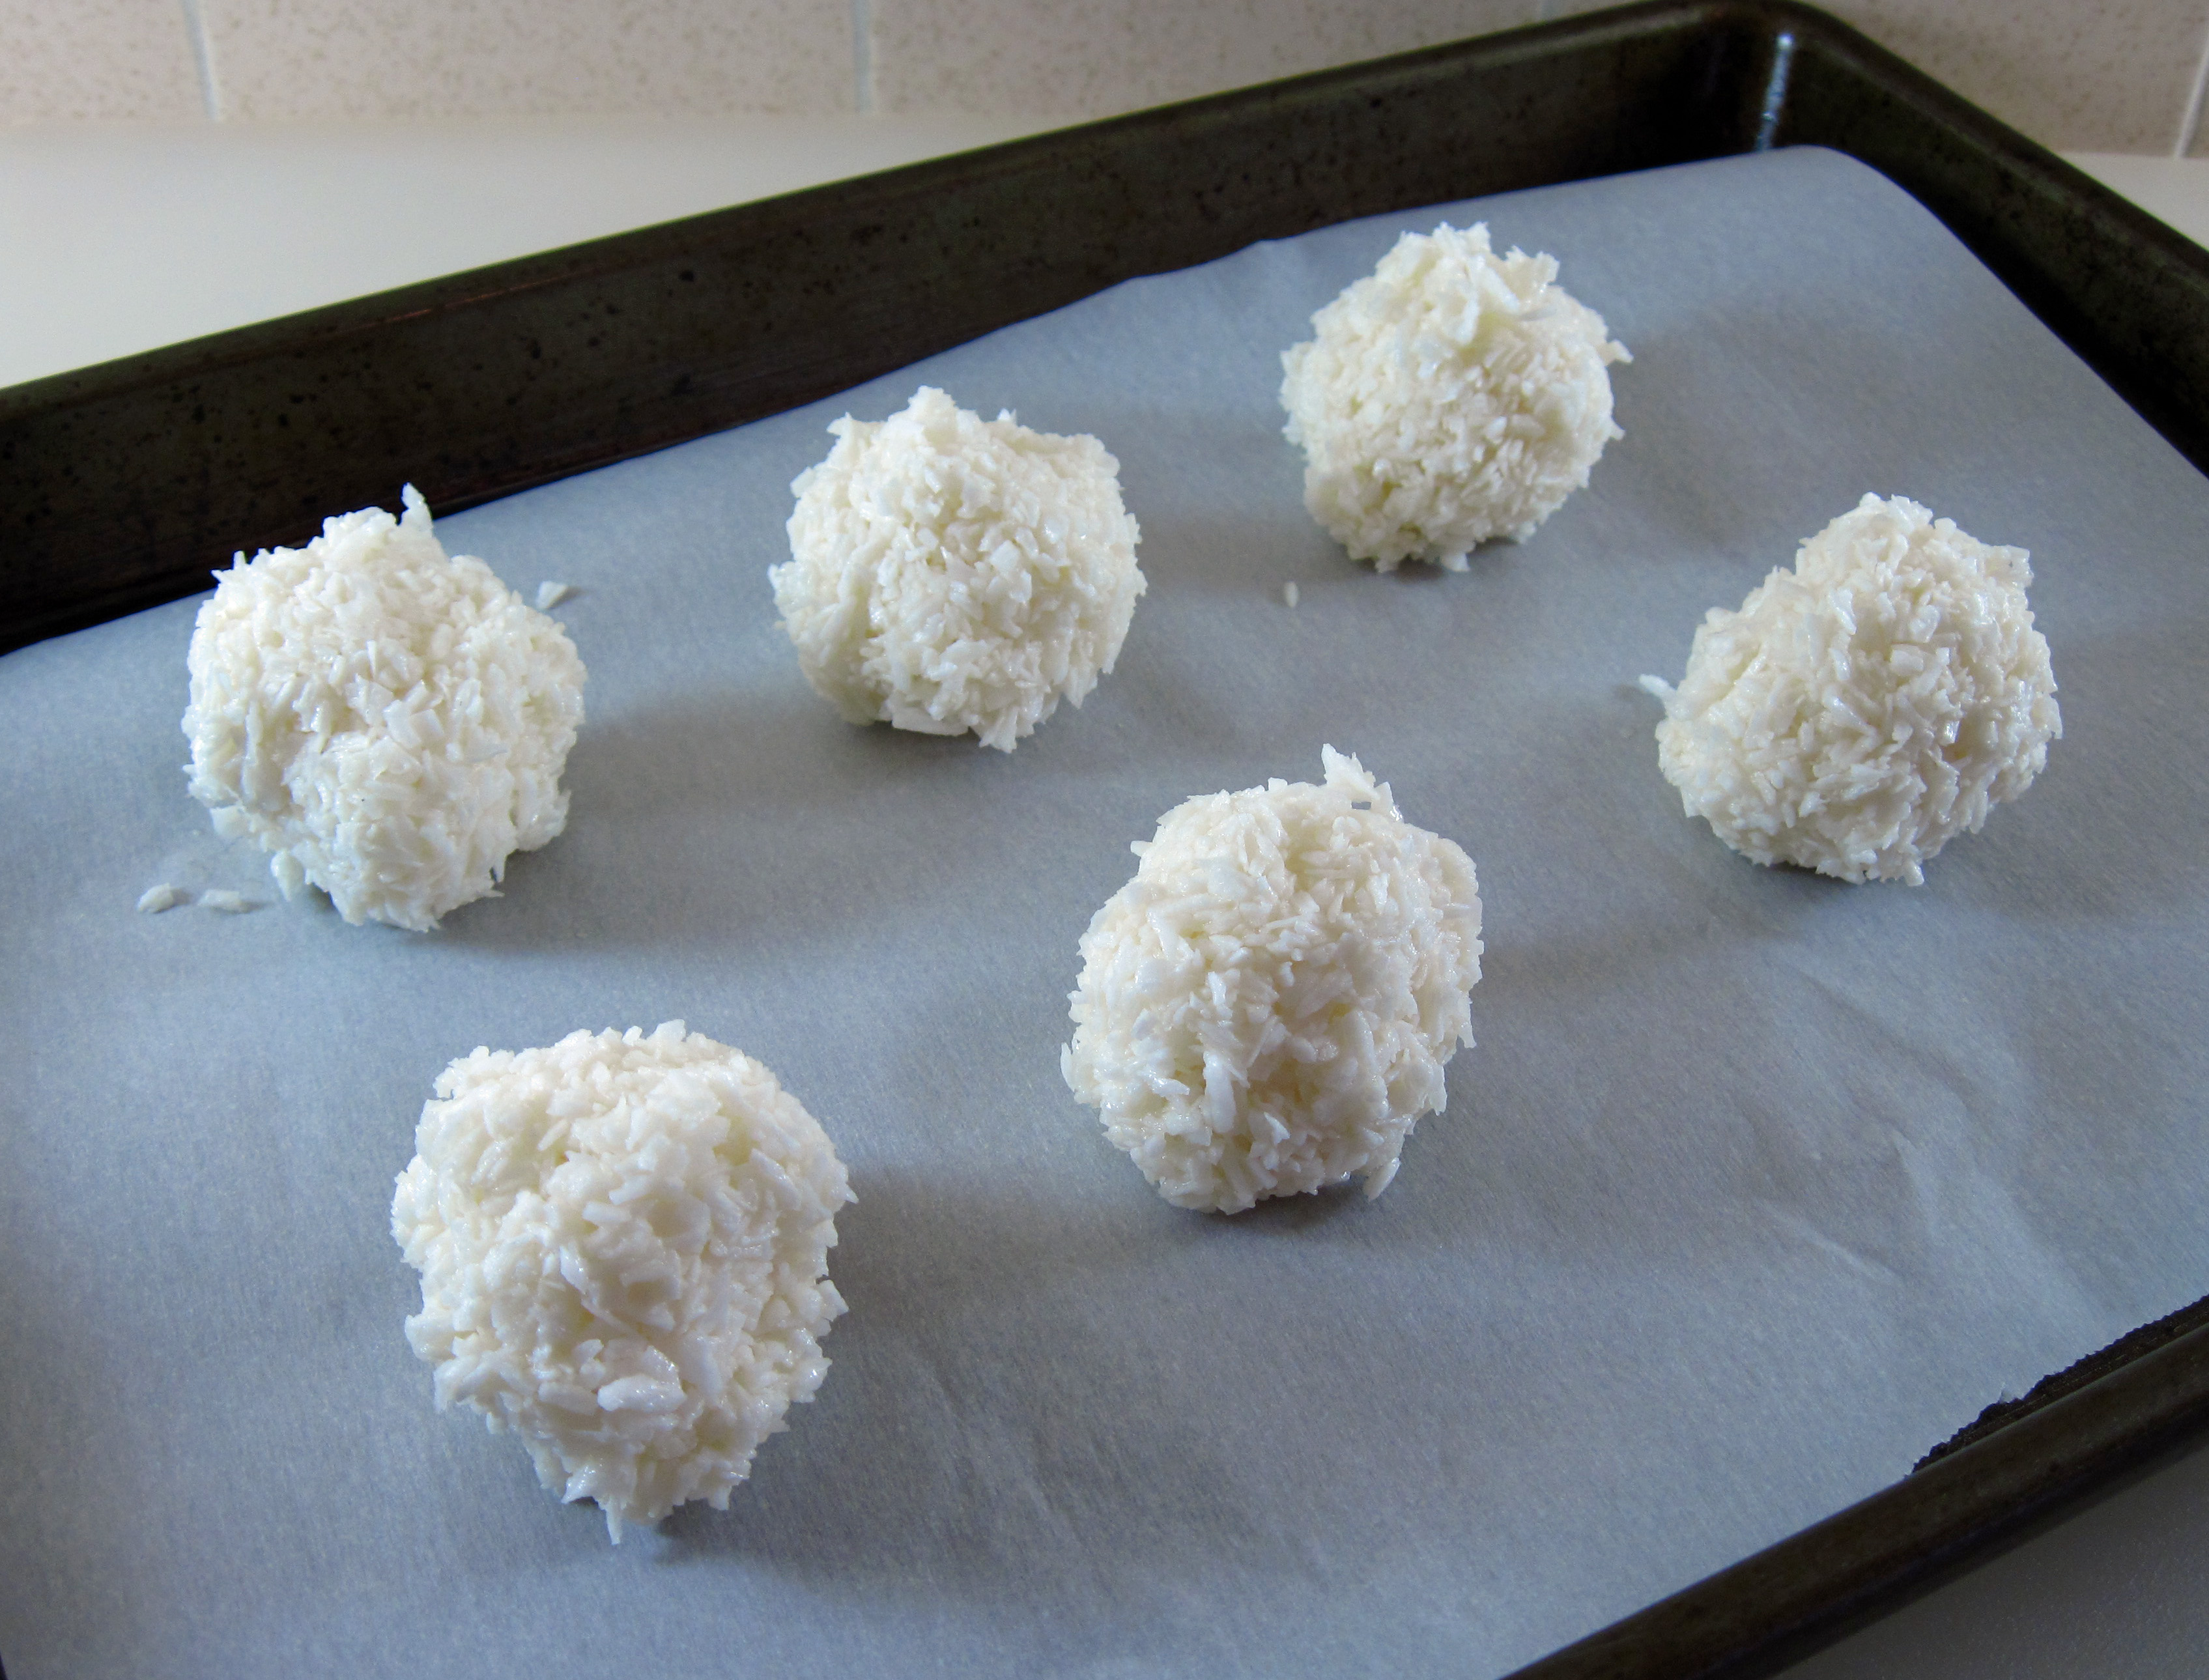
a
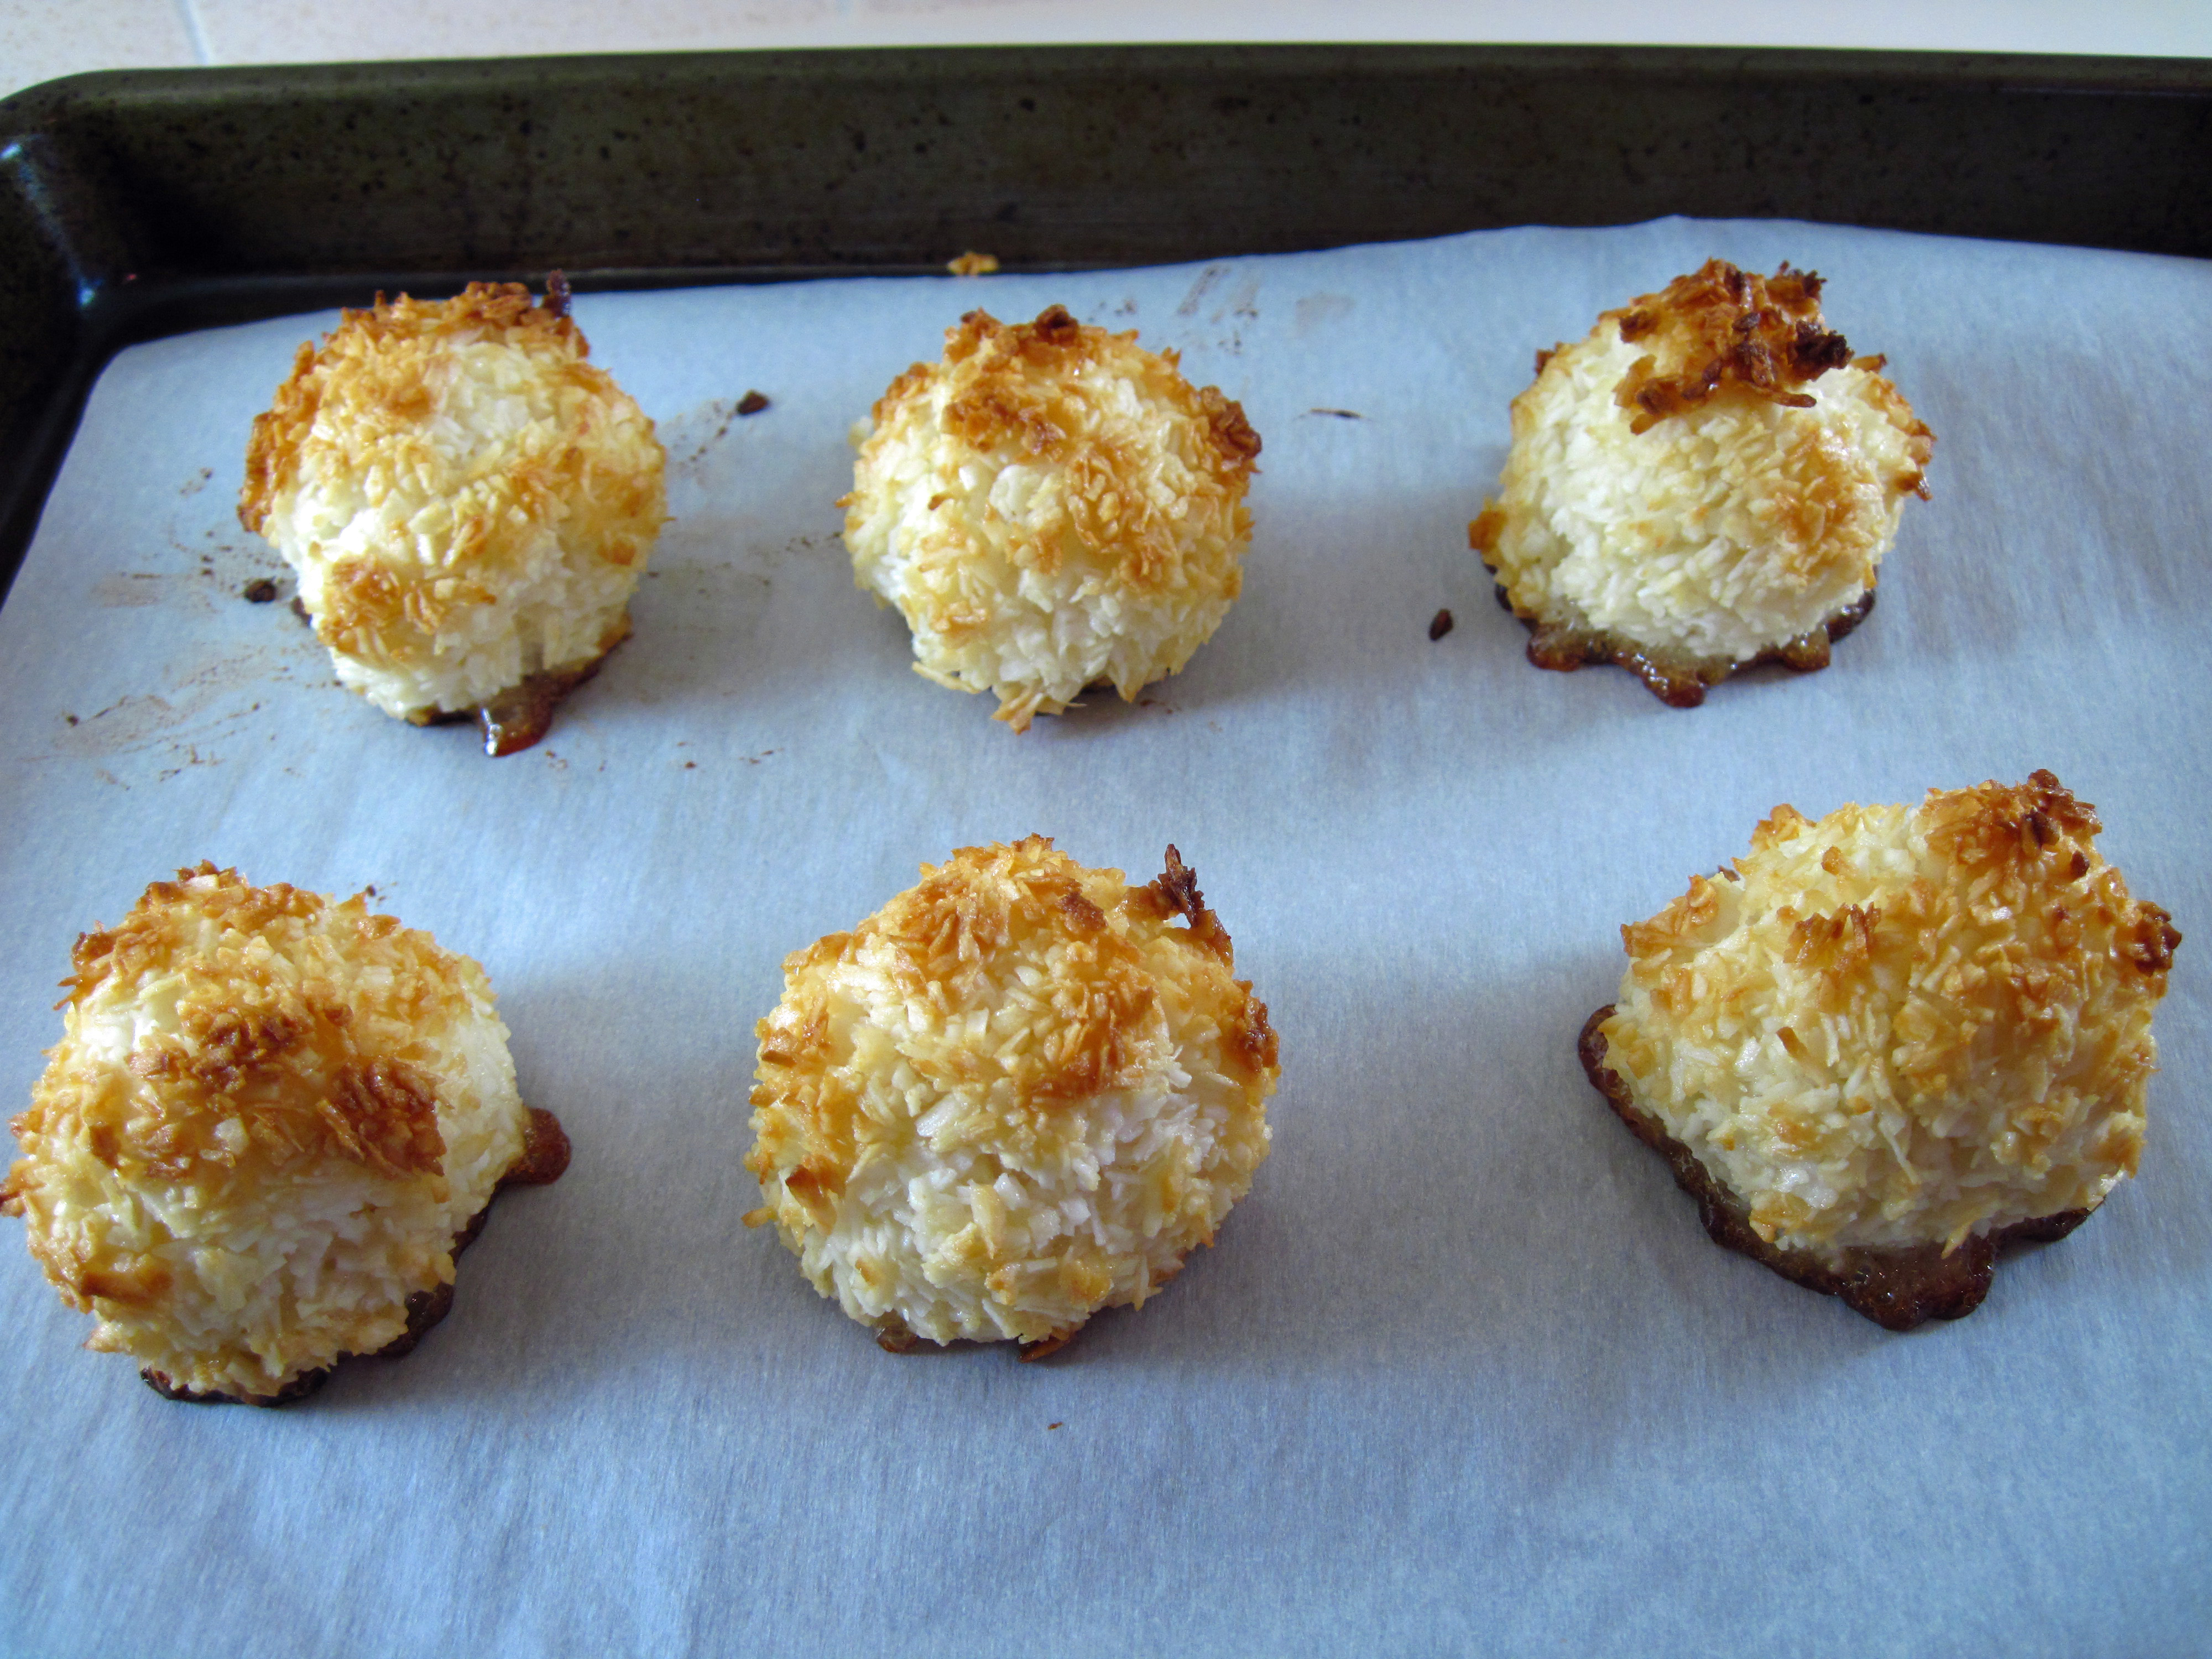
- Bake for 17 minutes, or until golden brown.
- Place the baking sheet on a cooling rack and let the macaroons cool completely before removing them from the pan.
a
8. When they’re completely cool, remove the macaroons to a serving plate.

a
a


