Welcome!
You'll find over 470 of my favorite recipes here, including ideas for Quick meals, Cooking for 2, Feasting on Leftovers, and cooking with 5 Ingredients or Less. I'm adding new posts regularly; you can subscribe by email or RSS feed if you'd like to receive the latest recipes. Bon appétit!
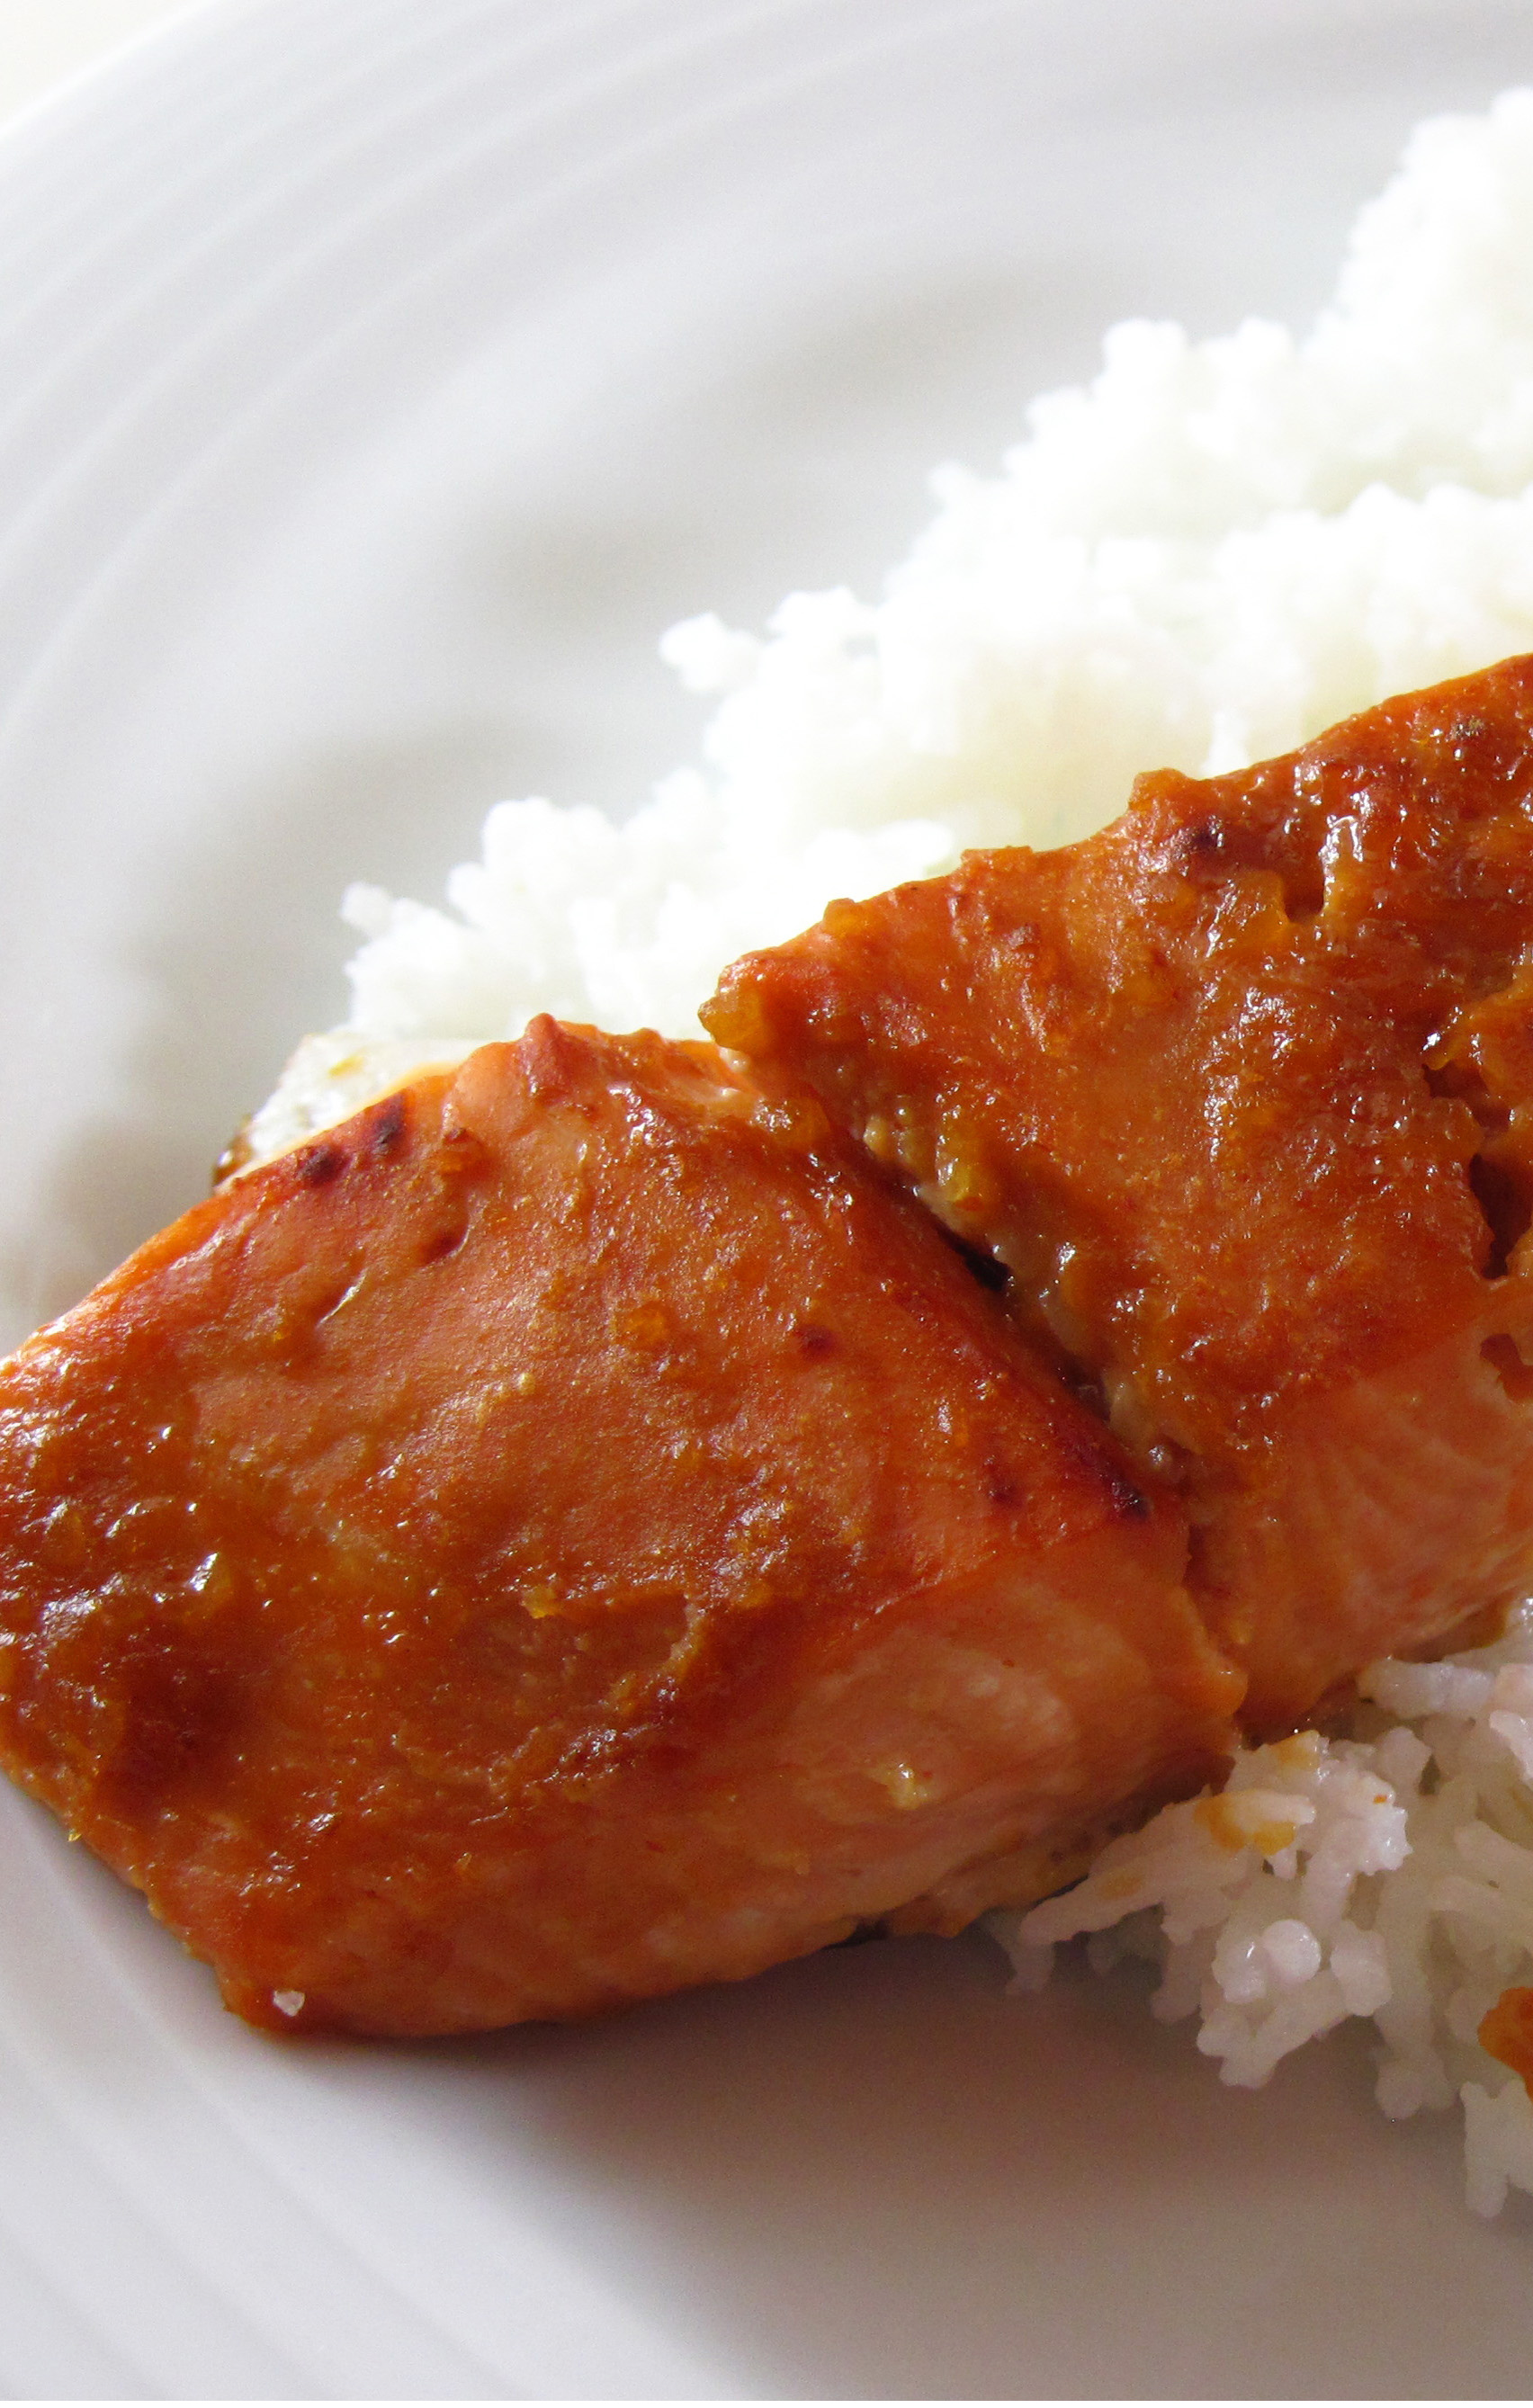
Jacques Pépin’s Broiled Salmon with Miso Glaze – for Two
By Kath Dedon
.
Jacques Pépin has a lovely new cookbook, Jacques Pépin Heart & Soul in the Kitchen. I was pretty sure that this would be a cookbook that I wanted to own, but I did what I usually do. I requested it from the library to check it out first. (I was one of the first people to request it so I got a brand new copy to explore as soon as the library received their copies. I love it when that happens!)
This is a wonderful book. It’s a very personal look at the meals that Jacques prepares for his wife, Gloria, and family and friends. It’s full of little essays by Jacques exploring different topics about food, cooking, and sharing food. There are a lot of beautiful photos of food and some of Jacques’ artwork.
Tom Douglas recently interviewed Jacques for the radio show he hosts along with Chef Thierry Rautureau, Seattle Kitchen. It was fun listening to these two chefs talk. I totally agree with Tom’s impression of the book.
Tom said, “This is a love letter. This is a love letter not only to home cooking, to food, but to your wife.” He went on to say that although Jacques says this is just what he and Gloria have for dinner, “That’s the most personal meal there is when you cook for your spouse.”
Jacques acknowledged, “There is nothing which can compare to sitting down around the table and sharing food.”
I have to admit, I have not thoroughly read Jacques Pépin Heart & Soul in the Kitchen. I have examined it enough to know that, indeed, I do want to add this book to my collection. I want to save the bulk of it to leisurely enjoy when I own it.
I do have a recipe to share with you from the book. Broiled Salmon with Miso Glaze was SO easy to make, and Bob and I both enjoyed it. I have seen so many versions of miso-glazed salmon and have been meaning to try it for quite some time now. Knowing how reliable Jacques Pépin’s recipes are, it was a no-brainer for me to try his version.
I made Broiled Salmon with Miso Glaze for Two. Jacques’ recipe serves 4, but it was very easy to cut the ingredients in half to serve 2. The only thing I changed was I broiled the salmon fillets longer than the recipe suggests. Jacques has acknowledged that he and Gloria like fish cooked so it’s “browned but still pink inside”. I cooked the salmon a bit longer because Bob and I like it when it gets to that “just done” stage. It was delicious!
This blog post is my love letter to Jacques Pépin. I find him so inspiring with his simple, perfect techniques. Check out his new book, and give this Broiled Salmon with Miso Glaze for Two a try. I think you’ll like it!
a
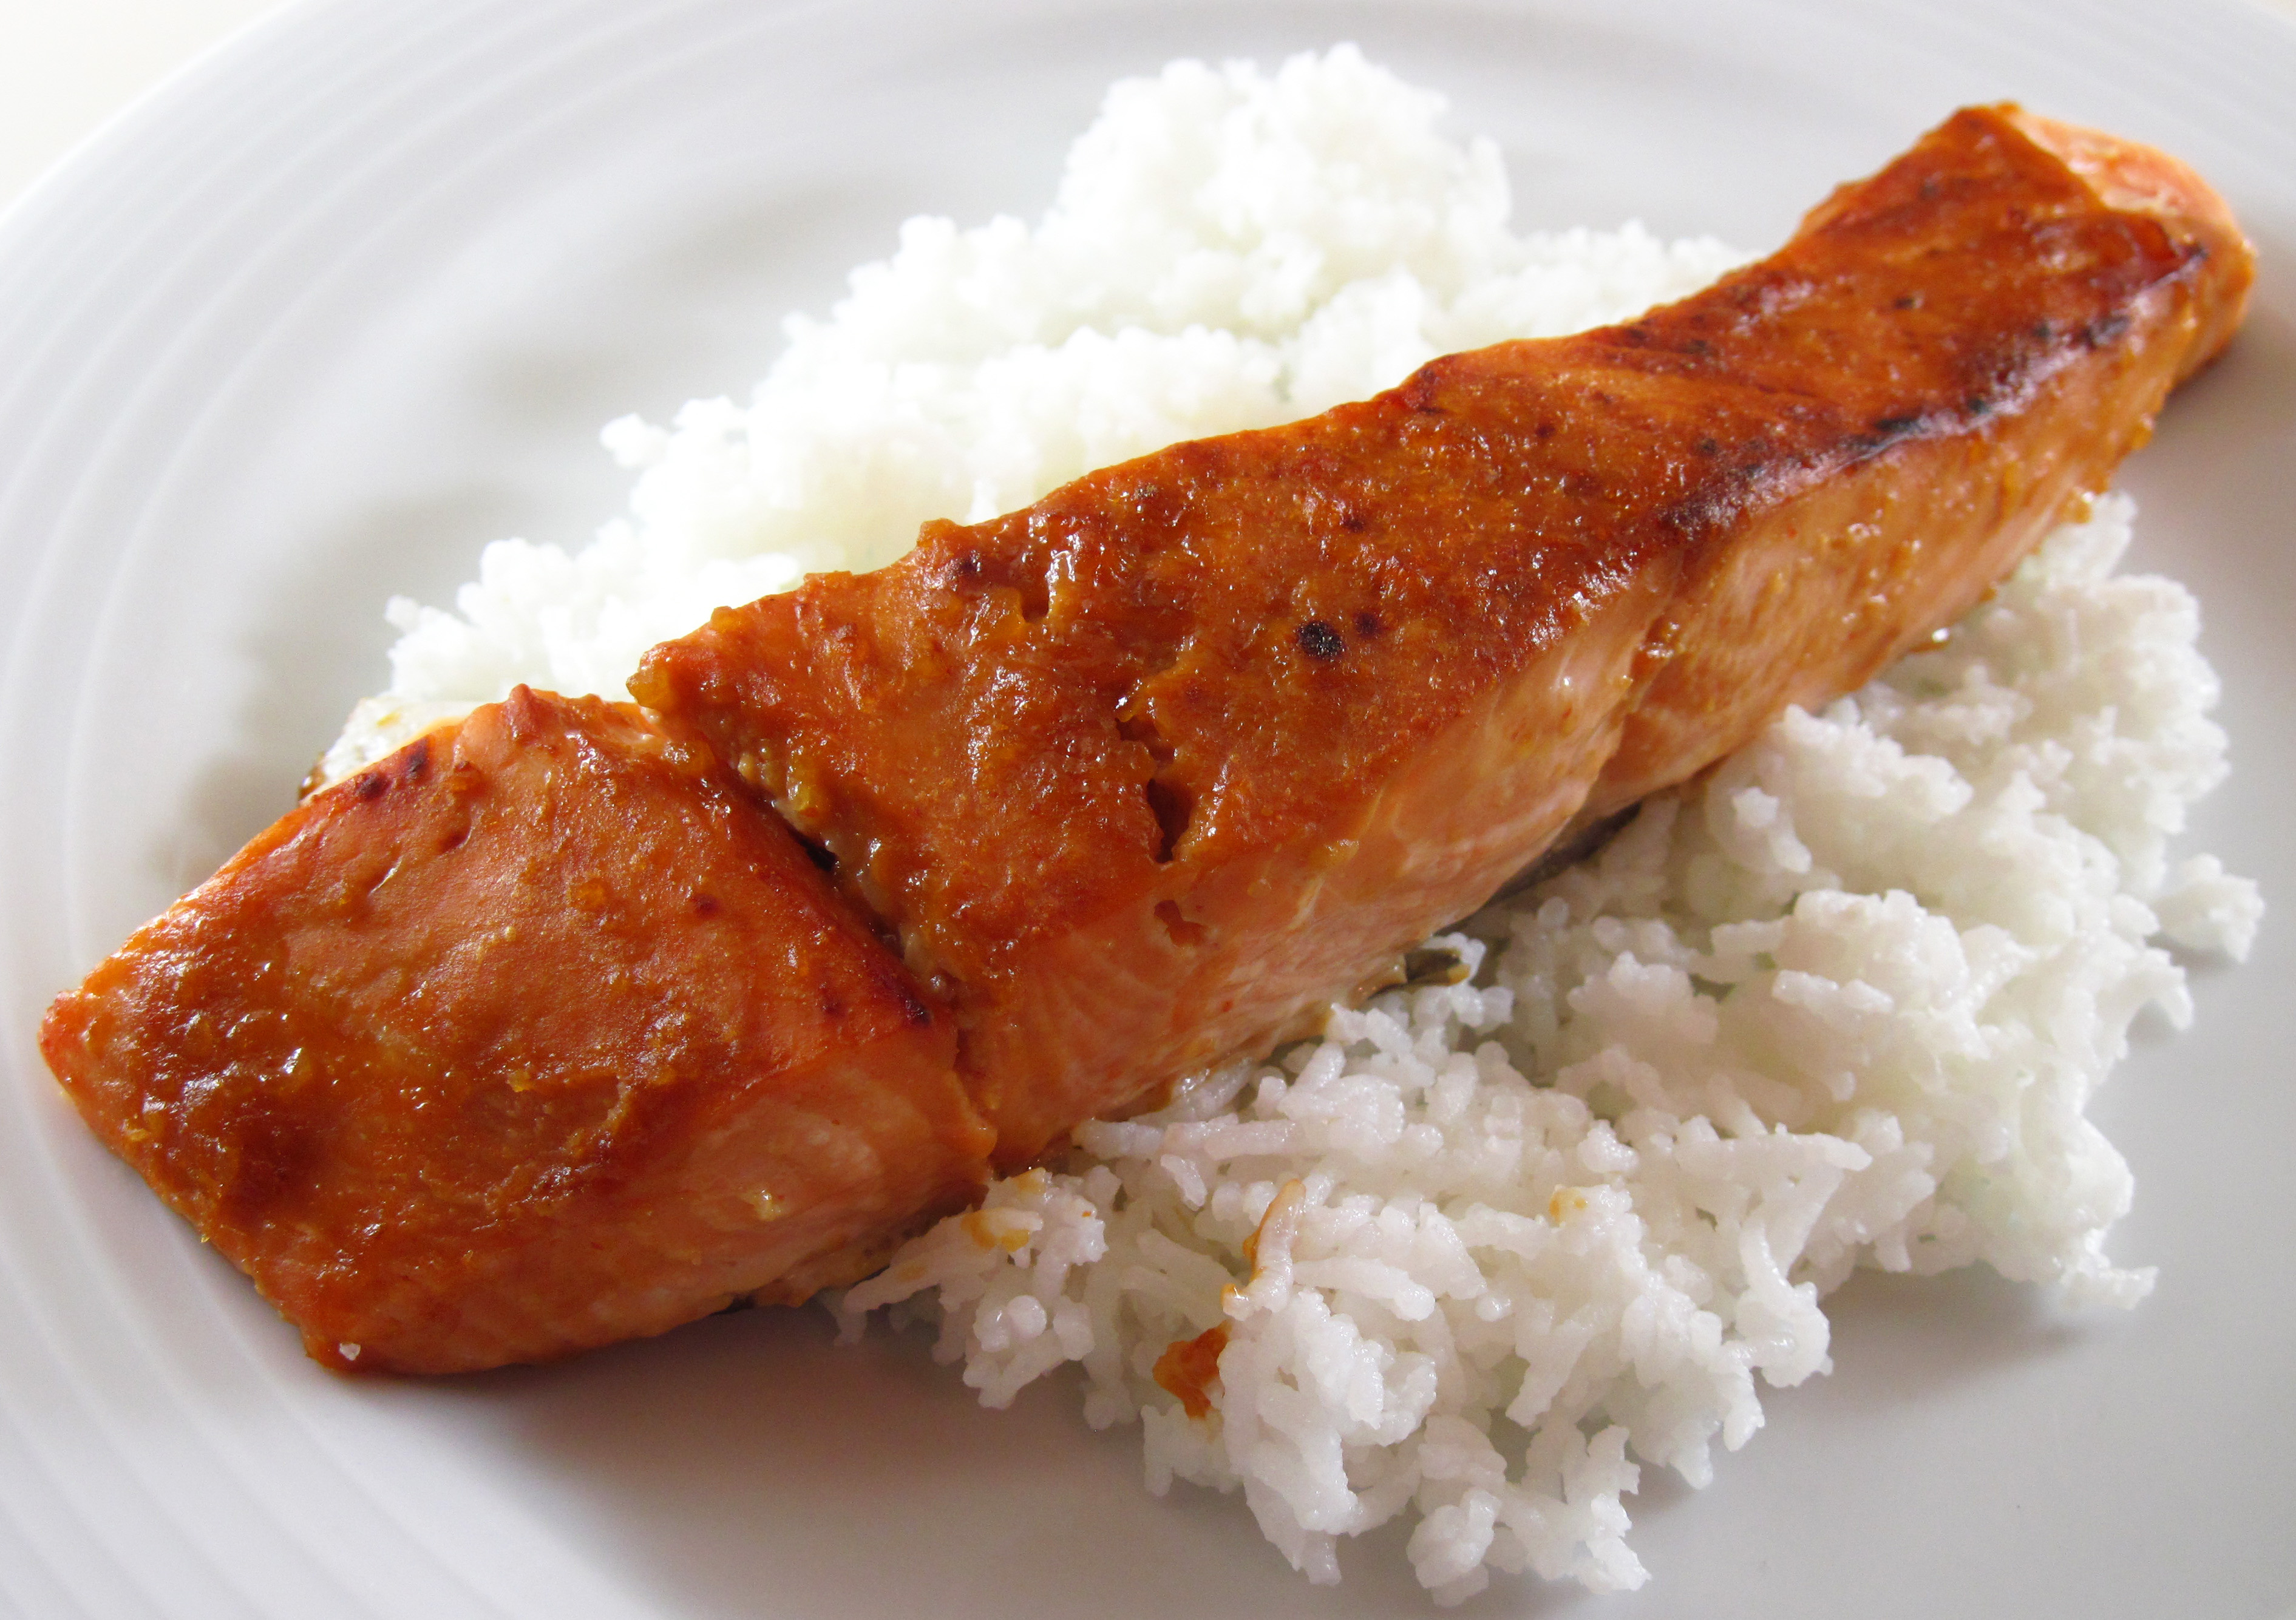
Jacques Pepin’s Broiled Salmon with Miso Glaze served with steamed rice and a big vegetable salad on the side.
a
Broiled Salmon with Miso Glaze for Two
(Adapted from Jacques Pépin’s recipe in Jacques Pépin Heart & Soul in the Kitchen)
a
a
Serves 2, can easily be multiplied to serve 4, 6, or 8
a
Jacques broiled the salmon fillets for just 4 minutes. If you like salmon cooked until it’s browned but still pink inside check it after 4 minutes. If you like it more done, broil a bit longer. 8 minutes was perfect for us.
a
1 tablespoon red miso paste
1½ teaspoons maple syrup
1 teaspoon tamari or dark soy sauce (use gluten free tamari, if needed)
1 teaspoon rice vinegar
½ teaspoon hot chili sauce, like Sriracha
a
2 salmon fillets, about 6 ounces each and about 1¼ inches thick
a
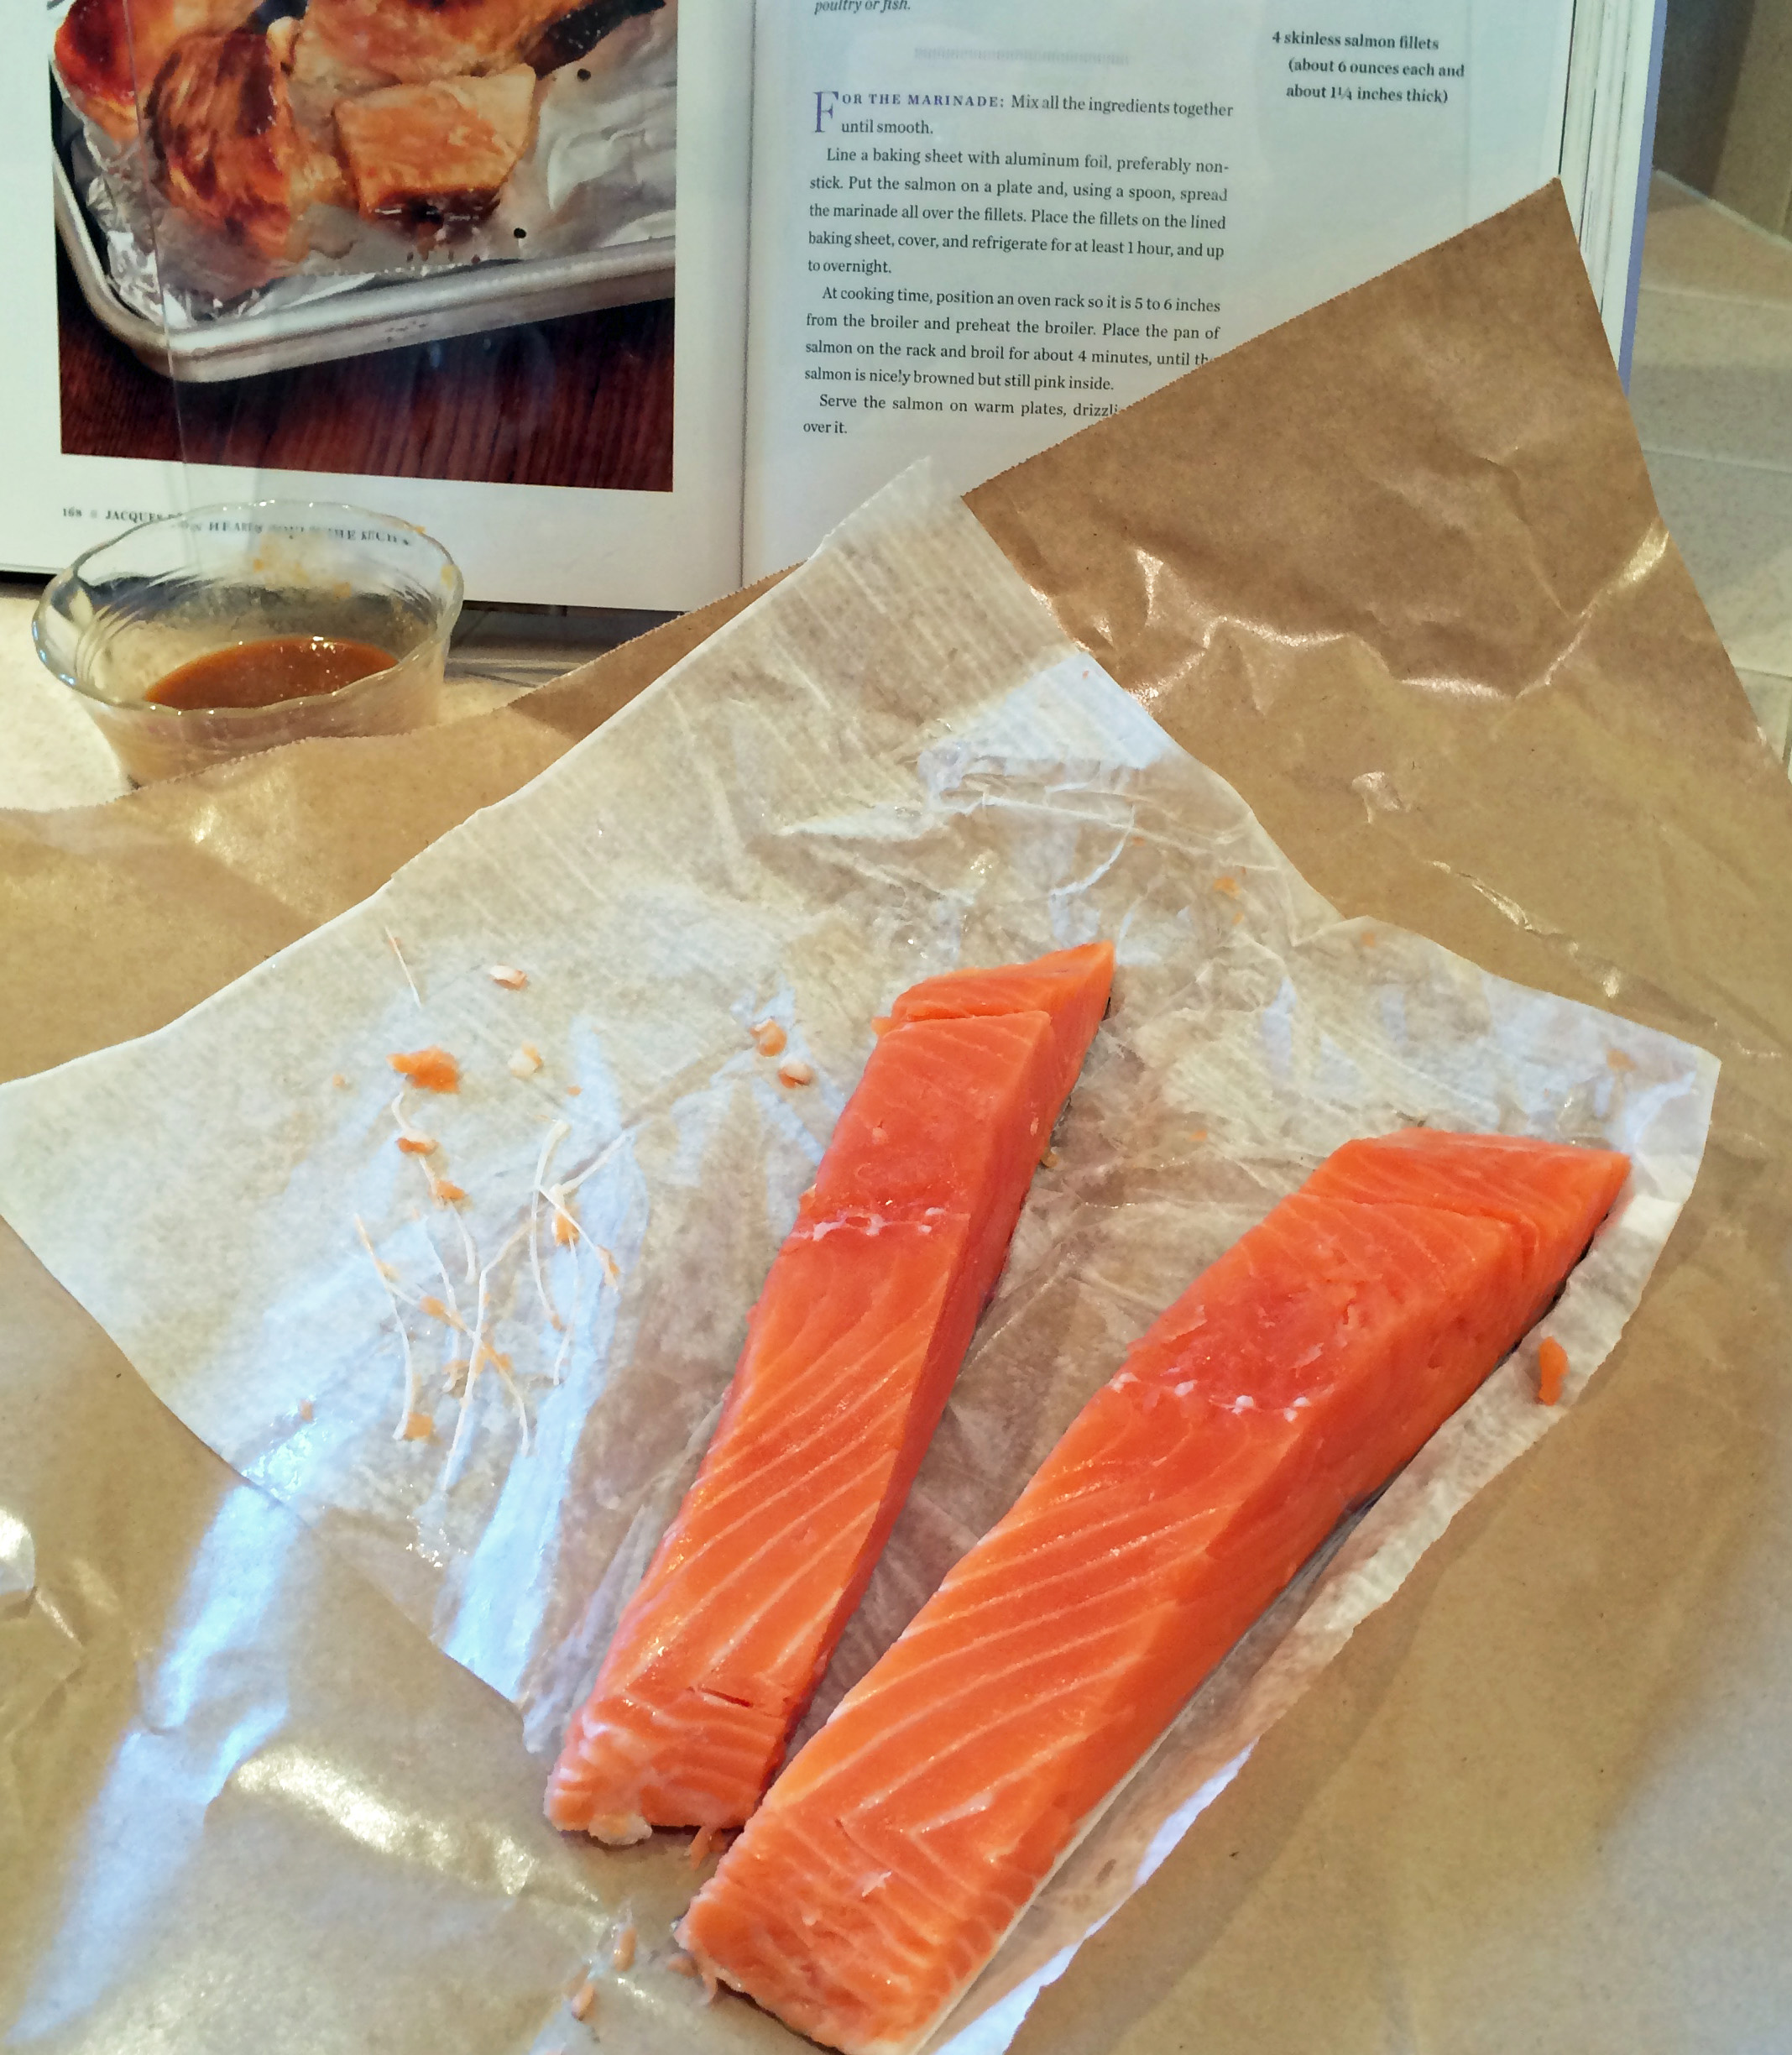
I bought one 12-ounce King salmon fillet and sliced it in half for two servings. You can see the miso glaze I prepared on the left in a little bowl. You can also see the pin bones I removed.
a
- Combine the miso paste, syrup, soy sauce, rice vinegar, and hot sauce together. Mix until smooth.
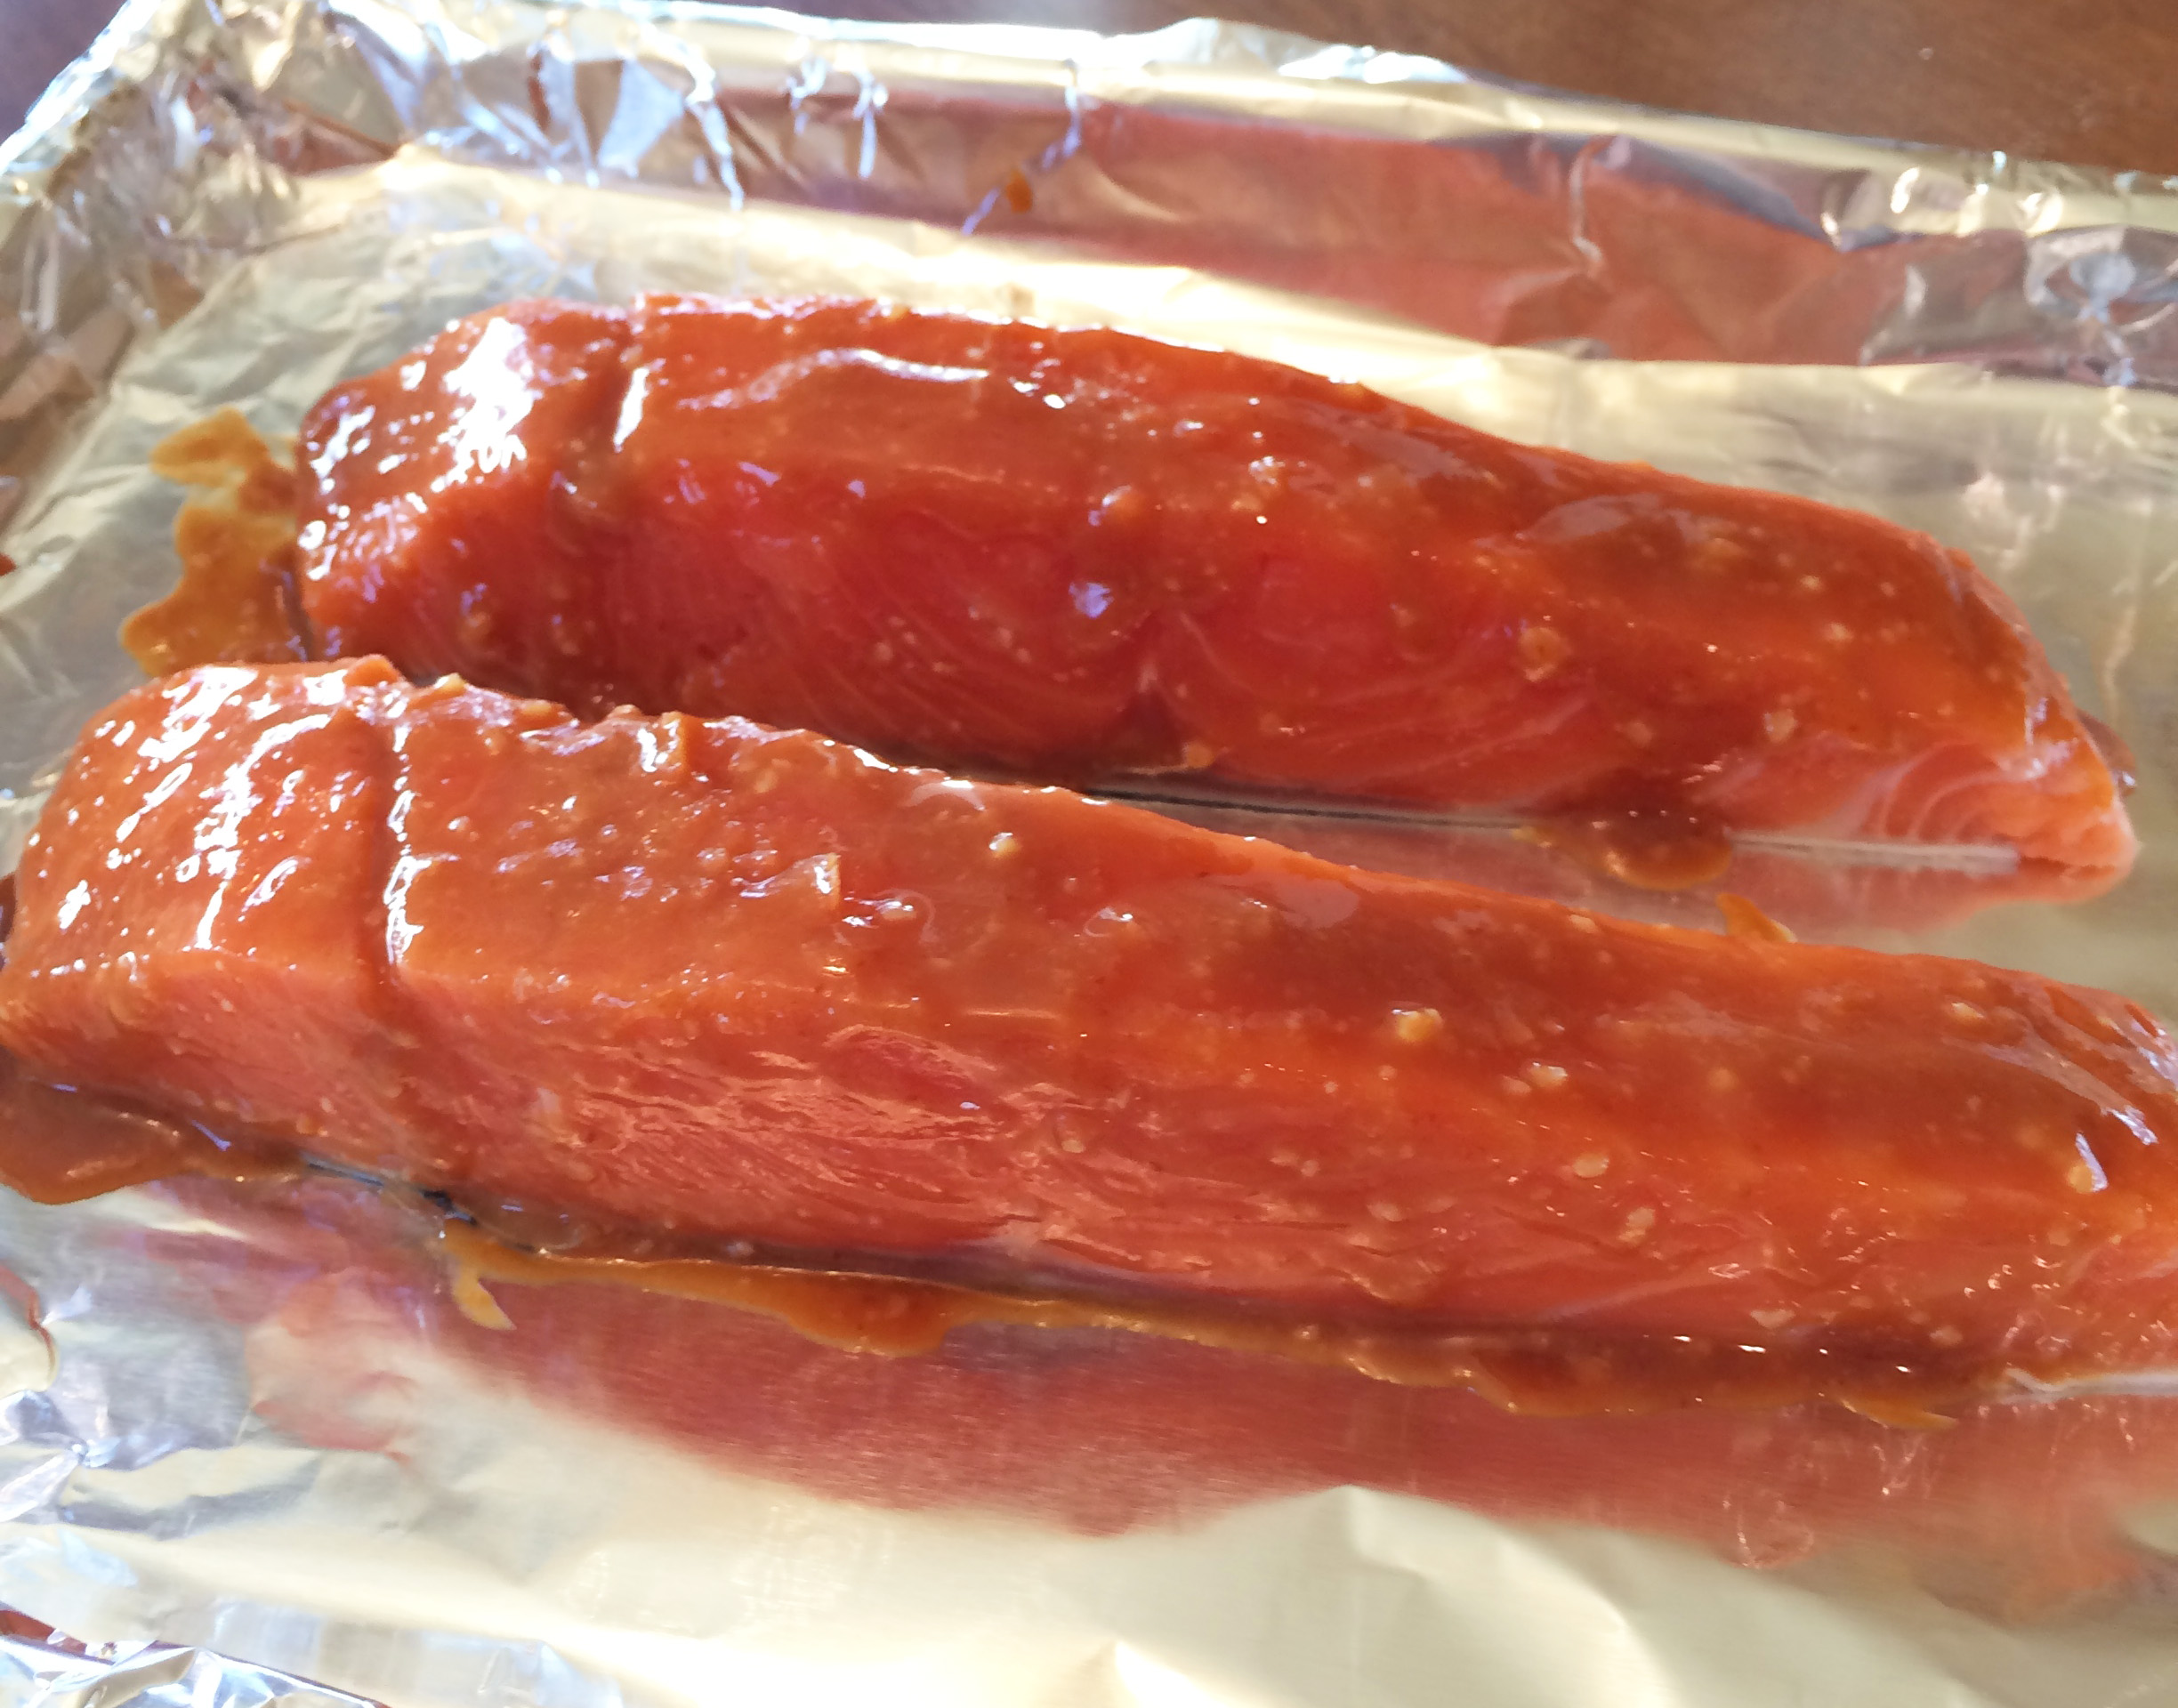
- If desired, pull the pin bones out of the salmon with tweezers. (Click here to see how.) Put the salmon on a foil-lined baking sheet. Cover the fillets with the miso glaze.a
a
- Refrigerate the fillets for at least an hour, and up to overnight. (I chilled mine for about 3 hours. I did not cover the fillets as Jacques suggests because I couldn’t figure out how to do it without having the glaze stick to the plastic wrap or whatever I would use. I would figure out how to cover it if I were to refrigerate it for longer than 3 hours.)
- Take the salmon out of the refrigerator about 30 minutes before you want to cook it.
- When ready to cook, preheat the broiler with the cooking rack positioned about 5 or 6 inches from the heat.
- Broil for 4 – 8 minutes, or until done to your liking. My salmon was just the way we like it at the 8 minute mark.
a
a
Share this:

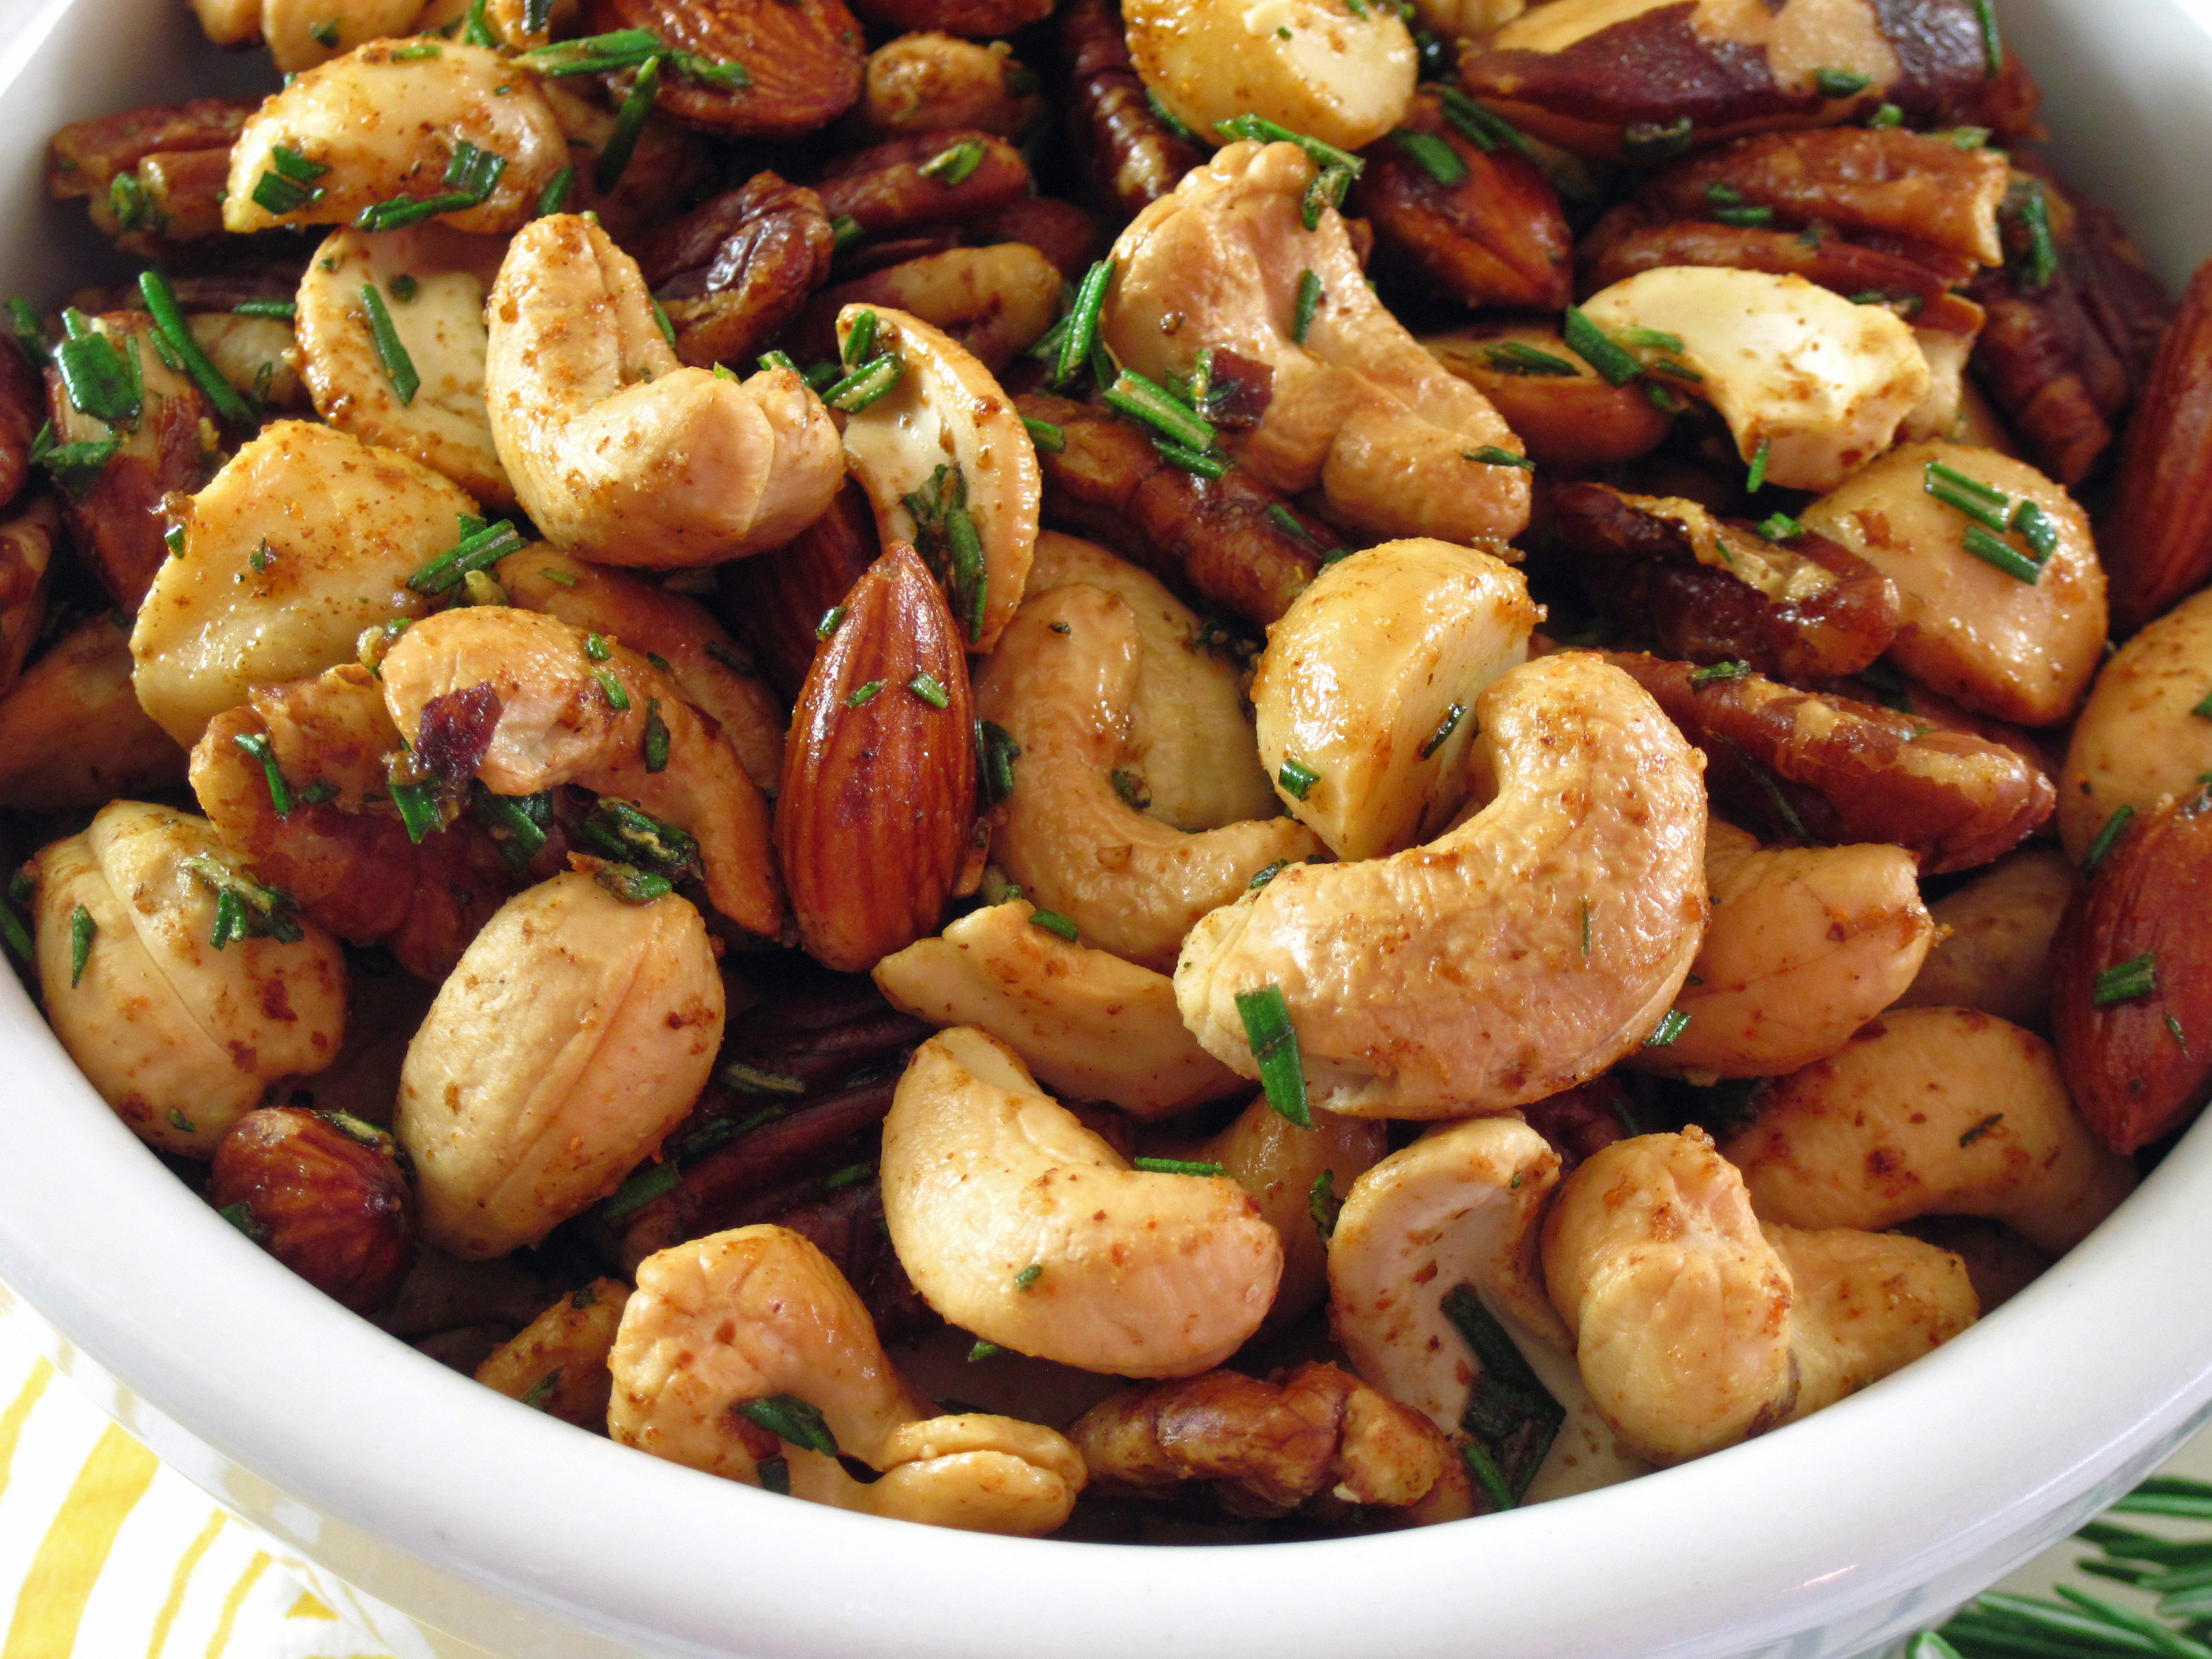
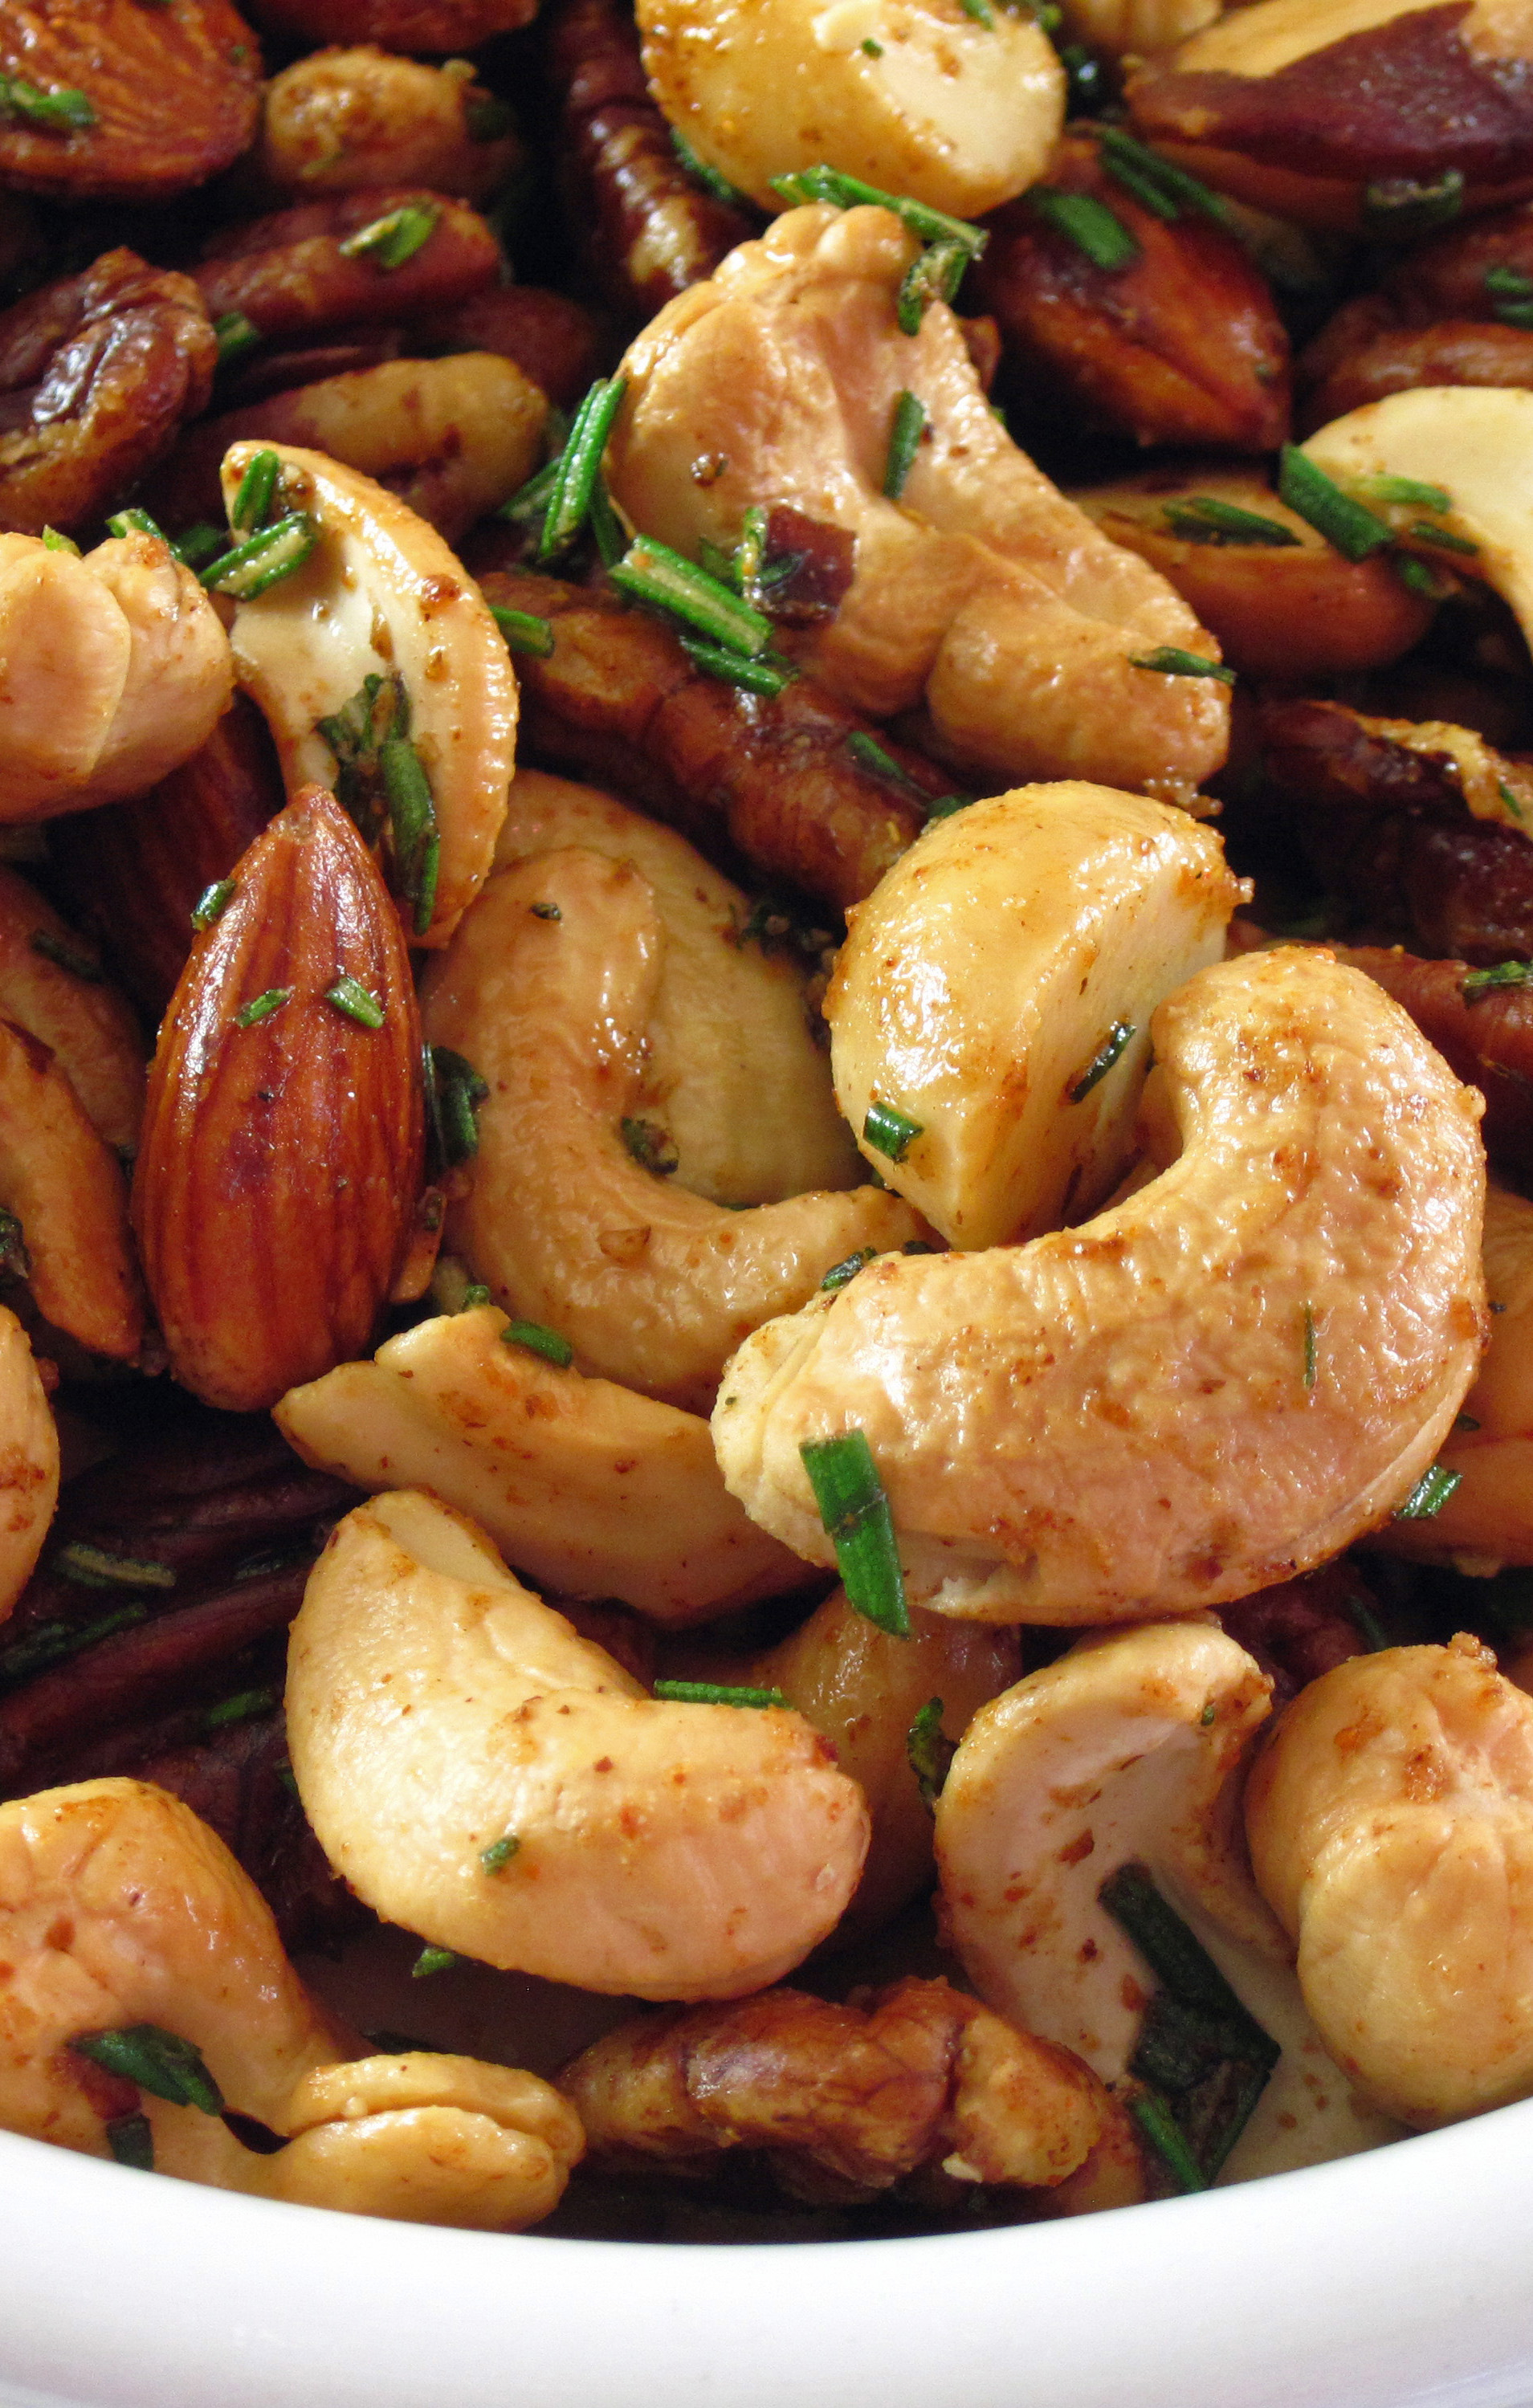
Union Square Café Bar Nuts
By Kath Dedon
.
I did a Google search for a recipe for Union Square Café Bar Nuts and discovered ten pages of recipes. Yes, these nuts from Union Square Café in New York are very popular. They have been on my to-do list for some time and I finally made them yesterday.
I chose Jennifer Segal’s recipe from her outstanding blog, Once Upon a Chef, as a template but I made a few changes. Jennifer uses unsalted roasted nuts and 1 teaspoon of kosher salt. I like the quality and the mixture in Kirkland Signature (Costco) Extra Fancy Mixed Nuts so that’s what I used. They are roasted and salted. To me, they don’t taste nearly as salty as some other brands so I added just a bit of salt to the spice mixture.
You can use any kind of nuts that you like. If they are roasted and salted, you can omit the salt or just add a bit. If they’re roasted and not salted, add 1 teaspoon of salt. Raw nuts can be roasted for a bit longer (10 – 15 minutes) until they are lightly browned.
These Union Square Café Bar Nuts make an excellent snack or appetizer to serve with drinks. They’re so easy to make! I know they’ll be on the menu at Chez Dedon again soon.
.
.
Union Square Café Bar Nuts
(Adapted from Jennifer Segal’s recipe on her Once Upon a Chef blog.)
.
.
The amount of salt will depend on whether your nuts are salted or not. For unsalted nuts, use about a teaspoon of kosher salt.
.
2½ cups Kirkland Signature (Costco) Extra Fancy Mixed Nuts (or your favorite mixture)
2 tablespoons chopped fresh rosemary
½ teaspoon cayenne pepper
2 teaspoons maple sugar (or dark brown sugar)
1/8 teaspoon kosher salt
1 tablespoon unsalted butter, melted
.
- Preheat the oven to 350˚.
- Spread the nuts out on a rimmed baking sheet lined with foil or parchment paper.
- Roast for 5 minutes.
- While the nuts are roasting, mix the rosemary, cayenne pepper, sugar, and salt together in a large bowl. Add the melted butter and mix until well combined.
- Add the roasted nuts to the bowl and toss well until the butter mixture is distributed well. Serve immediately.
.
(Can be made ahead of time and then reheated in a microwave oven. Timing will depend on your microwave. About a minute on 80 percent power worked well with mine.)
.
.
Share this:

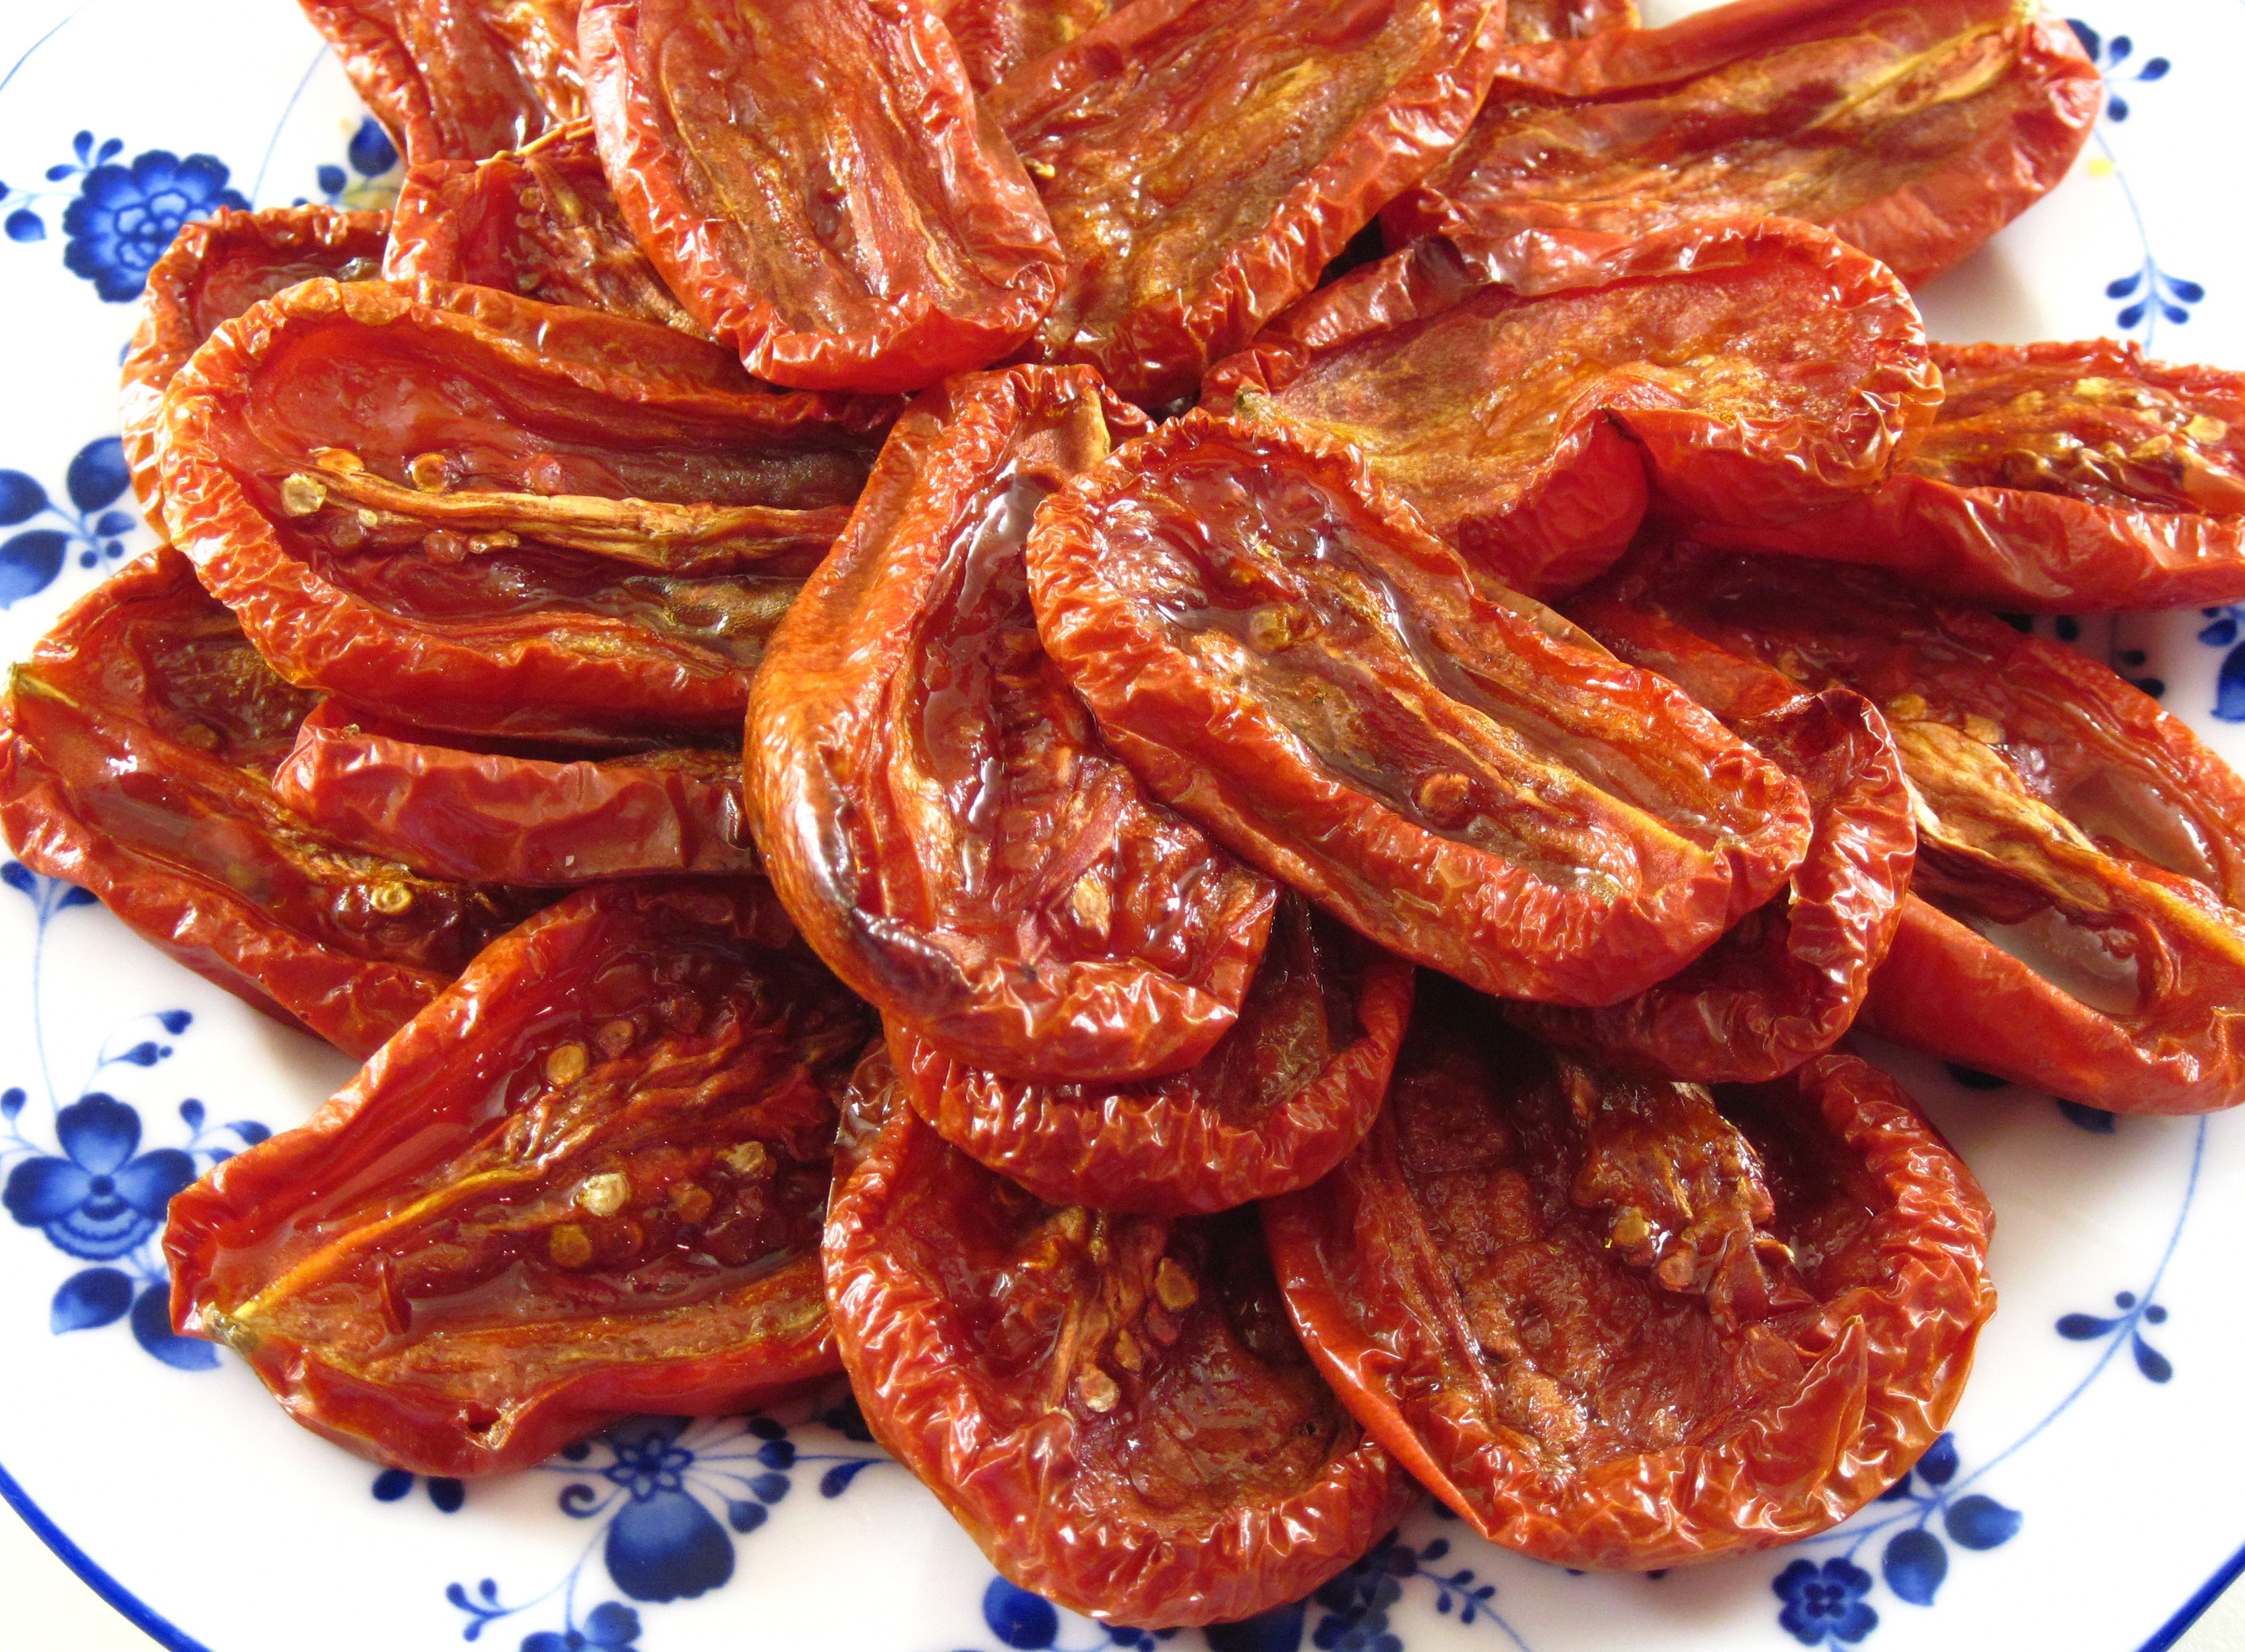
Slow-Roasted Tomatoes
a
By Kath Dedon
a
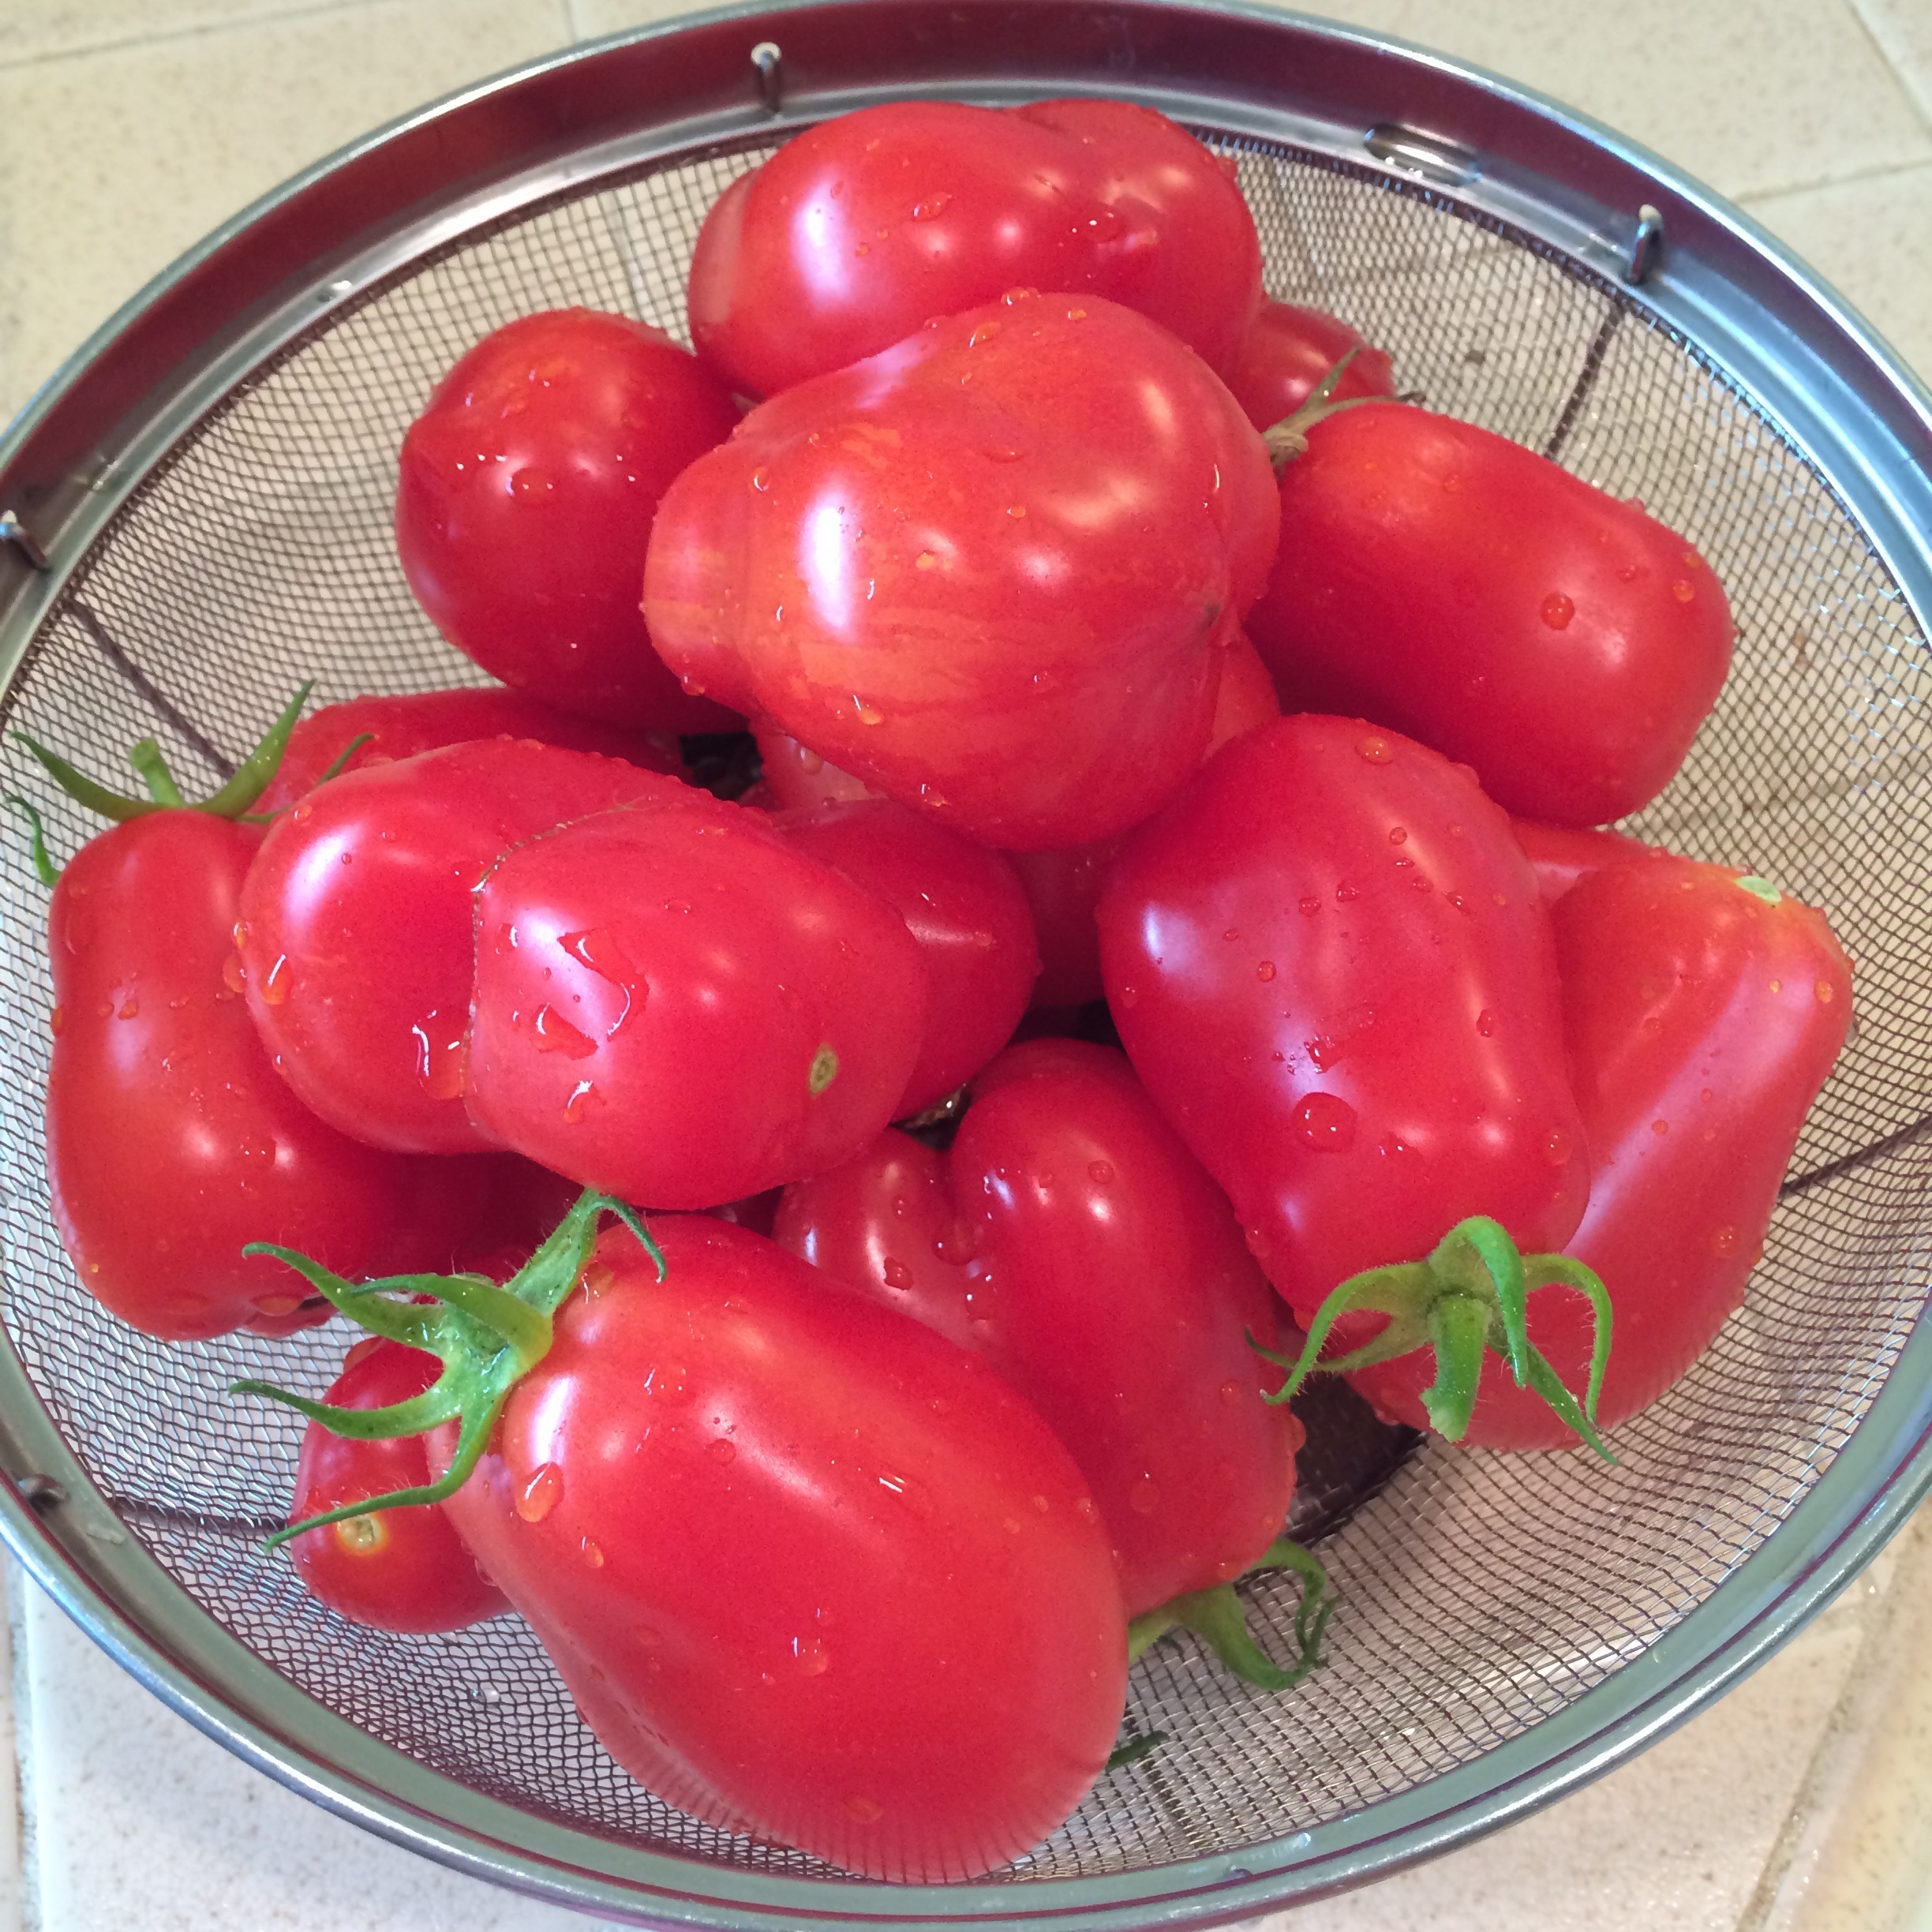
We planted a plum tomato plant this year for the first time. I had hoped that they would be fantastic eaten raw in summer salads. We have had a terrific crop from the one plant, but they just aren’t that great eaten raw.
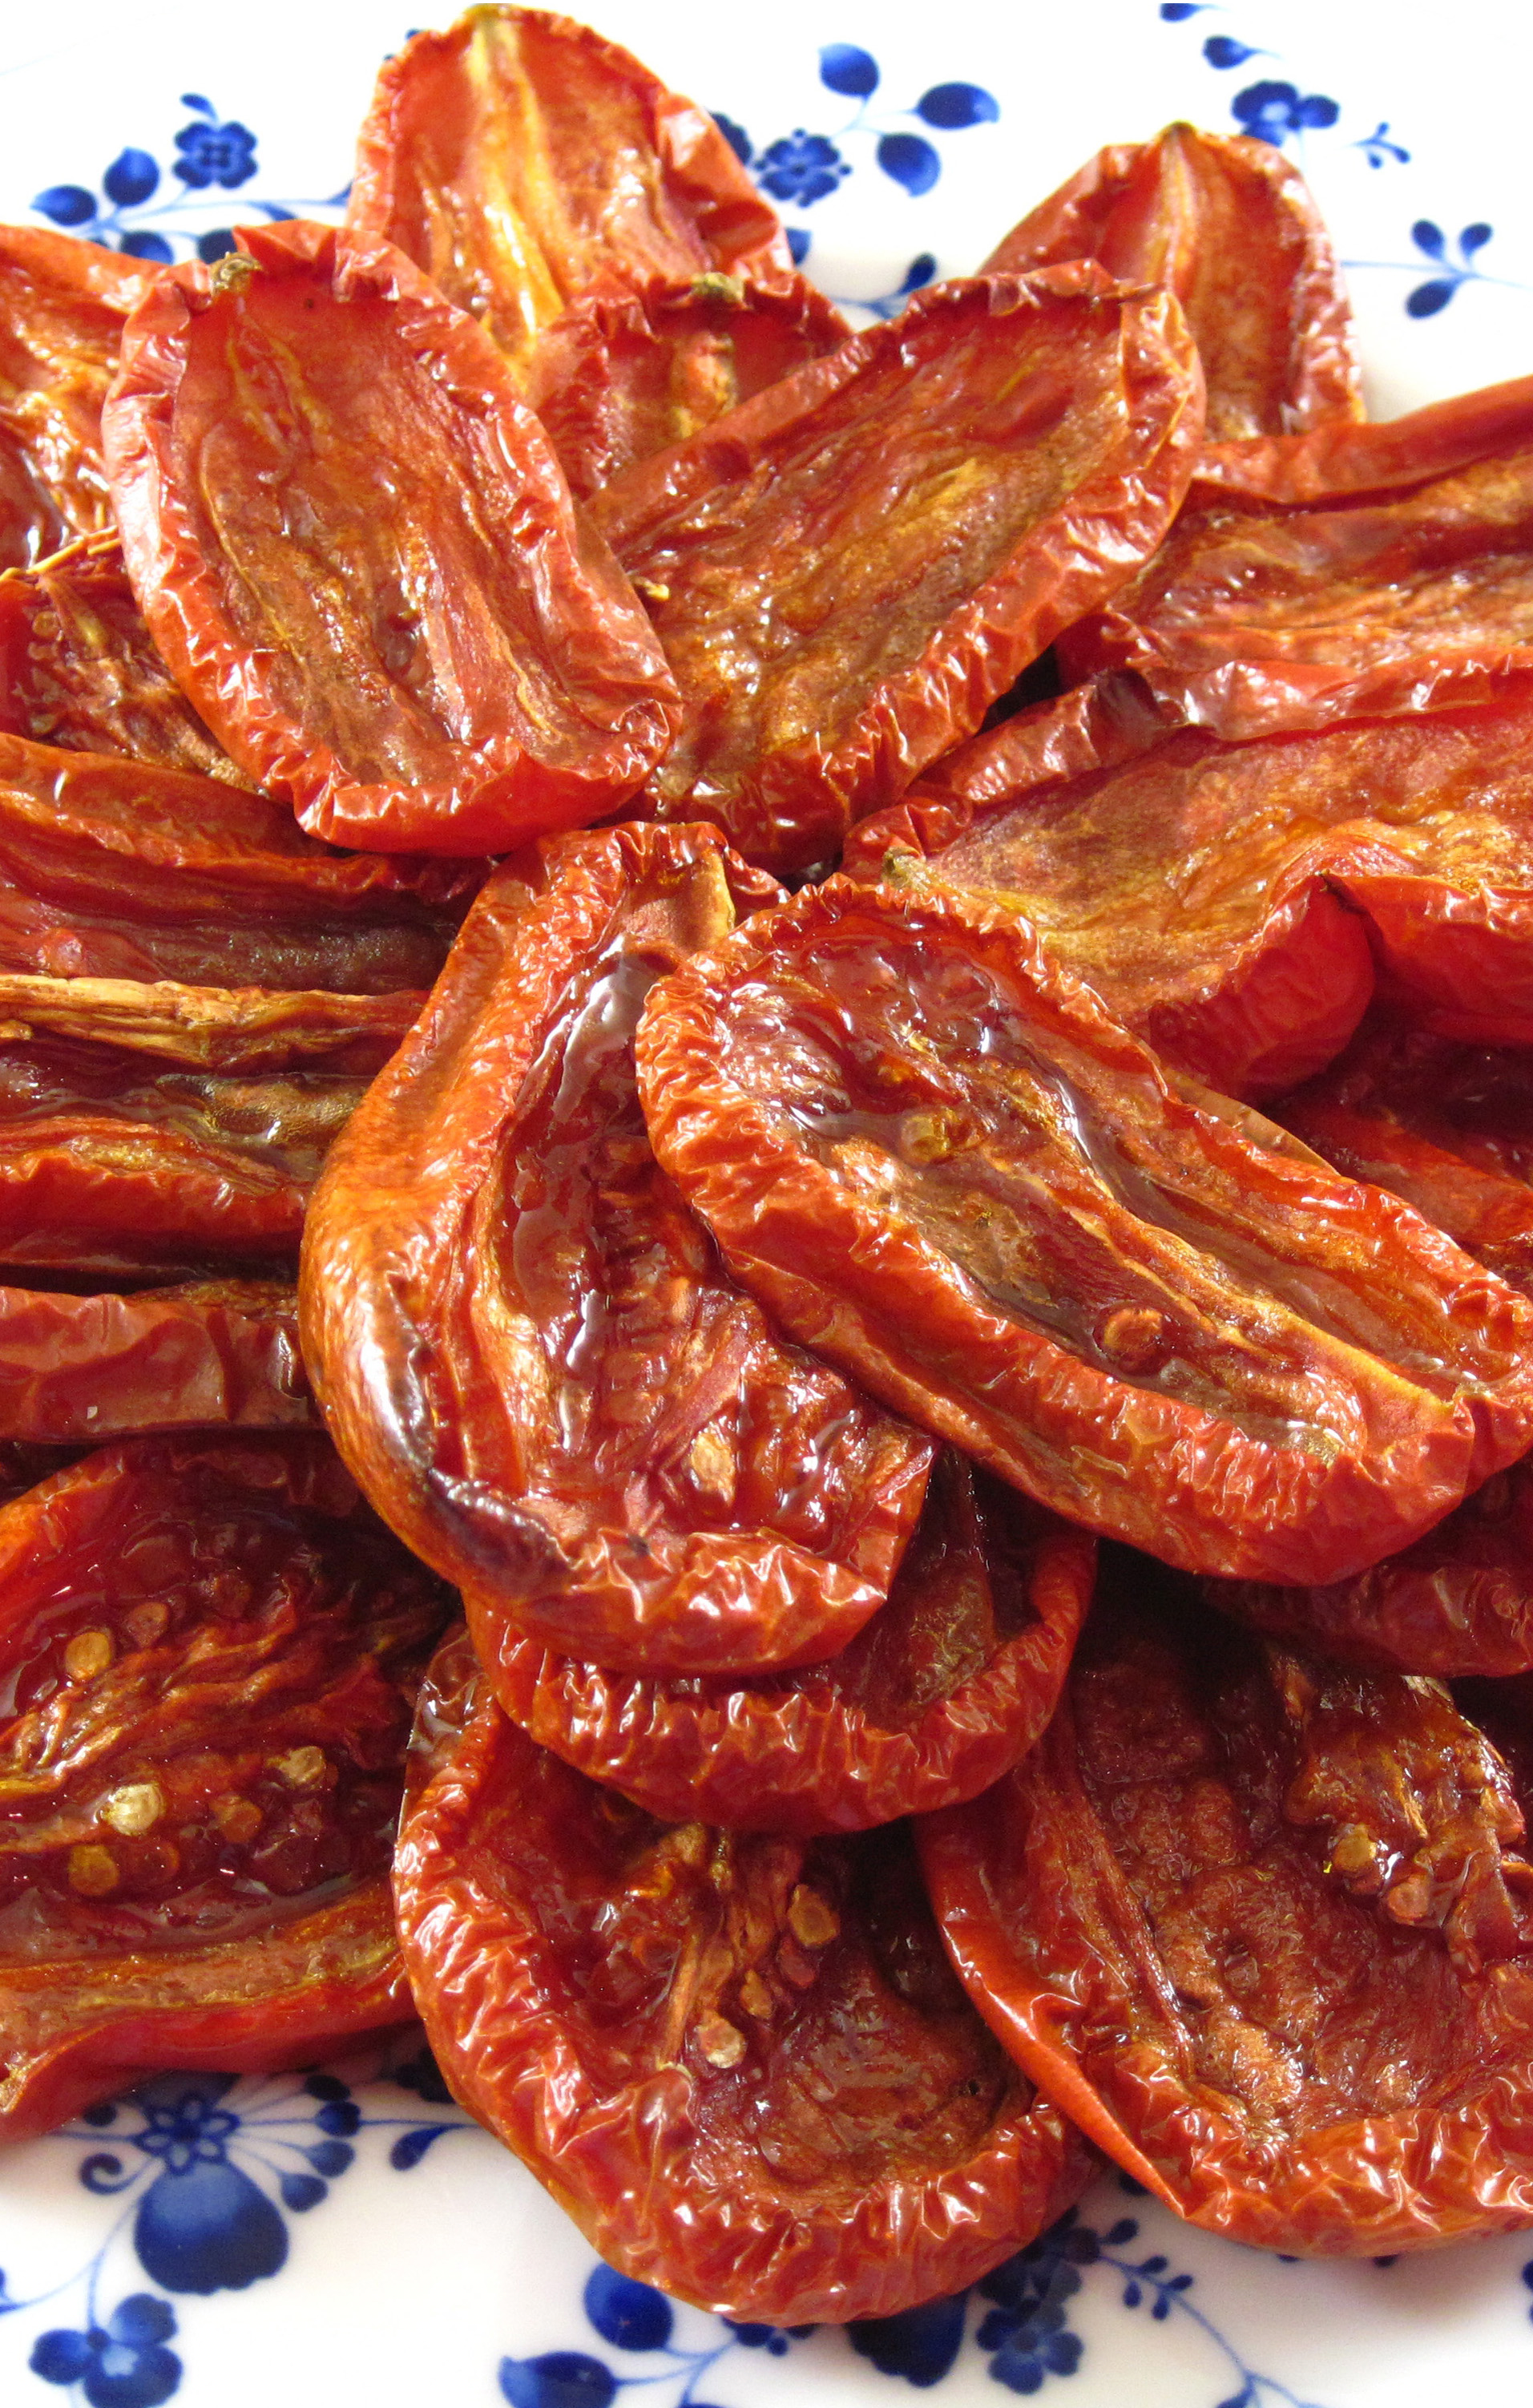
I have made Slow-Roasted Tomatoes three times now and this recipe is a winner! It transforms so-so plum tomatoes into tomato candy! They’re good tossed with pasta, chopped in a salad, or just eaten as a snack.
My inspirations for the recipe were a blog post on Smitten Kitchen and a recipe in Domenica Marchetti’s The Glorious Vegetables of Italy. I love the way Deb on Smitten Kitchen doesn’t use any measurement for the ingredients. Just use the tomatoes you have (she uses cherry tomatoes), drizzle with olive oil, add a few unpeeled garlic cloves and roast at 225˚. Domenica uses plum tomatoes, gives measurements for the ingredients and roasts at 275˚.
I went with the higher temperature that Domenica uses since I was also roasting plum tomatoes. Bob and I both loved the intense, sweet flavor of these tomatoes!
If you are harvesting plum tomatoes or picking them up at farmers’ markets I highly recommend Slow-Roasted Tomatoes. They are fantastic and there are so many ways to use them. Think pasta, salads, bruschetta; served with grilled meats, sausage, or polenta. Or just snack on the fabulous tomato candy!
a
a
Slow-Roasted Tomatoes
(Adapted from recipes on the Smitten Kitchen and in The Glorious Vegetables of Italy)
a
a
Plum tomatoes, washed and cut in half lengthwise (Seed them if you want, but I tried seeding and not seeding and concluded seeding is not necessary.)
Olive oil
A few unpeeled cloves of garlic
Salt
Freshly ground black pepper
a
Homegrown plum tomatoes
a
1. Preheat the oven to 275˚.
2. Spread the tomatoes out on a large baking sheet. (Line with foil or parchment paper, if you want.)
3. Scatter the garlic cloves around on the pan.
4. Drizzle with some olive oil and sprinkle with salt and pepper.
5. Roast for 3 – 4 hours until they are done as you like them.

a
6. Store covered with olive oil in the refrigerator for up to two weeks.
a
Cherry Tomatoes Variation from Domenica Marchetti: Roast cherry or grape tomatoes for about 1½ hours.
a
♥
a
Pasta with Slow-Roasted Tomatoes, Basil, and Shaved Parmesan Cheese served with Green Beans

a
a
Share this:

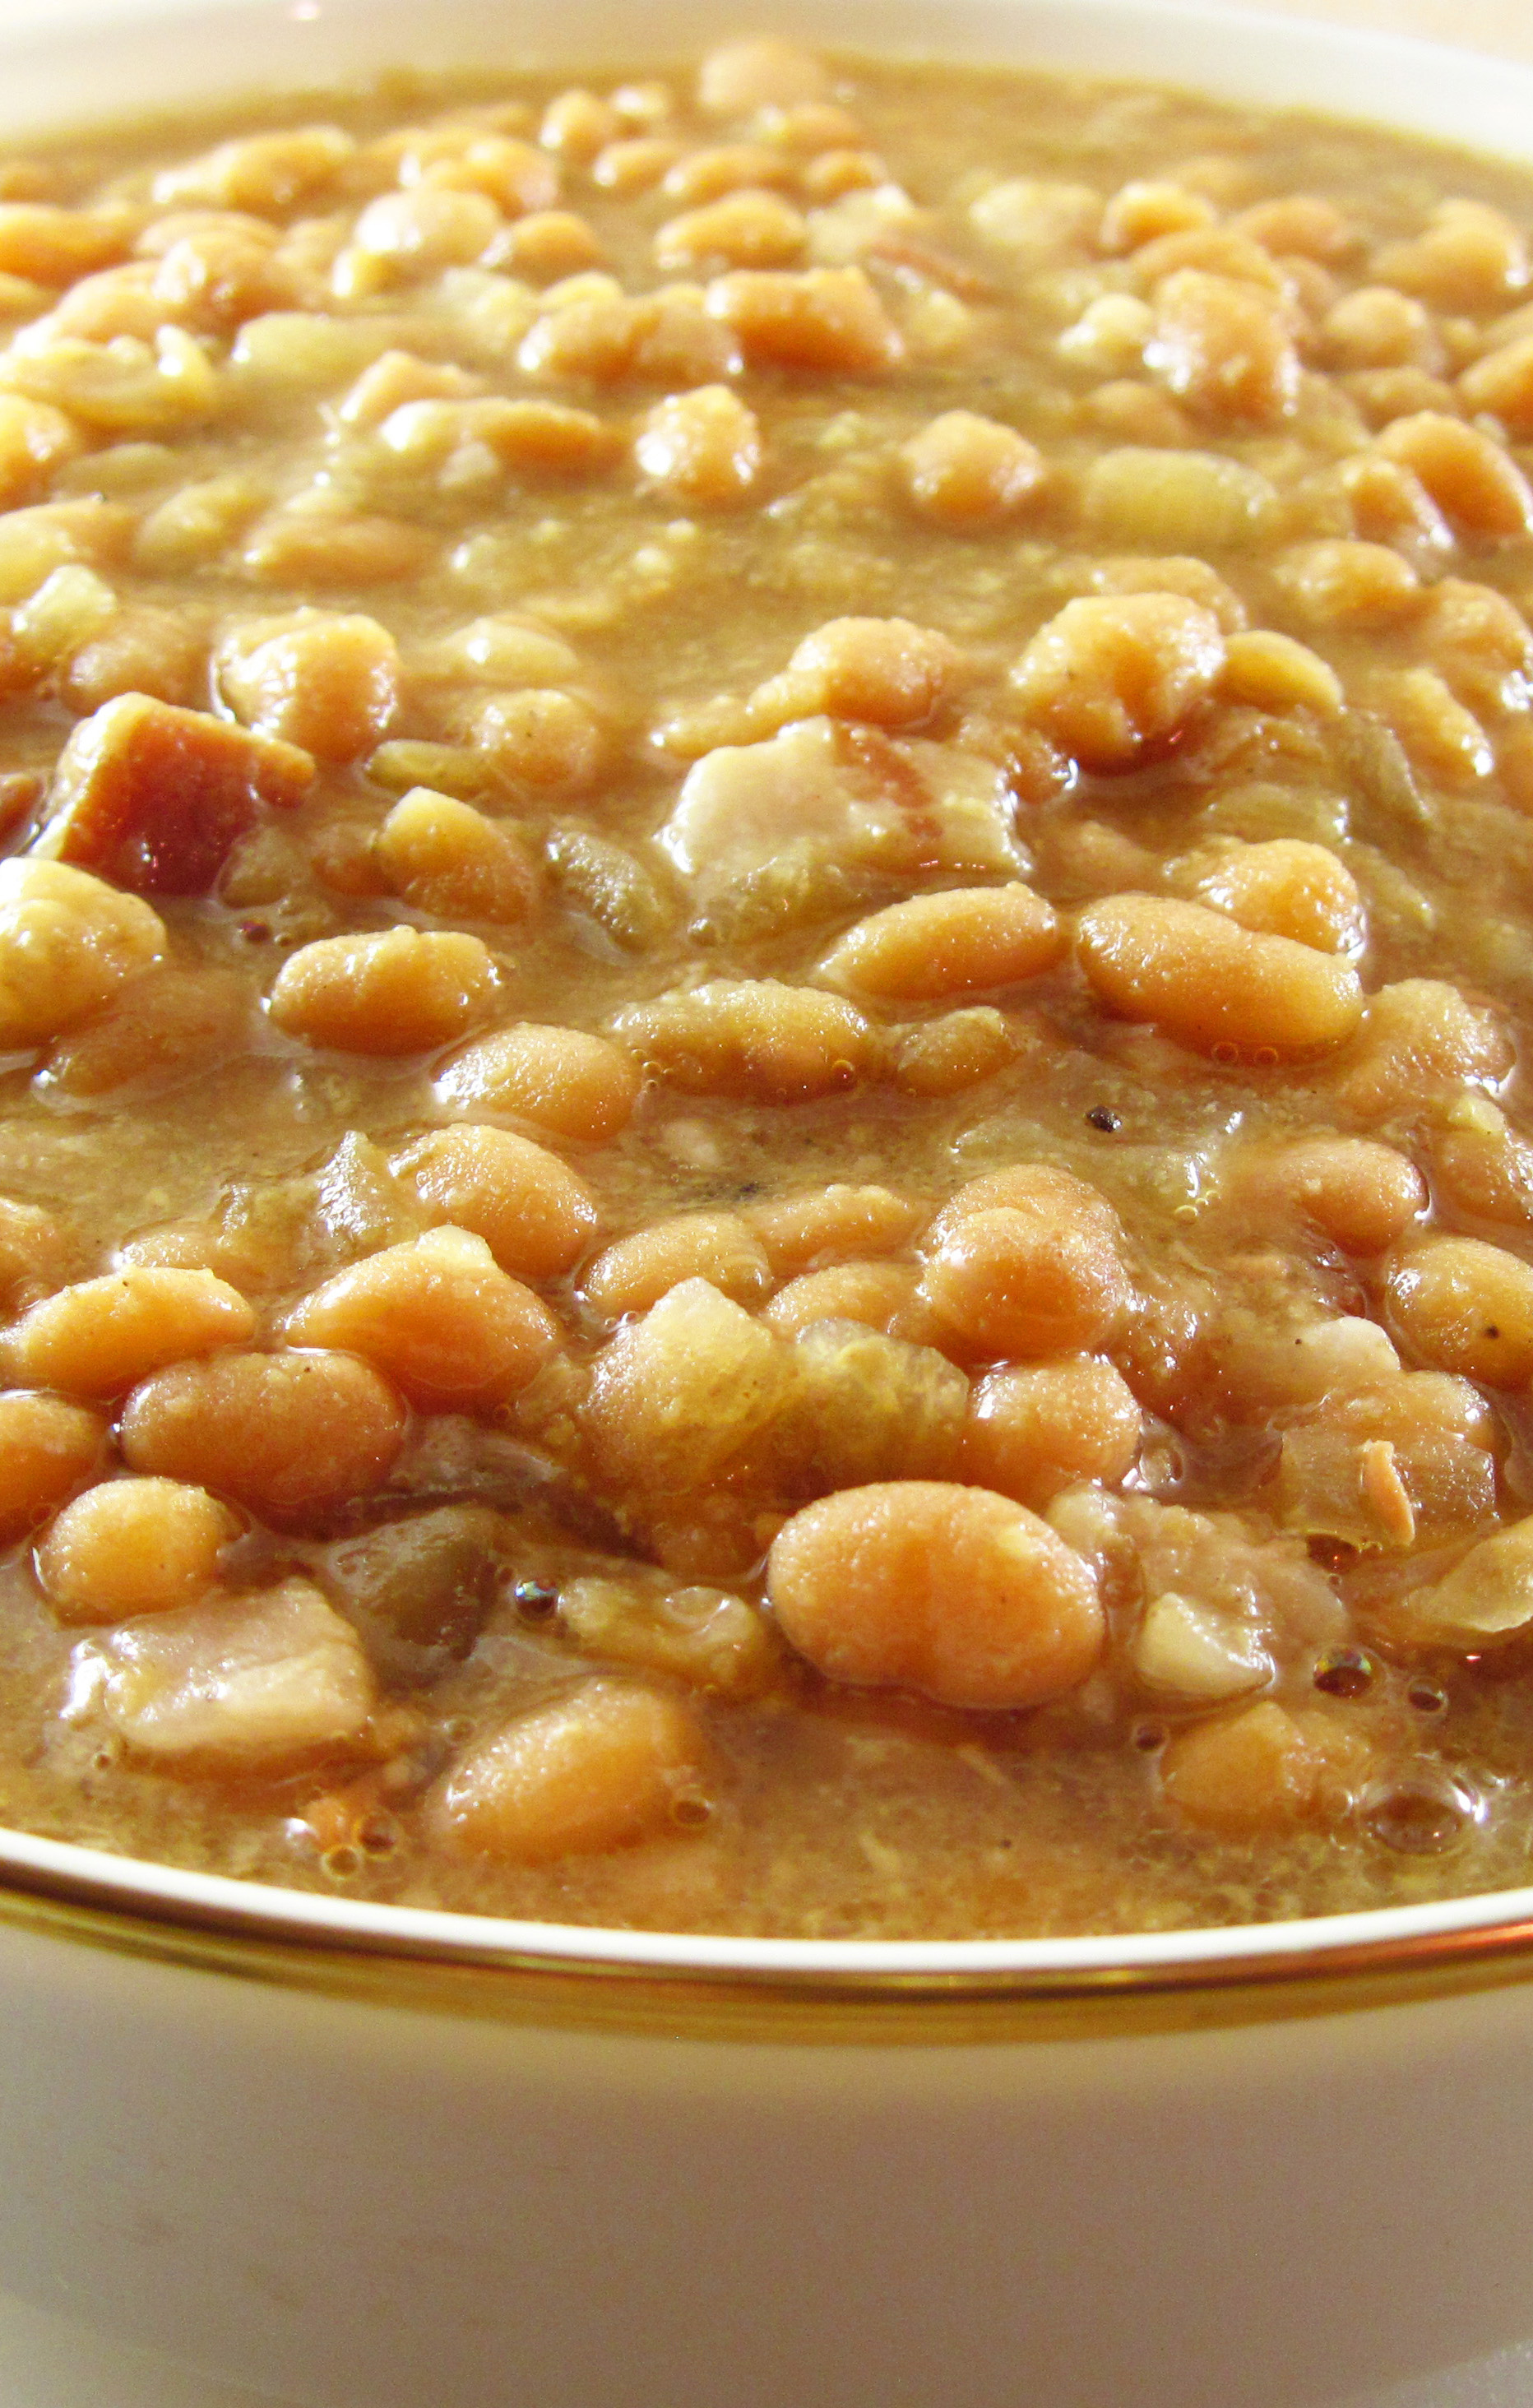
Slow Cooker Maple Baked Beans
By Kath Dedon
a
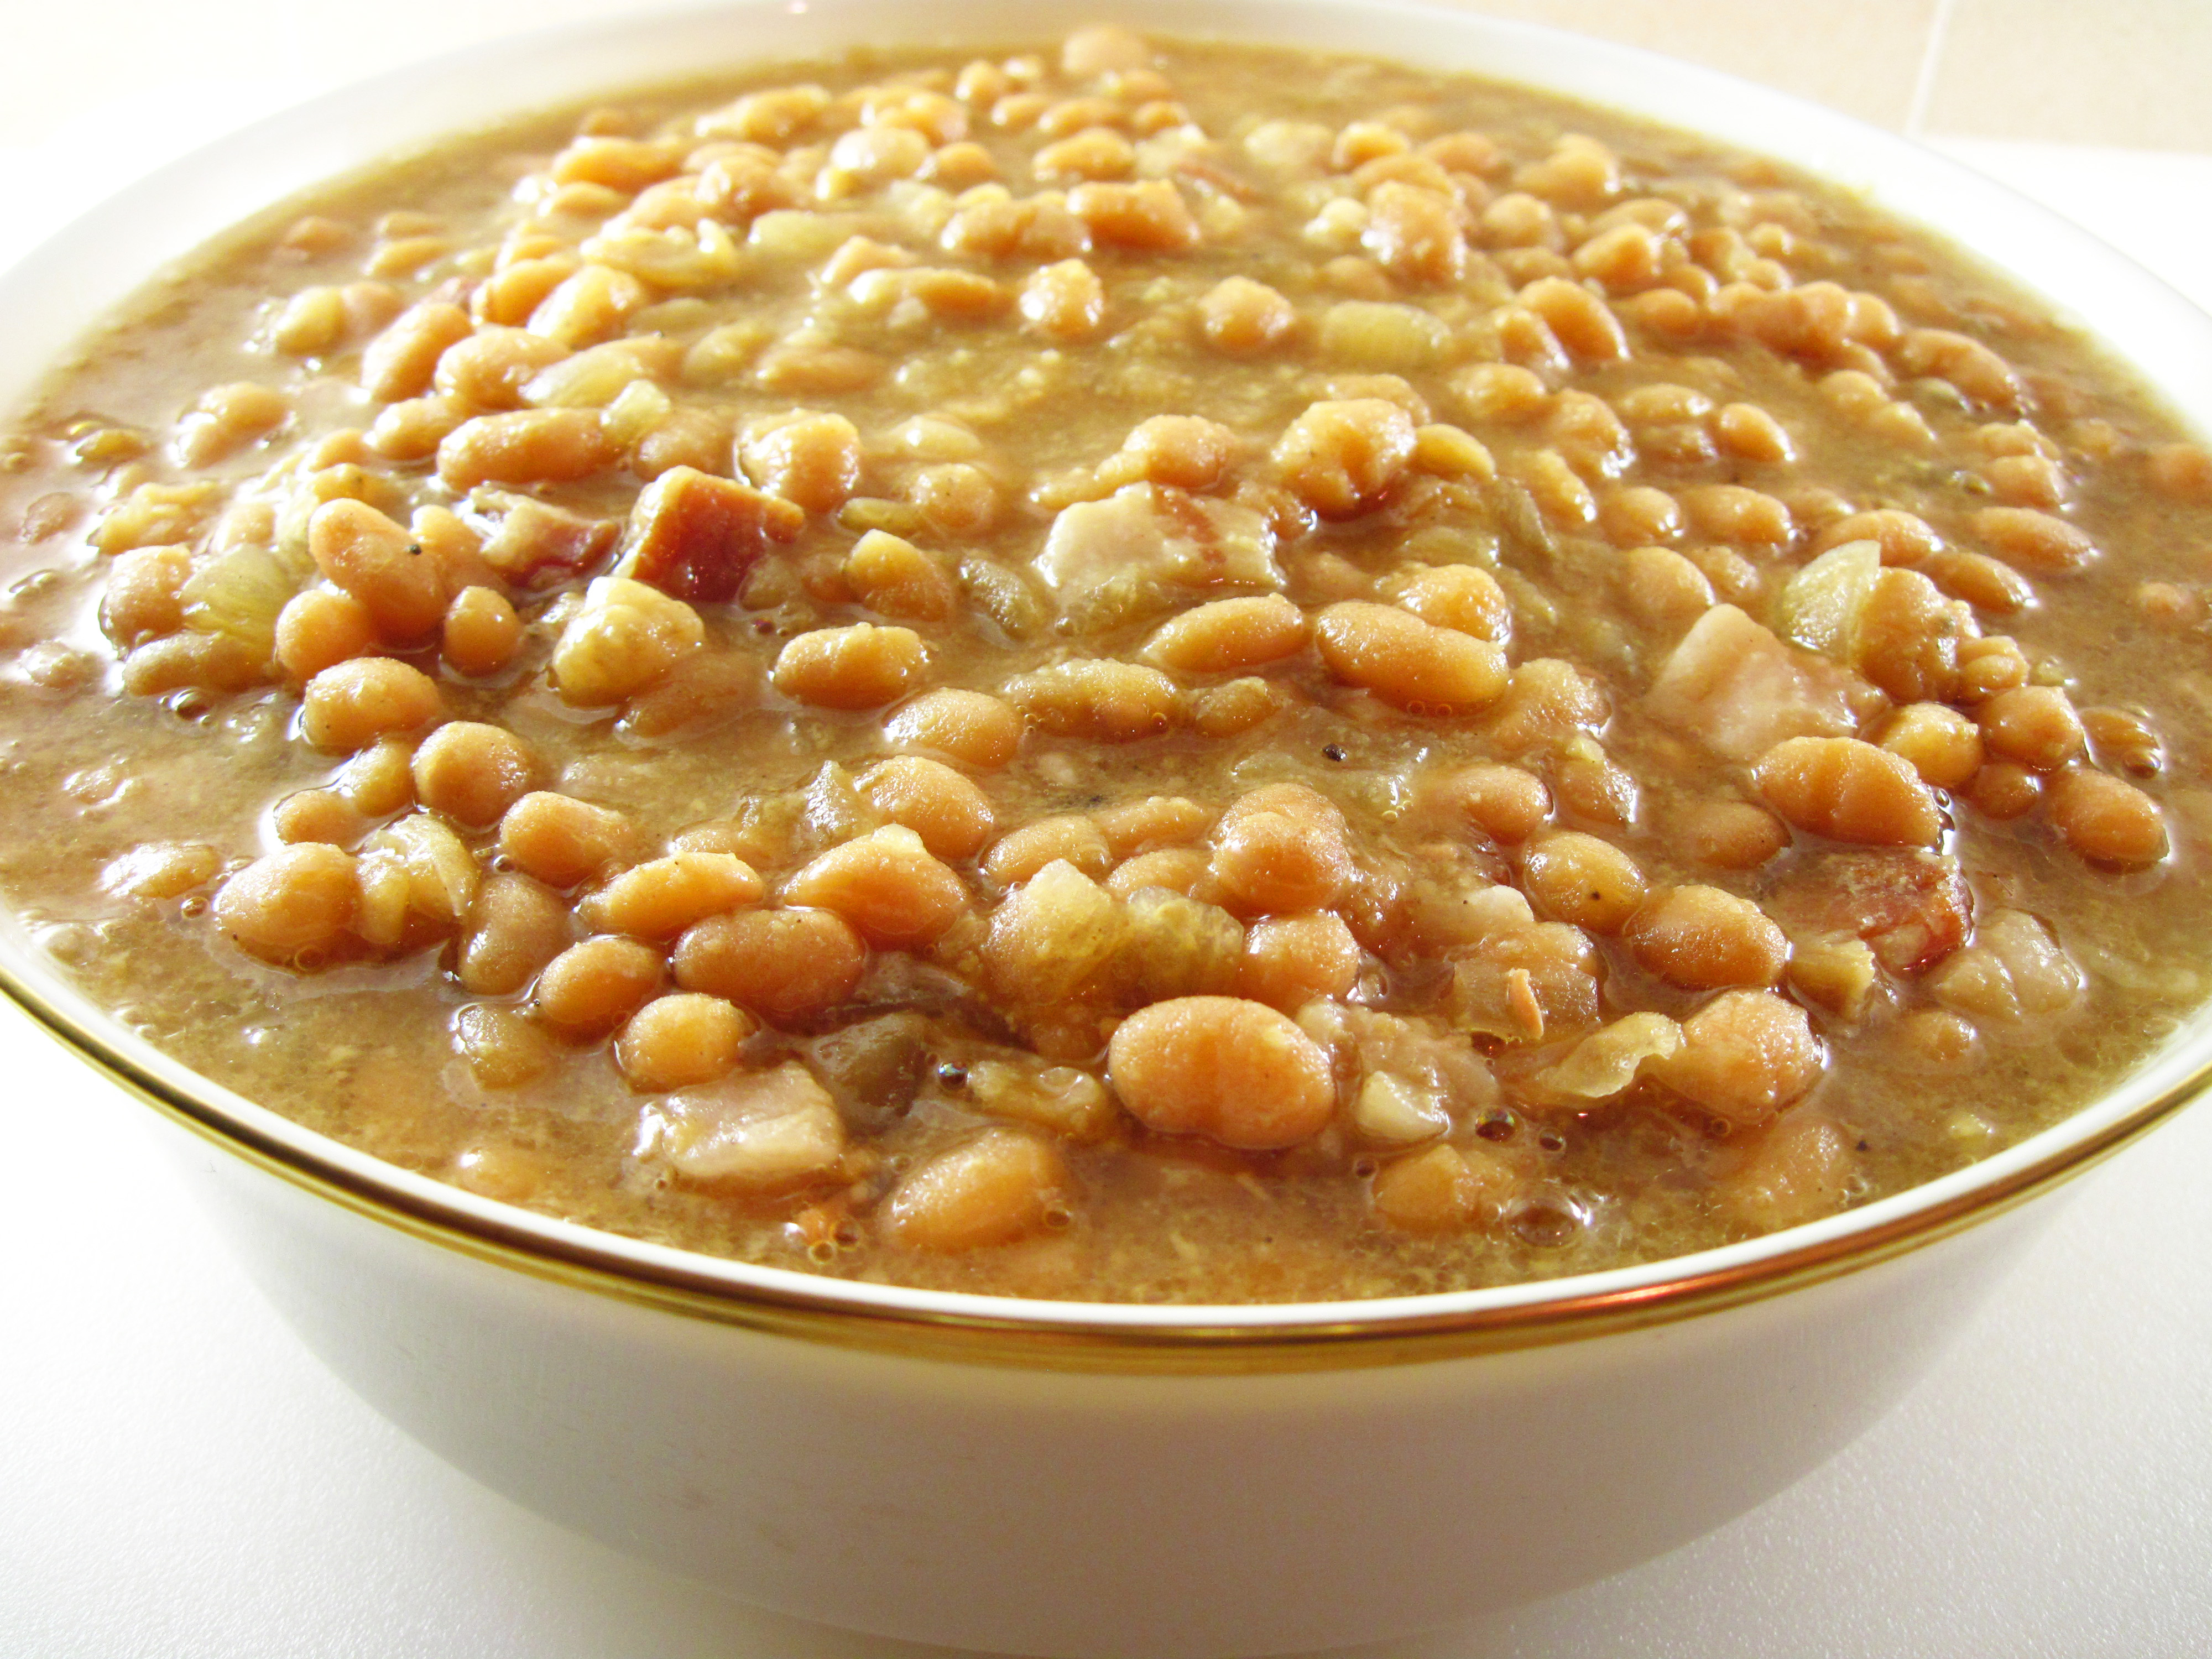
Slow Cooker Maple Baked Beans are really easy to make and they taste great! I adapted the recipe from Elise’s recipe for Slow Cooked Boston Baked Beans on Simply Recipes.
Elise uses the traditional molasses and brown sugar for her beans. I subbed pure maple syrup and maple sugar. I also added a teaspoon of vinegar when the beans were done for balance. I used sherry vinegar, but you could also use cider vinegar.
I loved how simple it was to get the beans going. I know I’ll be making these Slow Cooker Maple Baked Beans again. I might try subbing dry Colman’s mustard for the Dijon mustard next time.
a
a
Slow Cooker Maple Baked Beans
(Adapted from Elise Bauer’s recipe on simplyrecipes.com)
a
a
Serves 8 – 10 as a side dish
a
1 pound dry navy beans
1/3 cup pure maple syrup (or molasses)
1/3 cup maple sugar (or brown sugar)
3 tablespoons Dijon mustard
1/8 teaspoon ground cloves
3 cups hot water
½ pound salt pork (can substitute slab bacon), rind cut off and cut into ½-inch to 1-inch pieces
1 medium onion, chopped (1½ cups)
1 teaspoon sherry or cider vinegar
a
1.Rinse the beans. Put them in a pot or a large bowl and cover with water so they are at least 2 inches below the surface. Soak overnight and then drain.
2. Combine the maple syrup (or molasses), maple sugar (or brown sugar), mustard, cloves, and hot water in a quart pitcher or bowl.
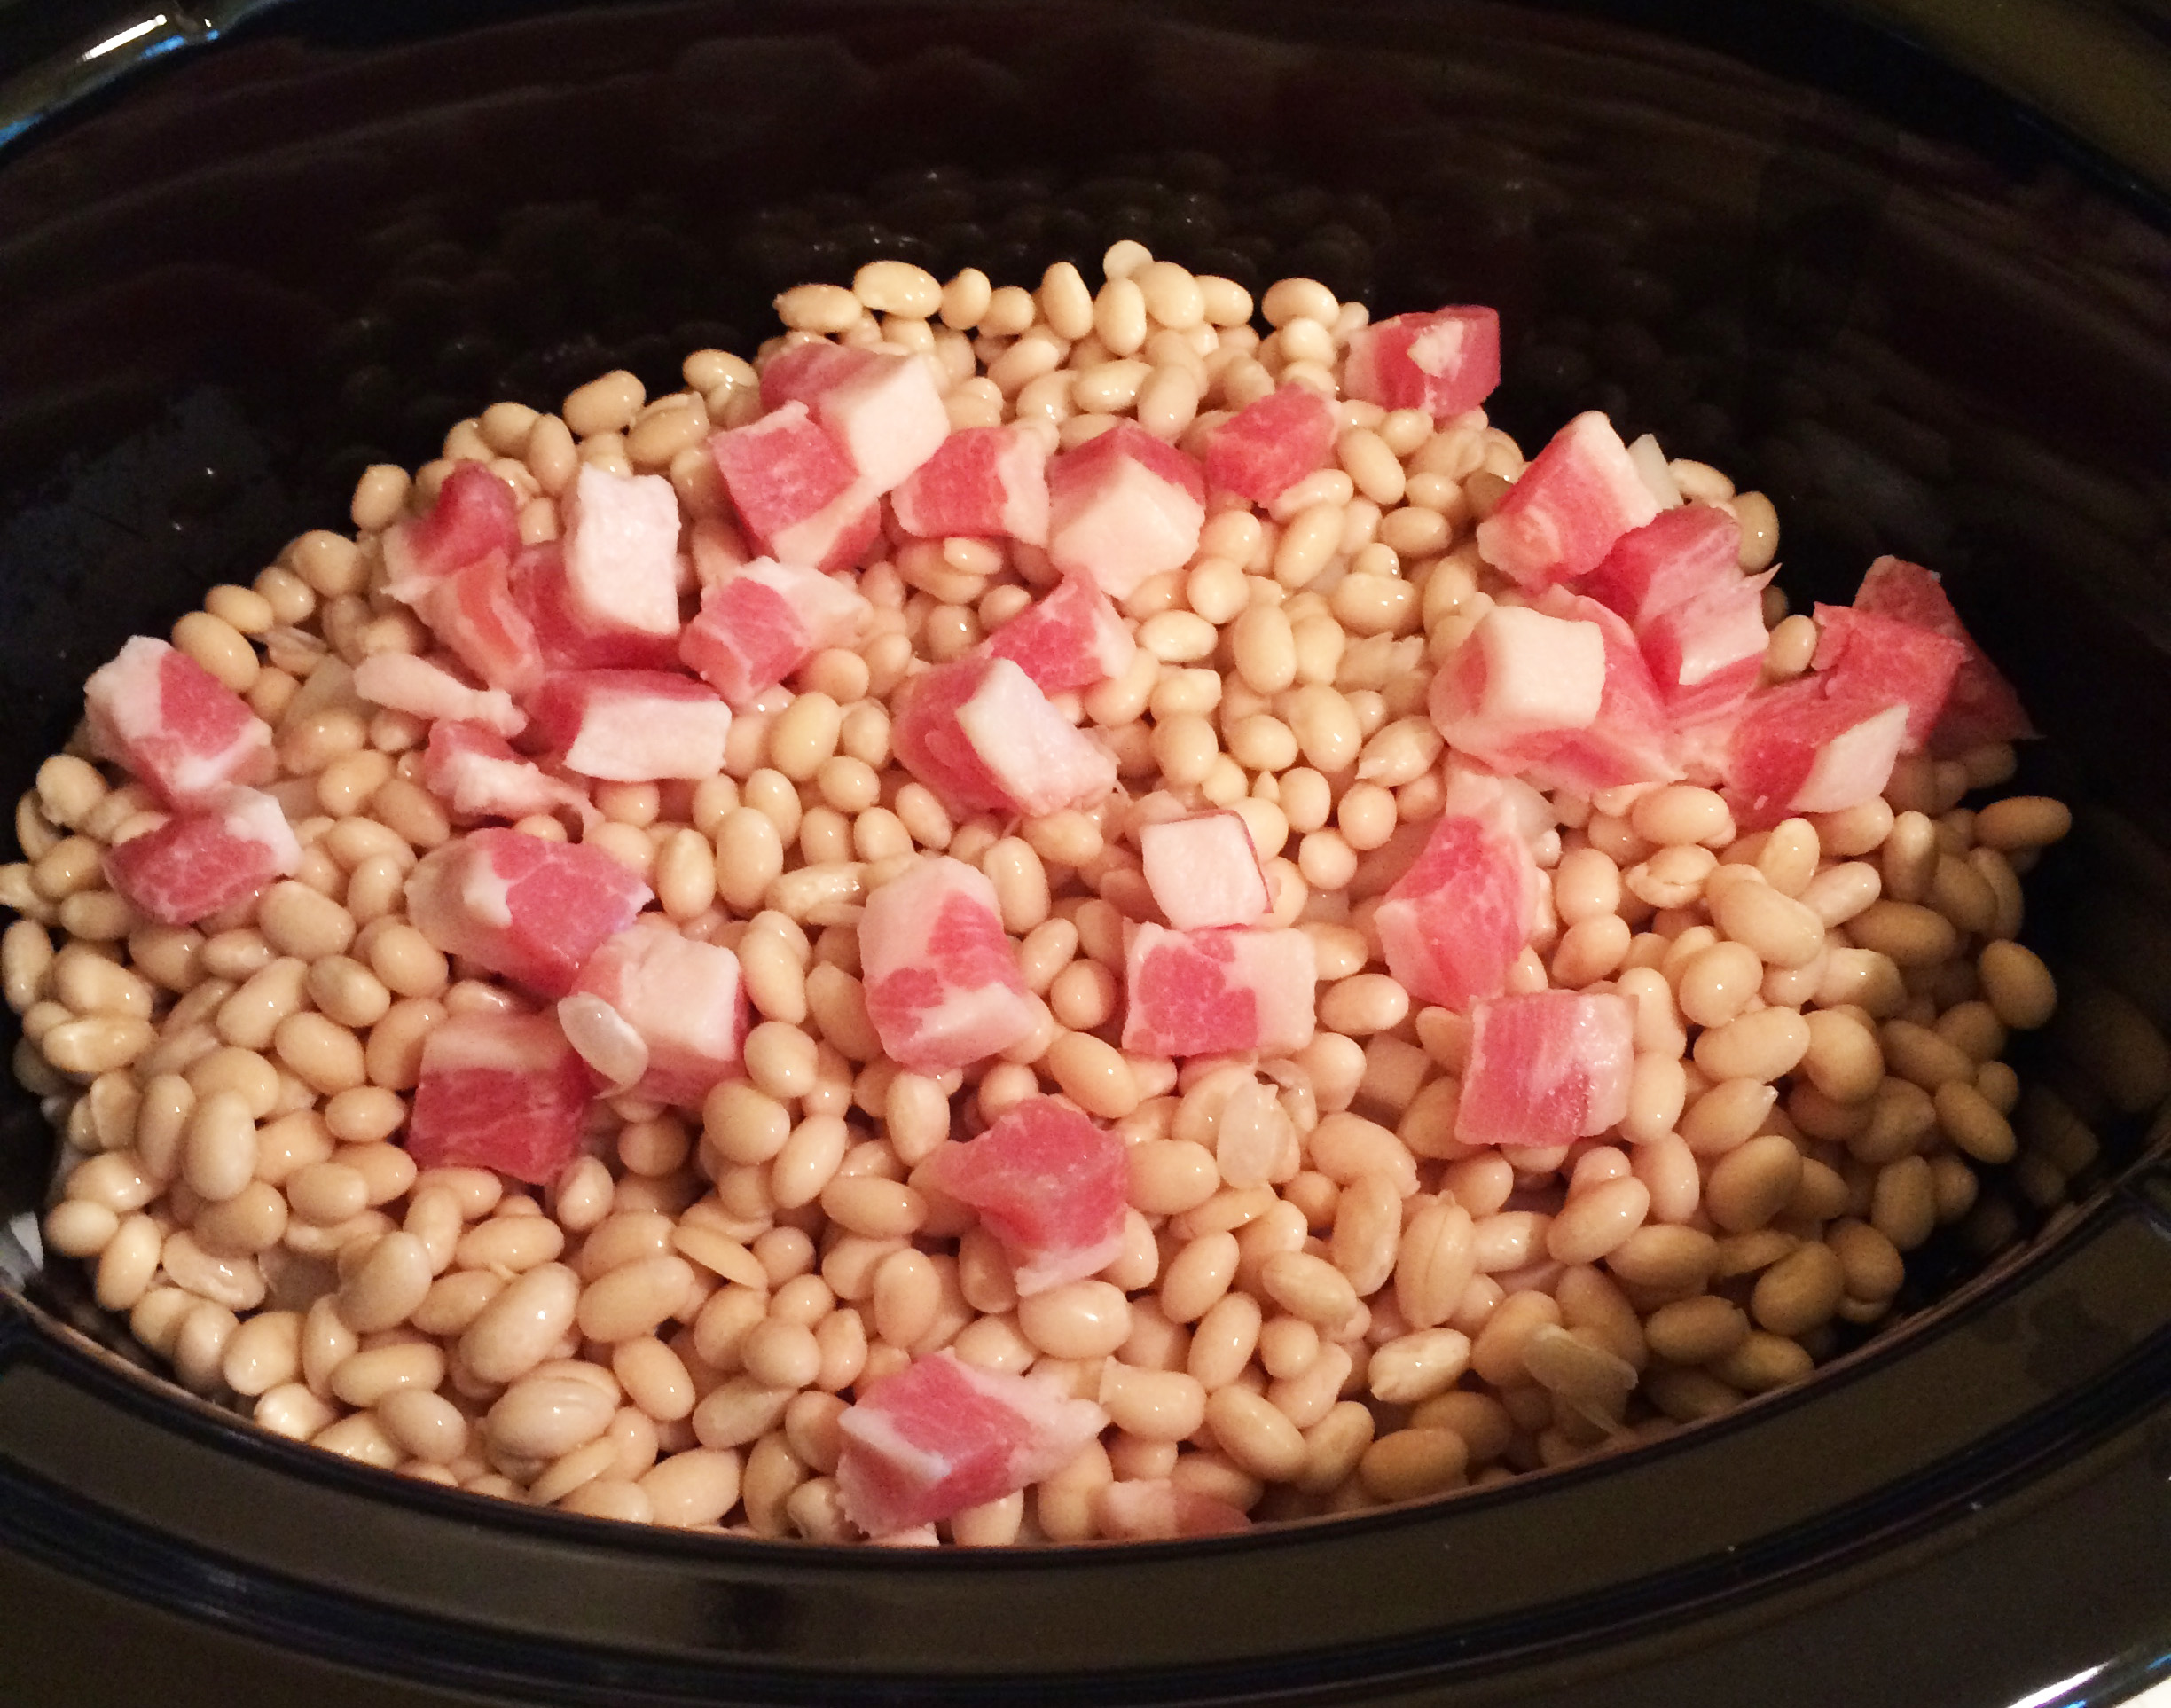
3. Using the fattiest pieces, put half of the salt pork in the bottom of the slow cooker. Layer half of the drained beans over the pork. Layer all of the chopped onion over the beans. Put the remaining beans over the onion and then top them with the remaining salt pork.
a
Ingredients layered in the slow cooker
a
4. Pour the maple/water mixture over the beans. The beans should be just barely covered with water. Add a bit more hot water if they are not.
a
Maple/water mixture poured over the beans

a
5. Cook on Low for 8 hours, or until the beans are done. (The actual time could depend on how hot your slow cooker is, or how fresh the beans are. 8 hours was just right in my slow cooker.)
6. Stir in the vinegar and serve. Or you can cool, put it in a bowl, cover and refrigerate until the next day. Reheat and serve. Elise said it’s even better the next day.
a
a
Share this:

Peach Crisp
By Kath Dedon
a
August is peach season, so it’s the perfect time of year for the Peach Crisp! I used Mark Bittman’s recipe from How to Cook Everything the Basics, although I did make some changes.
Mark uses cold butter which he cuts into ¼-inch bits and puts in the freezer for a few minutes. My butter was softened at room temperature. That’s what I used, and it worked fine. Either way, the butter goes with the other topping ingredients for a quick whirl in the food processor.
I also cut back on the sugar. Mark calls for 2/3 cup packed brown sugar. I used ½ cup of maple sugar and it seemed just right.
Lastly, I substituted an all-purpose gluten-free flour for the all-purpose flour and it worked just fine.
Sorry, but I didn’t take photos to illustrate the process. Frankly, I wasn’t sure this would be a “blog-worthy” recipe. However, I was really pleased with the way it turned out! I loved the topping and would use it with other fruits as well. Mr. Bittman suggests apples, pears, plums, cherries, or berries. If you use berries, toss them with 2 tablespoons of flour or cornstarch to help thicken their juices.
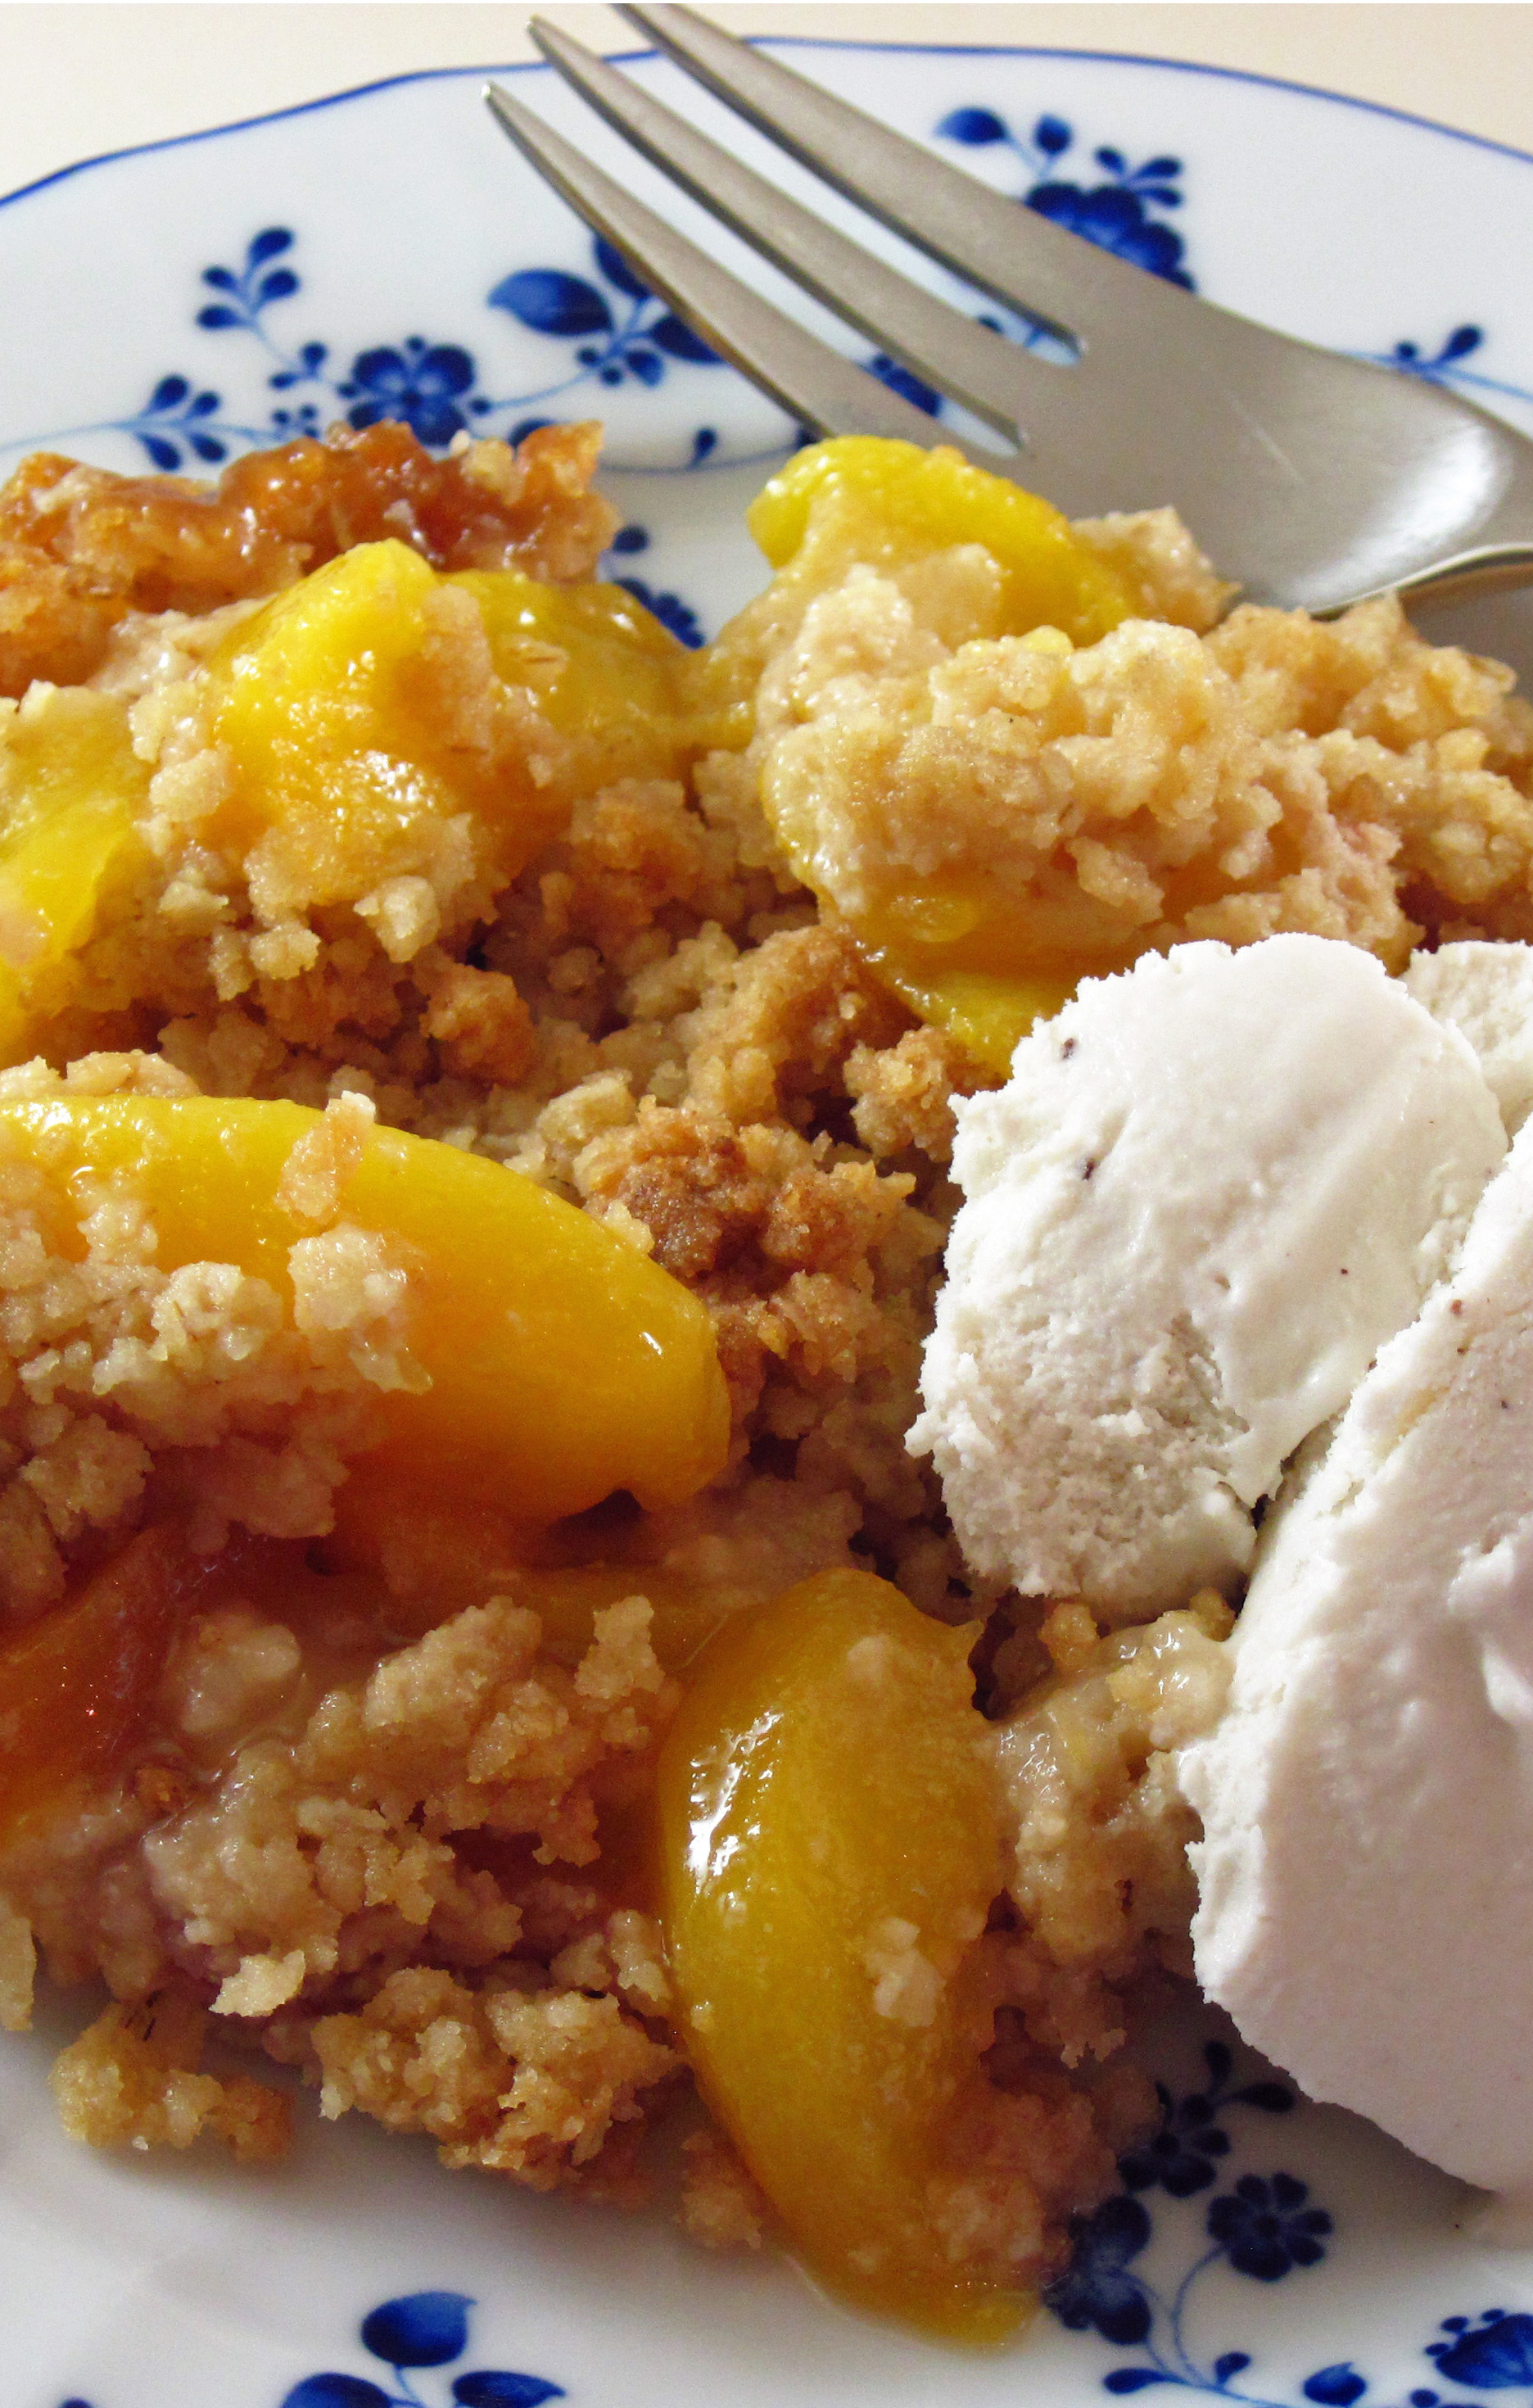
Served with a bit of ice cream, this Peach Crisp is a perfect summertime dessert!
a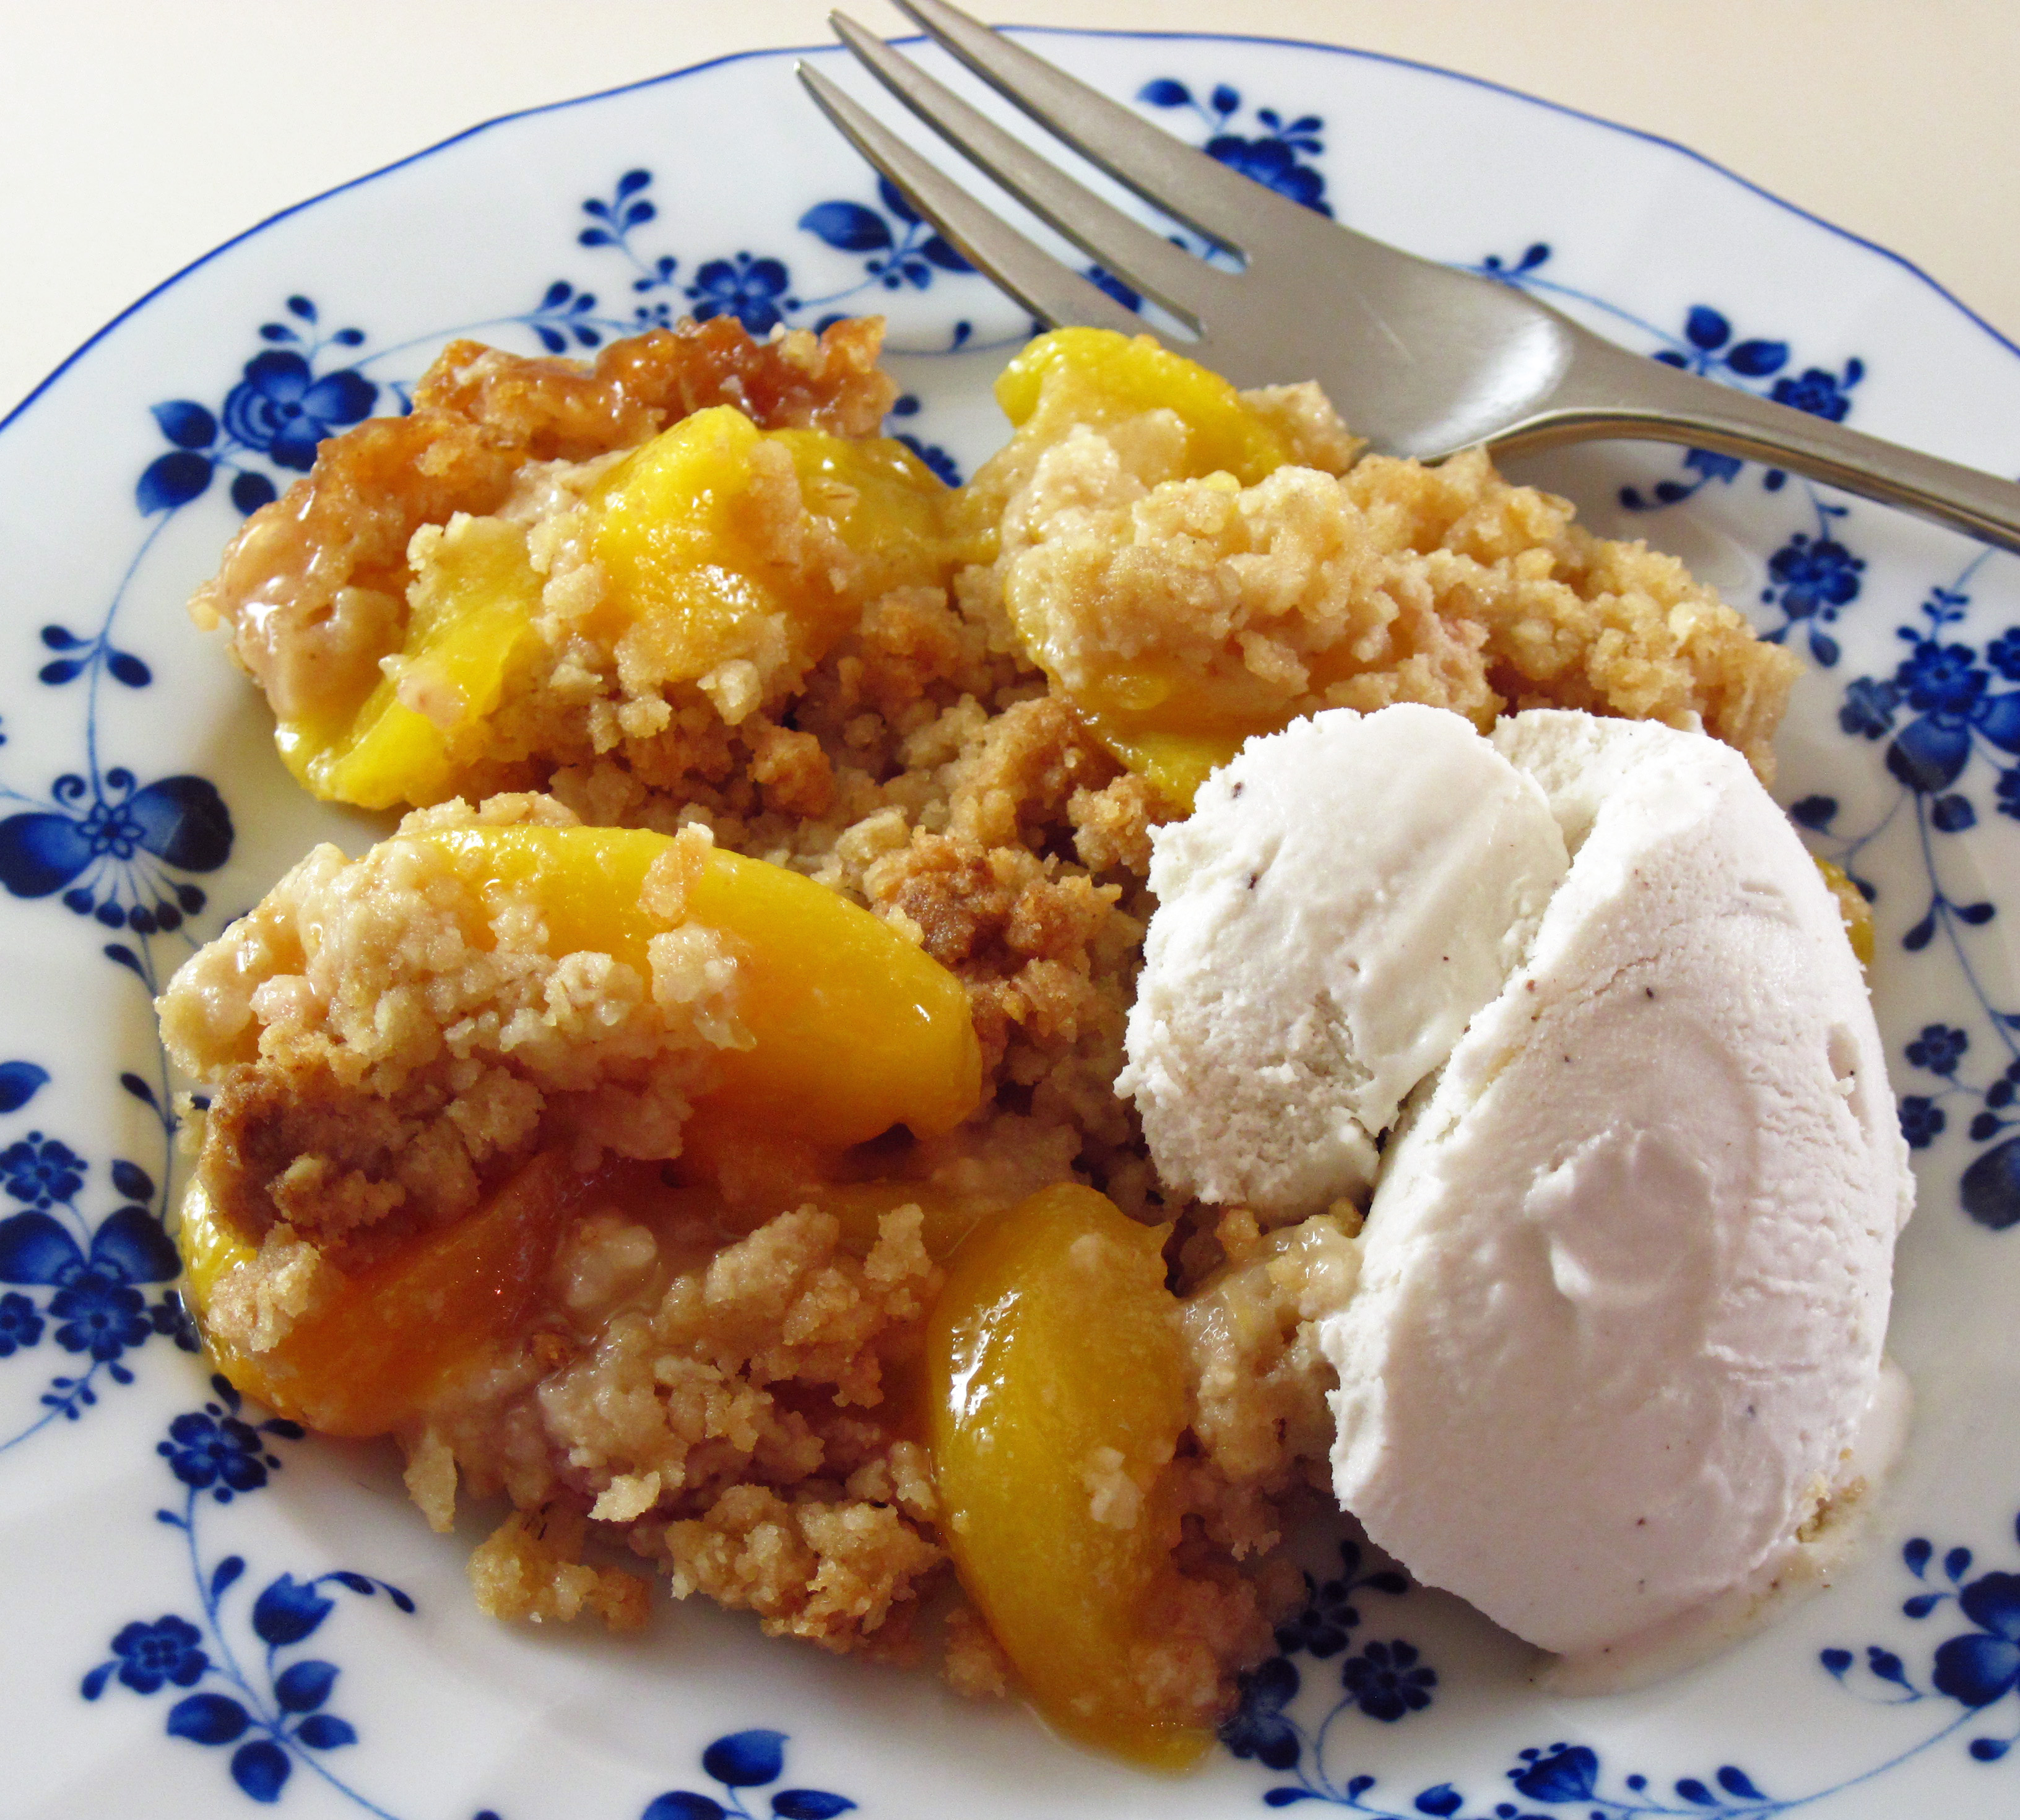
a
Peach Crisp
(Adapted from Mark Bittman’s recipe in How to Cook Everything the Basics)
a
a
Serves 6 – 8
a
5 tablespoons butter, plus more for greasing the pan (I used softened butter. If yours is cold, cut it into ¼-inch bits.)
6 cups pitted, sliced peaches (2 – 3 pounds)
Juice of ½ lemon (about 1 tablespoon)
½ cup packed brown sugar (or maple sugar)
½ cup rolled oats (not instant oats)
½ cup all-purpose flour (or gluten free flour)
¼ cup chopped nuts, optional (I didn’t use them.)
Pinch salt
a
Vanilla ice cream for serving
a
- Heat the oven to 400˚. Lightly butter a square baking pan or a pie plate.
2. Toss the peach slices with the lemon juice and 1 tablespoon of the sugar and put them in the baking pan.
3. Put the rest of the sugar, butter, rolled oats, flour, nuts if using, and salt in a food processor. Pulse a few times until everything is mixed but still has some texture. (Mr. Bittman suggests you can mix it by hand by mashing it together between your fingers. This would probably work better with cold butter than with softened butter.)
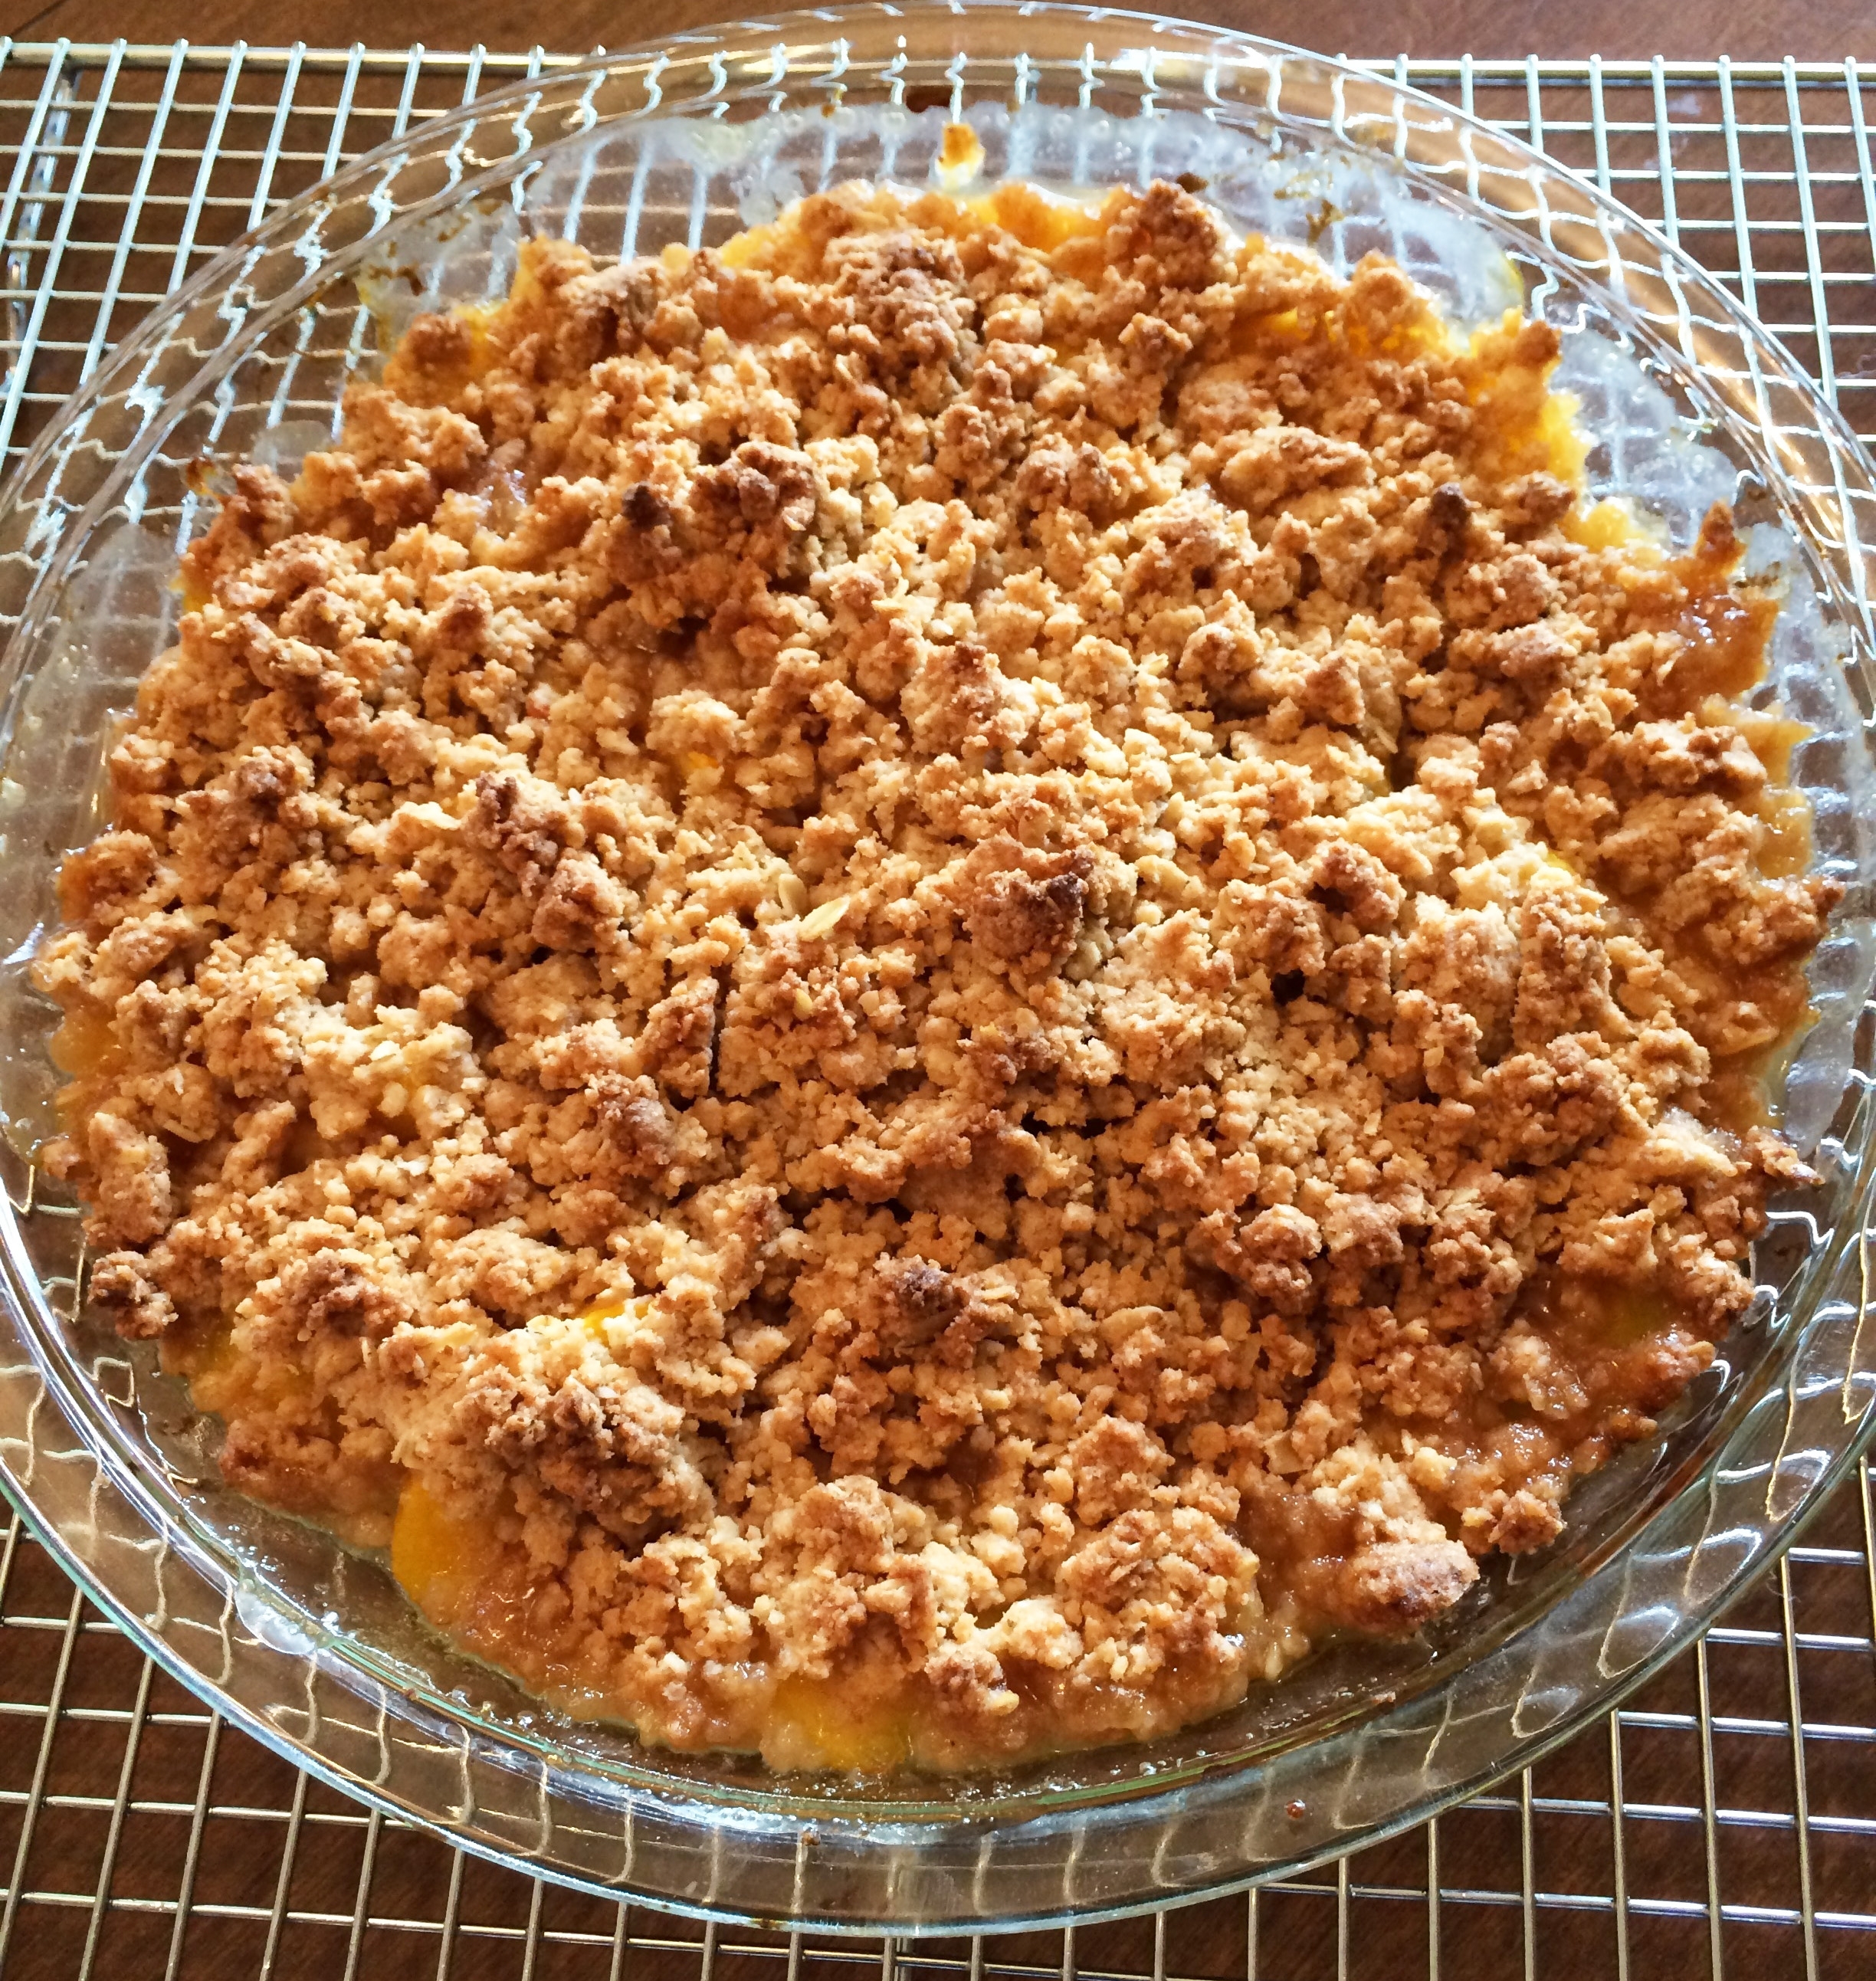
4. Sprinkle the topping over the peaches. Bake for 30 – 40 minutes. (Mine was done in 30 minutes.)
5. Serve warm or at room temperature.
a
a
a
Share this:

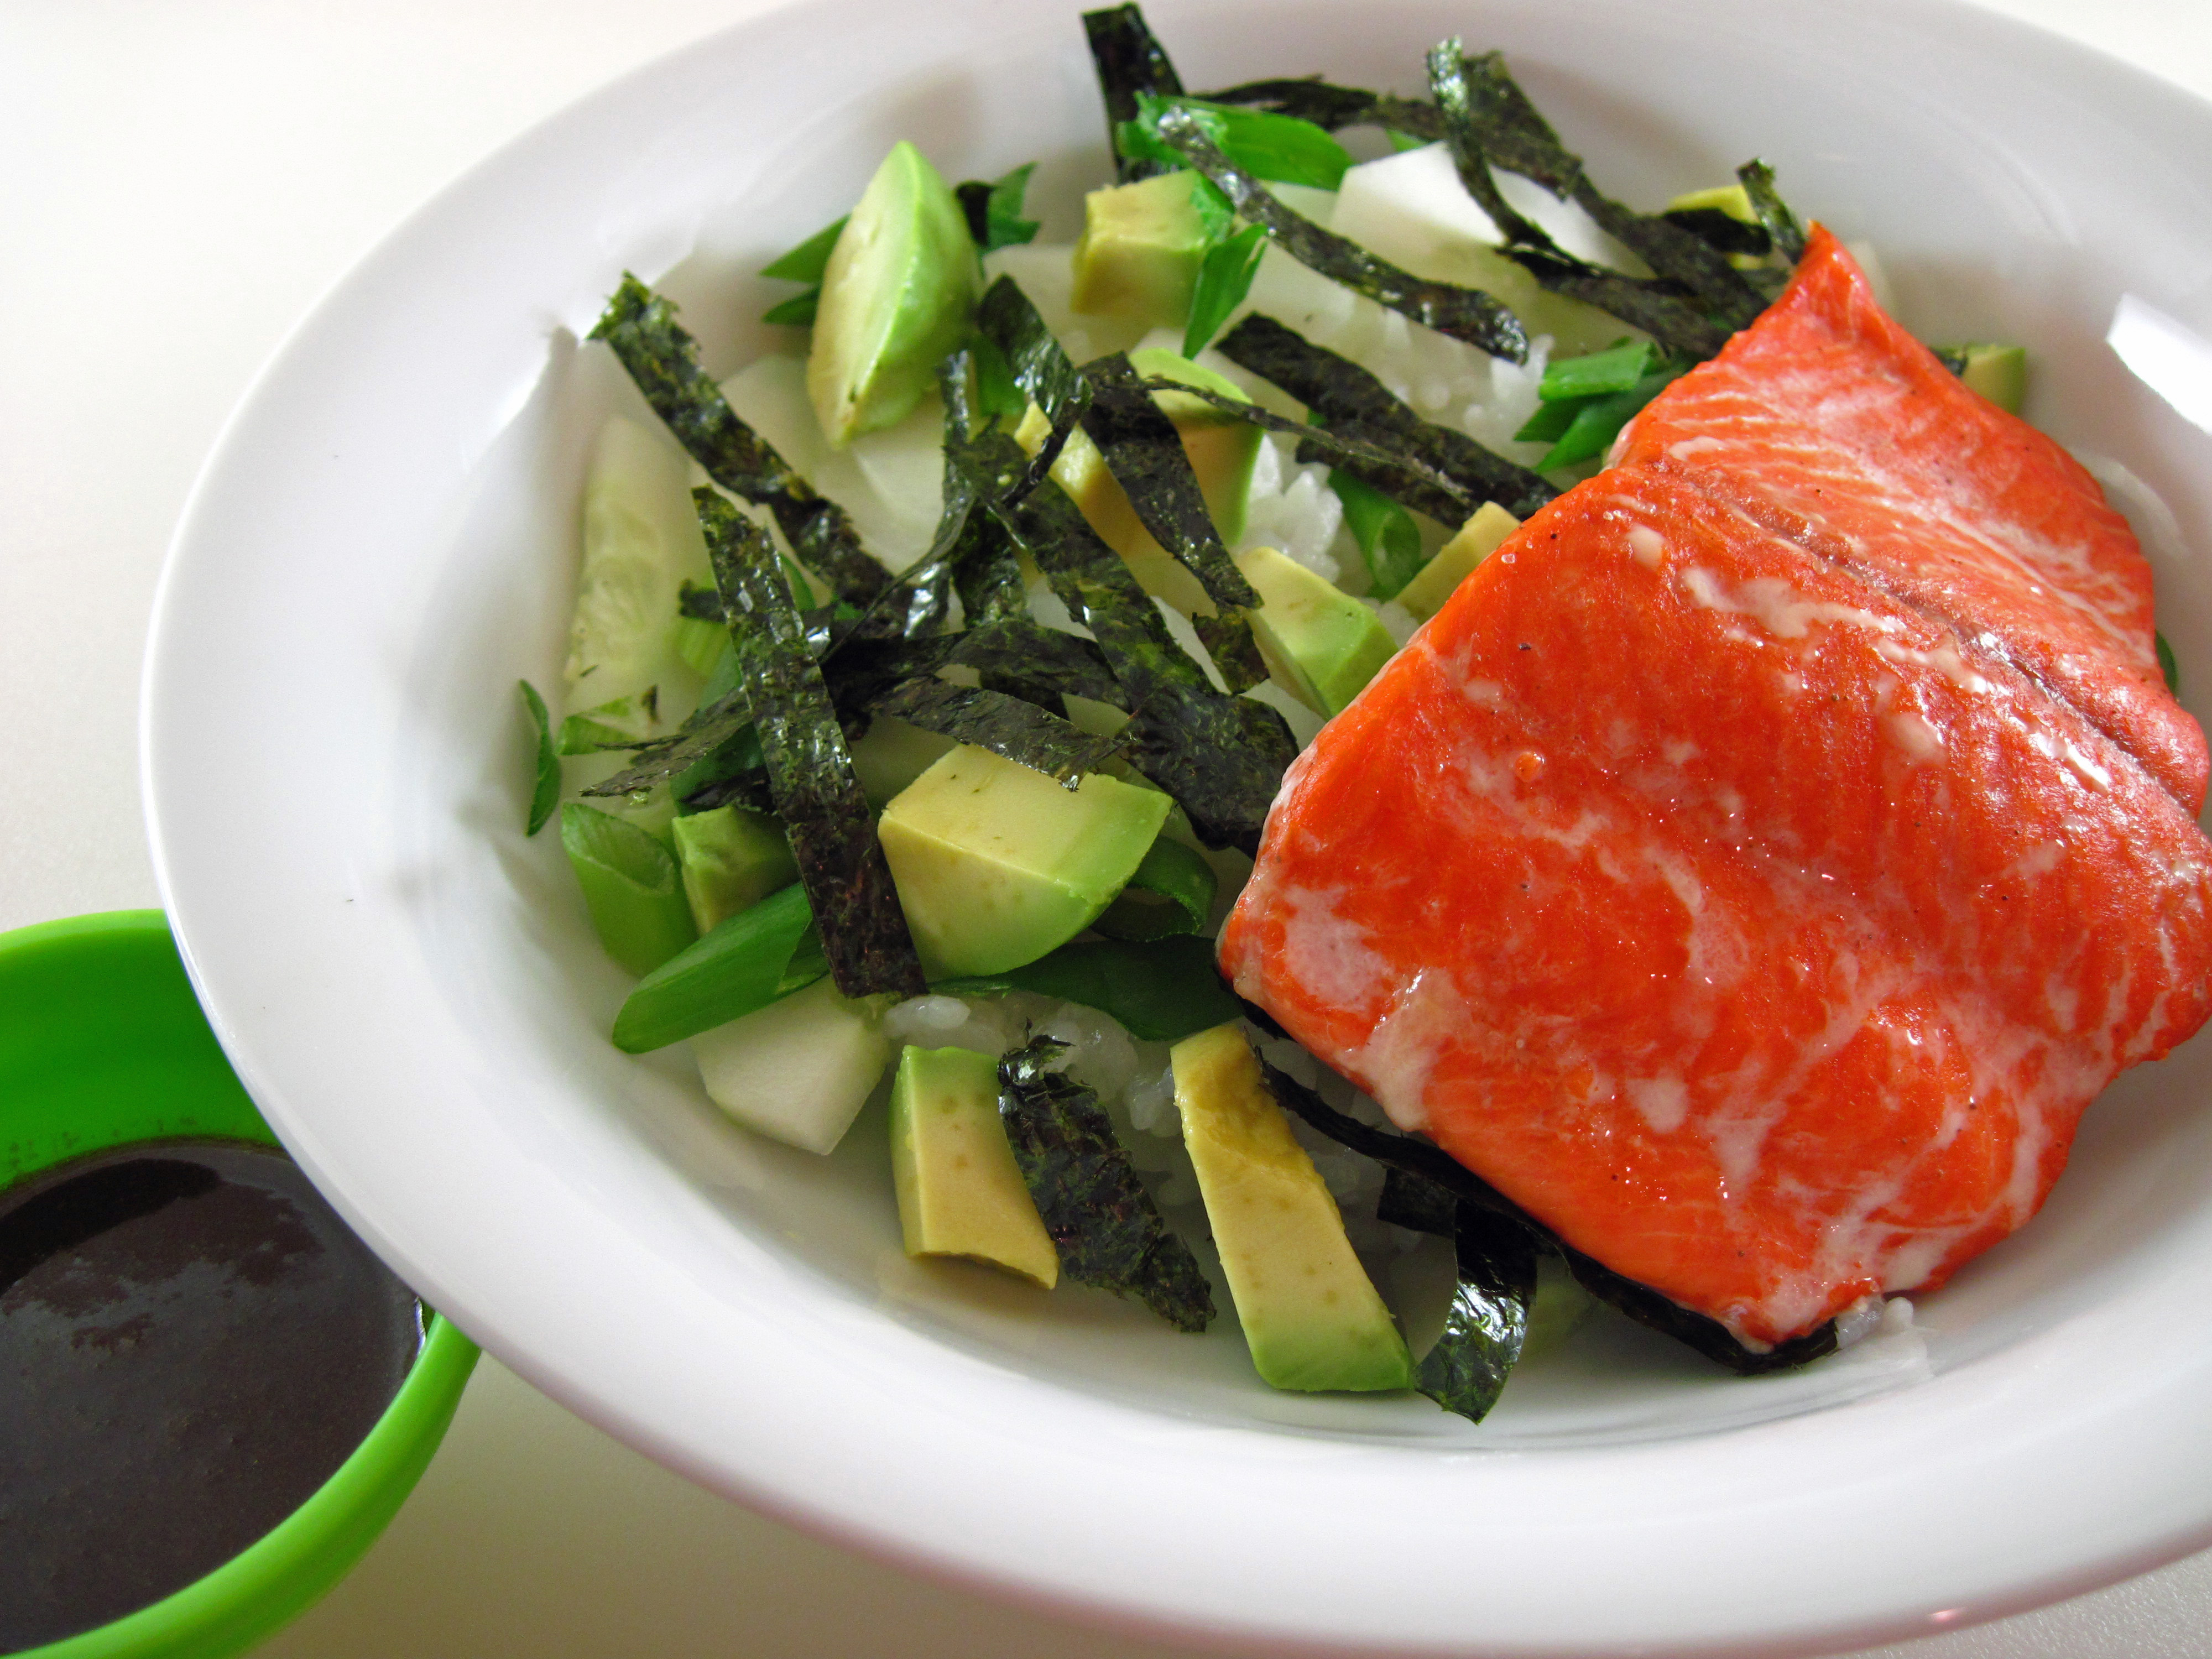
Simple Salmon Chirashi
By Kath Dedon
a
Simple Salmon Chirashi is a great salmon dish from Sunset magazine. Their head notes explain that “chirashi” means scattered in Japanese and chirashi is typically a rice bowl topped with sashimi. Instead of using raw fish, Sunset uses cooked salmon.
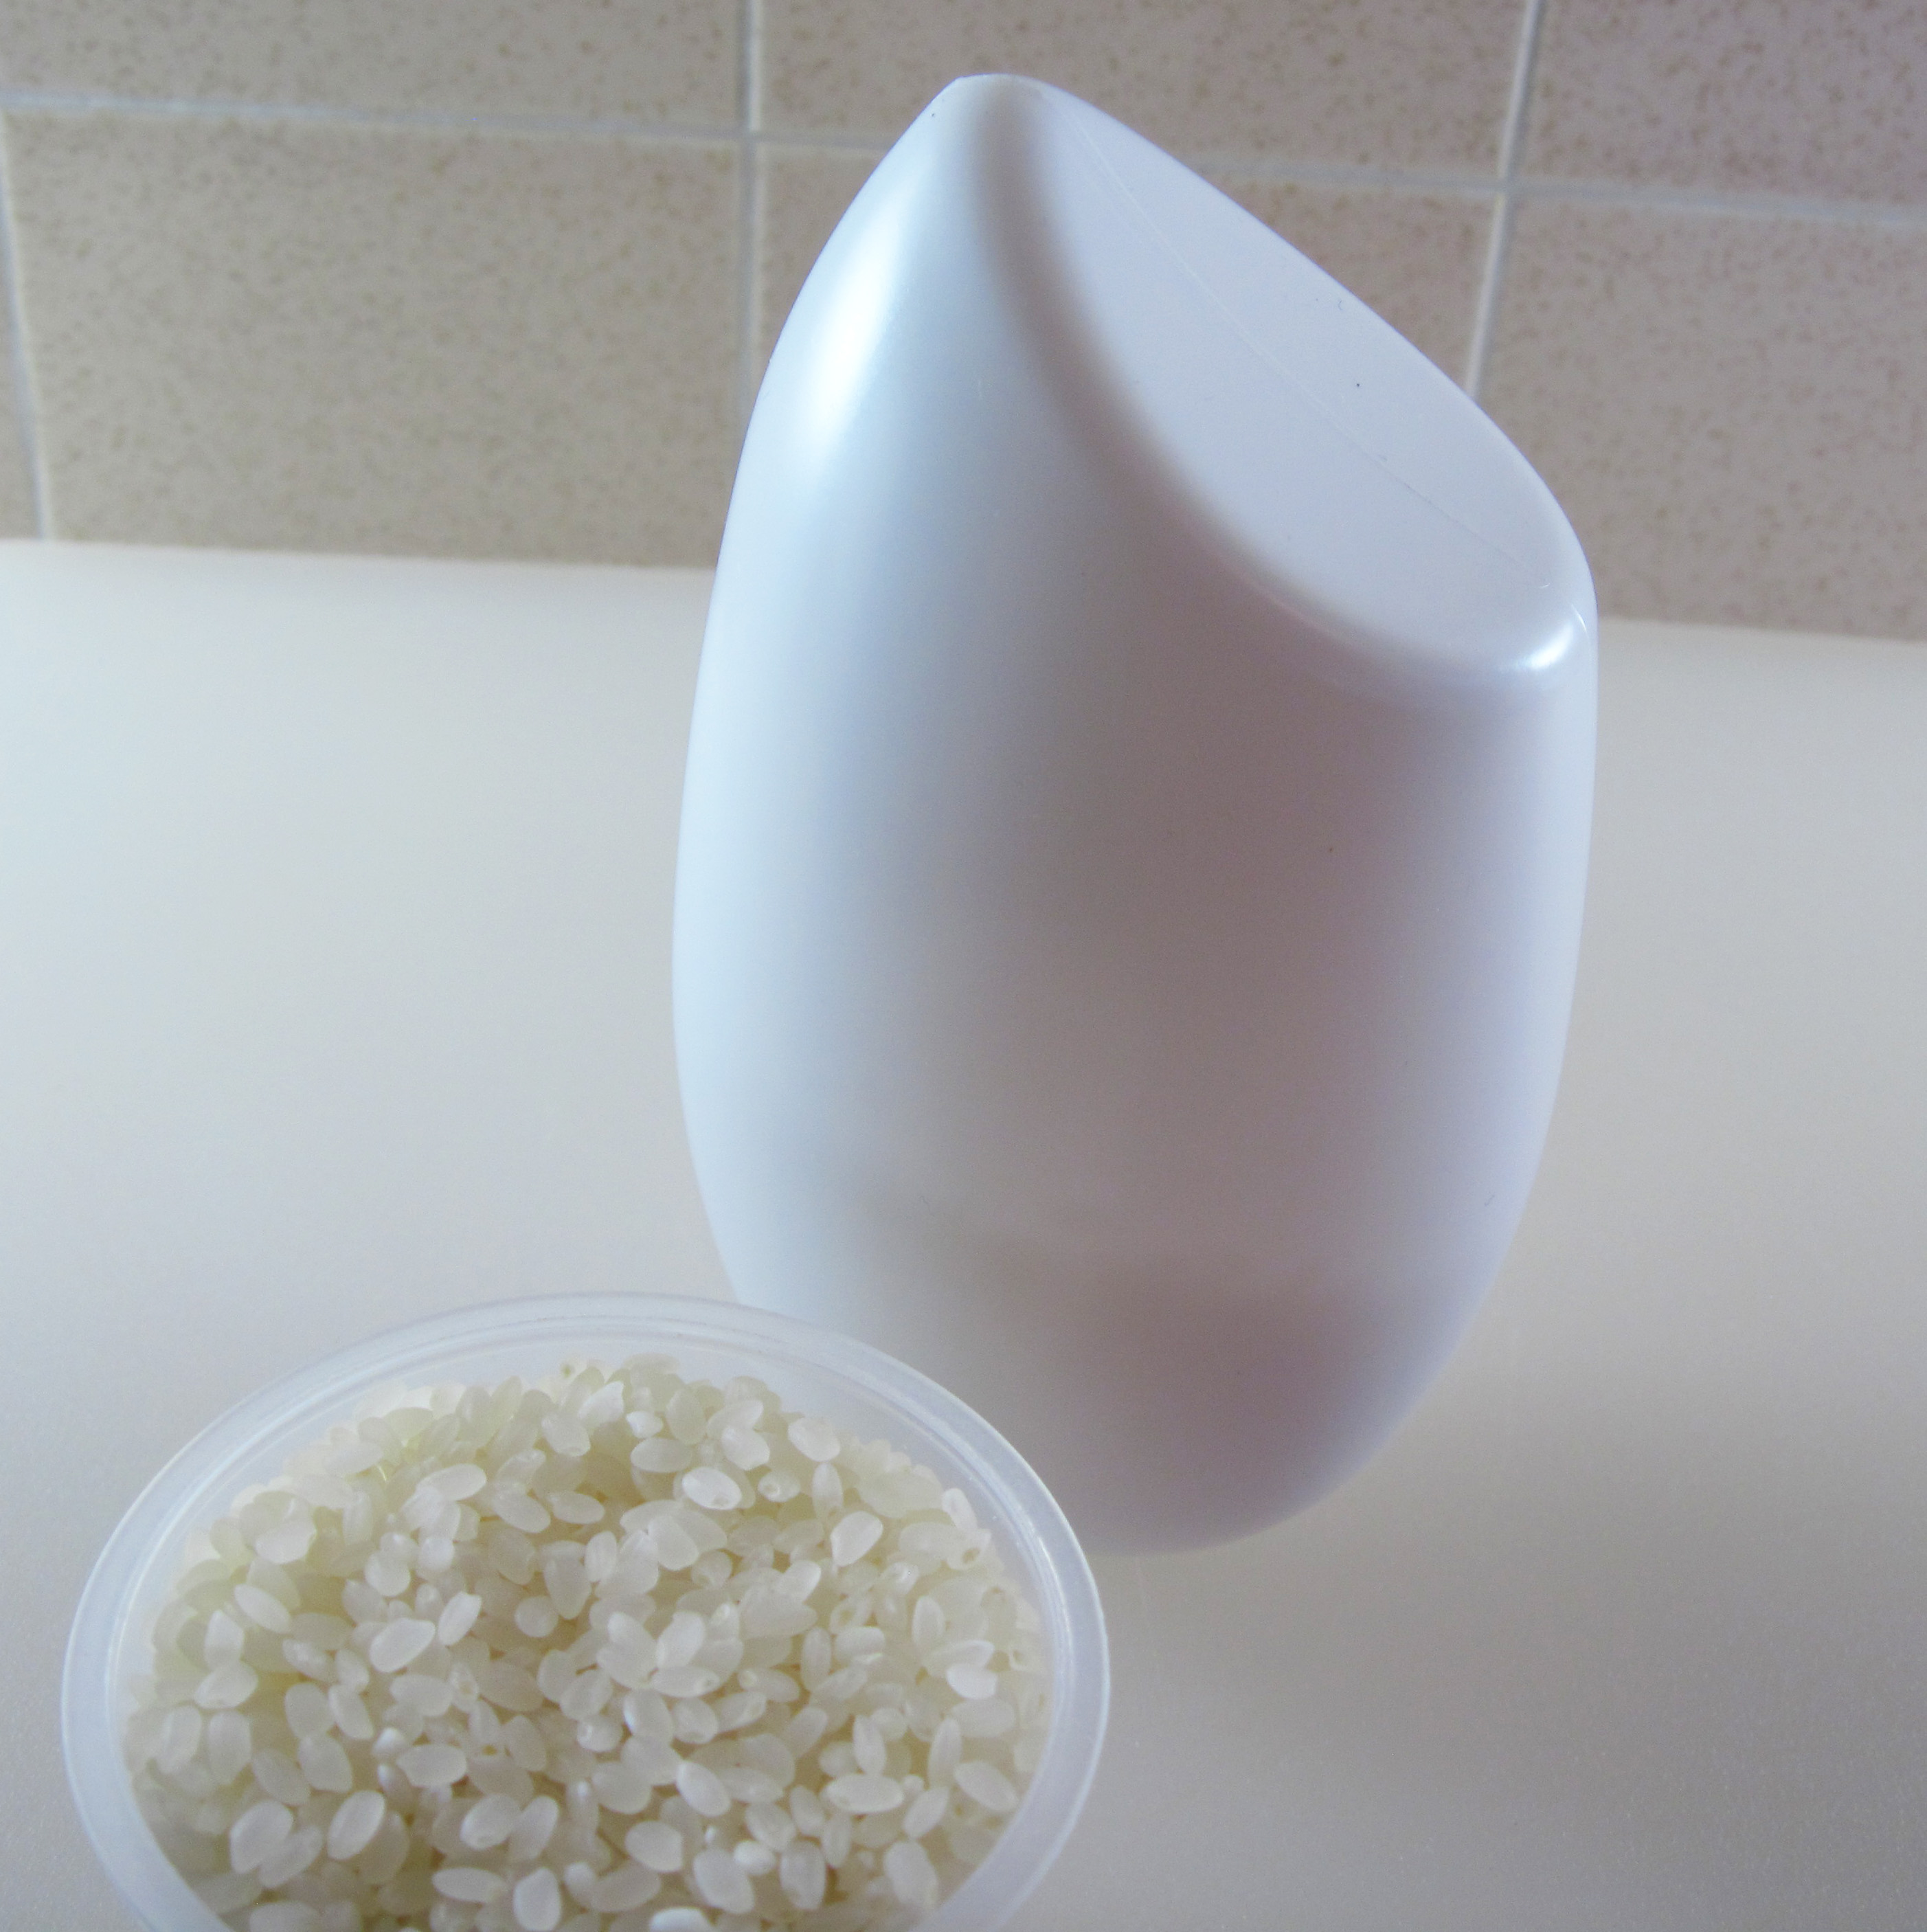
This seemed like the perfect recipe for the special Koshihikari rice that Carrie brought back for me from Niigata. Many consider it the best sushi rice in Japan. Carrie found it packaged in a cute plastic rice kernel which is obviously designed for gift-giving.
For the salmon, we were lucky enough to have some that friends brought back from their fishing trip to Alaska. (You know who you are. Thank you! 🙂 )
This Simple Salmon Chirashi was very easy to prepare and I loved it! With the sauce that accompanies it, the flavors are very similar to sushi. If you love sushi, I think you’ll love this.
a
a
Simple Salmon Chirashi
(Adapted from a Sunset magazine recipe)
a
Sunset suggests using a medium-grain rice. I used Koshihikari sushi rice. I think any type of rice would work. It is gluten free with wheat-free soy sauce or tamari.
a
a
Serves 2 (with some of the delicious rice leftover)
a
3/4 cup rice
2 fillets of salmon (each one 5 – 6 ounces)
¼ teaspoon kosher salt
¼ teaspoon pepper
¾ cup halved and sliced cucumber
½ large avocado, cut into cubes
½ sheet nori, cut into thin strips
1 green onion, sliced diagonally
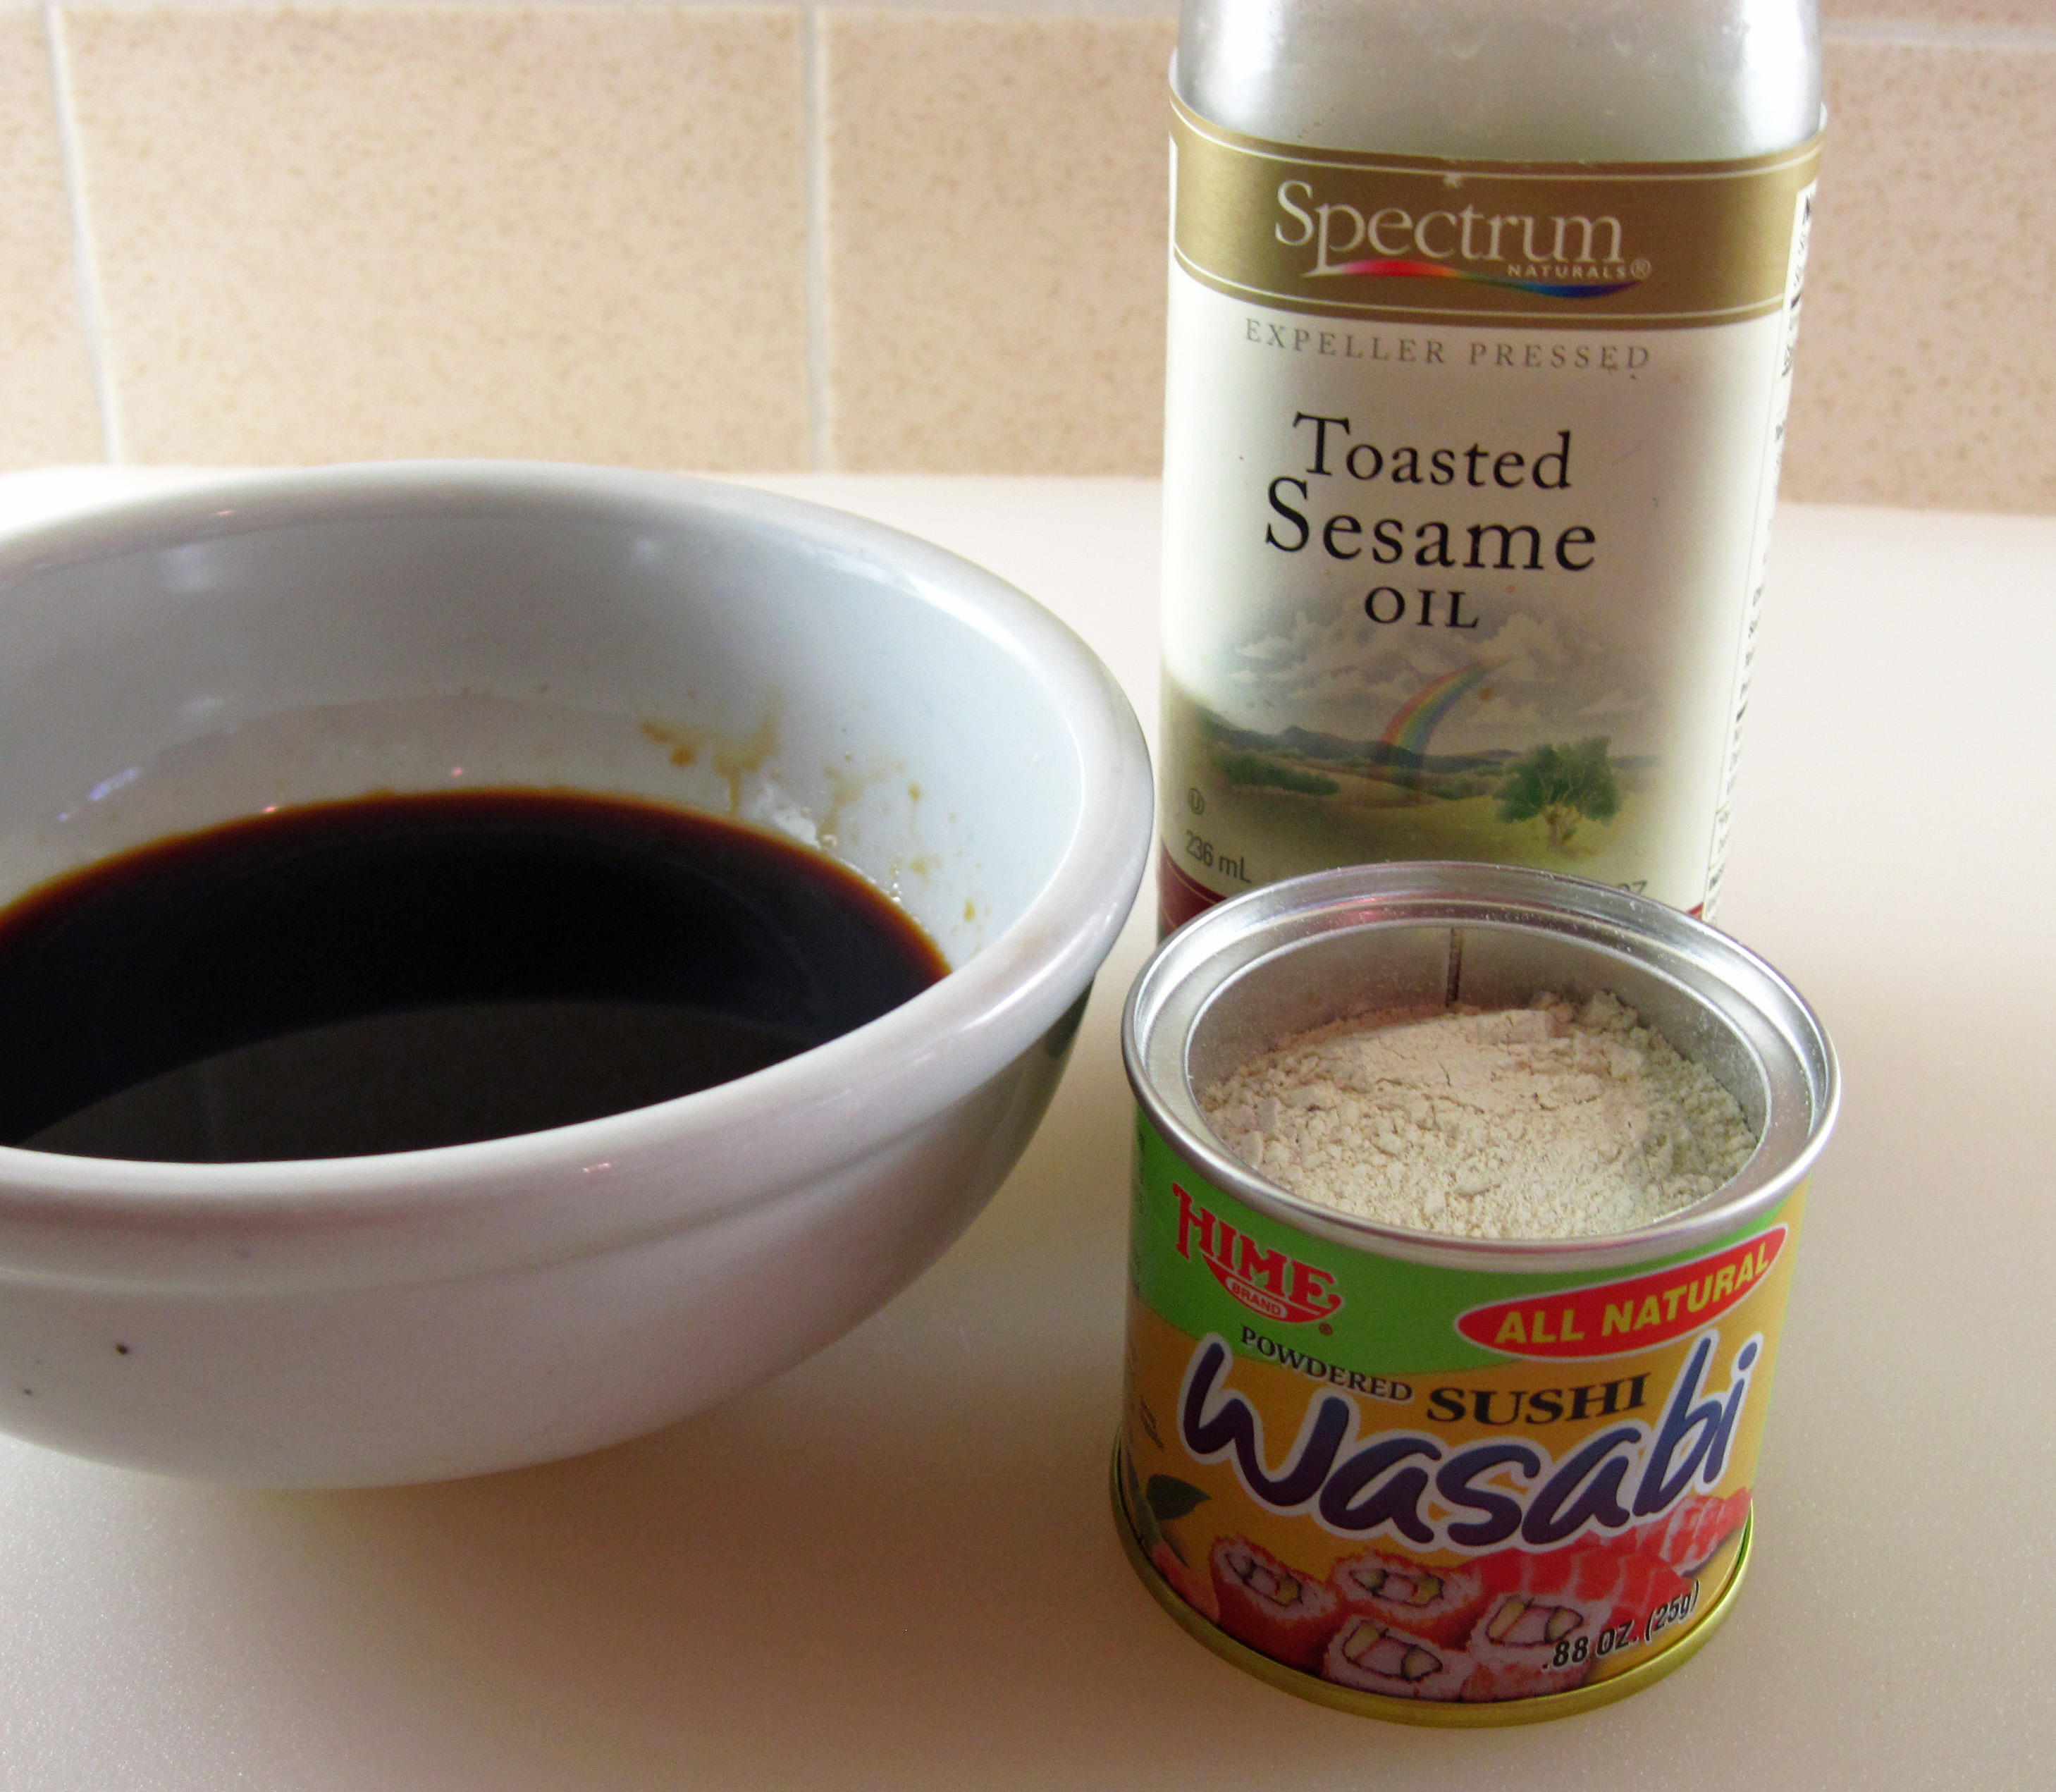
2½ tablespoons reduced-sodium gluten-free tamari
1 tablespoon wasabi powder
¼ teaspoon toasted sesame oil
1 tablespoon toasted sesame seeds (optional)
a
Look at the cute rice kernel container that the rice came in!
a
1. Cook the rice. (I used this method in my rice cooker.)
2. Prep the vegetables while the rice is cooking.
3. Mix the tamari sauce, wasabi powder, and toasted sesame oil together to make the sauce.
a
4. Preheat the oven to 400˚. Line a baking sheet with foil and put the salmon fillets on it. I use clean tweezers to remove the pin bones.
5. Sprinkle the salmon with the salt and pepper. Roast the salmon for 8 – 10 minutes. (The rule is 10 minutes for every inch of thickness.)
6. Put some rice in two bowls. Top them with the vegetables, nori, and the salmon fillets. If using, sprinkle with the toasted sesame seeds. Serve with the sauce on the side for dipping.
a

a
Share this:

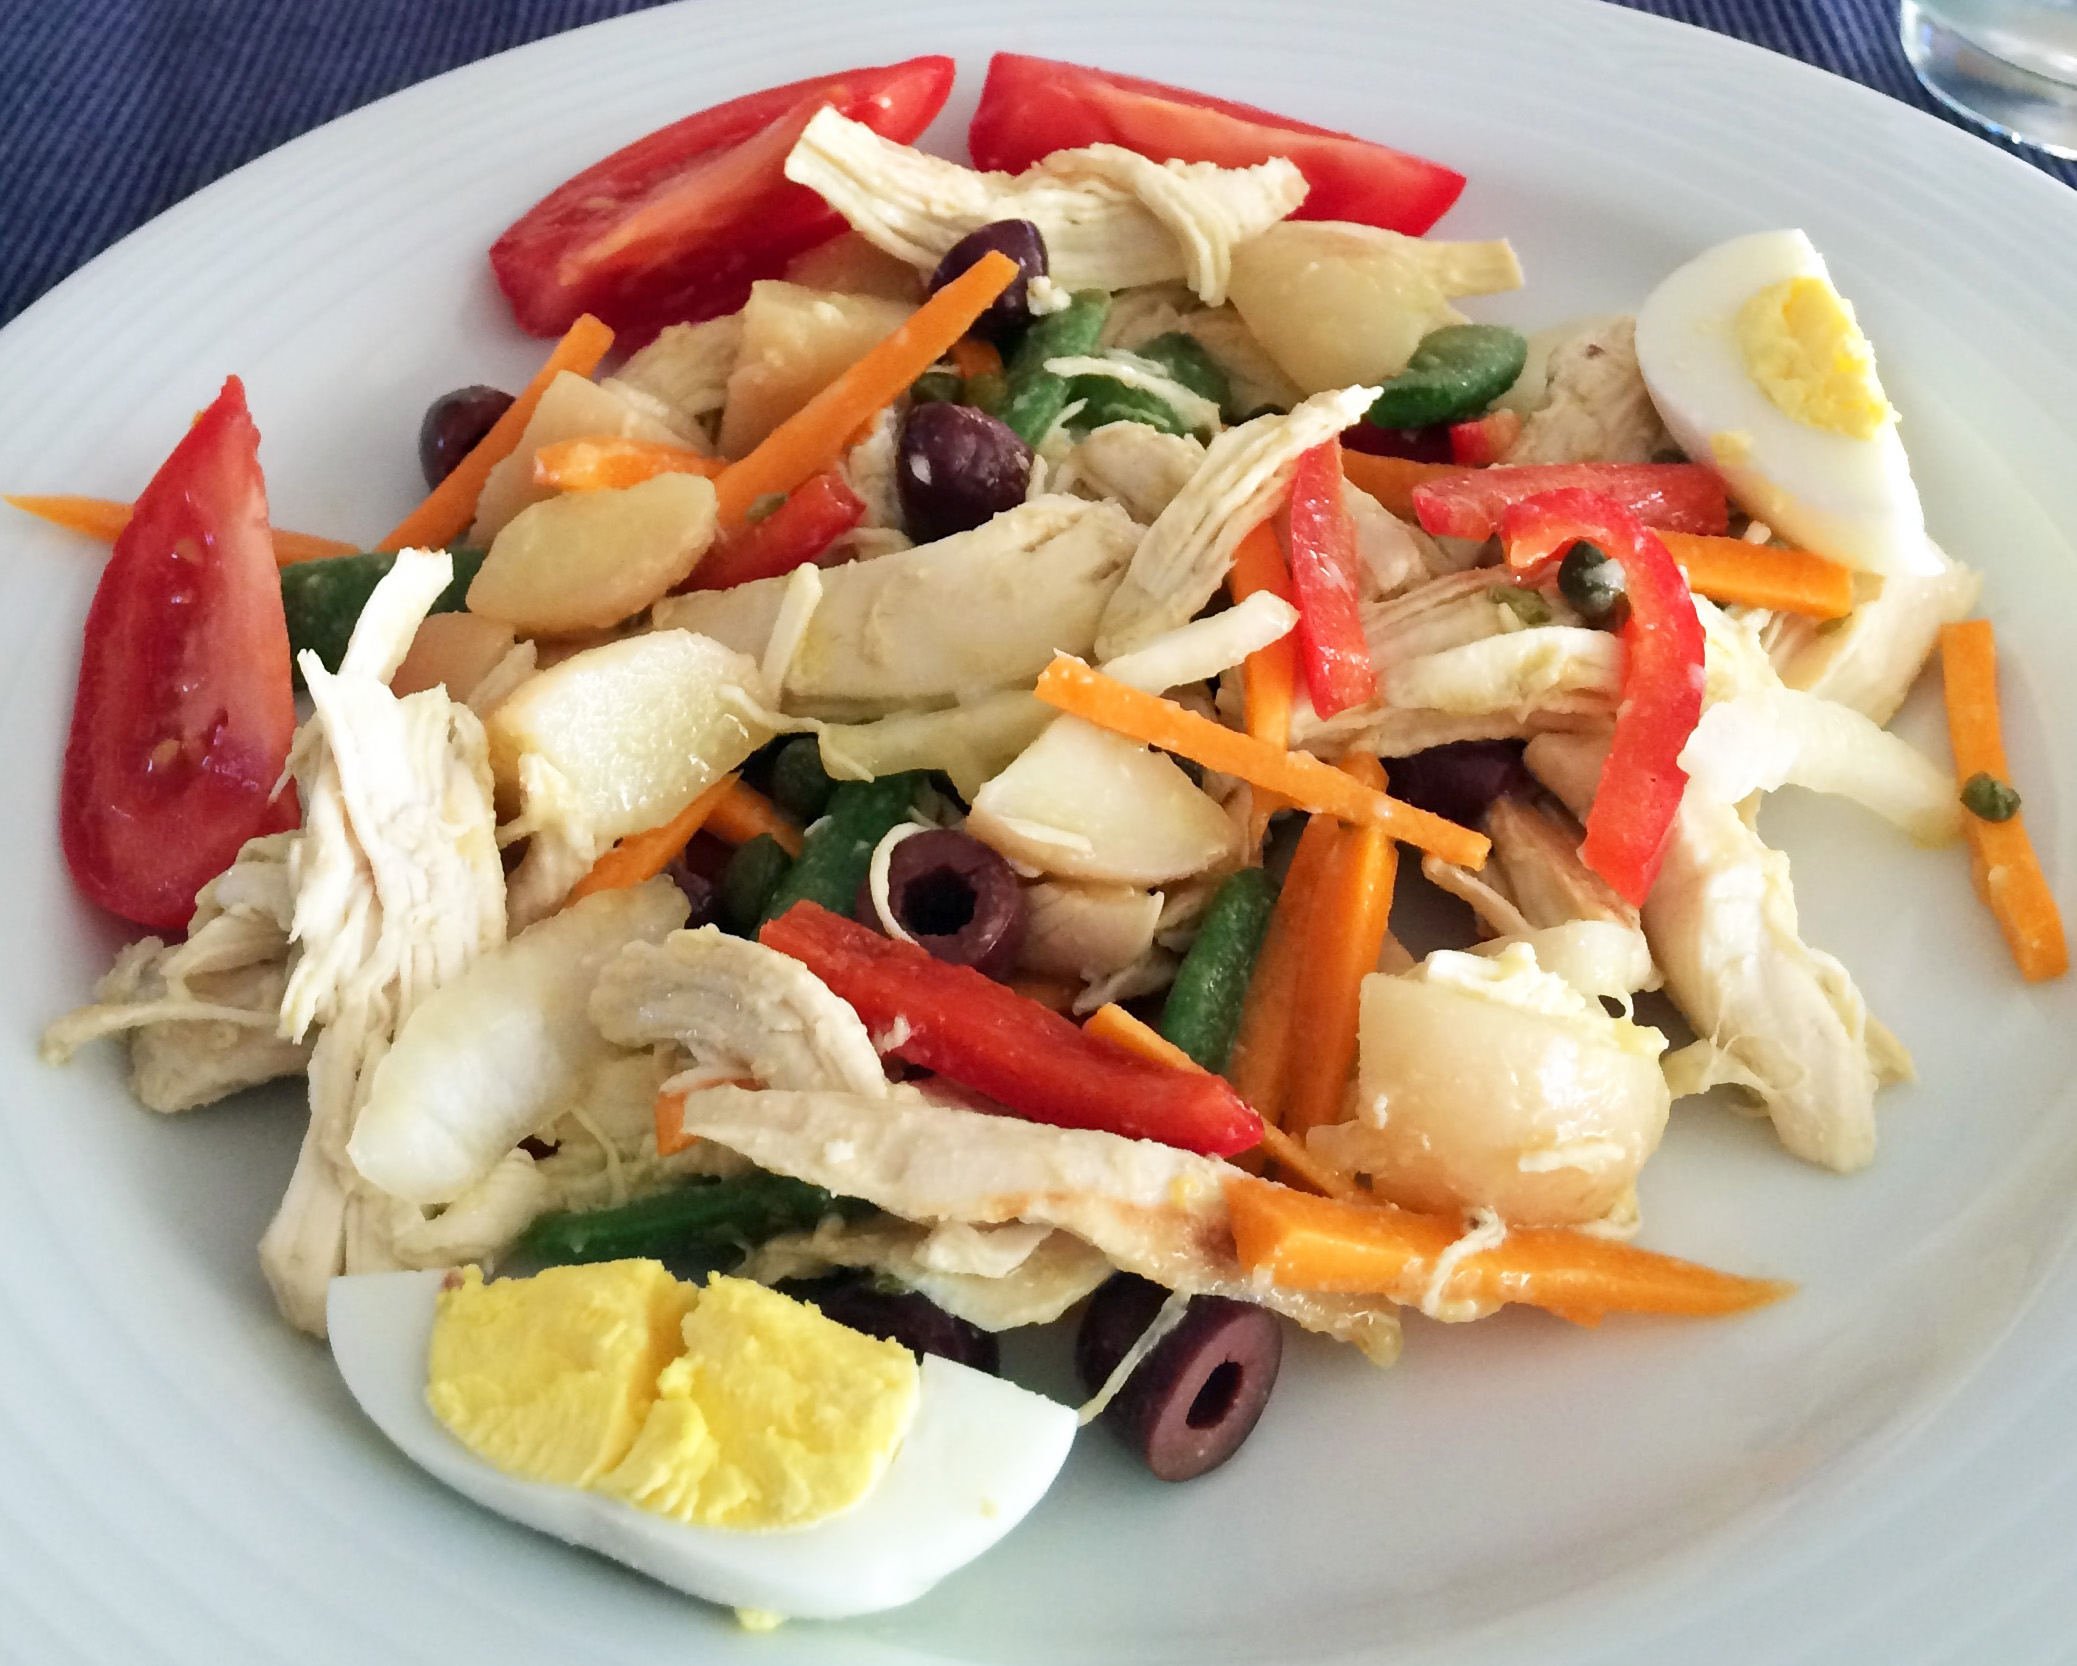
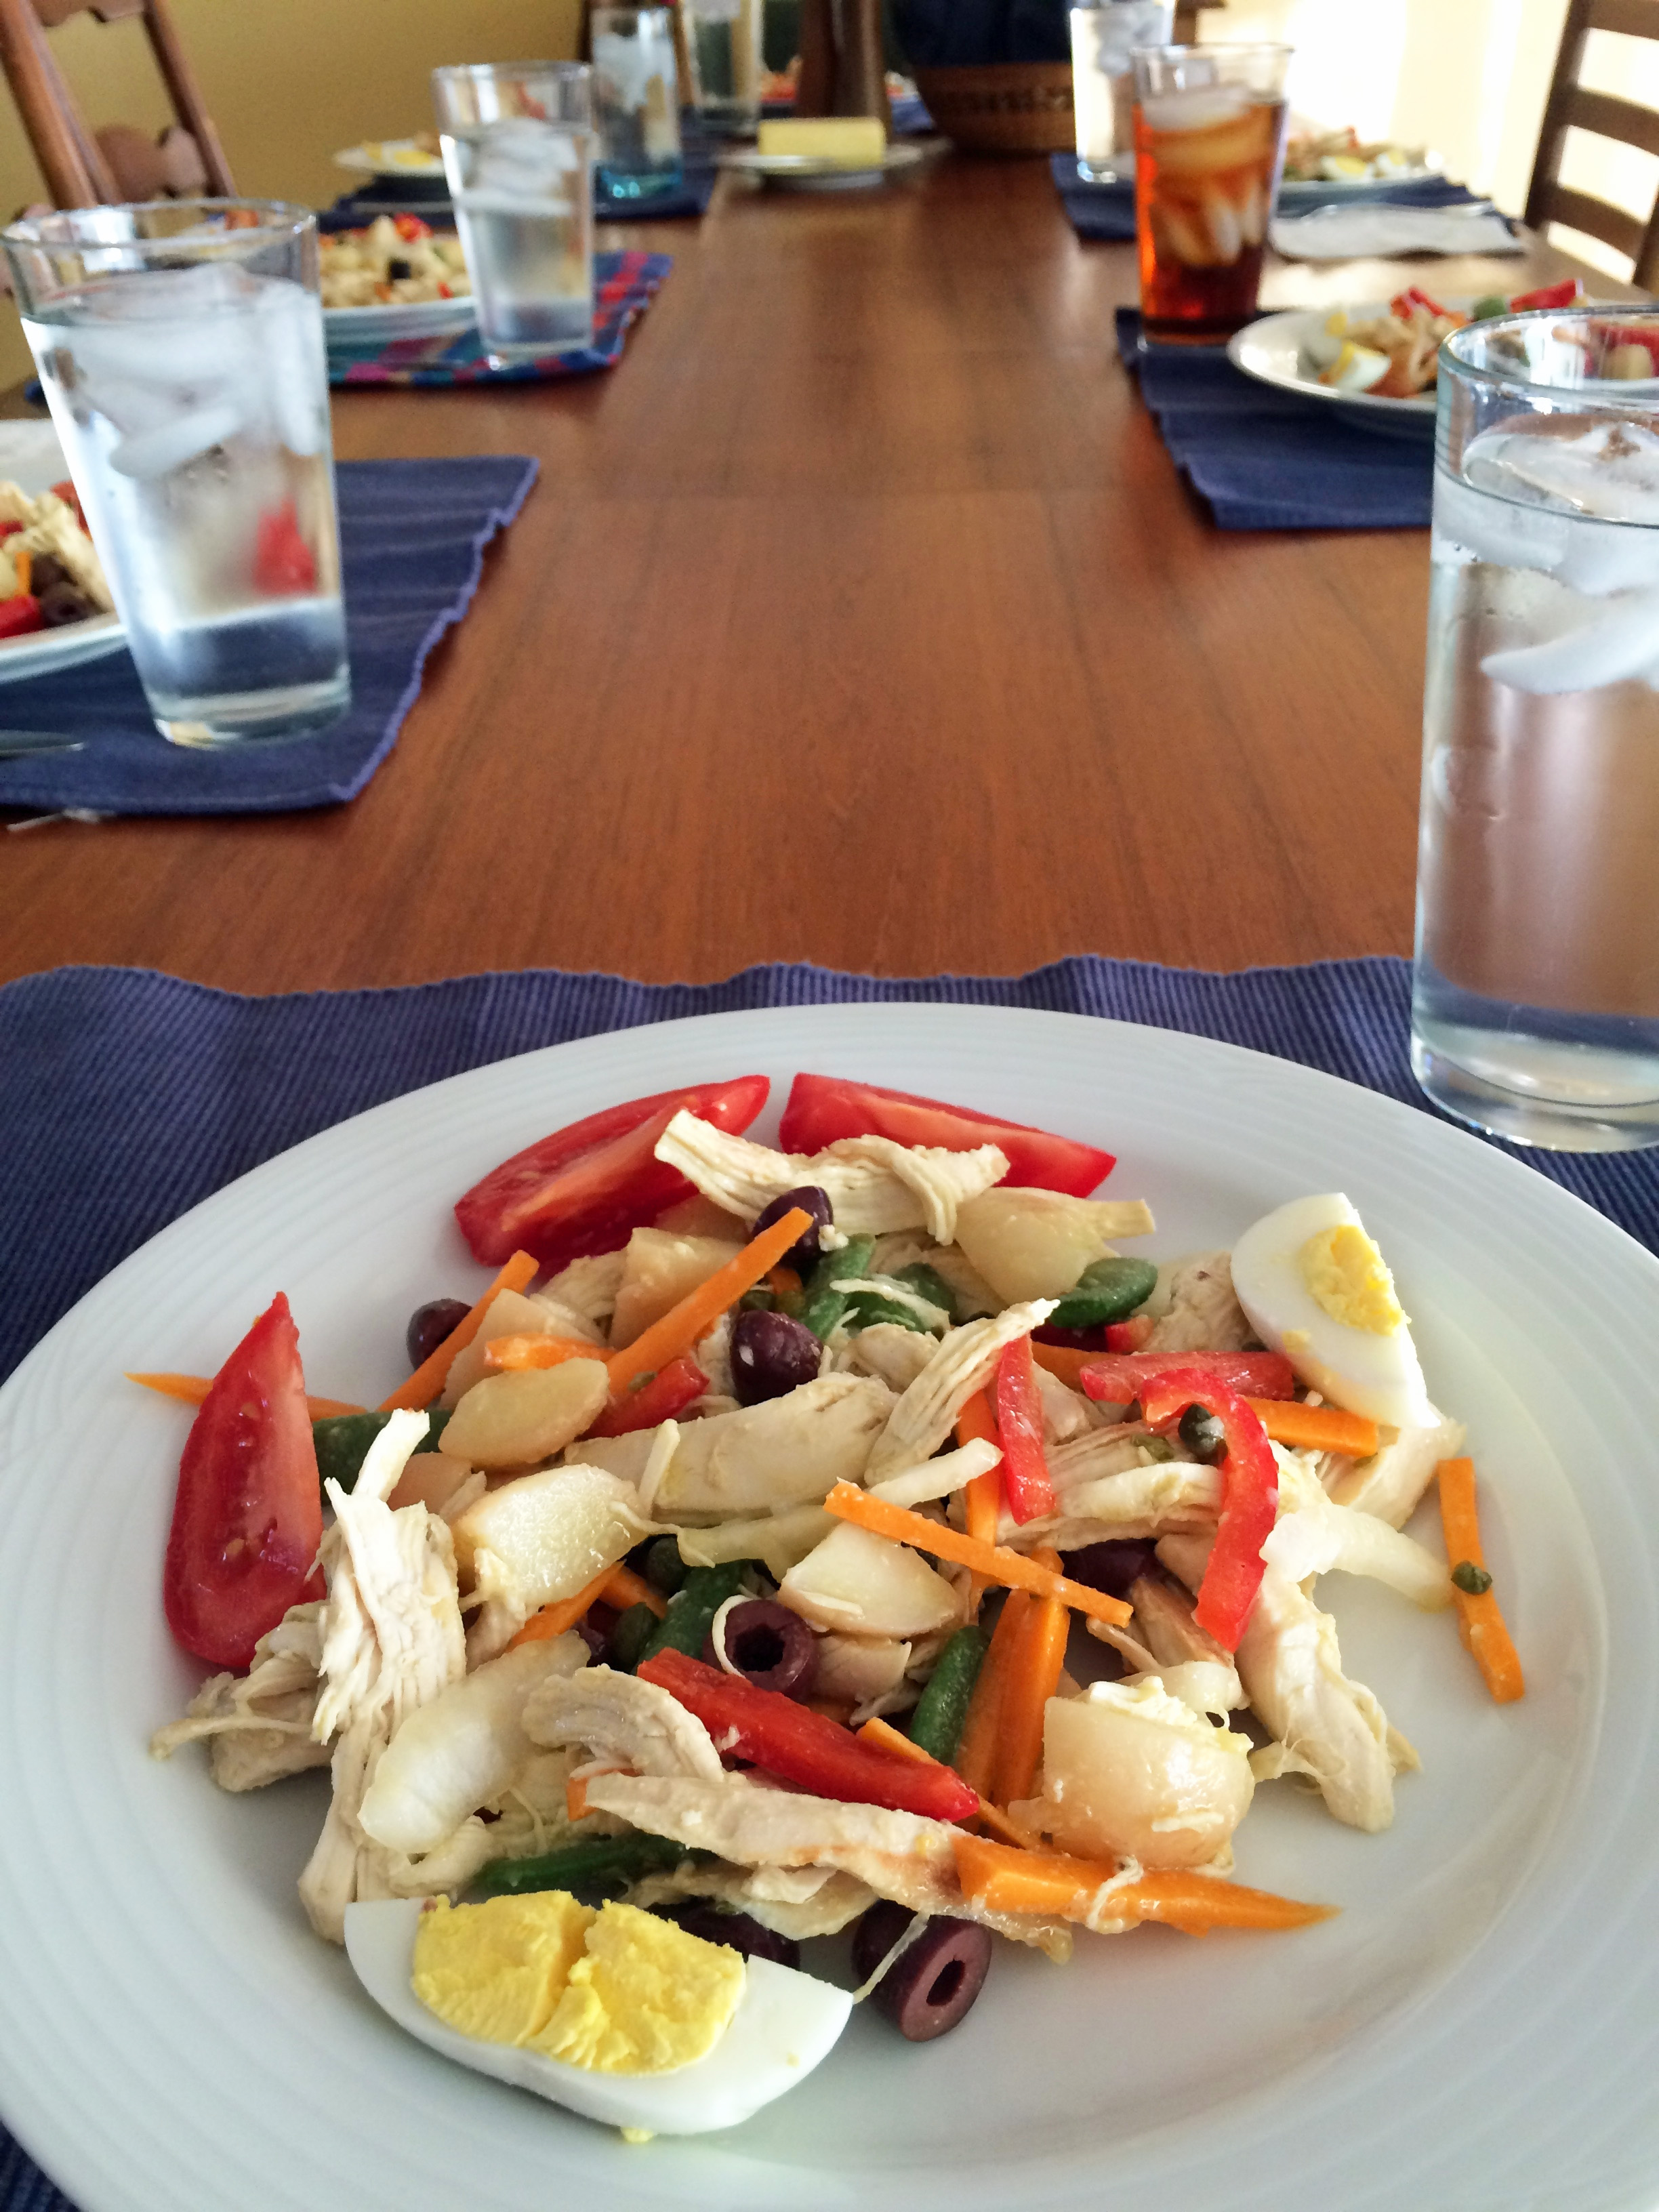
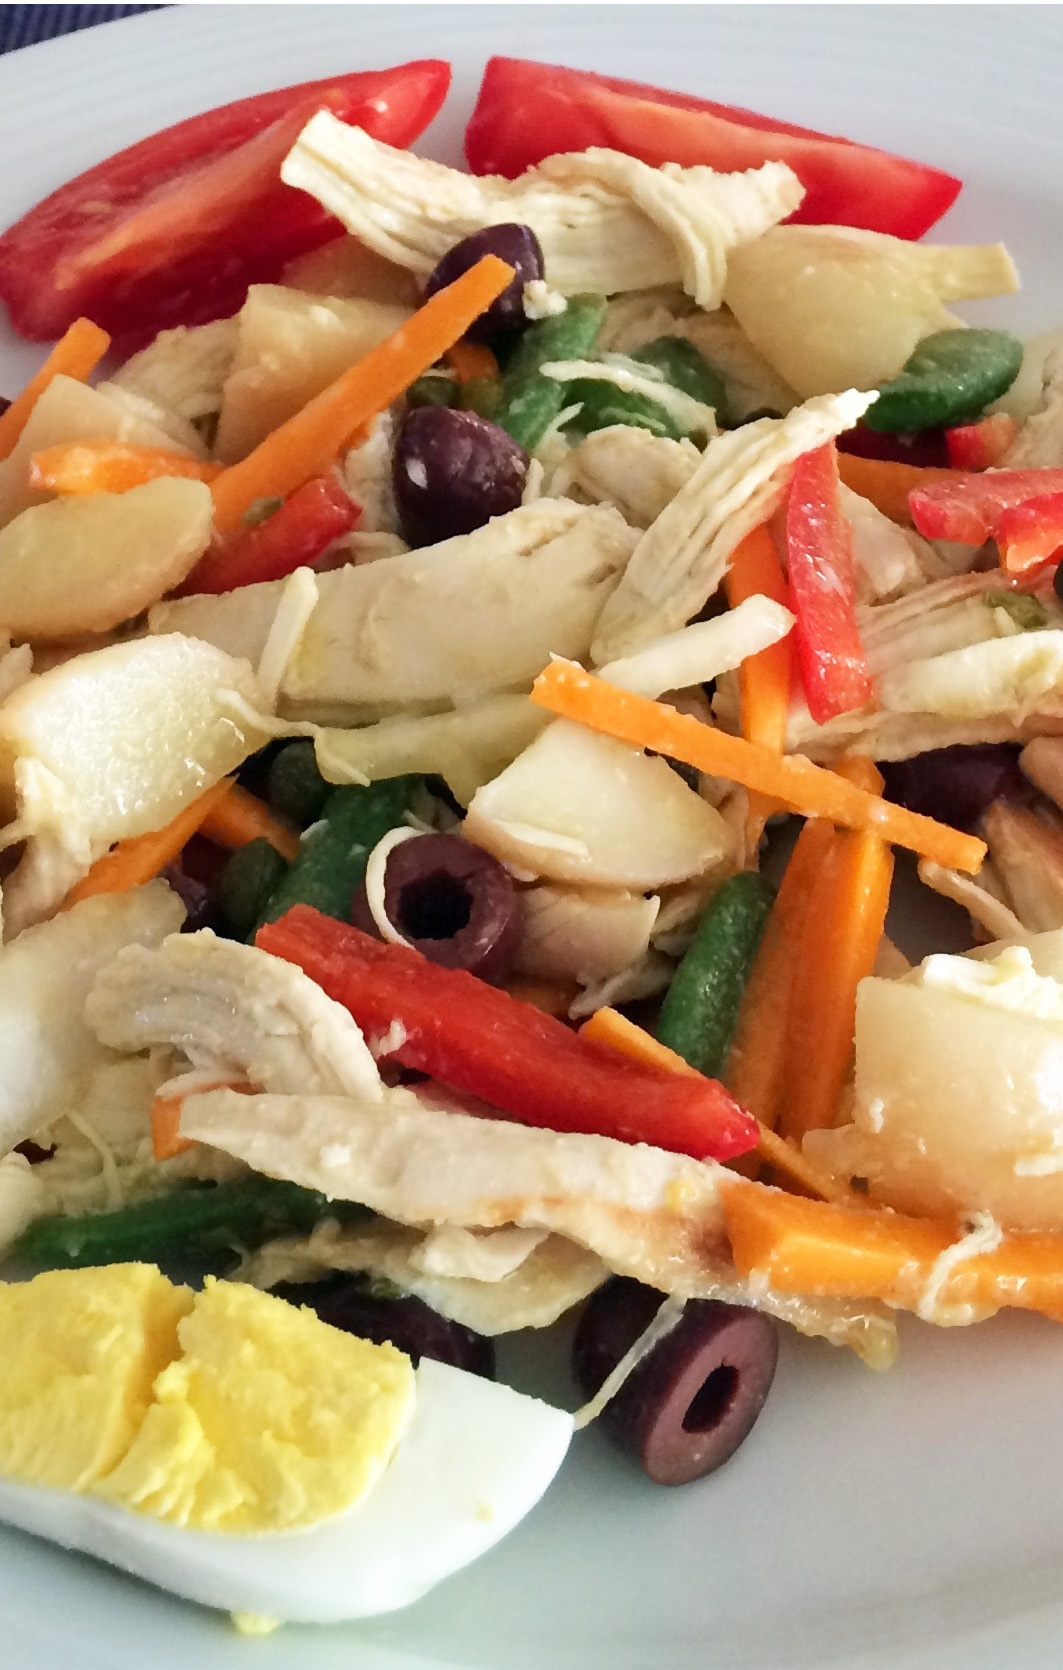
Chicken Salad Niçoise
By Kath Dedon
a
This is turning out to be a record-breaking hot summer in Seattle and we, like many people here, do not have air conditioning. With good planning, though, I can still host a dinner party even when it’s too darn hot to cook. Last night this Chicken Salad Niçoise from Diane Rossen Worthington’s The Taste of Summer came to the rescue.
The chicken, potatoes, green beans, and hard-cooked eggs can be cooked early in the day when the kitchen is still cool. I cooked and shredded the chicken and put it in the refrigerator. The potatoes went in the bowl, followed by the other chopped vegetables. I whisked the salad dressing. Everything was ready to toss and serve when it was time to eat.
A traditional Salad Niçoise is usually a composed salad made with tuna, potatoes, beans, tomatoes, eggs, and Niçoise olives, and anchovies. I really enjoyed Diane’s tossed Chicken Salad Niçoise. It was colorful with a nice combination of flavors and textures. It was satisfying and yet a light meal for a hot night.
Homemade Guacamole and chips before dinner, bread and butter served with the salad, and sliced peaches and ice cream for dessert completed the menu. Summer entertaining made easy!
a
a
Chicken Salad Niçoise
(Adapted from Diane Rossen Worthington’s recipe in The Taste of Summer)
a
a
Serves 6 – 7
a
4 cups chicken broth (or water)
½ teaspoon Kosher salt, if using water
4 large boneless skinless chicken breasts (about 2 pounds total)
1⅓ pounds small red-skinned potatoes
1 cup cut-up green beans (1½-inch pieces)
2 medium carrots, peeled
1 large red pepper, cut in half and seeded
½ cup Niçoise olives (if you can find them. I couldn’t and used ½ cup pitted Kalamata olives cut in half.)
About ¾ cup sliced sweet onion, the slices cut into 1½-inch pieces
2 tablespoons capers, rinsed and drained
a
Dressing
1 garlic clove, minced
1 teaspoon Dijon mustard
1 tablespoon finely chopped fresh basil
1/3 cup fresh lemon juice
¾ teaspoon honey
¾ teaspoon Kosher salt
½ cup extra-virgin olive oil
Additional salt and pepper to taste
a
Garnish
3 or 4 hard-cooked eggs, quartered
3 plum tomatoes, each cut into 6 wedges
a
1. Put the chicken breasts in a pan and pour the chicken broth (or water and salt) over them. They should be fully submerged, so add more water if necessary. Bring to a boil, and then reduce the heat to a simmer. Simmer for 15 – 20 minutes, or until the breasts register 165˚ in the thickest part. Remove from the heat and let the chicken cool in the liquid.
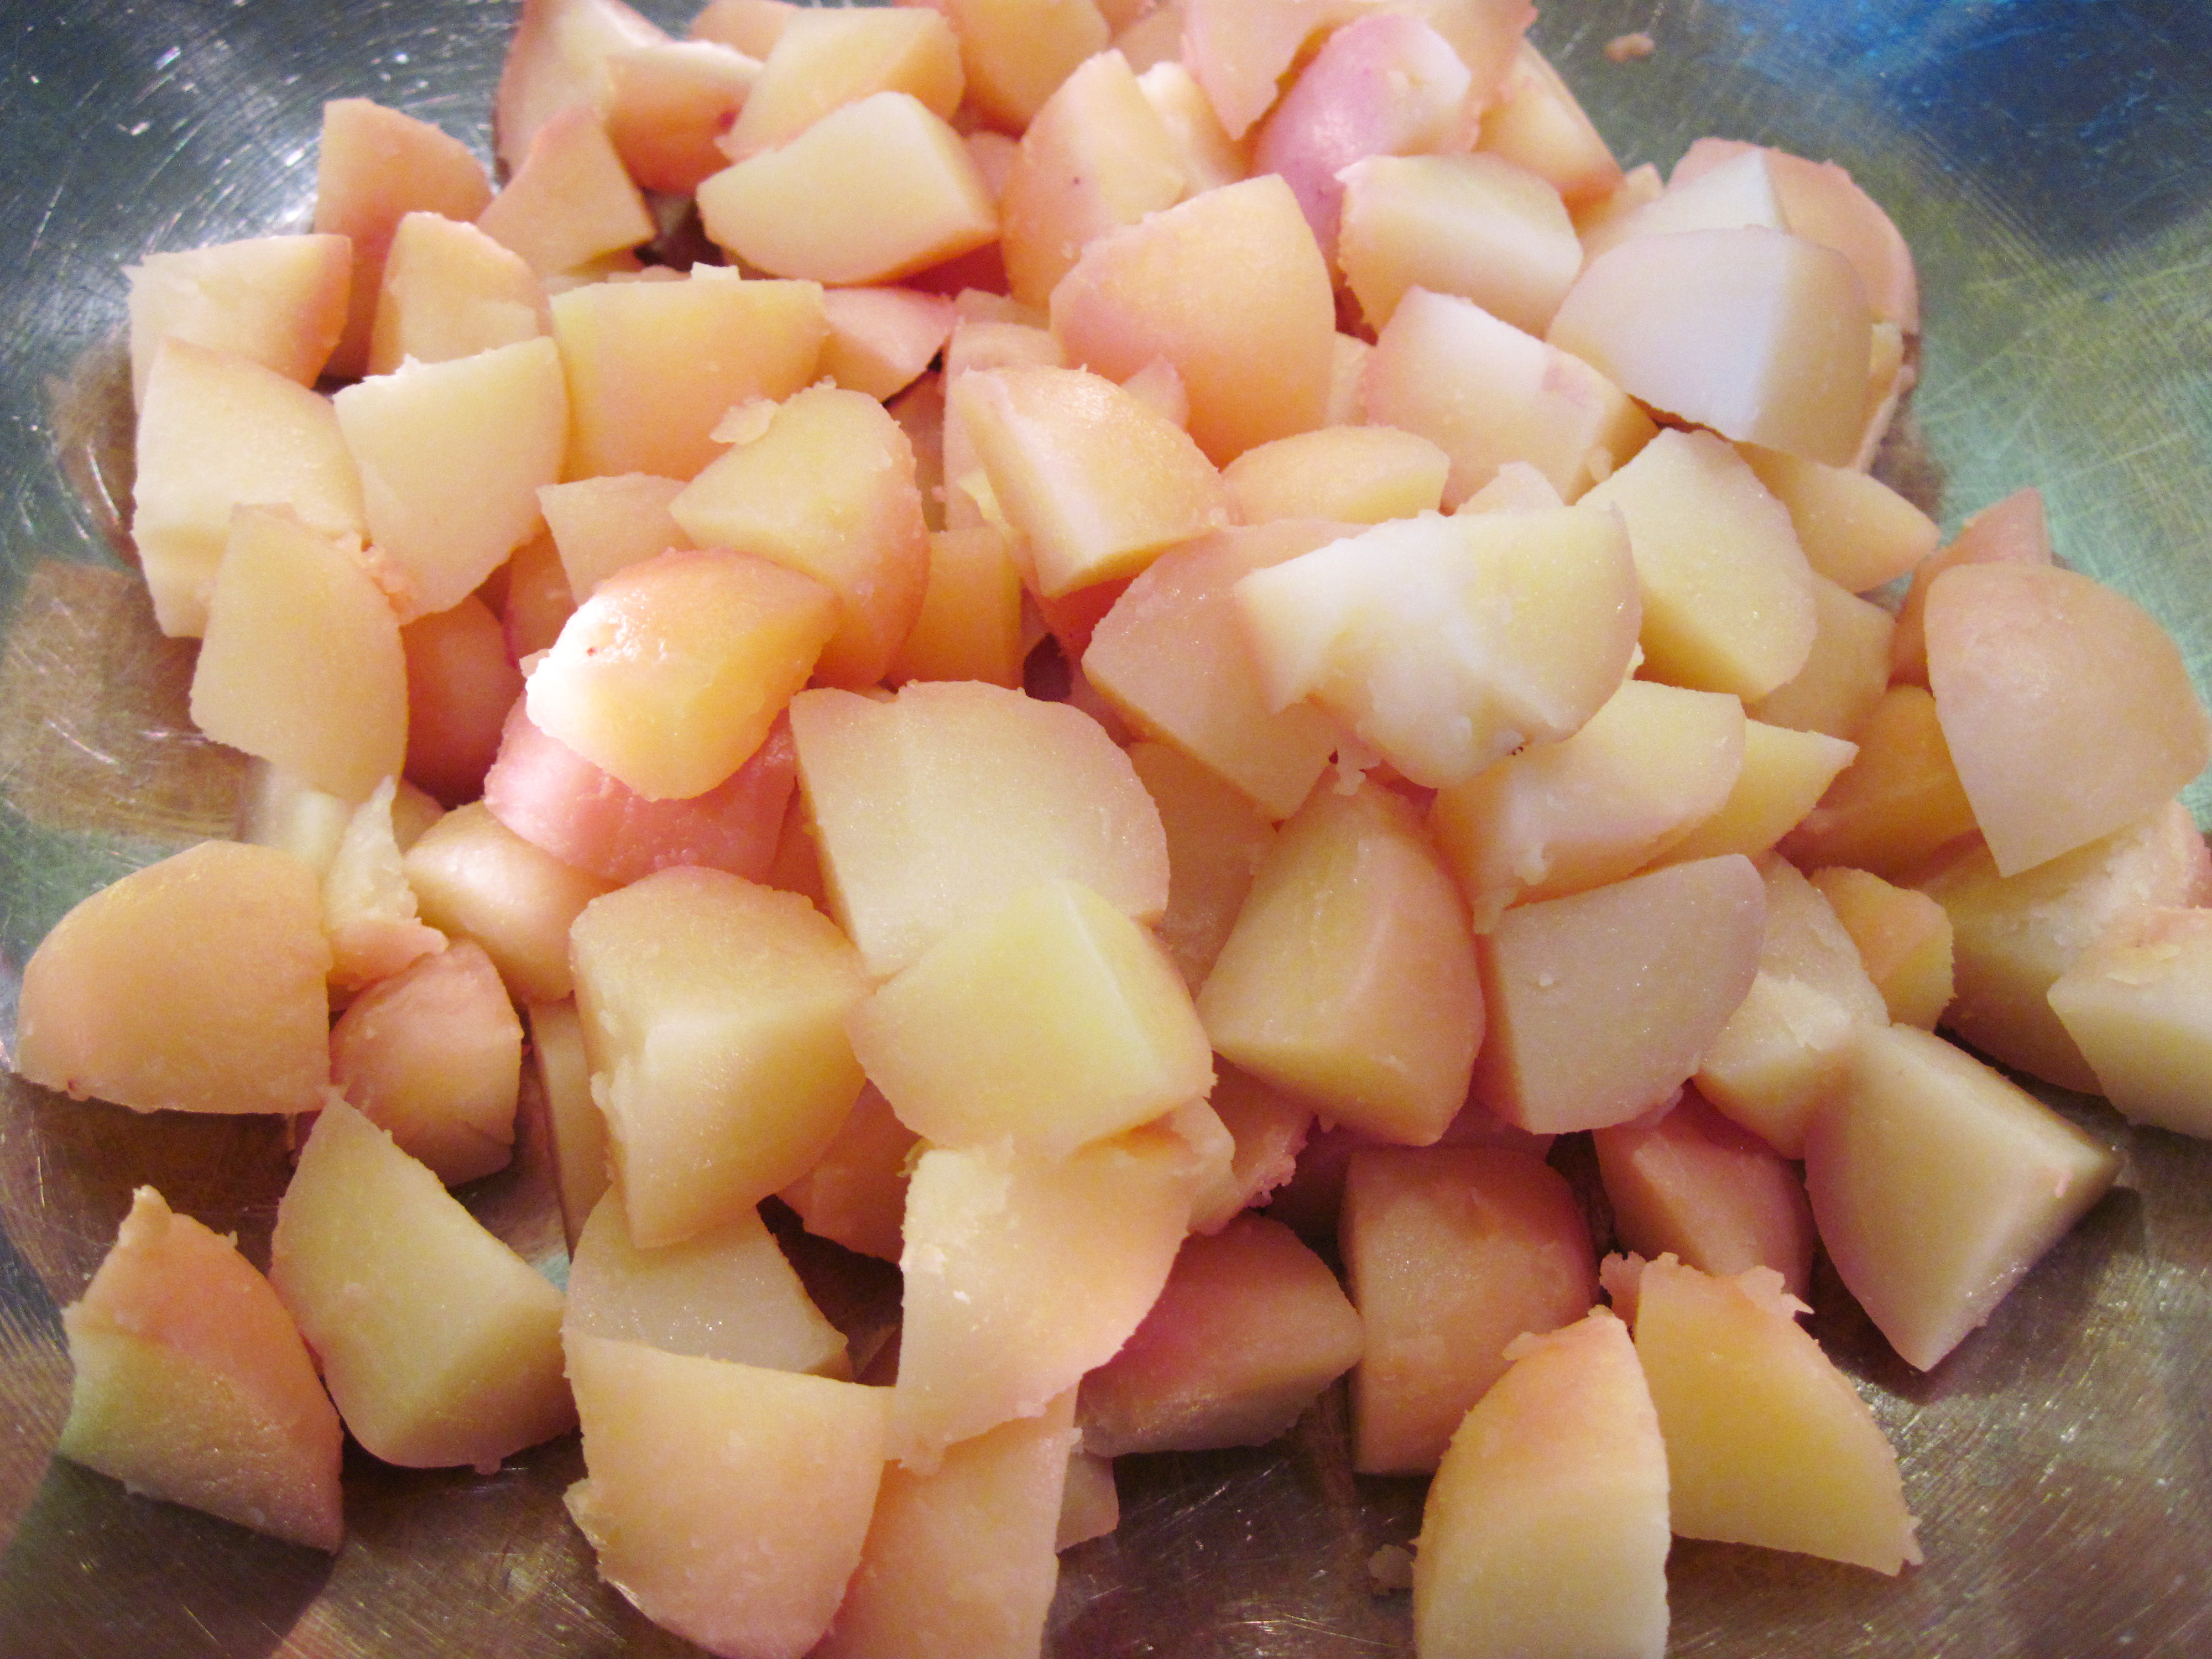
2. Put the potatoes in a large pot, cover with water and bring to a boil. Reduce the heat to a simmer and cook for 15 – 20 minutes, or until the potatoes are just done. Drain and cool. When cool enough to handle, peel the potatoes and cut them into small pieces. Put them in the bottom of a large bowl.
Potatoes in my big shiny aluminum bowl
a
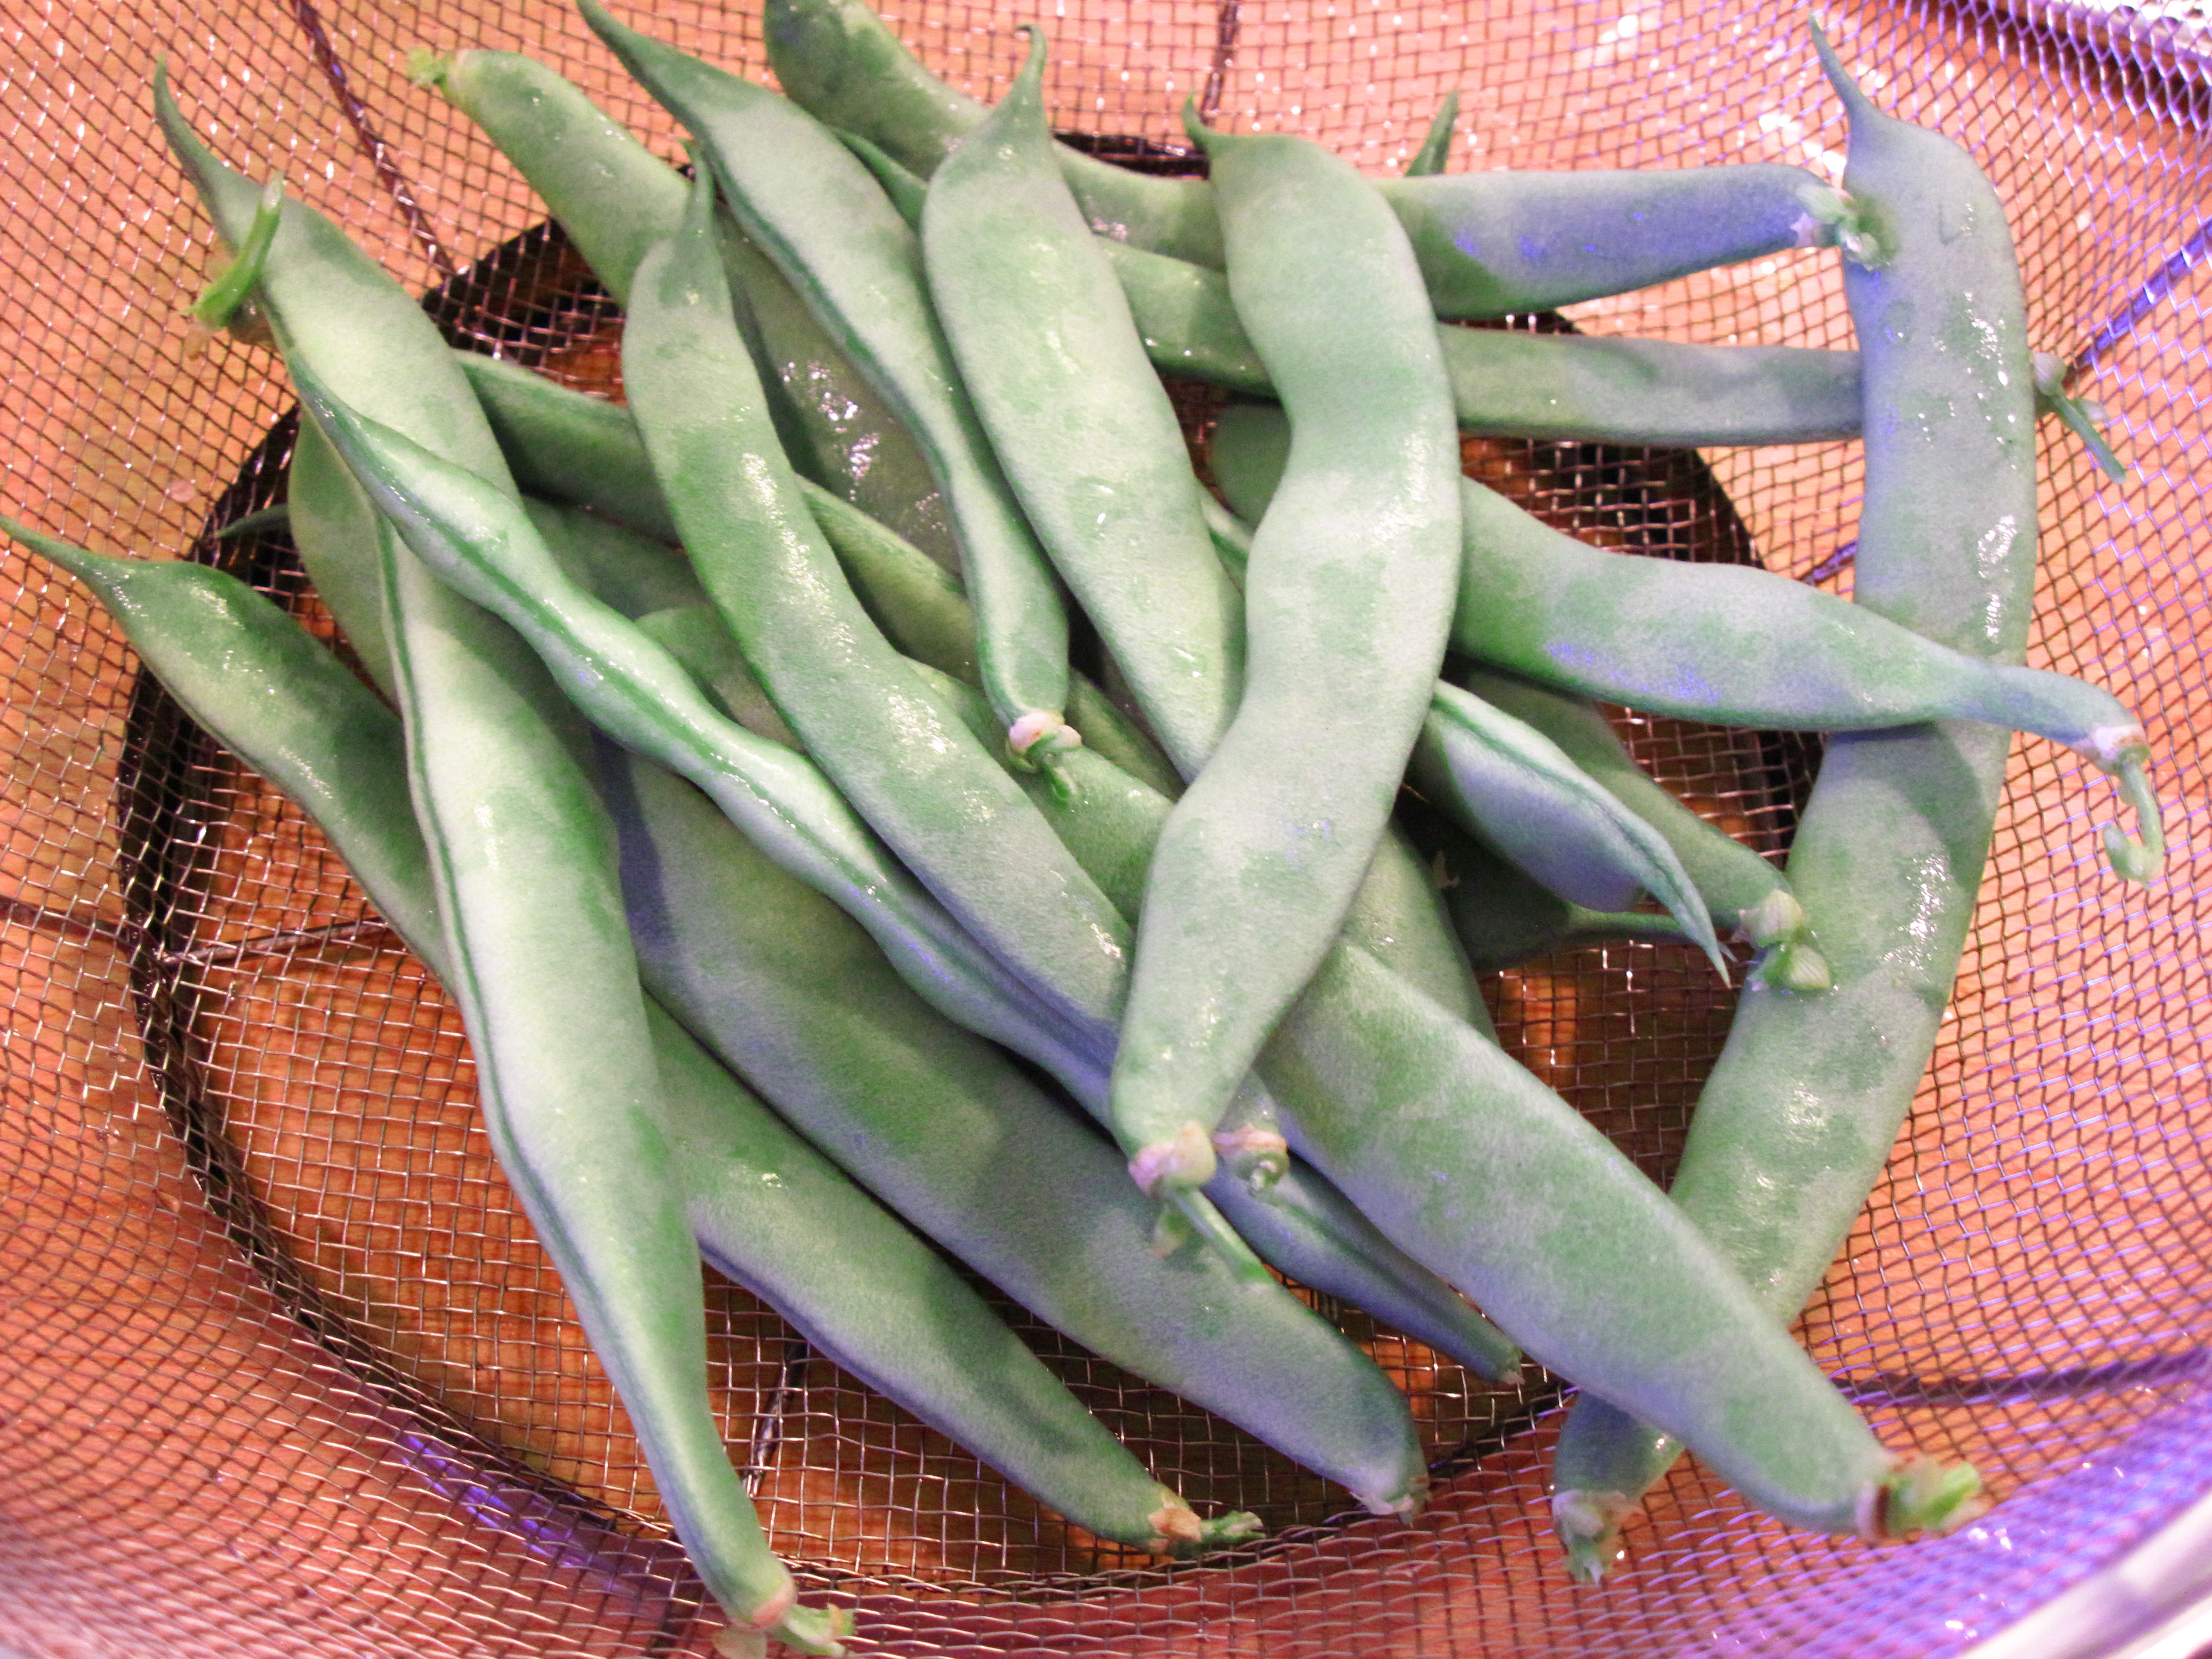
Green beans fresh from our garden! I cut them into 1½-inch pieces.
a
3. Bring a pot of water to a bowl and get a bowl of ice water ready. When the water in the pot is boiling, add the cut beans and cook for 5 minutes. Drain the beans and add them to the ice water to stop the cooking. When they have cooled, drain them and dry with paper towels.
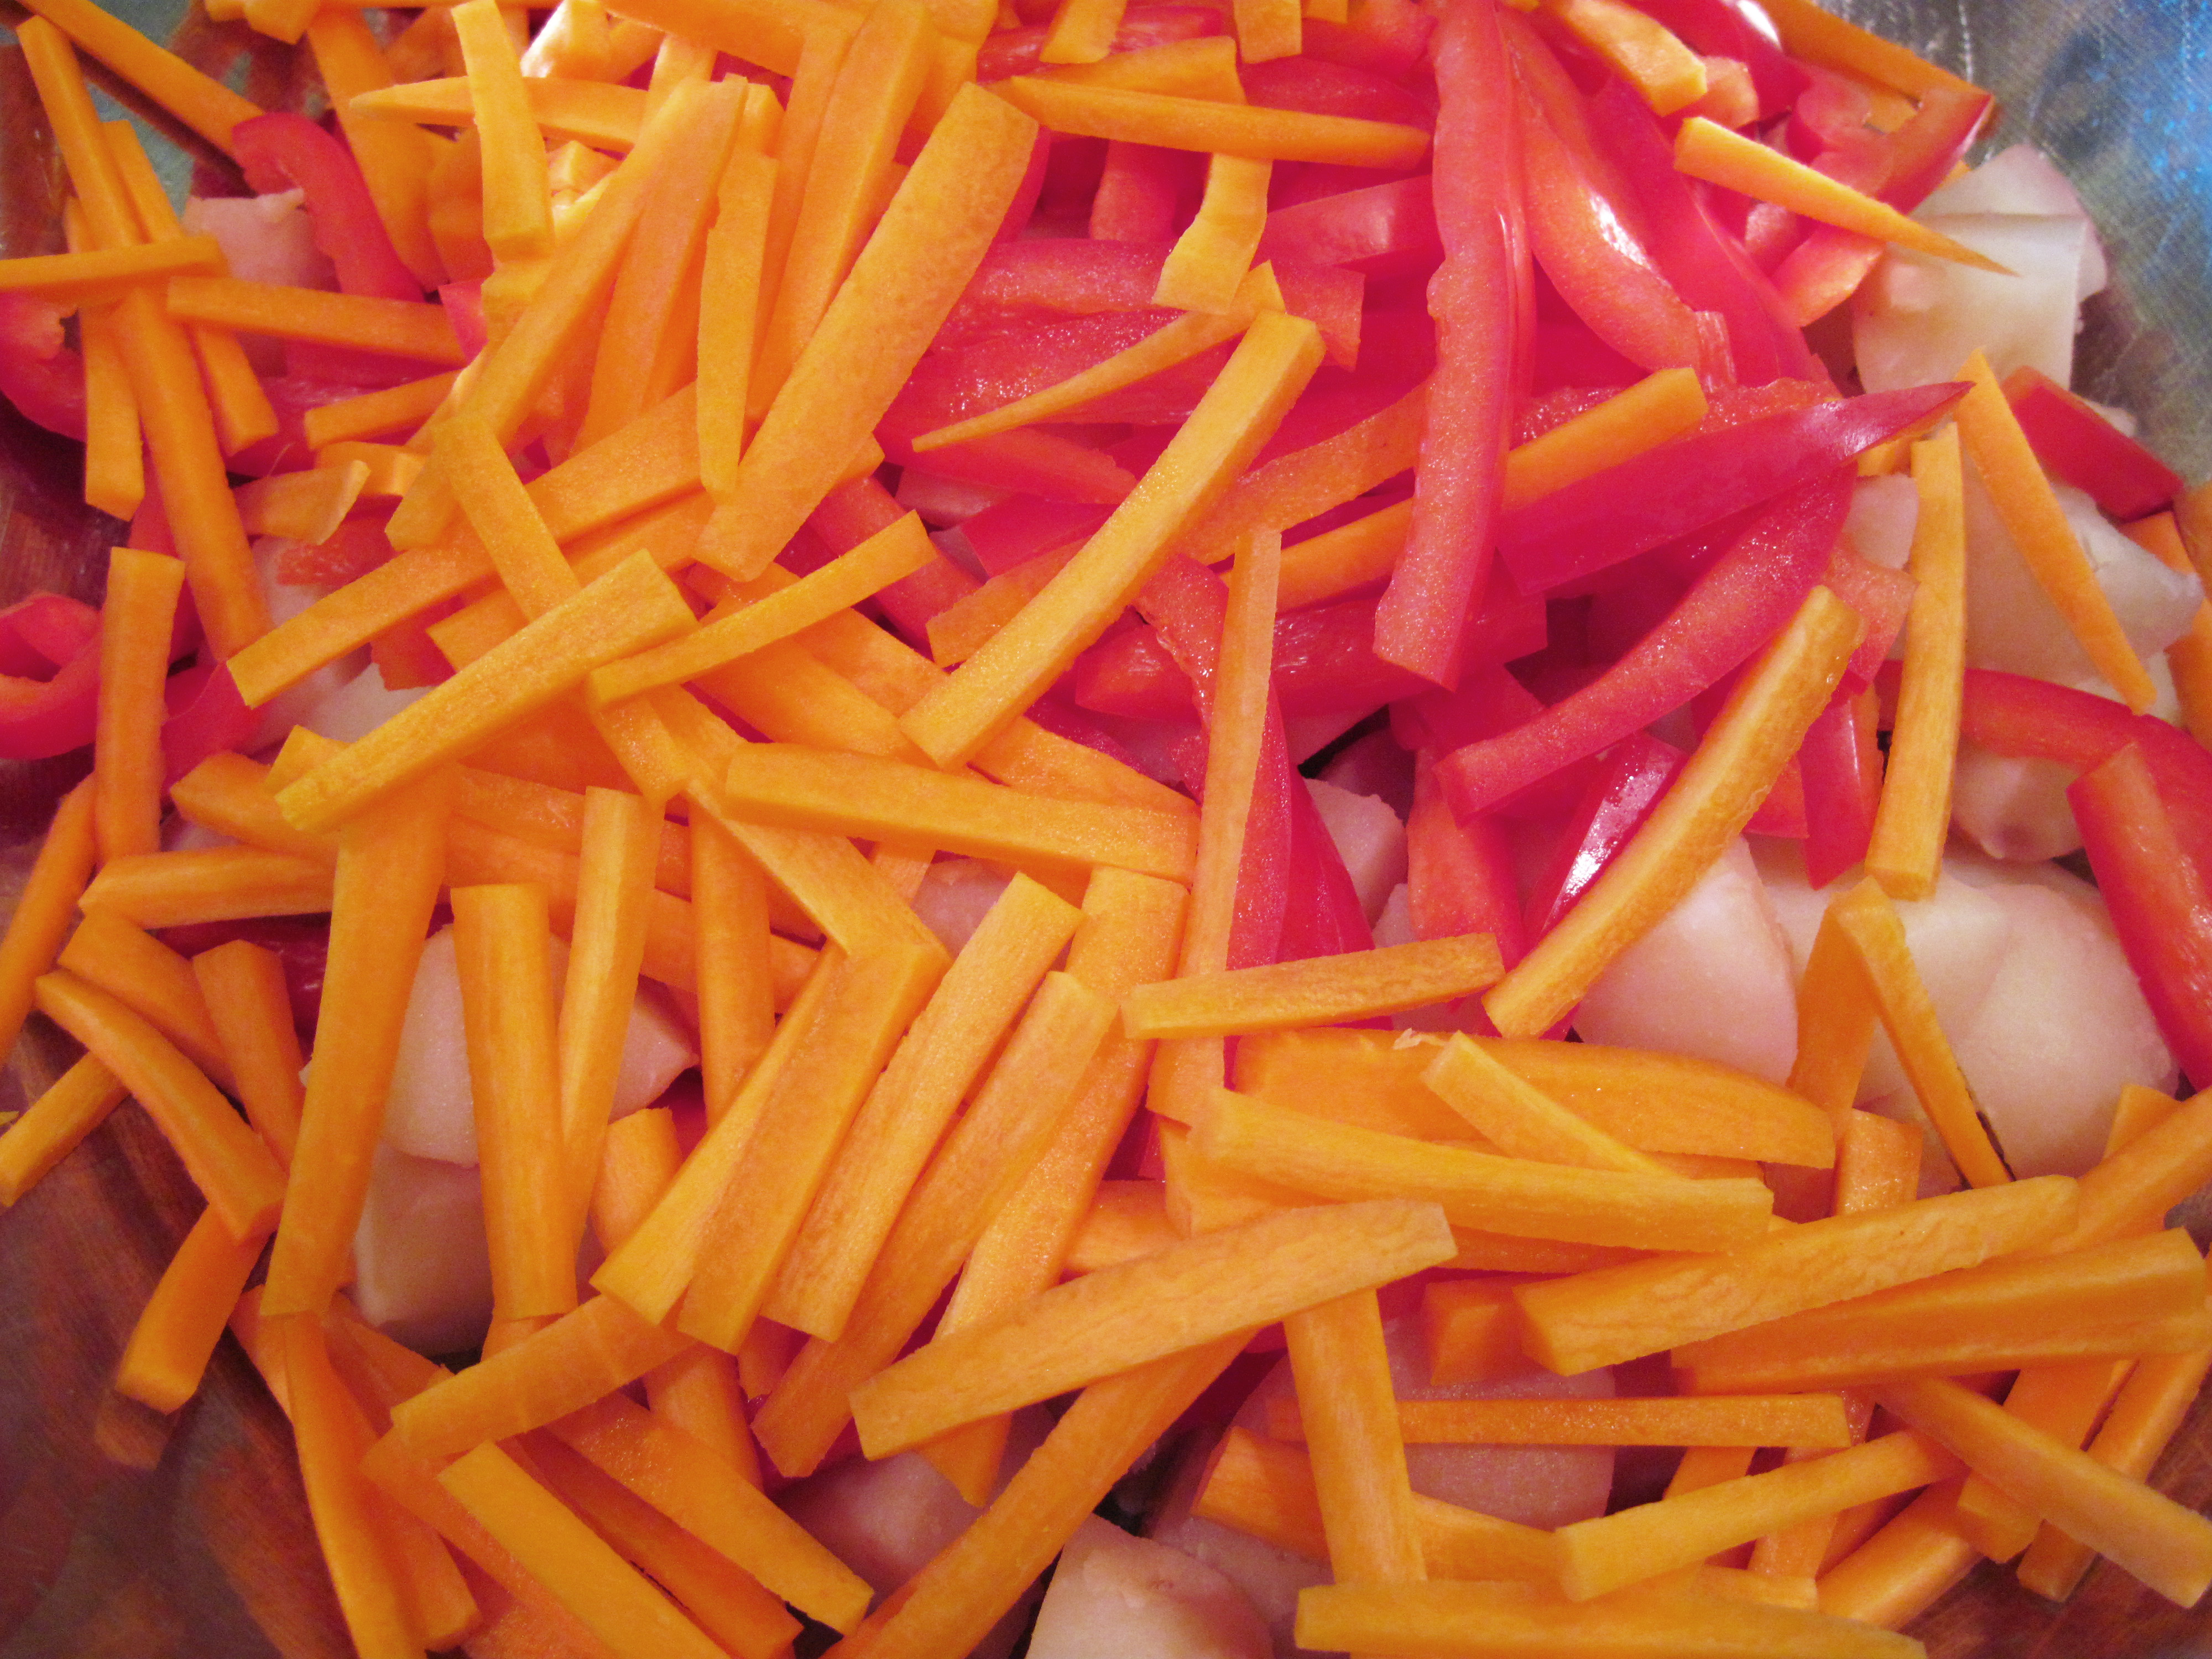
4. Cut the carrots and red pepper into thin strips and add them to the salad bowl.
a
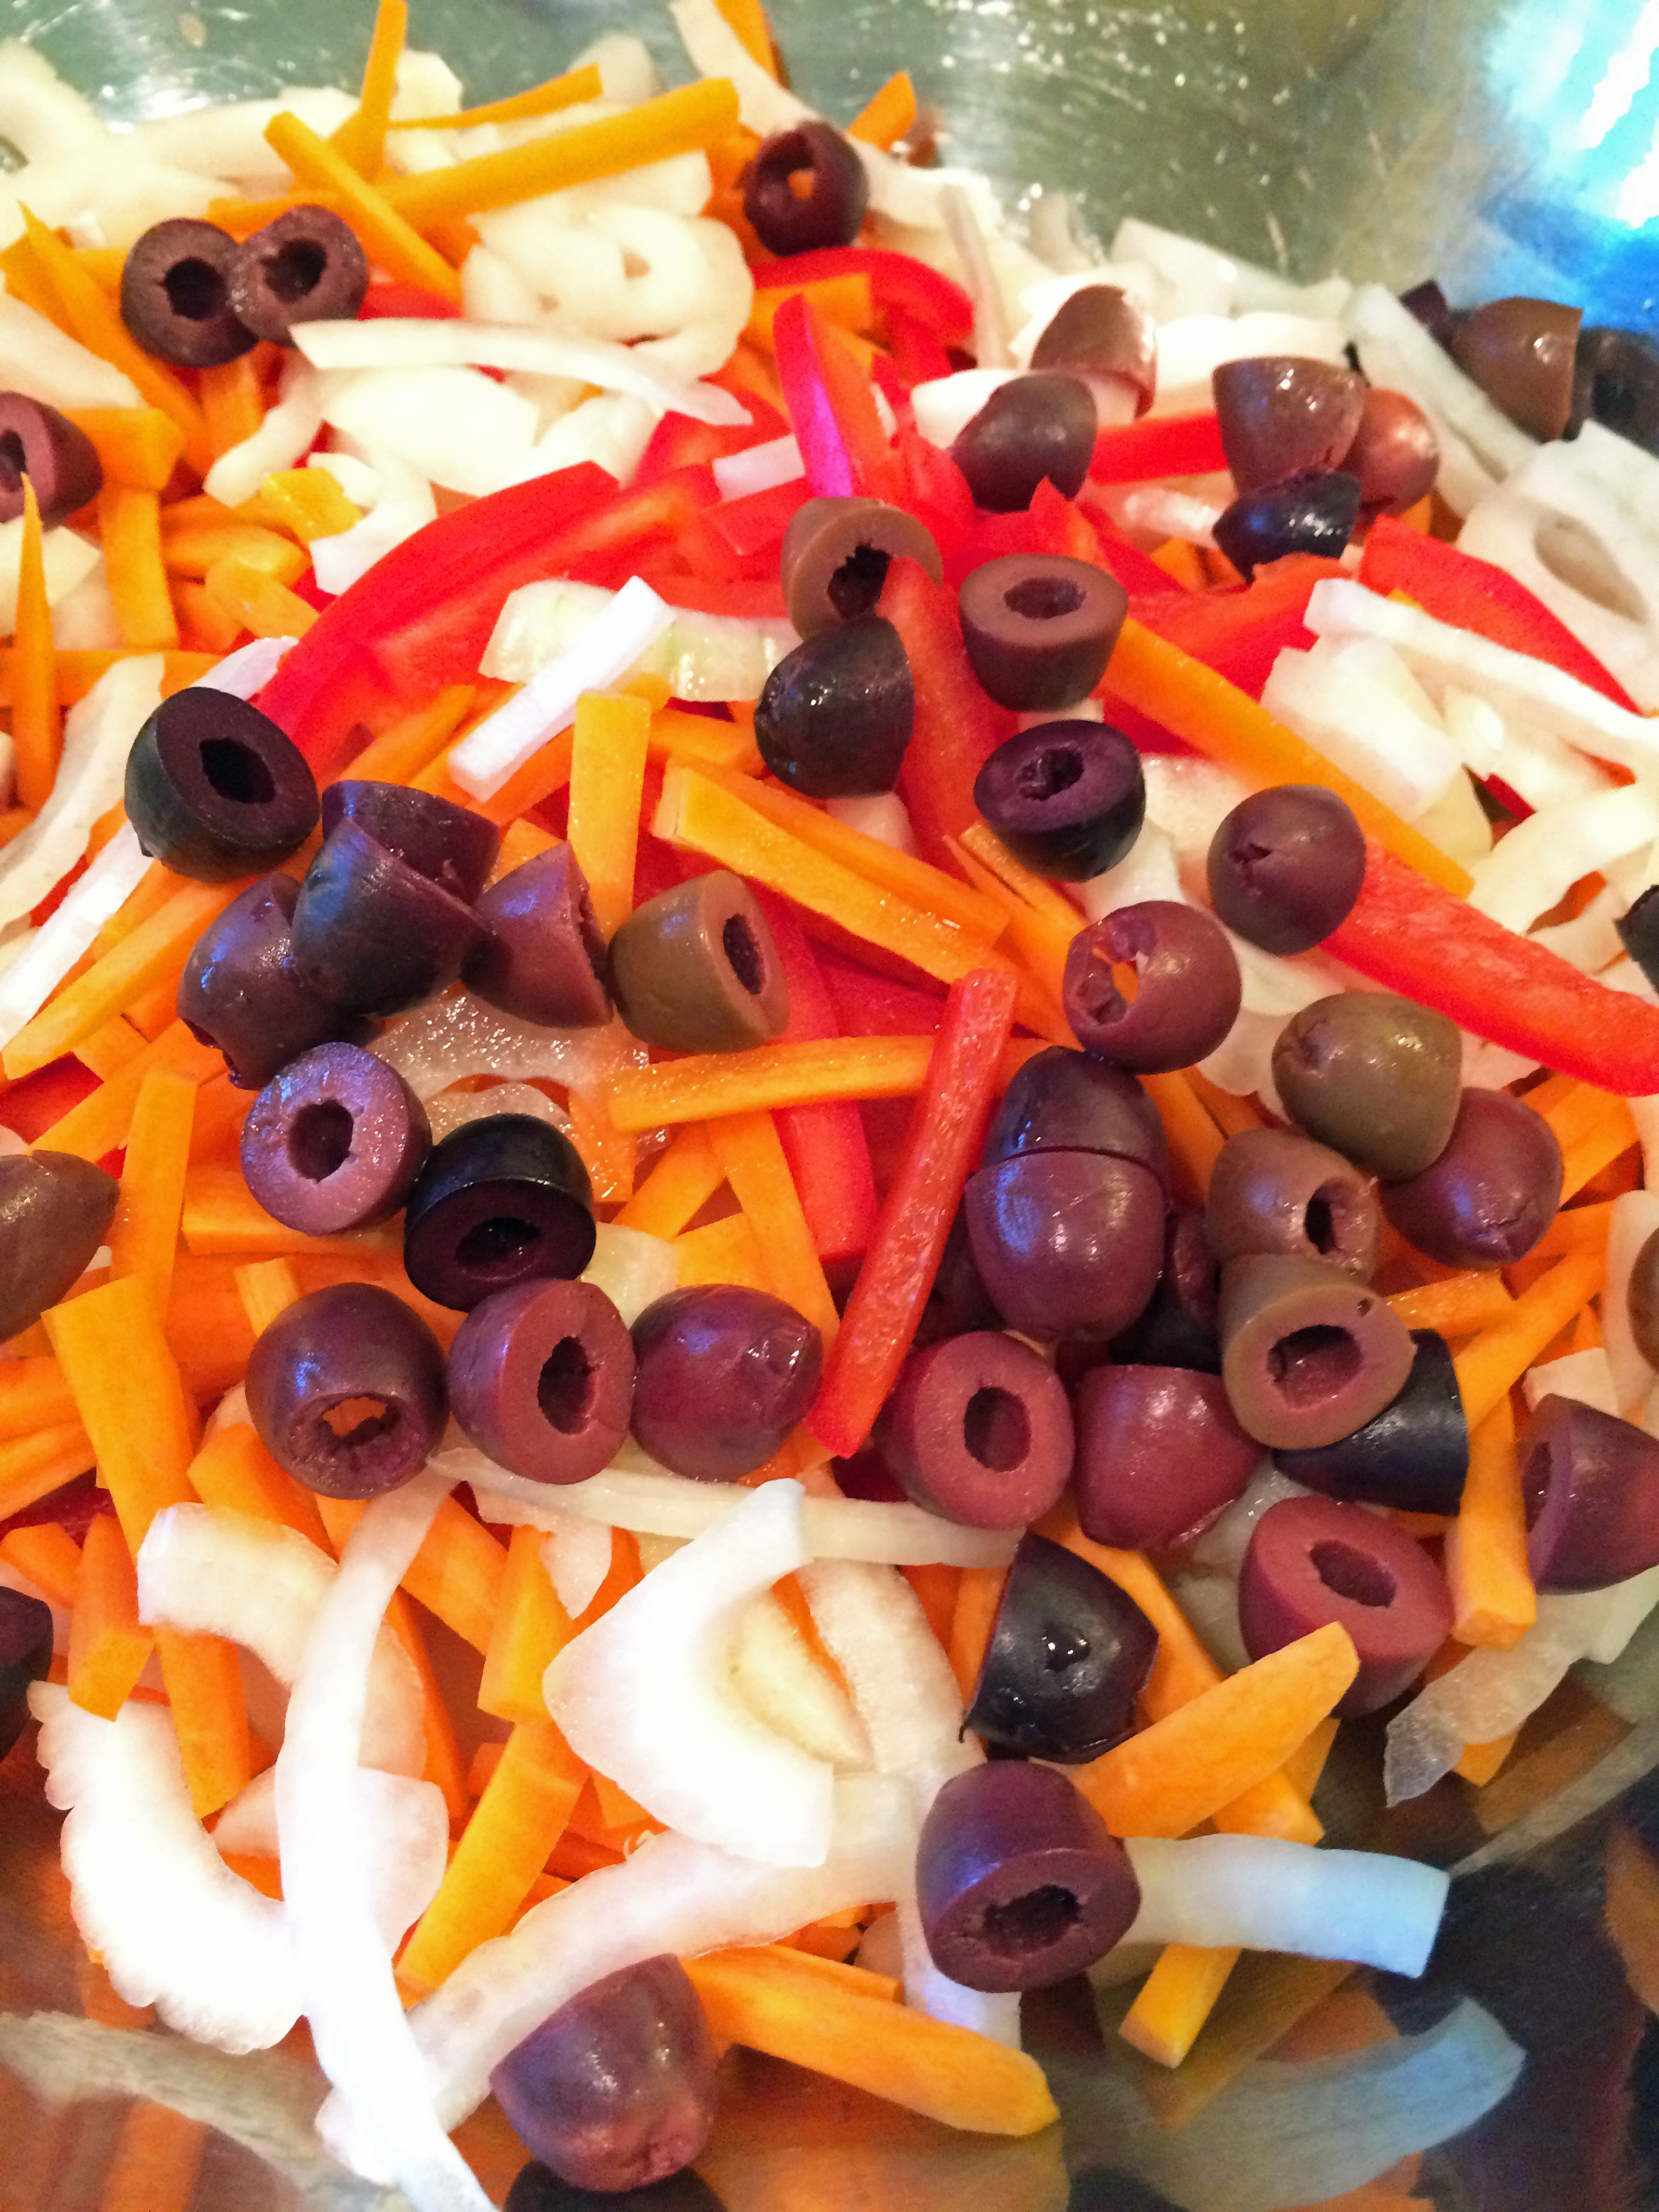
5. Add the onion slices and the olives to the salad bowl.
a
6. Add the capers and the beans to the salad bowl. Cover the bowl with plastic wrap and set it aside until ready to serve. (You may want to refrigerate it if it will be more than a couple of hours.)
7. Drain the chicken breasts and shred them with two forks into thin pieces. Put the chicken in a separate bowl, cover, and refrigerate until you’re ready to toss it with the salad.
8. Make the dressing. Whisk the garlic, mustard, basil, lemon juice, honey, and salt together in a bowl. Slowly whisk in the olive oil until it’s all well-combined. Taste for seasonings and add a bit of salt and pepper, if desired. Cover the dressing with plastic wrap and set aside until ready to serve.
9. At serving time, add the chicken to the salad. Toss with the dressing. (I used all of it and it seemed just right.) Divide the salad among 6 or 7 plates. Garnish each plate with tomatoes and hard-cooked egg pieces. Enjoy!
a
Chicken Salad Niçoise served for 7
a
Share this:

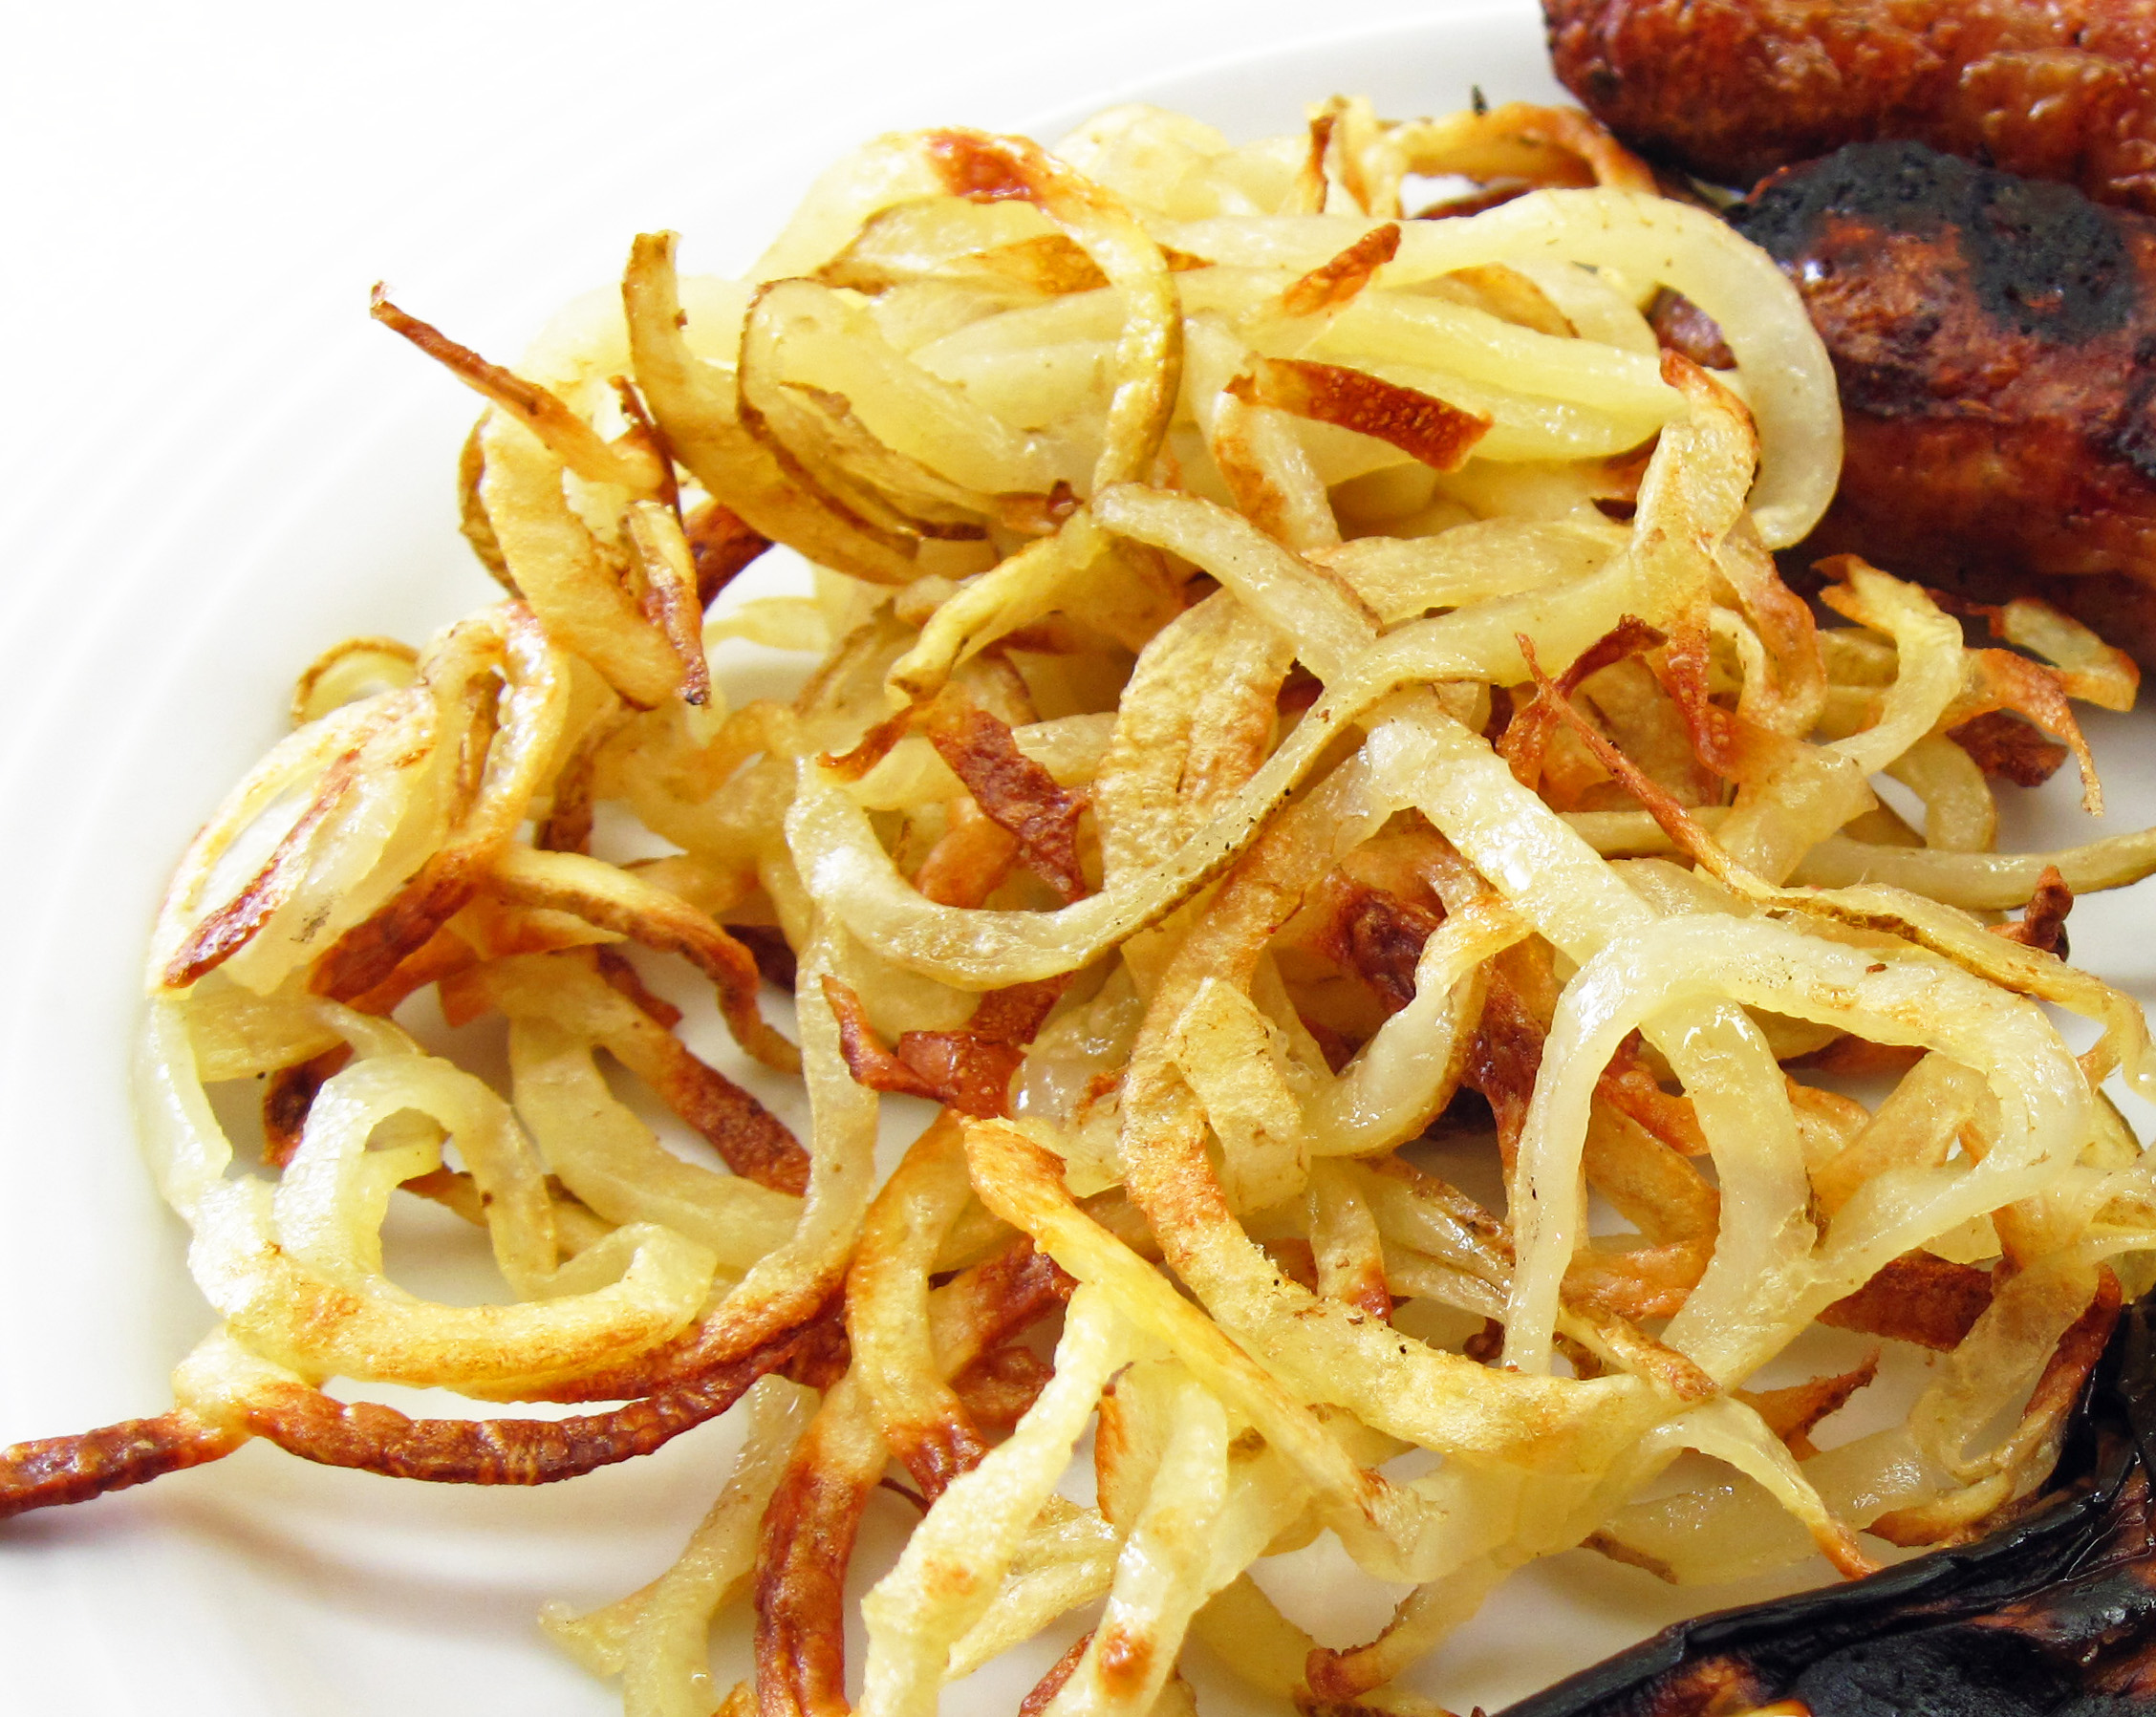
Oven Fried Curly Fries
By Kath Dedon
a
I was intrigued by all of the spiral cut vegetables I had been seeing on the Internet. Zucchini noodles are everywhere! And people seem to love using them instead of pasta.
So…when I saw last week that Amazon was featuring the Paderno Tri-Blade Spiral Vegetable Slicer as one of their sale items on Prime Day I took the bait.
I could have made zucchini noodles, a spiralized cucumber salad, or any number of low-carb healthy dishes. What did I make the first time I used my spiral slicer? Why, Oven Fried Curly Fries, of course!
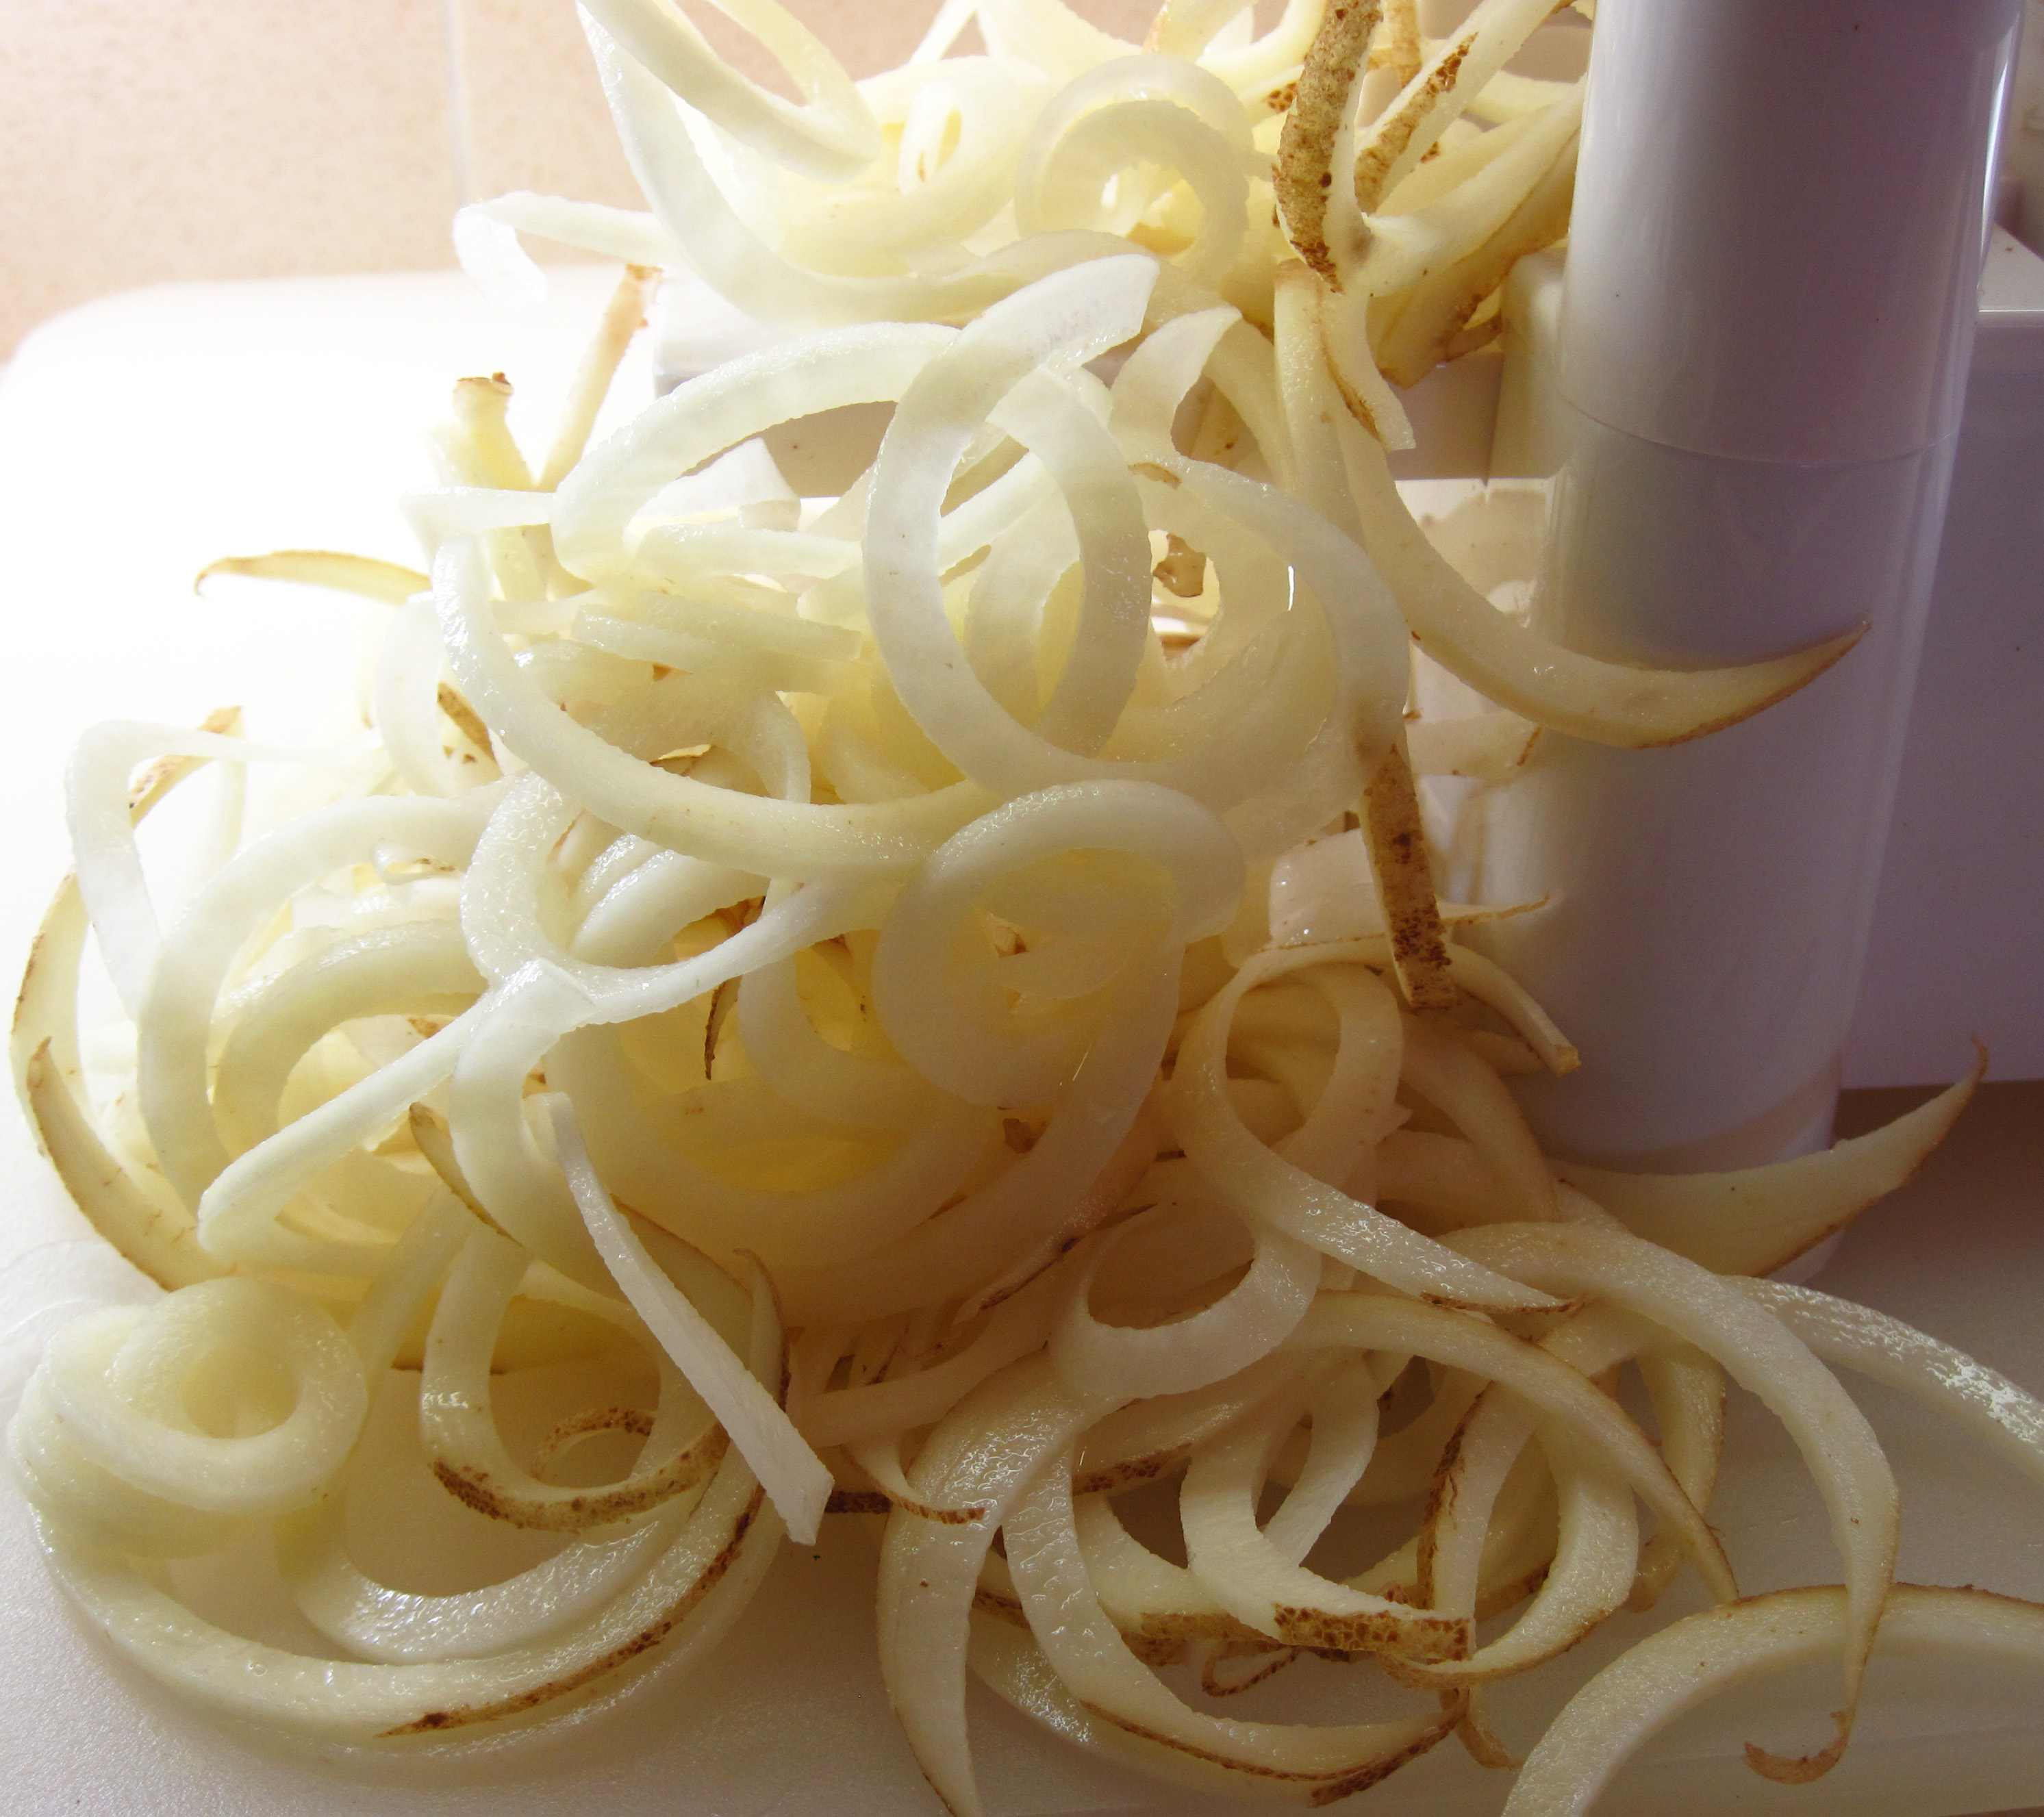
My new kitchen toy cut the potato very quickly. It feels like a solidly-built gadget that will stand the test of time. We shall see.
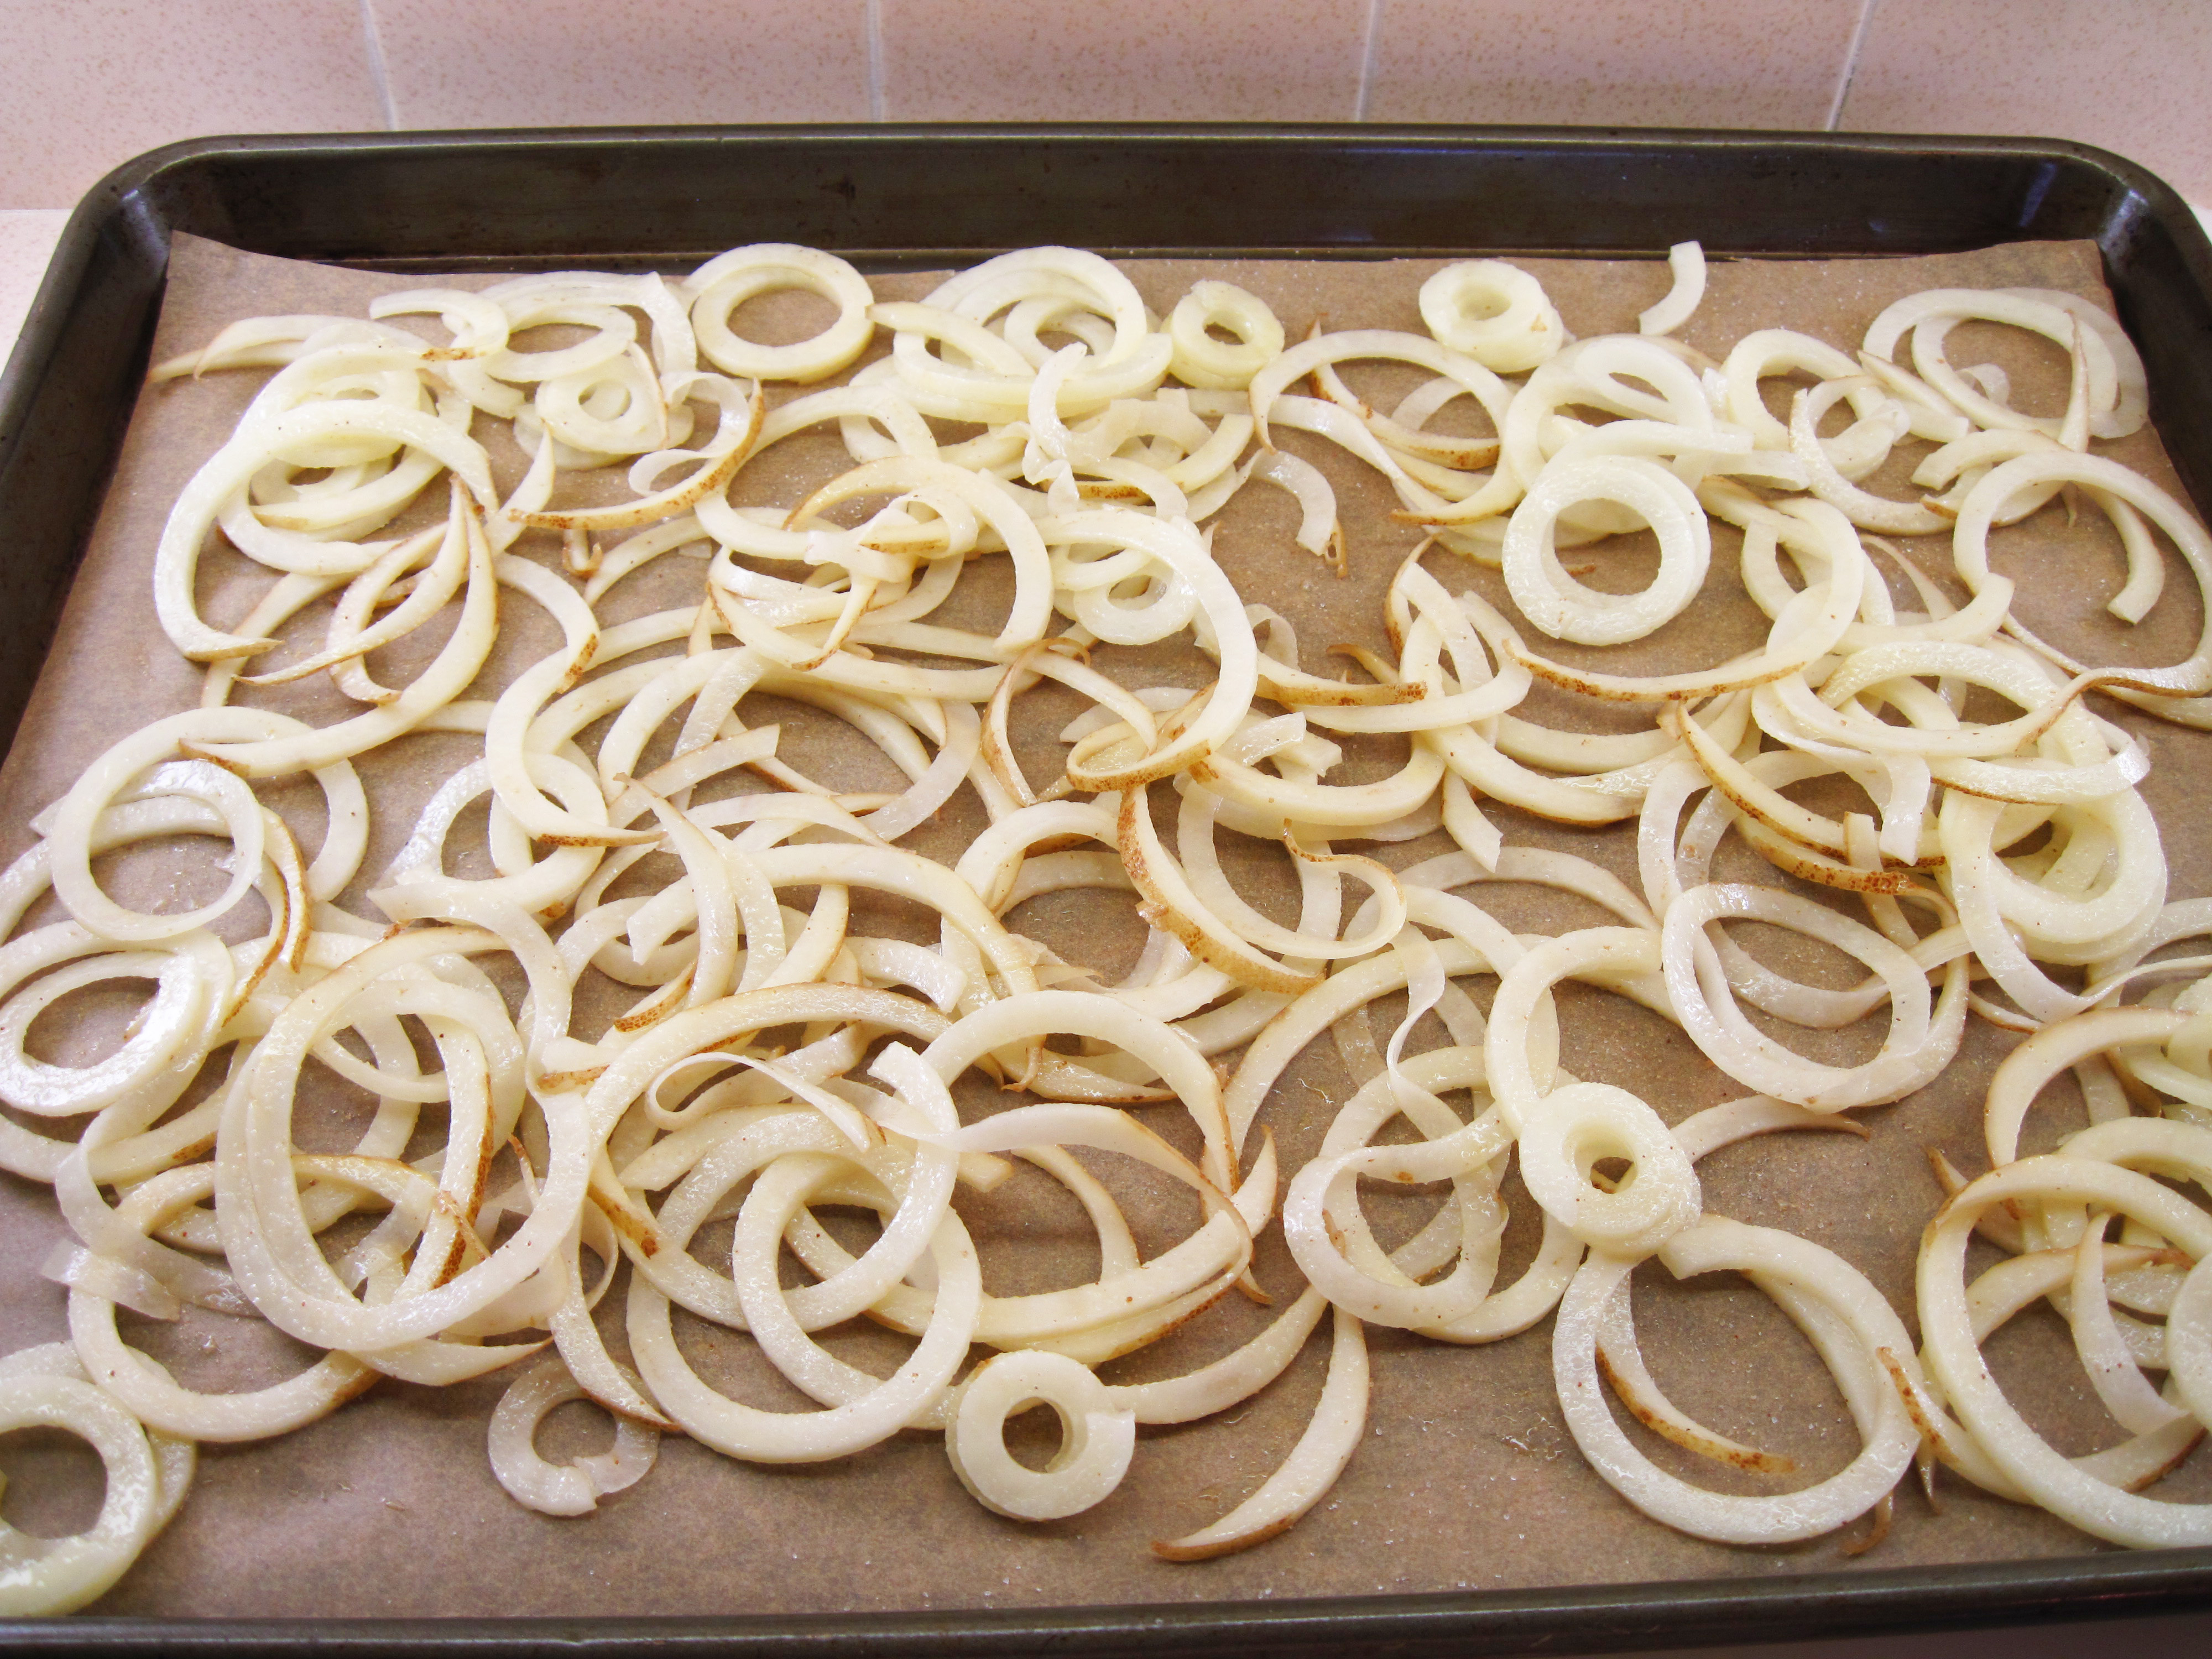
The strips of potatoes were very long, so I cut them down to a more manageable length with a pair of kitchen scissors. After a quick toss with olive oil and a sprinkle of salt they were ready for the oven.
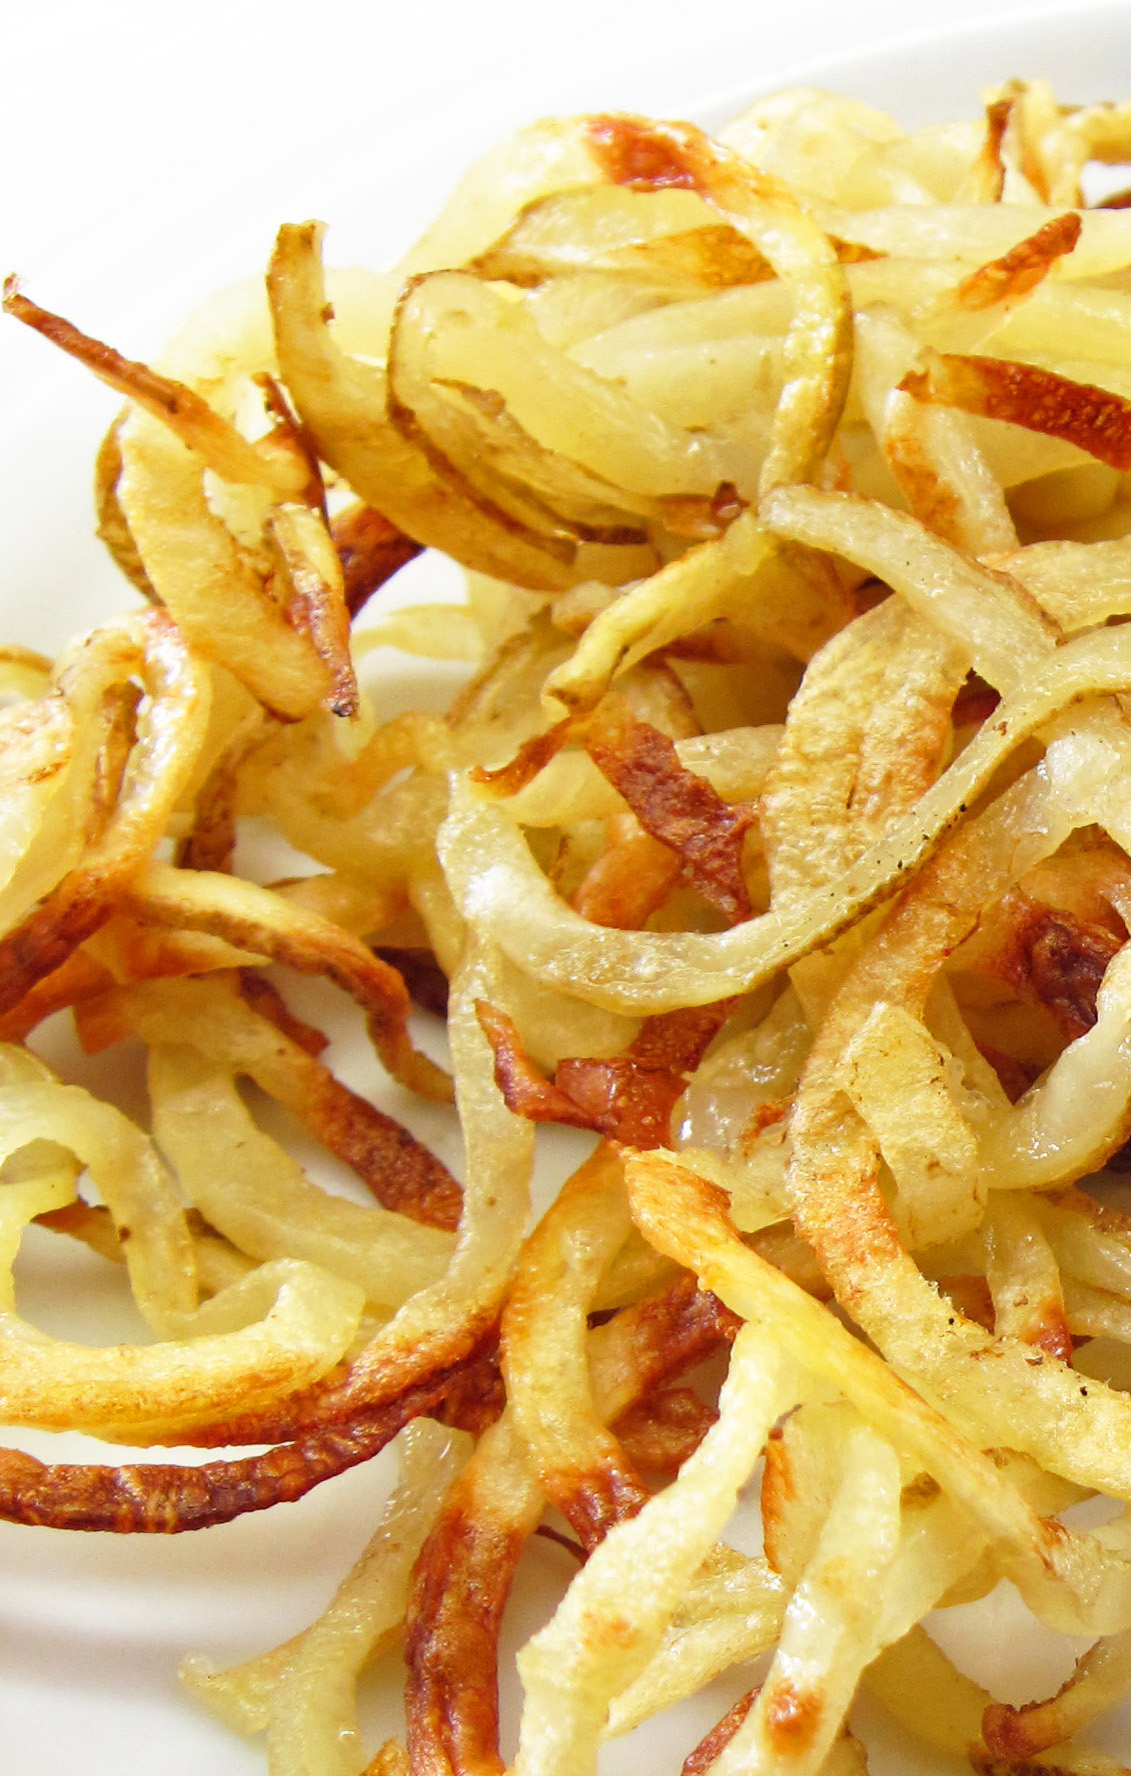
The Oven Fried Curly Fries were delicious and fun to eat! Bob totally approved and I know I’ll be making these fries again.
If you don’t have a spiral slicer, you could use a sharp knife to cut a potato into very thin fries and then proceed with the recipe. They won’t have the fun curly shape but they’ll still be tasty!
a
Oven Fried Curly Fries, served with grilled chicken sausage, grilled eggplant, and a salad.
a
Oven Fried Curly Fries
(Adapted from Davida’s recipe on The Healthy Maven)
a
a
Serves 2
1 large russet potato
1 tablespoon oil
Salt, to taste
a
A 12.75-ounce russet potato is big enough to serve 2!

a
1. Preheat the oven to 400˚.
2. Cut the potato with a spiral slicer. Use scissors to cut the long strips into shorter lengths.

a
a
3. Put the potatoes in a bowl and toss with the oil.
4. Spread the potatoes out on a large parchment lined baking sheet. (I don’t know if the parchment paper is necessary. I had some, so I used it.)
a
5. Bake for 15 minutes. Turn the fries over with a spatula.
6. Bake for an additional 5 – 10 minutes, or until done they way you like them.
a
a
Share this:

Chop Salad with Corn, Sugar Snap Peas, and Bacon
By Kath Dedon
a
We celebrated Bob’s birthday with Slow Cooker Chicken Mole, Rice, and this Chop Salad with Corn, Snap Peas, and Bacon from Tom Douglas’ Tom’s Big Dinners. Dessert was Baklava!
Because this Chop Salad is so full of vegetables, it was perfect with the Chicken Mole. It took a bit of time to do all of the slicing and dicing, but since the Baklava had been made earlier in the day and the chicken was cooking in the slow cooker it was easy to give my full attention to the salad.
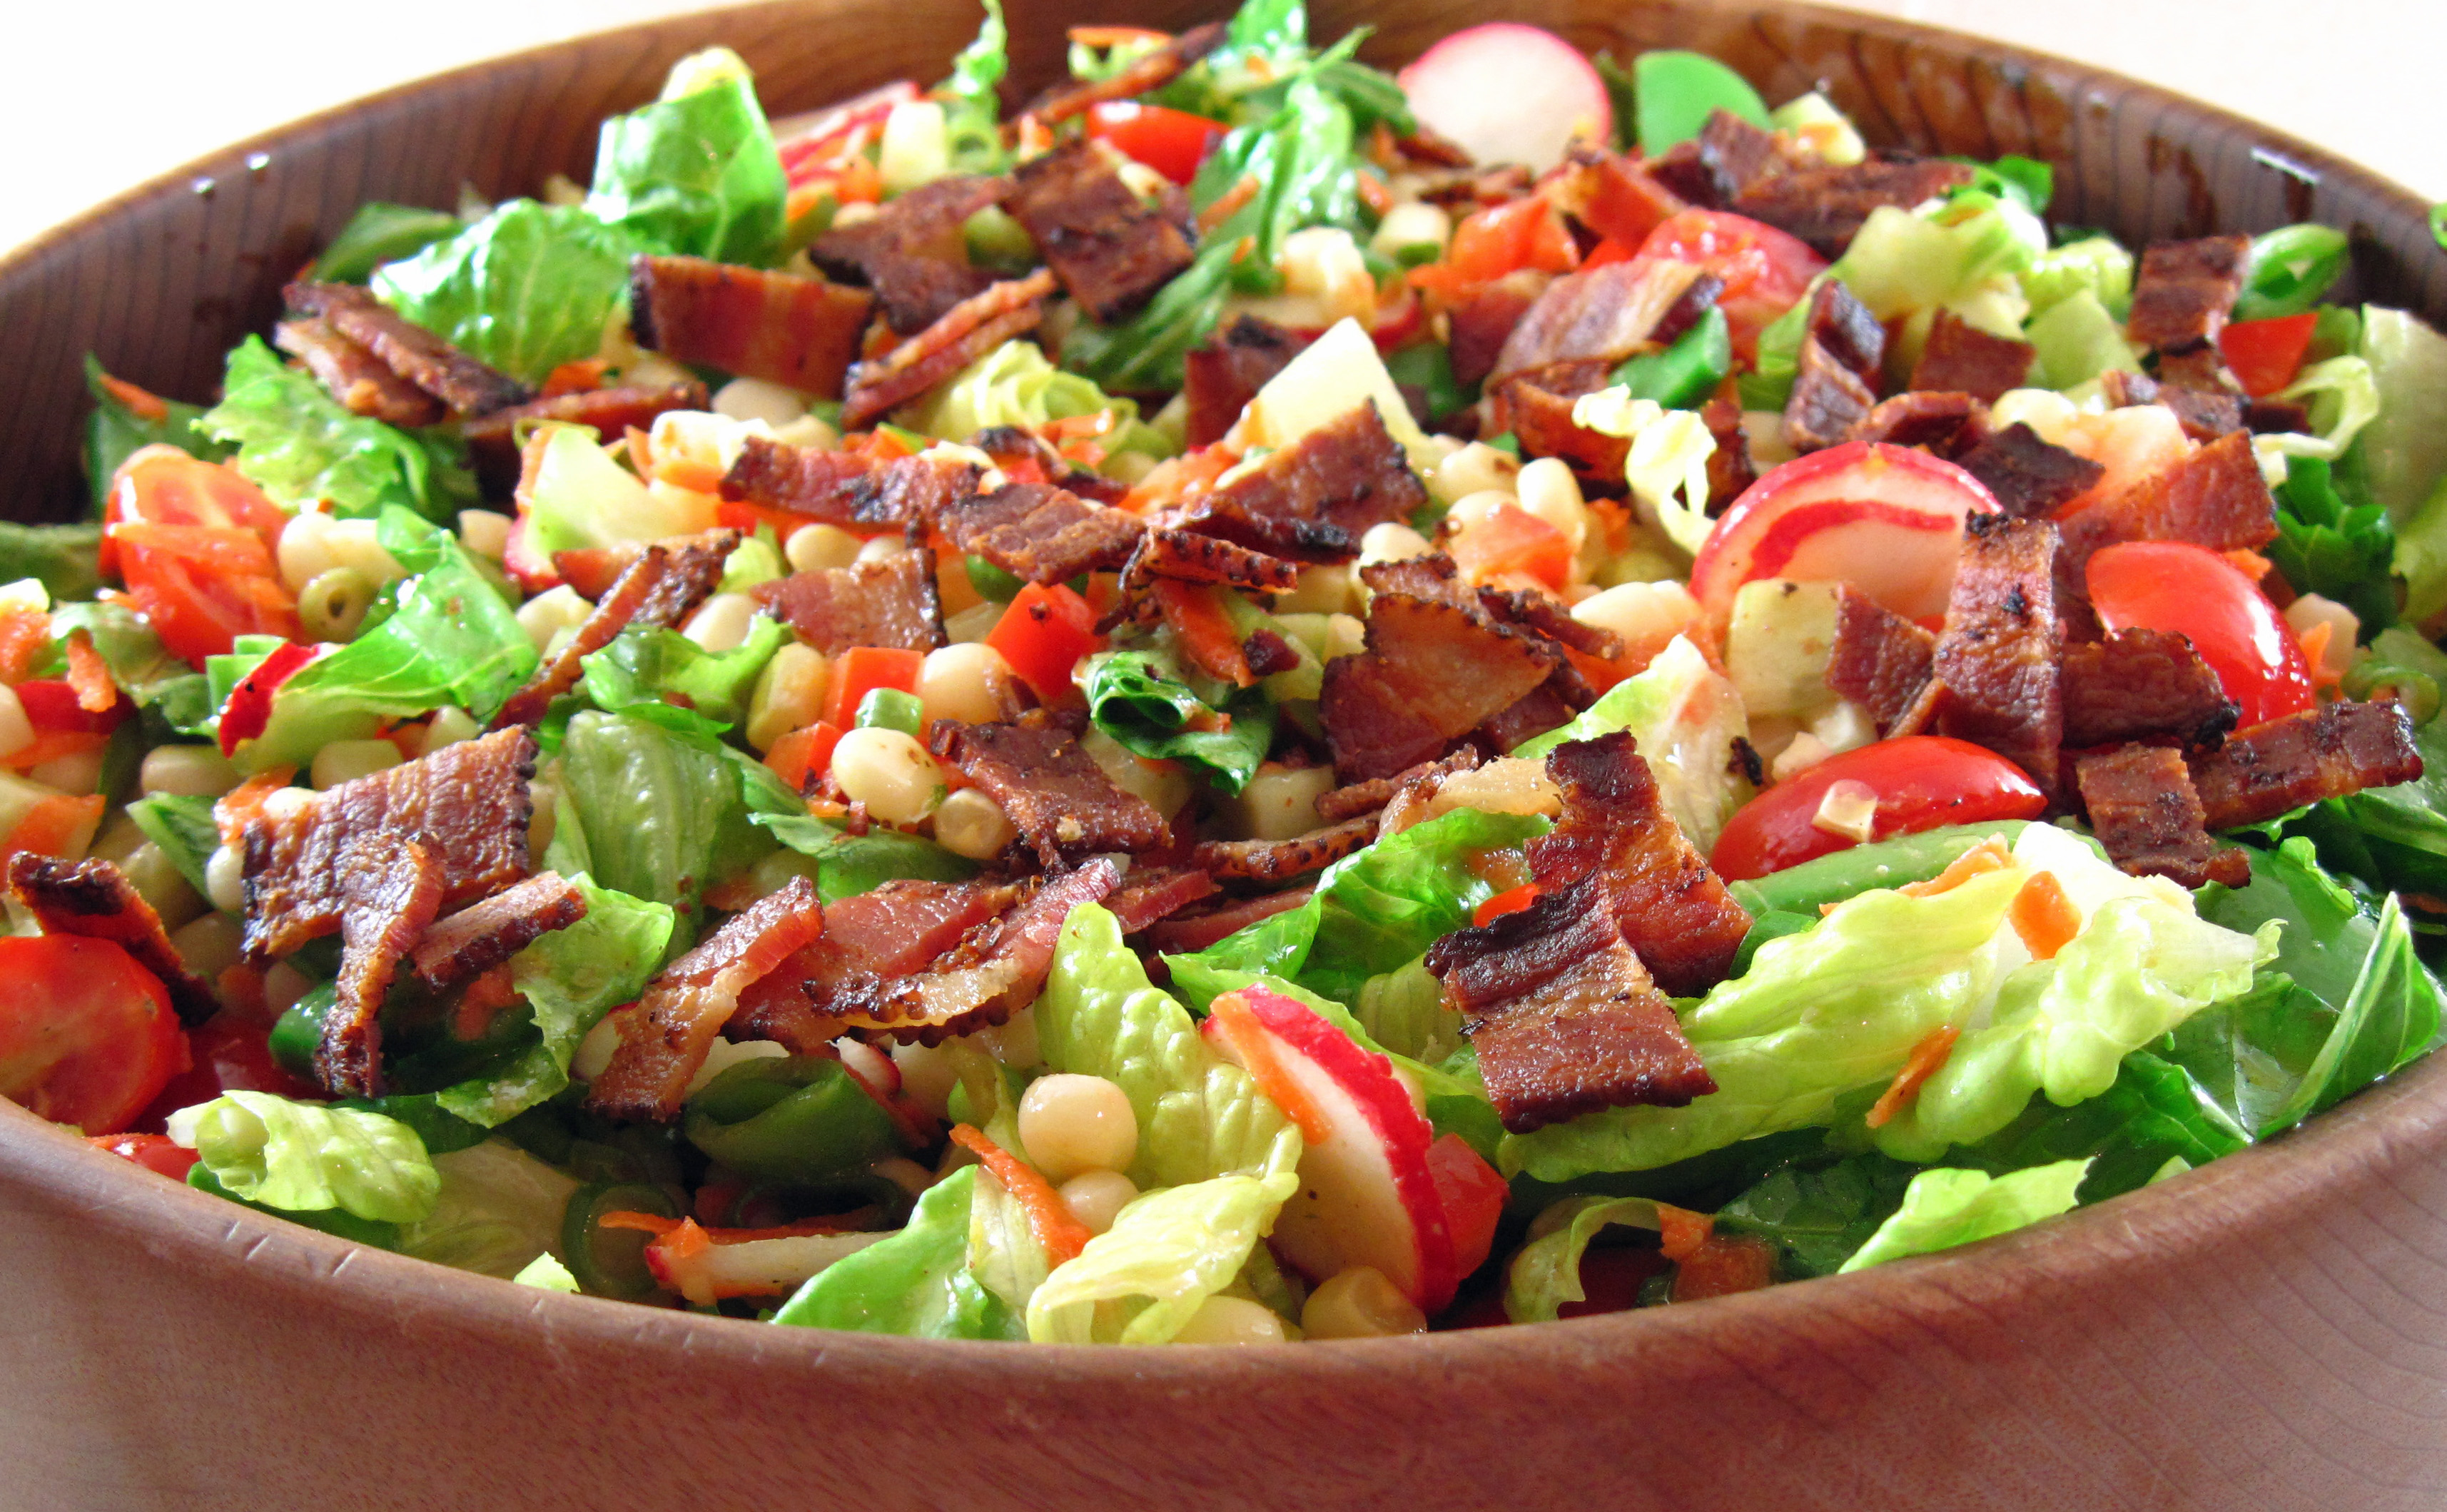
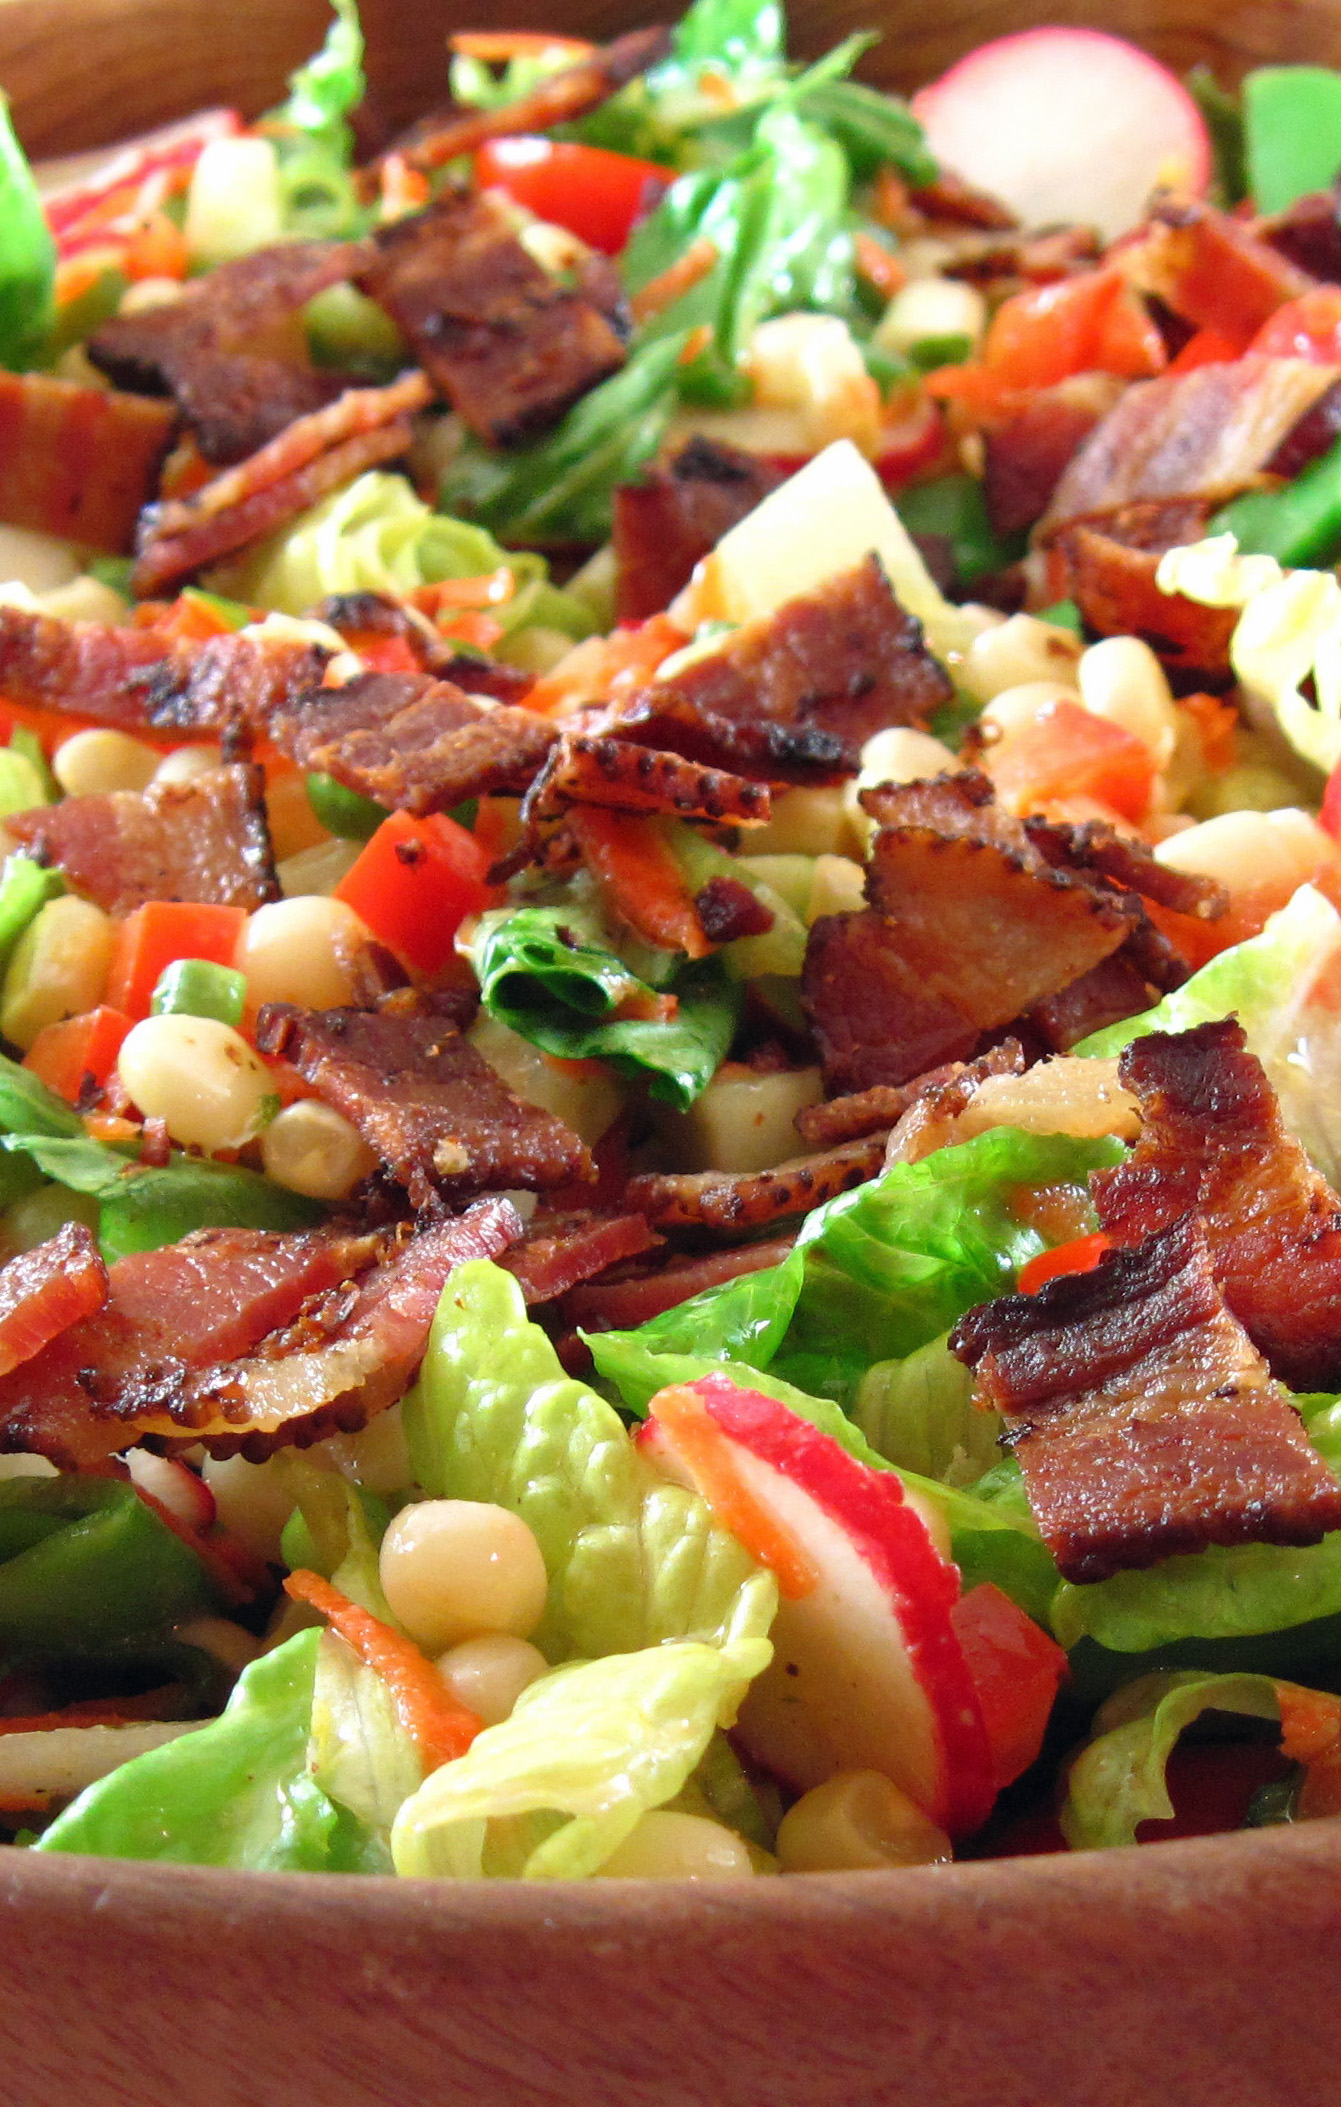
This Chop Salad with Corn, Snap Peas, and Bacon is very colorful and would be a perfect salad to take to a summer potluck party. Everything can be prepared ahead of time; add the lettuce and toss with the dressing just before serving.
I followed Tom’s recipe pretty closely, although I did omit the basil leaves (Bob’s not crazy about basil) and the Parmesan cheese. The cheese probably would have been good but I wanted the vegetables to be the stars with the bacon playing a major supporting role.
Tom suggests being creative with it. You could use diced salami instead of the bacon, or diced Gouda instead of the Parmesan. You could add diced celery or garbanzo beans. His only rule is that everything should be diced into small pieces and there should be more vegetables than lettuce.
.
Update 4/24/16: Last night I successfully made this using frozen “petite white corn”. There’s no need to thaw it before using it.
a
a
Chop Salad with Corn, Snap Peas, and Bacon
Adapted from a Tom Douglas recipe in Tom’s Big Dinners
a
a
Serves 8
a
½ pound bacon (about 5 slices of thick bacon)
6 ounces sugar snap peas (1½ cups), strings removed, cut in half on a diagonal
1½ cups fresh corn kernels (about 2 ears)
1 medium cucumber, peeled, seeded, and cut into ¼-inch dice
1 medium carrot, peeled and grated
½ medium red bell pepper, cut into ¼-inch dice
½ bunch radishes, thinly sliced (about ½ cup)
½ bunch green onions, thinly sliced (about ¾ cup)
½ pint cherry tomatoes, cut in half
½ head romaine lettuce (about 4 cups chopped)
1 cup fresh basil leaves (about 1 ounce), cut into thin strips (optional, I didn’t use)
½ cup freshly grated Parmesan cheese (optional, I didn’t use)
a
Mustard Vinaigrette
2 tablespoons red wine vinegar
1 tablespoon freshly squeezed lemon juice
1 tablespoon Dijon mustard
2 teaspoons minced garlic (about 2 cloves)
½ cup olive oil
Salt and freshly ground black pepper, to taste
a
1. Cook the bacon in a skillet over medium-low heat. Drain on paper towels and chop into small pieces.
2. Bring a large pot of water to a boil and have a bowl of ice water ready. When the water’s boiling, add a bit of salt and the sugar snap peas and corn. Cook for 1 minute, then drain and put the peas and corn in the ice water for a few minutes. Drain the peas and corn and set aside. (I spread them out on a paper towel-lined baking sheet to help them dry out.)
3. Make the vinaigrette. Put the vinegar, lemon juice, mustard and garlic in a bowl. Whisk together while slowly pouring in the olive oil so it emulsifies. (Or do as I did and shake it all up in a Blender Bottle if you have one.) Season to taste with salt and pepper.
4. When ready to serve, chop the lettuce and put it in a bowl. Add the peas, corn, cucumber, carrot, red pepper, radishes, green onions, tomatoes, and basil if using. Toss with the vinaigrette. If using cheese, then toss in the cheese. Put the salad in a serving bowl and sprinkle the bacon over the top.
a
a
Share this:

Quick Rub for Roast or Grilled Chicken
By Kath Dedon
a
I’ve become a huge fan of rubs. Rubs are a great way to quickly add a lot of flavor to grilled or roasted meats. There’s no need to plan ahead to marinate the meat. A good rub makes summer meals super simple.
I recently tried my hand at Tom Douglas’ rub for salmon and it was fantastic. Inspired by that experience, I wanted to come up with a rub for chicken.
I found a rub from Bon Appétit online. They call it 4-3-2-1 Spice Rub. The numbers refer to tablespoons: 4 tablespoons kosher salt, 3 tablespoons light brown sugar, 2 tablespoons paprika, 1 tablespoon cayenne pepper. That seemed like a good place to start, but I wondered if that much salt was necessary.
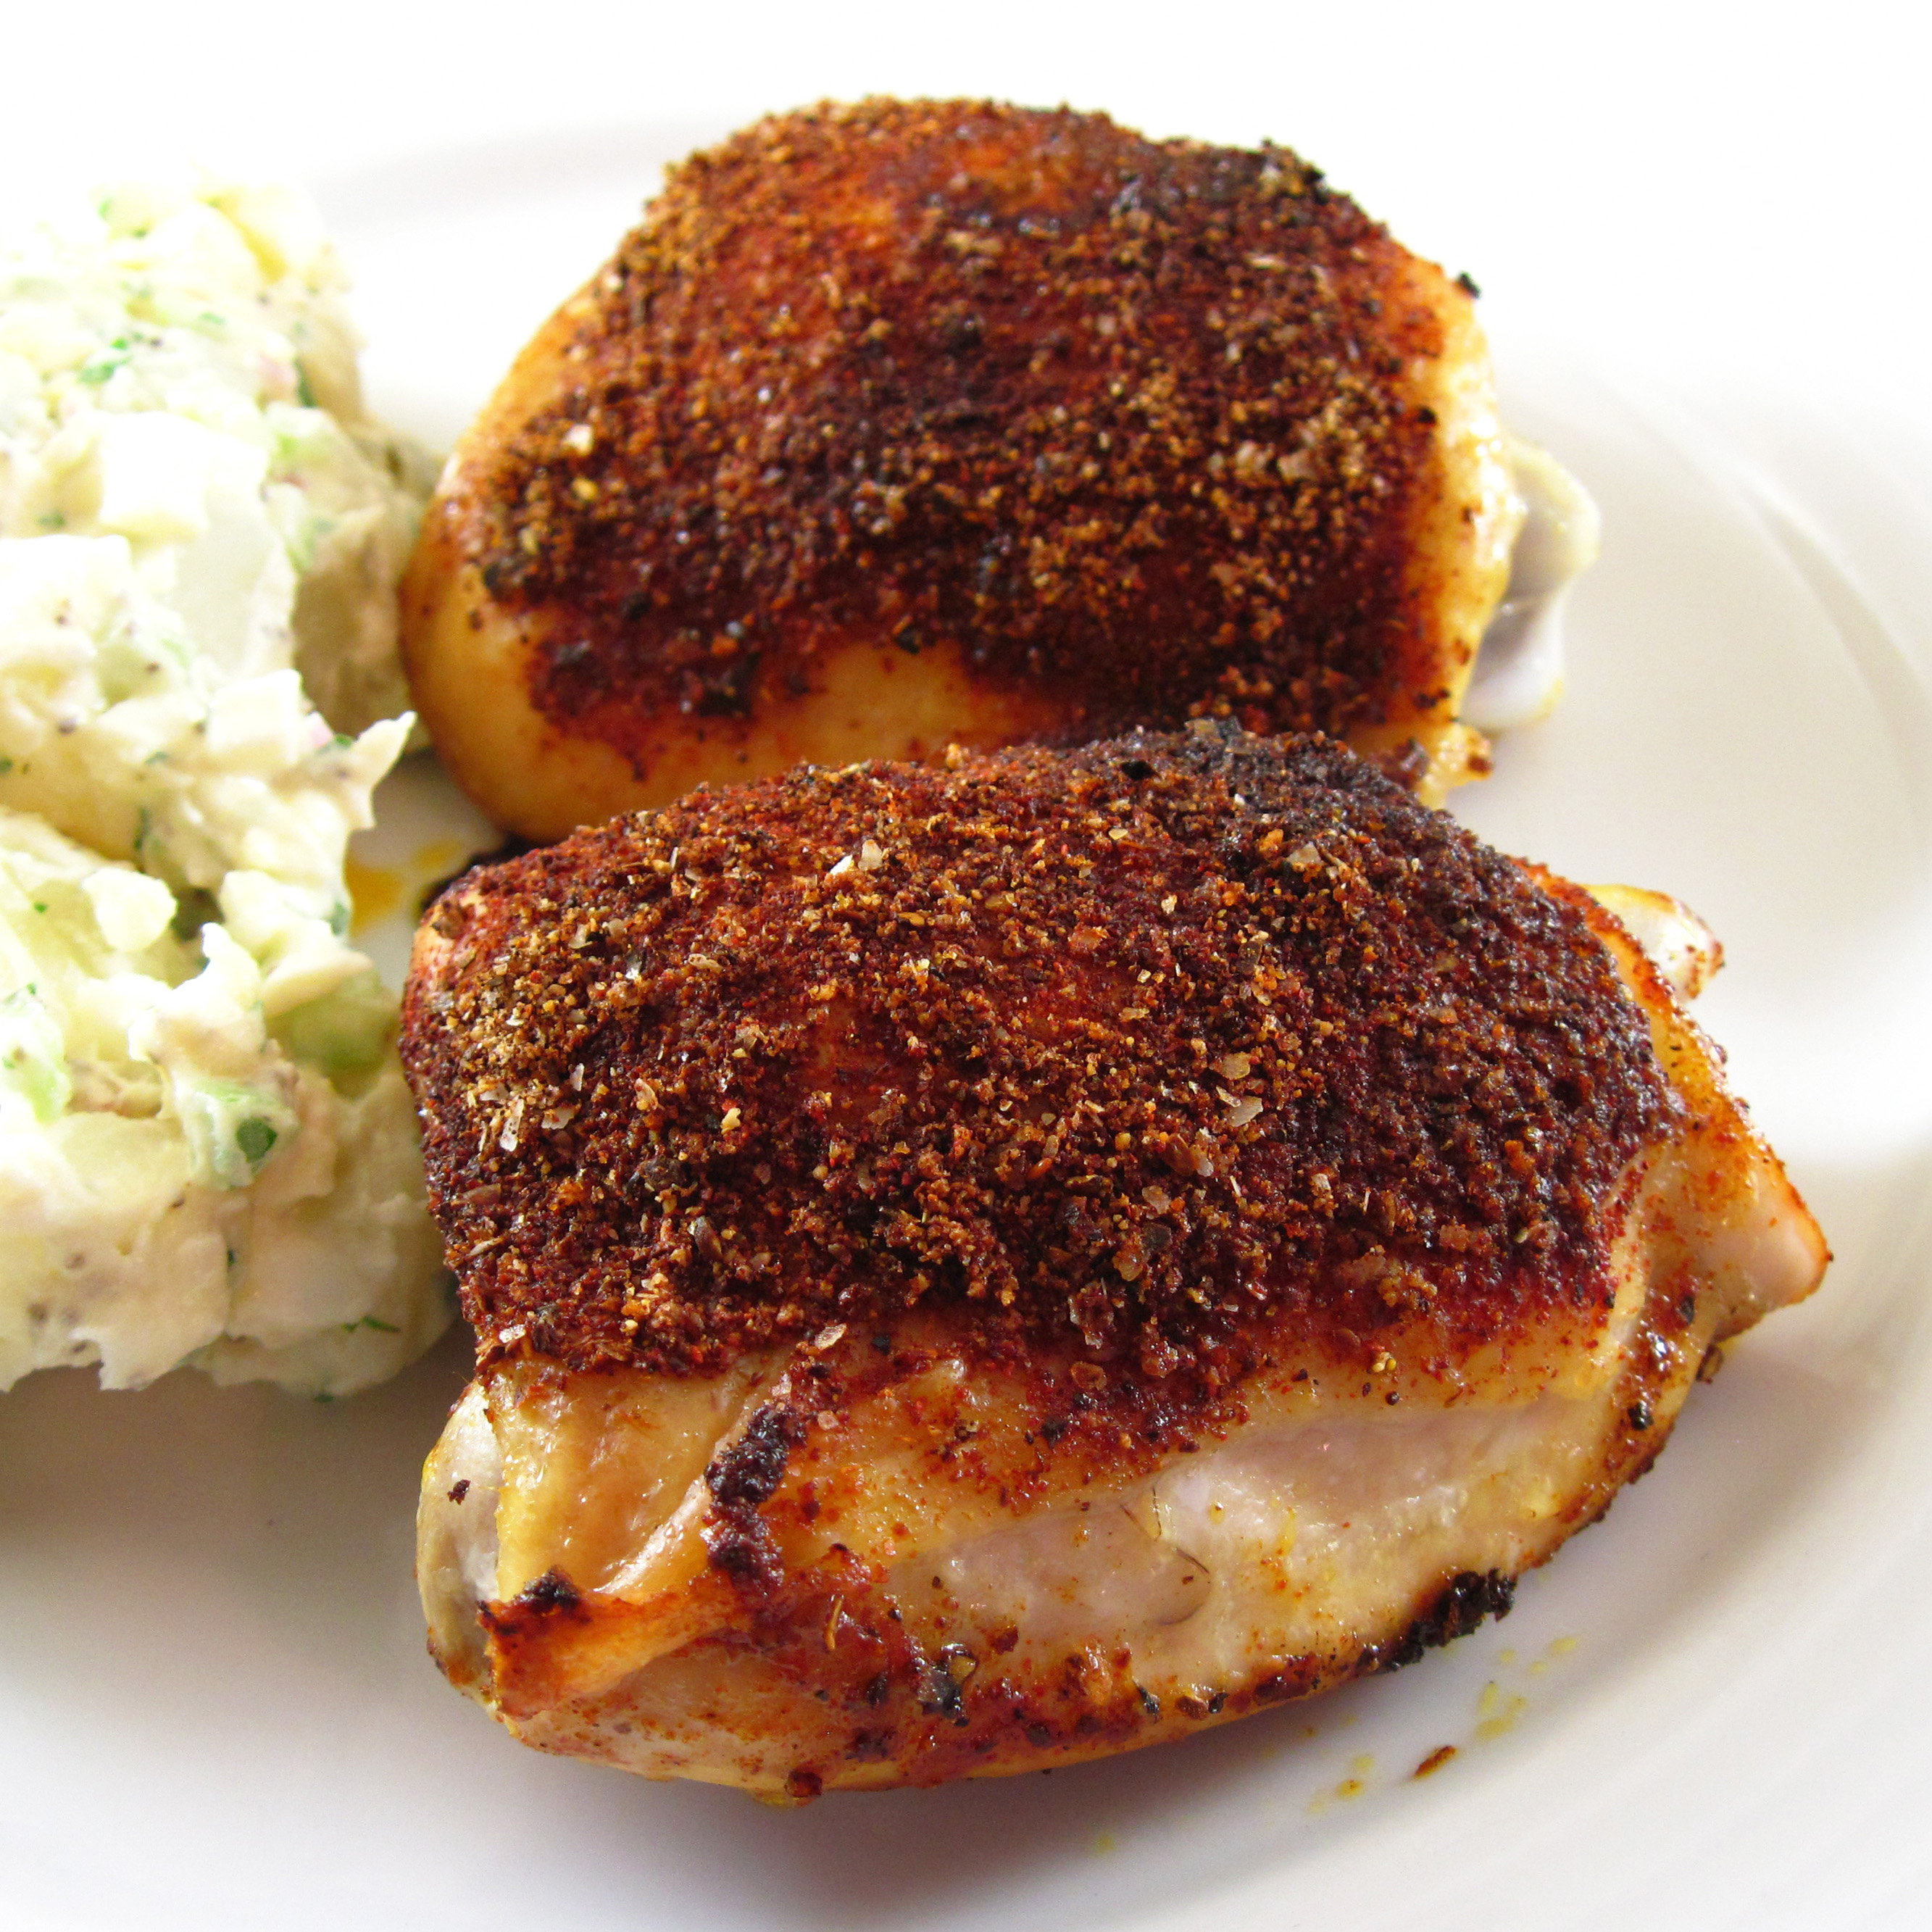
I’ve played around with it over the past month. I roasted a spatchcocked chicken. (It was my first time spatchcocking. It’s very easy to do with good poultry shears.) I grilled chicken thighs over indirect heat. And most recently, I roasted chicken thighs in the oven. This Quick Rub for Roast or Grilled Chicken proved to be excellent each time.
Using half as much salt as Bon Appétit used, the rub was still excellent. I have Aleppo pepper and I used that. I don’t know if it makes a real difference. If you can’t find it, just substitute ground ancho pepper or some other ground pepper with moderate heat.
So here it is. I think it’s ready for prime time. If you try this Quick Rub for Roast or Grilled Chicken, please let me know what you think.
a
a
Quick Rub for Roast or Grilled Chicken
(Inspired by Tom Douglas’ Chicken Rub and Bon Appétit’s 4-3-2-1 Spice Rub)
a
a
Makes about ½ cup
a
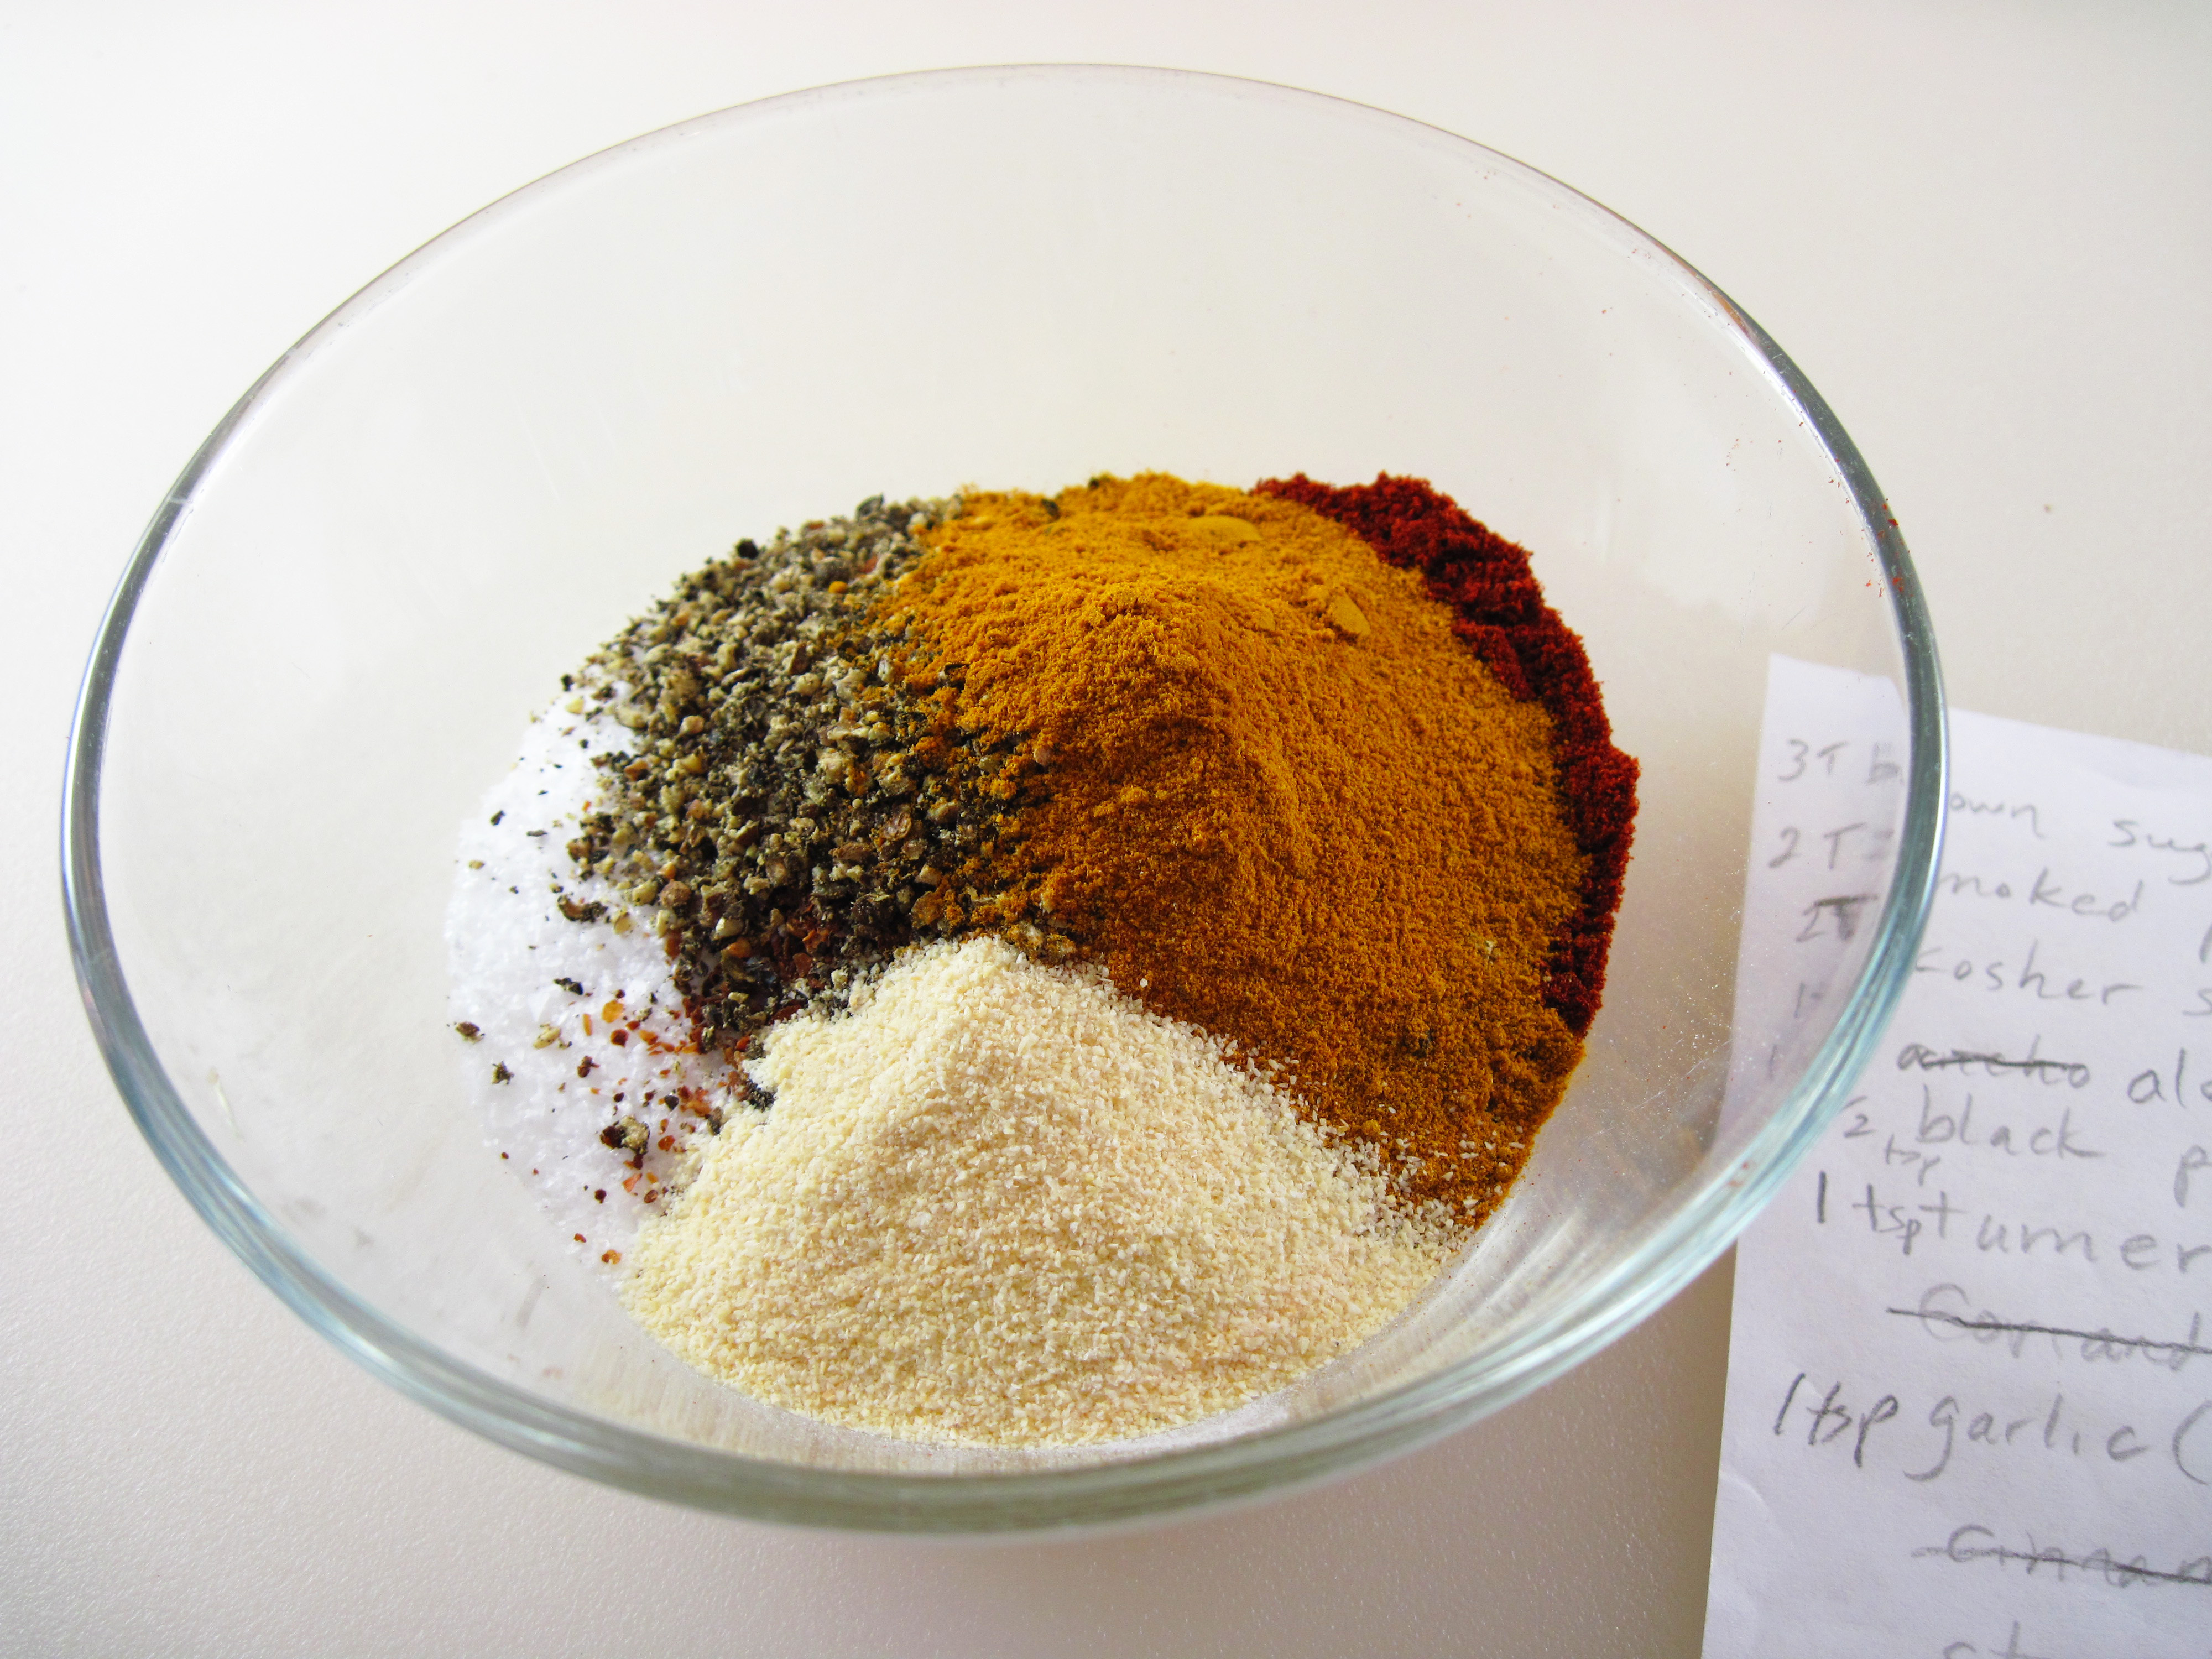
3 tablespoons maple sugar (I like the flavor that maple sugar contributes, but you can substitute brown sugar.)
2 tablespoons smoked paprika
2 tablespoons kosher salt
1½ teaspoons freshly ground black pepper
1 teaspoon Aleppo pepper (or substitute ancho pepper)
1 teaspoon turmeric
1 teaspoon granulated garlic
a
1. Combine all of the ingredients and store the rub in a jar.
a

a.
2. To use, generously sprinkle some rub over chicken and rub it into the skin. Roast or grill the chicken.
a
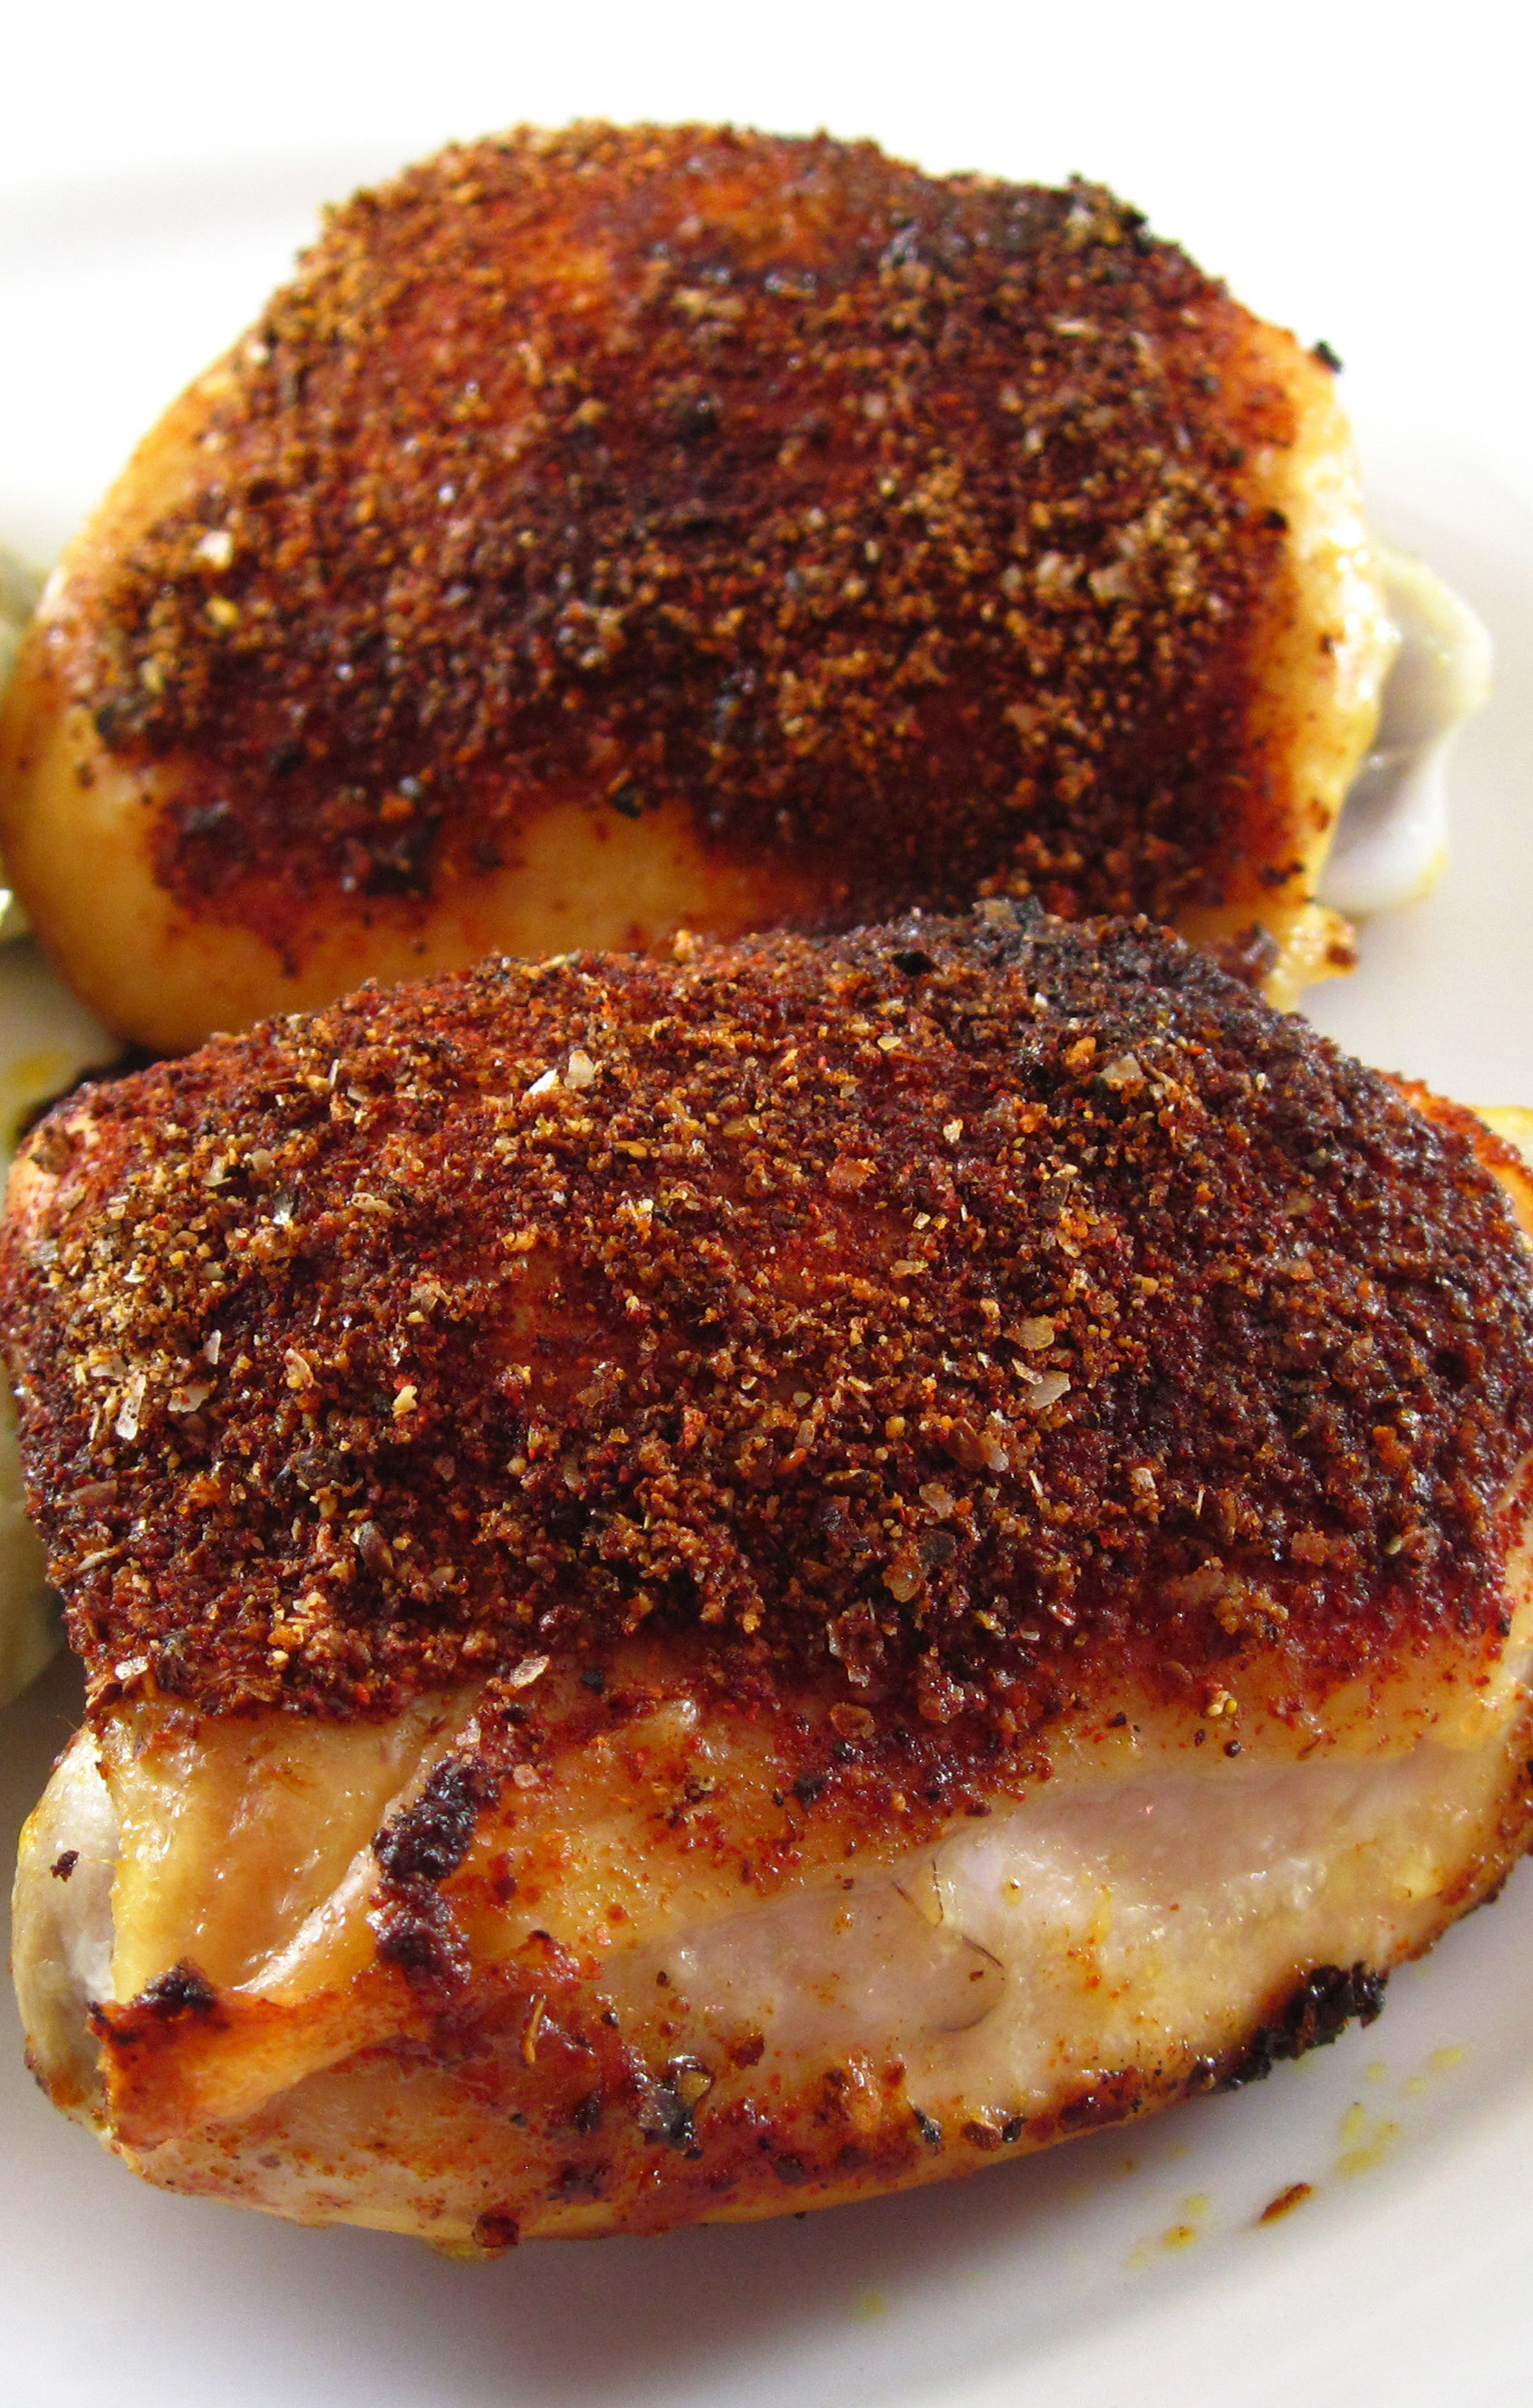
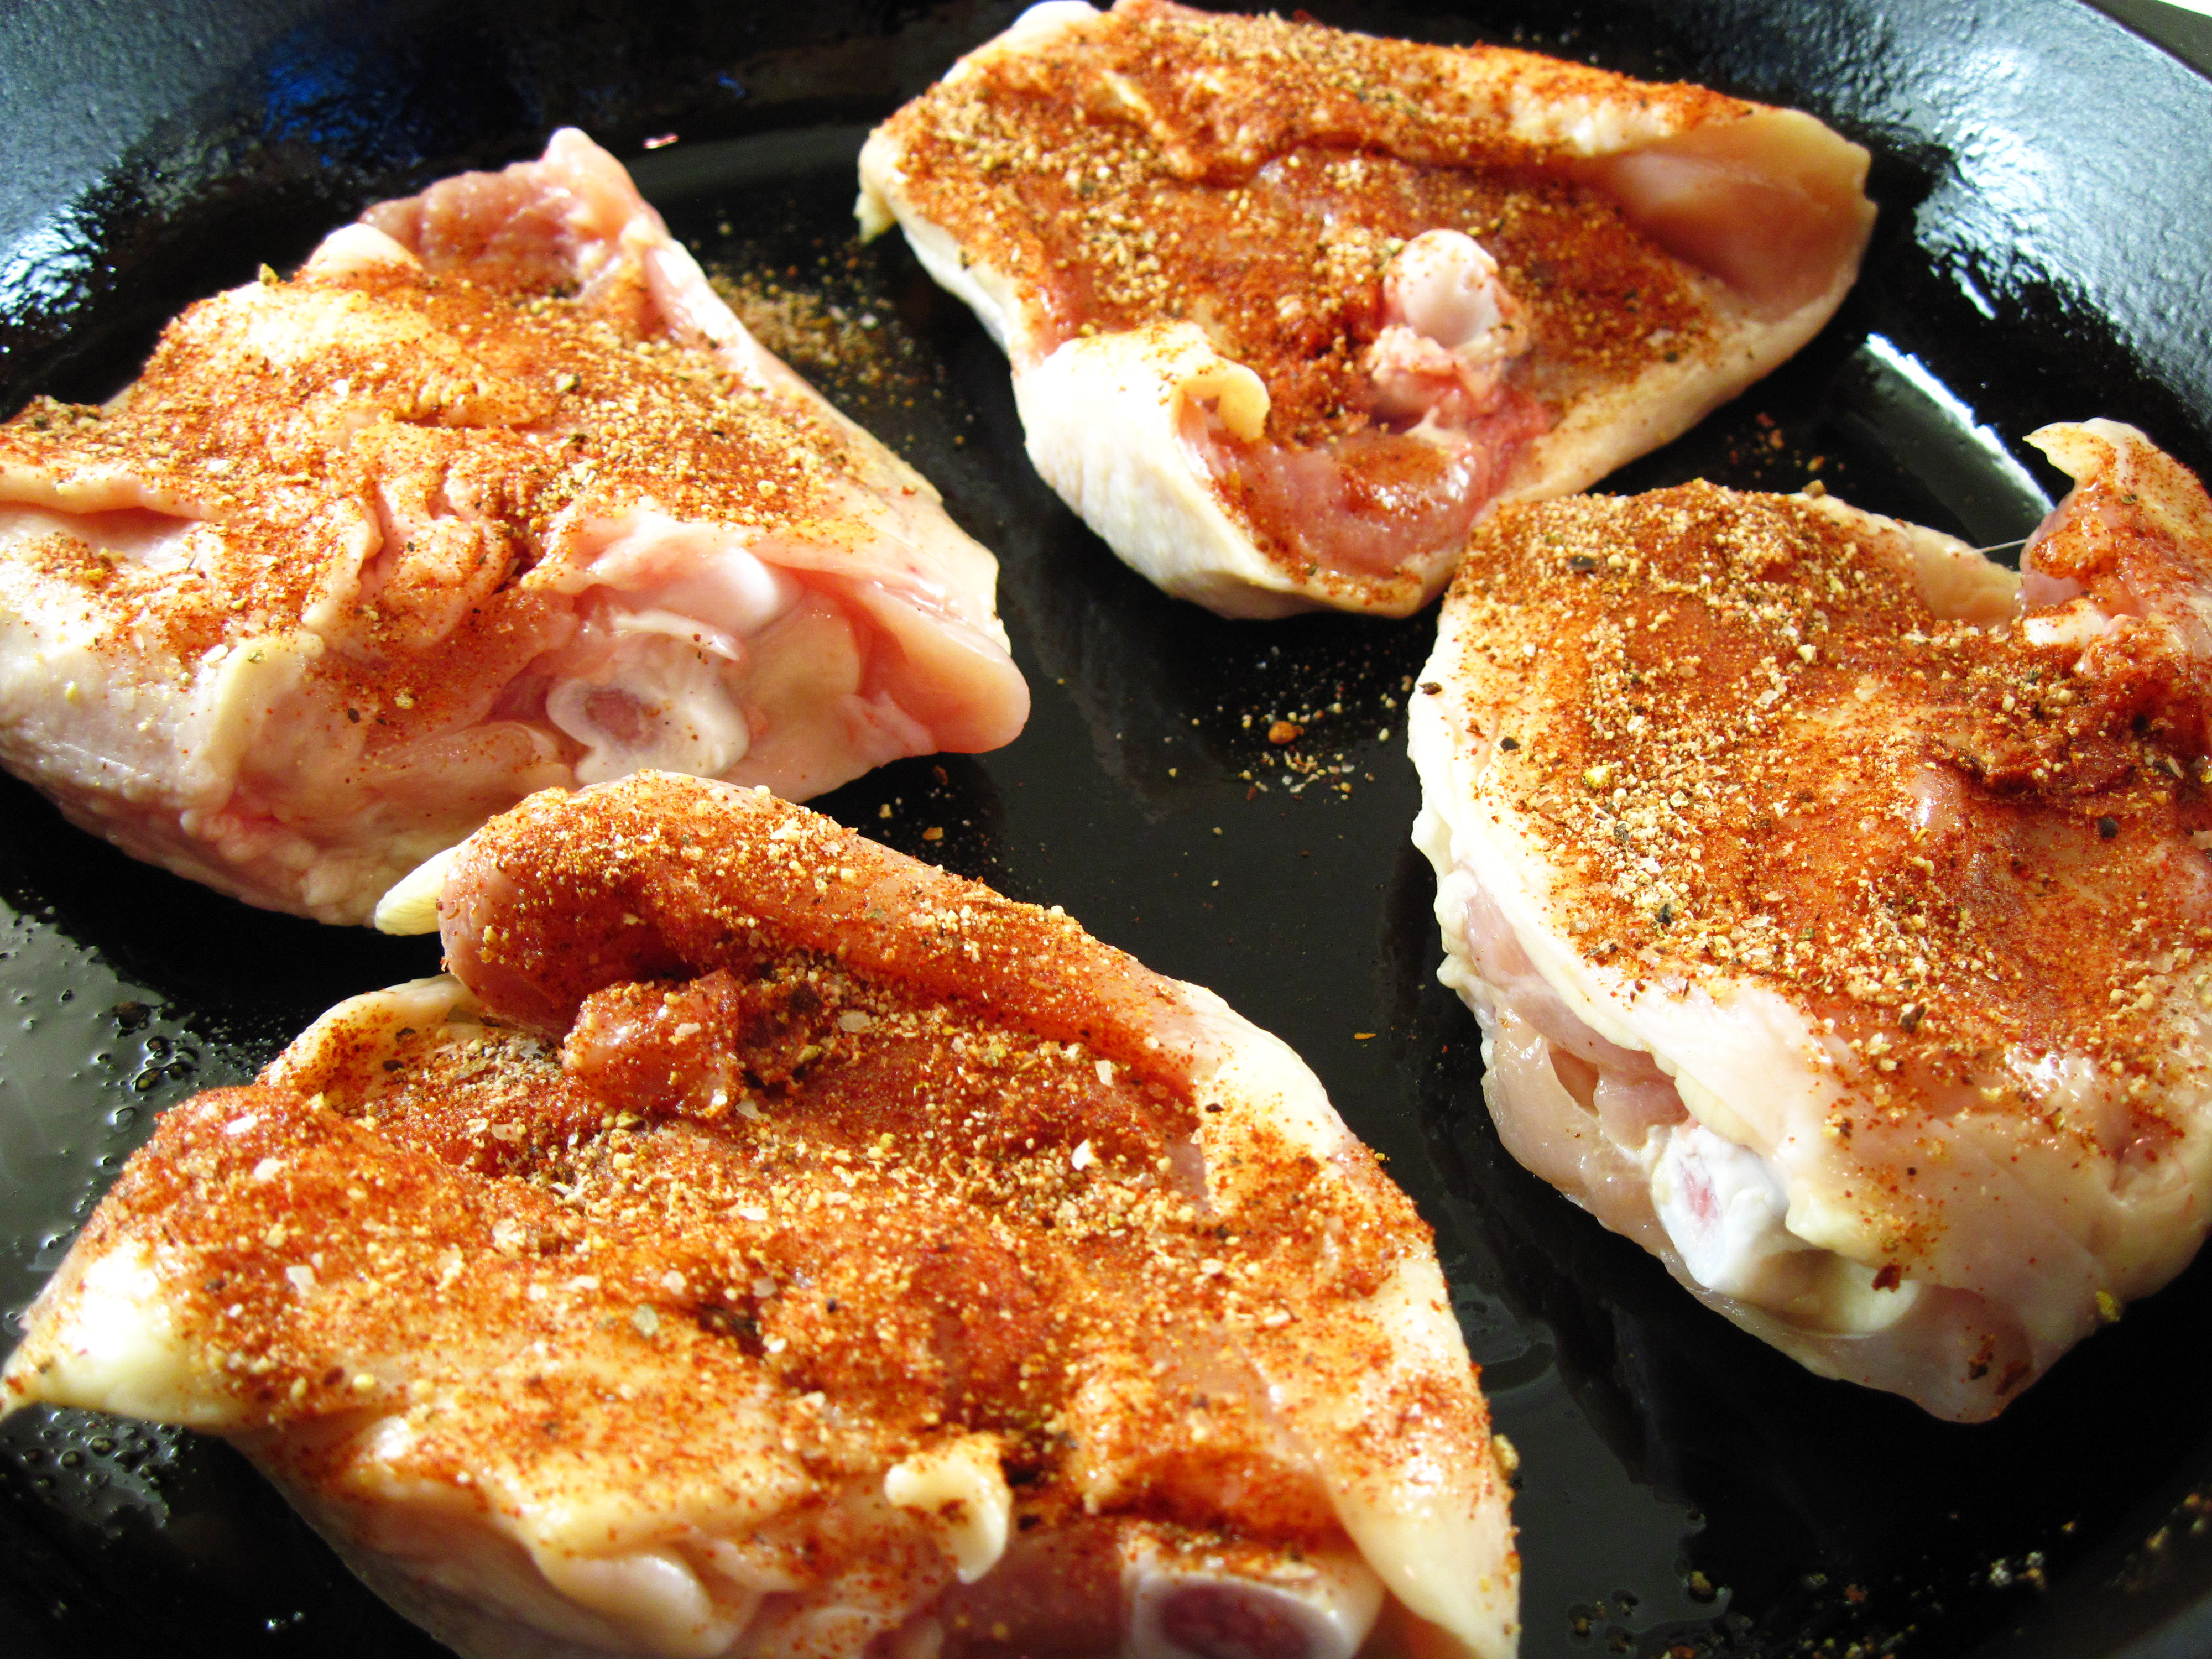
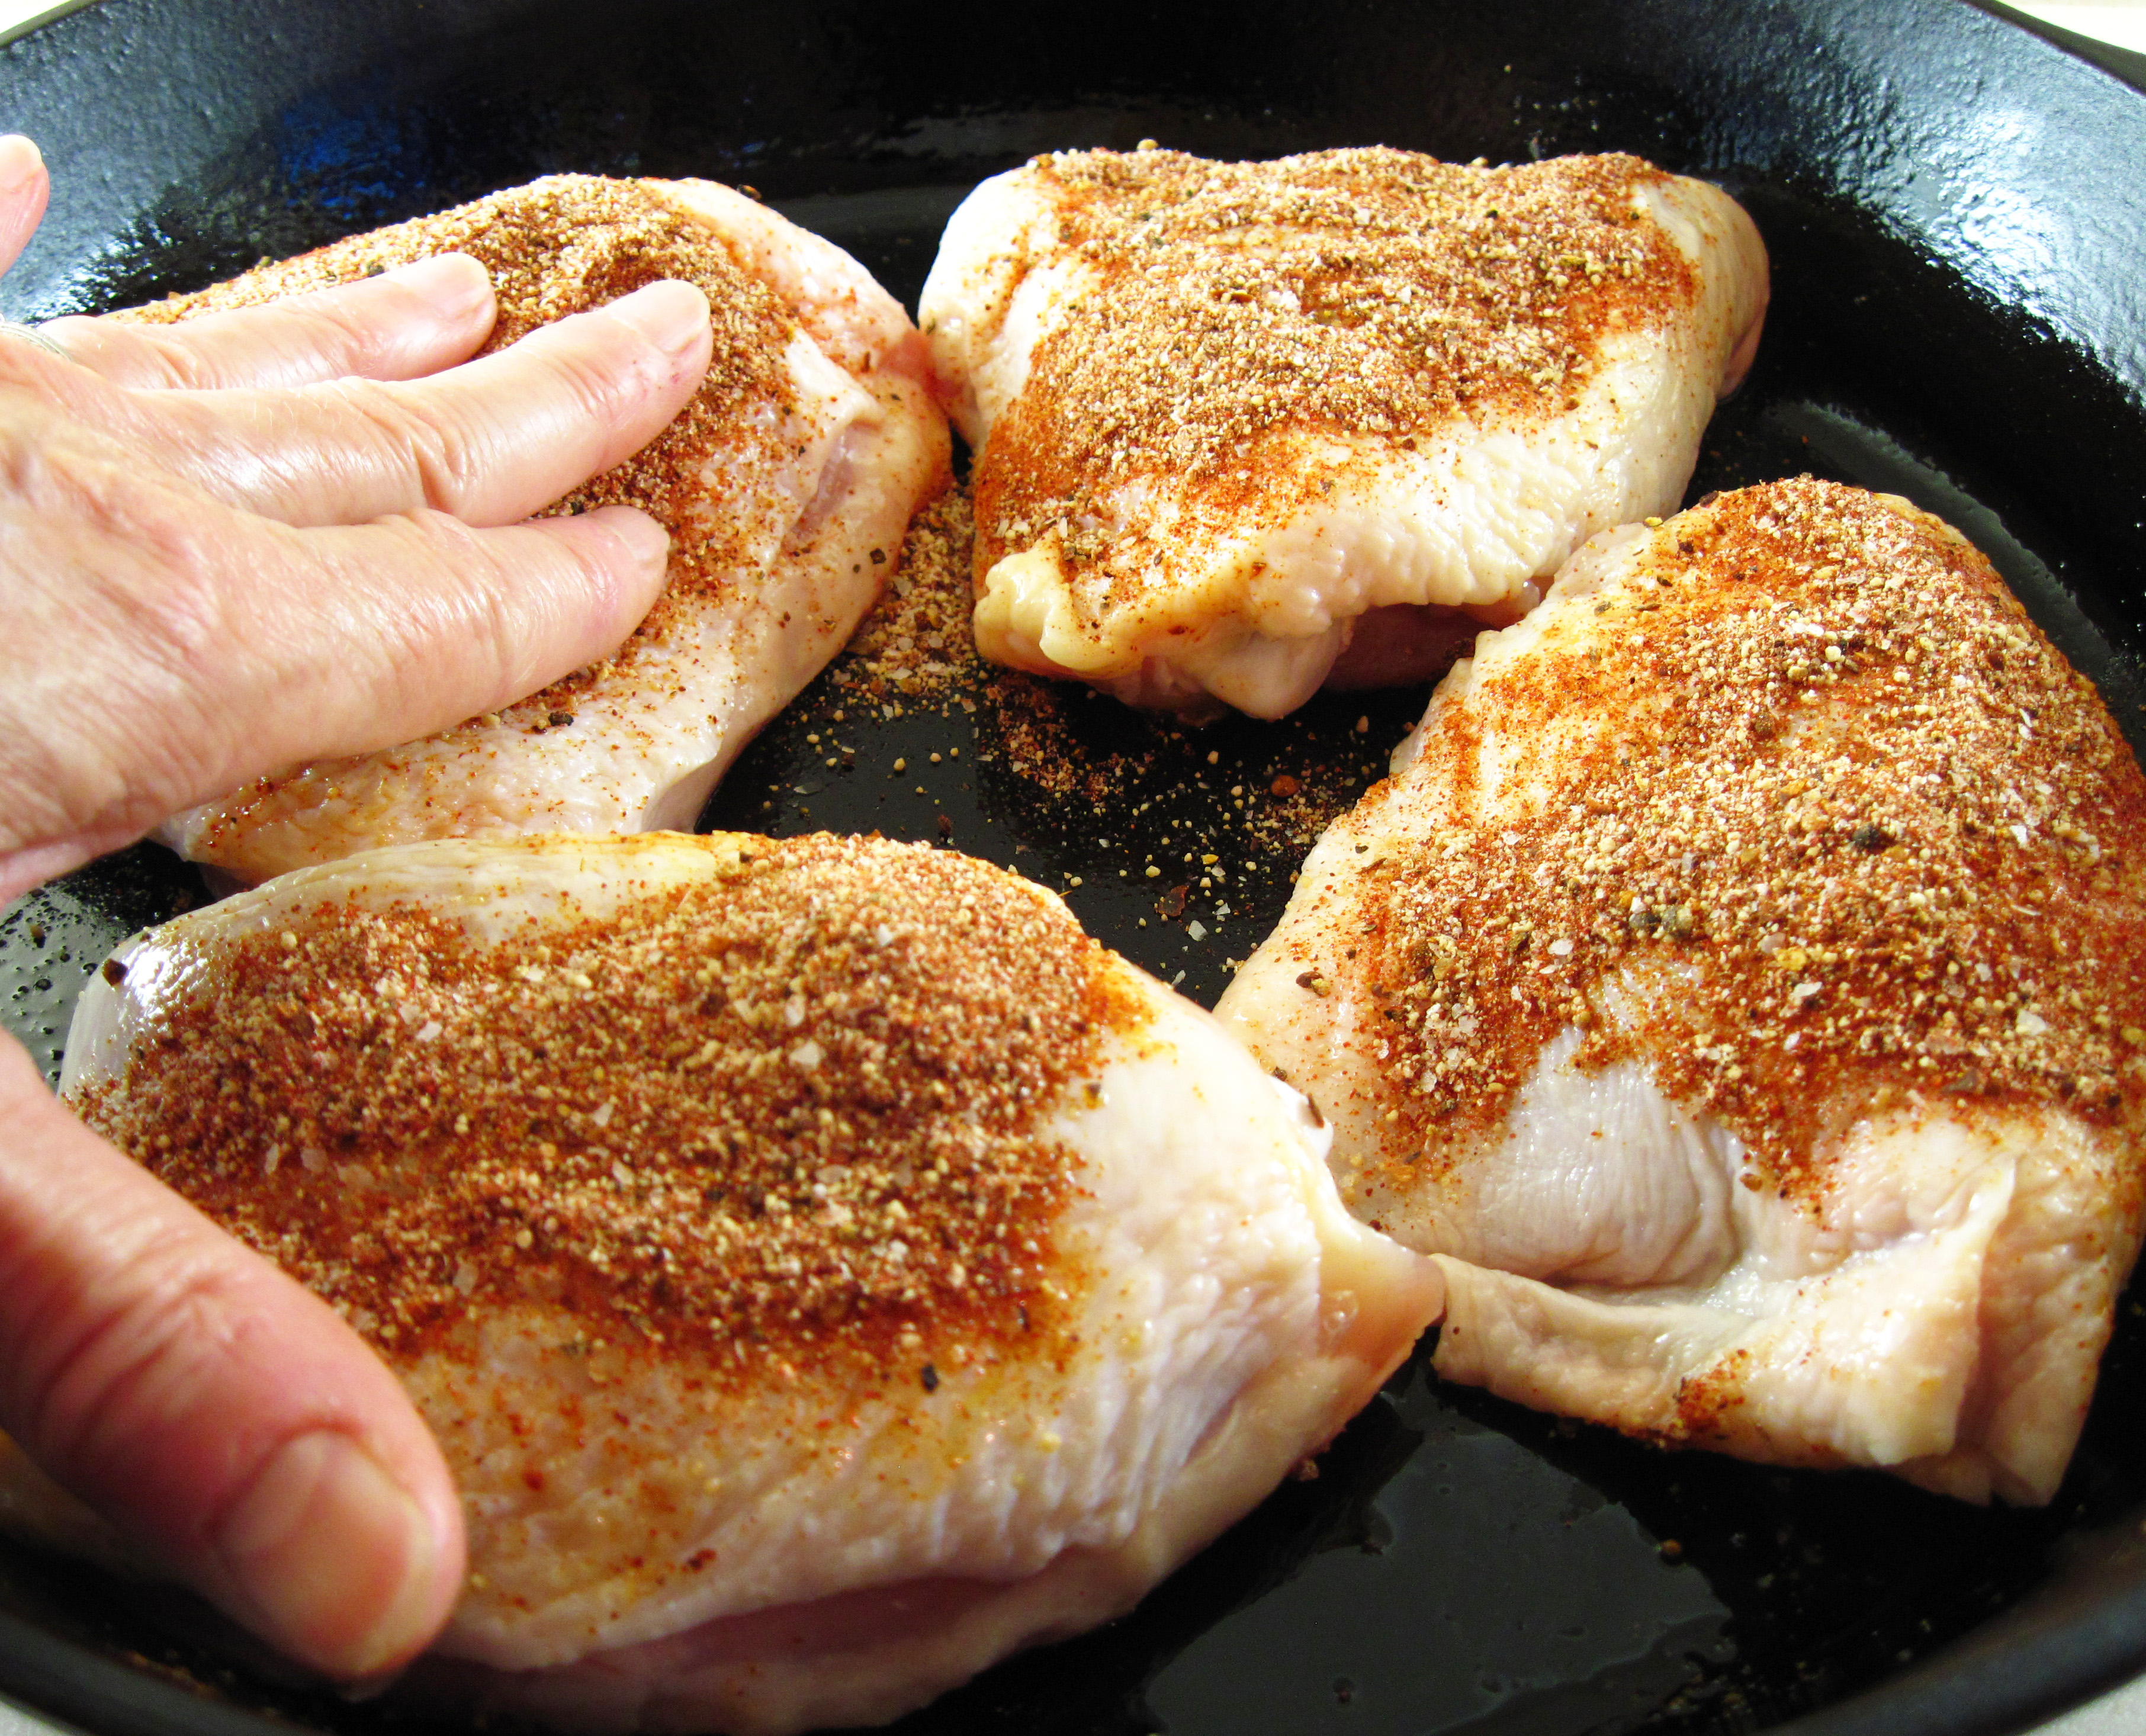
Chicken thighs skin-side down in an oiled cast iron skillet. I spread the rub on this side.
a
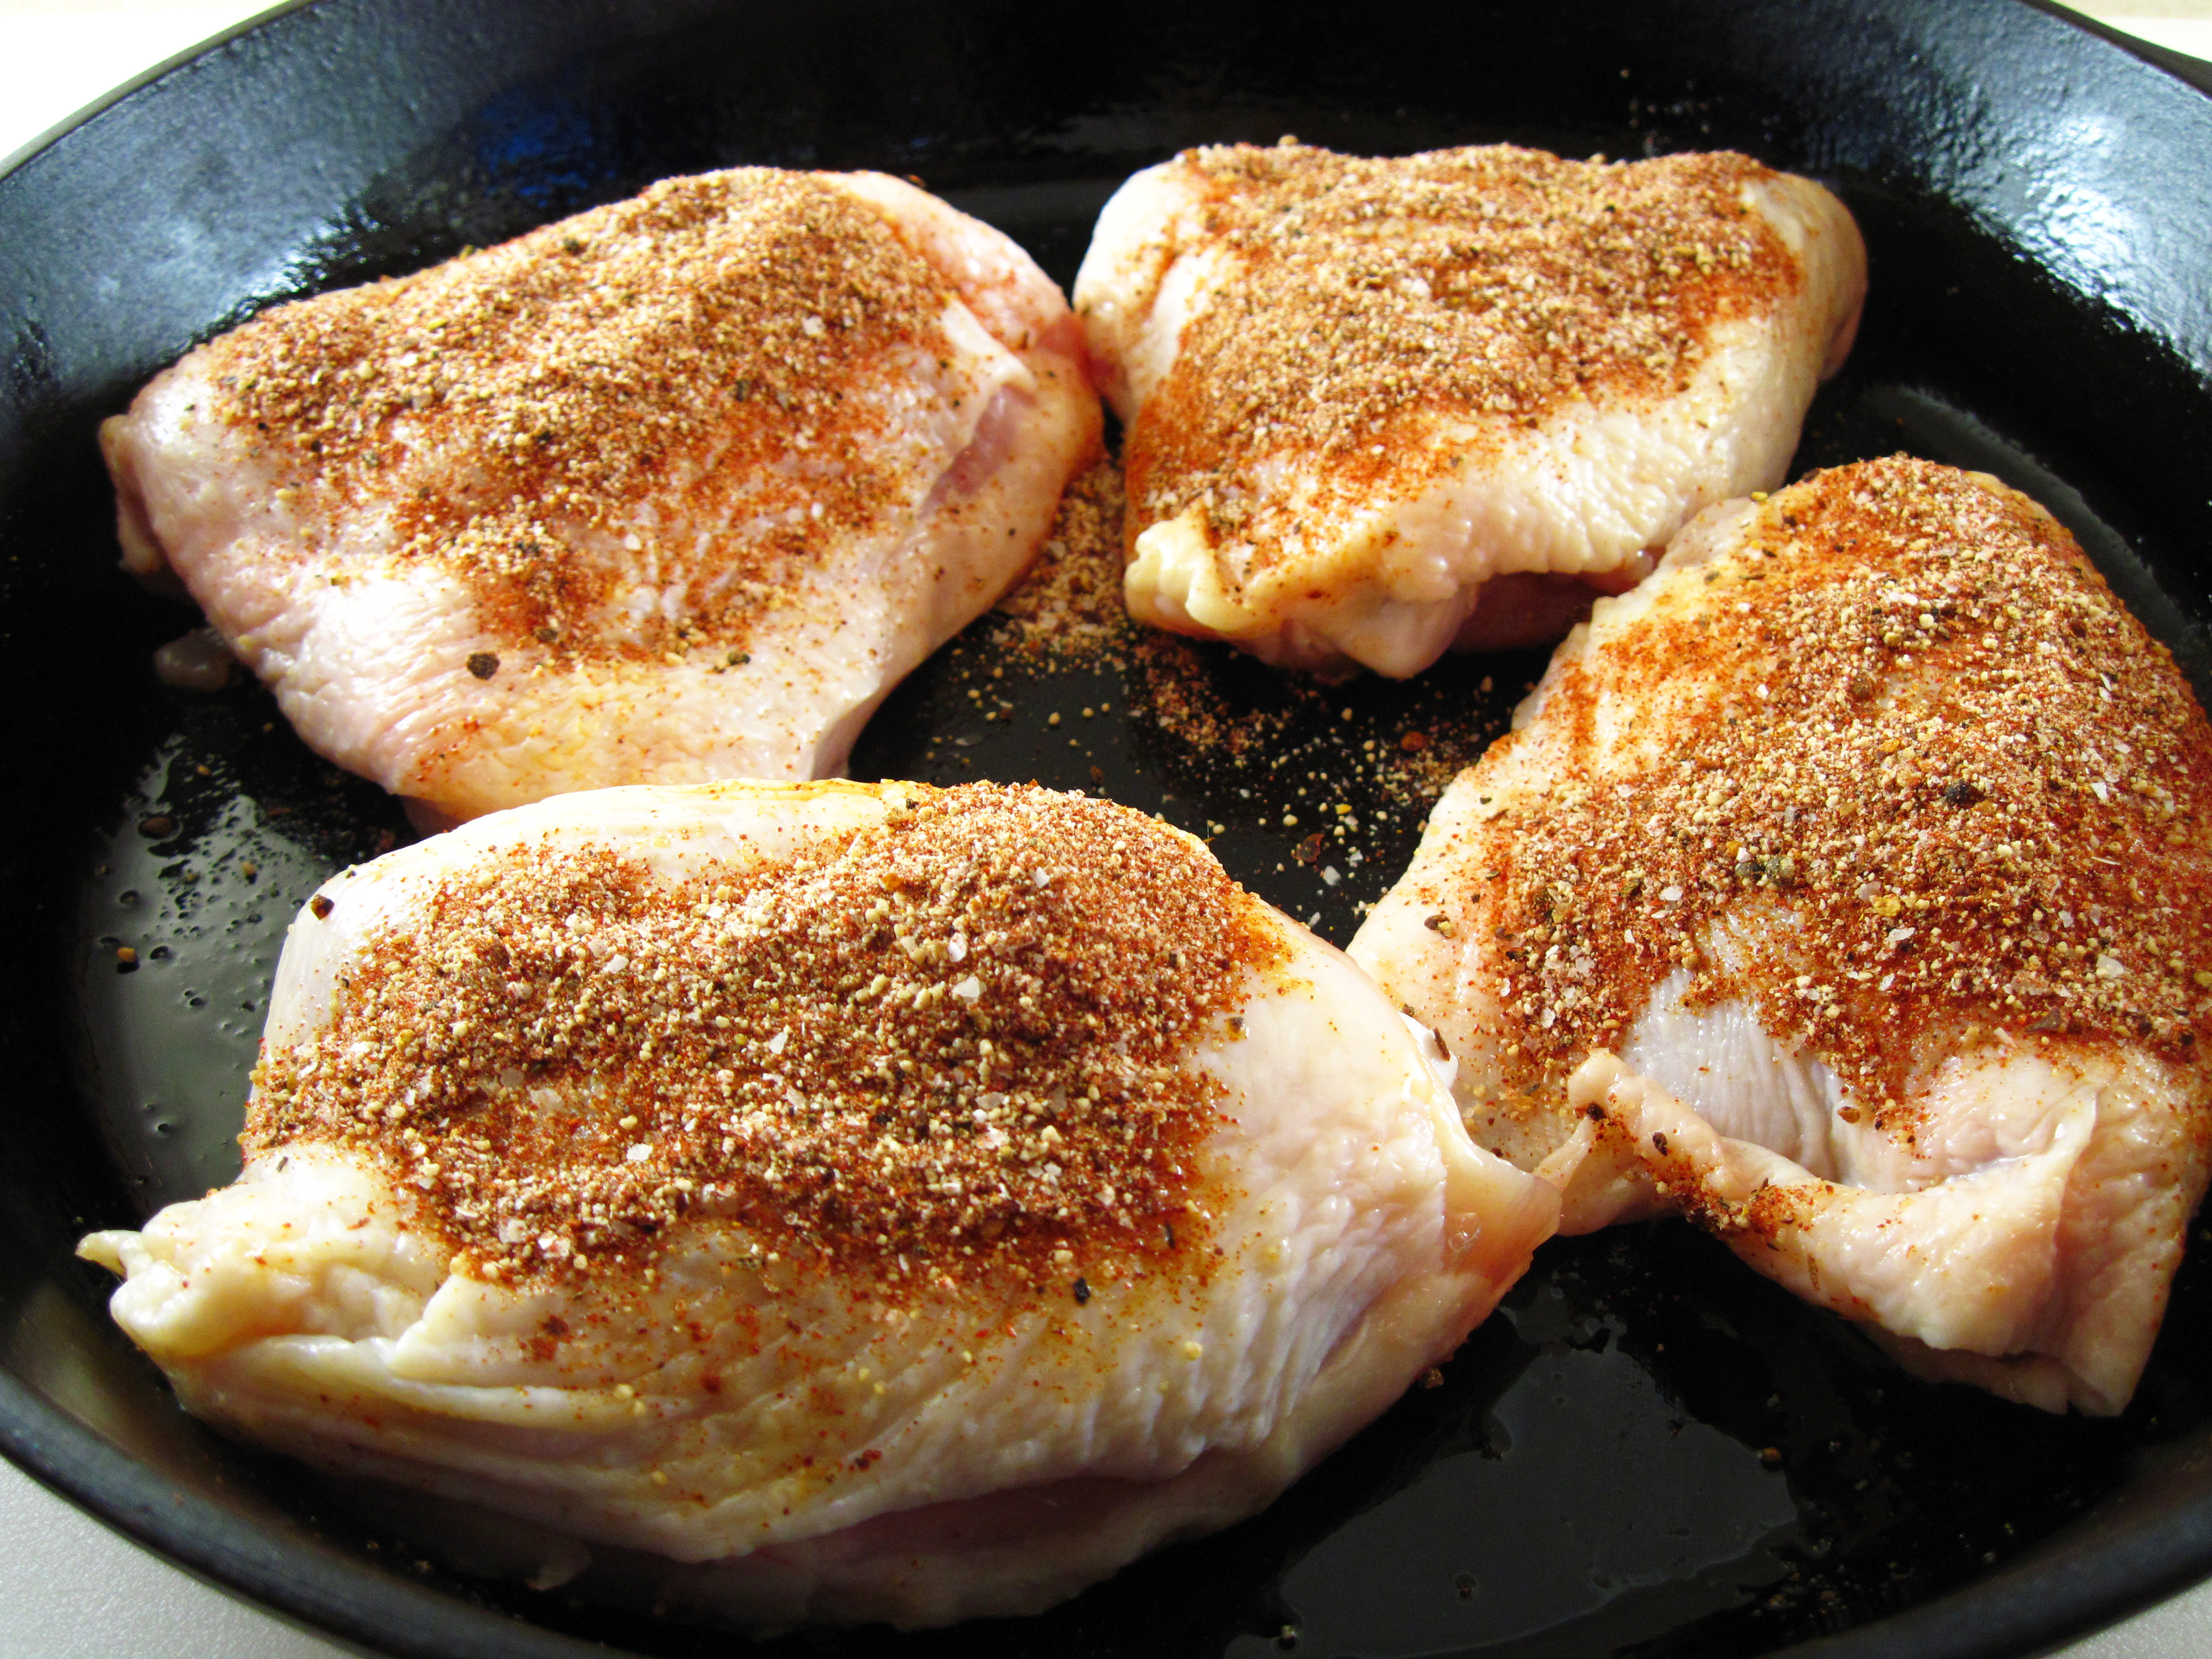
I turned the thighs skin-side up and generously sprinkled the rub on each one.
a
I then rubbed the rub in, covering the thighs.
a
Ready for the oven! I roasted them in a preheated 450 degree oven for about 30 minutes.

a
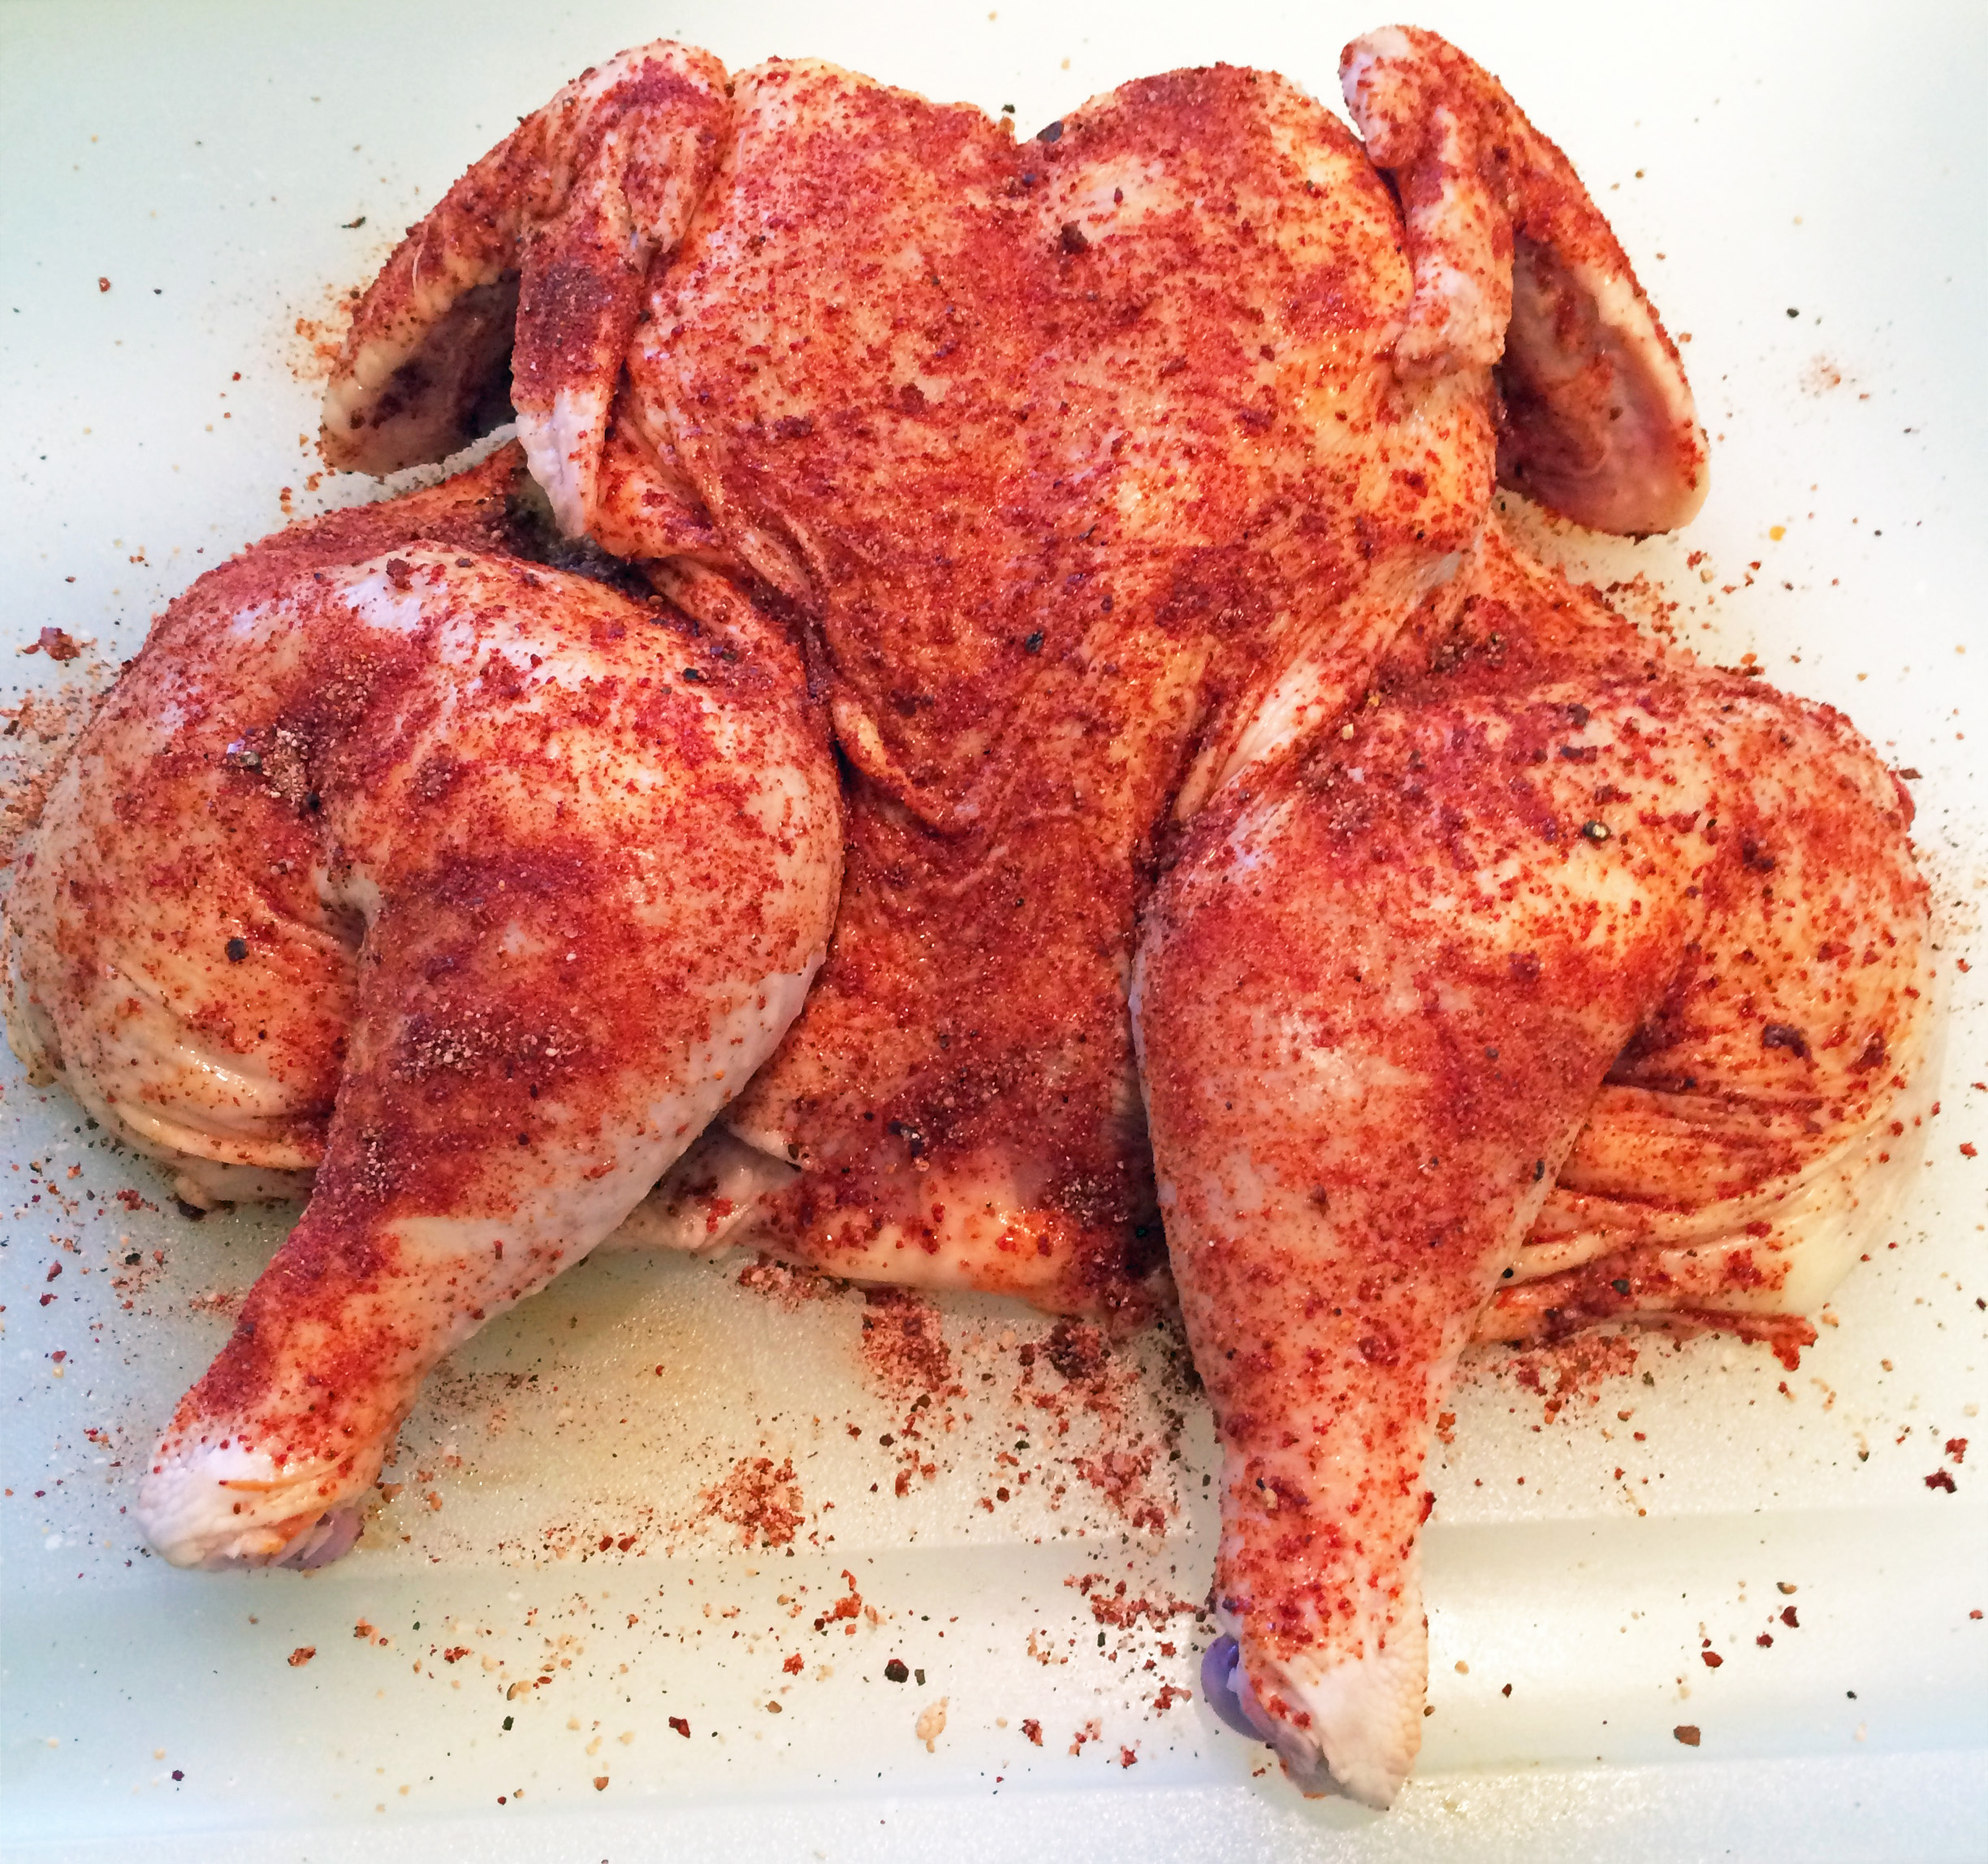
Here’s proof that I did spatchcock a chicken. This one’s ready to go into the oven. Chickens cook faster when spatchcocked; this was a big bird and it took about 45 minutes at 450 degrees.
a
Happy 4th of July Weekend!